
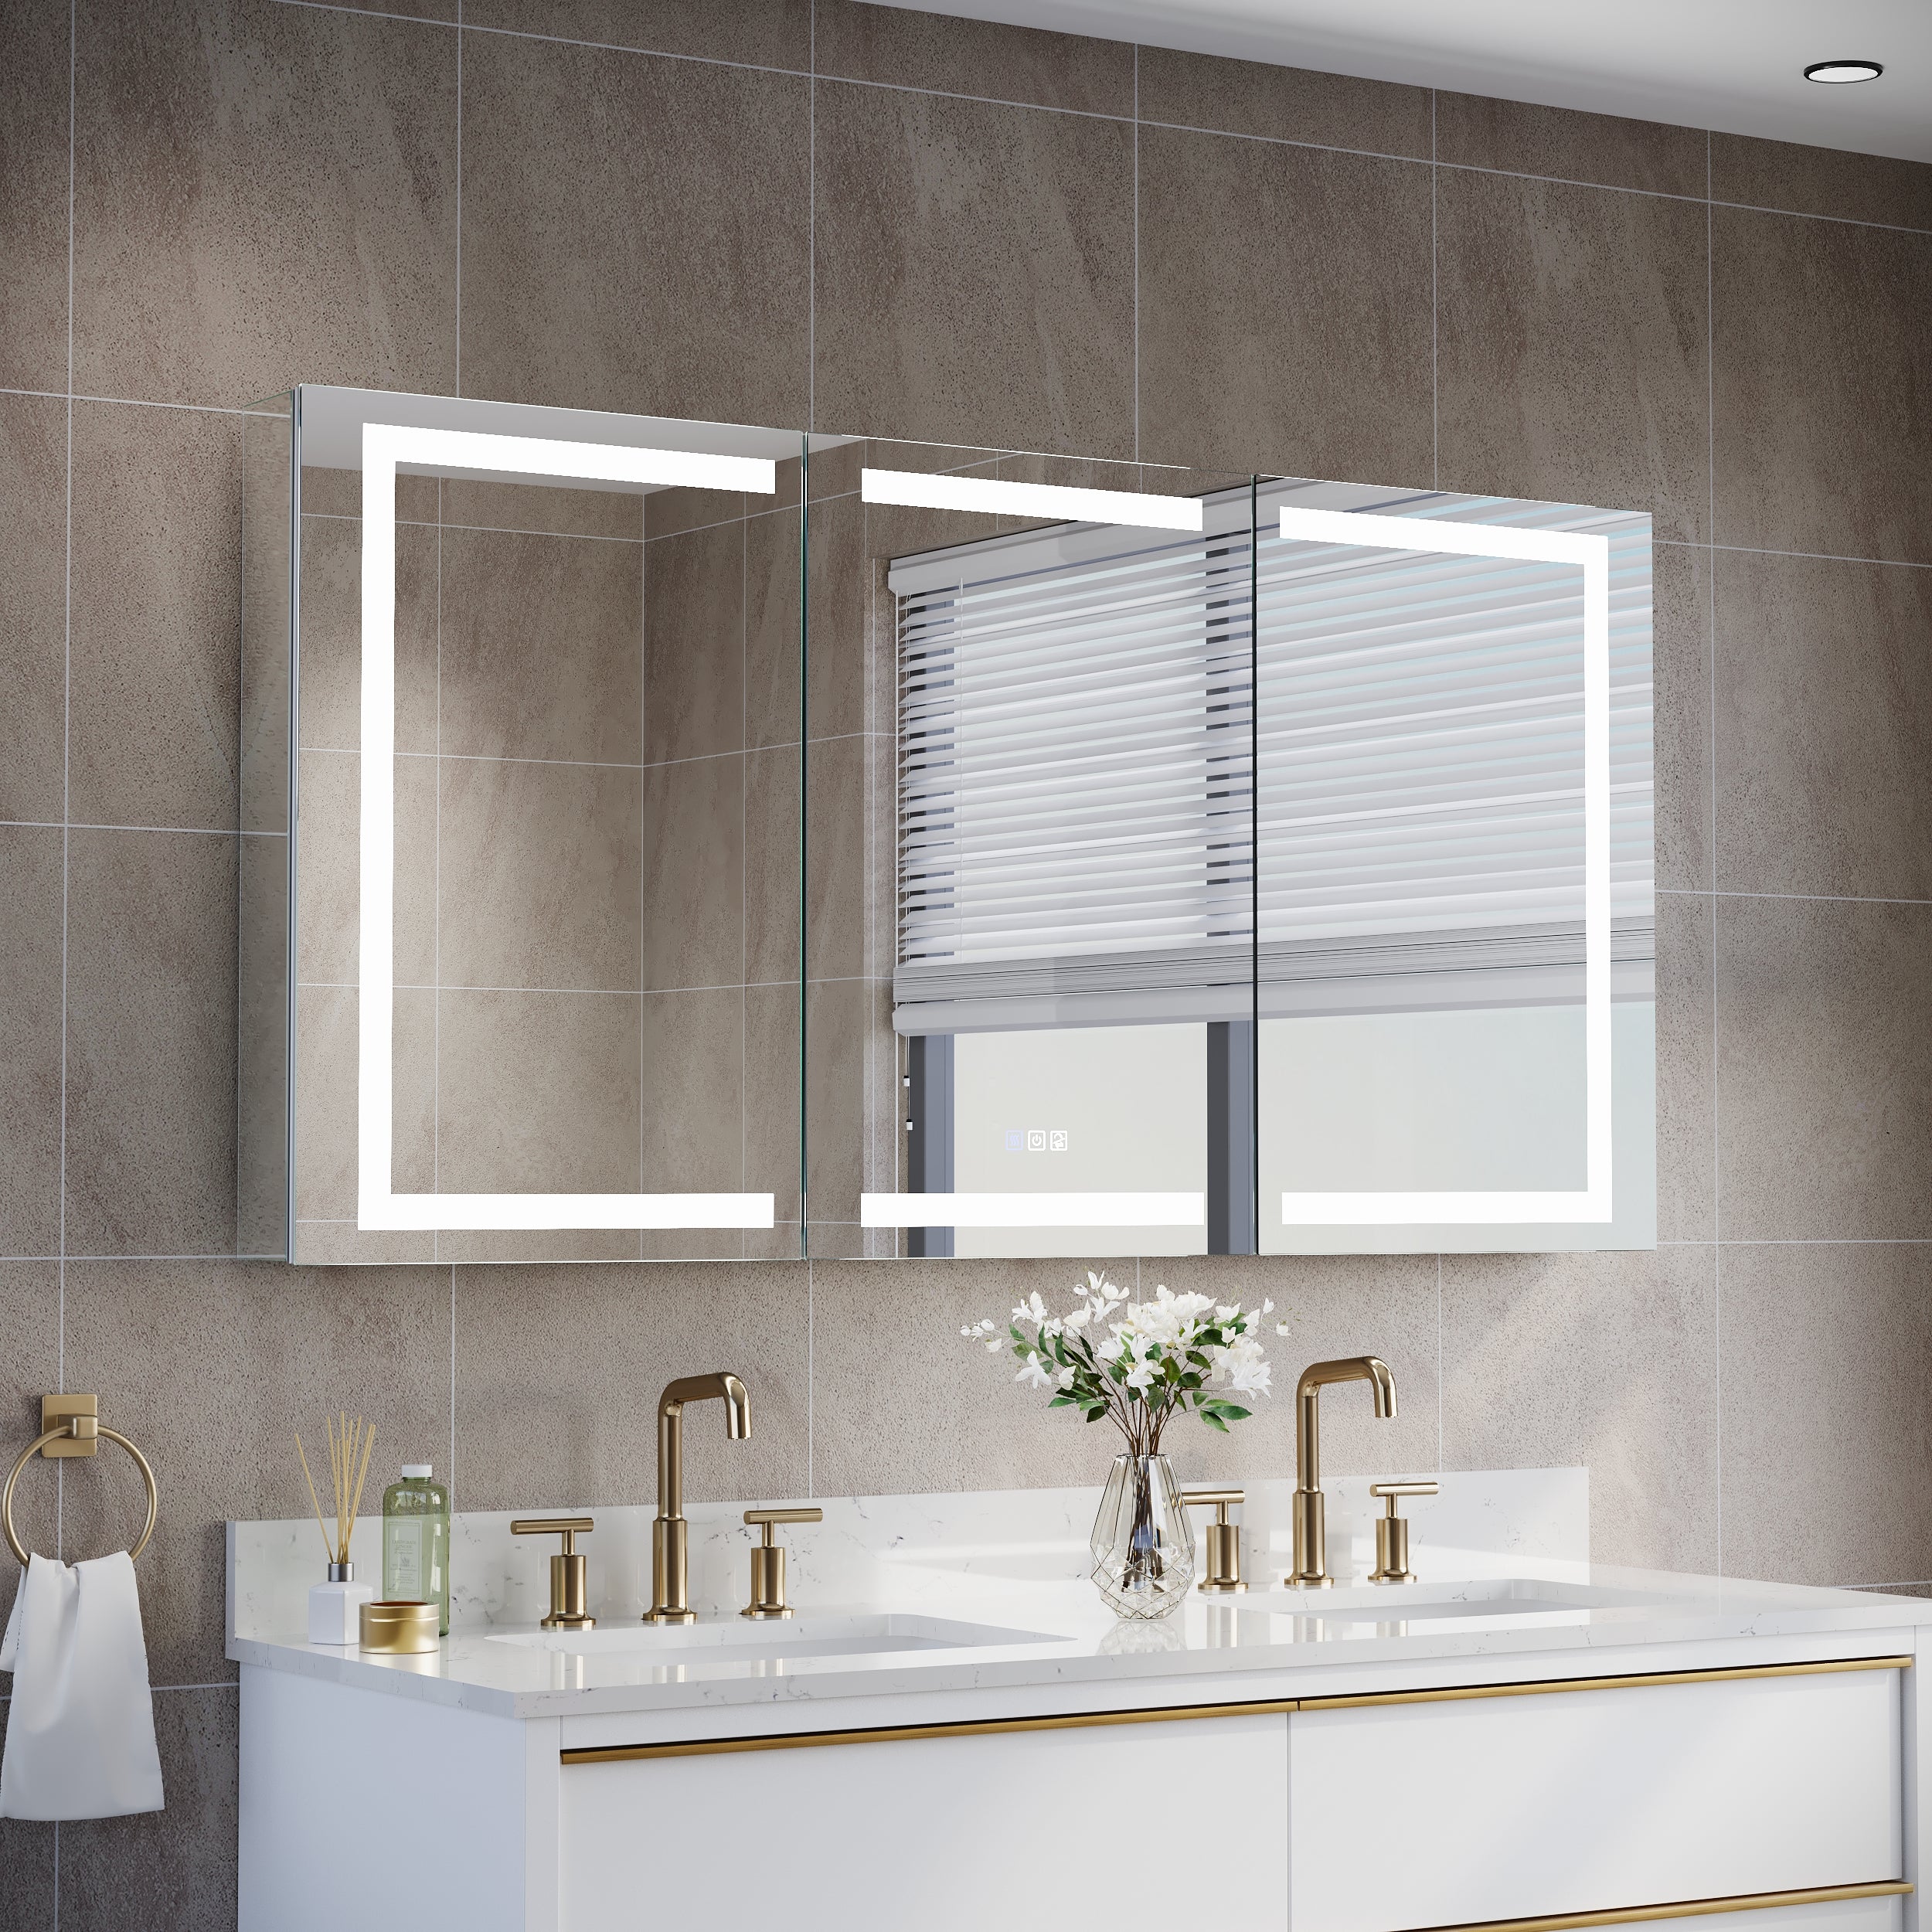
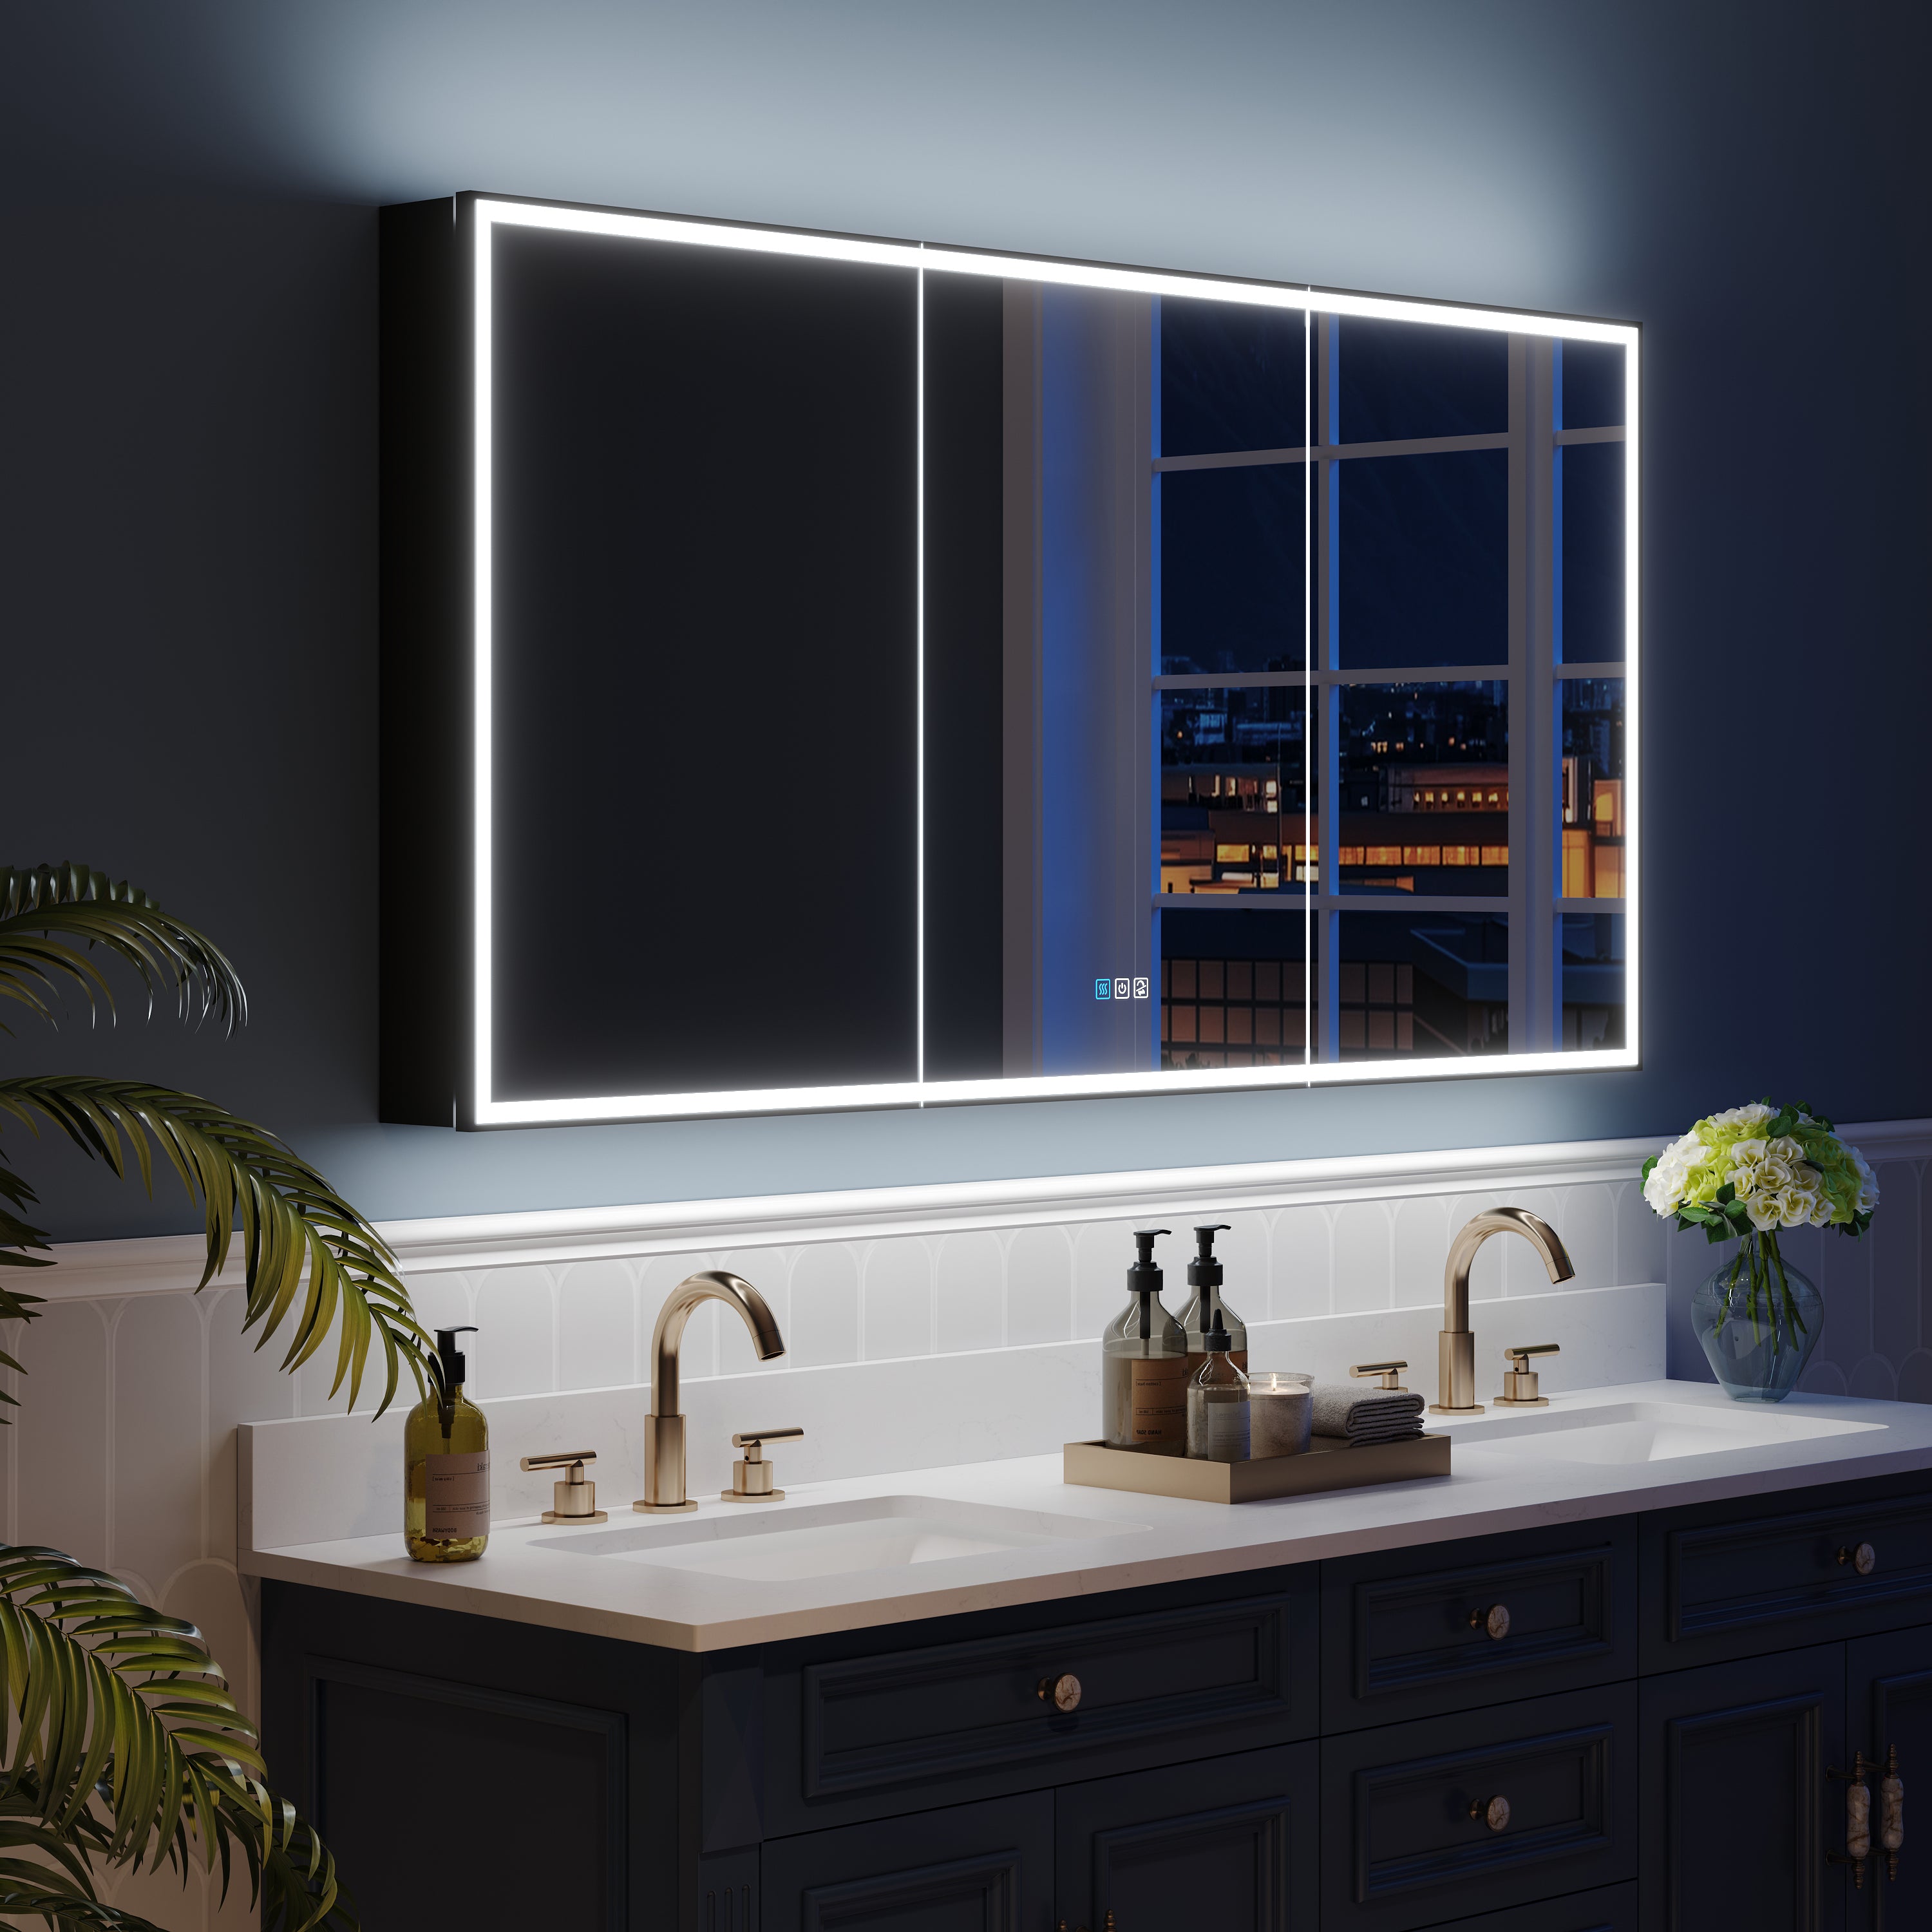
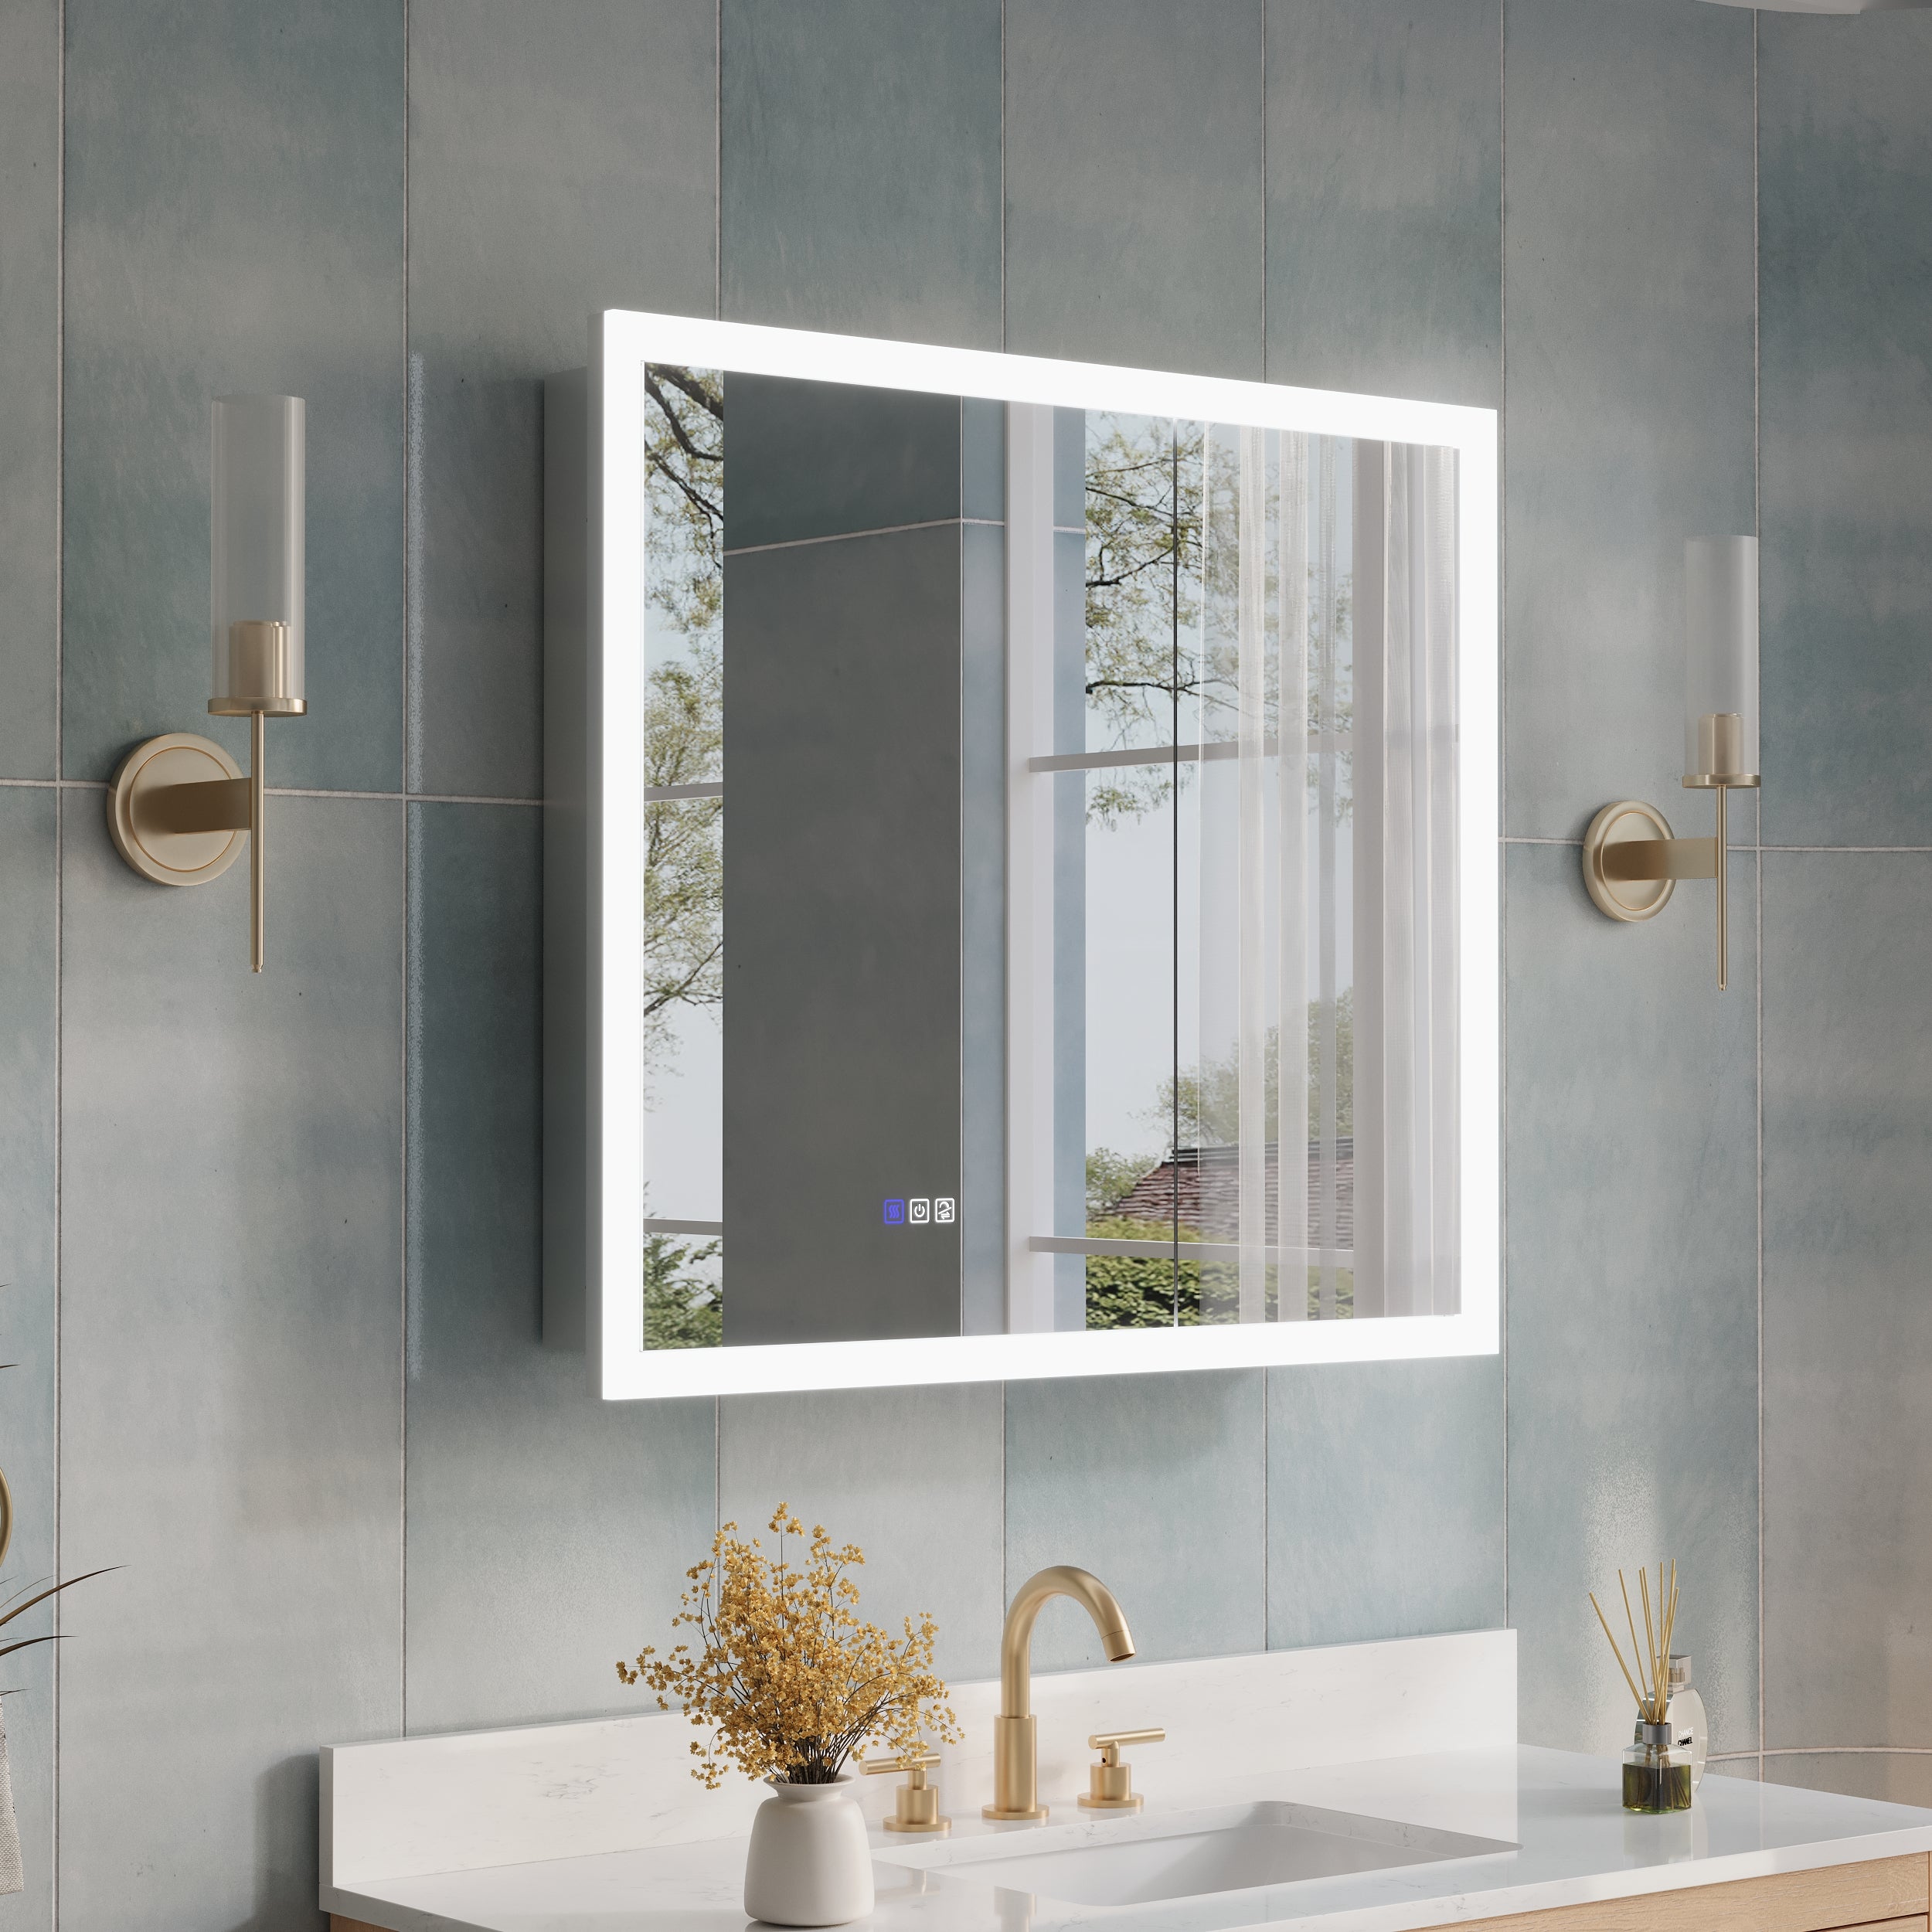
Is your bathroom medicine cabinet with light looking a little worse for wear? Maybe the paint is chipping, the mirror is cracked, or the shelves are rusted. Whatever the issue may be, restoring an old bathroom medicine cabinet is a simple and cost-effective way to give your bathroom a fresh new look.
In this article, we’ll walk you through the steps to easily restore an old bathroom medicine cabinet, so you can have a beautiful and functional storage space in your bathroom.
Why Restore an Old Bathroom Medicine Cabinet?
Before we dive into the restoration process, you may be wondering why you should bother restoring an old bathroom medicine cabinet instead of just replacing it. Here are a few reasons why restoring an old cabinet is a great option:
Cost-Effective
Replacing a bathroom medicine cabinet can be expensive, especially if you want one with lights. By restoring your old cabinet, you can save money and still have a functional and stylish storage space in your bathroom.
Eco-Friendly
Restoring an old cabinet is also a more environmentally friendly option. Instead of throwing away a perfectly good cabinet, you can give it new life and reduce waste.
Personal Touch
If you have an old bathroom medicine cabinet that has been in your family for years, restoring it can add a personal touch to your bathroom. It’s a great way to preserve a piece of family history and add character to your space.
What You’ll Need
Before you get started, make sure you have all the necessary tools and materials. Here’s a list of what you’ll need:
- Screwdriver
- Sandpaper
- Primer
- Paint
- Paintbrush
- New mirror (if needed)
- New shelves (if needed)
Step 1: Remove the Cabinet from the Wall
The first step in restoring an old bathroom medicine cabinet is to remove it from the wall. Use a screwdriver to remove any screws holding the cabinet in place. If your cabinet has lights, make sure to disconnect the wiring before removing it from the wall.
Step 2: Sand the Cabinet
Once the cabinet is removed, use sandpaper to remove any old paint or rust. This will help the new paint adhere better and give your cabinet a smooth finish. Make sure to sand both the inside and outside of the cabinet.
Step 3: Prime the Cabinet
After sanding, use a primer to prepare the cabinet for painting. This will help the paint stick and prevent any old stains or colors from showing through. Apply the primer evenly and let it dry completely before moving on to the next step.
Step 4: Paint the Cabinet
Now it’s time to add some color to your cabinet. Choose a paint color that matches your bathroom decor or go for a bold pop of color. Use a paintbrush to apply the paint evenly, making sure to cover all surfaces. You may need to apply multiple coats for a smooth and even finish.
Step 5: Replace the Mirror and Shelves
If your old mirror is cracked or damaged, now is the time to replace it. You can purchase a new mirror from a home improvement store or have one custom cut to fit your cabinet. You can also replace any old or rusted shelves with new ones.
Step 6: Reattach the Cabinet to the Wall
Once the paint is dry and the new mirror and shelves are in place, it’s time to reattach the cabinet to the wall. Use a screwdriver to secure the cabinet in place, making sure it is level and secure.
Step 7: Add Finishing Touches
To give your restored bathroom medicine cabinet a polished look, add some finishing touches. You can add new knobs or handles to the cabinet doors, or even add some decorative trim around the edges.
Tips for Maintaining Your Restored Cabinet
To keep your restored bathroom medicine cabinet looking its best, here are a few tips to follow:
- Wipe down the cabinet regularly with a damp cloth to remove any dust or dirt.
- Avoid using harsh chemicals or abrasive cleaners on the cabinet, as they can damage the paint and finish.
- If you notice any chips or scratches in the paint, touch them up with a small amount of paint to keep the cabinet looking fresh.
Restoring an old bathroom lighted medicine cabinet is a simple and cost-effective way to give your bathroom a fresh new look. By following these steps and using the right tools and materials, you can easily restore your old cabinet and have a beautiful and functional storage space in your bathroom.













Leave a comment
This site is protected by hCaptcha and the hCaptcha Privacy Policy and Terms of Service apply.