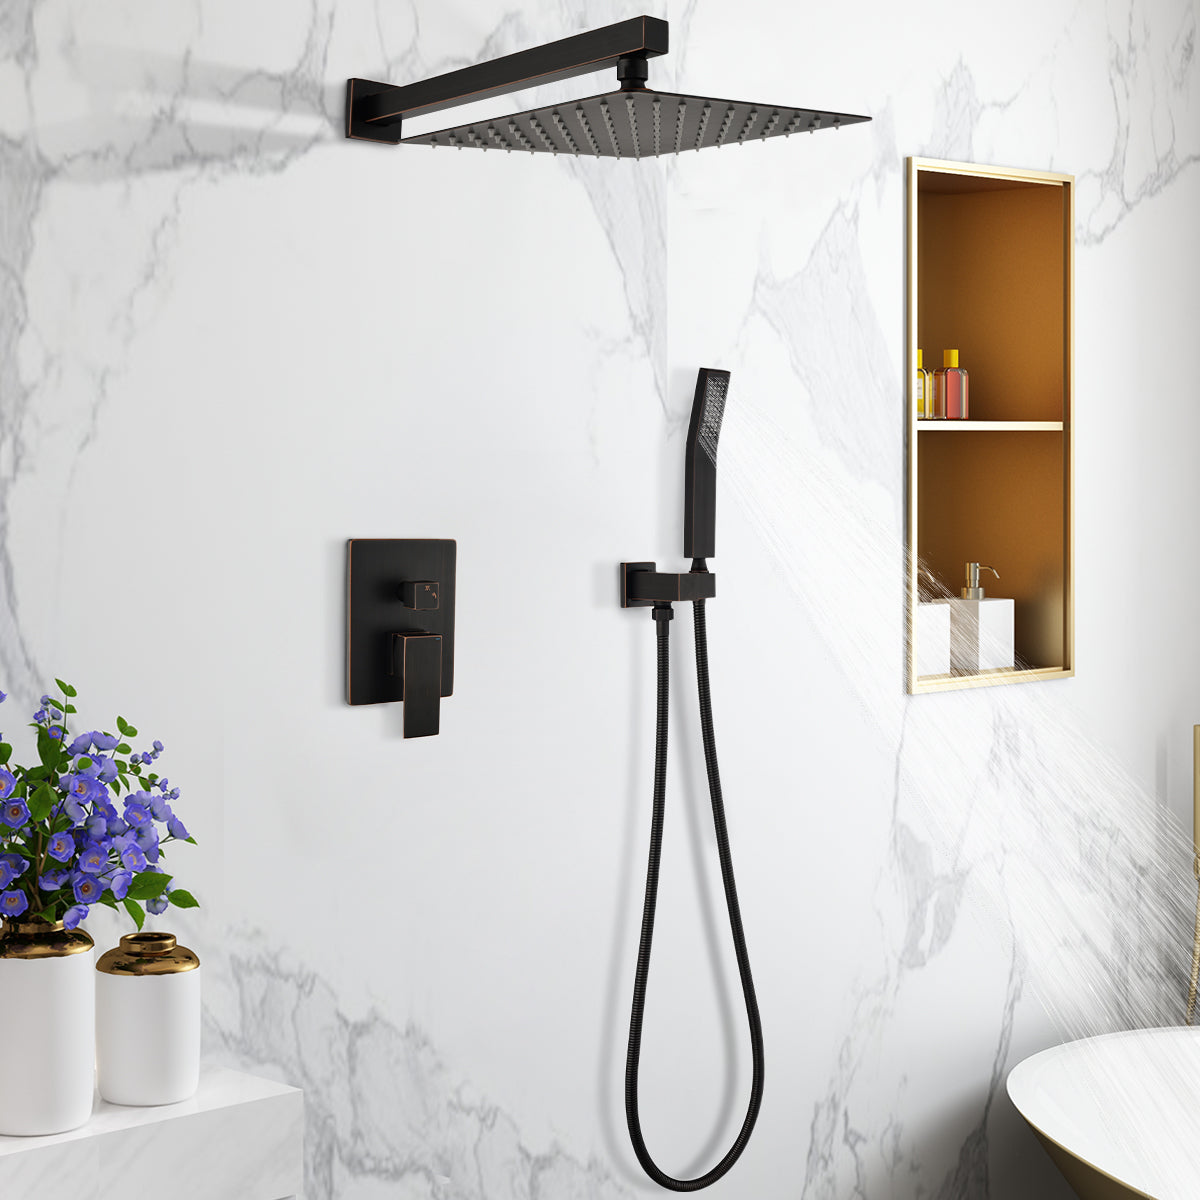
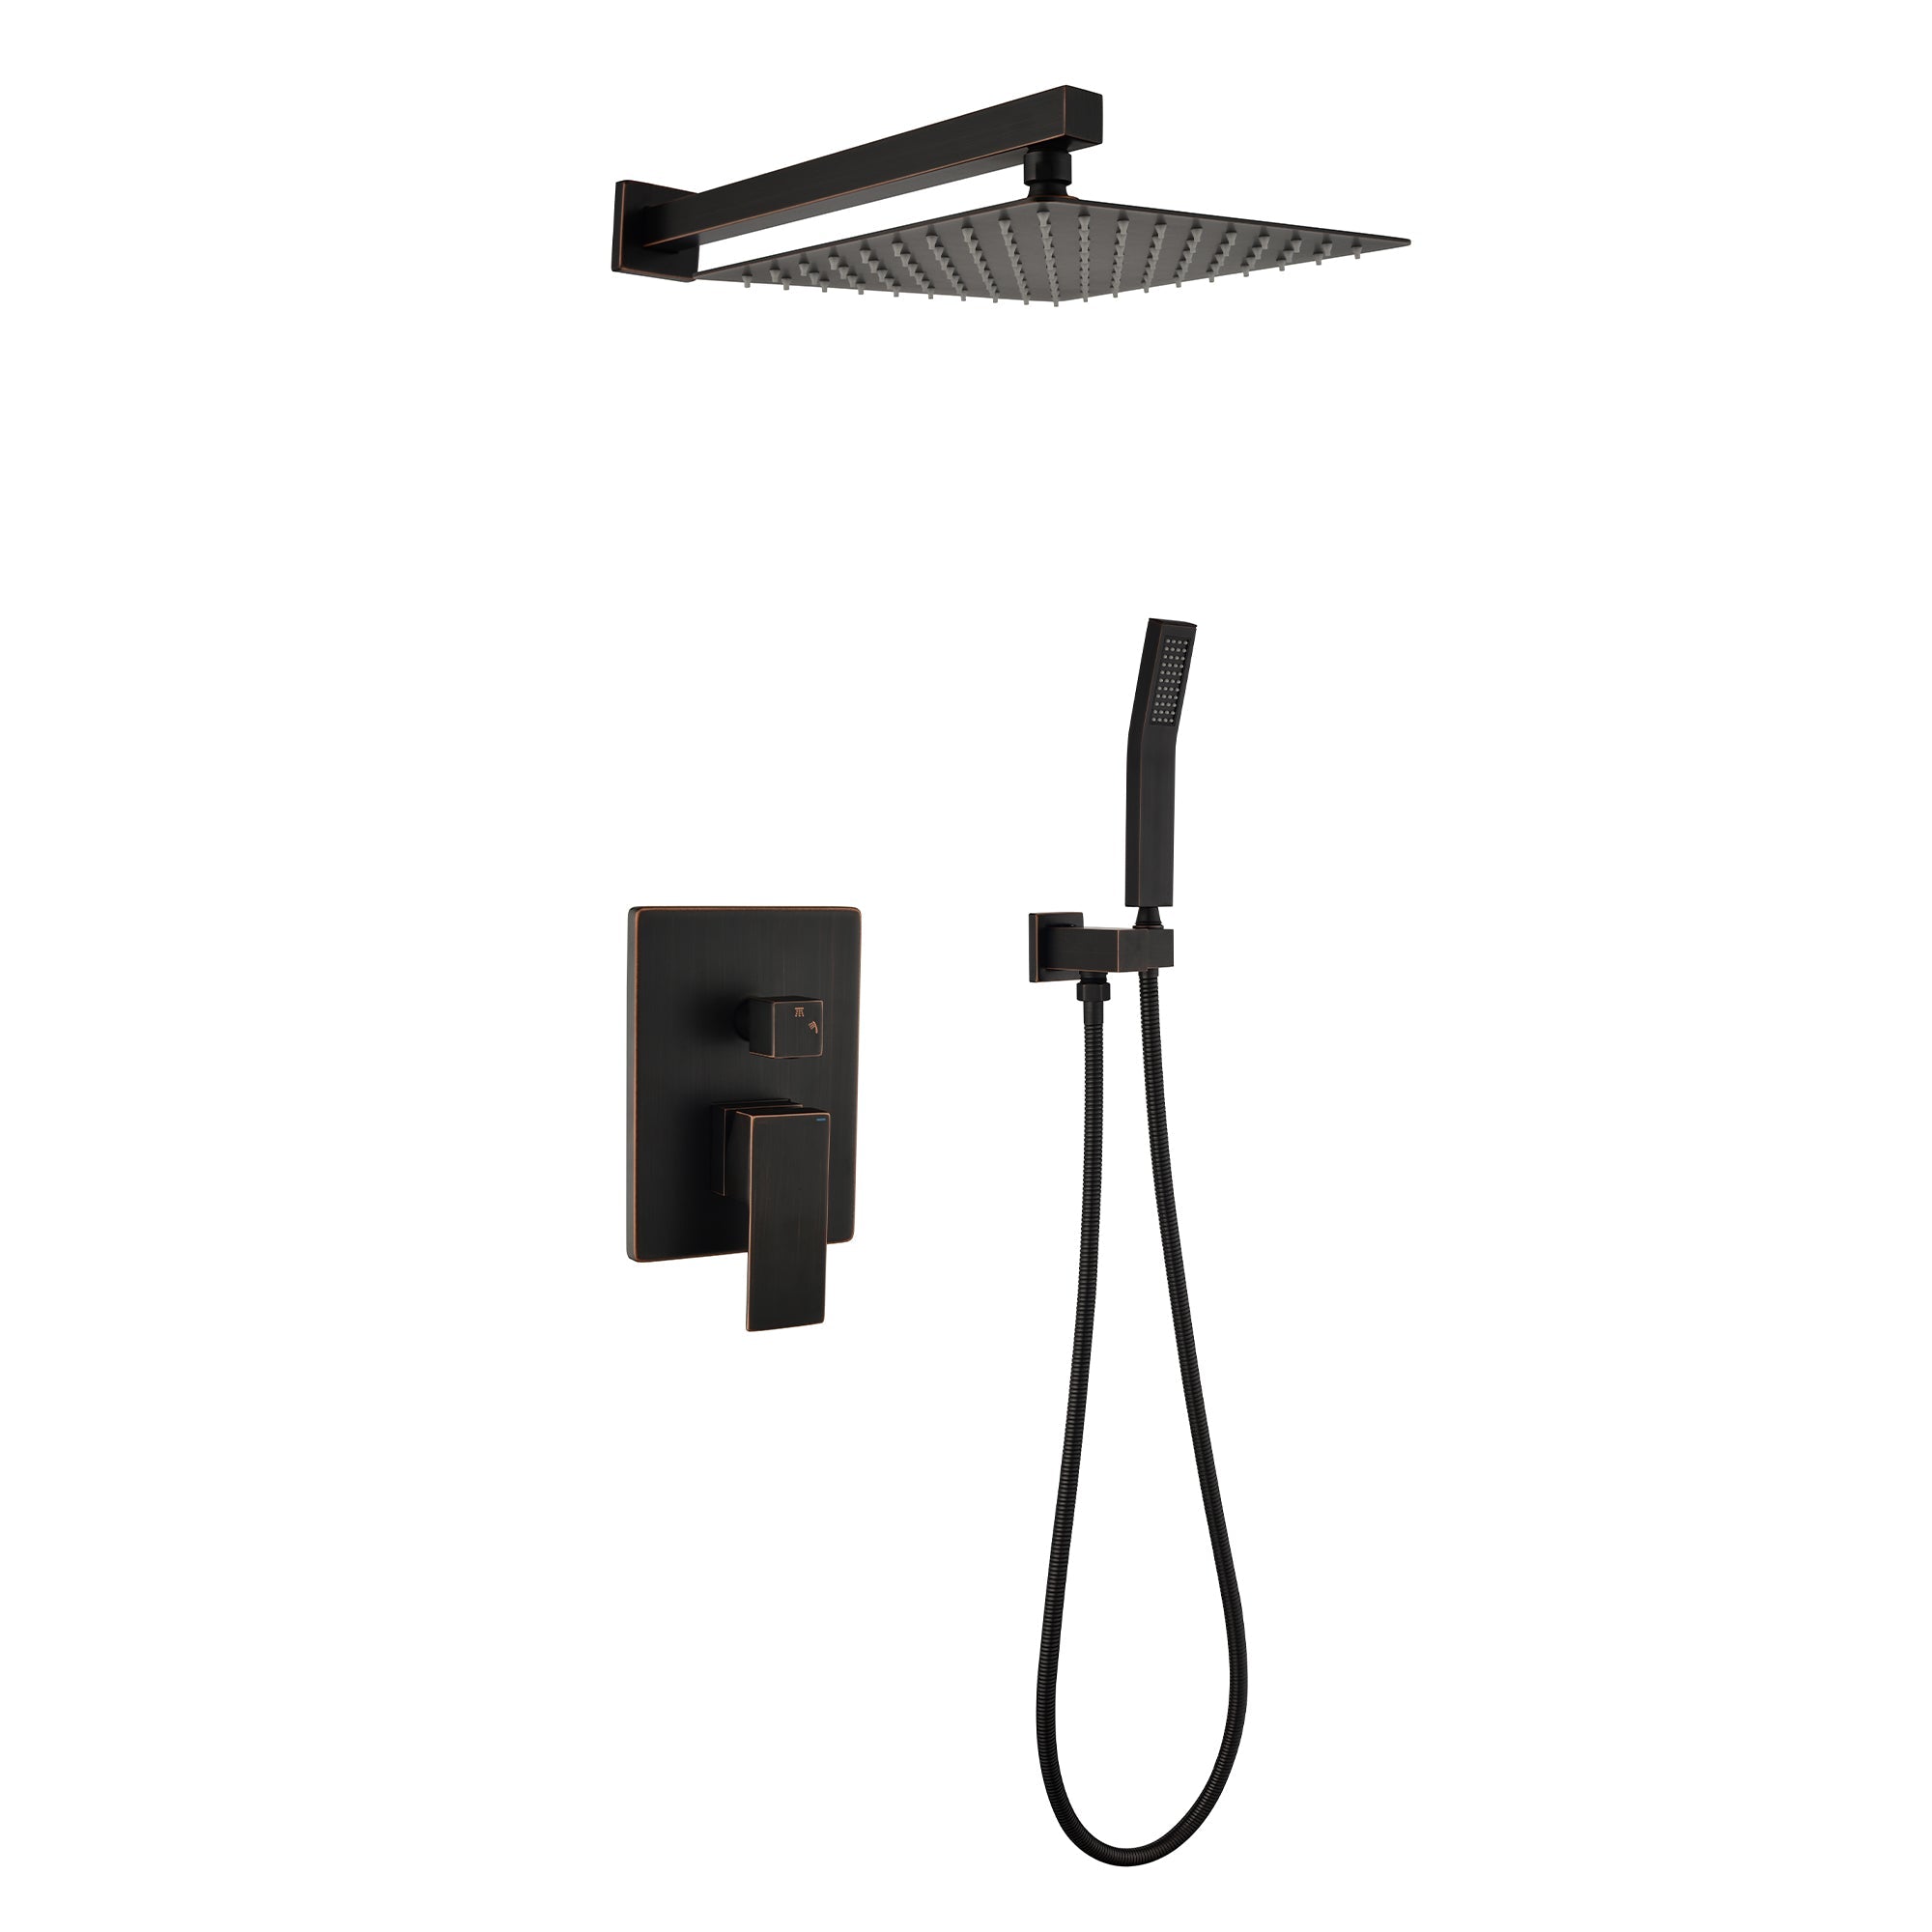
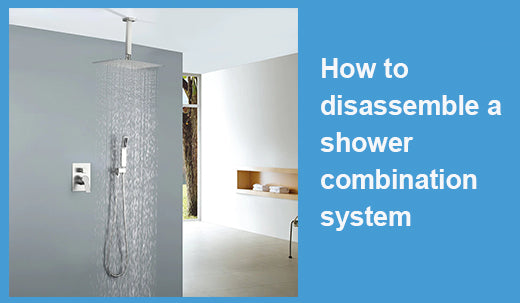
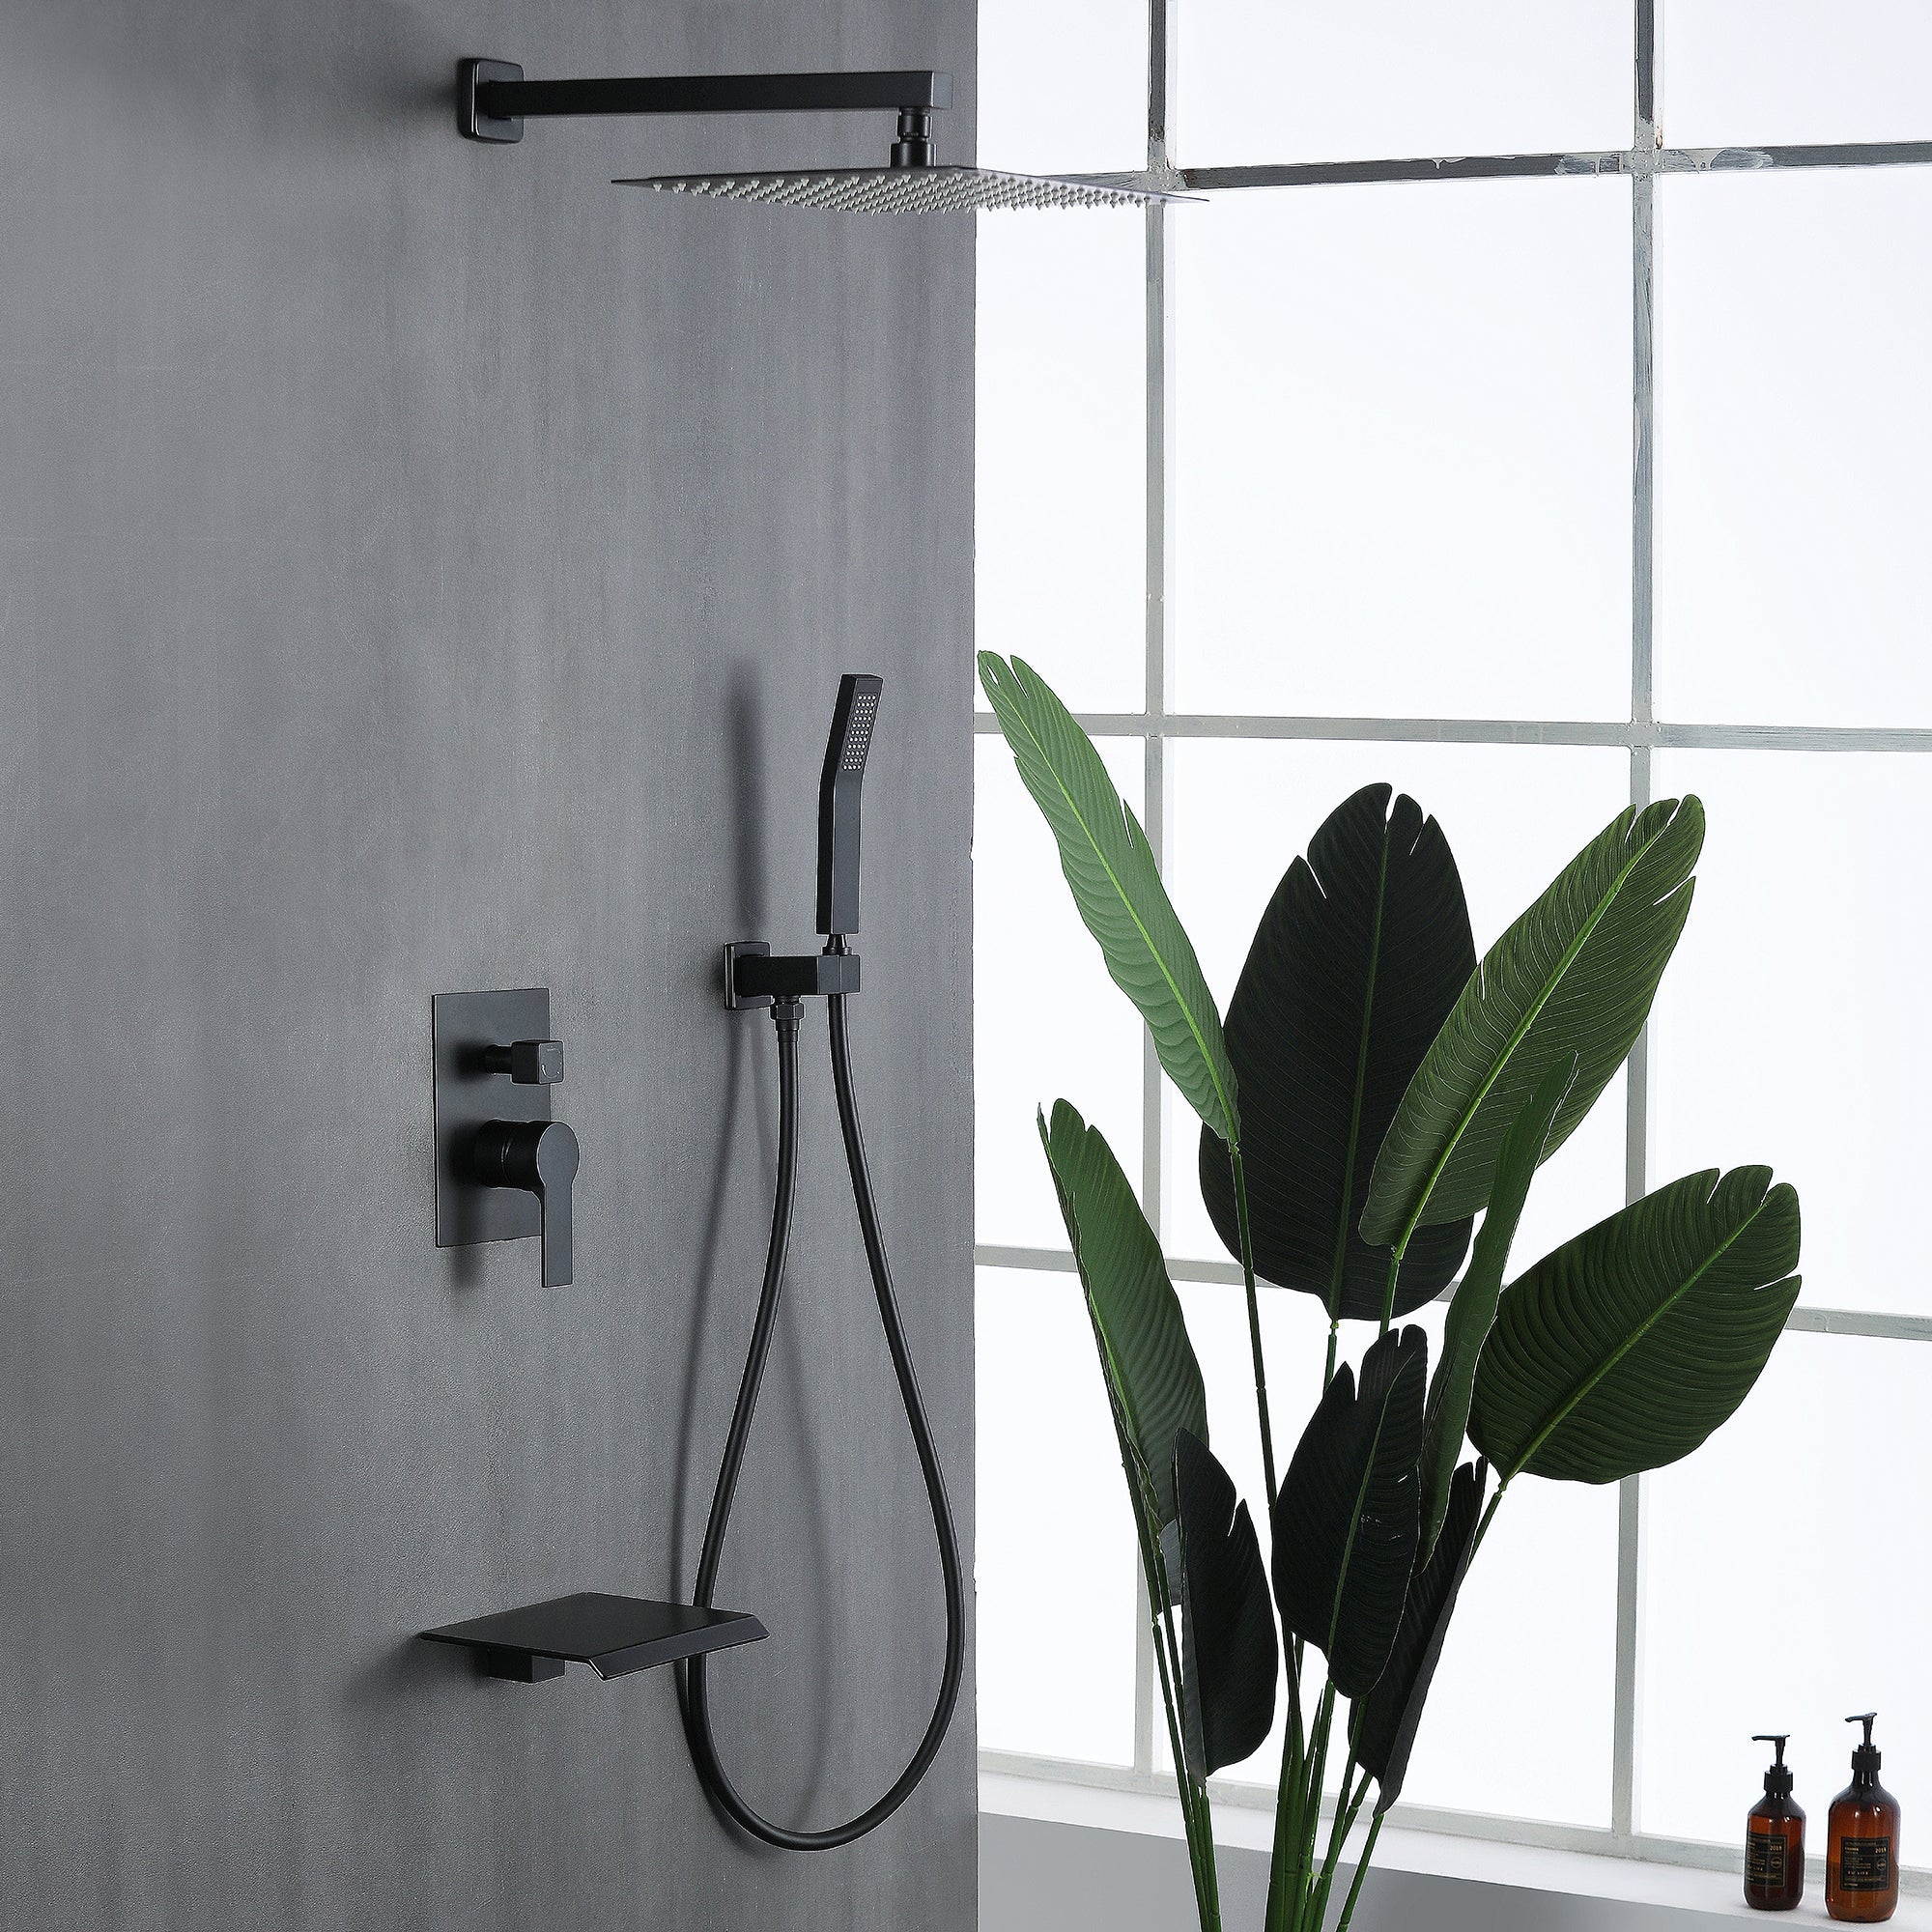
Are you looking to upgrade your shower system or make repairs? Disassembling a shower combination system may seem like a daunting task, but with the right tools and knowledge, it can be a simple process. In this article, we will guide you through the steps of disassembling a shower systems with rain shower and handheld.
Why Disassemble a Shower Combination System?
There are a few reasons why you may need to disassemble your shower combination system. It could be due to a leak, a malfunctioning component, or simply wanting to upgrade to a newer model. Whatever the reason may be, it is important to know how to properly disassemble the system to avoid any damage or complications.
Tools You Will Need
Before you begin disassembling your shower combination system, make sure you have the necessary tools on hand. These may include:
- Adjustable wrench
- Screwdriver
- Pliers
- Allen wrench
- Teflon tape
- Bucket or container
- Towels or rags
Step-by-Step Guide to Disassembling a Shower Combination System
Now that you have your tools ready, let's dive into the step-by-step process of disassembling a shower combination system.
Step 1: Turn Off the Water Supply
Before you begin disassembling anything, it is crucial to turn off the water supply to your shower. This can usually be done by turning off the main water valve in your home. If you are unsure of where this valve is located, consult your home's plumbing diagram or contact a professional plumber for assistance.
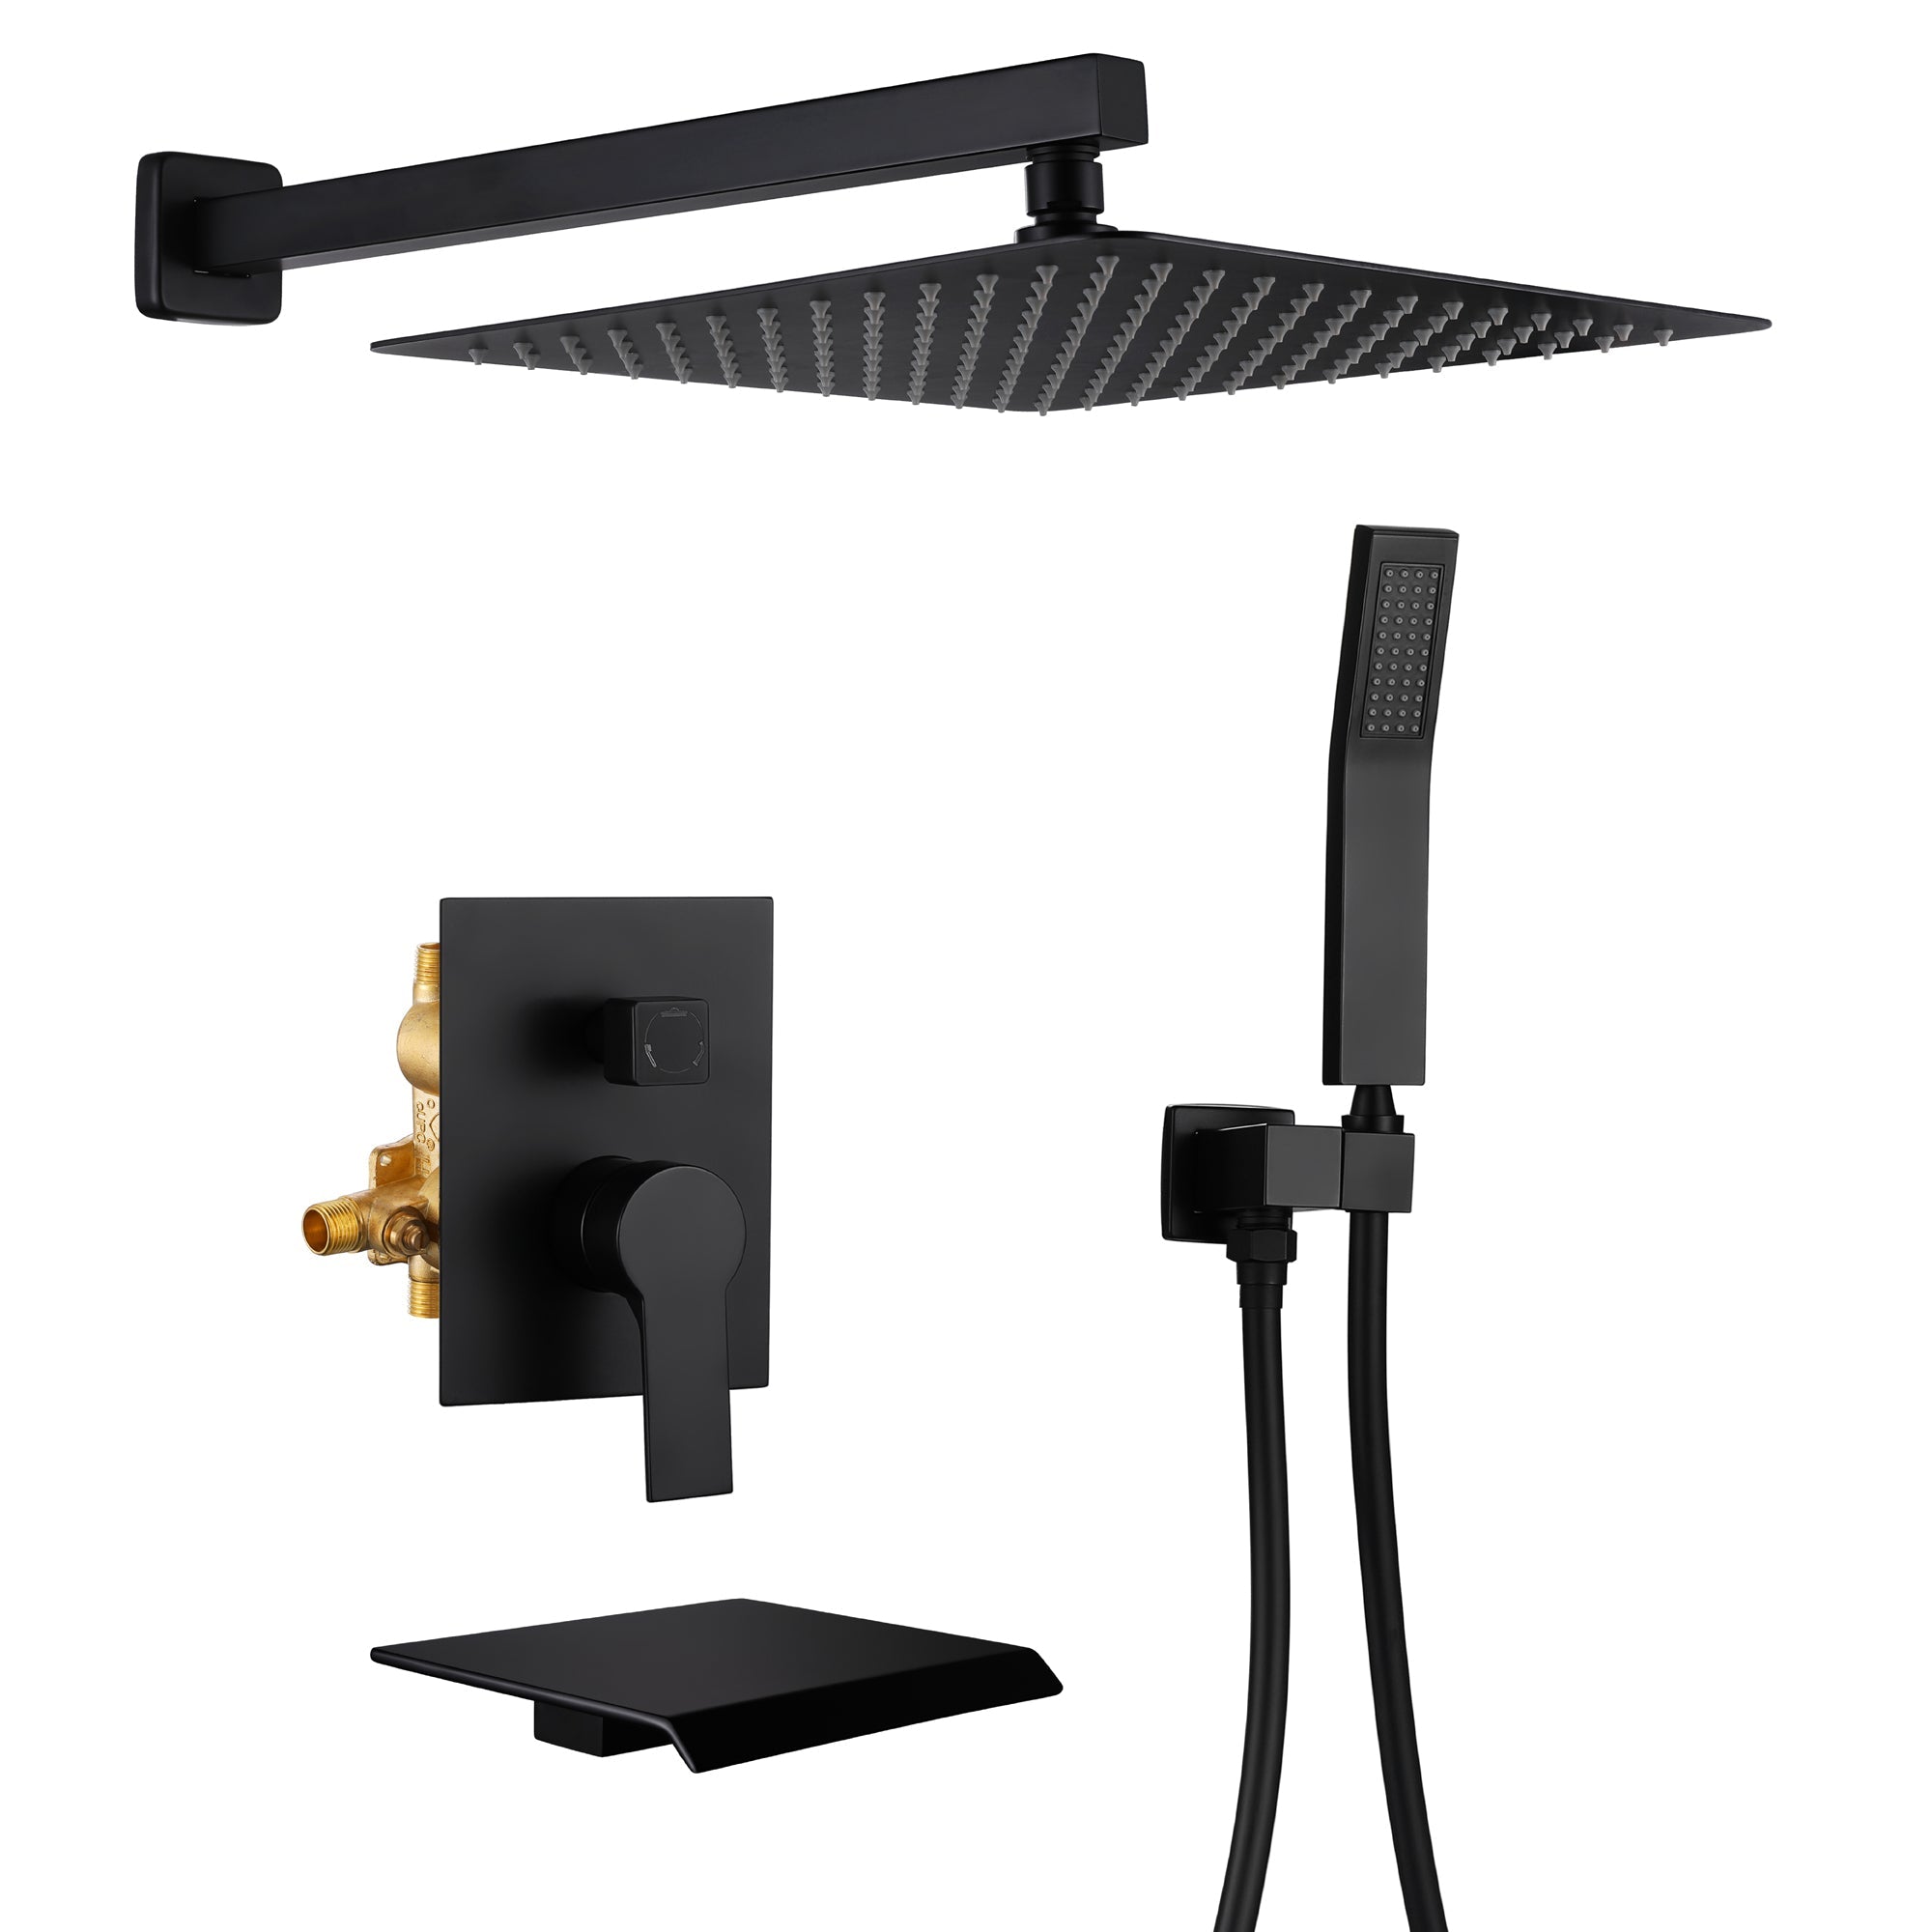
Step 2: Remove the Shower Head
Using an adjustable wrench, loosen and remove the shower head from the shower arm. If the shower head is stuck, you can use pliers to help loosen it. Be sure to place a towel or rag over the shower head to protect it from scratches.
Step 3: Remove the Shower Arm
Next, use an adjustable wrench to loosen and remove the shower arm from the wall. If the shower arm is stuck, you can use pliers to help loosen it. Be sure to place a towel or rag over the shower arm to protect it from scratches.
Step 4: Remove the Handheld Shower Bracket
If your shower combination system includes a handheld component, you will need to remove the handheld shower bracket from the wall. This can usually be done by unscrewing the bracket from the wall with a screwdriver.
Step 5: Remove the Handheld Shower Hose
Using an adjustable wrench, loosen and remove the handheld shower hose from the shower valve. Be sure to place a bucket or container underneath to catch any water that may drip out.
Step 6: Remove the Shower Valve Trim
Using a screwdriver, remove the screws that hold the shower valve trim in place. Once the screws are removed, carefully pull the trim away from the wall. Be sure to place a towel or rag over the shower valve to protect it from scratches.
Step 7: Remove the Shower Valve
Using an adjustable wrench, loosen and remove the shower valve from the wall. Be sure to place a towel or rag over the shower valve to protect it from scratches.
Step 8: Remove the Shower Diverter
If your shower combination system includes a diverter, you will need to remove it from the wall. This can usually be done by unscrewing the diverter from the wall with a screwdriver.
Step 9: Remove the Shower Handle
Using an Allen wrench, loosen and remove the screw that holds the shower handle in place. Once the screw is removed, carefully pull the handle away from the wall.
Step 10: Remove the Shower Escutcheon
Using a screwdriver, remove the screws that hold the shower escutcheon in place. Once the screws are removed, carefully pull the escutcheon away from the wall.
Step 11: Remove the Shower Cartridge
Using pliers, carefully pull the shower cartridge out of the shower valve. Be sure to place a towel or rag over the shower valve to protect it from scratches.
Tips for Disassembling a Shower Combination System

- Take your time and be gentle when removing components to avoid any damage.
- If any components are stuck, use a lubricant such as WD-40 to help loosen them.
- Keep track of the order in which you remove components to make reassembly easier.
- If you are unsure of how to remove a specific component, consult the manufacturer's instructions or contact a professional plumber for assistance.
Disassembling a shower combination system may seem like a daunting task, but with the right tools and knowledge, it can be a simple process. By following the steps outlined in this article, you can safely and effectively disassemble your shower system and make any necessary repairs or upgrades. Remember to always turn off the water supply before beginning any work and to be gentle when removing components to avoid any damage. With these tips and tricks, you can confidently disassemble your shower combination system and achieve your desired results.























Leave a comment
This site is protected by hCaptcha and the hCaptcha Privacy Policy and Terms of Service apply.