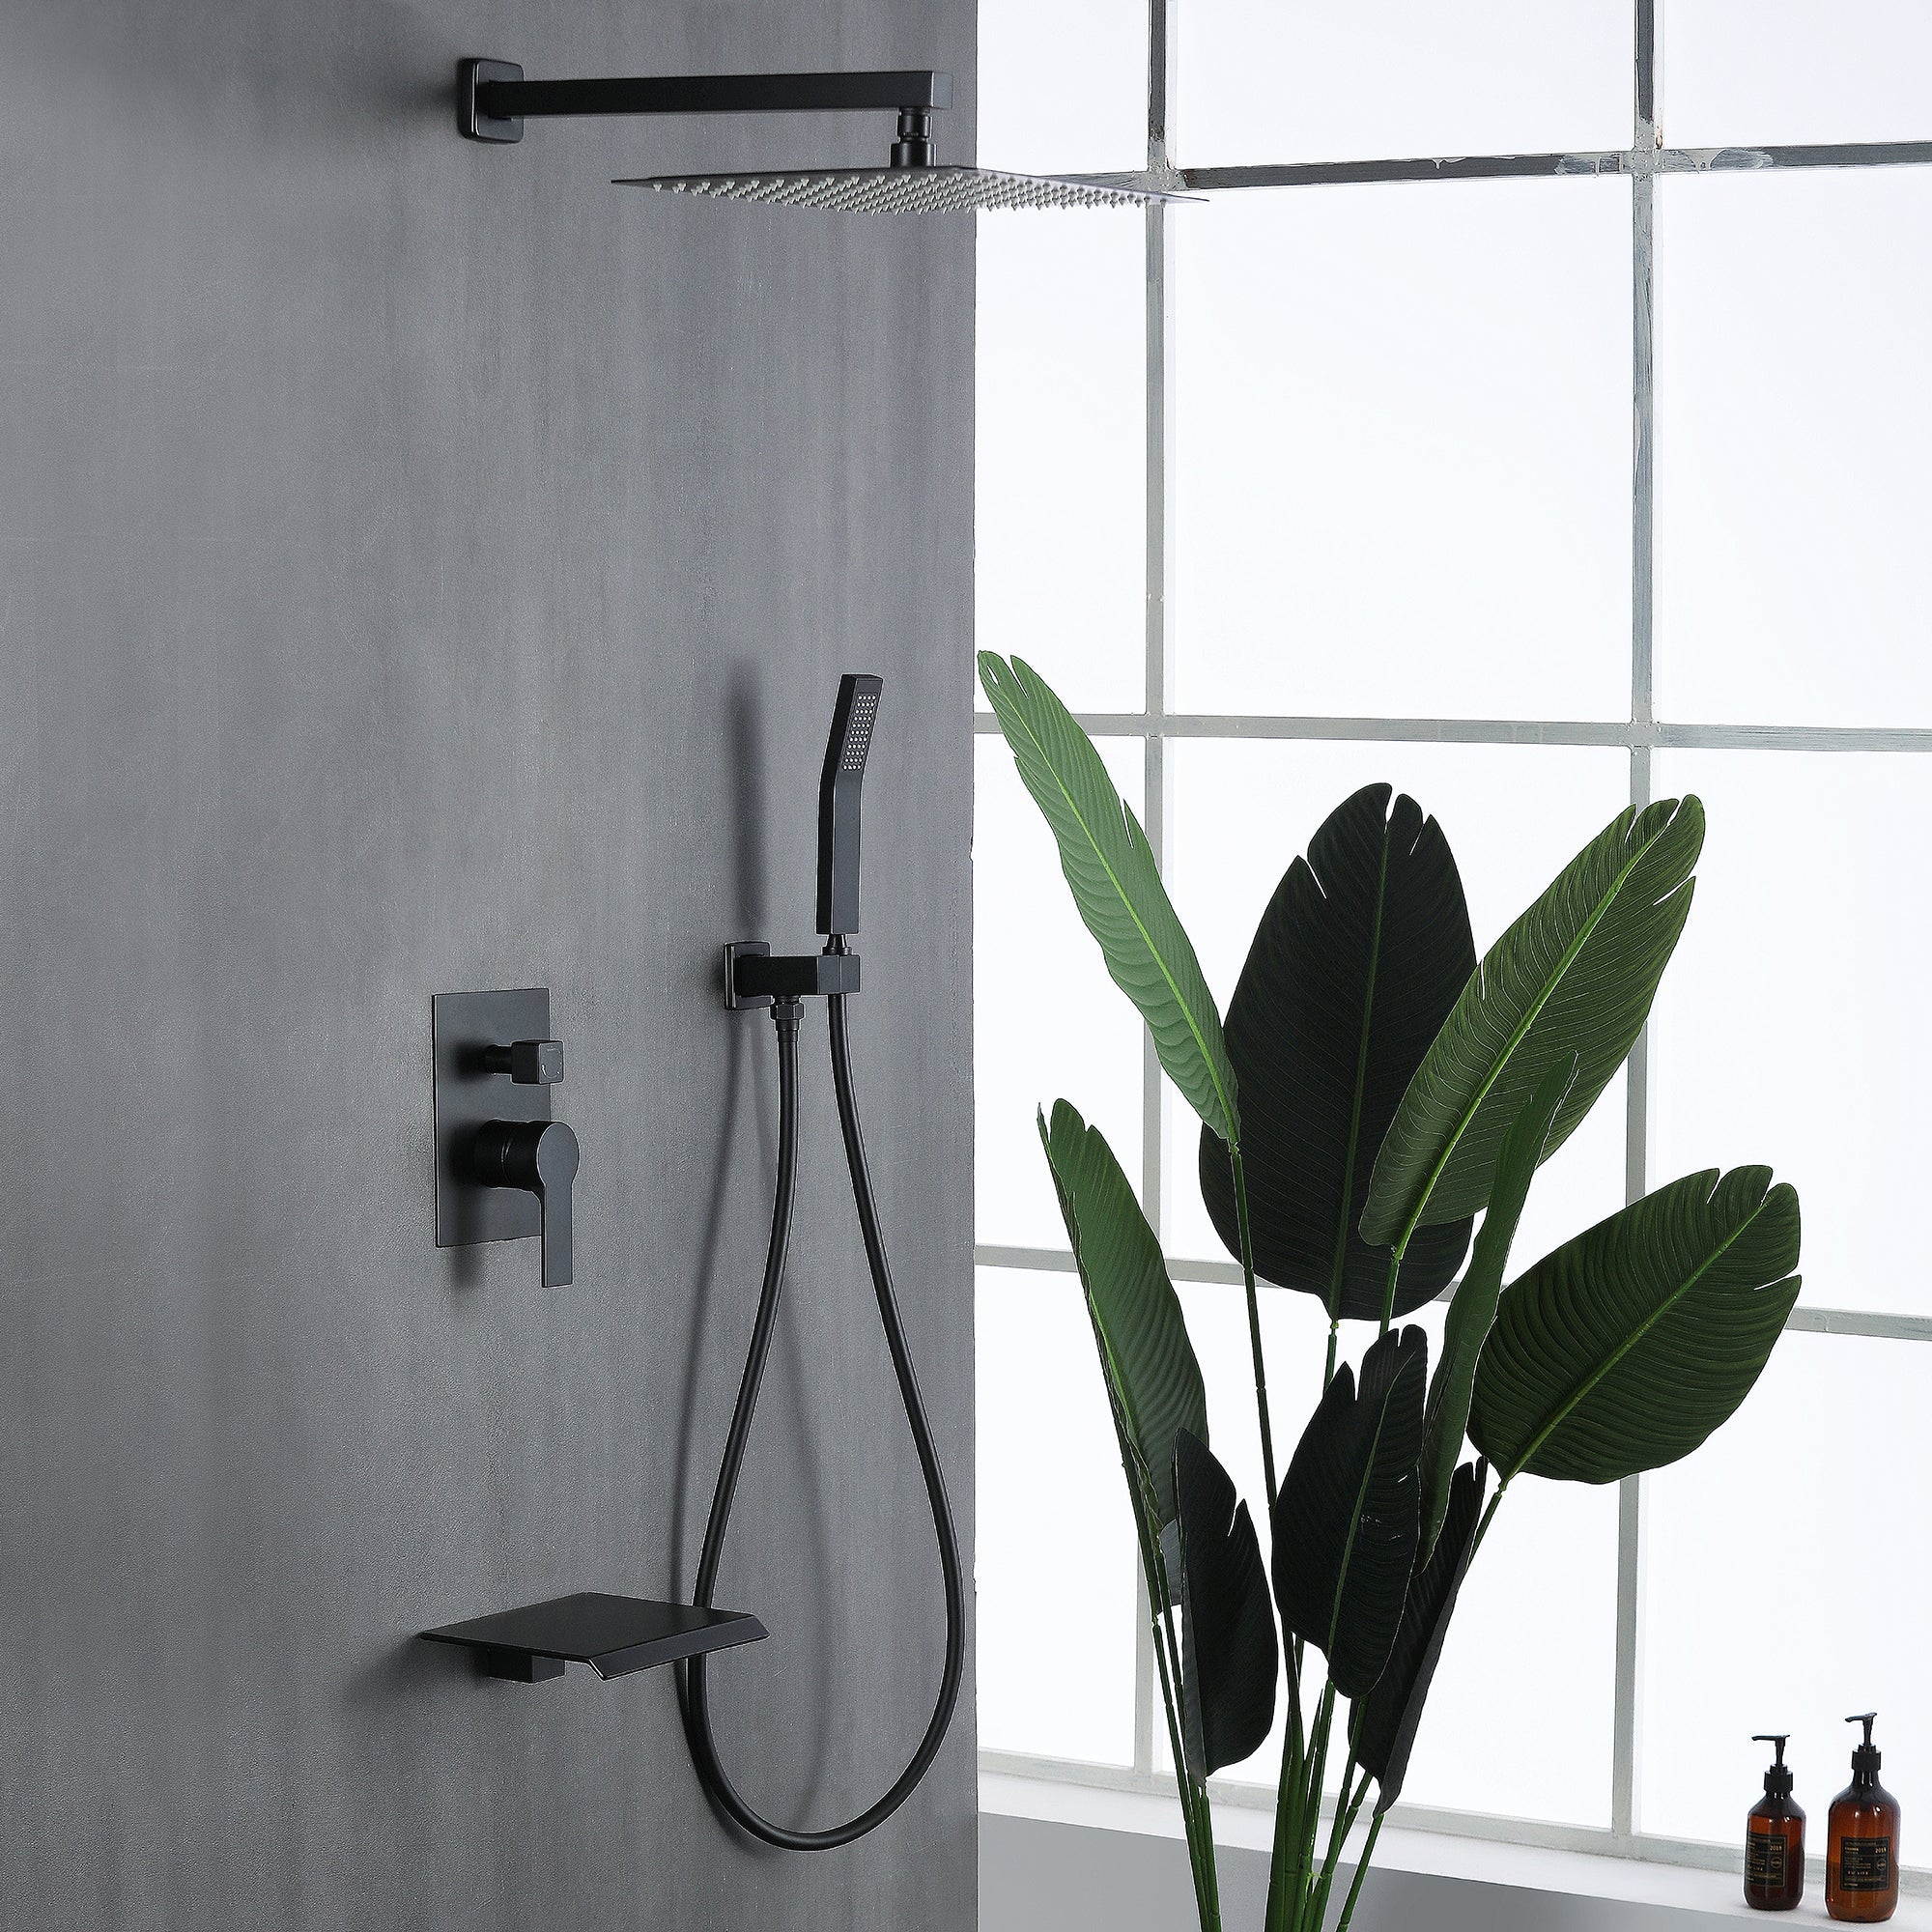
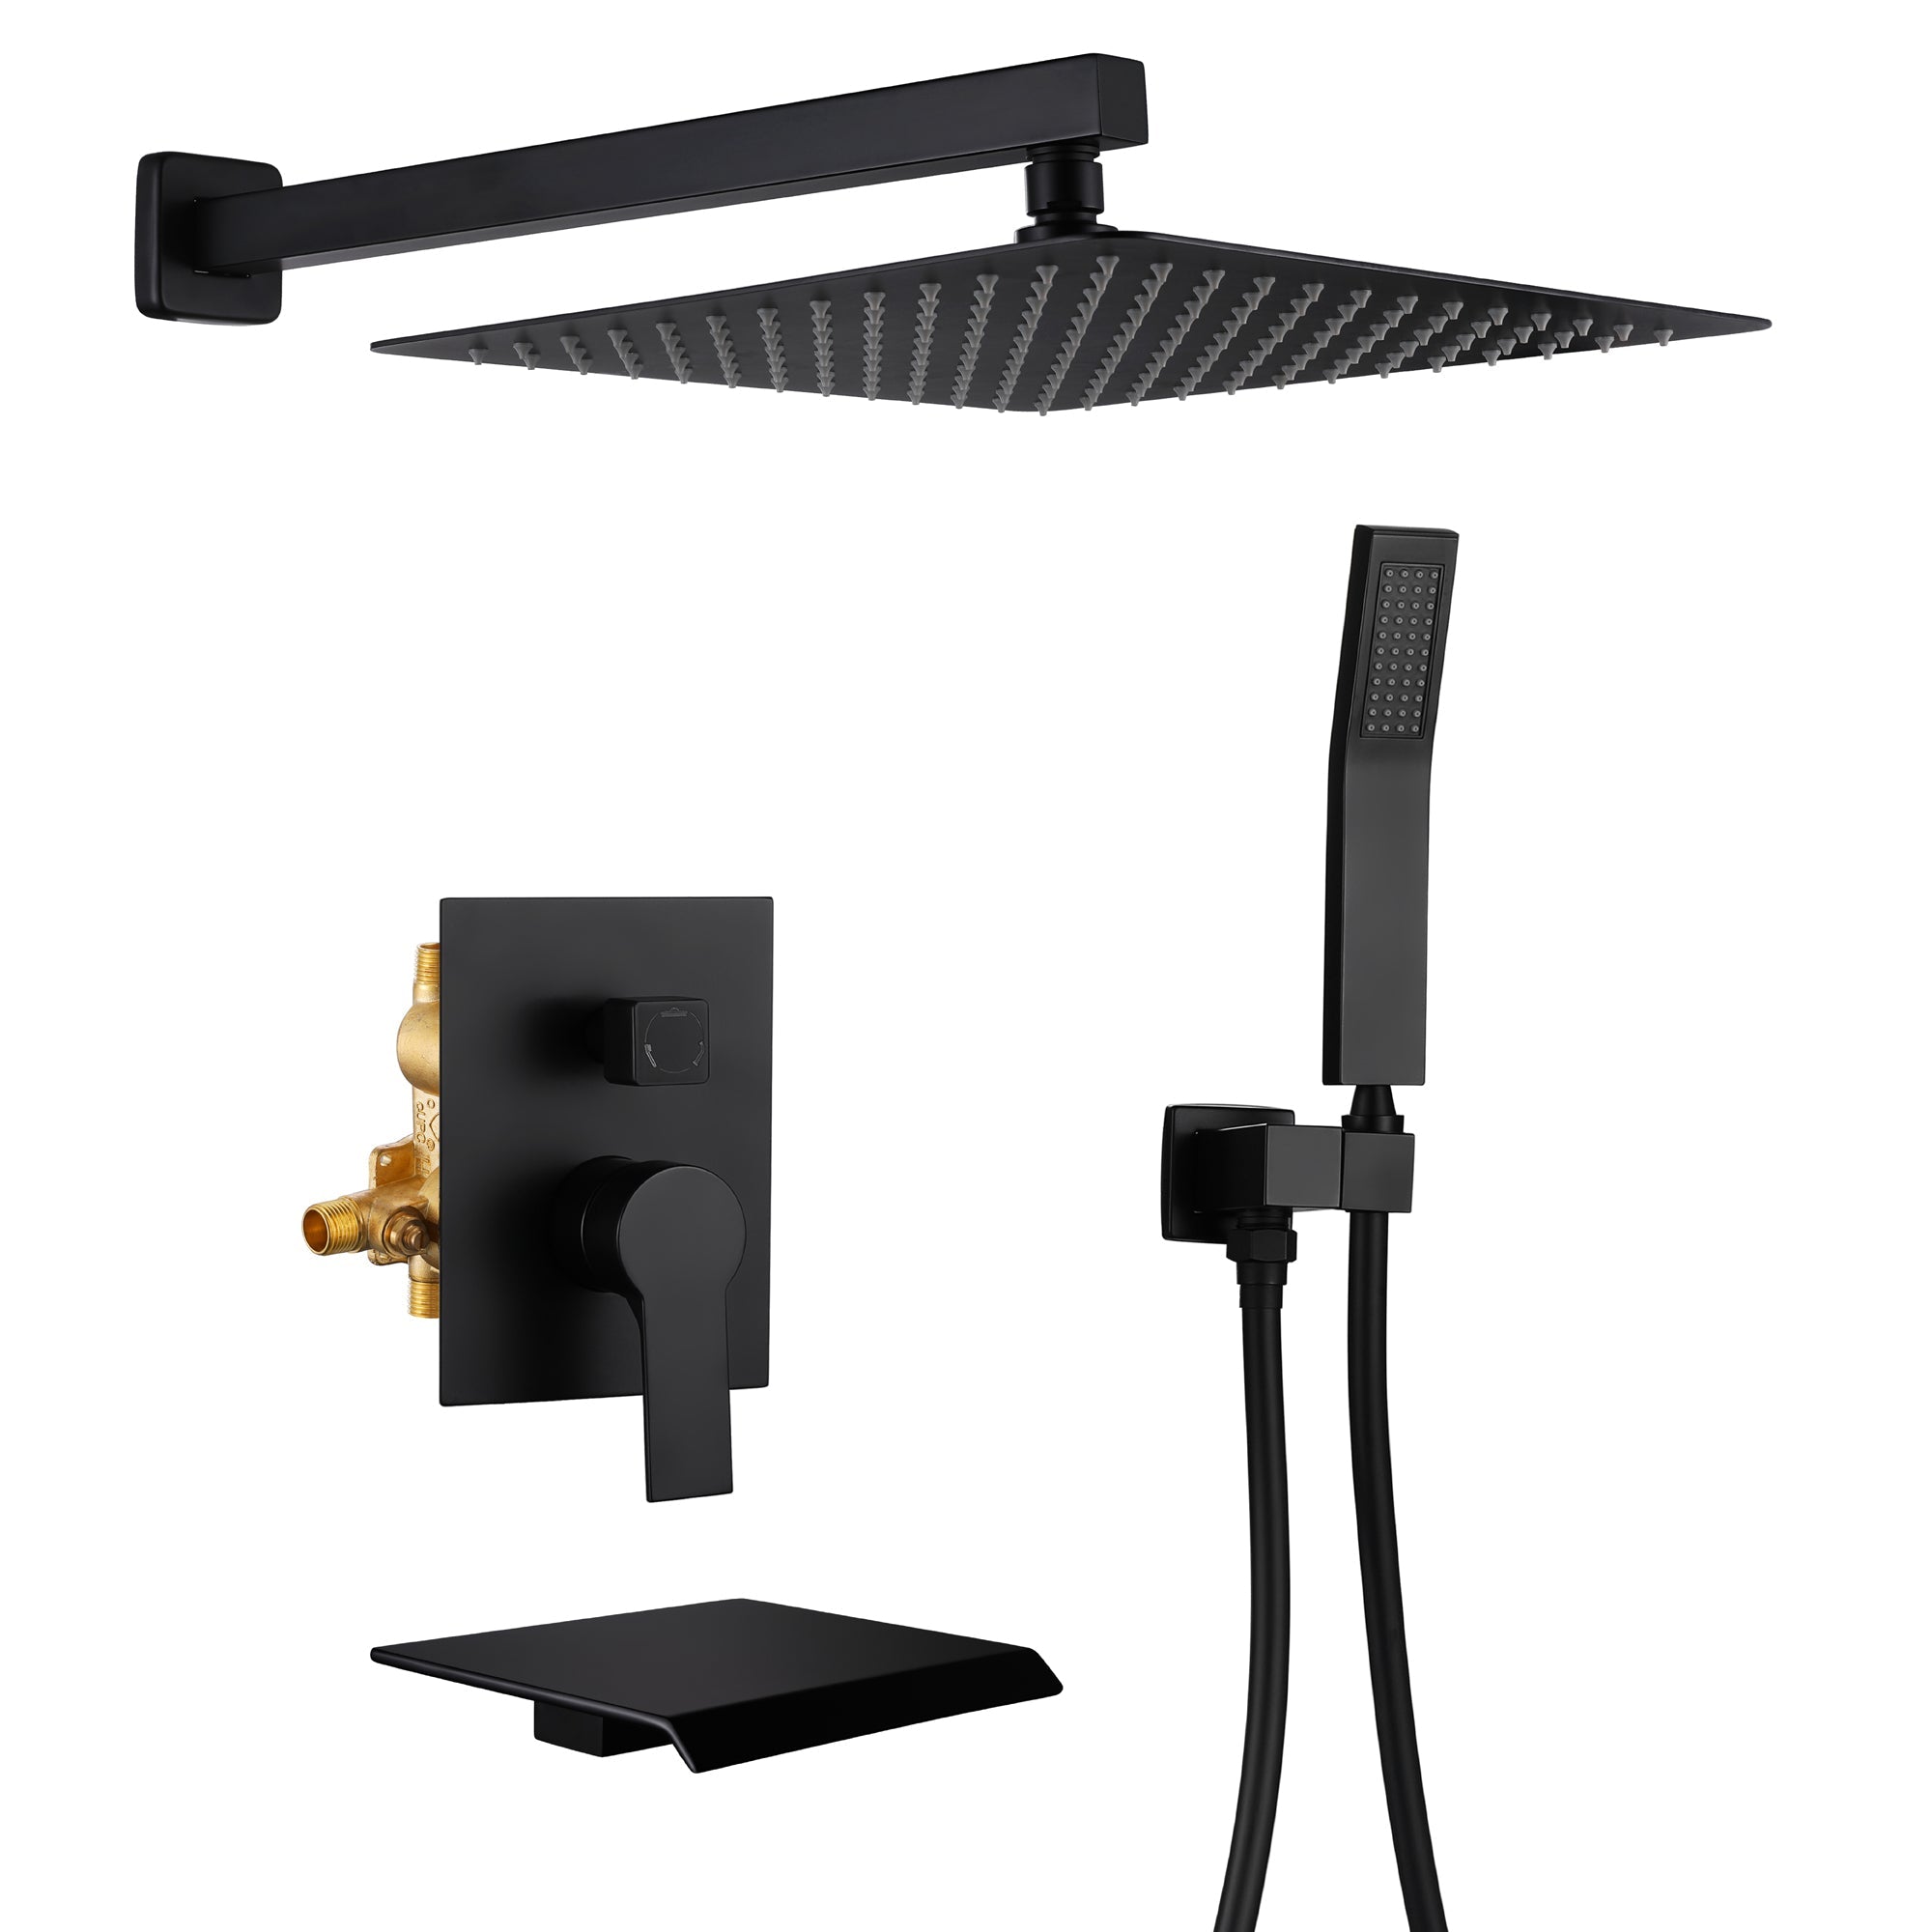
We’ve all been there – you step into the shower, ready for a refreshing blast of water, only to find that your shower head system is barely trickling. It’s frustrating, and often the culprit is mineral buildup clogging your shower heads. Whether you have a simple shower head system, a luxurious dual shower head system, a soothing rain shower head system, or an elaborate multi head shower system, keeping it clean is crucial for optimal performance. Let's dive into some easy and effective ways to clean your shower head system and bring back that invigorating shower experience.
Why Cleaning Your Shower Head System is Important
Before we get into the nitty-gritty, let’s talk about why cleaning your shower head system is essential.
- Improves Water Flow: Mineral deposits can clog the holes in your shower head, reducing water flow and pressure.
- Prevents Bacteria Growth: A dirty shower head can harbor bacteria, which can be harmful to your health.
- Extends Lifespan: Regular cleaning can extend the life of your shower head system, saving you money on replacements.
- Enhances Shower Experience: Clean shower heads ensure a consistent and enjoyable shower experience.
What You’ll Need
Here’s a list of items you’ll need to clean your shower head system:
- White vinegar
- A plastic bag
- Rubber bands or zip ties
- An old toothbrush or small cleaning brush
- Baking soda (optional)
- A soft cloth
- A wrench (if you need to remove the shower head)
Step-by-Step Guide to Cleaning Your Shower Head System
Now, let's get to the fun part! Cleaning your shower head system might sound like a chore, but with these simple steps, it’ll be a breeze.
Step 1: Remove the Shower Head
If possible, remove the shower head from the shower arm. This can make the cleaning process easier. Use a wrench to carefully unscrew the shower head. Place a cloth around the fixture to prevent scratches.
Step 2: Soak in Vinegar
Fill a plastic bag with white vinegar and submerge the shower head in it. Secure the bag with a rubber band or zip tie and let it soak for at least an hour. For tougher buildup, let it soak overnight. If you have a rain shower head system or a multi head shower system, you might need multiple bags or a large container.
Step 3: Scrub Away Deposits
After soaking, remove the shower head and use an old toothbrush to scrub away any remaining mineral deposits. Pay special attention to the nozzle holes where buildup is most common.
Step 4: Rinse and Reinstall
Rinse the shower head thoroughly with water to remove any vinegar and loosened deposits. If you removed the shower head, screw it back onto the shower arm, using a cloth to protect the fixture as you tighten it with a wrench.
Step 5: Clean the Fixed Parts
For parts of the shower head system that you couldn’t remove, like a fixed rain shower head or multi head shower system, fill a plastic bag with vinegar and secure it around the shower head, ensuring it’s fully submerged. Follow the same soaking and scrubbing steps.
Step 6: Flush the System
Turn on the shower and let hot water run through the system for a few minutes. This will help flush out any remaining debris and ensure everything is clean and flowing smoothly.
Extra Tips for a Sparkling Clean Shower Head System
- Regular Maintenance: Make cleaning your shower head system a part of your regular bathroom cleaning routine. A monthly vinegar soak can prevent buildup.
- Baking Soda Boost: For an extra cleaning boost, add a tablespoon of baking soda to the vinegar. This combination creates a fizzing action that helps break down tough deposits.
- Check the Filters: Some advanced shower head systems have built-in filters. Check and clean or replace these filters regularly to maintain optimal water flow.
- Soft Cloth Wipe Down: After each use, wipe down your shower heads with a soft cloth to remove water spots and soap scum.
Specific Tips for Different Types of Shower Head Systems
- Dual Shower Head System: Ensure both heads are cleaned. If one head is detachable and the other is fixed, use the bag method for the fixed head and soak the detachable one in a container.
- Rain Shower Head System: Since these are often large and fixed, be thorough with the bag method. Ensure the entire head is submerged in vinegar.
- Multi Head Shower System: Clean each head individually. Use multiple bags if necessary, and ensure all parts are soaked and scrubbed.
Troubleshooting Common Issues
Even with regular cleaning, you might encounter a few issues. Here’s how to troubleshoot them:
- Low Water Pressure: If cleaning doesn’t improve water pressure, check for blockages in the pipes or contact a plumber.
- Uneven Spray: Ensure all nozzles are clear. Use a pin or needle to unclog any stubborn holes.
- Persistent Buildup: For areas with hard water, consider installing a water softener to reduce mineral deposits.
When to Replace Your Shower Head System

Even with the best care, shower heads don’t last forever. If you notice cracks, persistent leaks, or if the cleaning methods don’t restore performance, it might be time for a new shower head system. Investing in a high-quality shower head can make a world of difference in your daily routine.
Conclusion
Cleaning your shower head system doesn’t have to be a daunting task. With a little effort and some common household items, you can keep your shower heads sparkling clean and functioning at their best. Whether you have a simple shower head, a dual shower head system, a rain shower head system, or a multi head shower system, regular maintenance is key to a great shower experience. So, grab that vinegar and toothbrush, and let’s get cleaning. Your refreshed, invigorating shower awaits!







































Leave a comment
This site is protected by hCaptcha and the hCaptcha Privacy Policy and Terms of Service apply.