


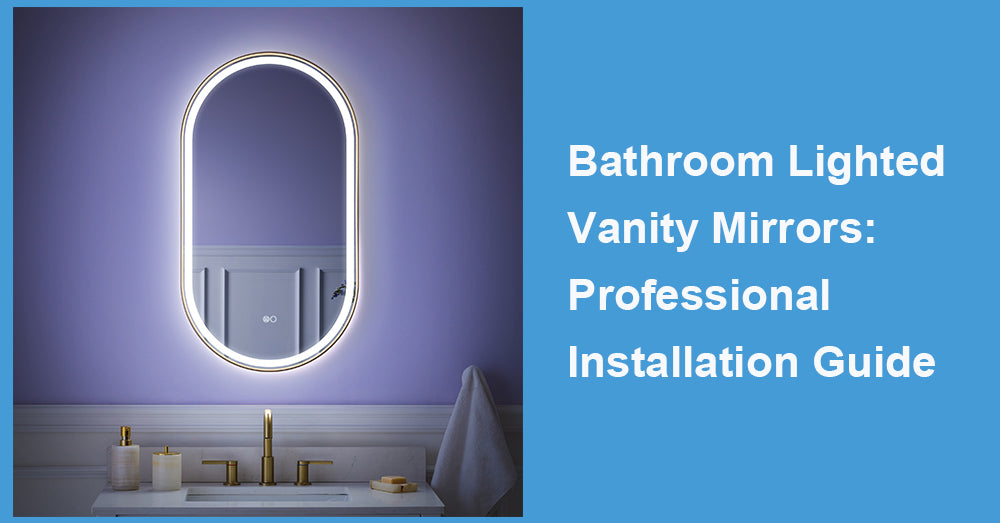
With the right lighted magnifying mirror, you can make your daily activities in the bathroom more efficient, convenient, and aesthetically fulfilling. You can apply makeup, shave, or do your hair while looking into the bathroom lighted vanity mirrors which enhances the bathroom’s beauty. The lighted vanity mirrors come with a lot of benefits but only if they are properly installed. This guide has been put together so that you can access everything required for installation in a single document. The intent of this document is to assist all types of homeowners whether
DIY enthusiasts or those preferring professional help. This document prepares you for every stage of the process with relevant instruction.
Why Choose Bathroom Lighted Vanity Mirrors?
Before we discuss the installation details, let's first discuss why bathroom-lighted vanity mirrors are a great choice.
1. Improved Lighting:
· The built-in LED lights ensure even and bright lighting.
· They eliminate harsh shadows, helping you see yourself.
2. Stylish Design:
· Lighted mirrors bring a modern touch to any bathroom decor.
· They're versatile and come in various shapes, sizes, and finishes to suit any style.
3. Energy Efficient:
· Many of these mirrors use LED lighting, which is energy-efficient and long-lasting.
· Over time, they can help reduce your energy consumption.
4. Multi-Functional:
· Some models include anti-fog technology, dimmable lights, and Bluetooth speakers.
Now that we know the "why," let's learn the "how."
Tools and Materials You'll Need
Before starting the installation, gather the necessary tools and materials. Here's your checklist to ensure a smooth process:
· Measuring tape
· Level
· Pencil
· Screwdriver (electric or manual)
· Drill with a masonry bit
· Wall anchors or studs
· Circuit tester
· Wire connectors
· Mounting hardware (usually included with the mirror)
· Gloves and safety goggles
For Wellfor bathroom lighted vanity mirrors, all required hardware is typically included in the package, making the process more convenient.

Preparations Before Installation
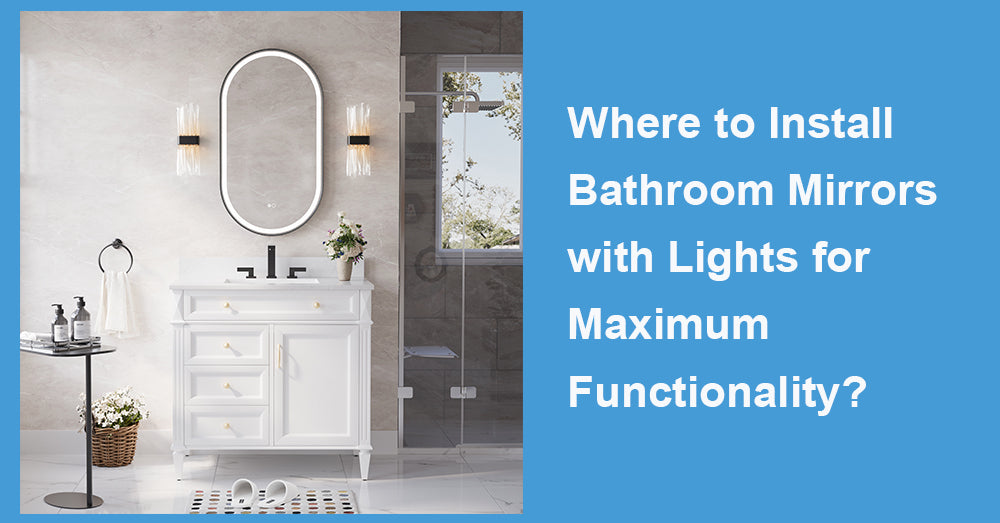
1. Determine the Ideal Placement
Positioning is crucial to ensure both functionality and aesthetics. Here's what to consider:
· Height: The mirror should be at eye level for the main bathroom users. A standard guideline is to install the mirror with its center about 60 inches from the floor.
· Space: Ensure the mirror is centered above the vanity. Leave at least 2-3 inches of space on each side for a balanced look.
· Lighting Fixtures: If existing light fixtures exist, your lighted mirror might replace or complement them.
2. Check Electrical Access
Bathroom-lighted vanity mirrors require a power connection. Some plug into a nearby outlet, while others require hardwiring. For hardwire installations, ensure an electrical junction box is accessible behind the wall where the mirror will sit.
Pro Tip: Always turn off the power supply at the circuit breaker before handling electrical connections. Safety first!
3. Prep the Wall
· Clean the installation area for better adhesion and a secure mount.
· If the wall surface is uneven, consider spackling and sanding it before proceeding.
Step-by-Step Installation Guide
Step 1: Unboxing and Inspection
Carefully unbox your lighted vanity mirror and inspect it for damages or missing parts. If you've chosen a Wellfor LED lighted mirror, ensure the package contains mounting brackets, cord, and other components for easy setup.
Step 2: Mark the Mounting Points
· Hold the mirror against the wall at the desired location. Use a pencil to mark the mounting holes.
· Double-check the alignment using a level to ensure the mirror sits straight.
Step 3: Install Mounting Brackets
· If wall studs are located where the mirror will hang, you can screw directly into them.
· If not, use wall anchors for extra support, particularly for heavier mirrors.
· Attach the mounting brackets to the wall using screws and anchors. Please ensure they are secure enough to support the mirror's weight.
Step 4: Electrical Connection (Hardwired Mirrors)
For hardwired bathroom lighted vanity mirrors, professional assistance is recommended. If you're confident in your electrical skills, follow these steps carefully:
1. Use a circuit tester to ensure the power is off.
2. Connect the mirror's wiring to the house wiring by matching the colors (black for live, white for neutral, and green for ground).
3. Secure the connections with wire connectors and tuck them into the electrical box.
4. Screw the mirror's backplate into the wall bracket.
Note: If you're unsure about the electrical aspect, hire a licensed electrician to complete the wiring process safely.
Step 5: Attach the Mirror
Once the hardwired connections or plug-ins are done, carefully lift the mirror and mount it onto the brackets. Ensure it's firmly secured and sits flush against the wall.
Step 6: Test the Lighting
· Restore the power and switch on the lights.
· Adjust settings, such as brightness or color temperature, if your mirror has these options.
Maintenance Tips for Bathroom Lighted Vanity Mirrors
Once installed, proper care will ensure your lighted vanity mirror remains functional and attractive for years. Here are some tips:
· Cleaning: Use a soft, damp cloth and a mild non-abrasive cleaner. Avoid spraying directly onto the LED lights.
· Inspect Wiring: Check the electrical connections periodically, especially for hardwired mirrors.
· Avoid Overloading: If your mirror has additional features like a Bluetooth speaker, don’t run them for extended periods to prevent overheating.
· Prevent Water Damage: Avoid directing water towards the mirror as it could compromise its electrical components over time.
Why Choose a Wellfor Lighted Vanity Mirror?
If quality and style are at the top of your priority list, Wellfor lighted vanity mirrors have exemplary design coupled with advanced features. They are well-suited for contemporary homes, offering anti-fog technology, dimmable LED lights, and convenient installation kits. Moreover, Wellfor is renowned for its exceptional build quality, providing enduring value.
Should You Hire a Professional?
While installing a bathroom lighted vanity mirror can be a satisfying DIY project, there are cases where hiring a professional is a smart move:
· If you’re not confident handling electricity.
· If additional wiring or a new junction box is required.
· If the mirror is particularly large or heavy.
A professional will have the expertise to ensure everything is installed safely and efficiently, saving you time and trouble.
Final Thoughts
Upgrading your bathroom with a lighted vanity mirror enhances your critical functions and improves critically intergraded aesthetic. This article provides simple steps to add lighted mirrors to your bathroom, empowering you to enjoy the results of an easy-install glow.
In case you were thinking of buying a vanity mirror from Wellfor, rest assured of quality and style. You do not need to locus yourself on functional bathrooms when they can be appealing as well.


Leave a comment
This site is protected by hCaptcha and the hCaptcha Privacy Policy and Terms of Service apply.