


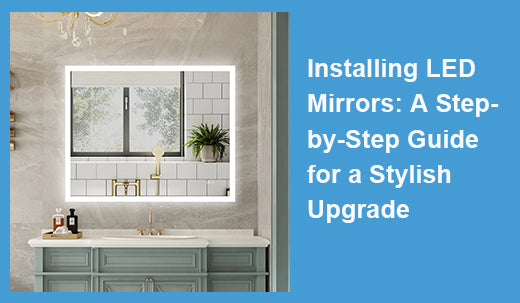
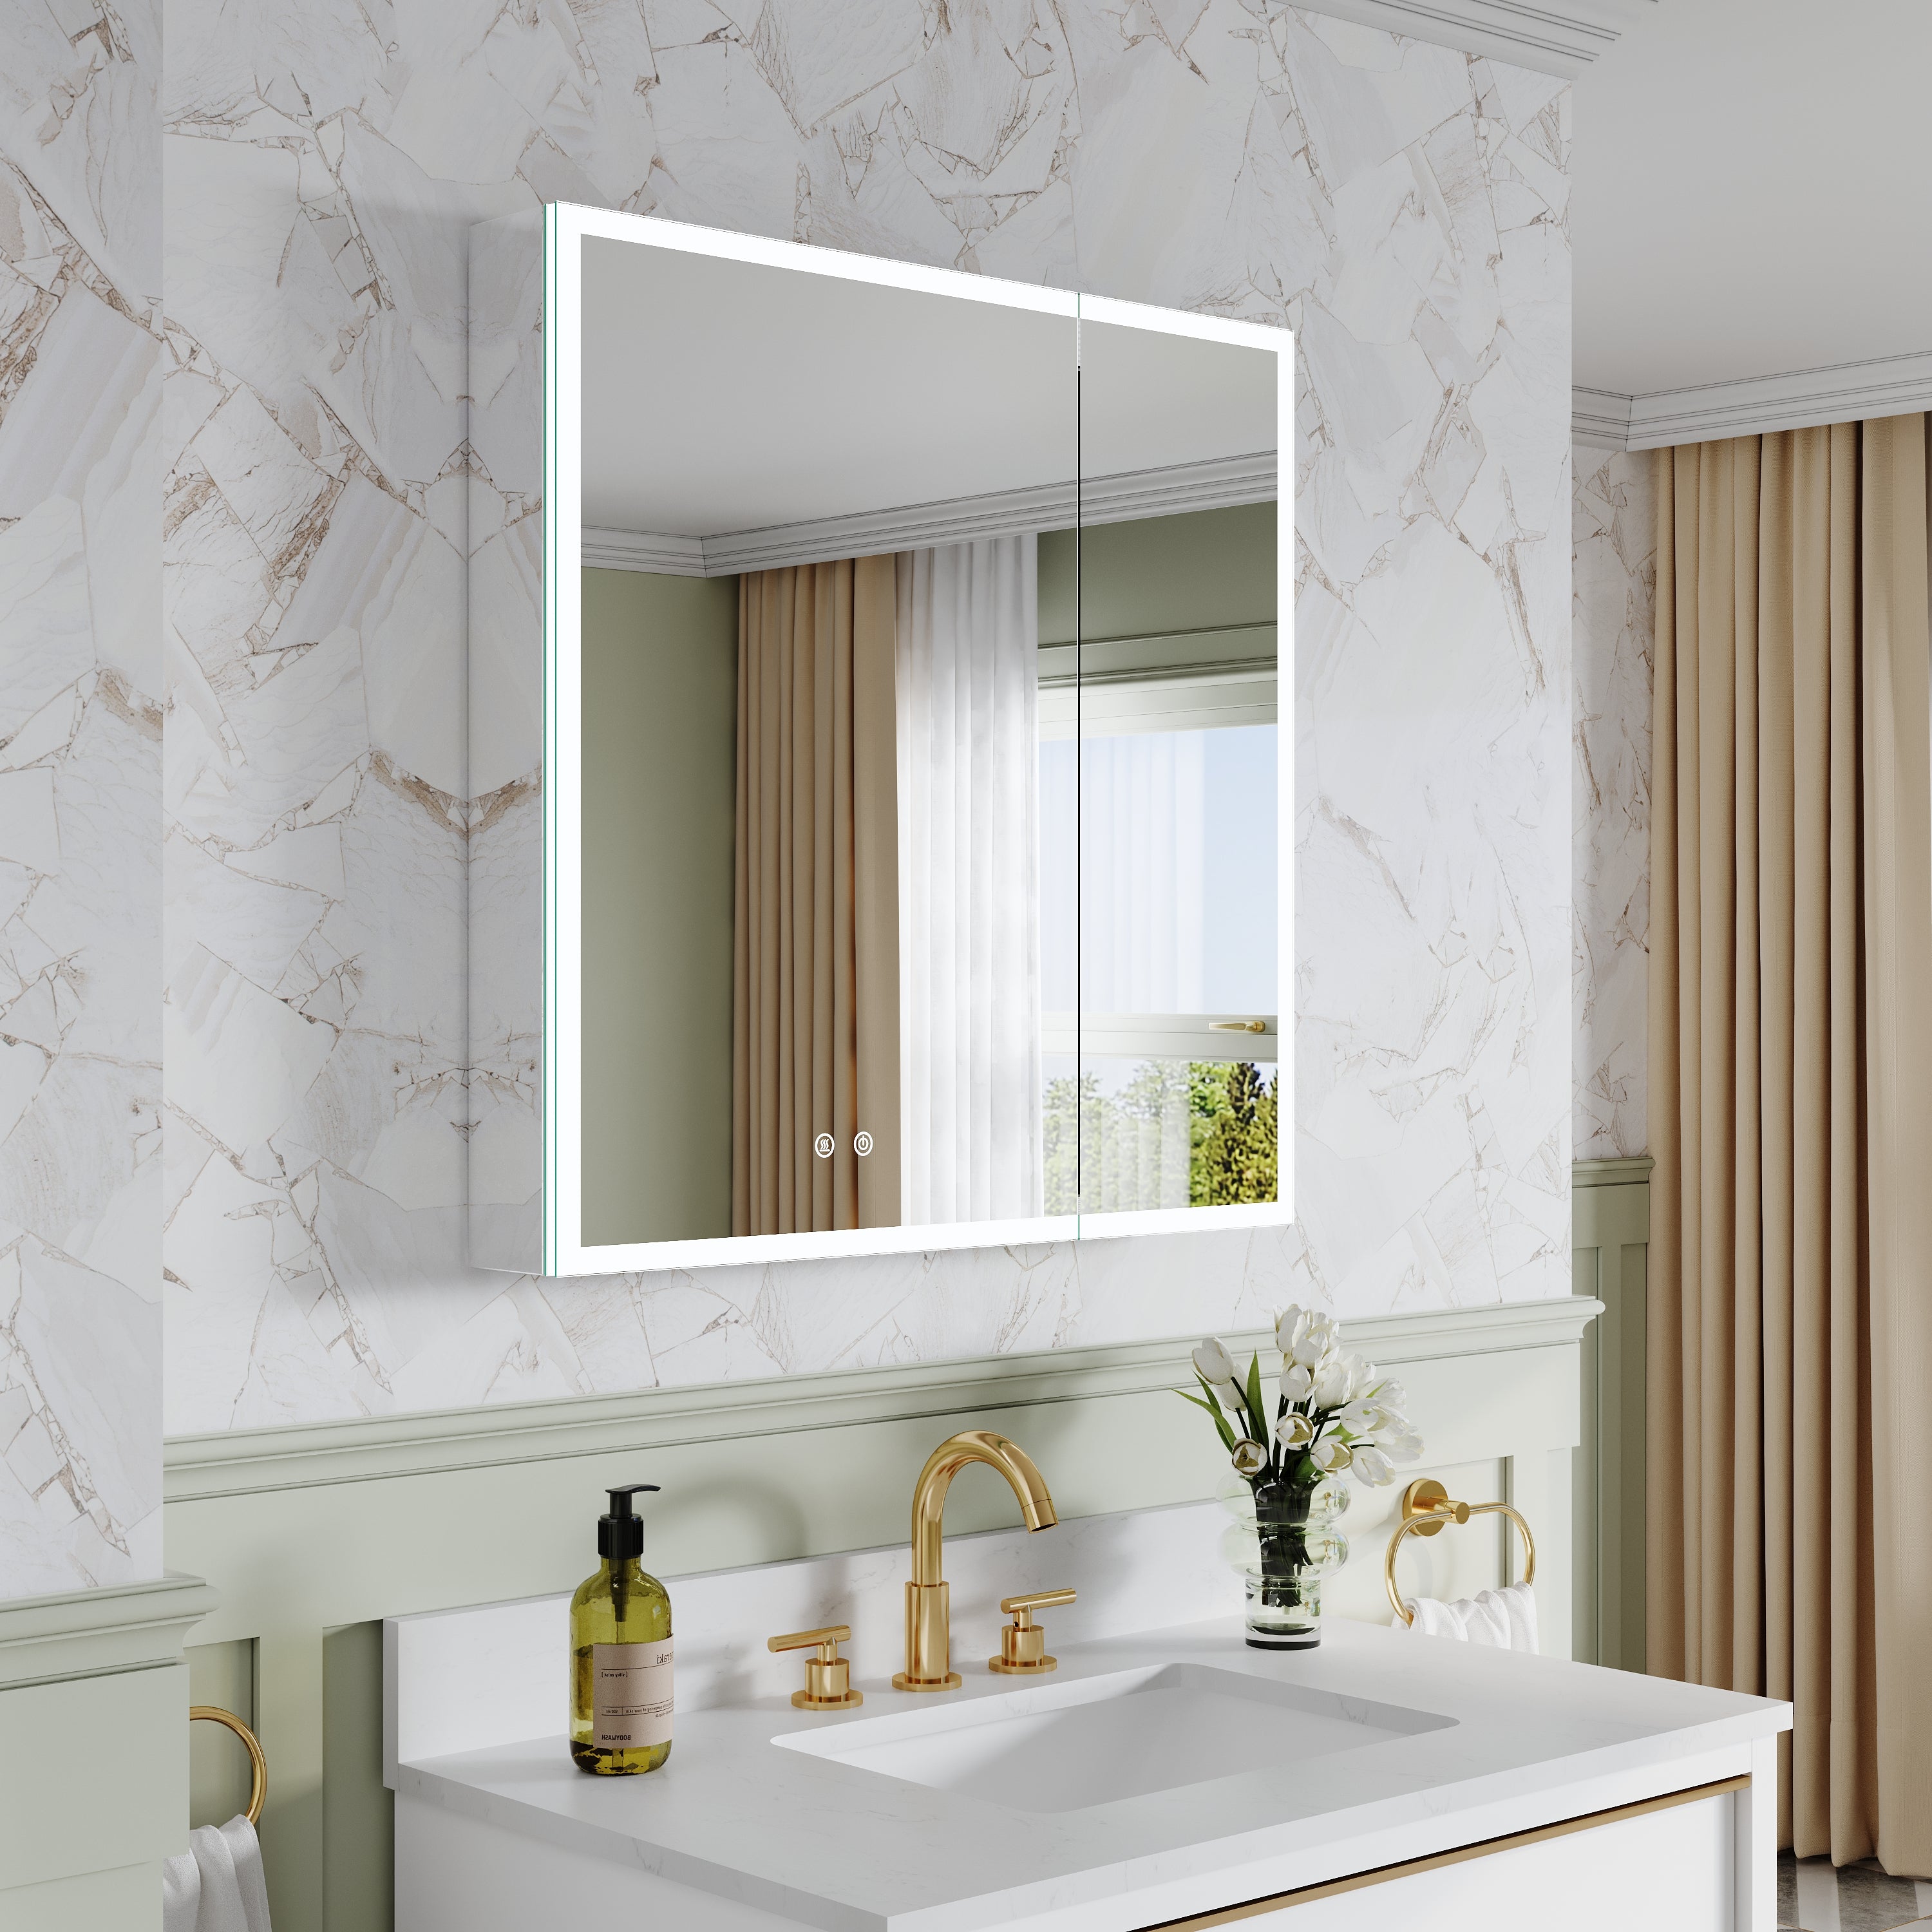
Are you looking to add a touch of modern elegance to your bathroom or vanity area? Consider installing LED mirrors. These backlit mirrors not only provide functional lighting, but they also add a sleek and stylish touch to any space.
In this step-by-step guide, we'll walk you through the process of installing LED mirrors and give you tips for choosing the right design for your space.

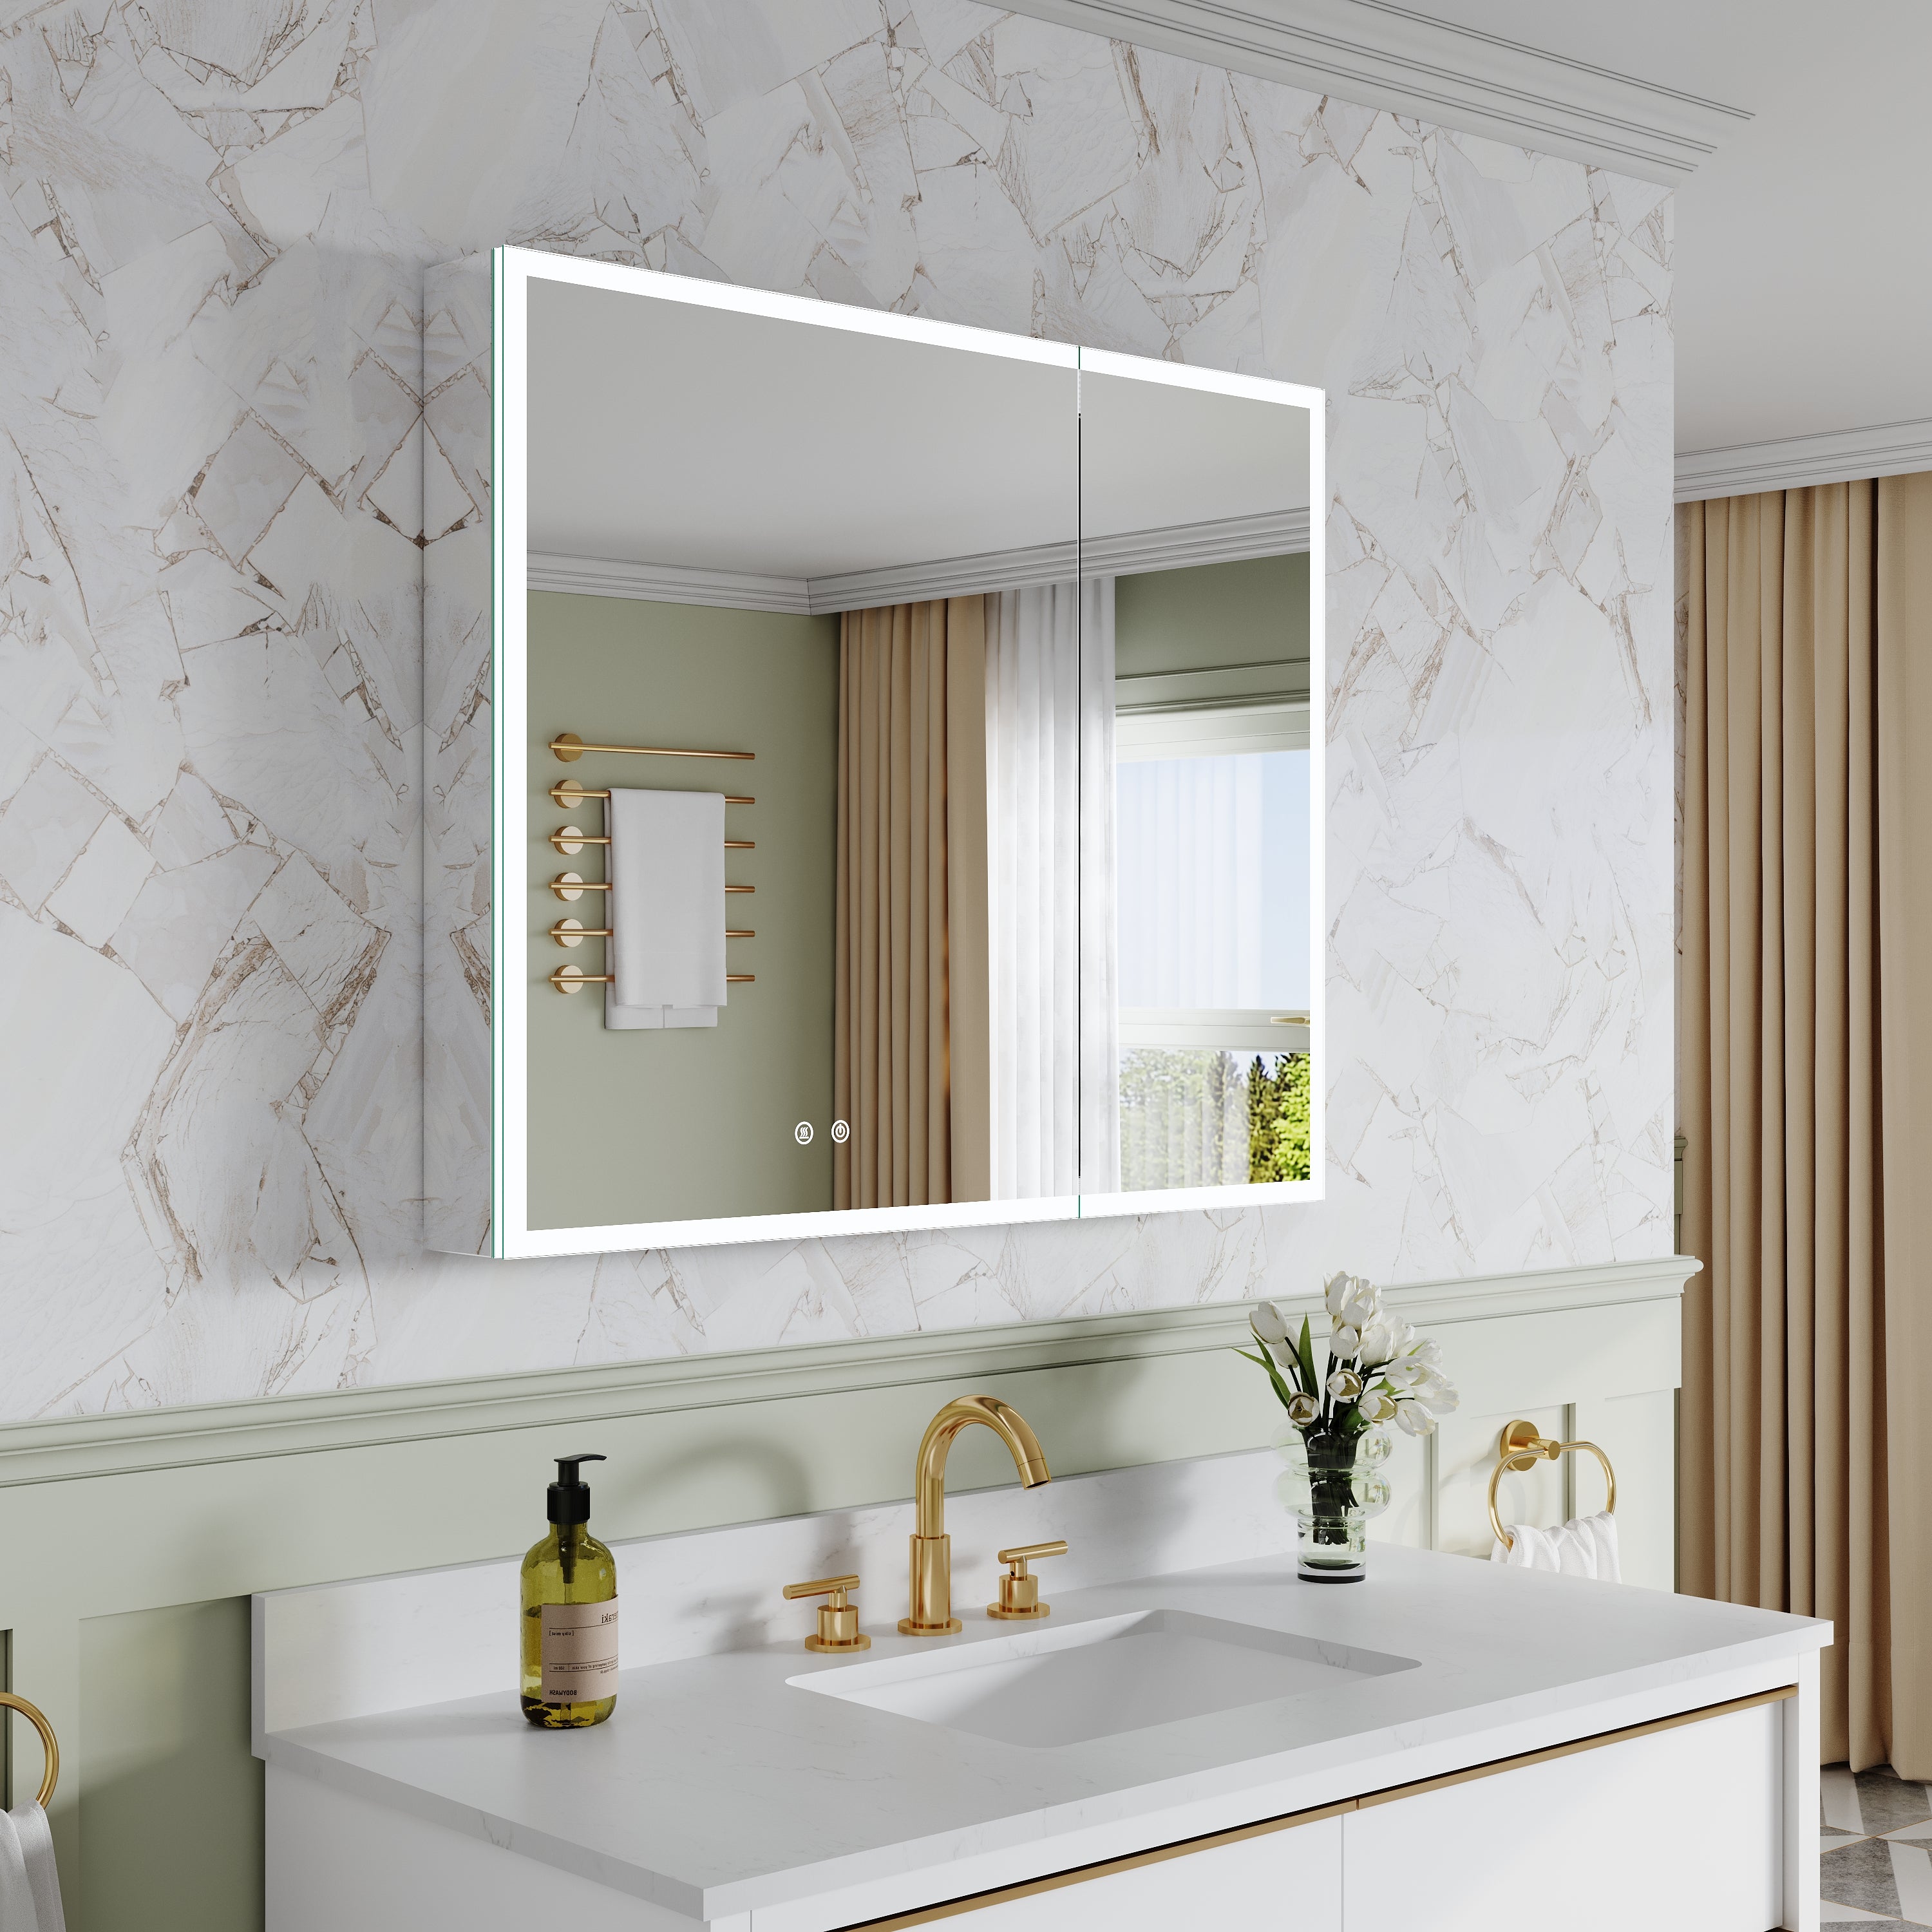
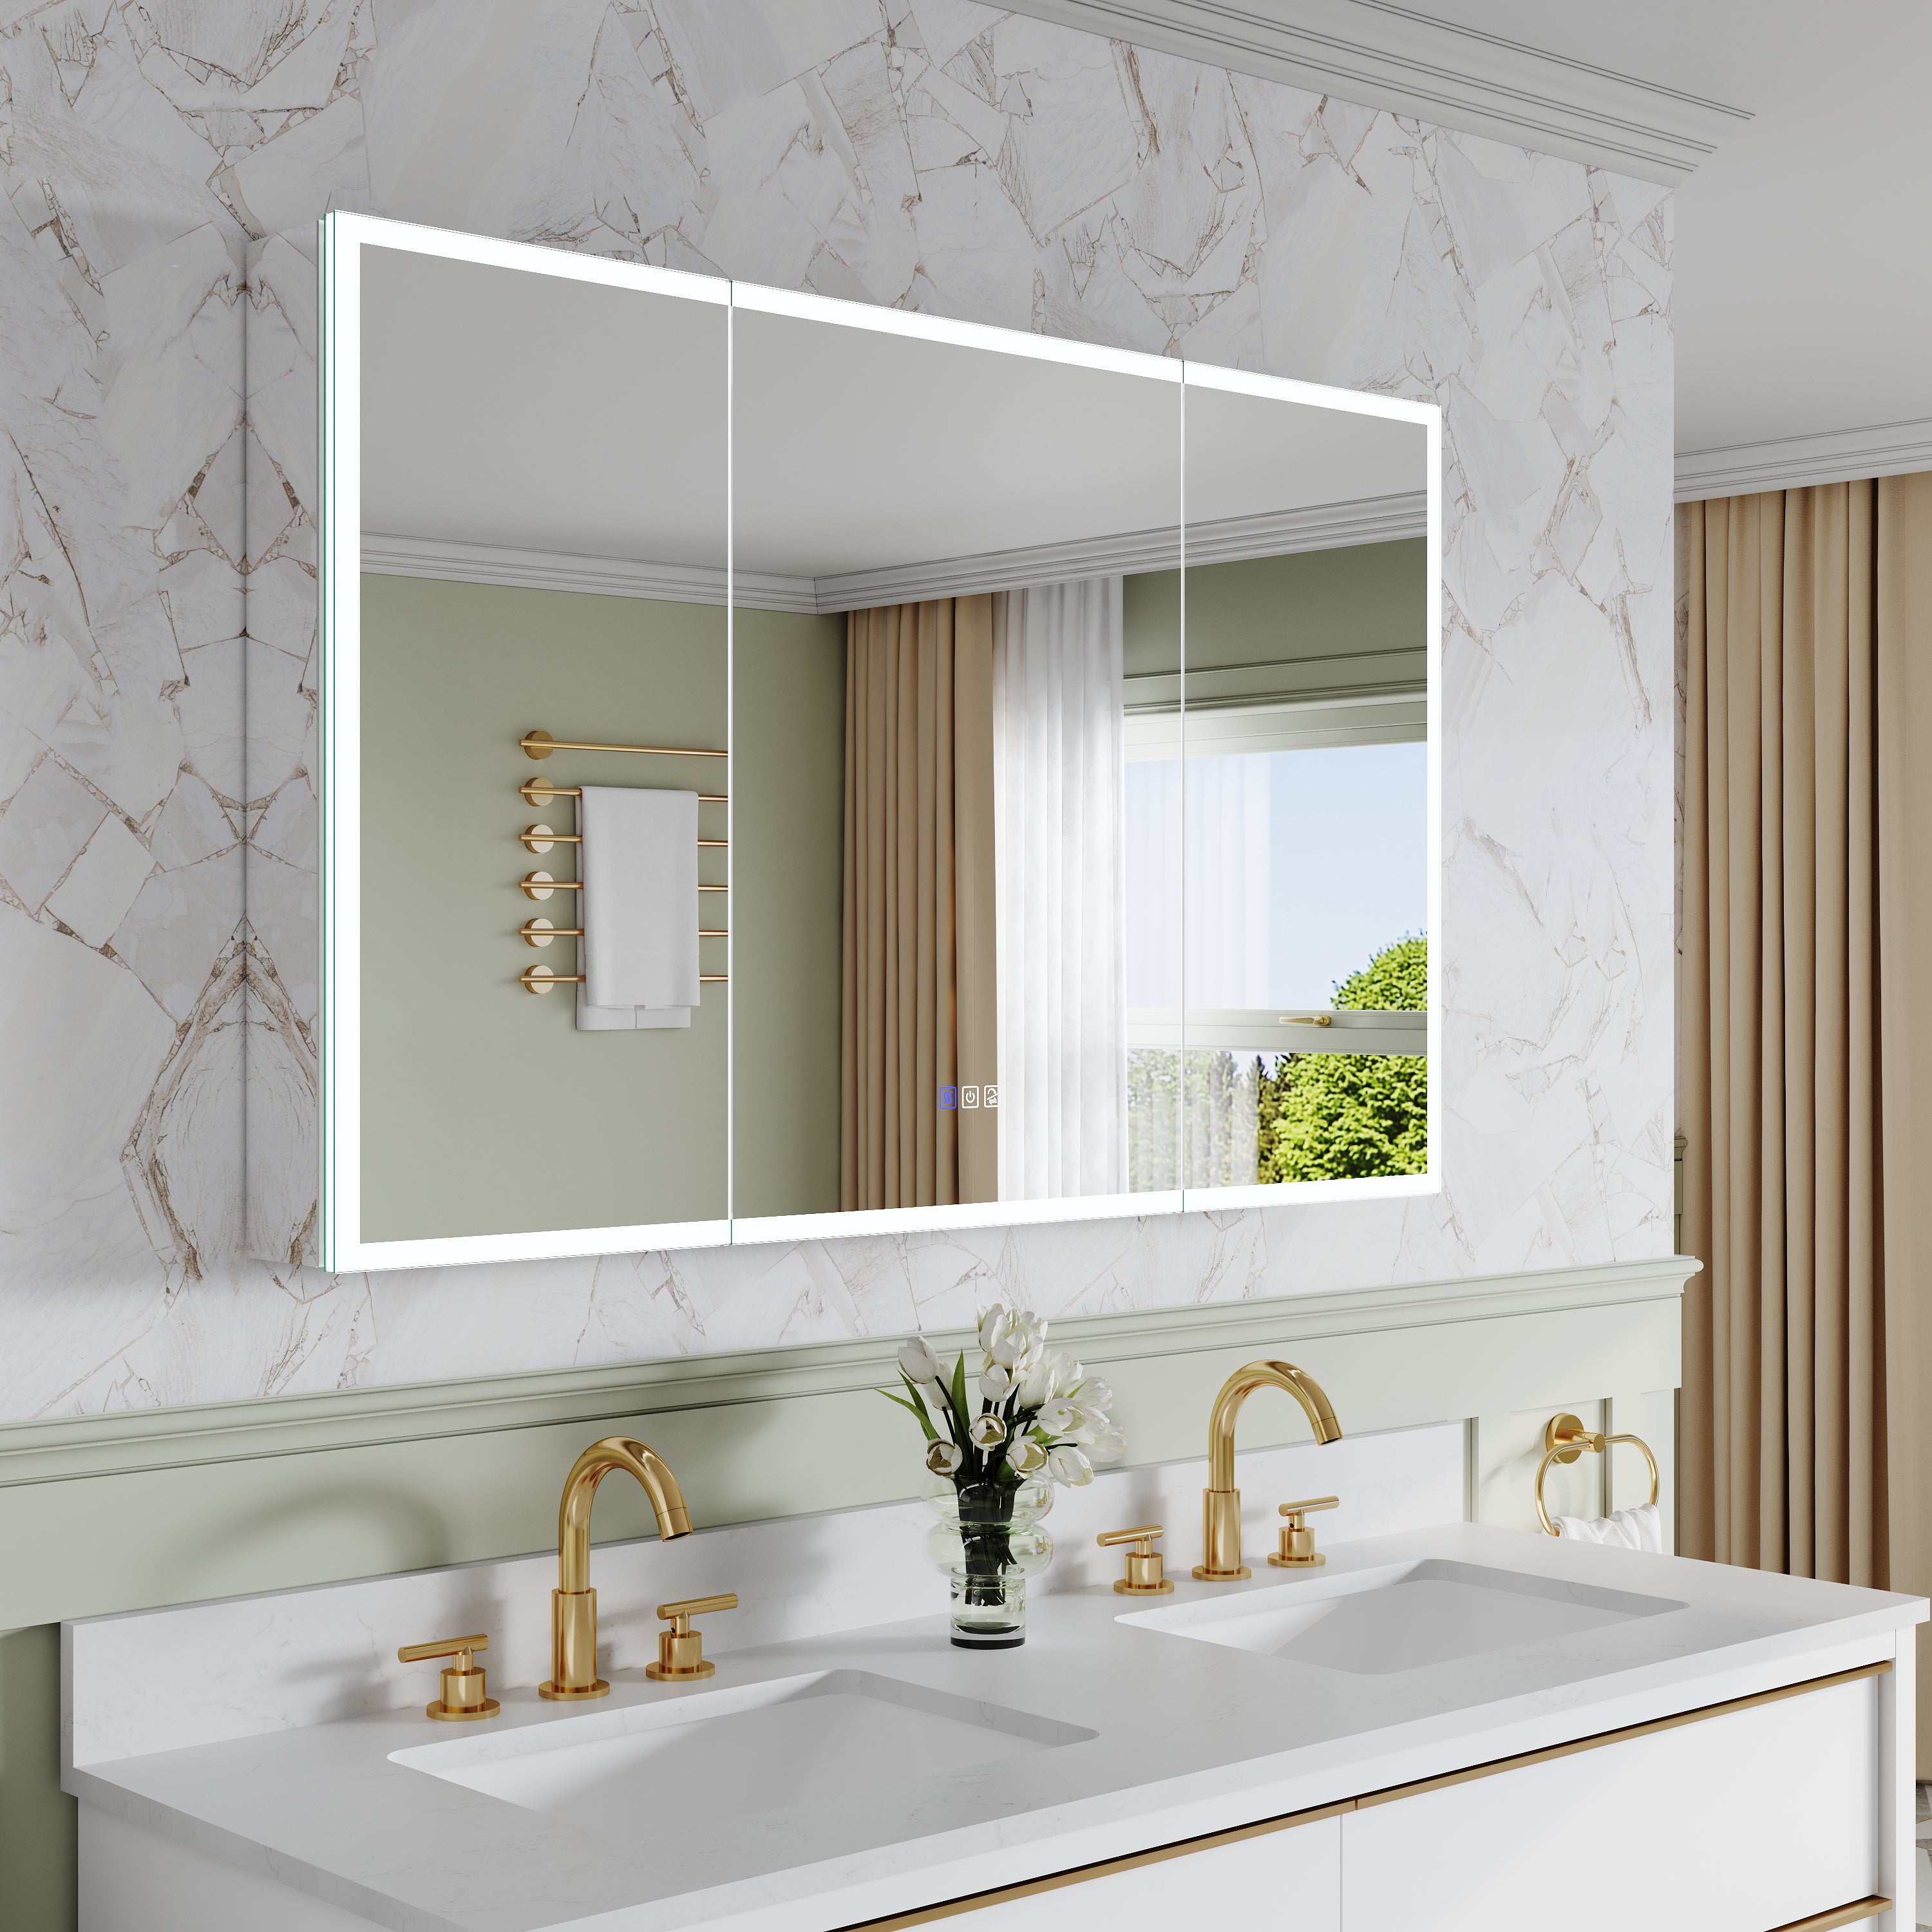
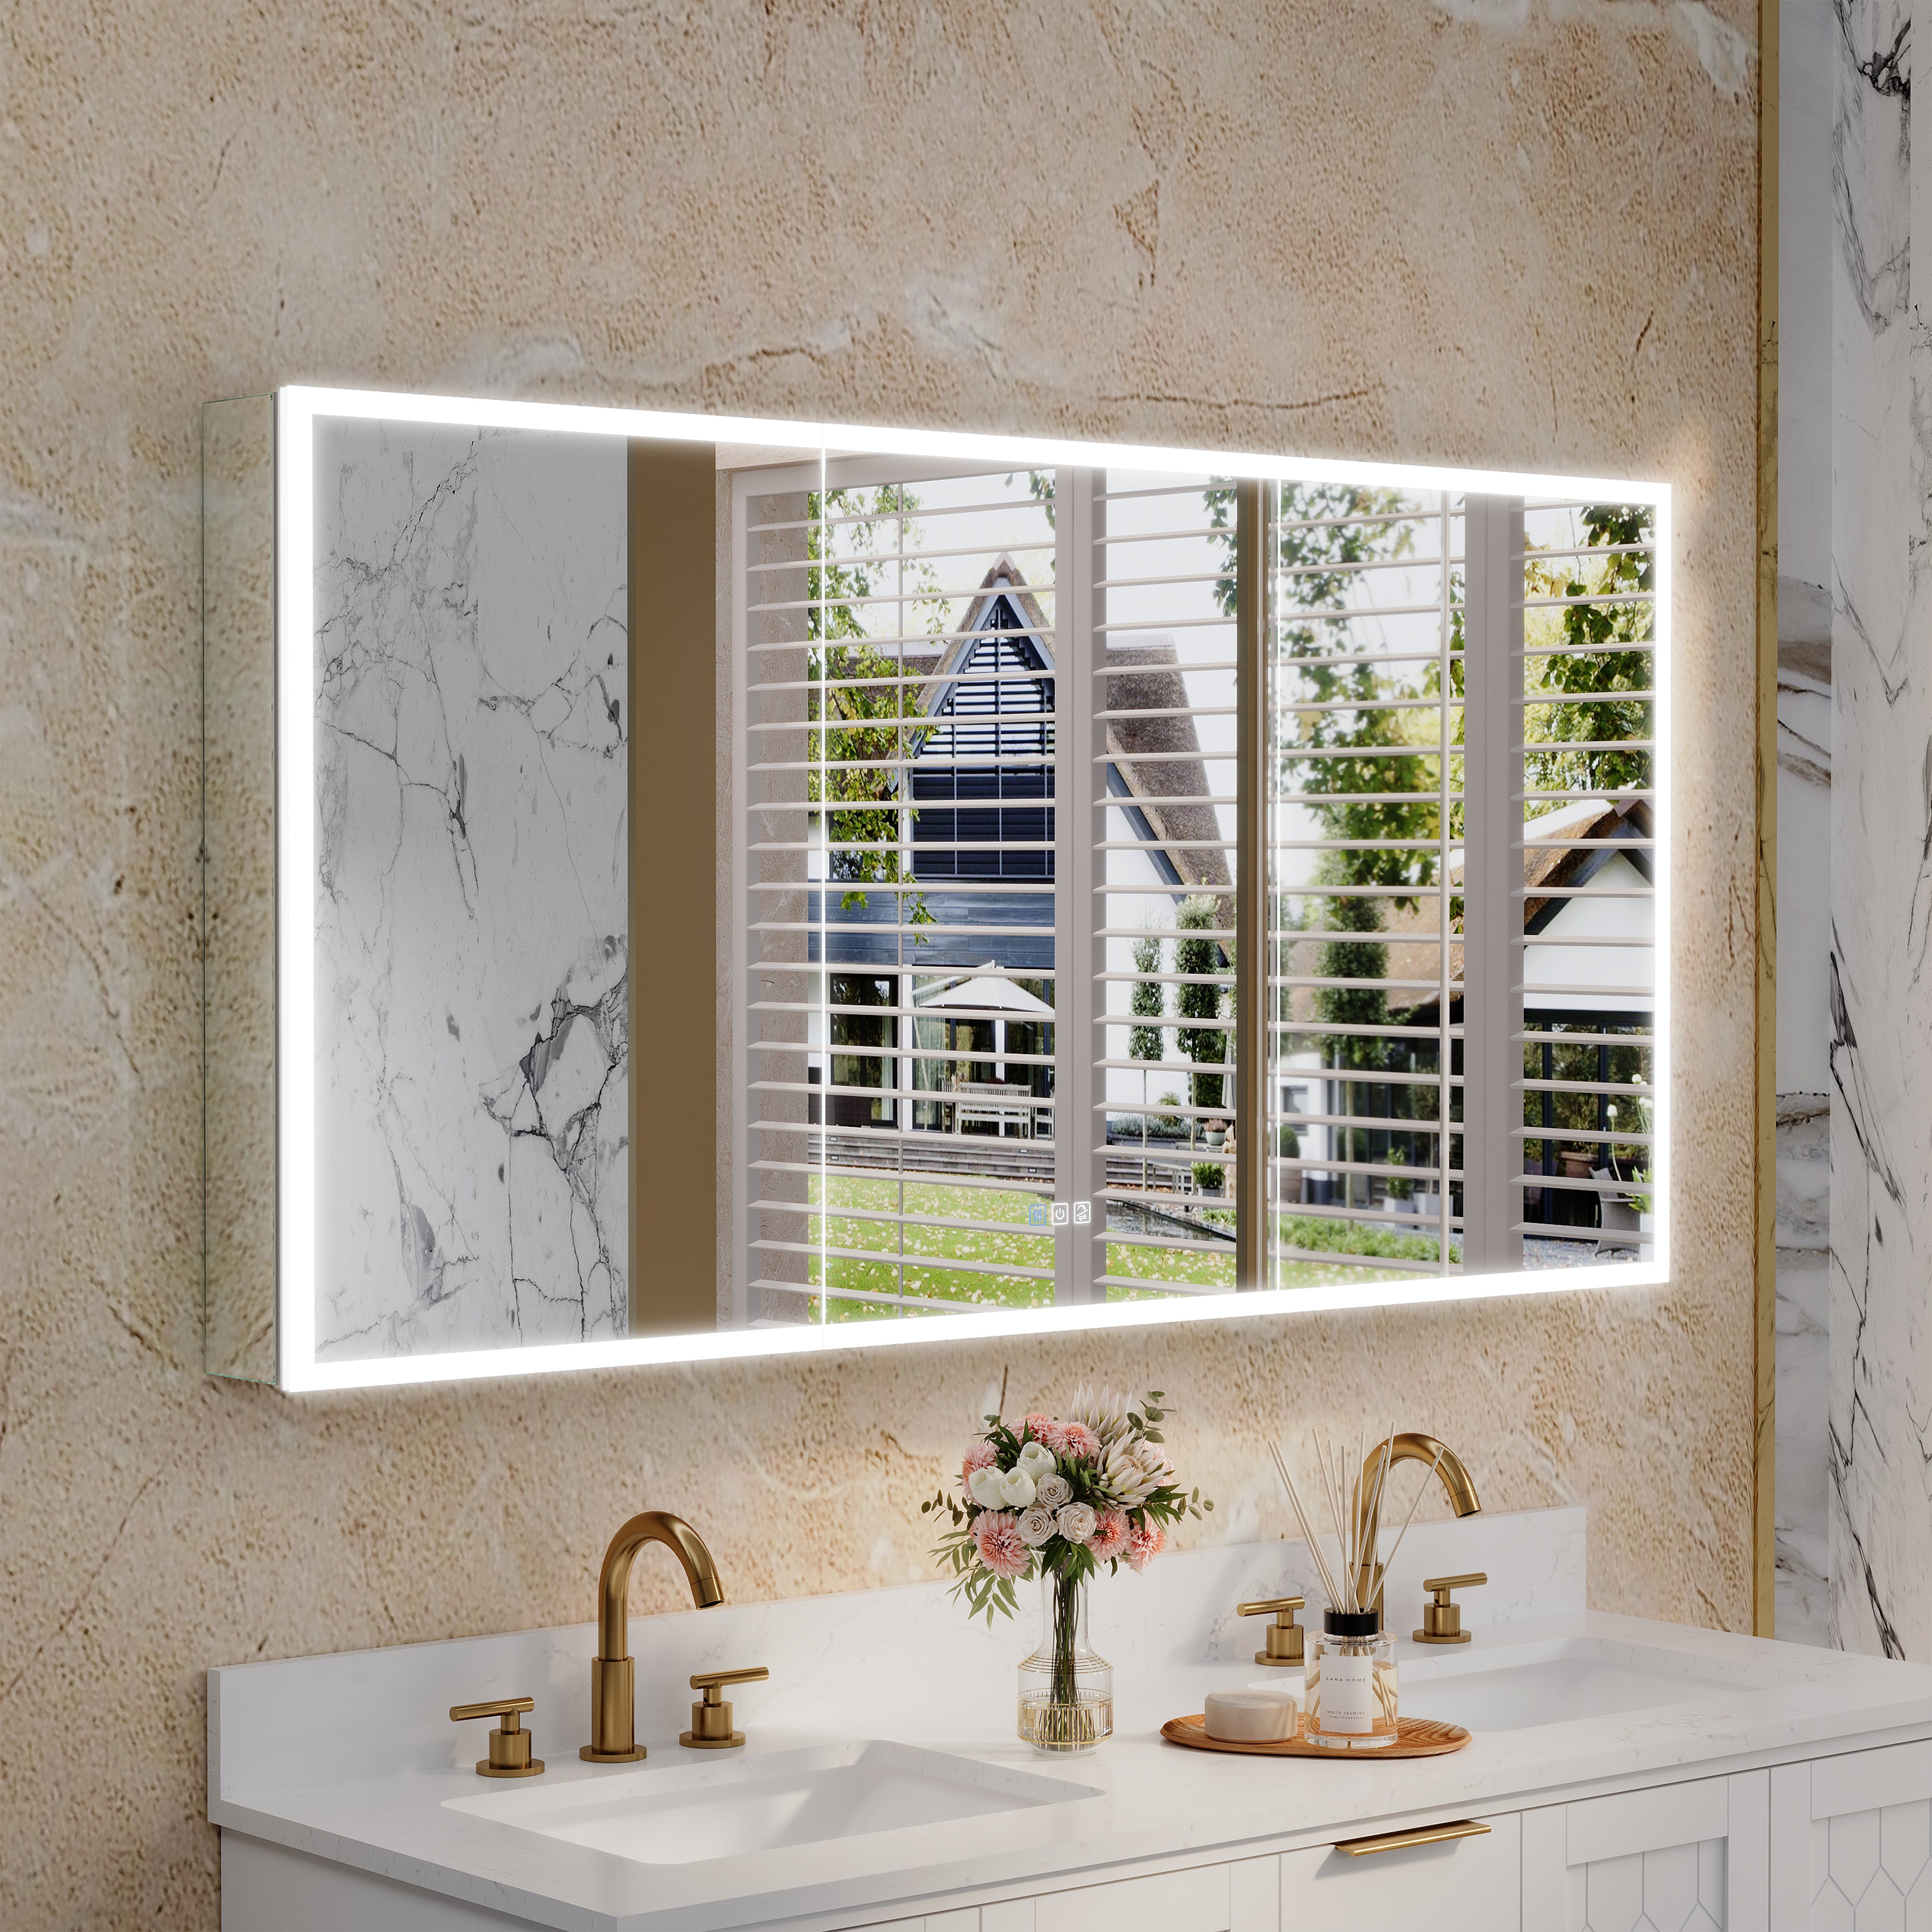
Why Choose LED Mirrors?
Functional Lighting
One of the main reasons to choose LED mirrors is for their functional lighting. The LED lights provide bright, even lighting that is perfect for applying makeup, shaving, or any other grooming tasks. Unlike traditional overhead lighting, LED mirrors eliminate harsh shadows and provide a more natural light that is easier on the eyes.
Energy Efficiency
LED lights are known for their energy efficiency. They use significantly less energy than traditional incandescent bulbs, which can save you money on your energy bills in the long run. Additionally, LED lights have a longer lifespan, so you won't have to replace them as often.
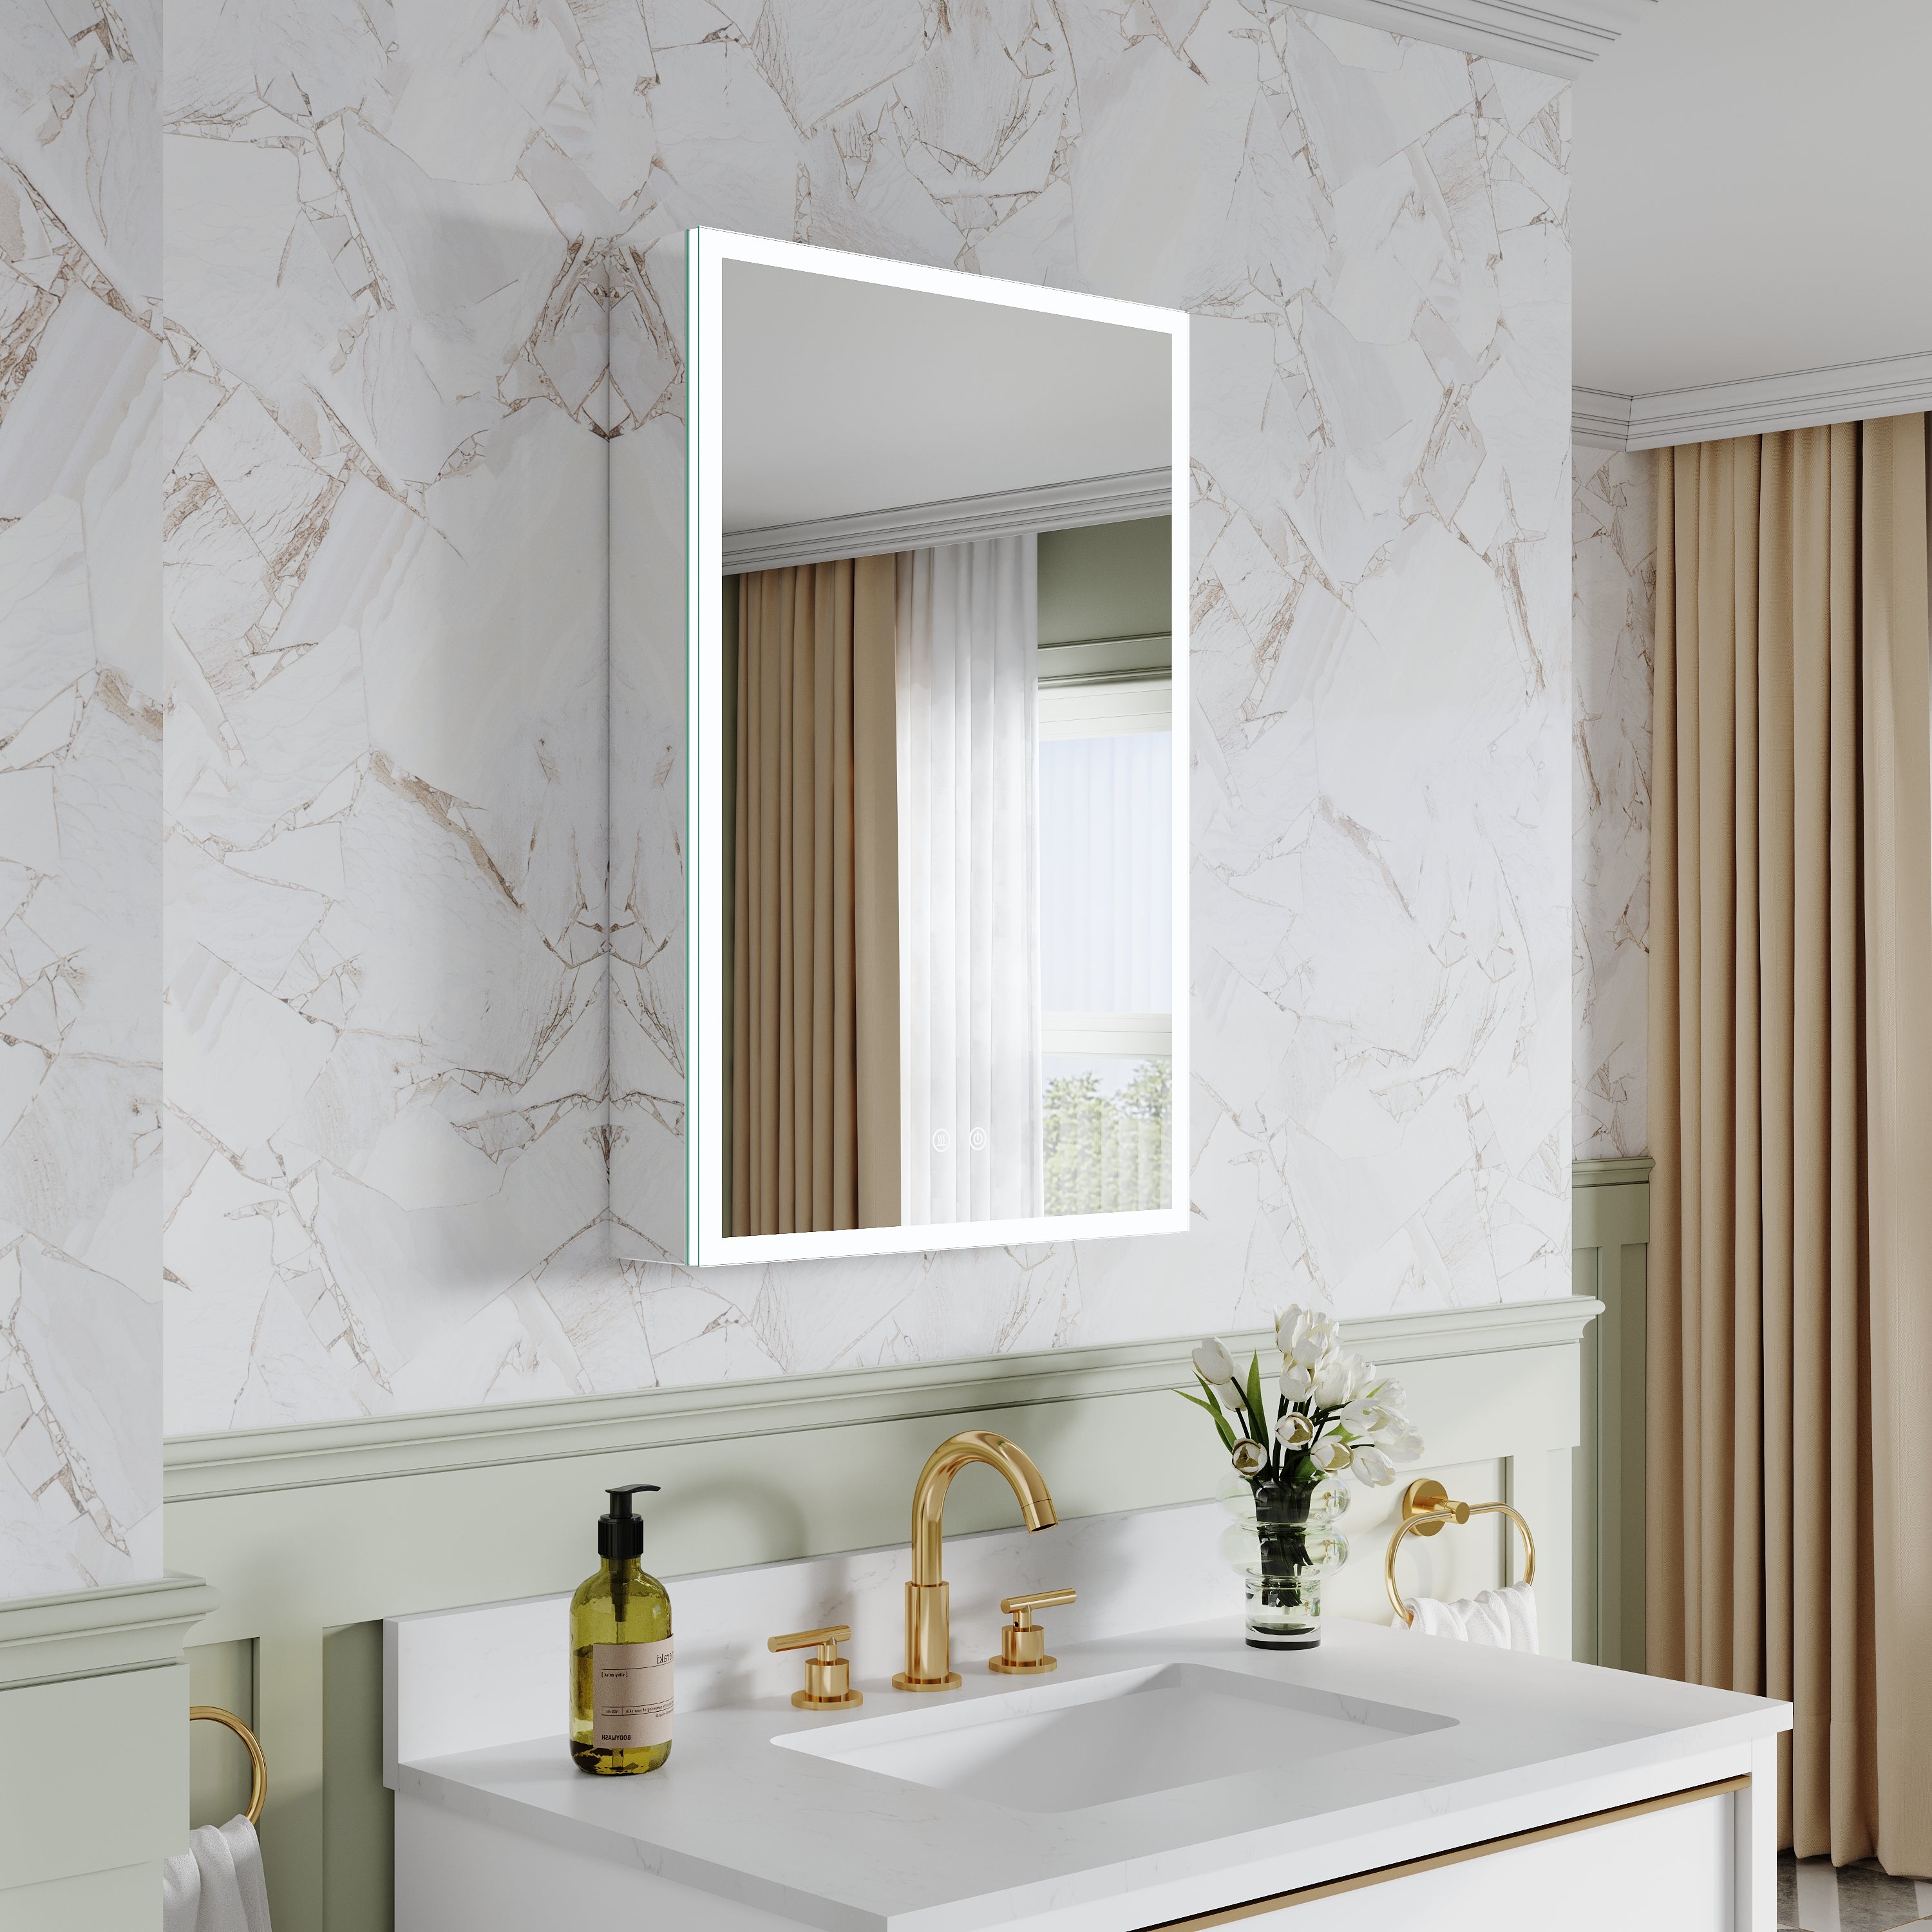
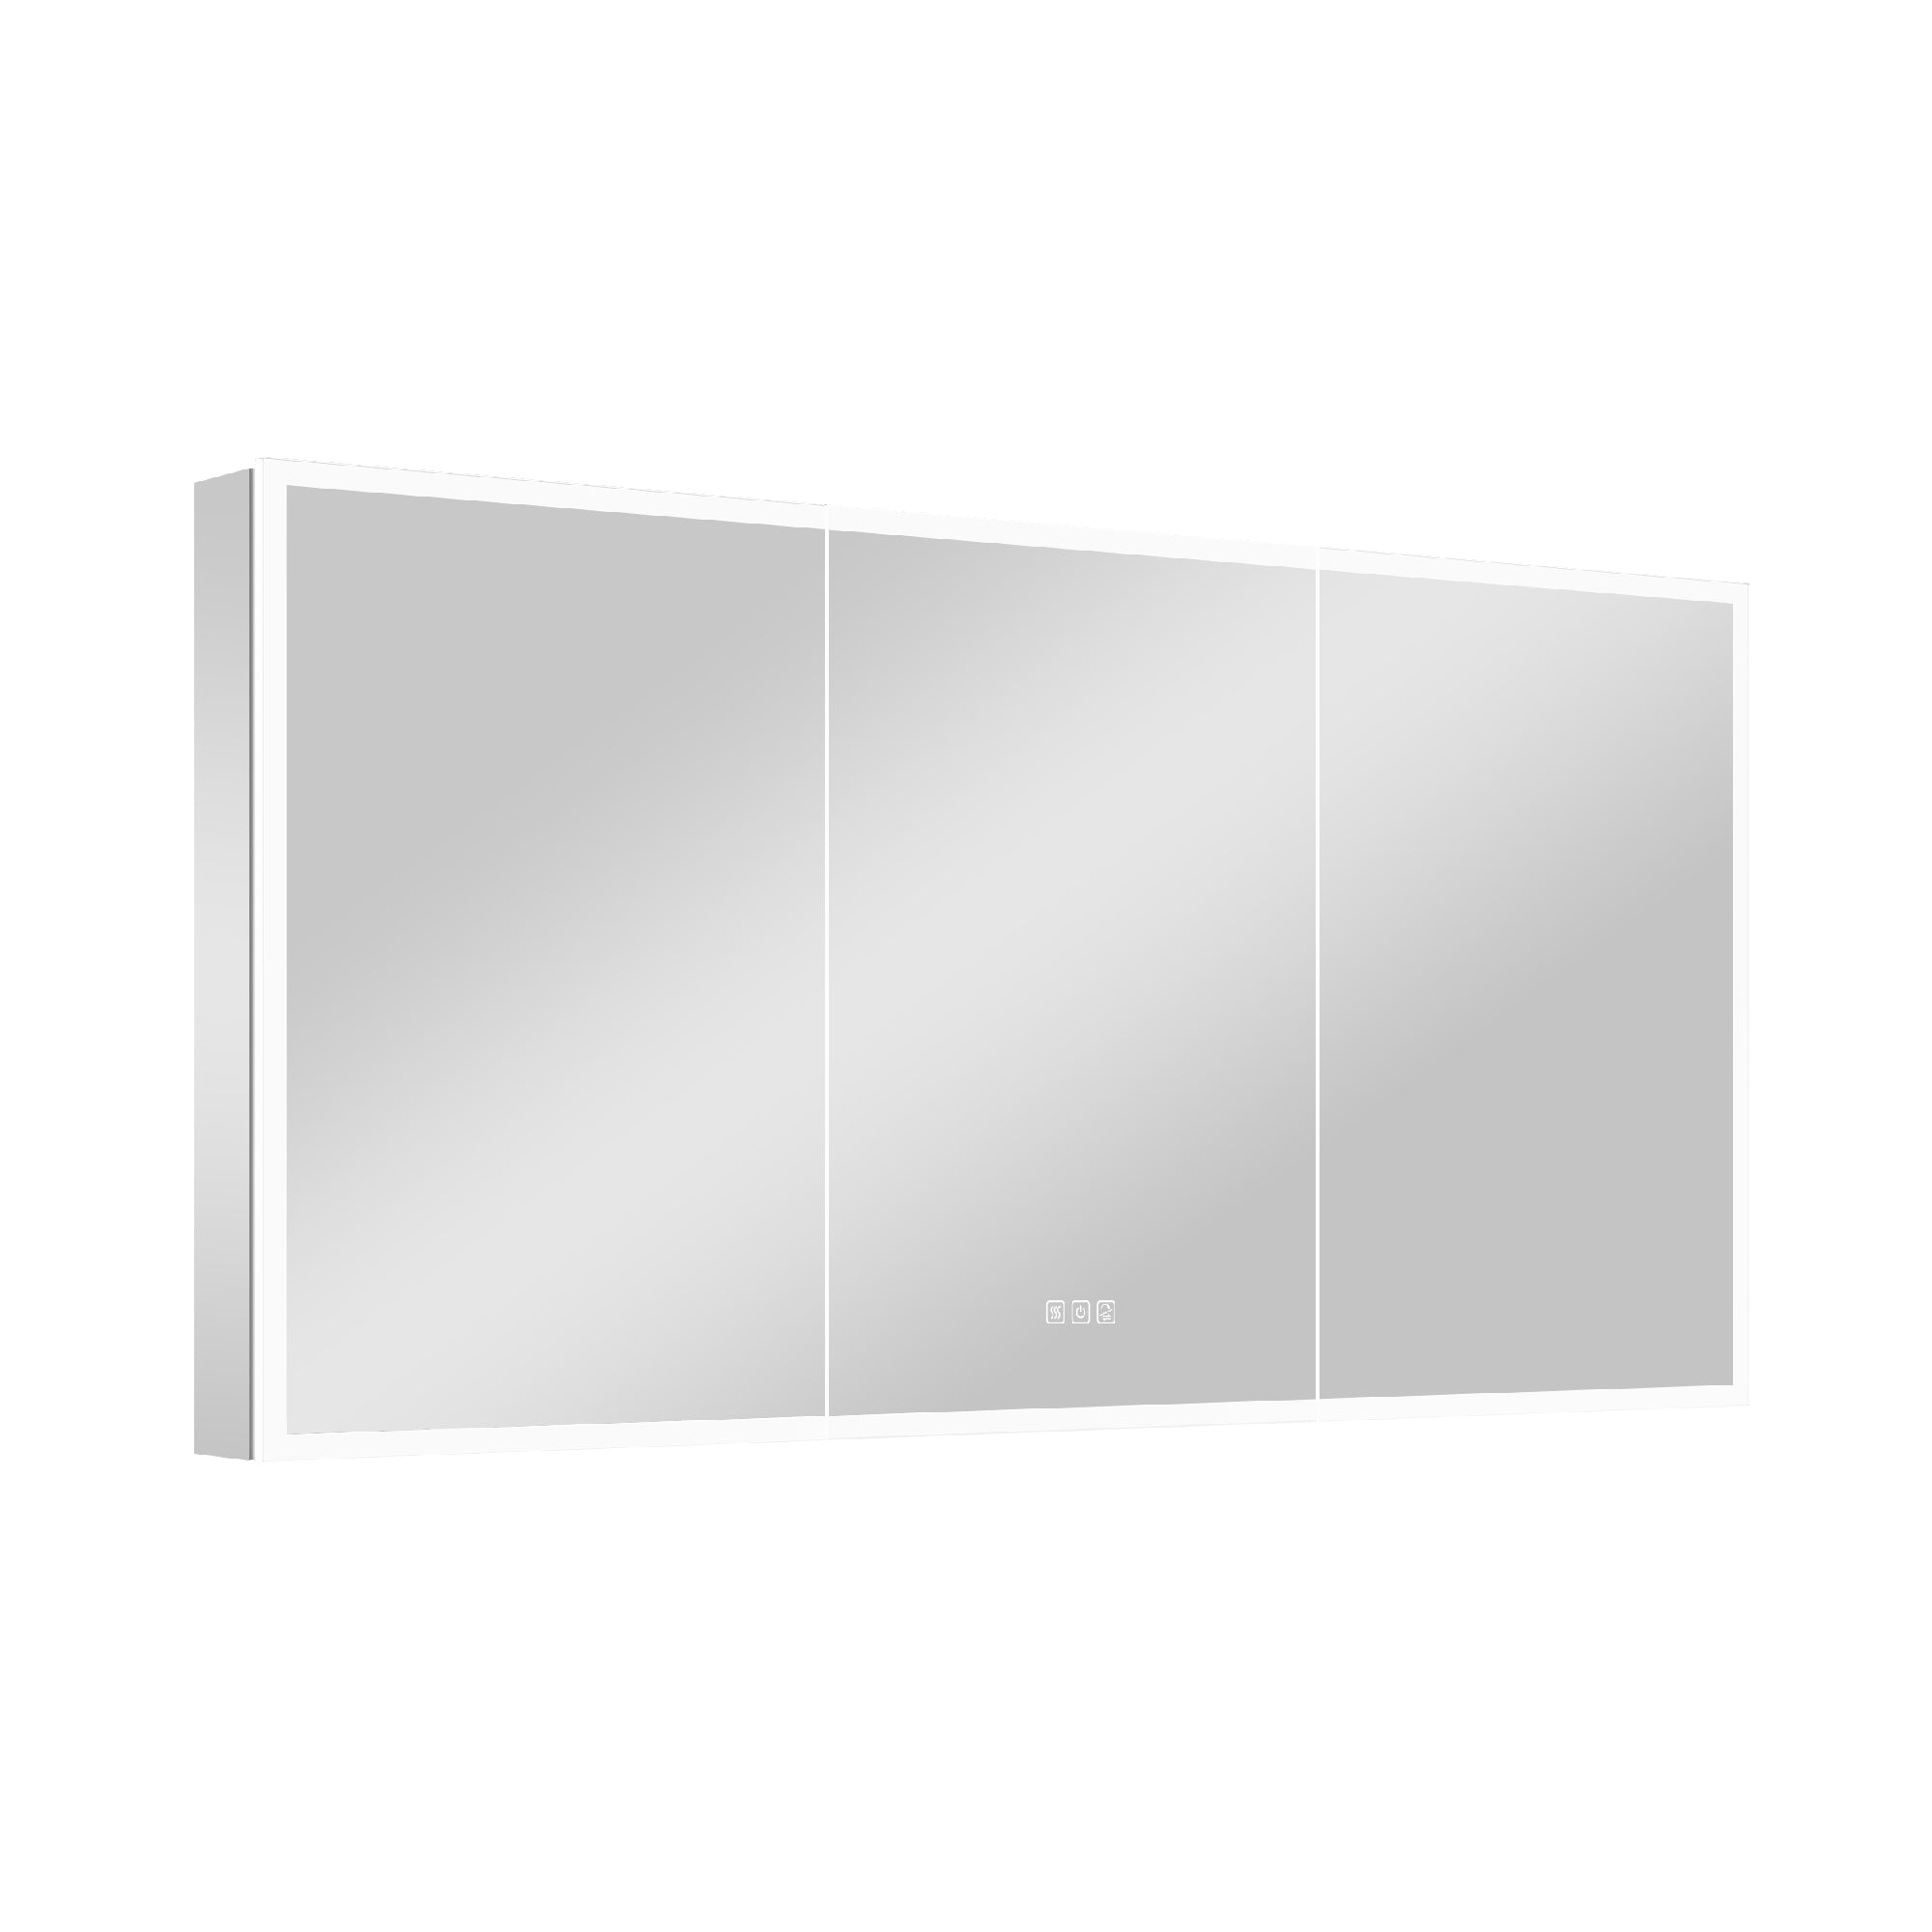
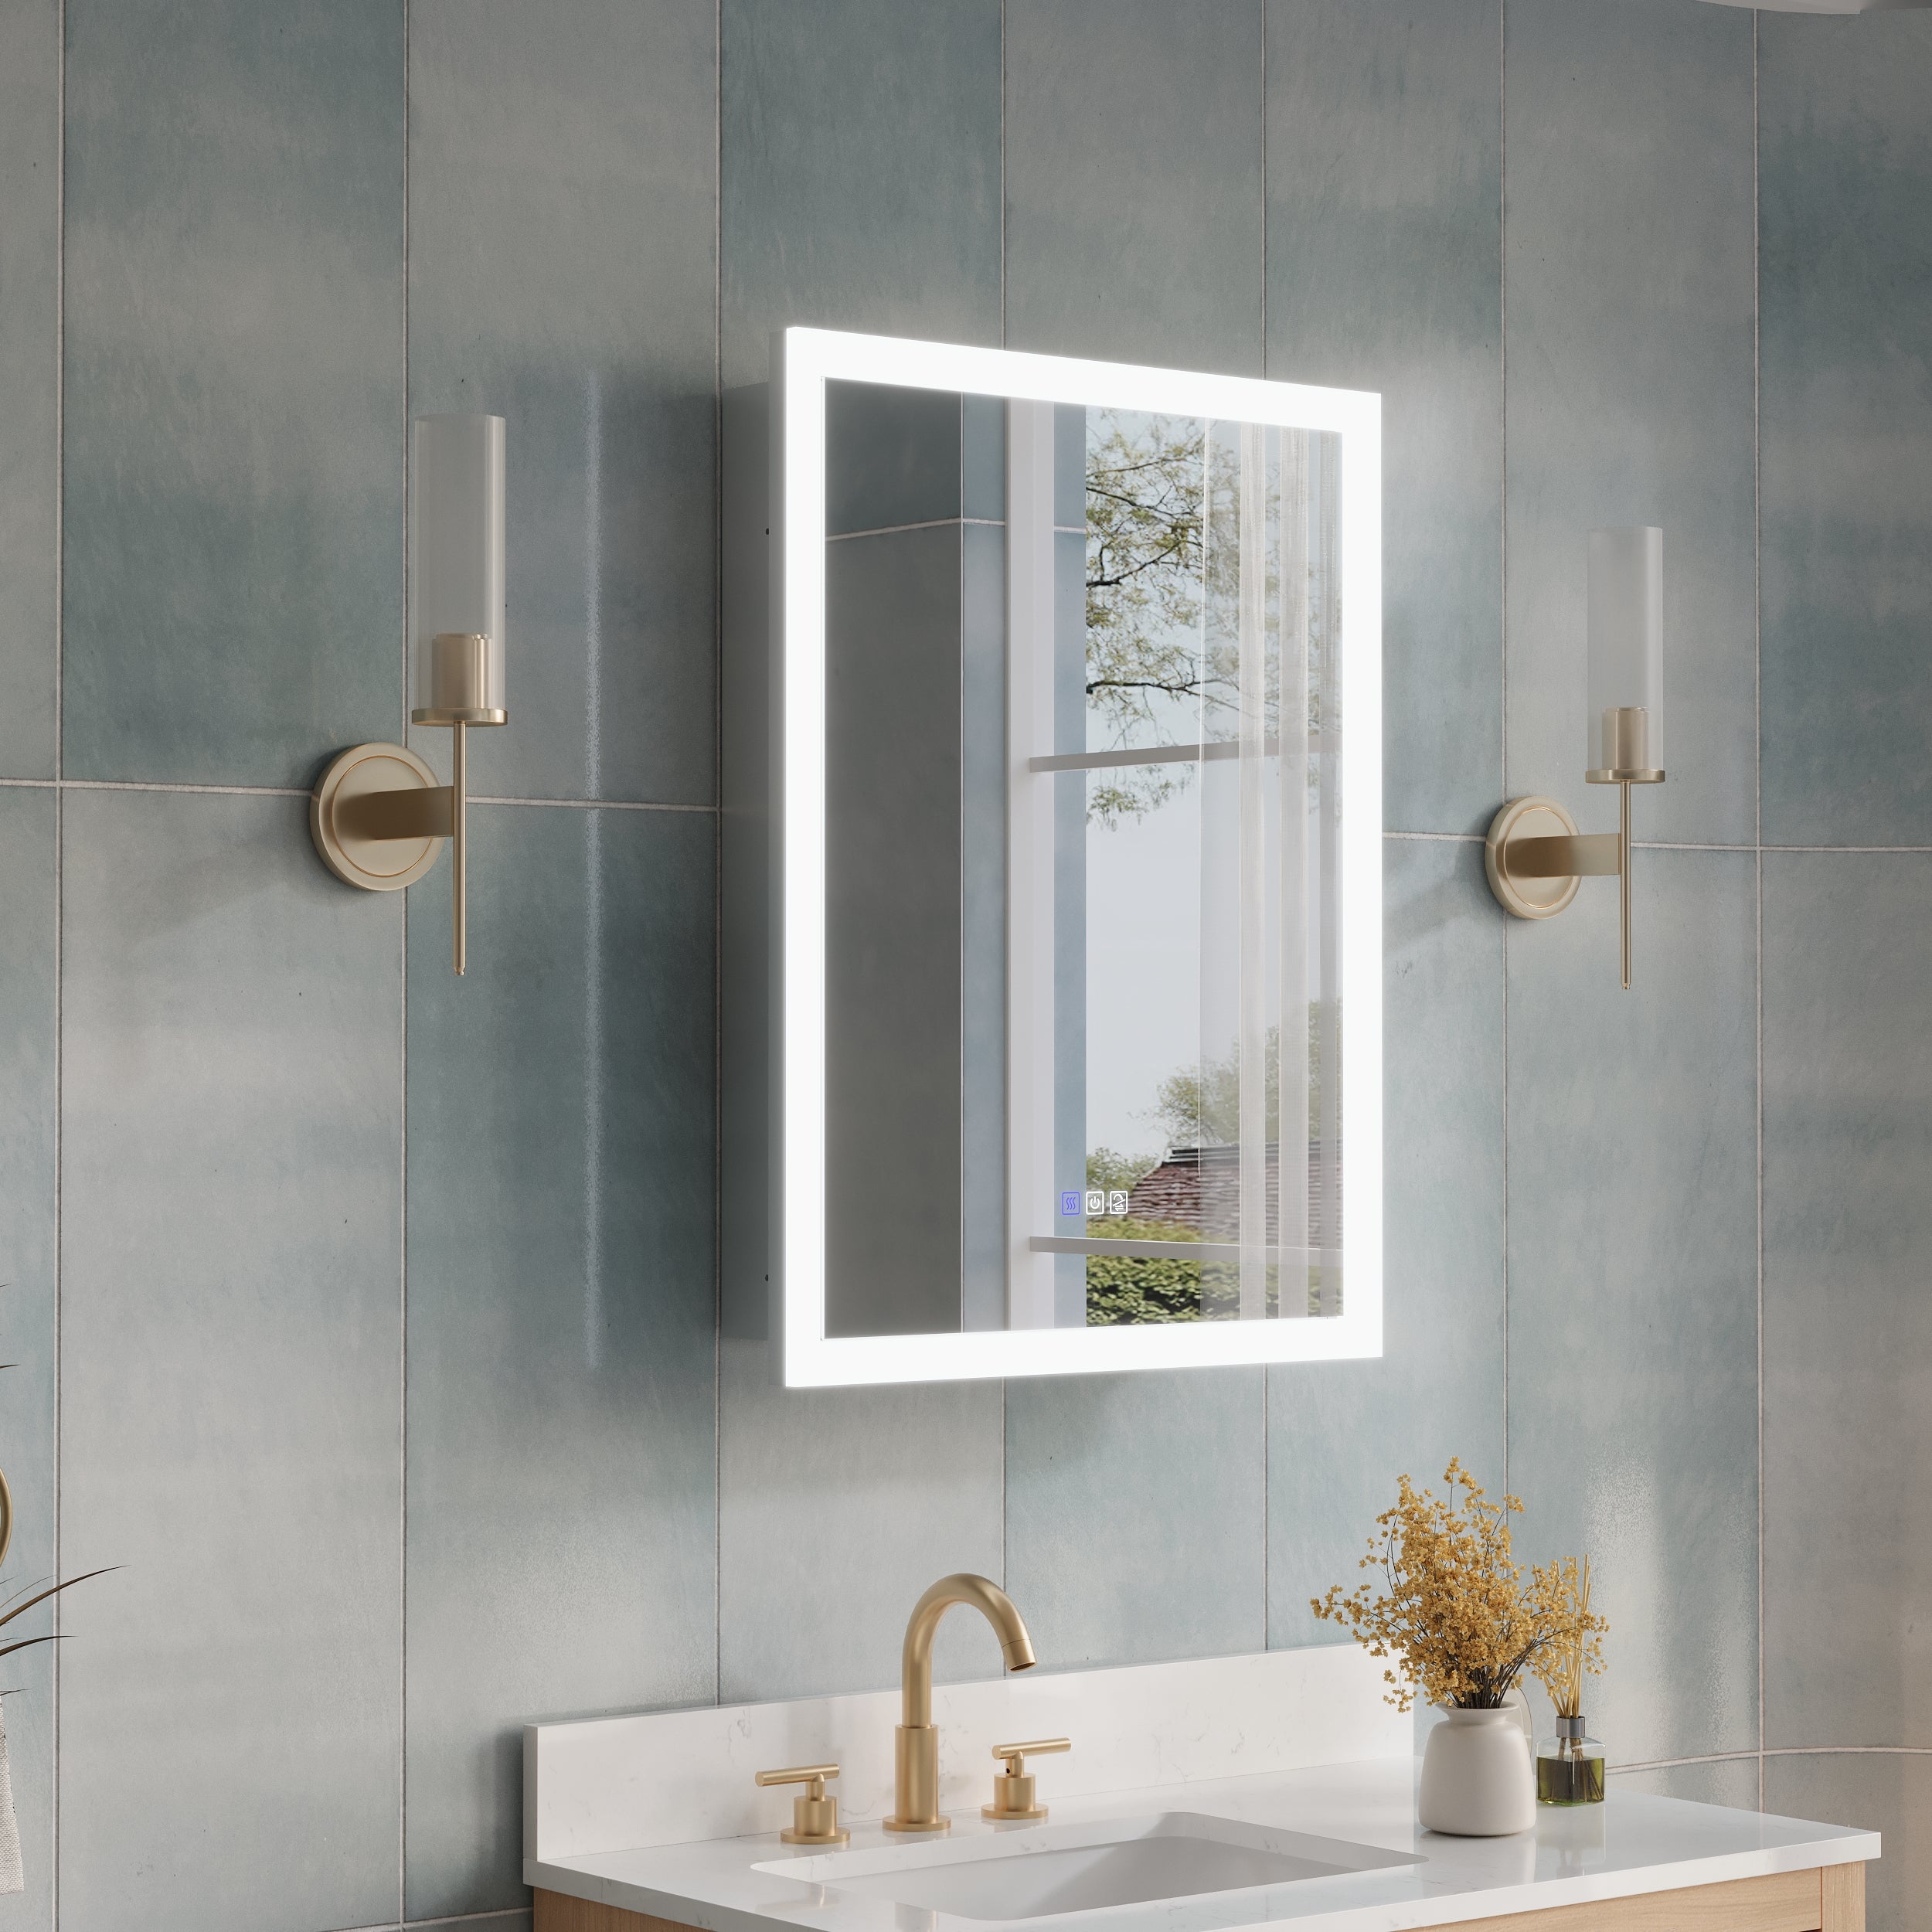
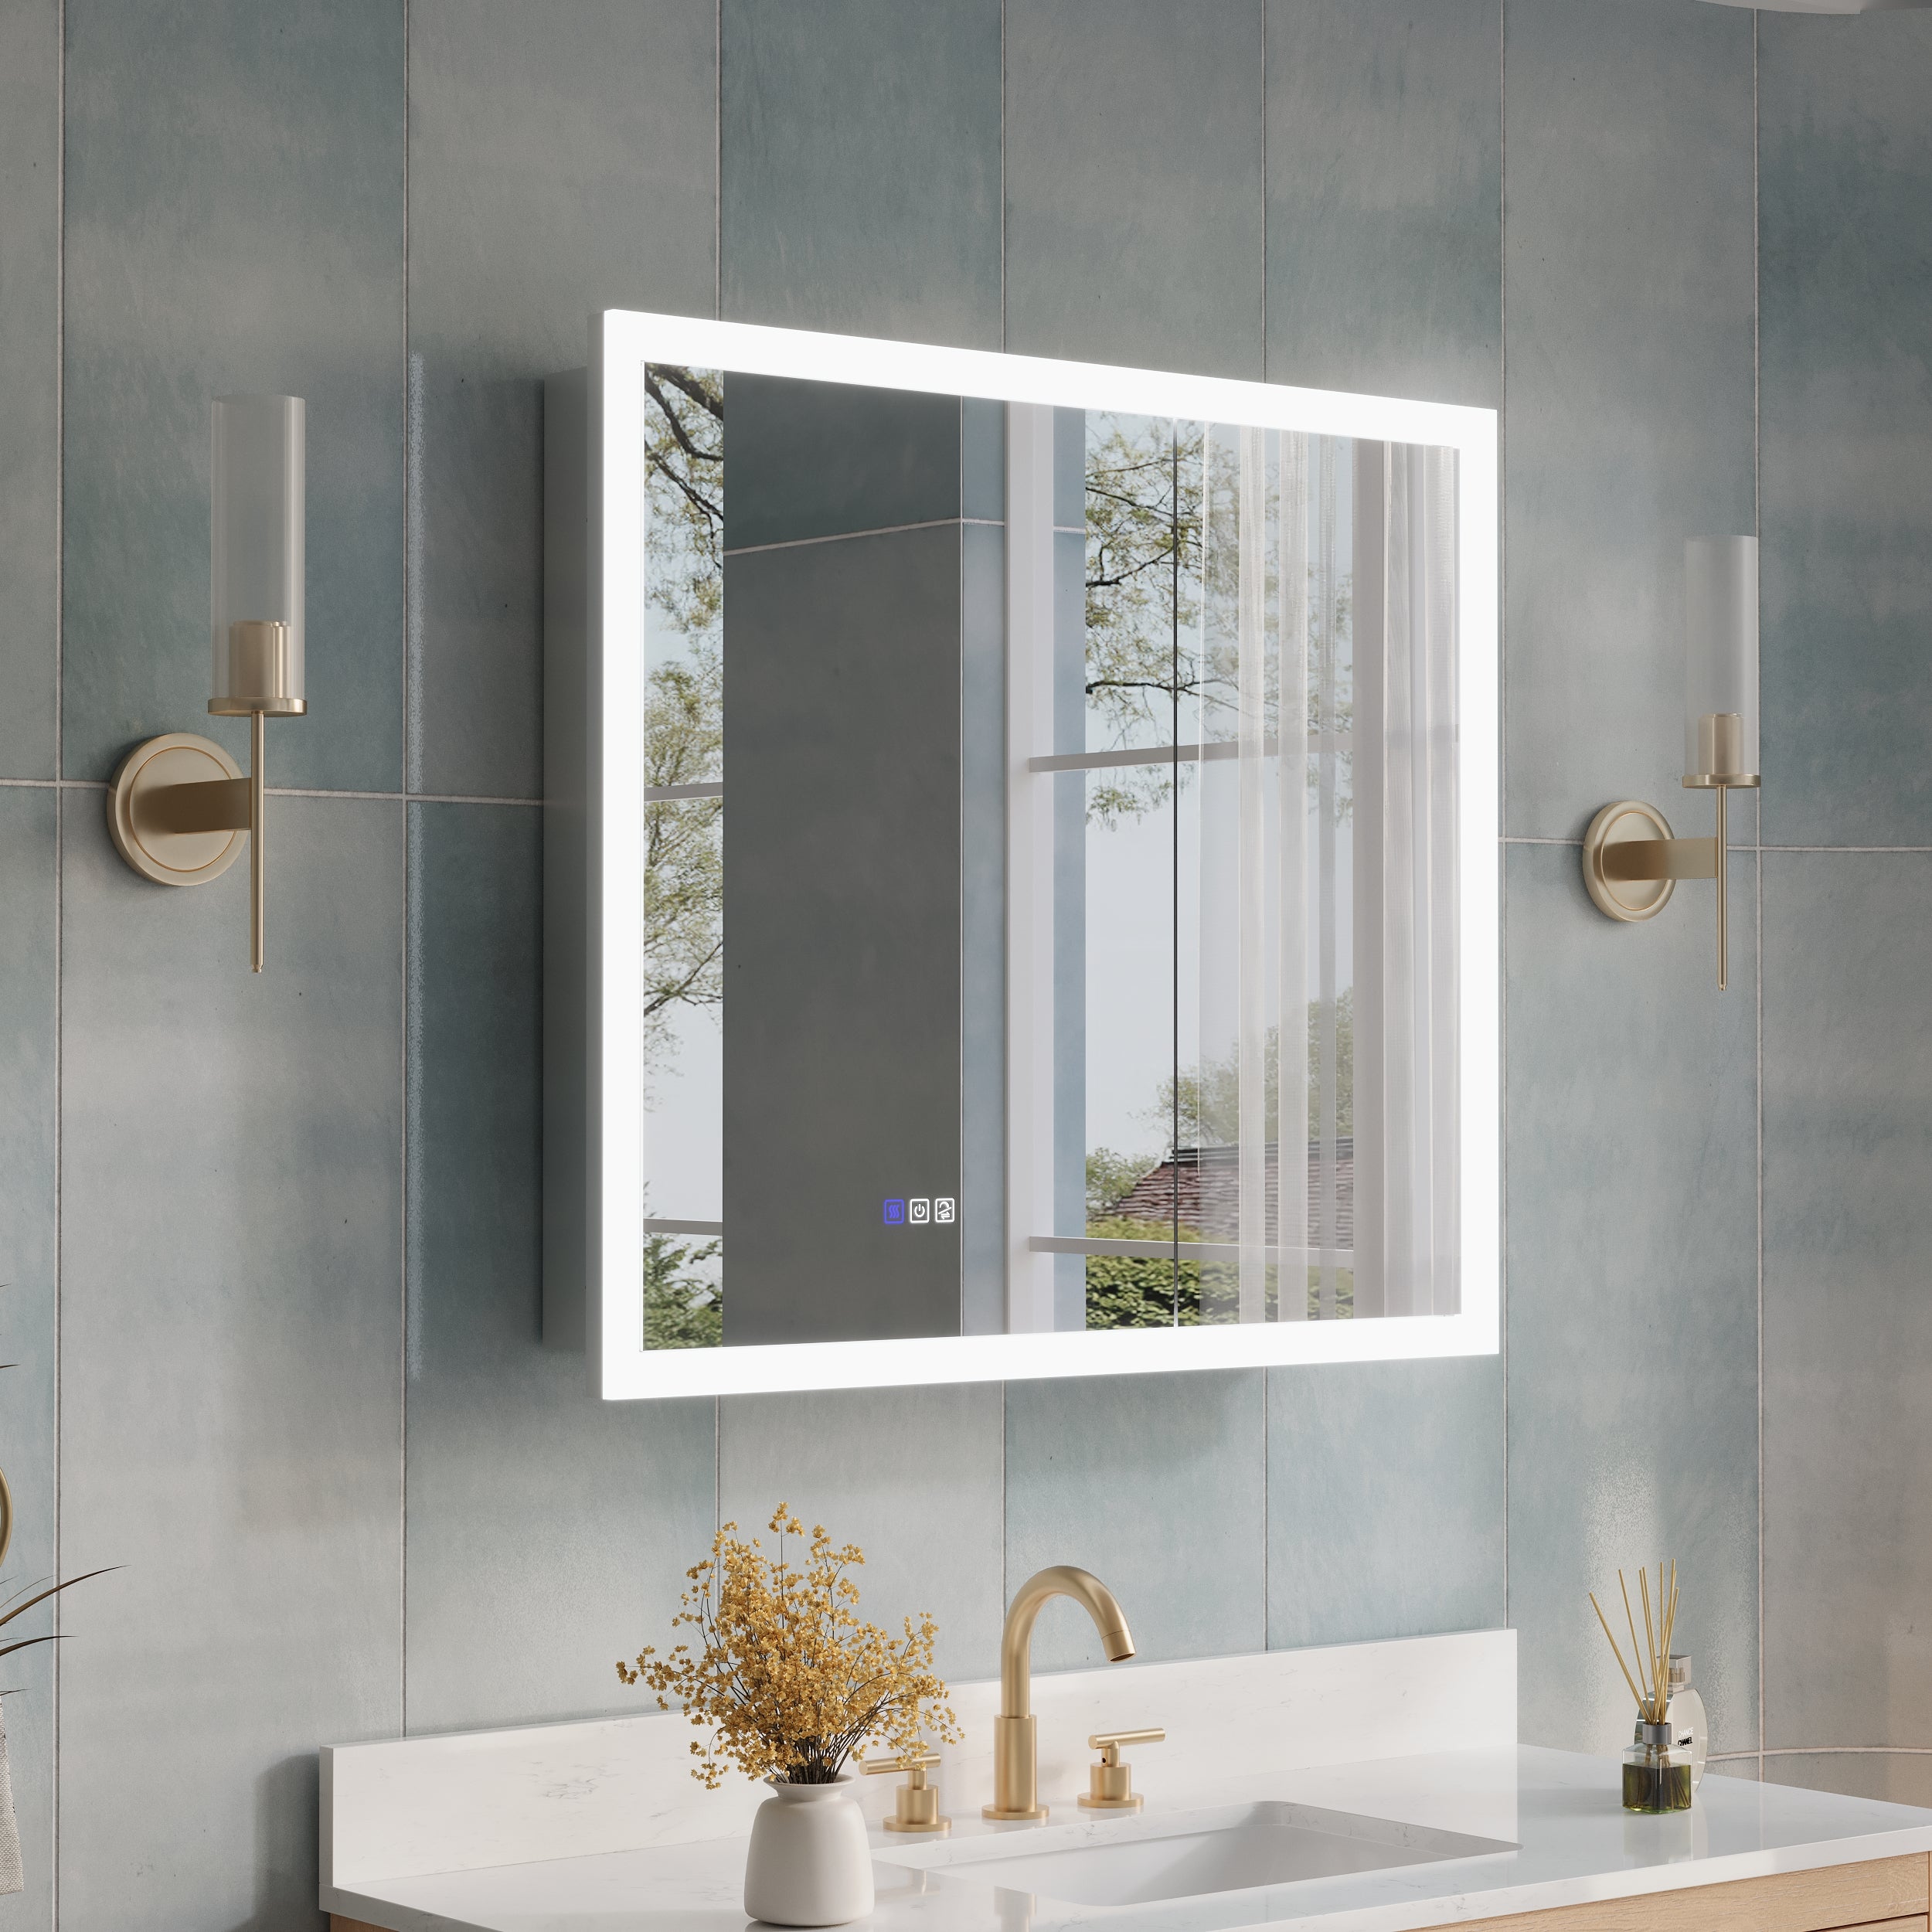
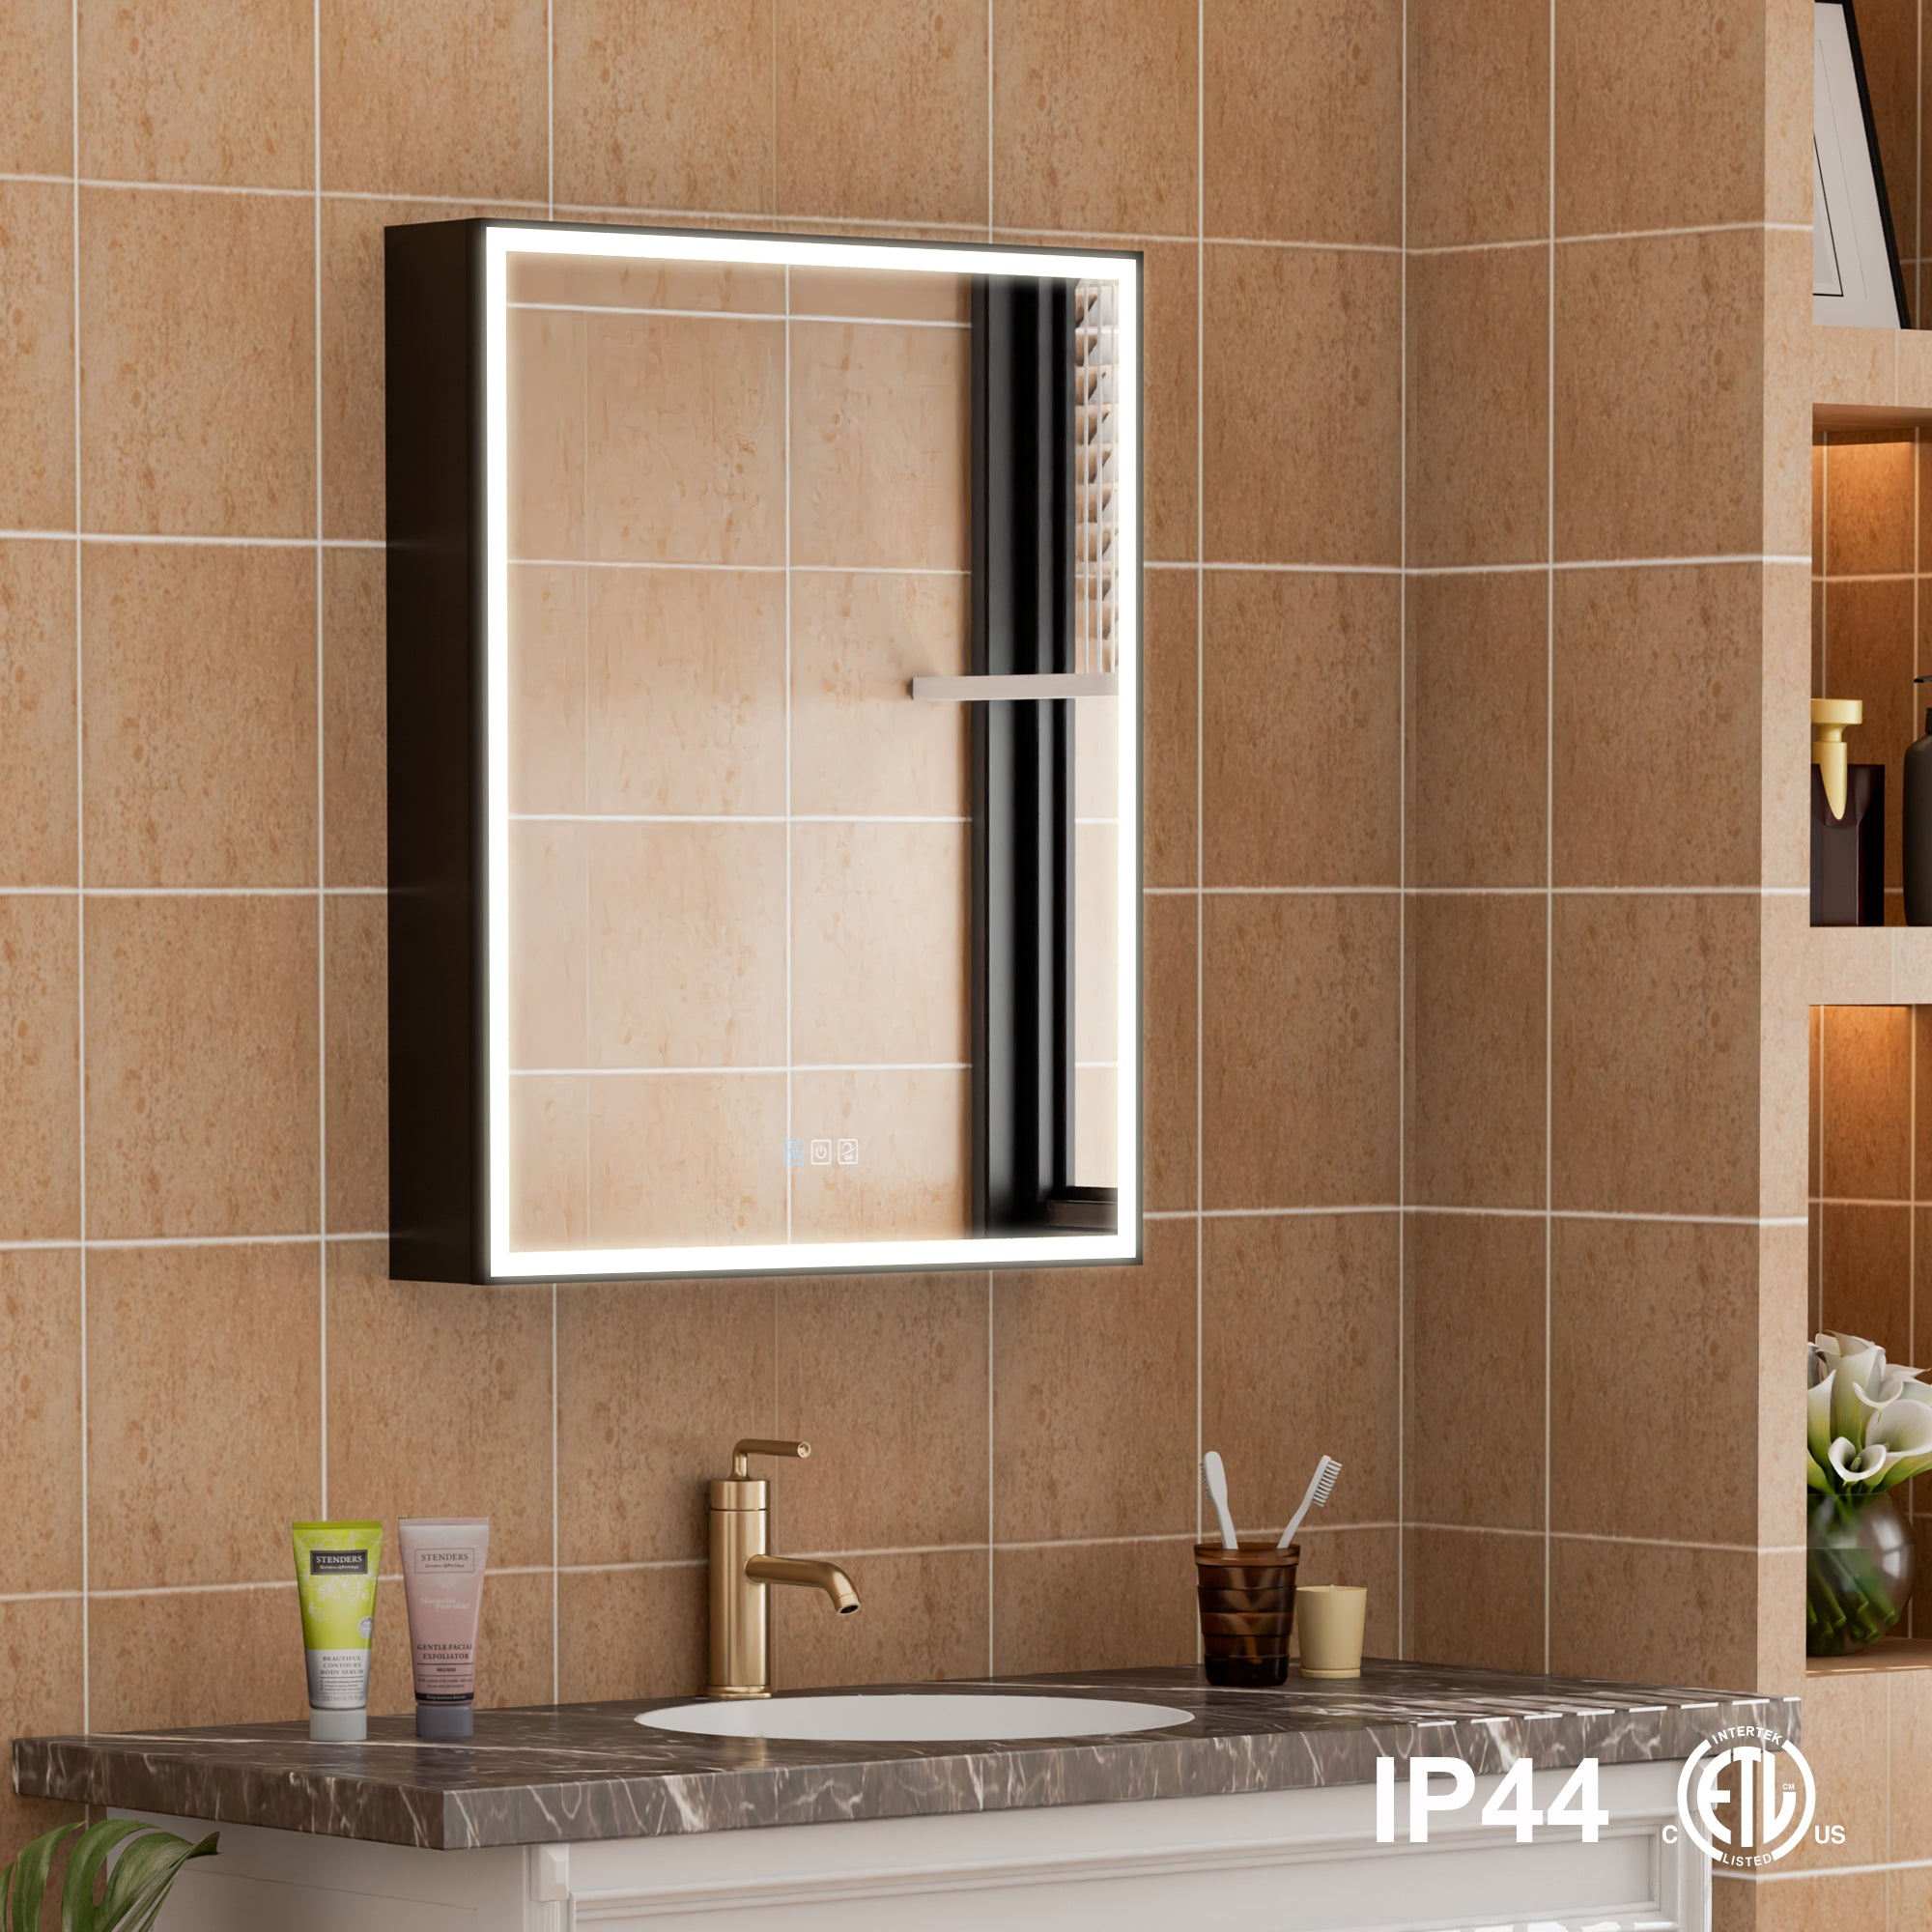
Sleek Design
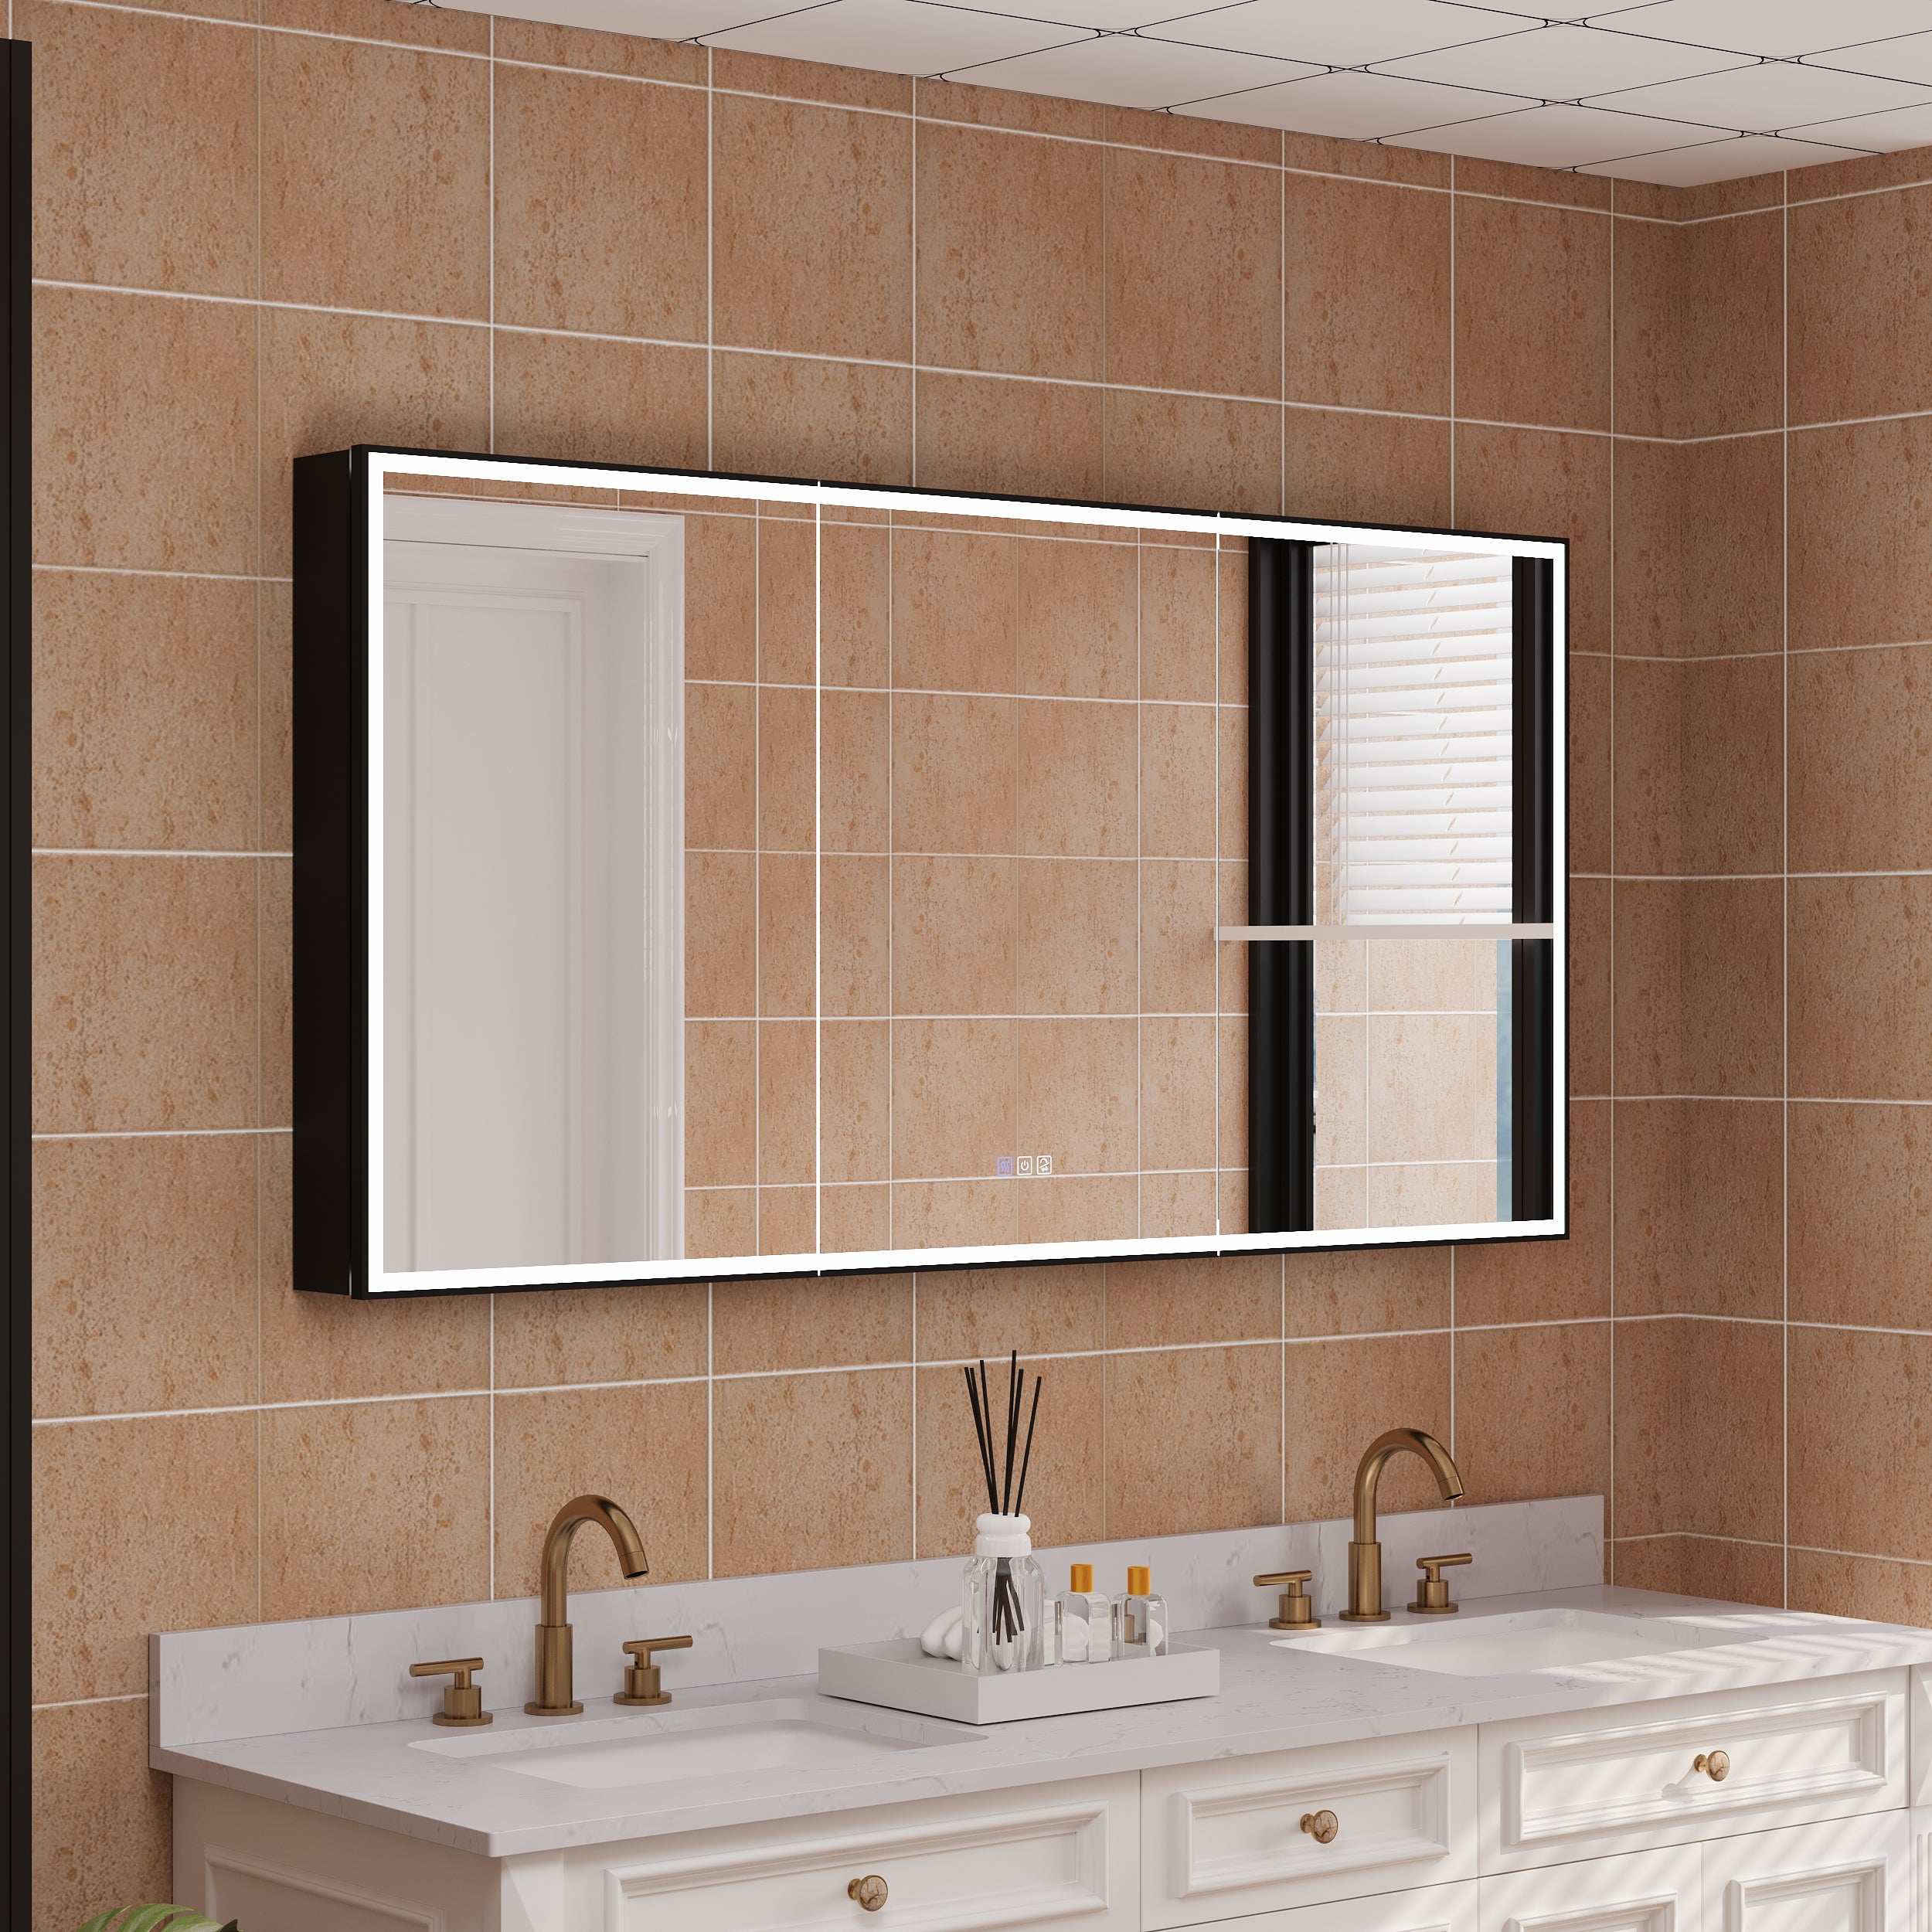
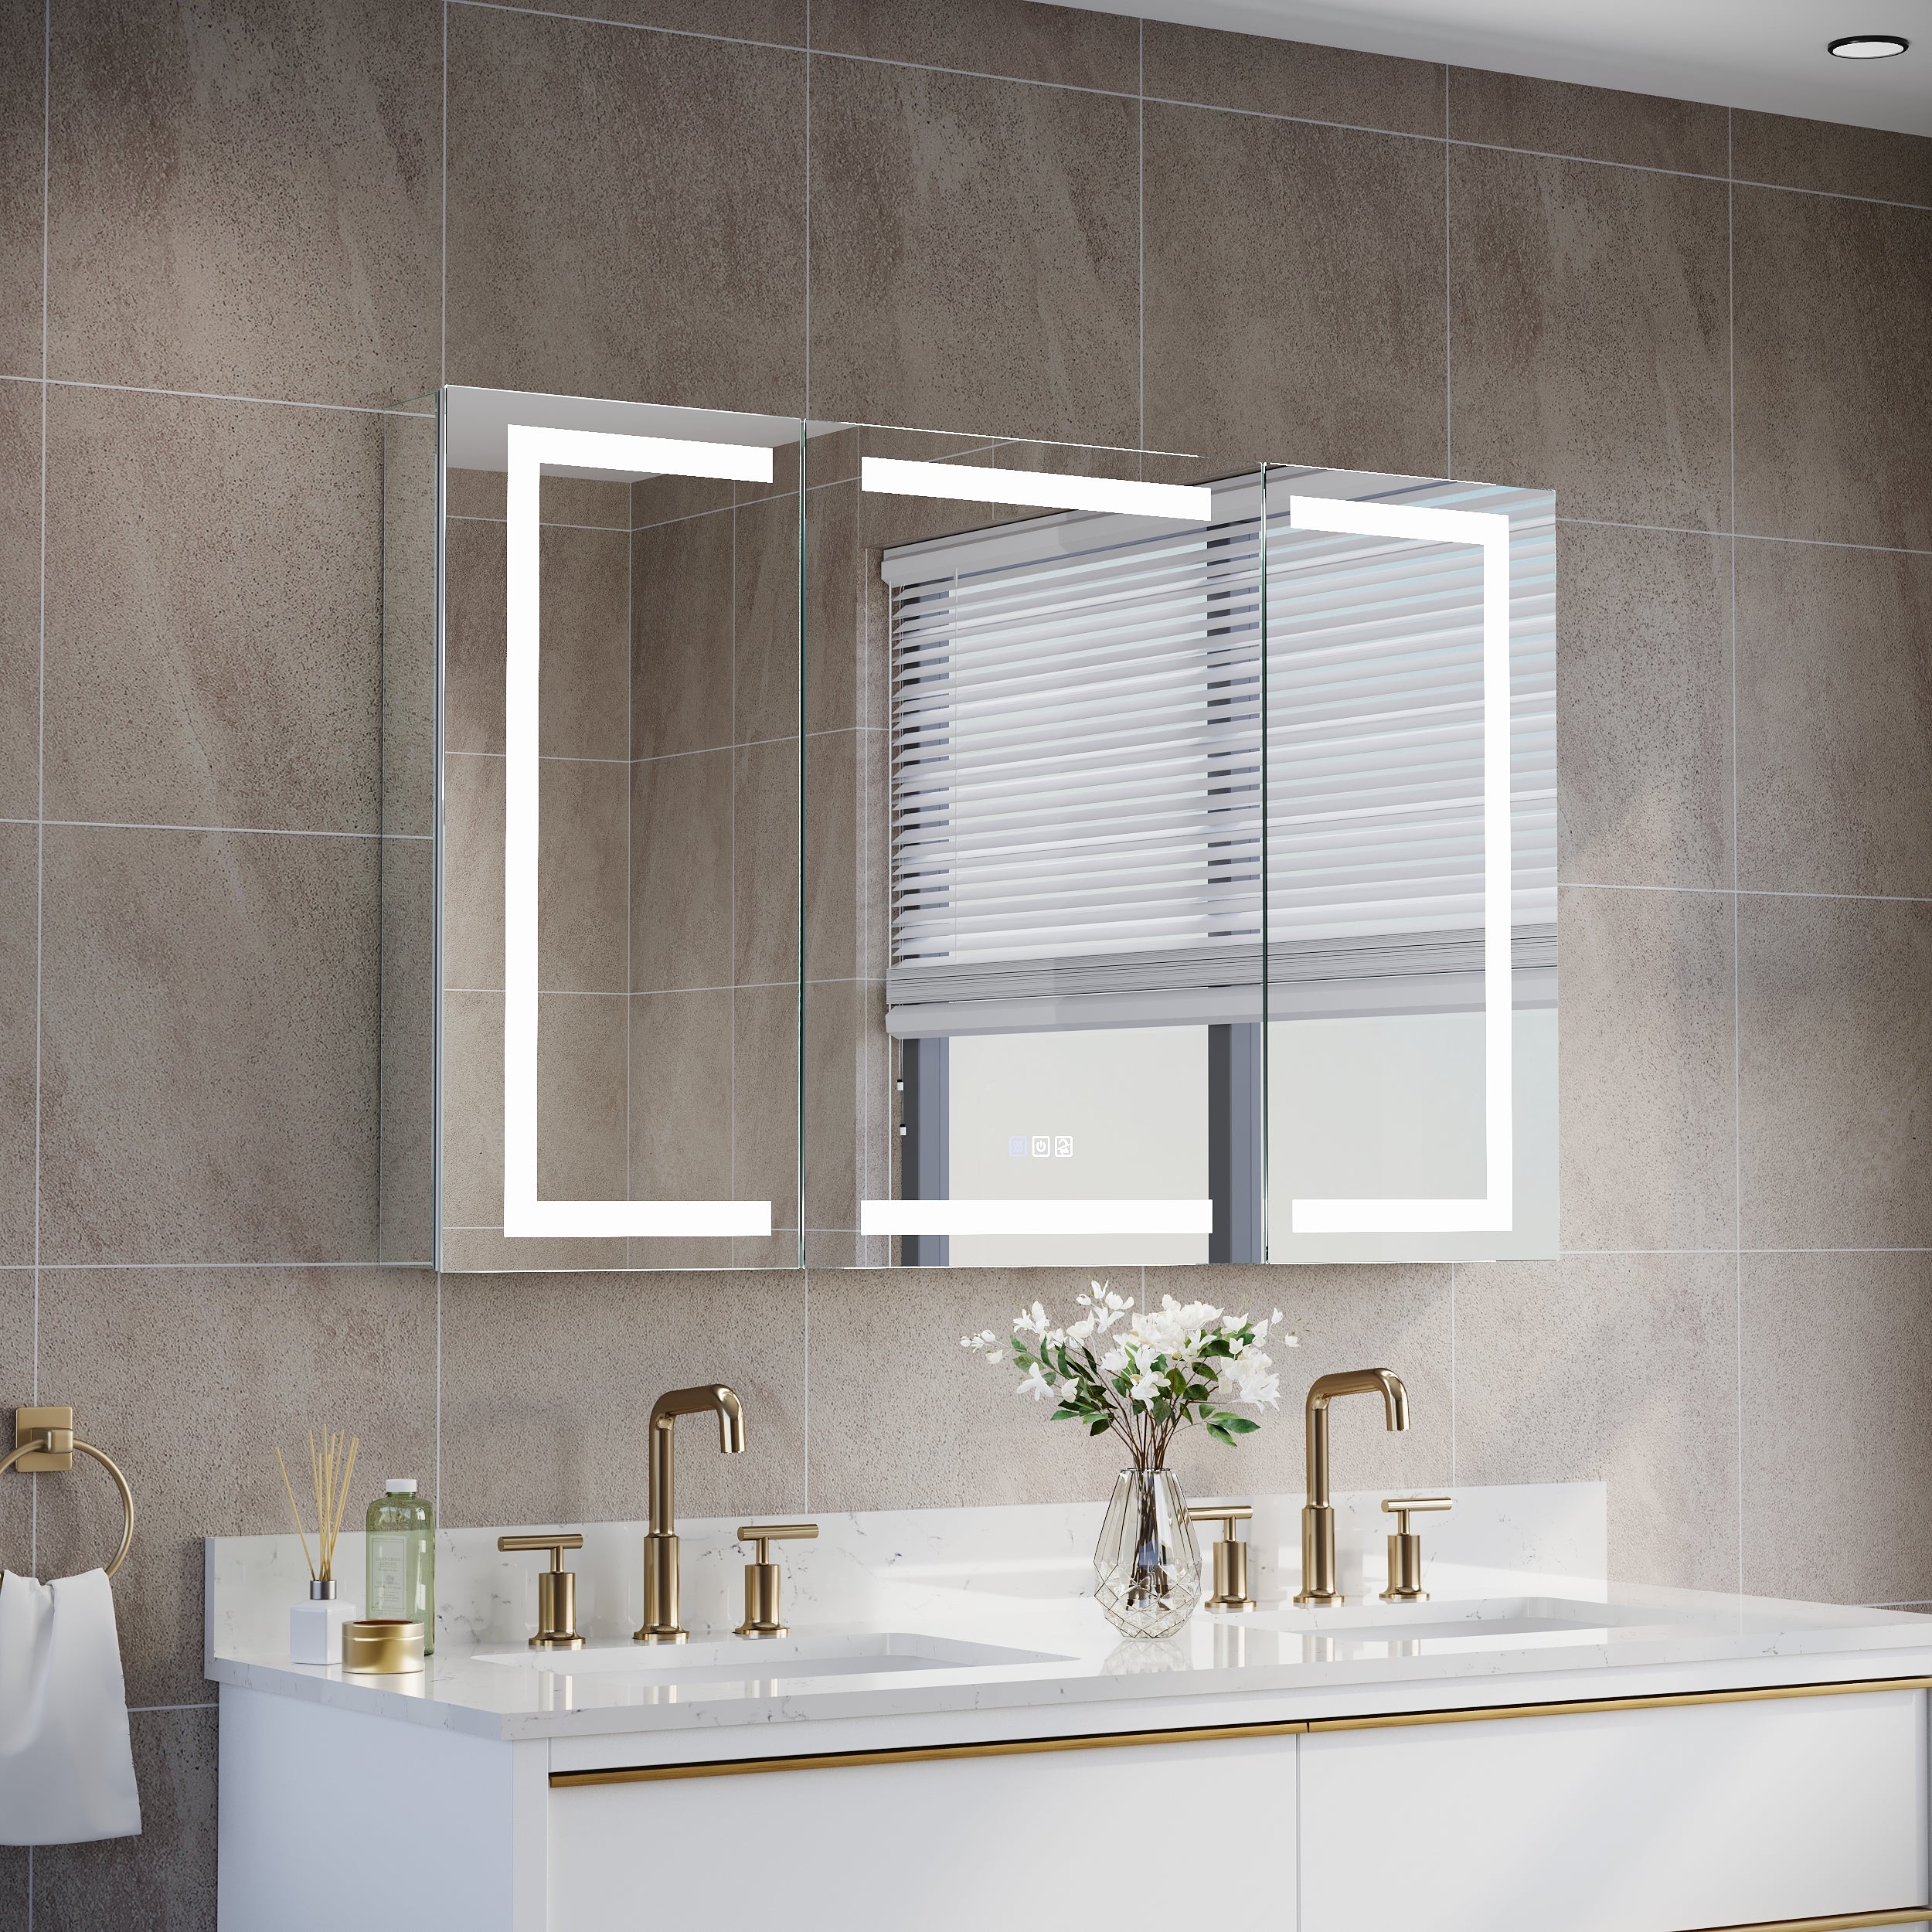
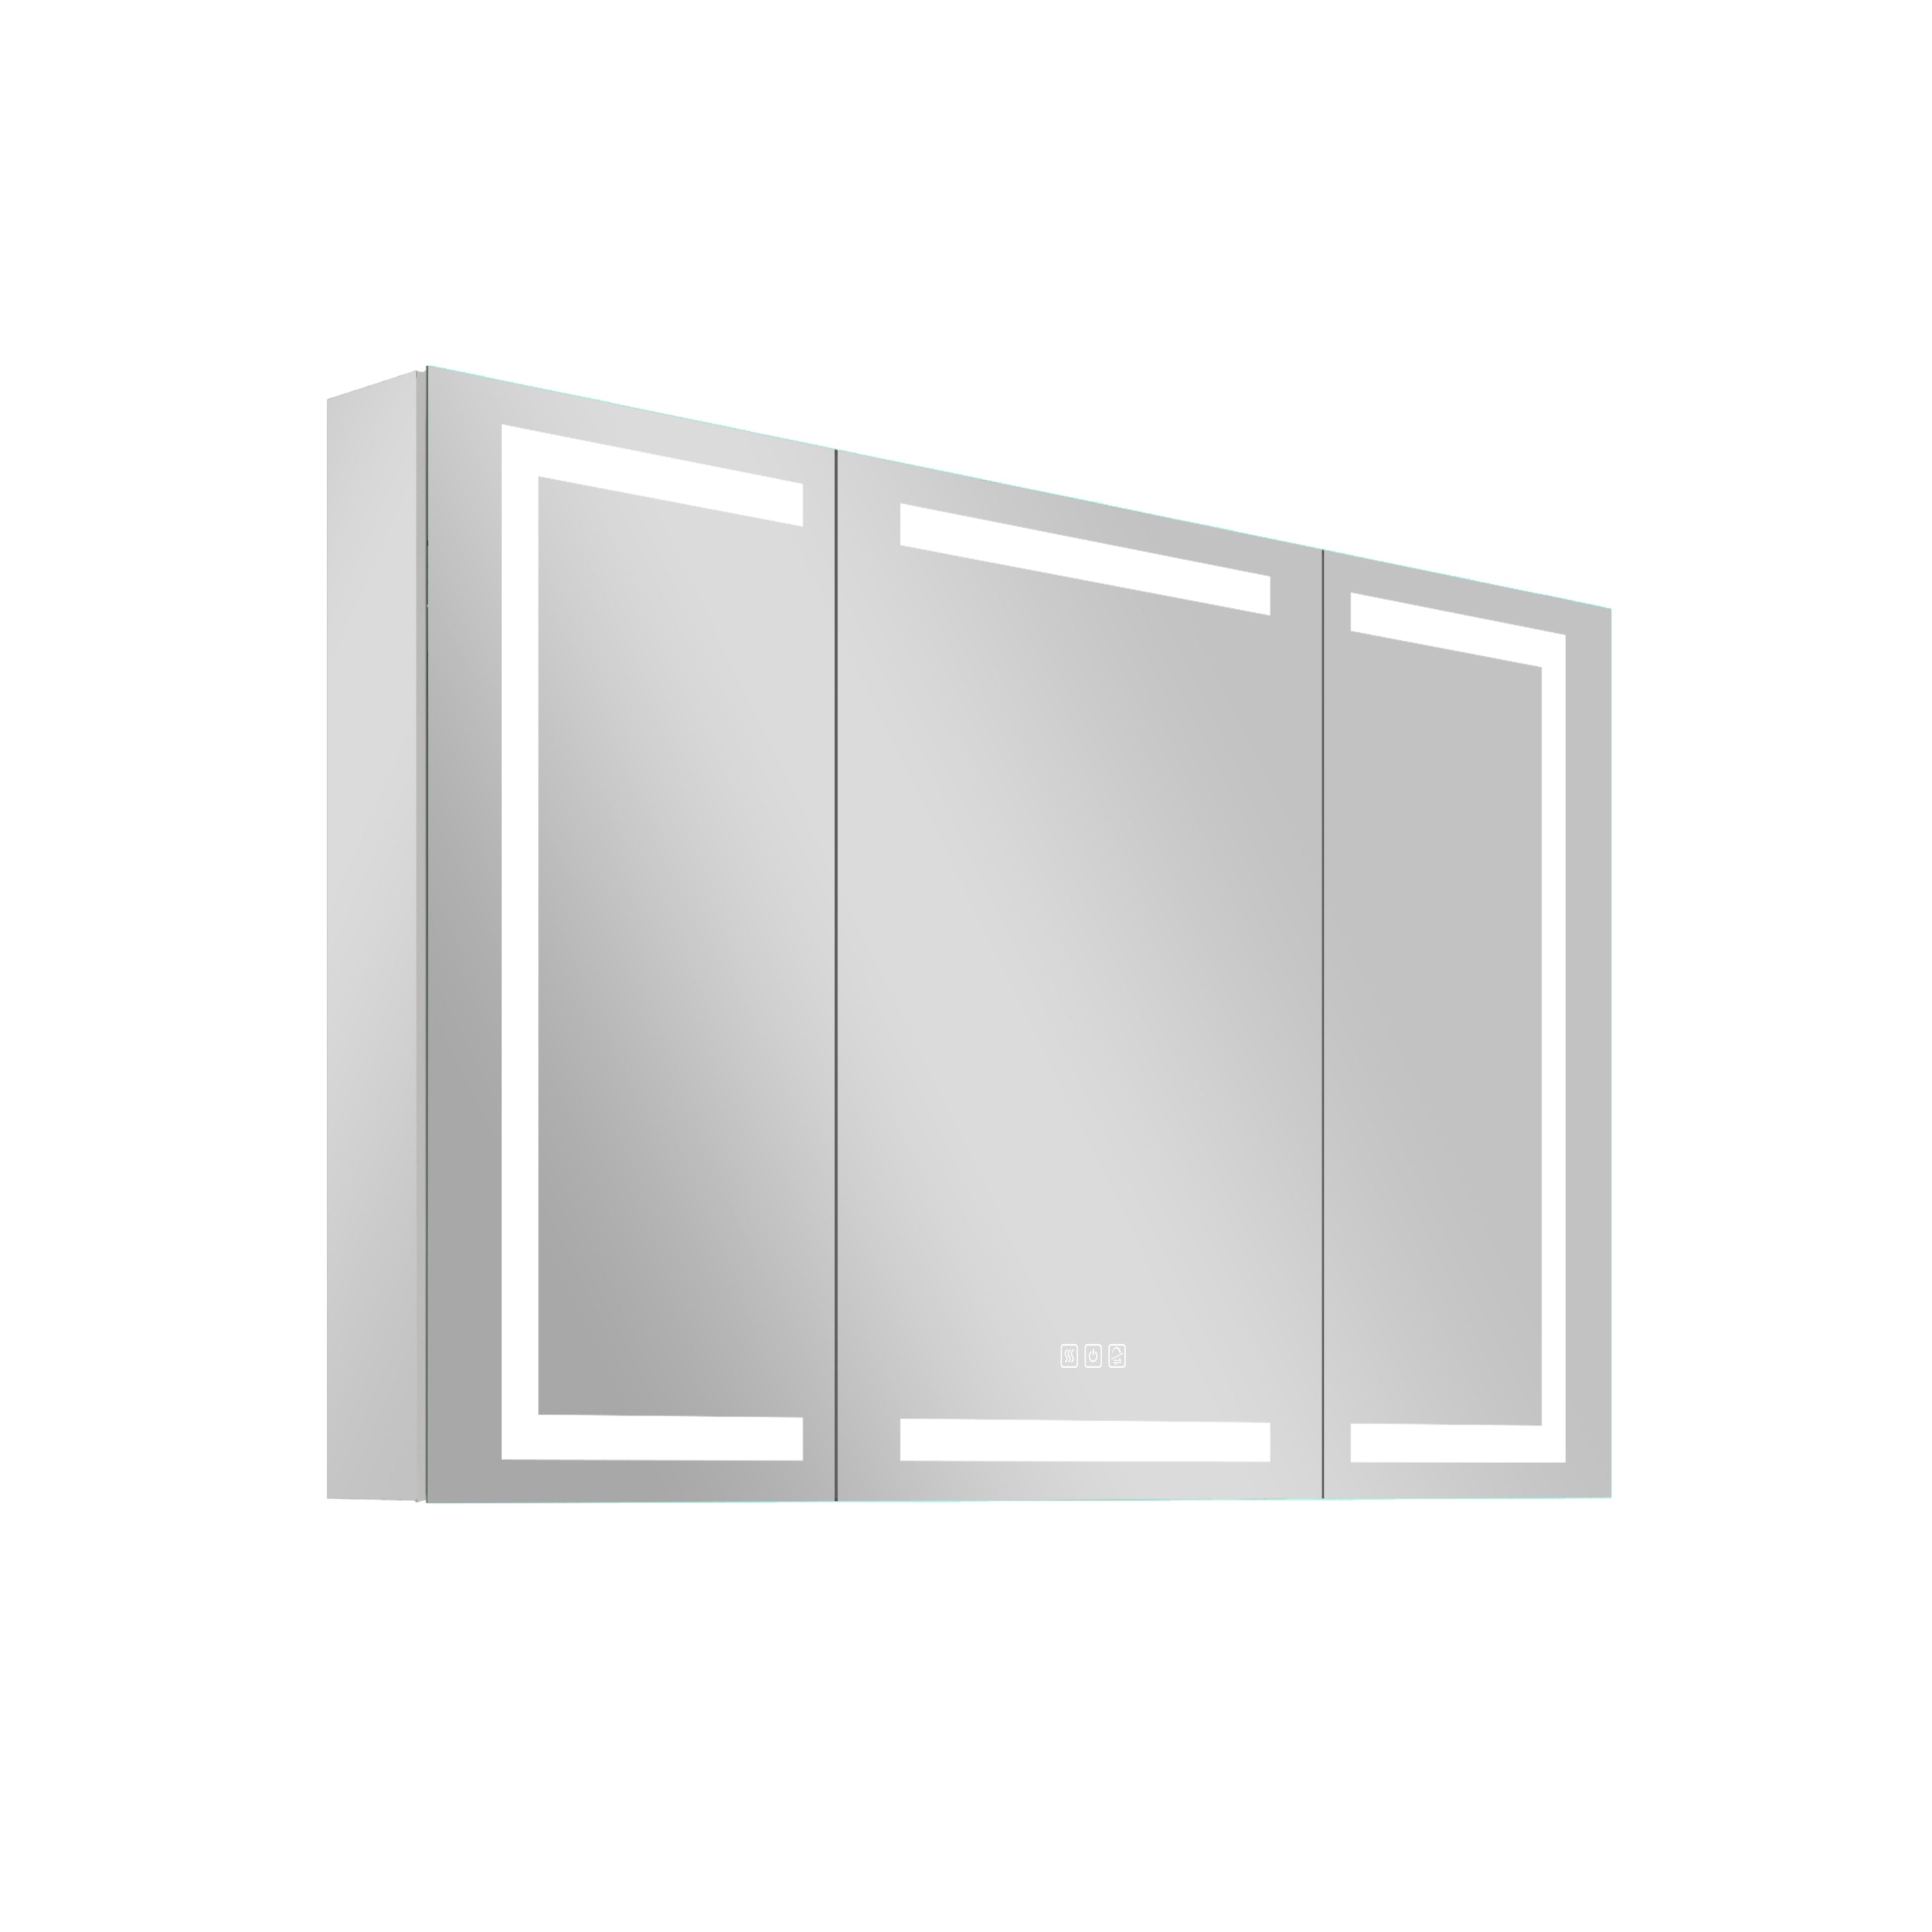
LED mirrors have a sleek and modern design that can elevate the look of any space. The backlit feature adds a touch of elegance and can make a small bathroom or vanity area feel more spacious. With a variety of shapes and sizes available, you can find the perfect LED mirror to fit your style and space.
Choosing the Right LED Mirror
When choosing an LED mirror, there are a few factors to consider:
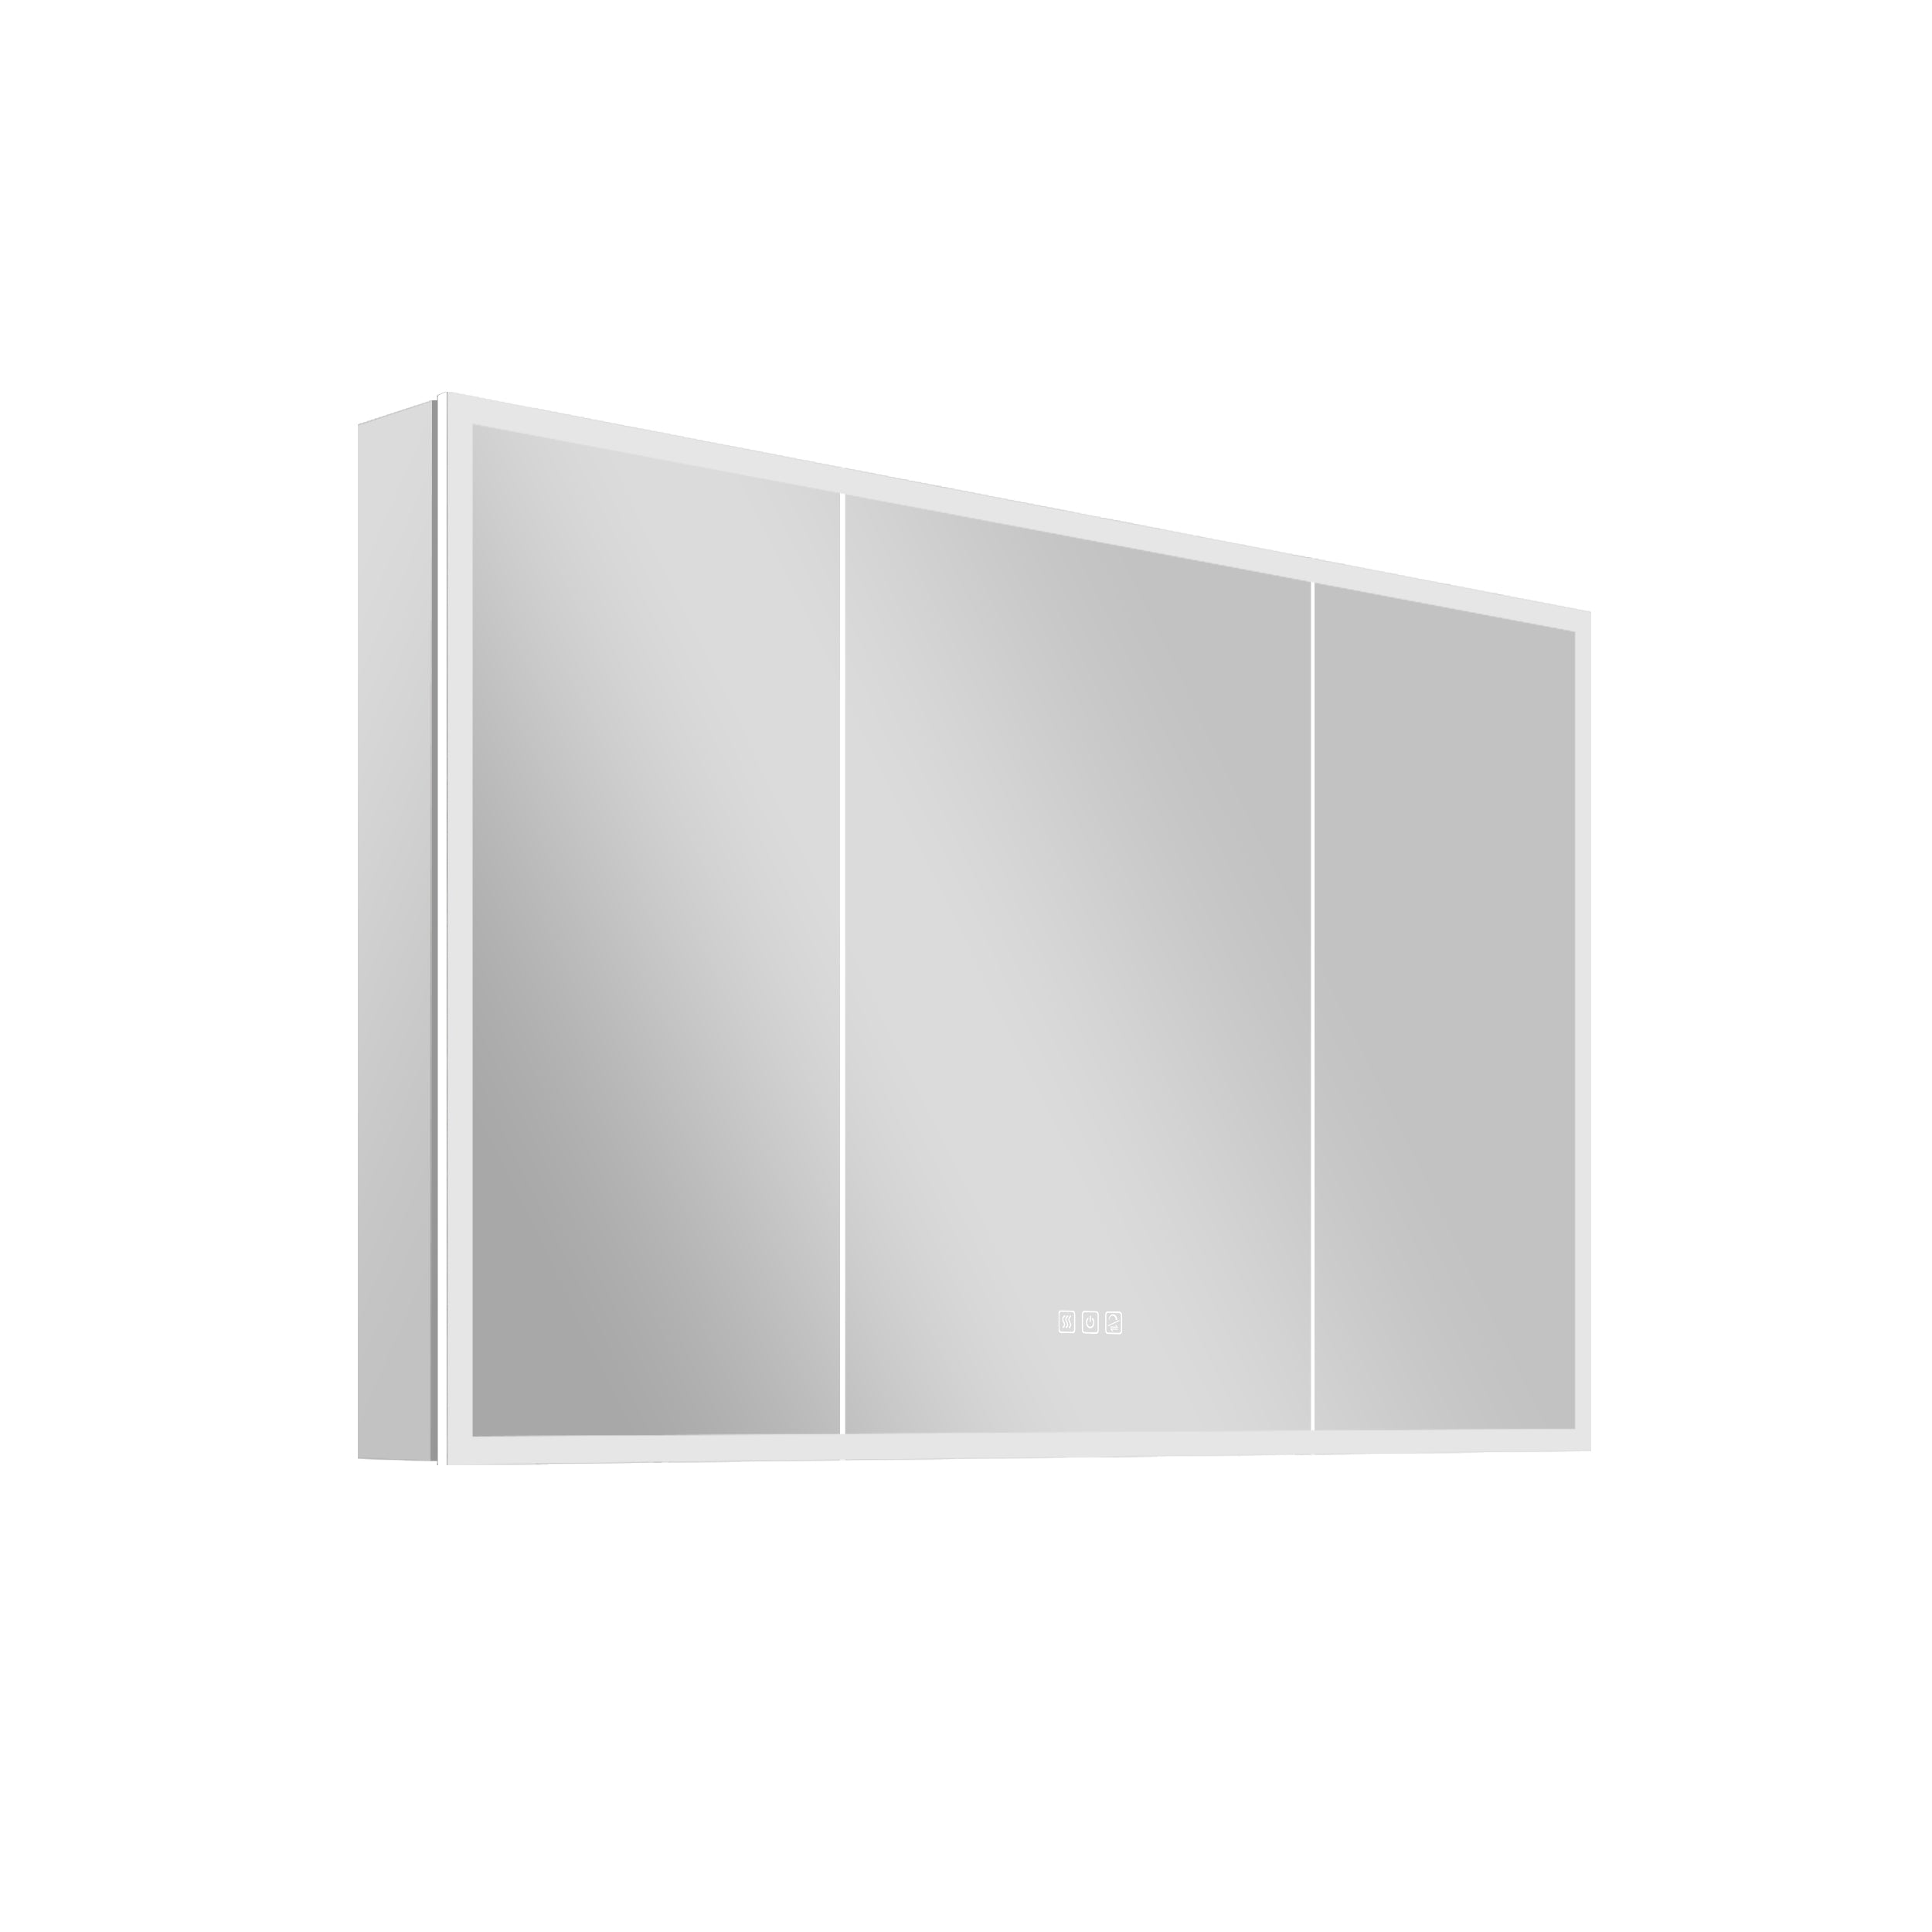
Size and Shape
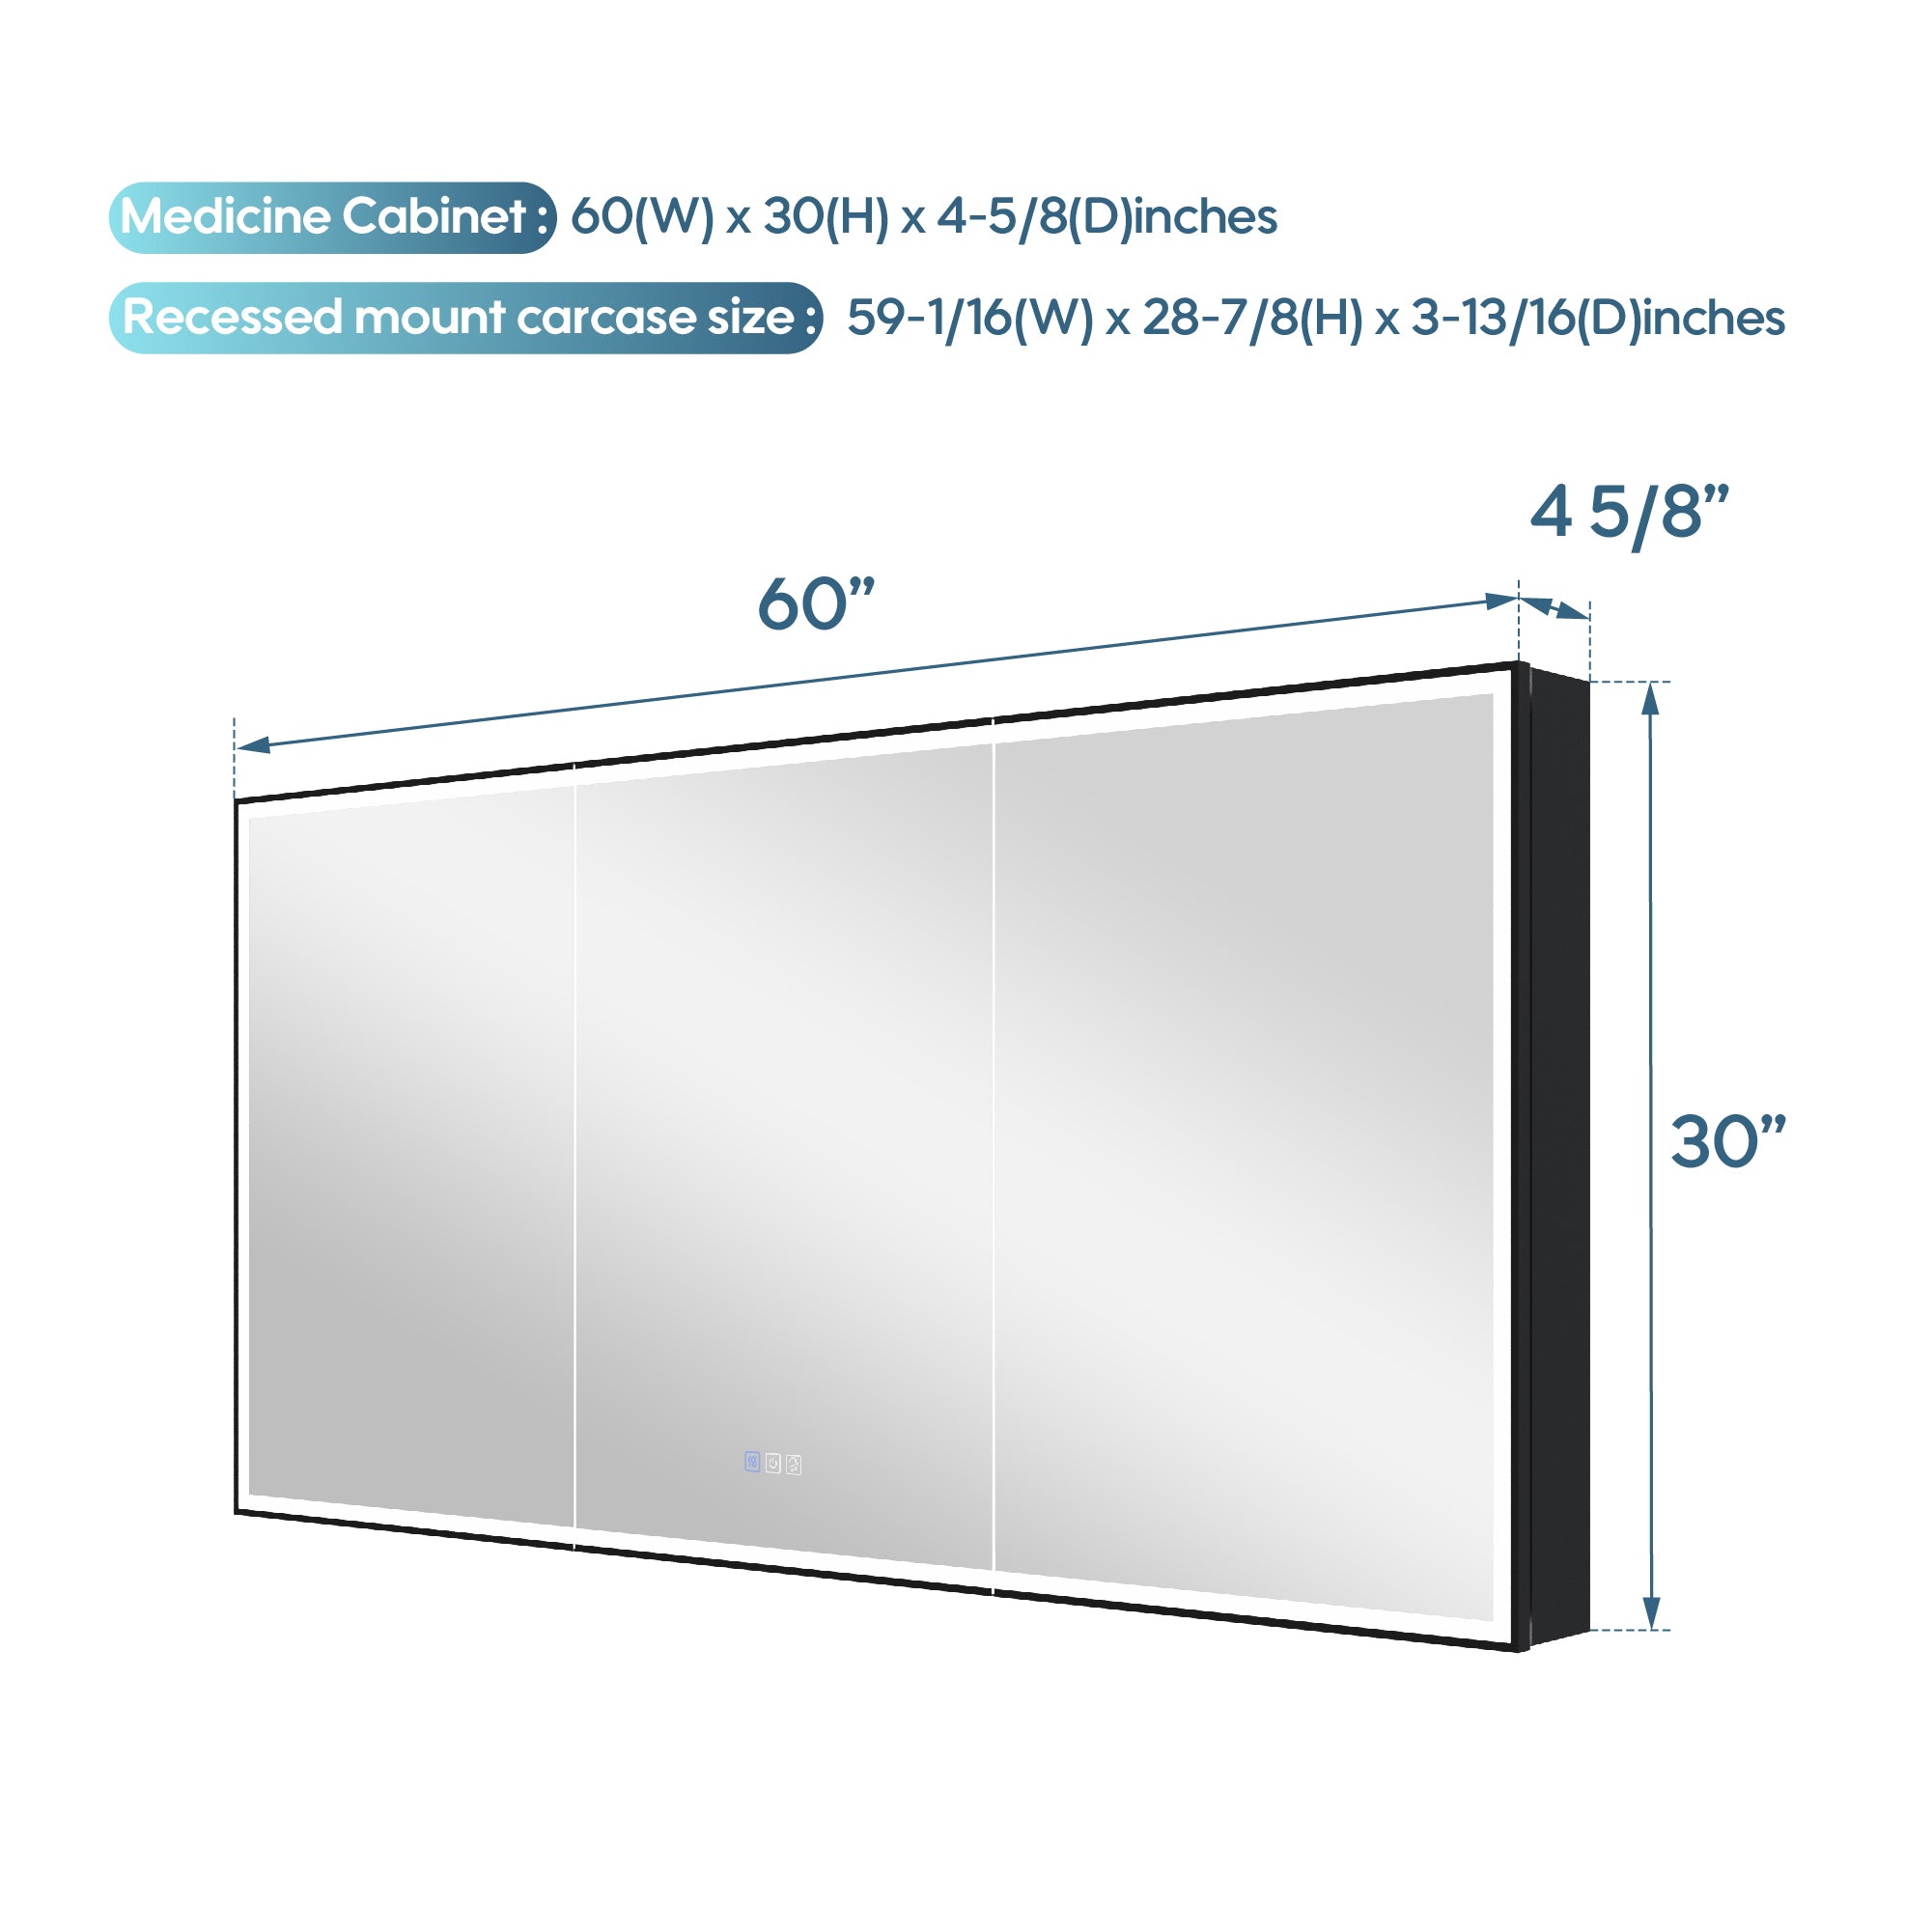
The size and shape of your LED mirror will depend on the size of your space and your personal preference. Round or oval mirrors can add a softer touch, while rectangular or square mirrors can create a more modern look. Consider the size of your vanity or bathroom wall when choosing the size of your mirror.
Color Temperature
LED lights come in a variety of color temperatures, ranging from warm to cool. Warm lights have a yellowish hue, while cool lights have a bluish tint. Consider the overall color scheme of your space when choosing the color temperature of your LED mirror. Warm lights can create a cozy and inviting atmosphere, while cool lights can give a more modern and crisp look.
Additional Features
Some LED mirrors come with additional features such as built-in Bluetooth speakers, anti-fog technology, or touch-sensitive controls. Consider which features are important to you and choose a mirror that meets your needs.
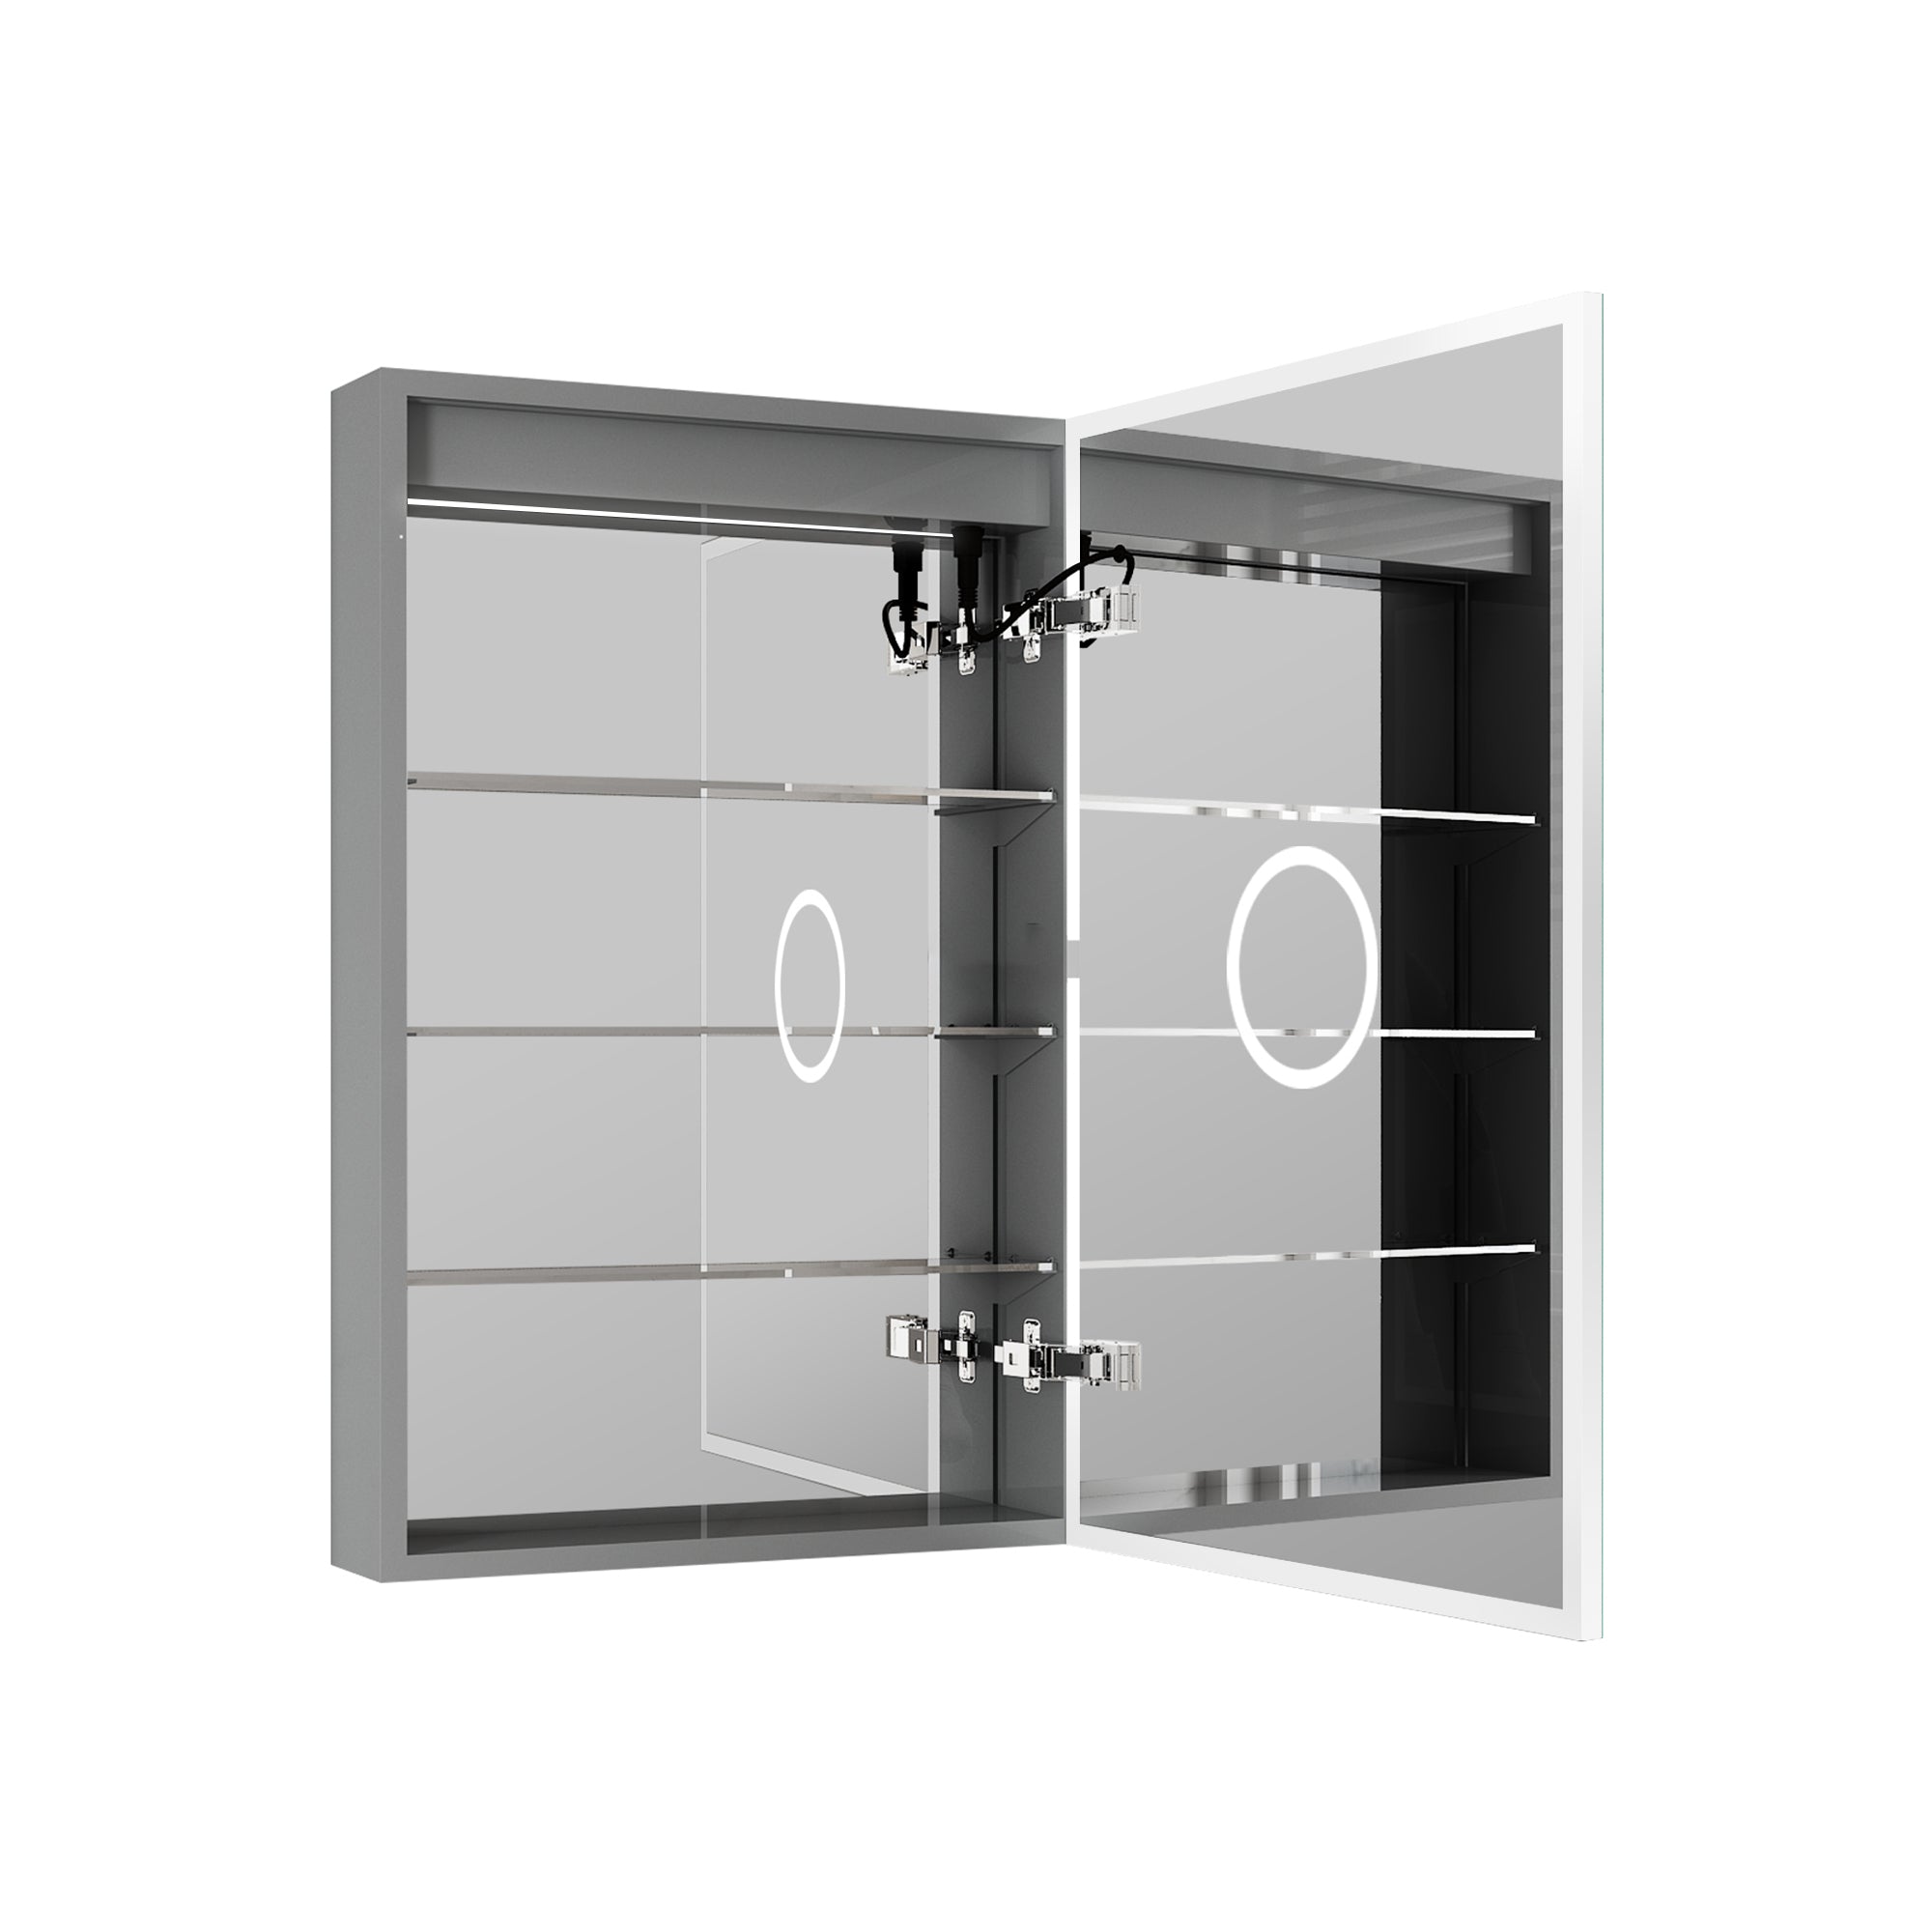
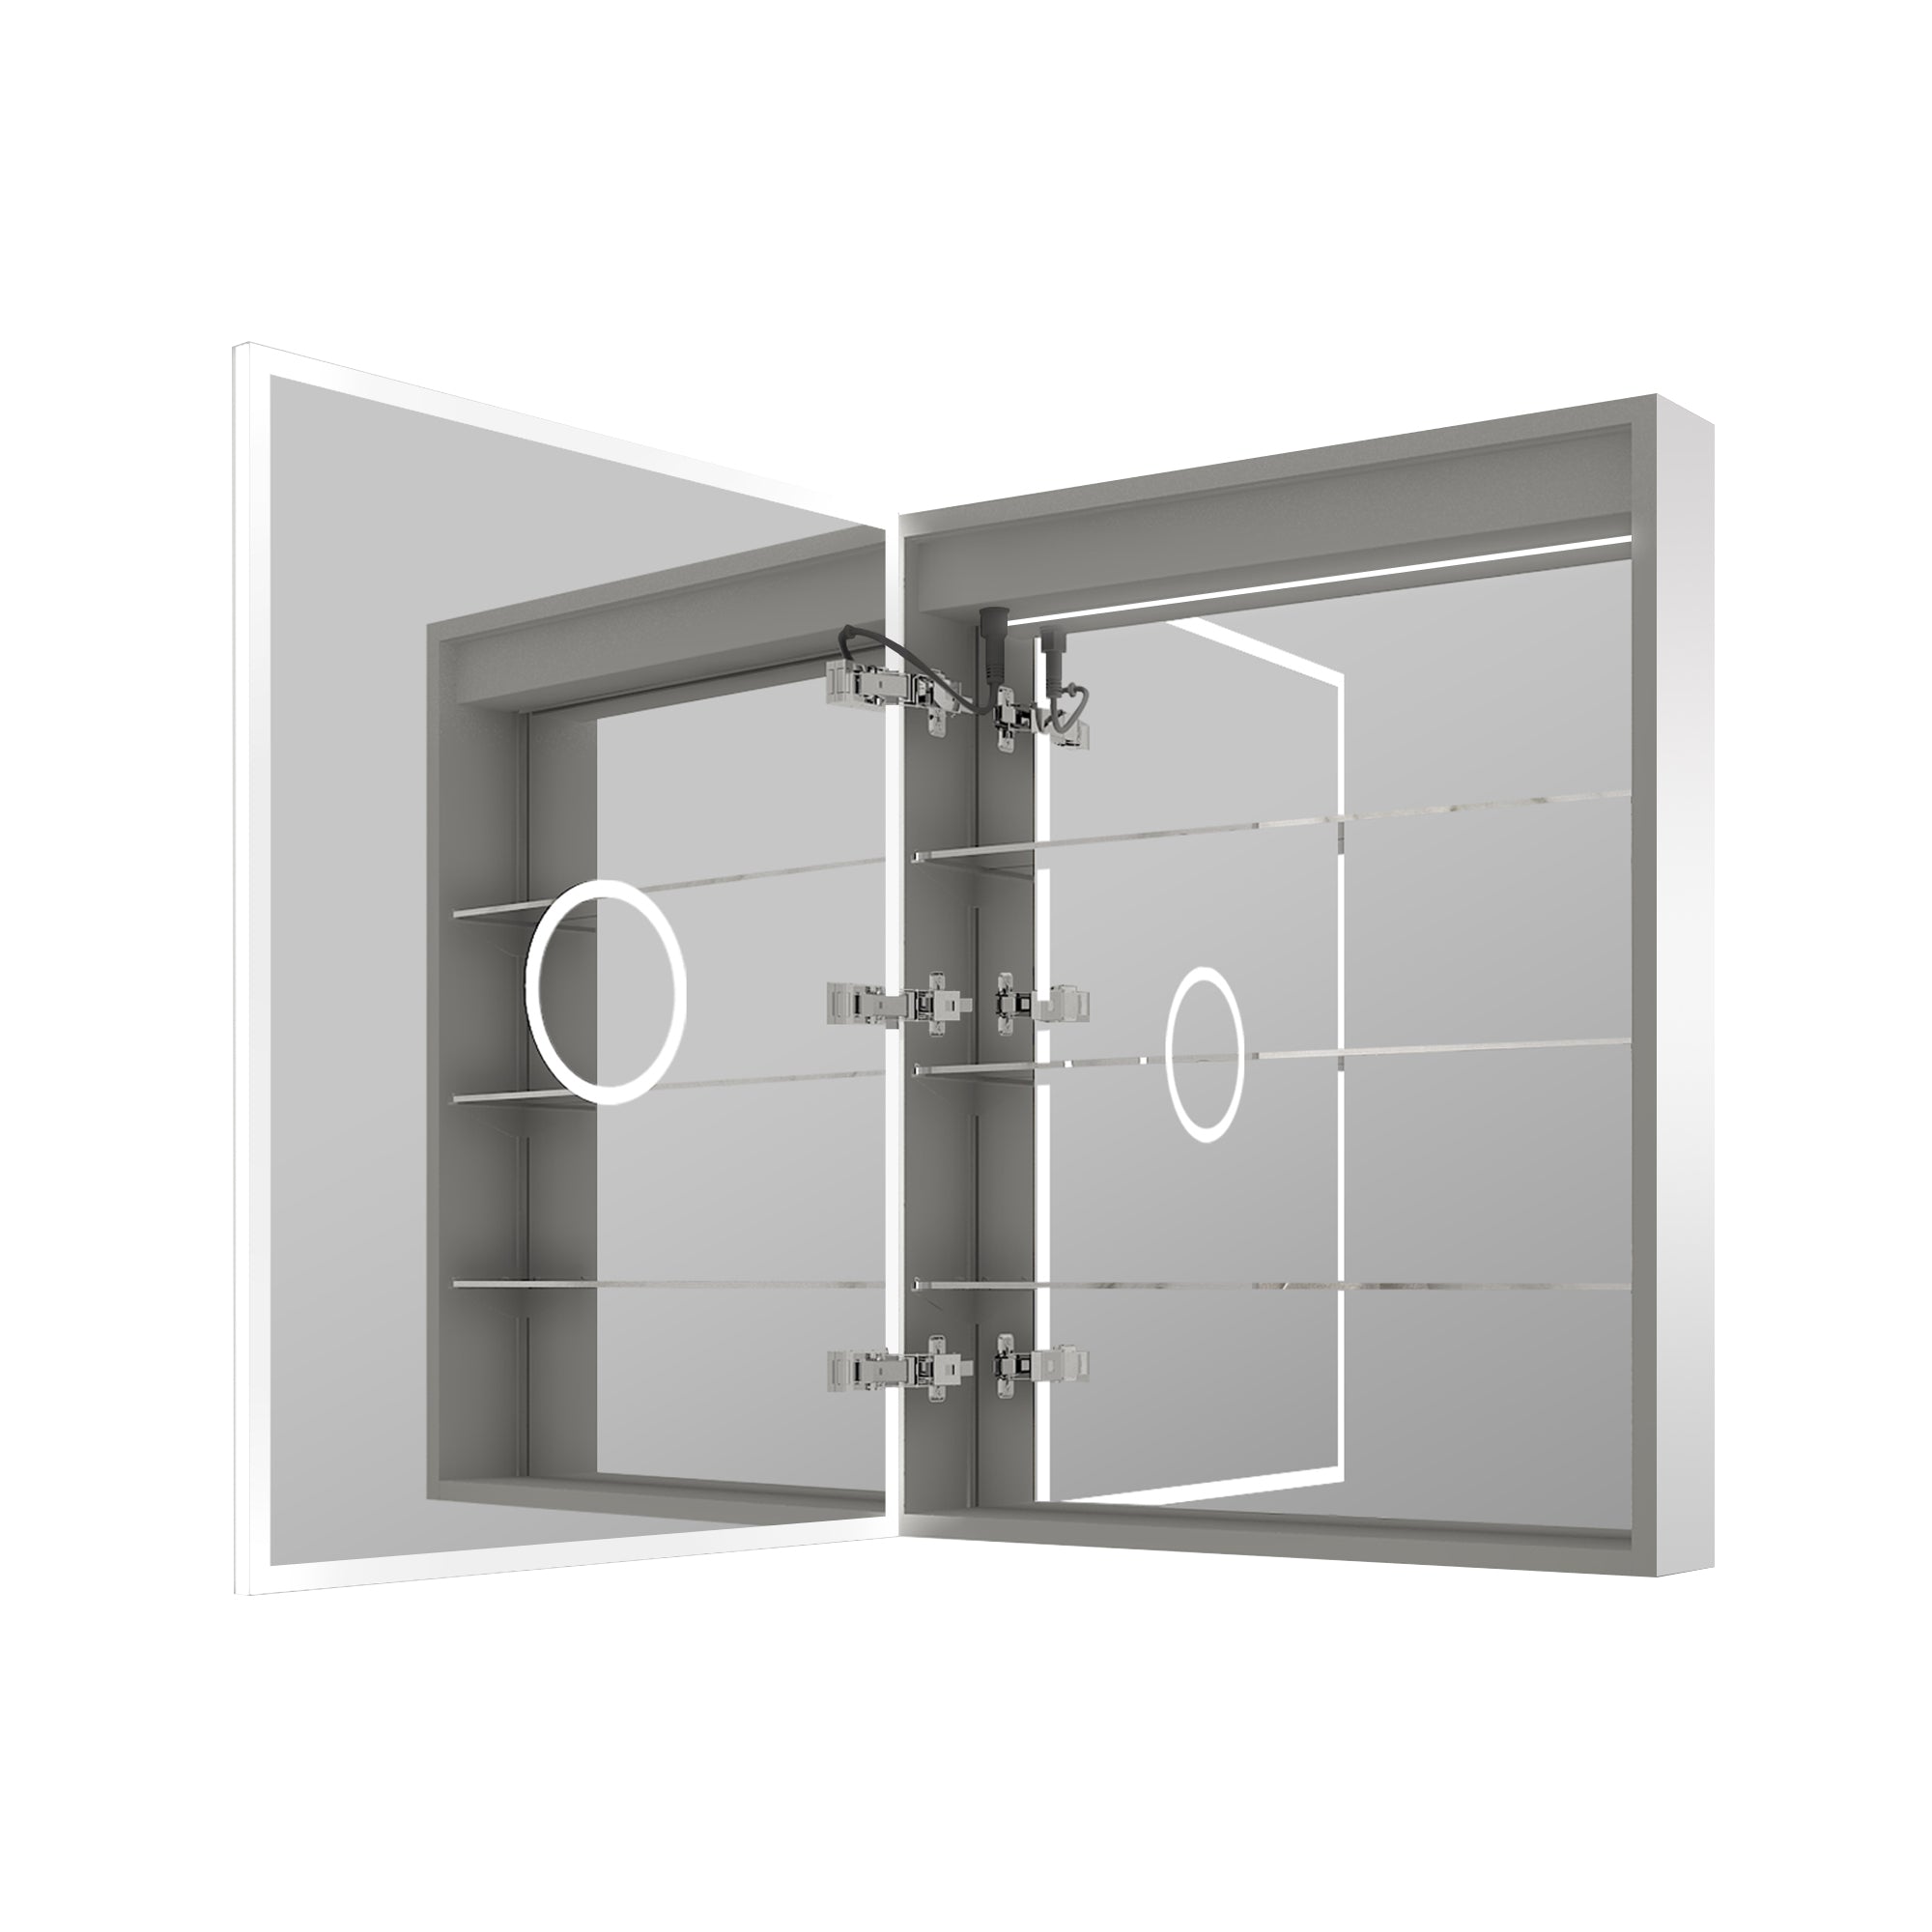
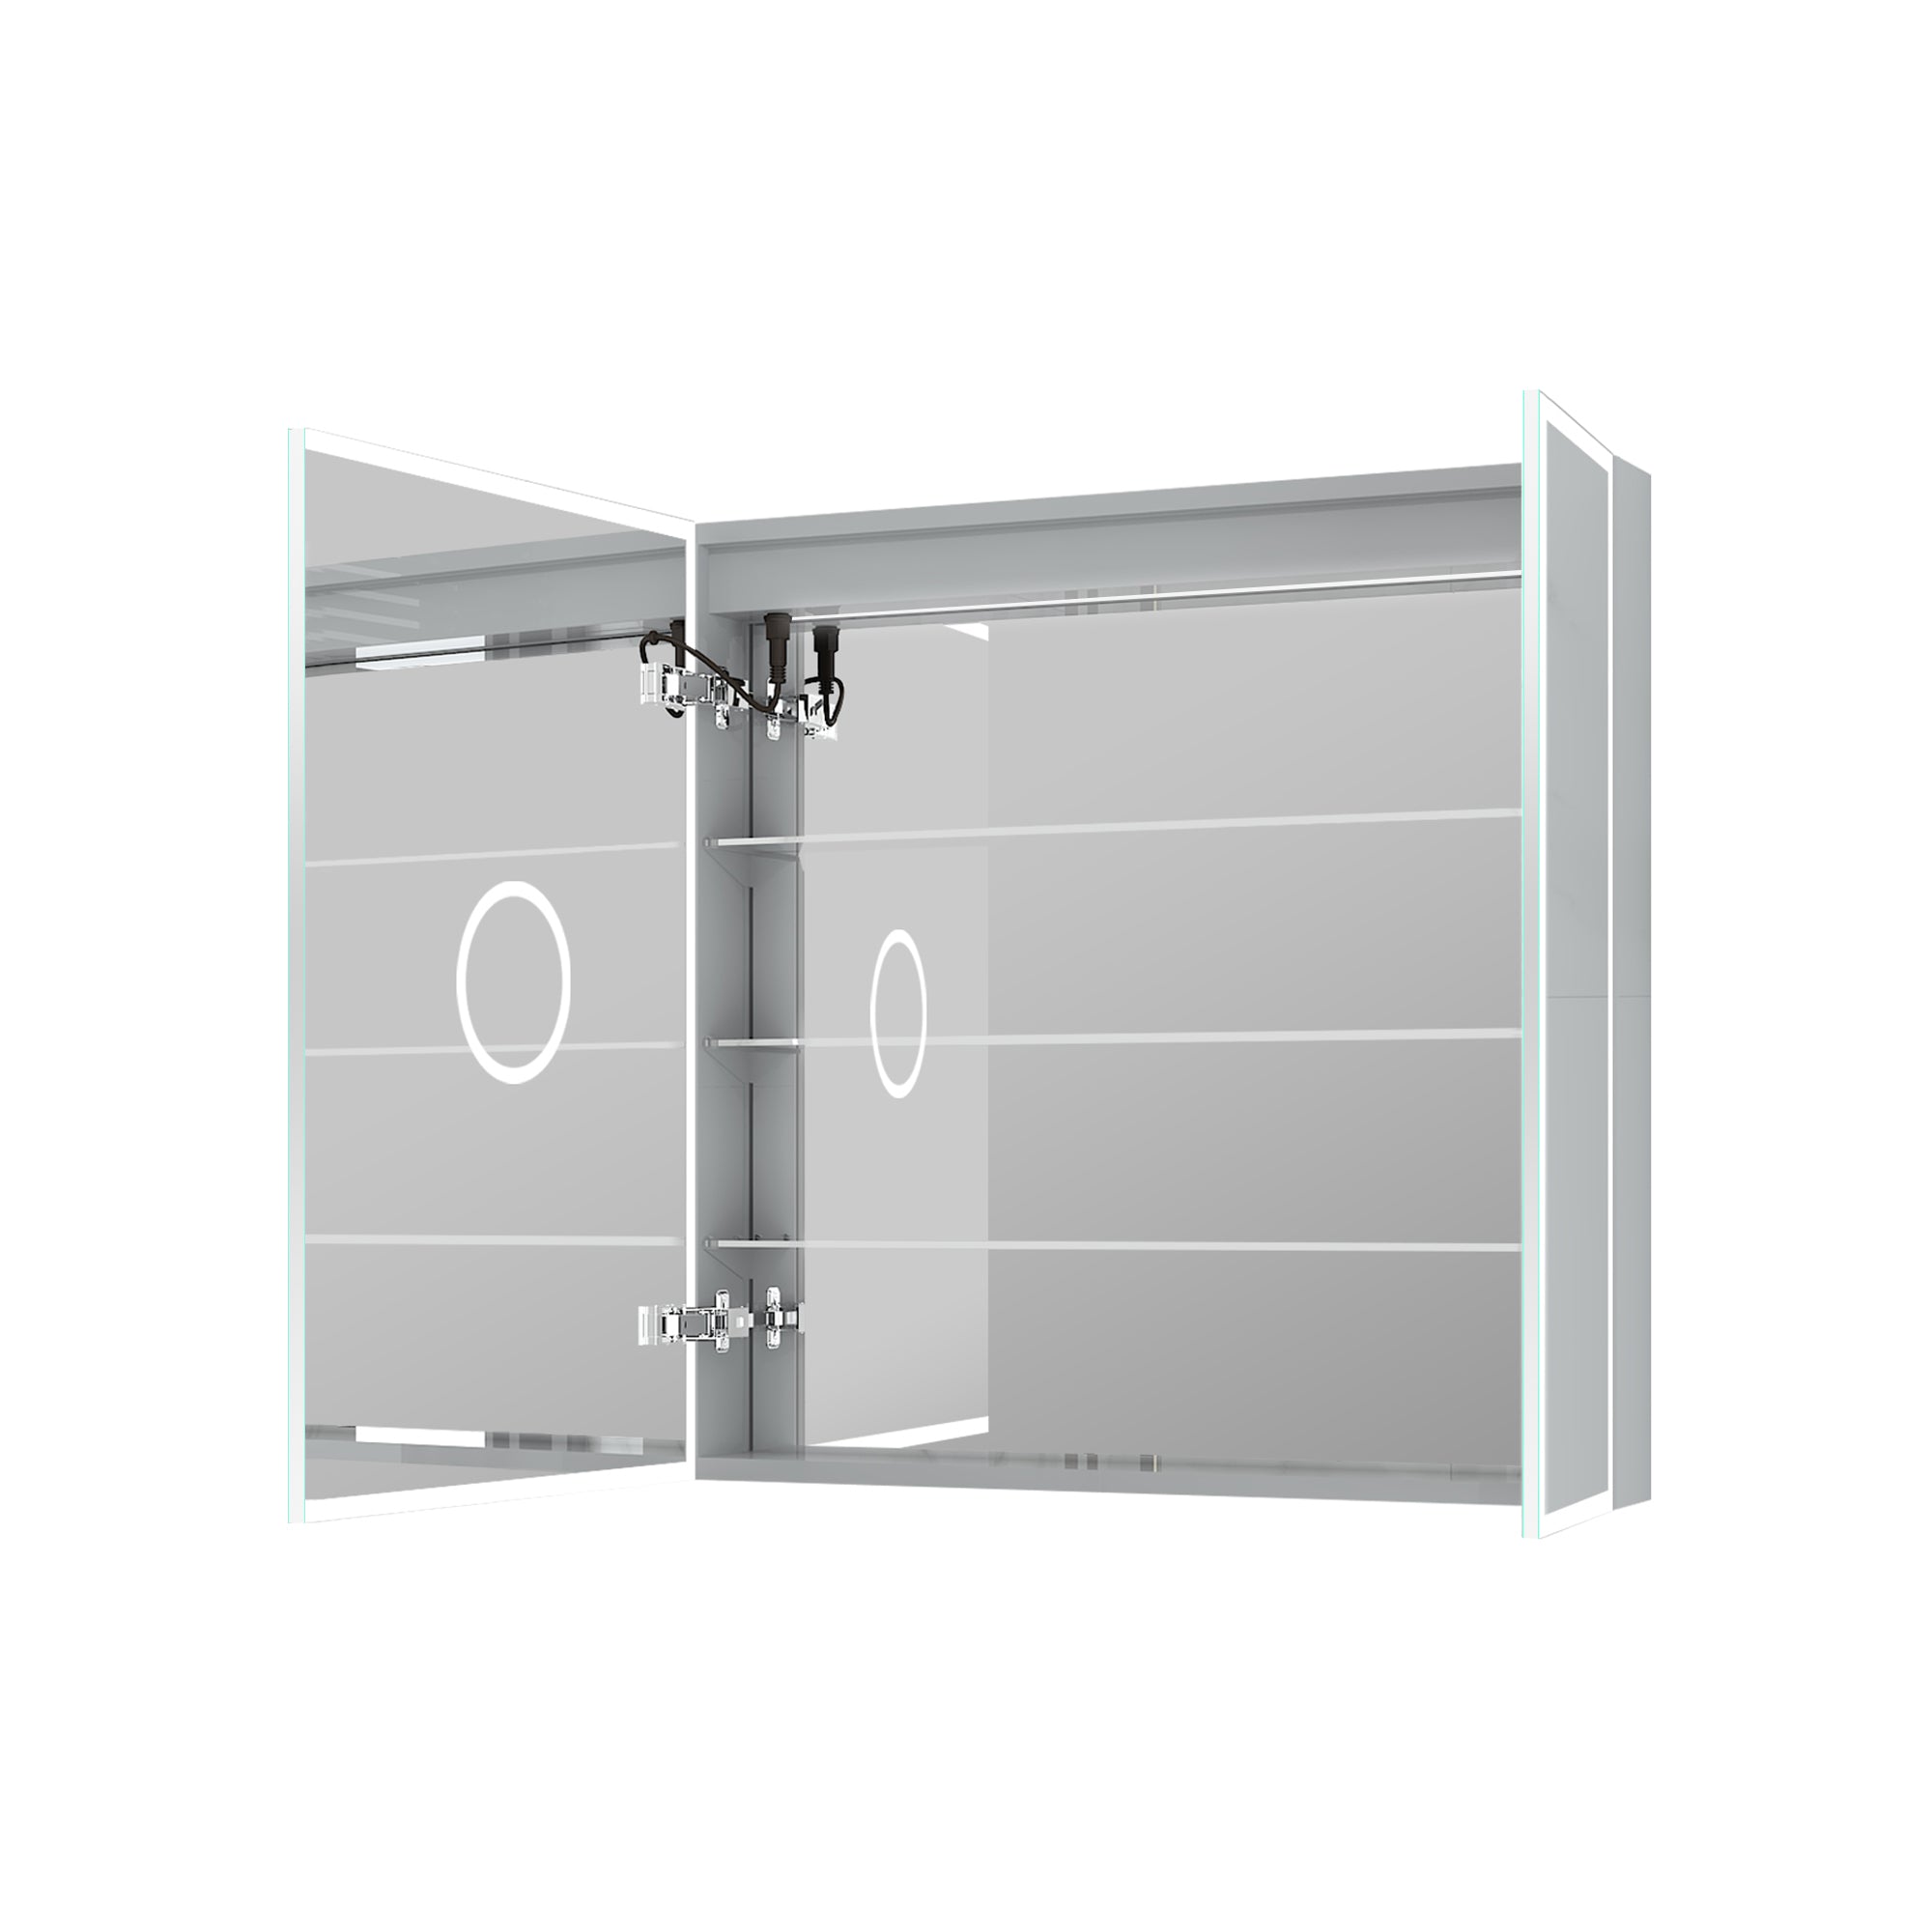
Step-by-Step Guide to Installing LED Mirrors

Step 1: Gather Your Tools
Prior to commencing the installation process, ensure that you have all essential tools at your disposal. This may encompass a drill, level, screwdriver, and measuring tape. Additionally, consider the inclusion of drywall anchors if direct screwing into studs is not feasible for your specific installation requirements.
Step 2: Measure and Mark the Placement of the Mirror
Using a measuring tape, determine the desired placement of your LED mirror. Use a level to ensure that the mirror will be straight. Mark the placement with a pencil.
Step 3: Install the Mounting Brackets
Using a drill, install the mounting brackets according to the manufacturer's instructions. Make sure the brackets are level and securely attached to the wall.
Step 4: Attach the Mirror to the Brackets
Carefully lift the LED mirror and place it onto the mounting brackets. Make sure the mirror is securely attached and level.
Step 5: Connect the Wiring
If your LED mirror requires wiring, carefully follow the manufacturer's instructions to connect the wiring. If you are not comfortable with electrical work, it is best to hire a professional for this step.
Step 6: Test the Lighting
Before fully securing the mirror to the wall, test the lighting to make sure it is working properly. If there are any issues, consult the manufacturer's instructions or contact a professional for assistance.
Step 7: Secure the Mirror to the Wall
Once you have tested the lighting and everything is working properly, secure the mirror to the wall using screws or drywall anchors. Make sure the mirror is level and securely attached.
Maintenance Tips for LED Mirrors
To keep your LED mirror looking its best, follow these maintenance tips:
Clean Regularly
For maintaining the pristine appearance of your LED mirror, adopt a routine cleaning regimen using a soft, non-abrasive cloth paired with a mild cleaner. Steer clear of harsh chemicals or abrasive materials, as they possess the potential to inflict damage upon the mirror's surface, ensuring its longevity and continued luster.
Avoid Excessive Moisture
While LED mirrors are designed to withstand moisture, it is best to avoid excessive moisture on the mirror's surface. Wipe away any water droplets after use to prevent water spots from forming.
Replace Bulbs as Needed
LED lights have a long lifespan, but they will eventually need to be replaced. Keep an eye on the brightness of your mirror and replace any bulbs that are dim or not working properly.
Installing LED mirrors is a simple and stylish way to upgrade your bathroom or vanity area. With their functional lighting and sleek design, LED mirrors are a popular choice for modern homes. By following this step-by-step guide and properly maintaining your mirror, you can enjoy the benefits of a well-lit and stylish space for years to come.


Leave a comment
All comments are moderated before being published.
This site is protected by hCaptcha and the hCaptcha Privacy Policy and Terms of Service apply.