


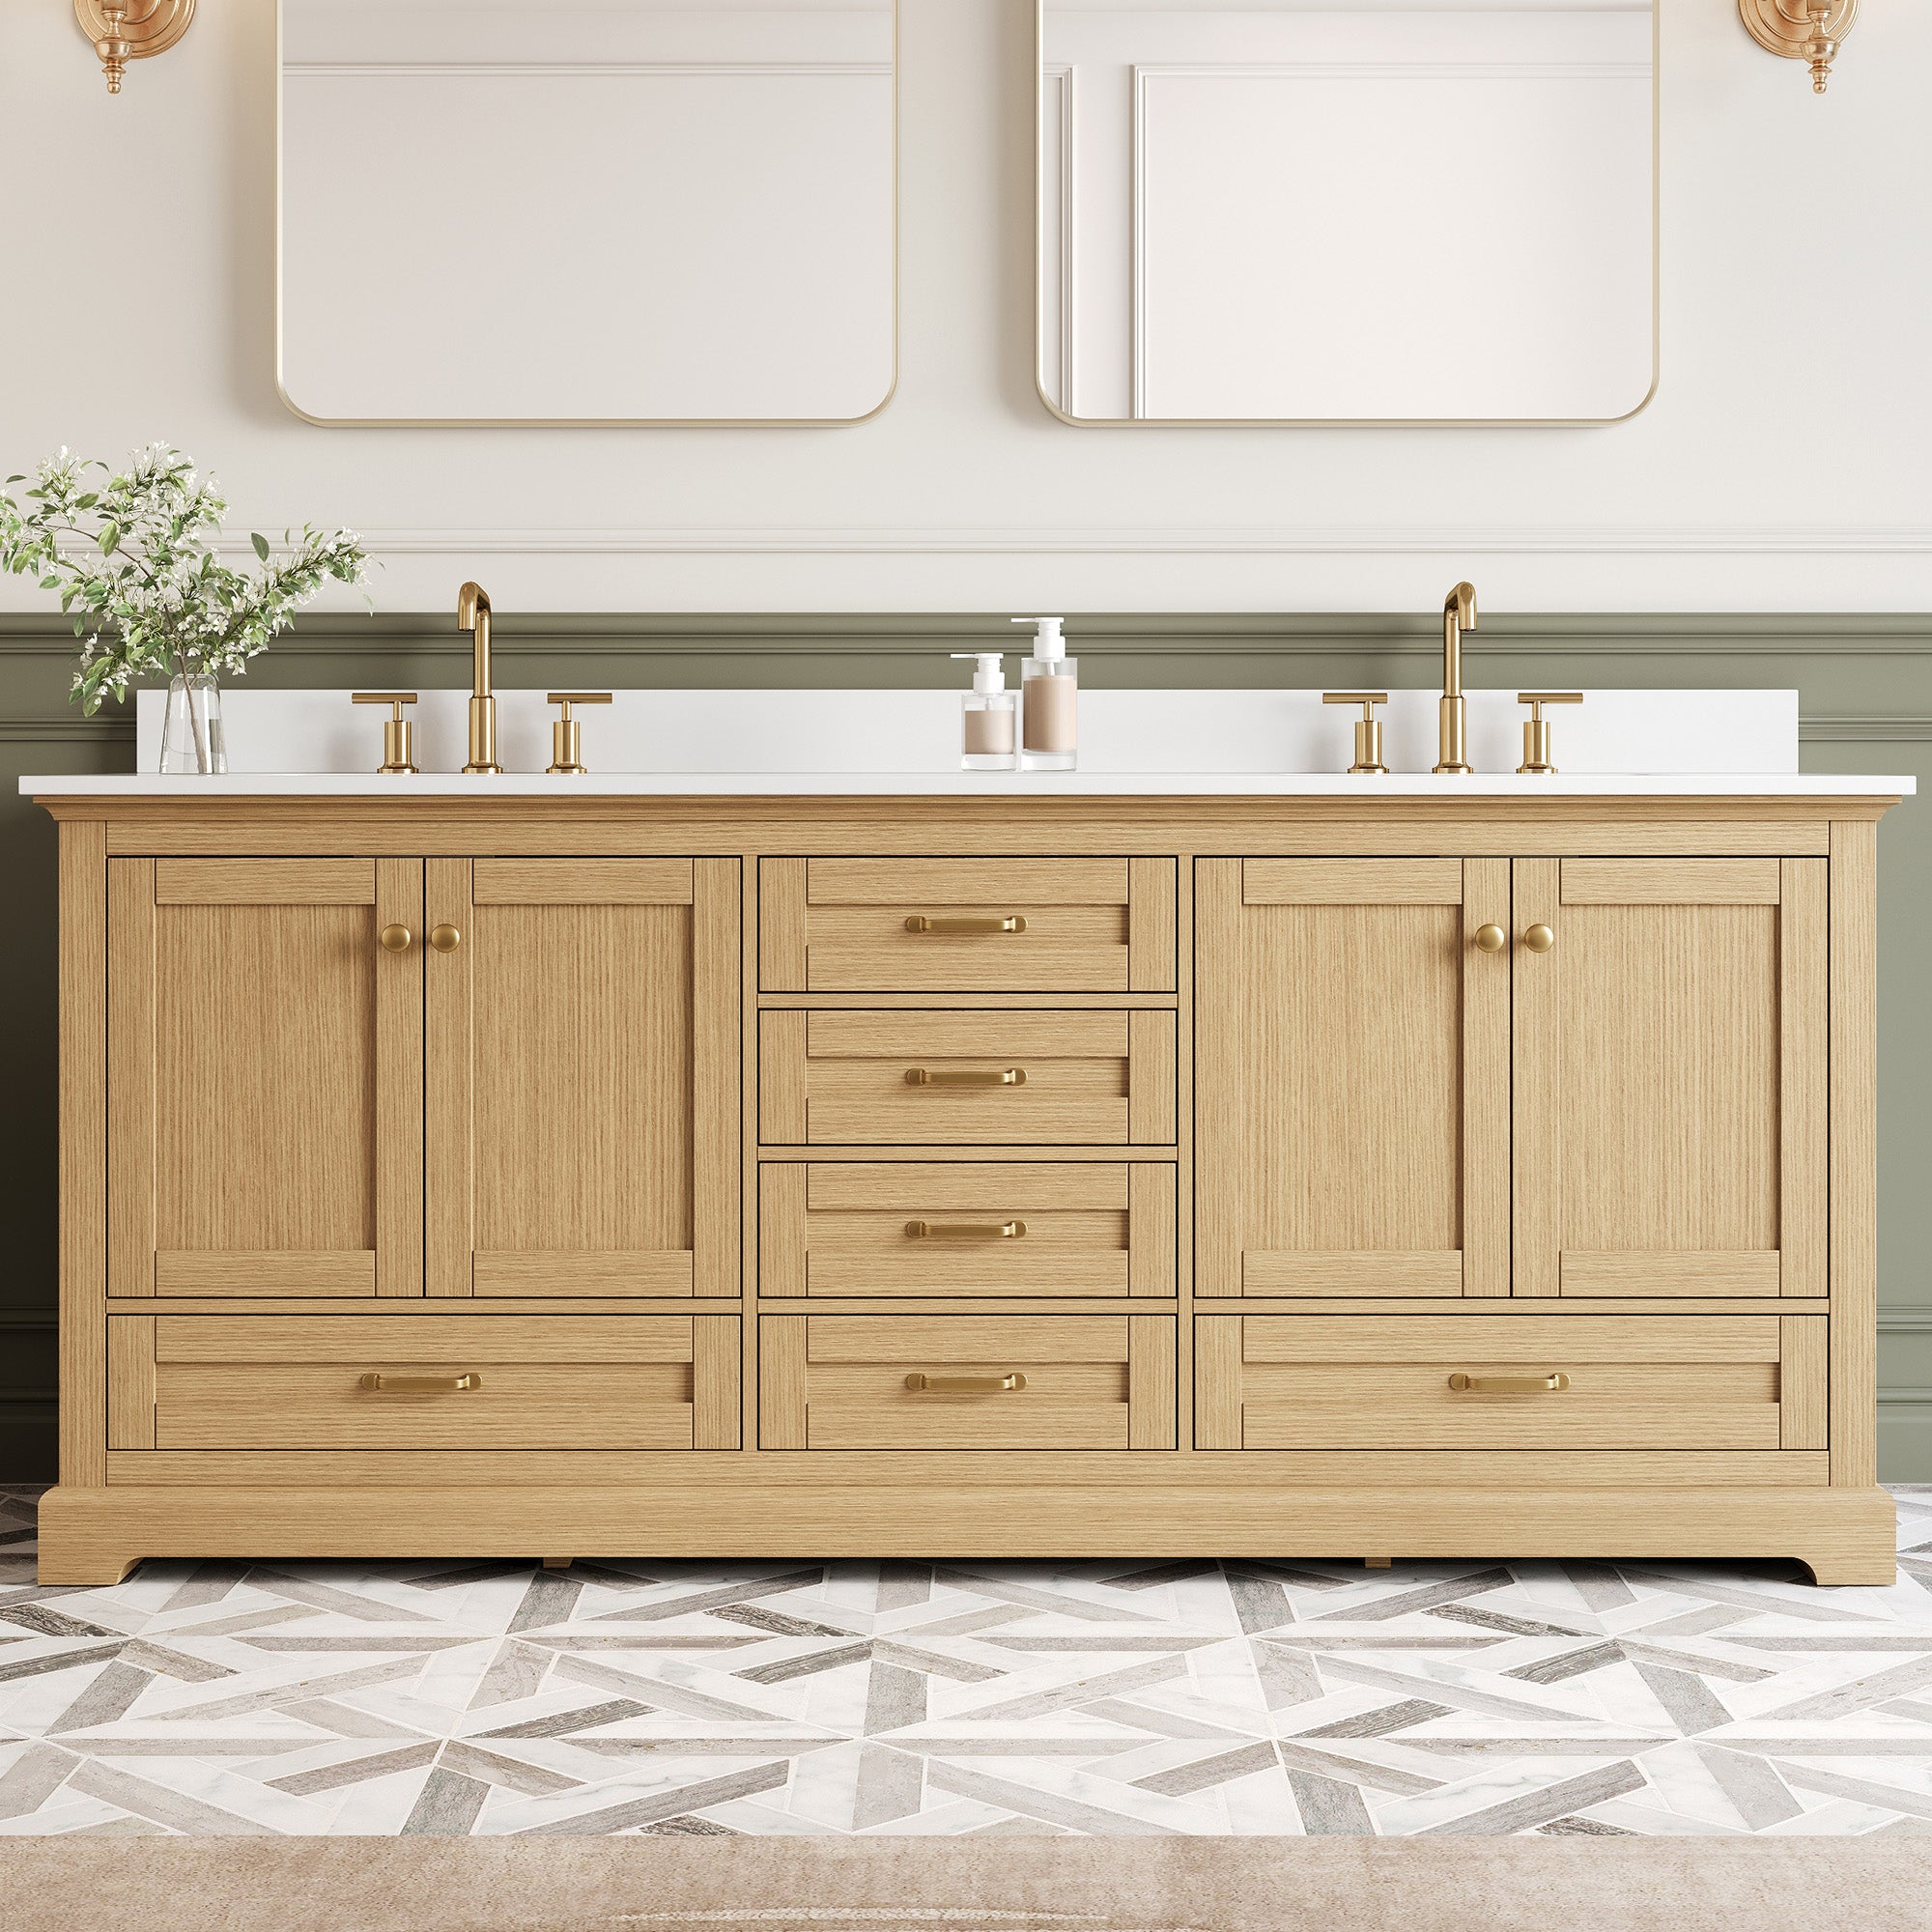
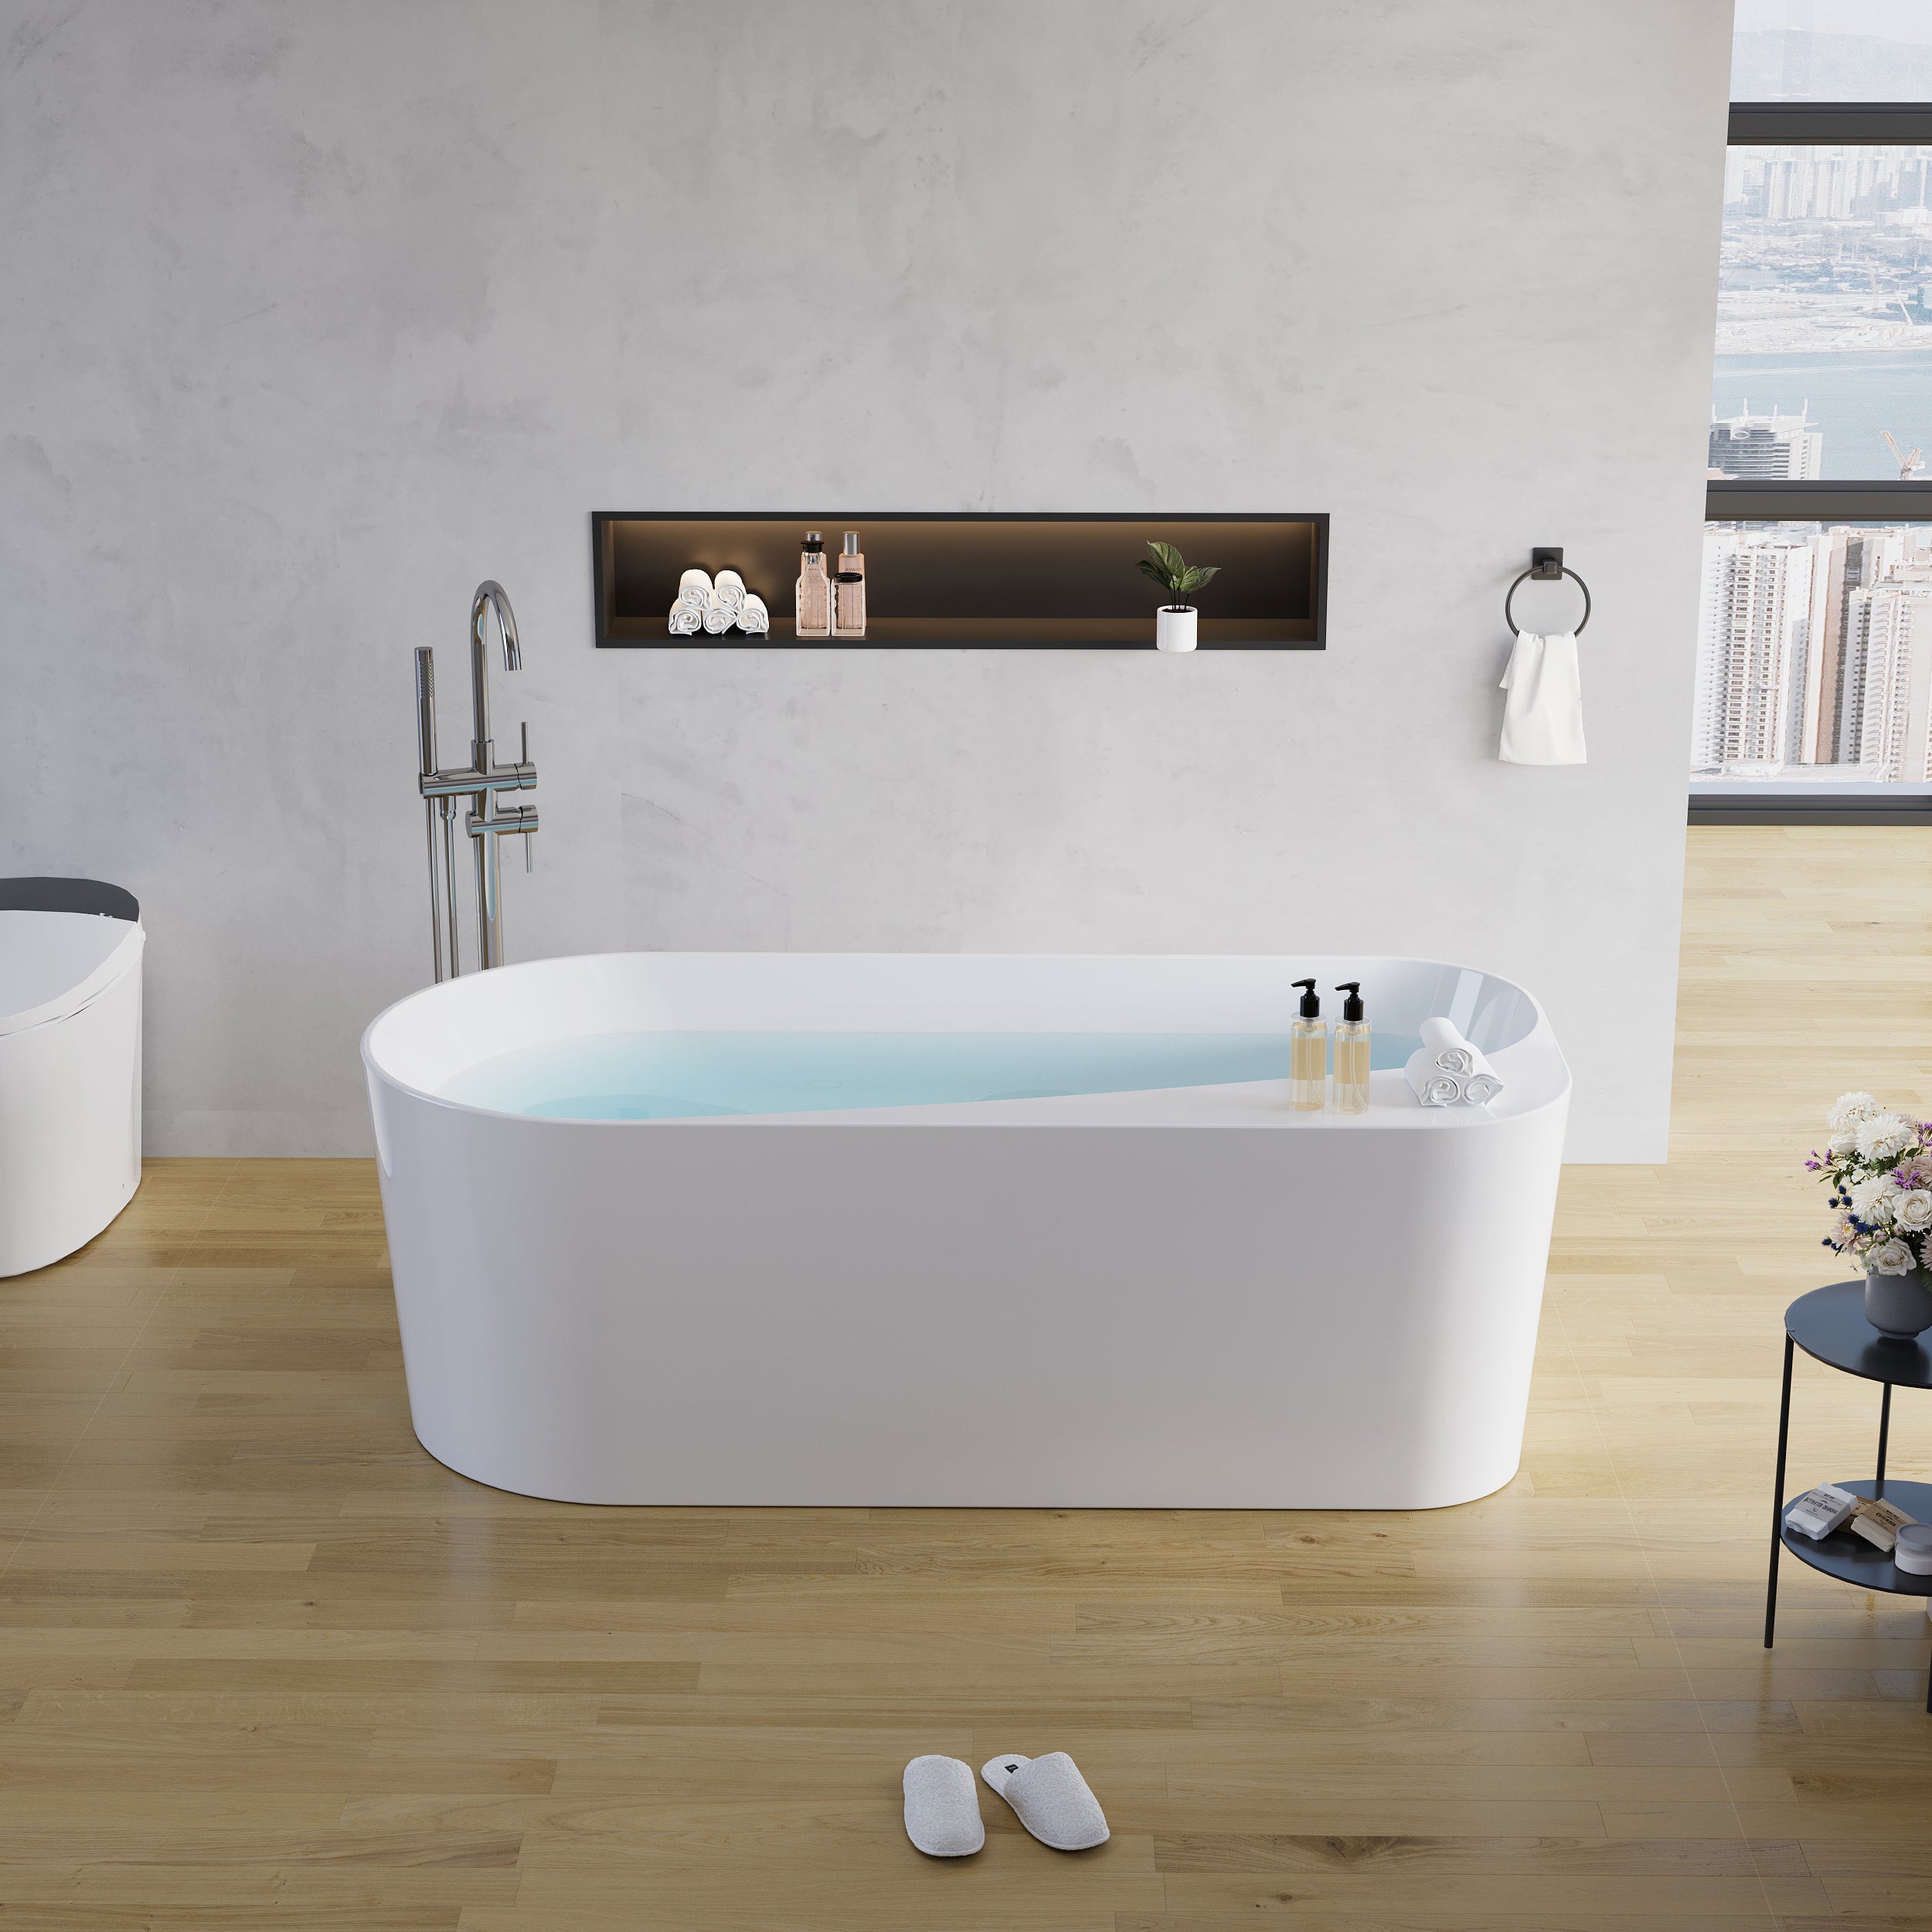
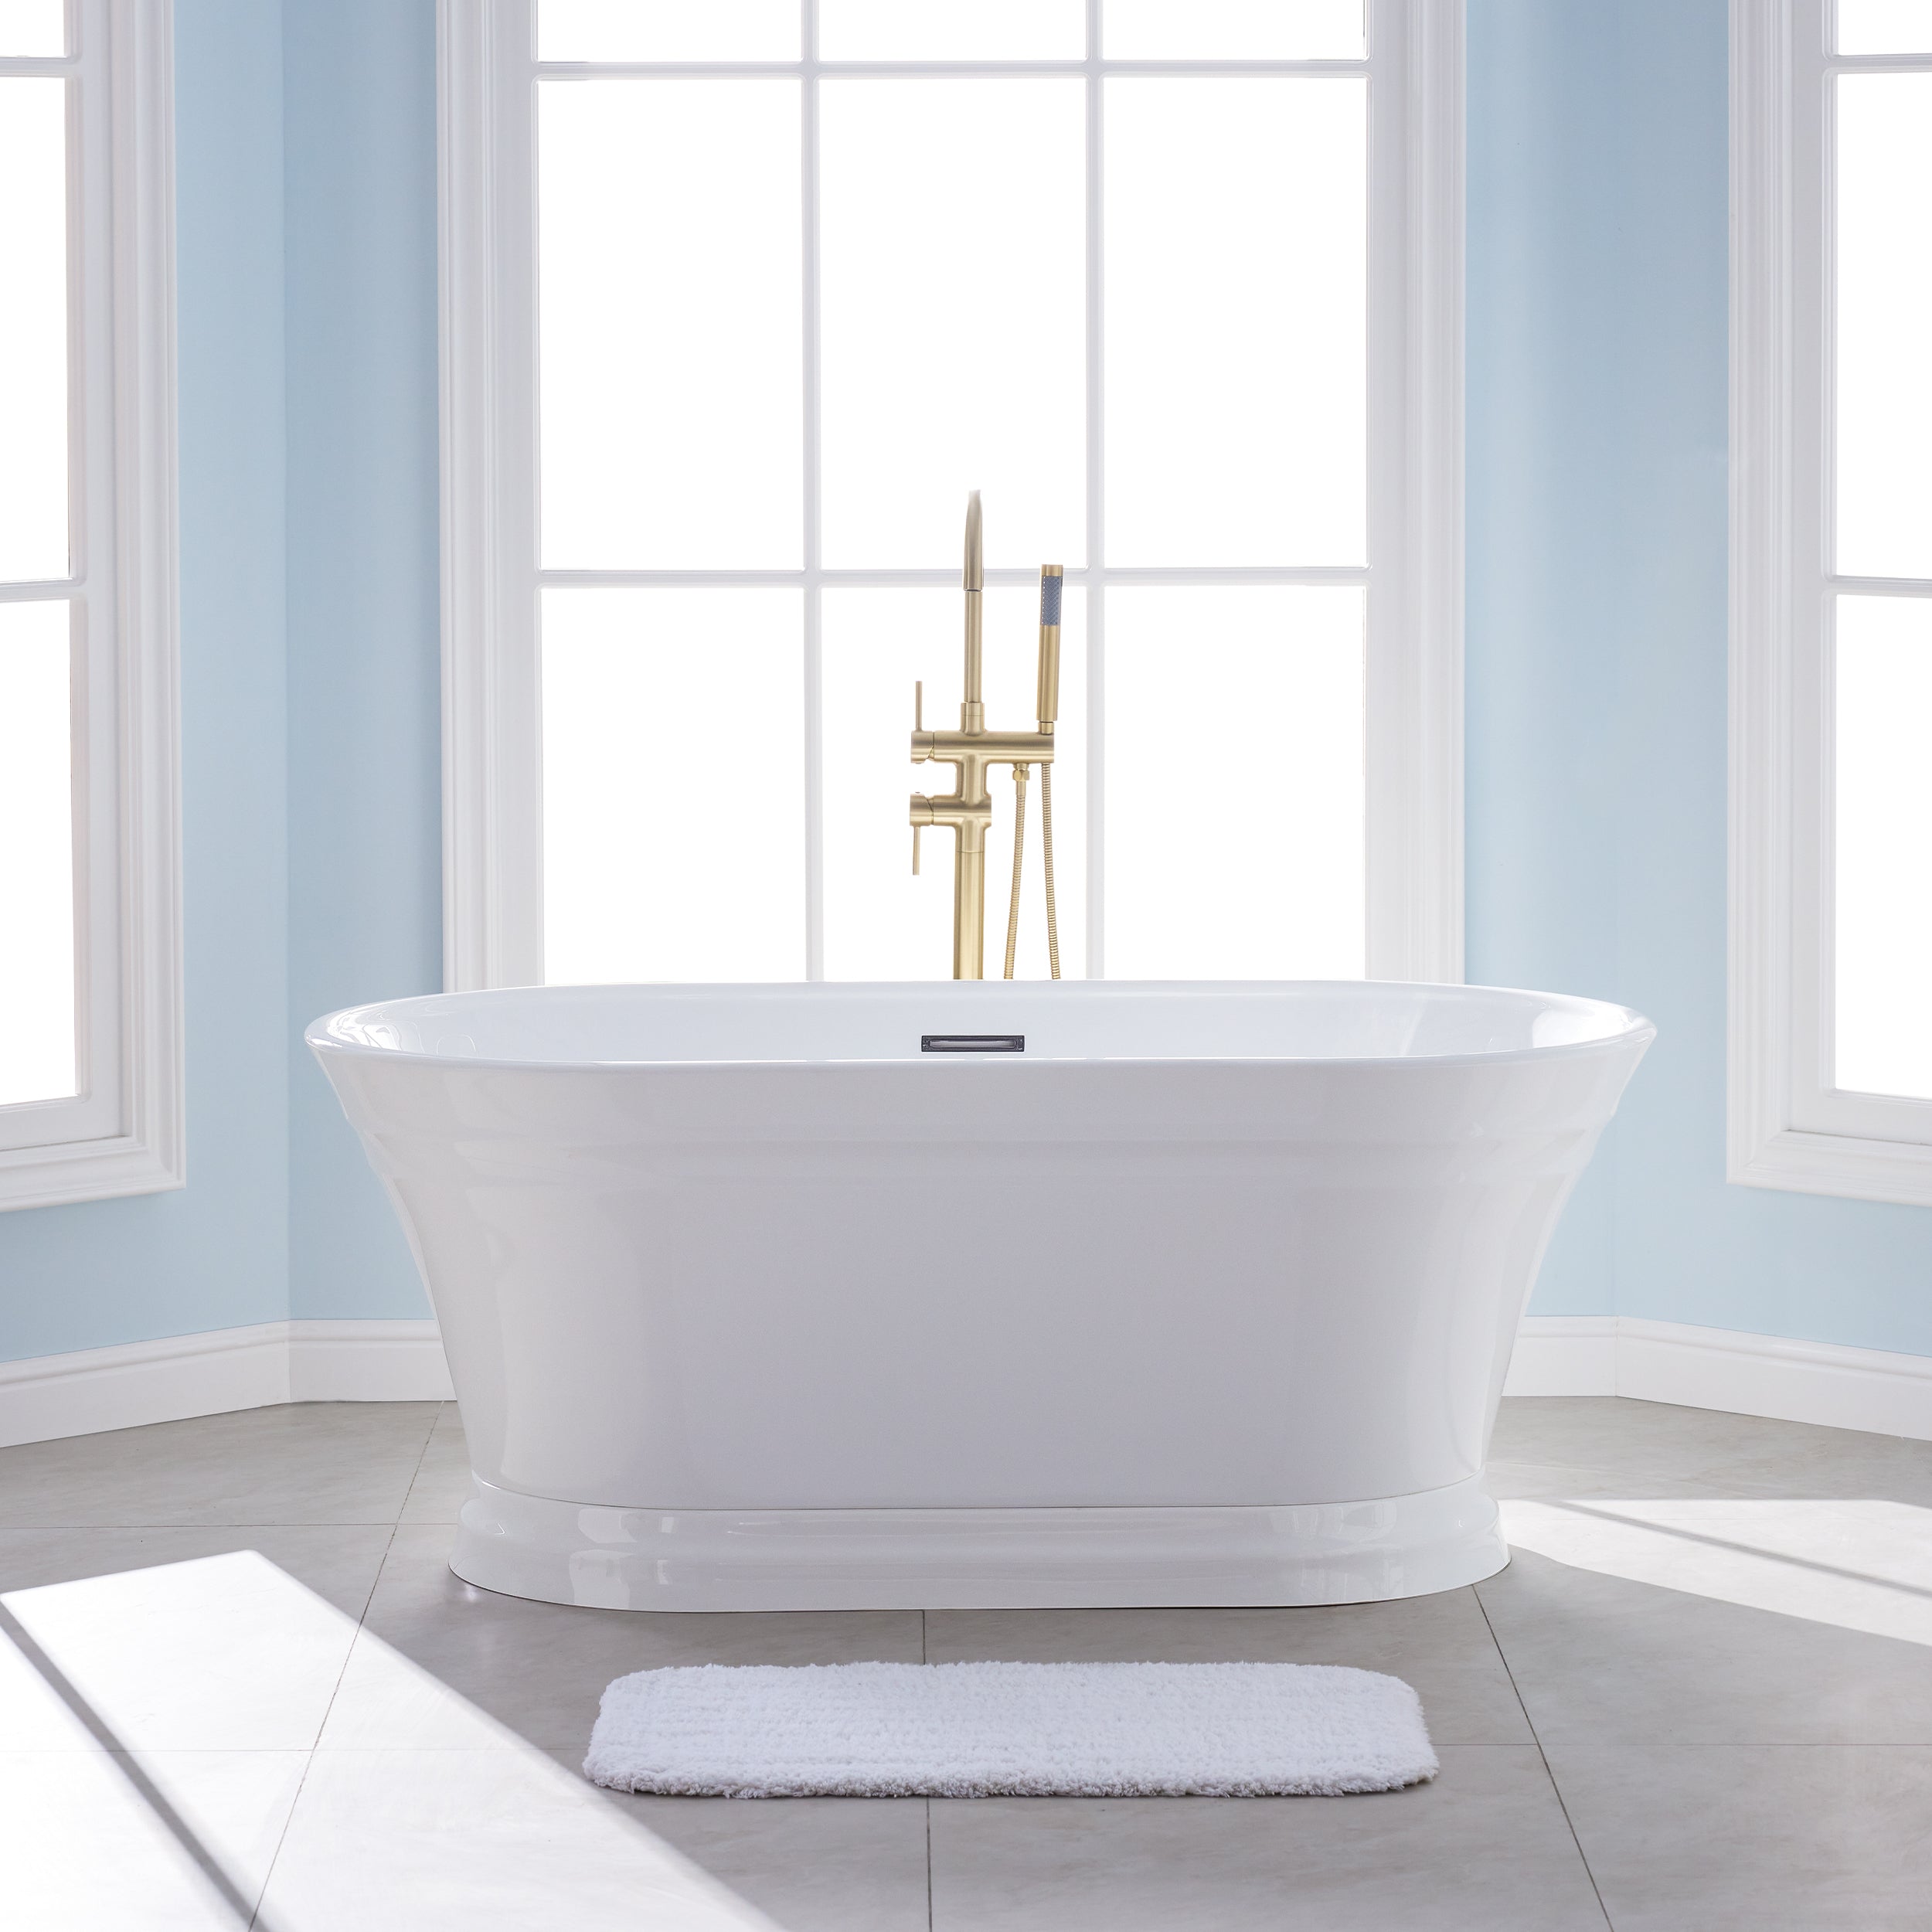
As people continue to pursue high-quality lifestyles, modern bathrooms are no longer bathing places—they have evolved into spaces that reflect aesthetics, functionality, and personal lifestyles. Especially under the growing concept of "home as a retreat," free standing bathtub are expected to maintain their popularity in 2025, becoming a key highlight in mid- to high-end home renovations.
However, to truly maximize the visual impact and functional value of a freestanding bathtub, purchasing one is not enough. The timing of installation has become a critical factor in the success of bathroom renovations. Choosing the right time can not only significantly reduce rework and control costs but also ensure the overall design's harmony and long-term durability.
(1) Why Is Installation Timing So Important?
Installing a freestanding bathtub is far more complex than simply placing it in a space. From plumbing configuration and electrical layout to floor load-bearing and waterproofing, every aspect is closely linked to installation. If it is not scheduled at the correct stage, several issues can arise:
· Demolition of tiles or secondary grooving may be required.
· Improper drainage slope can cause water pooling.
· The bathtub may not fit through doorways or elevators during delivery.
· Floor waterproofing may be damaged or inadequate for heavy loads.
· The bathtub size may not suit the finalized space layout.
Therefore, installation timing directly affects comfort, aesthetics, and future maintenance costs.
(2) When Is the Best Time to Install a Freestanding Bathtub During Full Renovation?
For new builds or full-home renovations, scheduling a freestanding bathtub installation is easier to coordinate. The recommended steps are:
· After plumbing and electrical layouts are finalized, measure and confirm the precise location of the drain and hot/cold water lines. Adjustments can then be made to match the tub's dimensions and drainage requirements.
· After waterproofing but before levelling the floor, reinforce the subfloor and ensure proper slope toward the floor drain. This is crucial for heavy tubs made from cast iron or stone.
· After wall and floor tiles are installed, proceed with bathtub installation. This helps preserve tile aesthetics and allows for easier cleaning and sealing afterwards.
(3) For Partial Renovations, How Do You Determine the Right Installation Point?
For many homeowners without a comprehensive remodel plan, partial bathroom renovations are a more practical option. In these cases, several challenges arise:
· Space limitations: Leave at least 10 cm of space on each side of the tub and 5 cm behind to allow for cleaning and plumbing inspection.
· Floor load-bearing: Older homes may not have reinforced floors, which can compromise their structural integrity. Heavy bathtubs (e.g., cast iron or solid stone) can weigh over 200 kg when filled. Consult a structural engineer if necessary.
· Drainage alignment: Older built-in tubs often use floor-level drains, while modern freestanding tubs typically require vertical drop drainage. This may involve re-grooving or altering the drain height.
In short, always finalize measurements and plumbing compatibility before committing to installation.
(4) Which Season Is Best for Bathtub Installation?
While often overlooked, seasonal factors can significantly impact the quality of installations.
· Spring and early summer (March–June): Ideal weather, moderate humidity, and fast drying times for adhesives and waterproofing. Logistics are smoother, and labour scheduling is flexible.
· Late summer and early autumn (September–October): Still warm enough for quality work and perfect for wrapping up projects before year-end.
· Winter (November–February): Cold temperatures can affect materials like glue and stone, making them brittle. Transportation risks increase, and construction efficiency drops. If winter installation is unavoidable, ensure good indoor temperature control and ventilation.

(5) How to Plan Installation Efficiently and Cost-Effectively
Based on numerous project experiences, the following installation sequence ensures higher efficiency and minimizes the risk of errors:
1. Confirm the final design and bathtub dimensions, and select a suitable model.
2. Pre-position plumbing connections after wiring and pipe layout are complete.
3. Apply waterproofing and level the floor, marking the final location of the bathtub.
4. Coordinate tile work to ensure edge alignment and aesthetics.
5. Install, seal, and caulk the tub, and refrain from using it for at least 48 hours.
Tip: Take photos of exposed pipes and drain placement for future maintenance reference.
(6) Does Bathtub Type Affect Installation Timing?
Yes. Different materials require specific installation conditions:
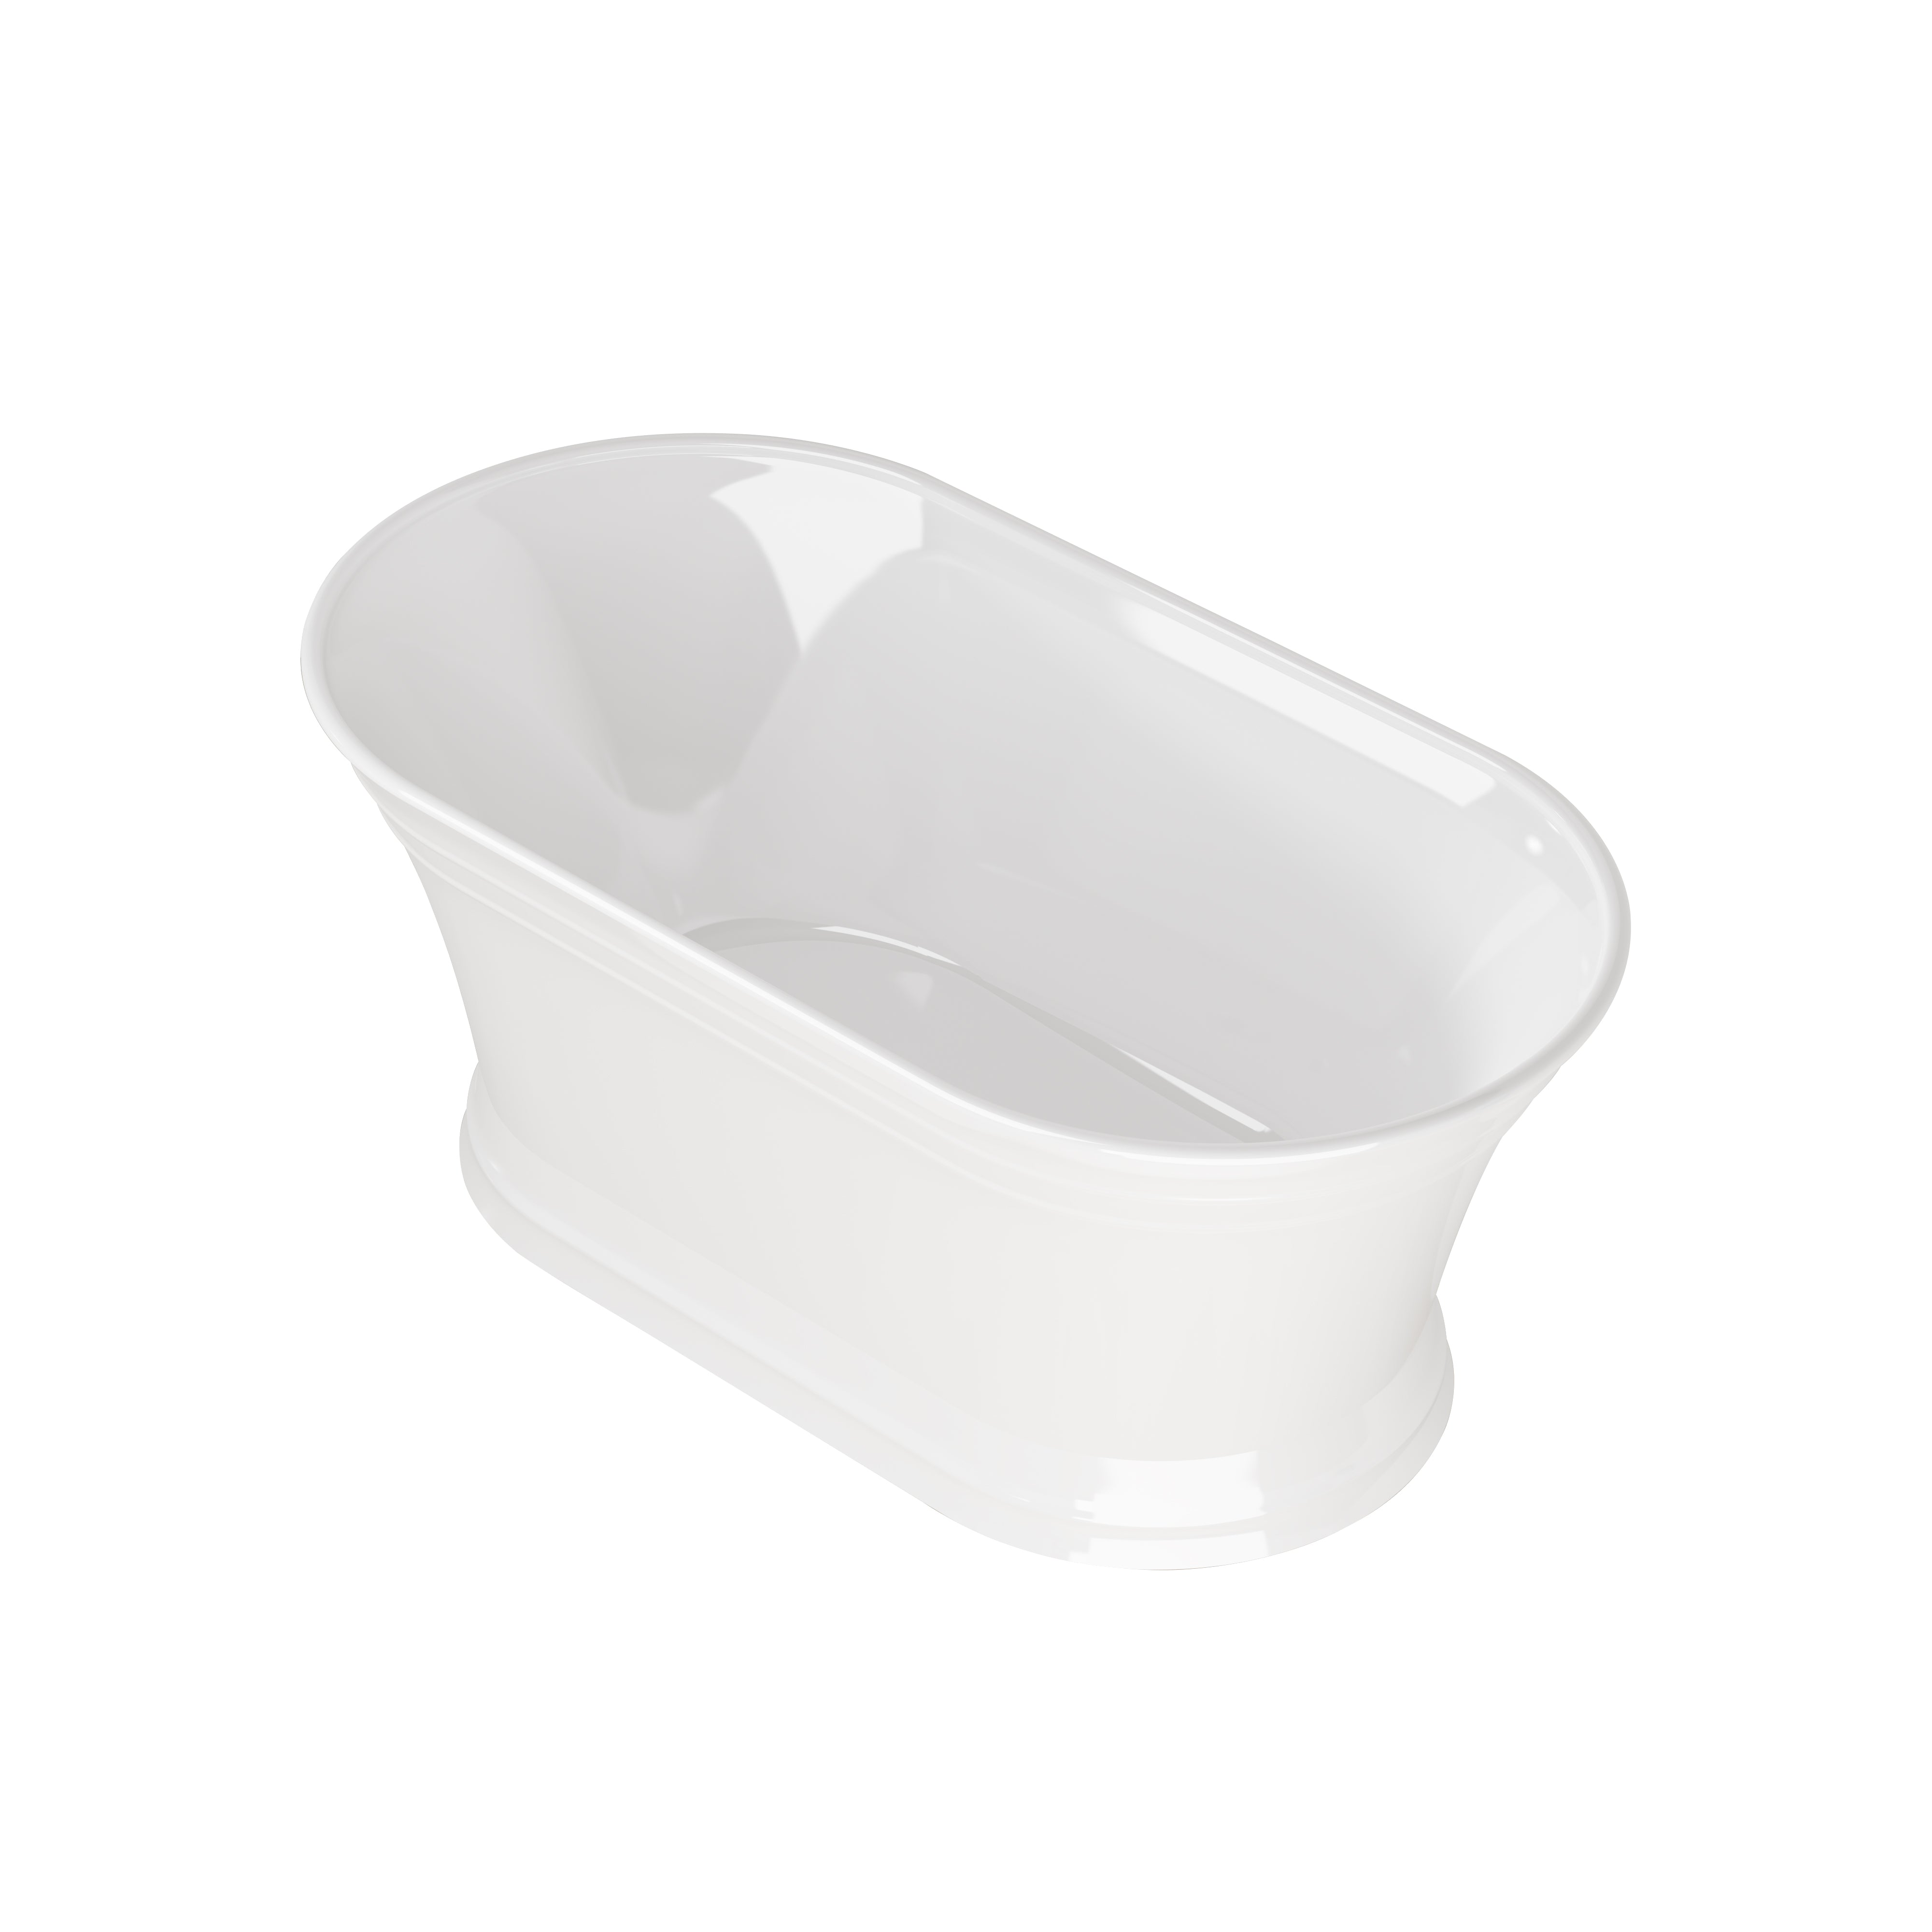
· Acrylic tubs: Lightweight and easy to move, suitable for flexible installation during various stages. It is ideal for smaller spaces or budget-conscious projects.
· Artificial stone/quartz tubs: Require reinforced flooring. It is best installed after waterproofing but before tiling. Professional lifting equipment may be necessary.
· Solid wood tubs: Sensitive to humidity and cold; should be installed in well-ventilated conditions with anti-mould and crack-resistant treatments.
· Cast iron clawfoot tubs: Heaviest and hardest to transport; door width and delivery paths must be pre-measured. Installation time may be longer.
(7) How to Coordinate Efficiently With Your Renovation Team
Successful bathtub installation depends on more than just a good product—it also requires seamless teamwork:
· Align with plumbers, electricians, and tilers in advance to ensure a seamless process. Define each person's scope to avoid overlap or miscommunication.
· Check with your supplier whether delivery, installation support, or accessories like anti-slip pads and mounting bases are included.
· Document critical milestones, such as waterproof testing, drainage checks, caulking, and anti-slip validation, to ensure accountability.
Conclusion: Proper Timing Unlocks a Better Bathing Experience
Freestanding bathtubs are more than just elegant centrepieces—they're functional upgrades that require strategic planning. When timed correctly, installation becomes smoother, more cost-efficient, and enhances the overall bathroom outcome.
In the future, as homeowners place greater importance on health, comfort, and individuality, "intentional renovation" will become a core trend. Knowing when and how to install your freestanding bathtub is your first step toward a better lifestyle and a home that truly reflects you.
So, if you're planning a bathroom upgrade—ask yourself this first:
When is the right time to install your bathtub for maximum comfort and style?


Leave a comment
This site is protected by hCaptcha and the hCaptcha Privacy Policy and Terms of Service apply.