


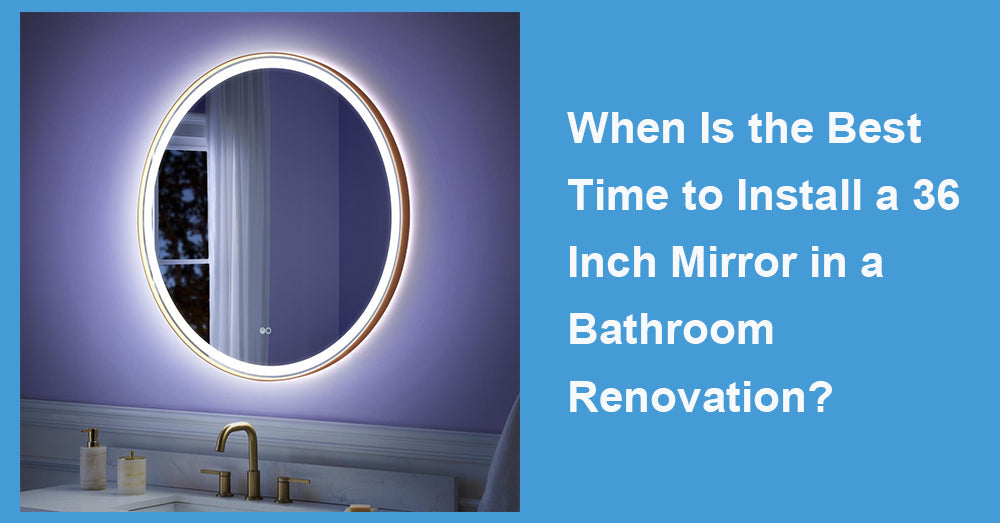
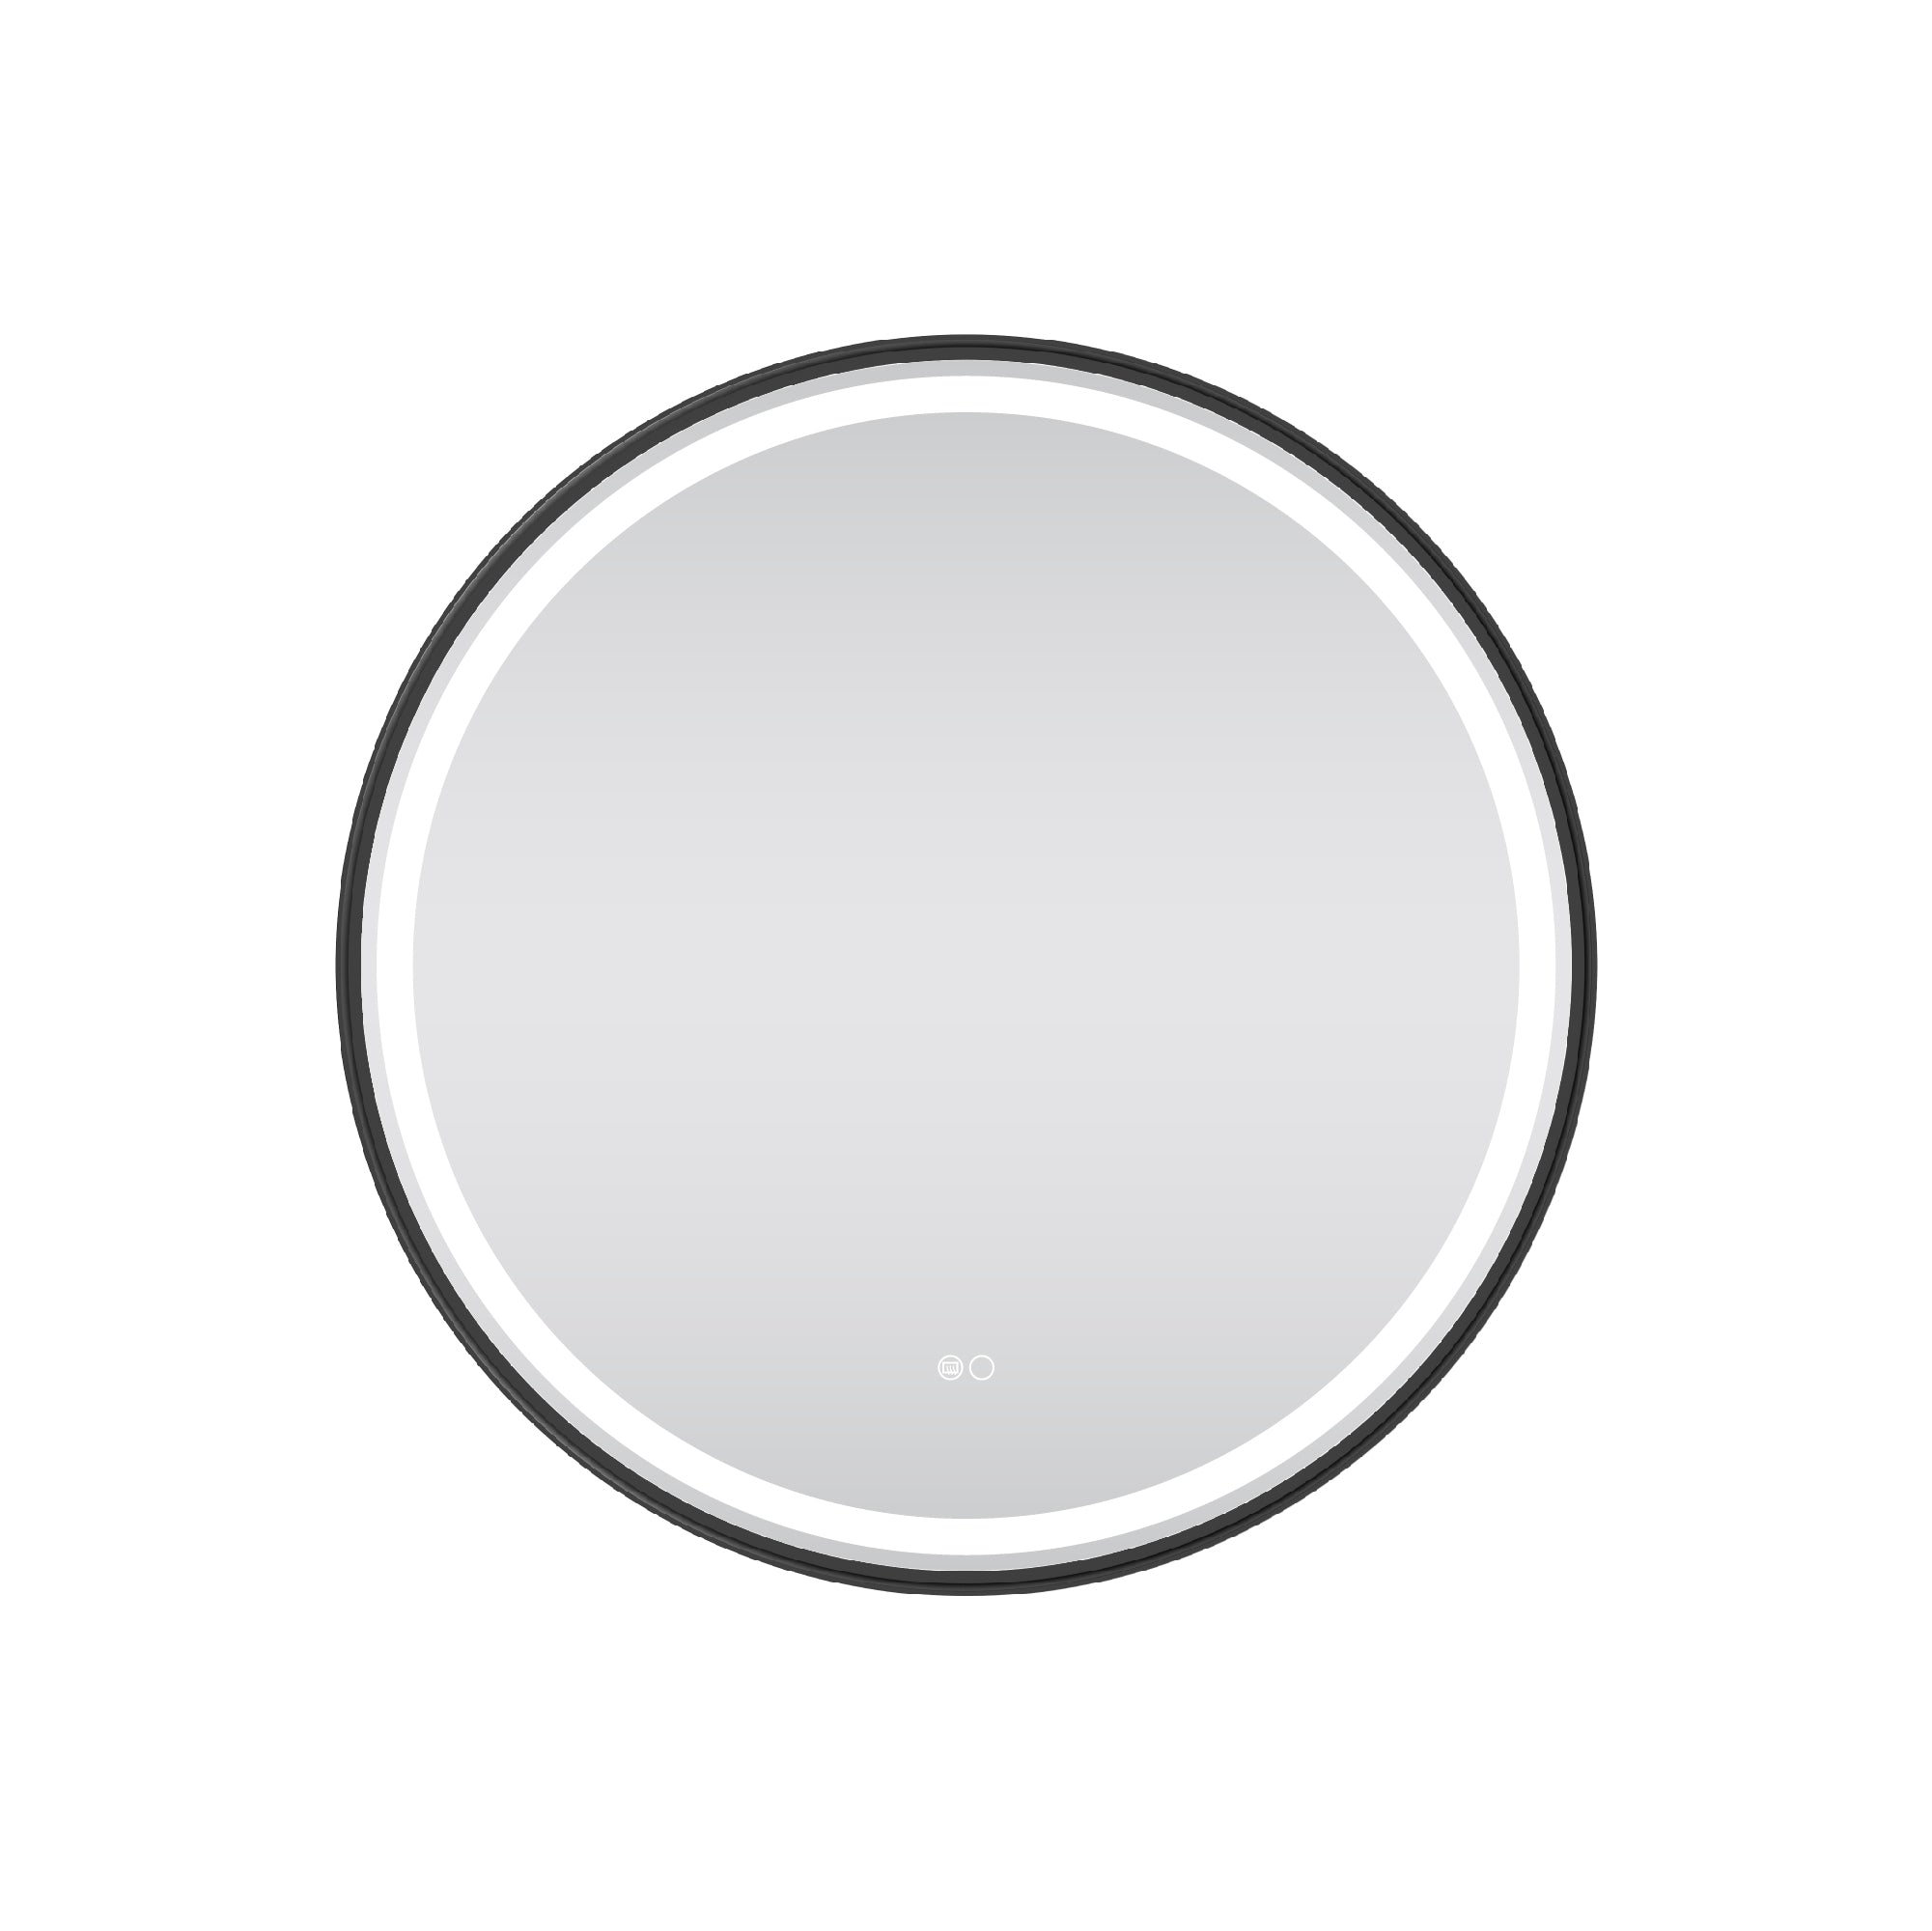
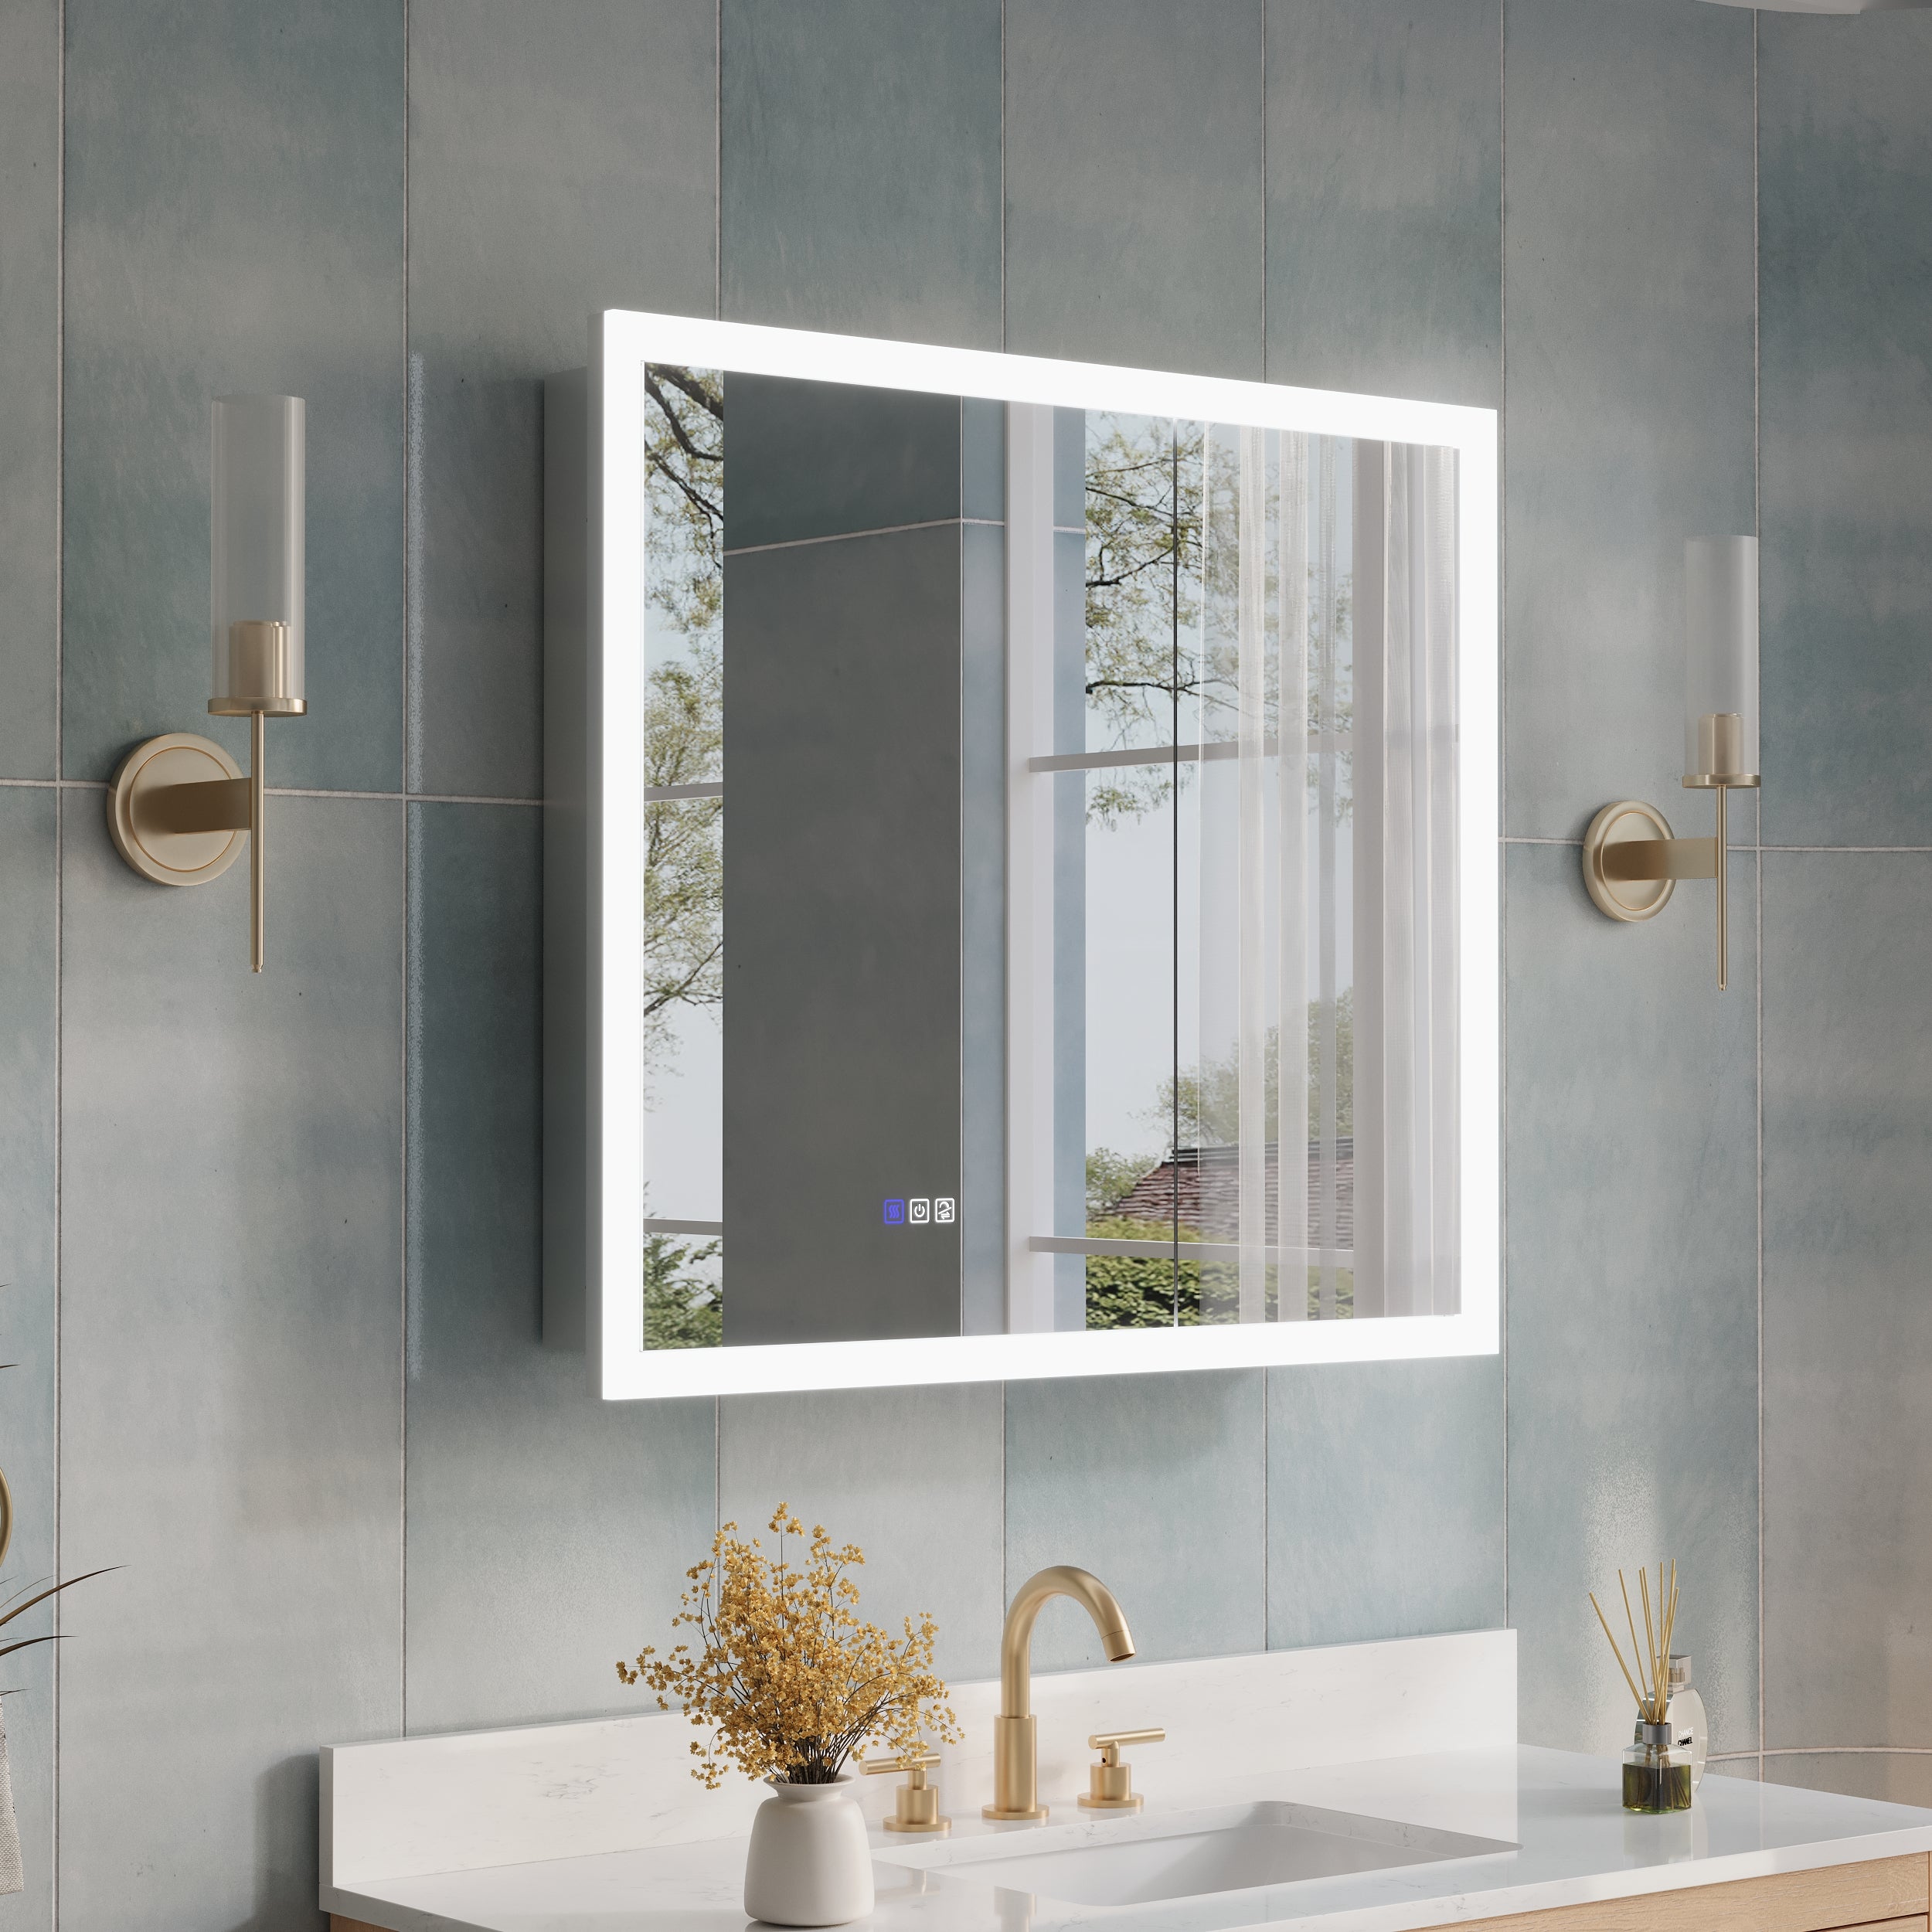
1. The advantages of 36-inch bathroom mirrors: balancing proportion and practicality
When choosing bathroom mirrors, size often directly determines the sense of space and user experience. According to market research data in the United States (source: Houzz.com), the installation rate of 36 inch mirror in medium to large bathrooms exceeds 45%, making it one of the most popular standard sizes.
The main advantages include:
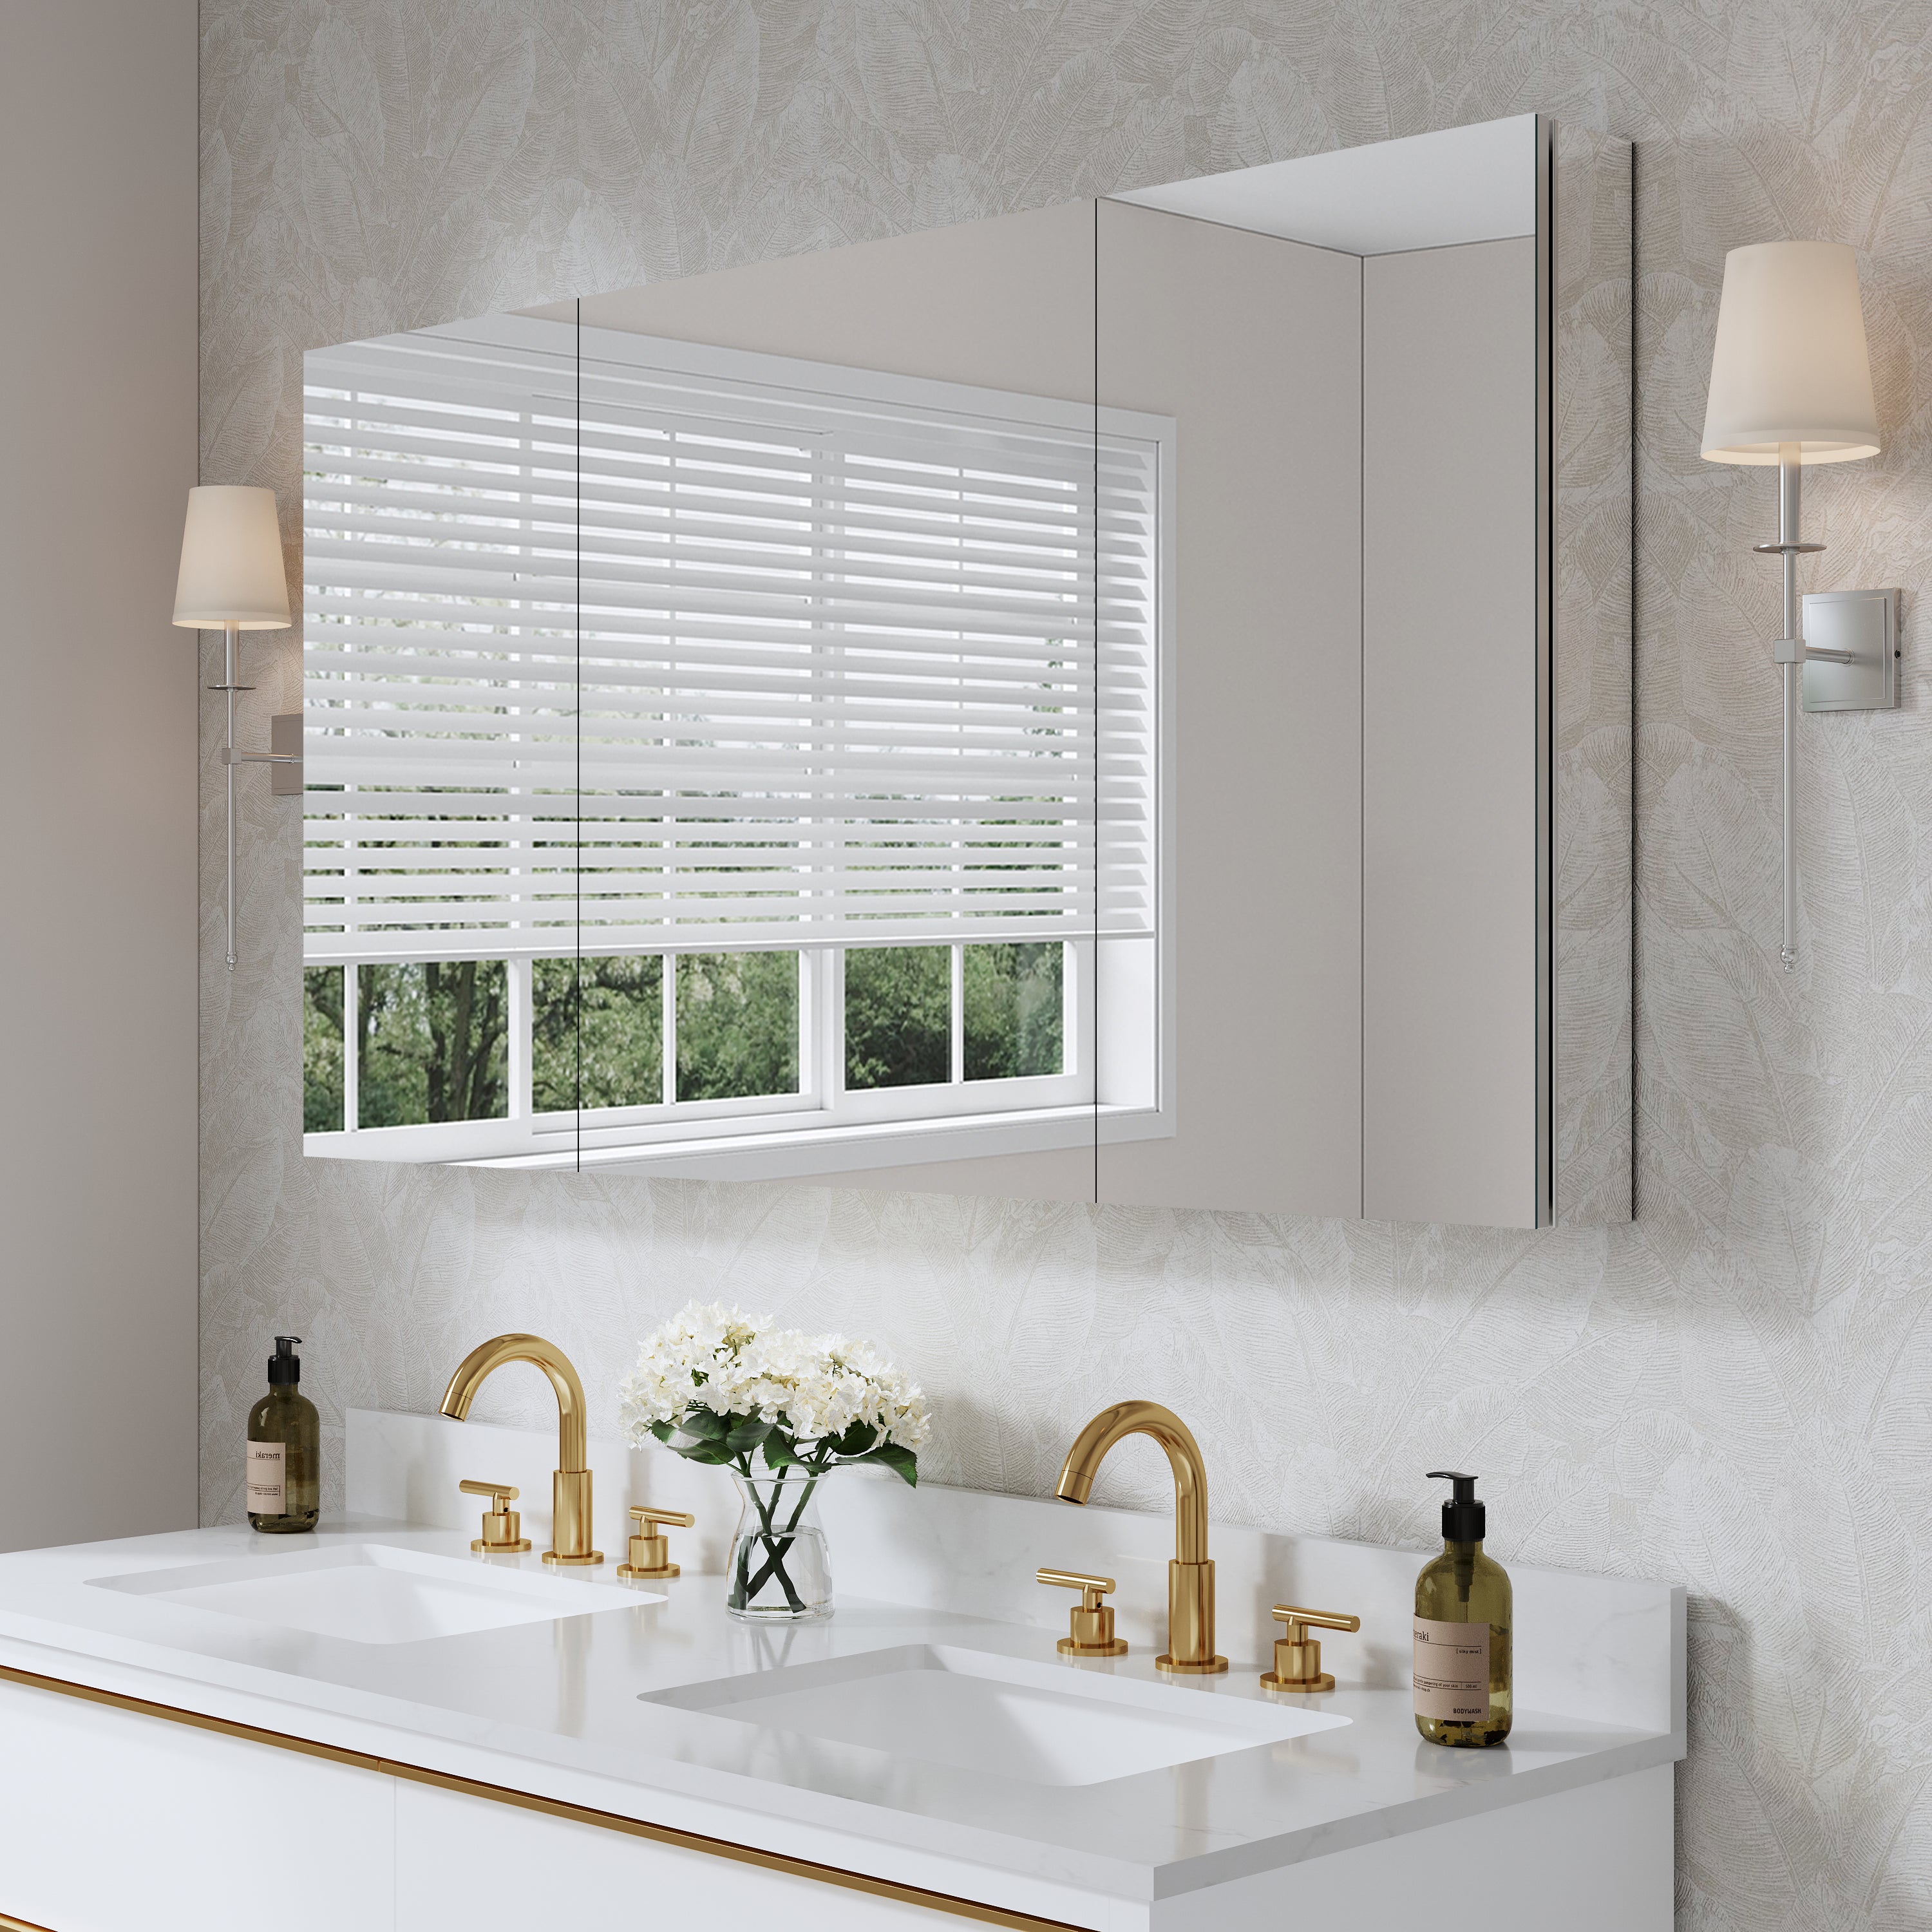
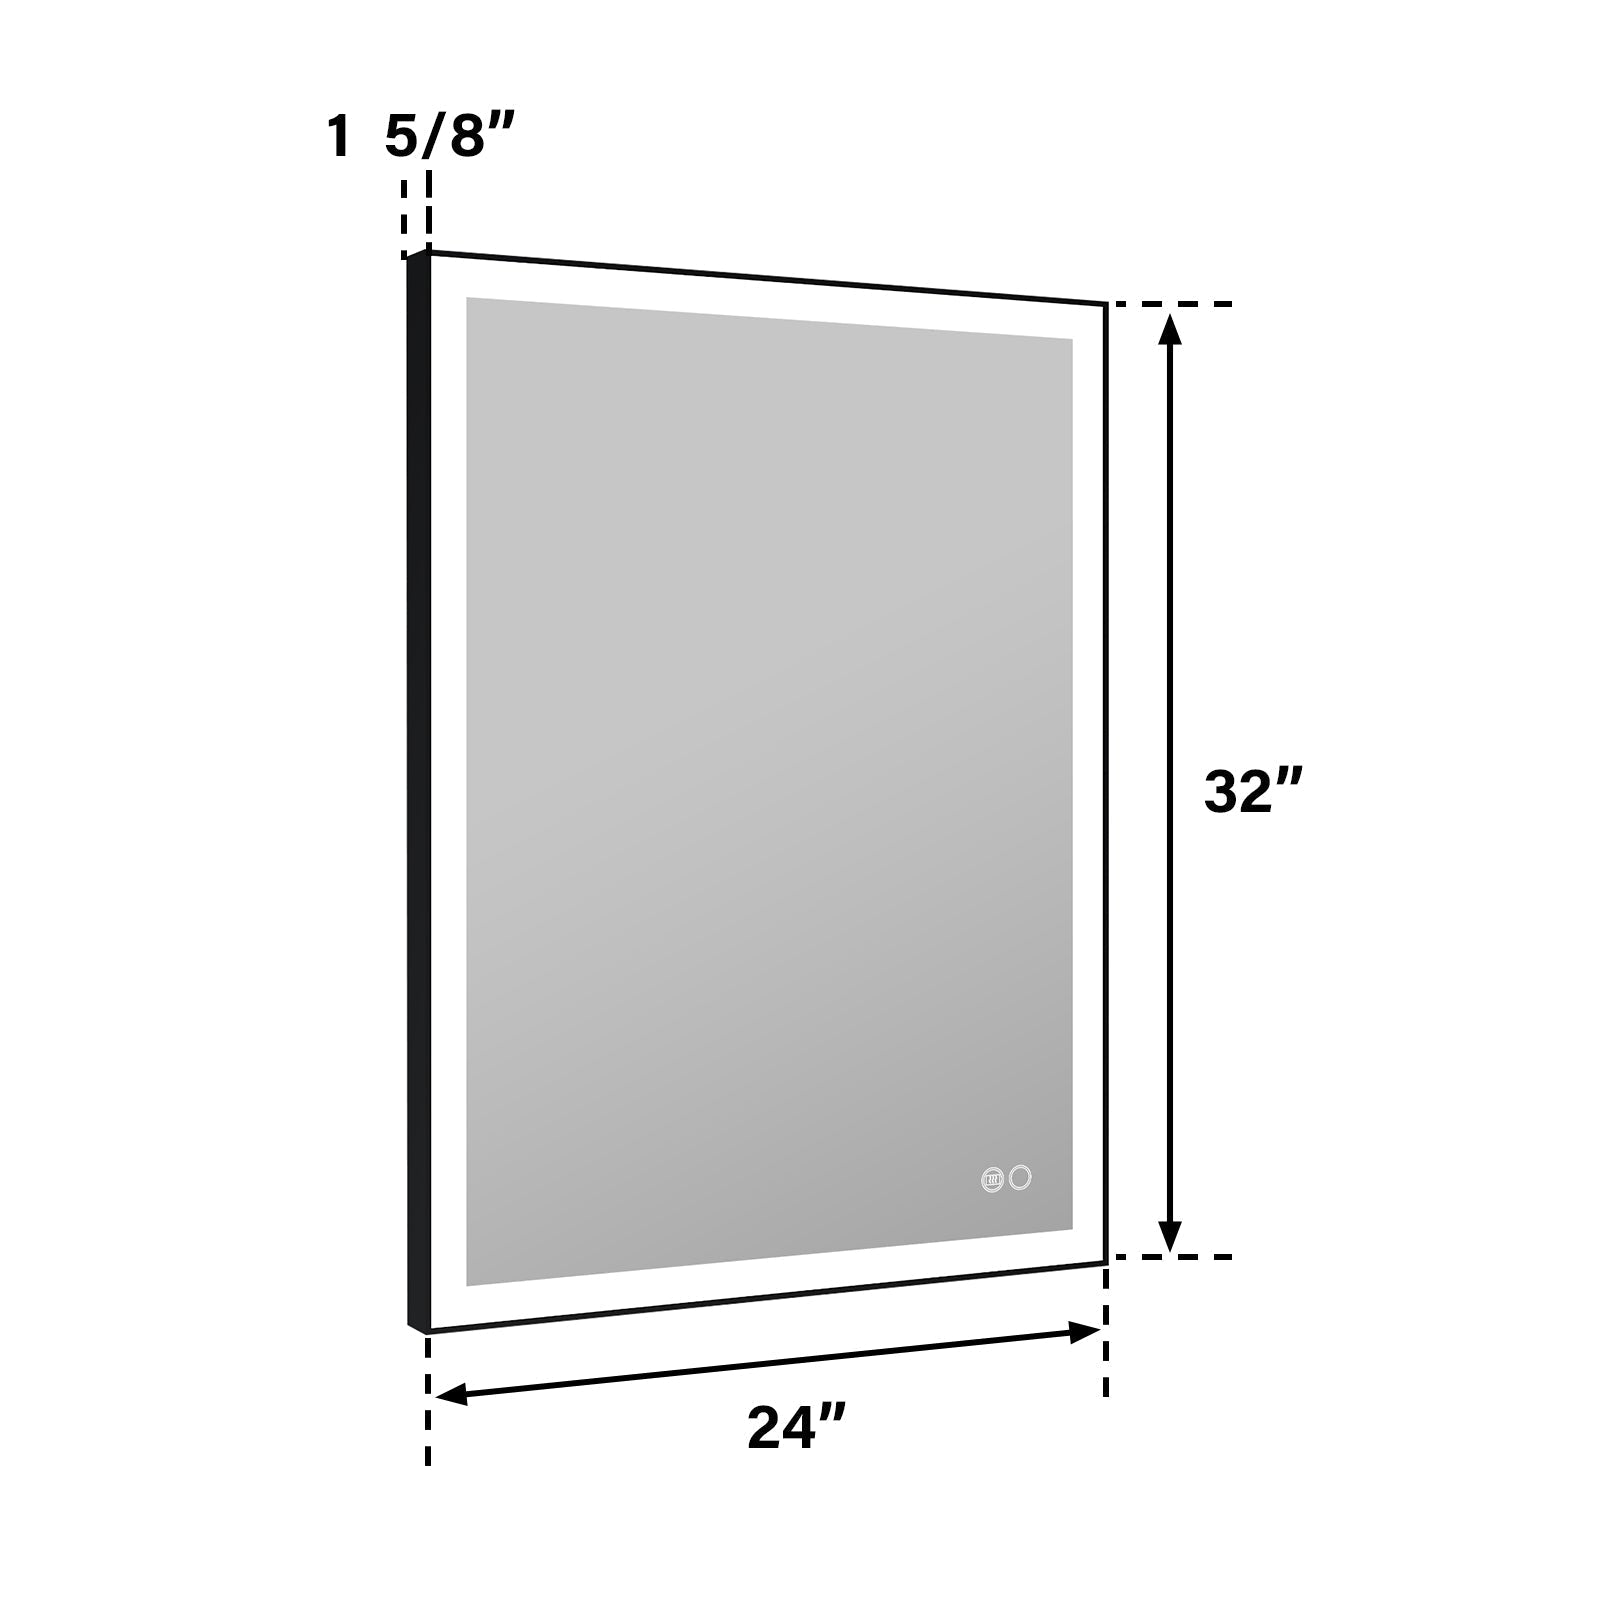
Size Balance: The 36-inch mirror has a moderate width and is typically well-suited for a 30-40-inch single-person washbasin, ensuring functionality while maintaining a sense of balance in the space.
Visual Magnification Effect: For bathroom walls that are 5-8 feet wide, a 36-inch mirror can reflect more light, making the space appear brighter and more transparent.
Flexible installation: Suitable for various installation methods, including wall-mounted, embedded, and illuminated mirrors.
However, to truly leverage these advantages, it is particularly crucial to understand the timing of installation.

2. Why is the timing of installation so crucial?
Many novice decorators only start considering the installation of mirrors after completing tile installation. Still, in reality, this sequence often leads to issues such as mismatched circuits, limited wall structures, or obstructed lighting.
The correct installation timing should consider the following three aspects:
Wall structure and pre-embedded wires
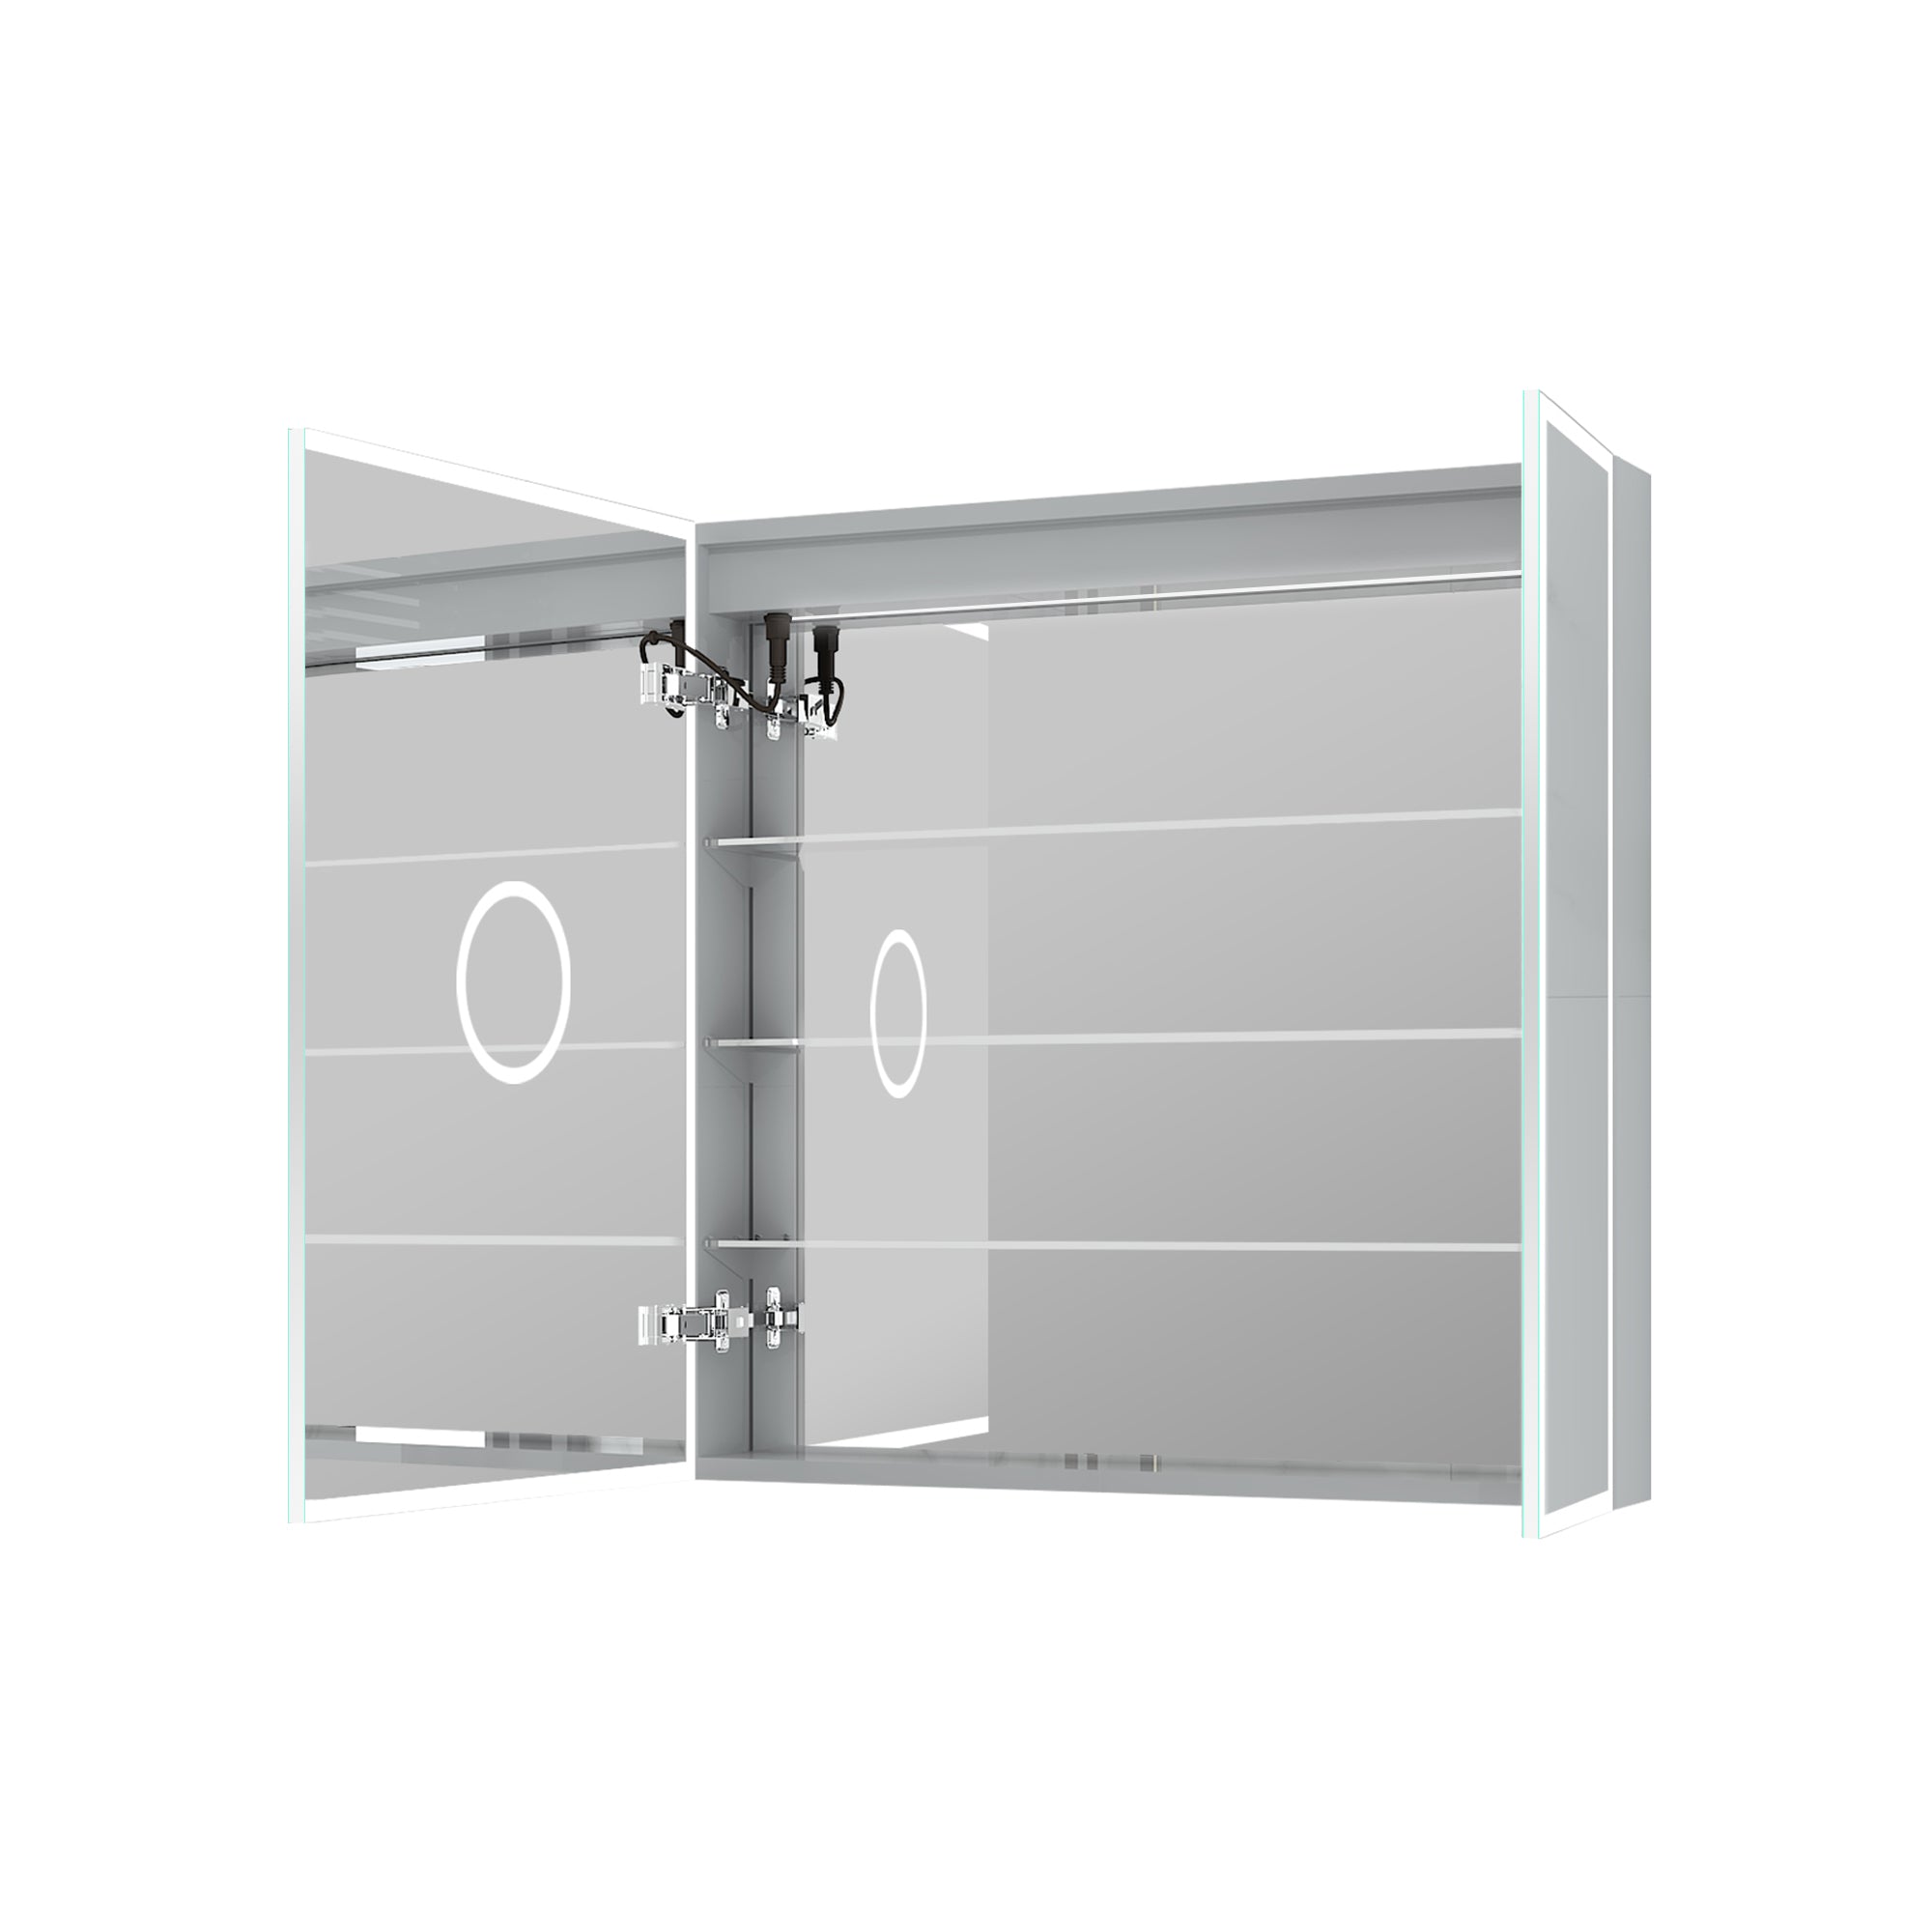
For 36-inch mirrors with LED lights or anti-fog function, the power cord must be pre-embedded before wall sealing.
It is usually recommended to determine the size and position of the mirror before installing tiles during the wall construction phase, and then have the electrician reserve a 12V or 120V power socket.
Align the washbasin with the mirror in proportion to each other
If the width of the washbasin is 36-40 inches, the center of the mirror should be aligned with the center of the washbasin, and the edge of the mirror should be at least 2 inches away from the faucet.
Therefore, the installation height of the mirror should be finalized after the washbasin is installed to ensure visual balance.
Lighting layout coordination
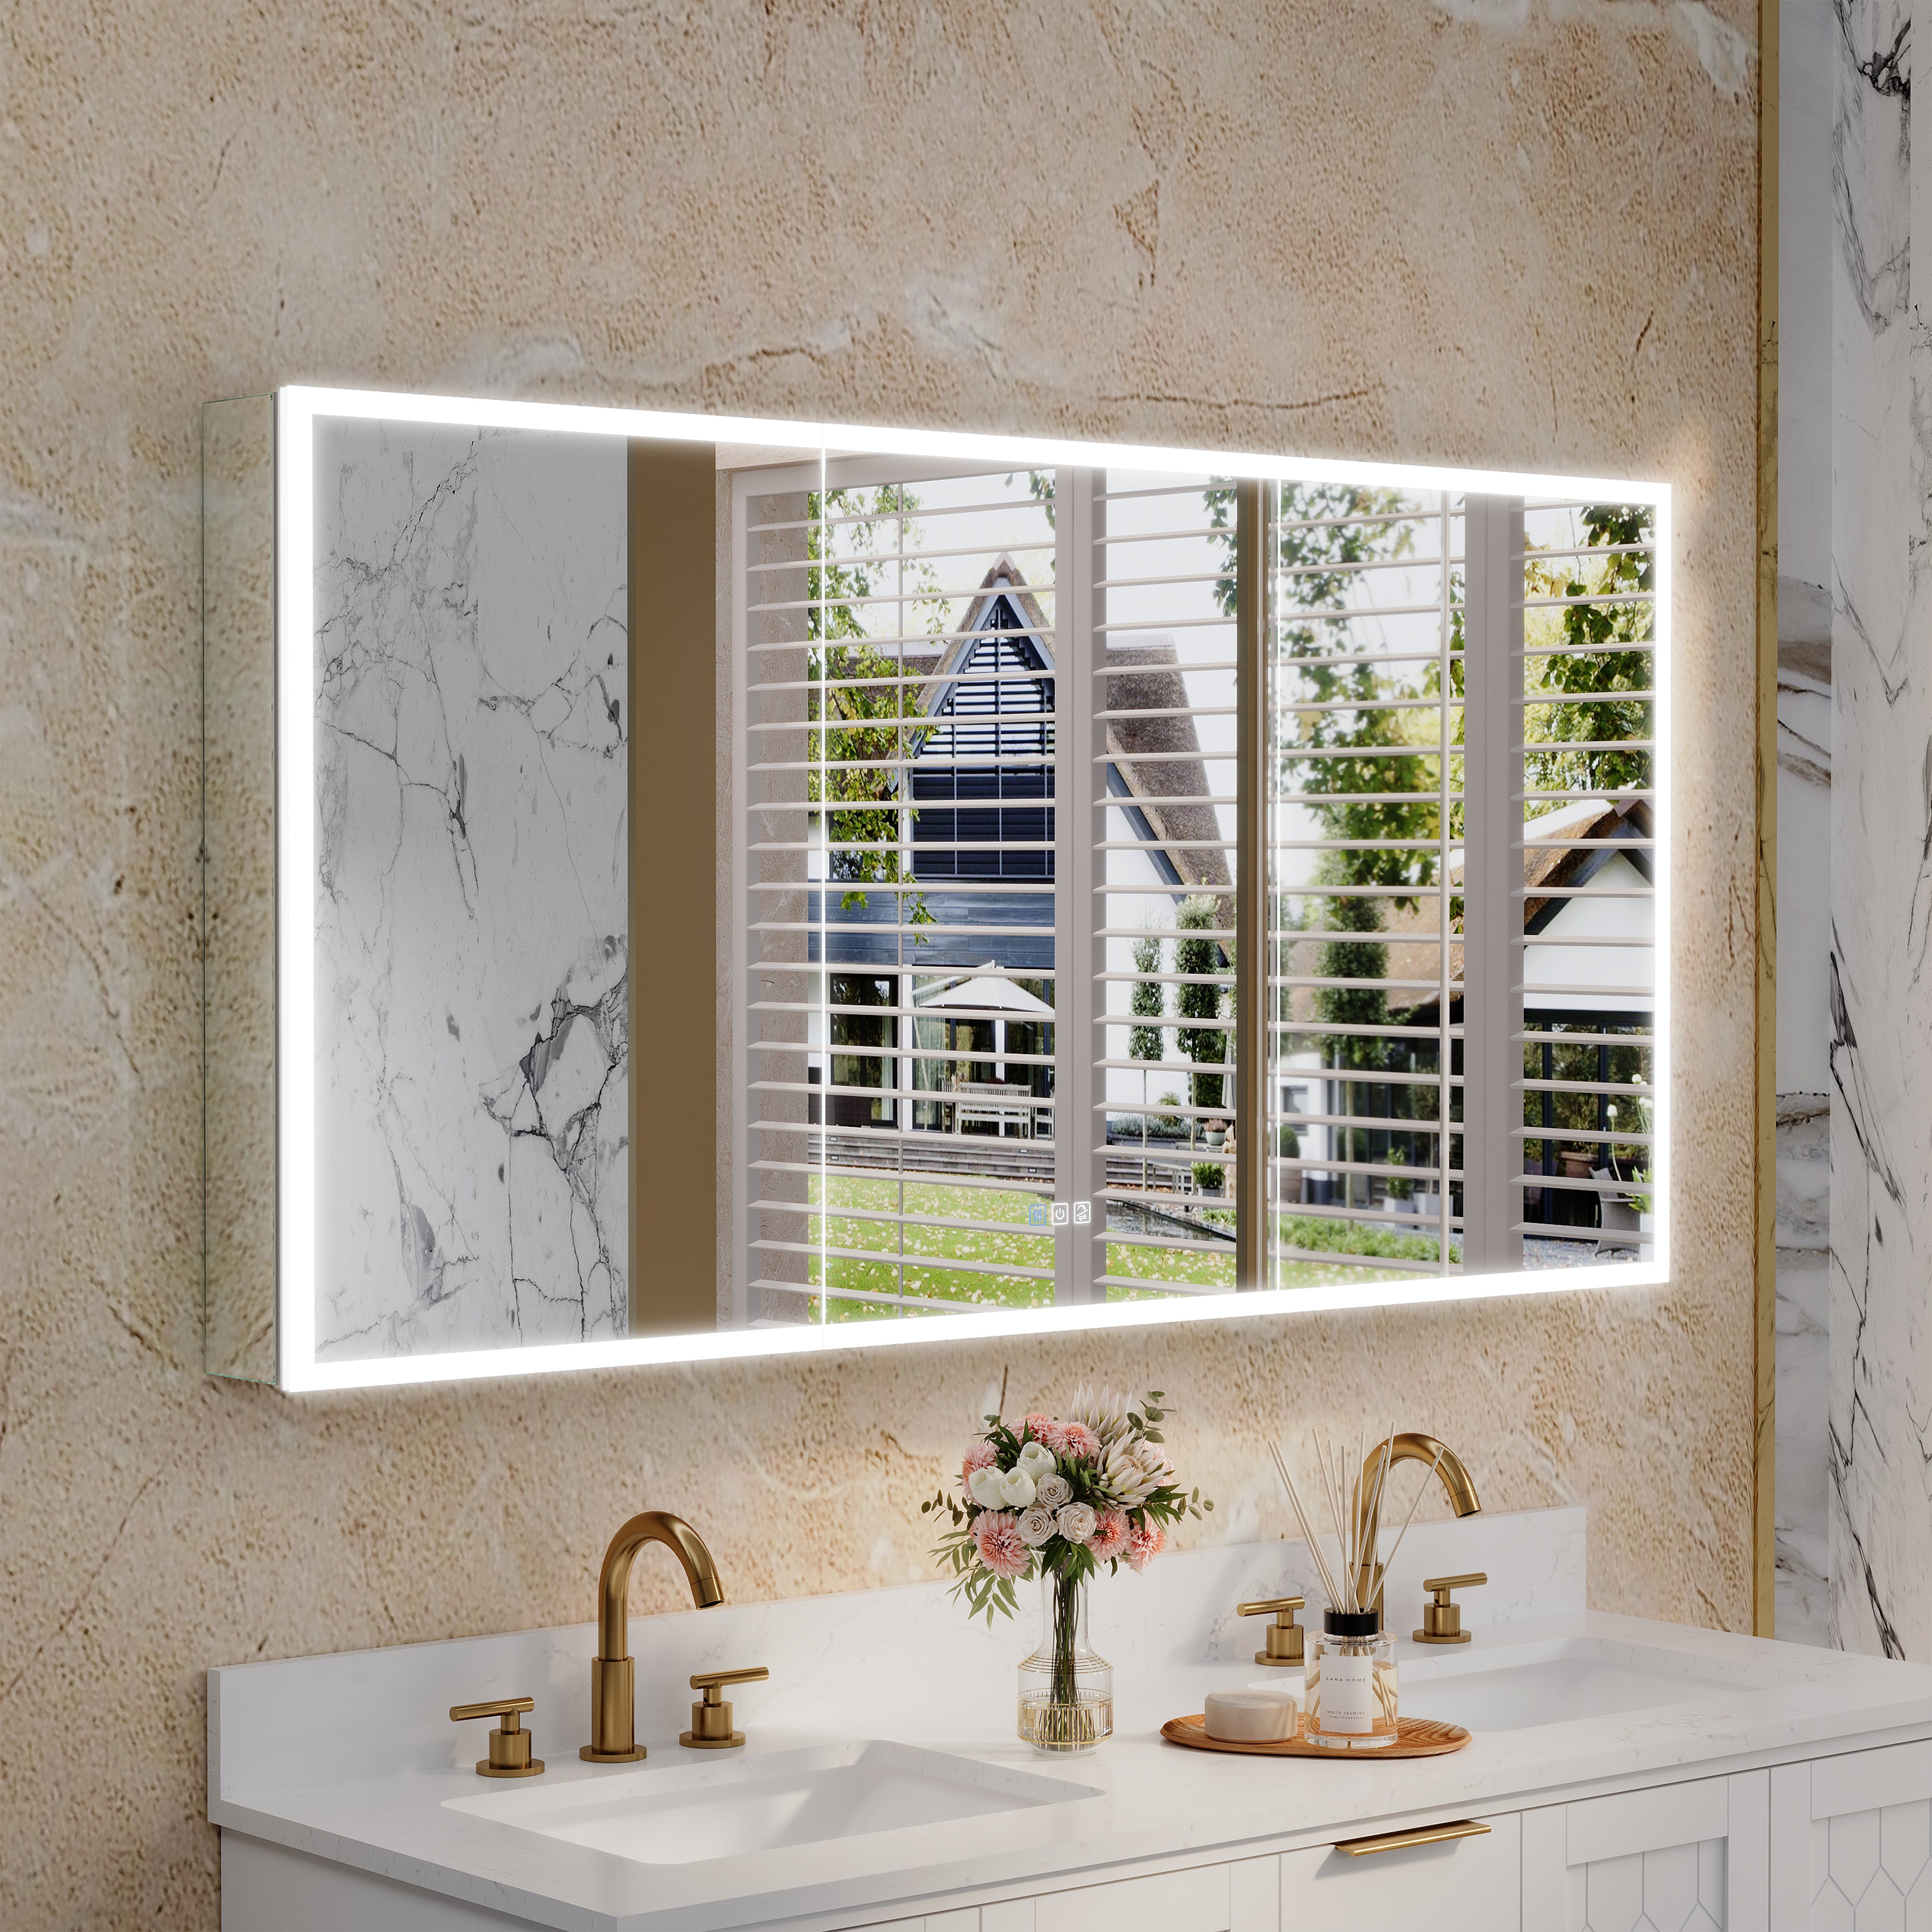
For bathroom designs with wall lights, the height of the mirror edge should be determined during the wiring phase to ensure that the light is at a horizontal position in the user's line of sight (approximately 70-75 inches off the ground).
If an illuminated mirror is used, it must be installed after the tiles are laid and before the lighting fixtures are installed.
In summary:
The ideal installation sequence is: first determine the size and circuit position of the mirror → install the washbasin → lay tiles → reserve power supply → then install the mirror.
3. Installation Strategies for Different Decoration Stages
Stage 1: Basic decoration stage (before wall construction)
At this stage, the designer or owner should first clarify the style and size of the mirror.
If a 36-inch mirror with lights is selected, a power supply position should be reserved during gypsum board construction, and the center point should be marked.
It is recommended that the power cord outlet be positioned approximately 40 inches above the washbasin countertop, and the upper edge of the mirror be positioned about 70-75 inches off the ground.
Currently, the work falls under the category of "concealed engineering." If missed, it can only be completed later by removing walls and repairing lines, which is costly and affects the aesthetics.
Stage 2: Mid construction phase (washbasin and tile laying)
At this stage, actual measurements and installation rehearsals can be conducted.
After laying the tiles, drilling holes to install mirrors can prevent damage to the tiles or displacement of the holes.
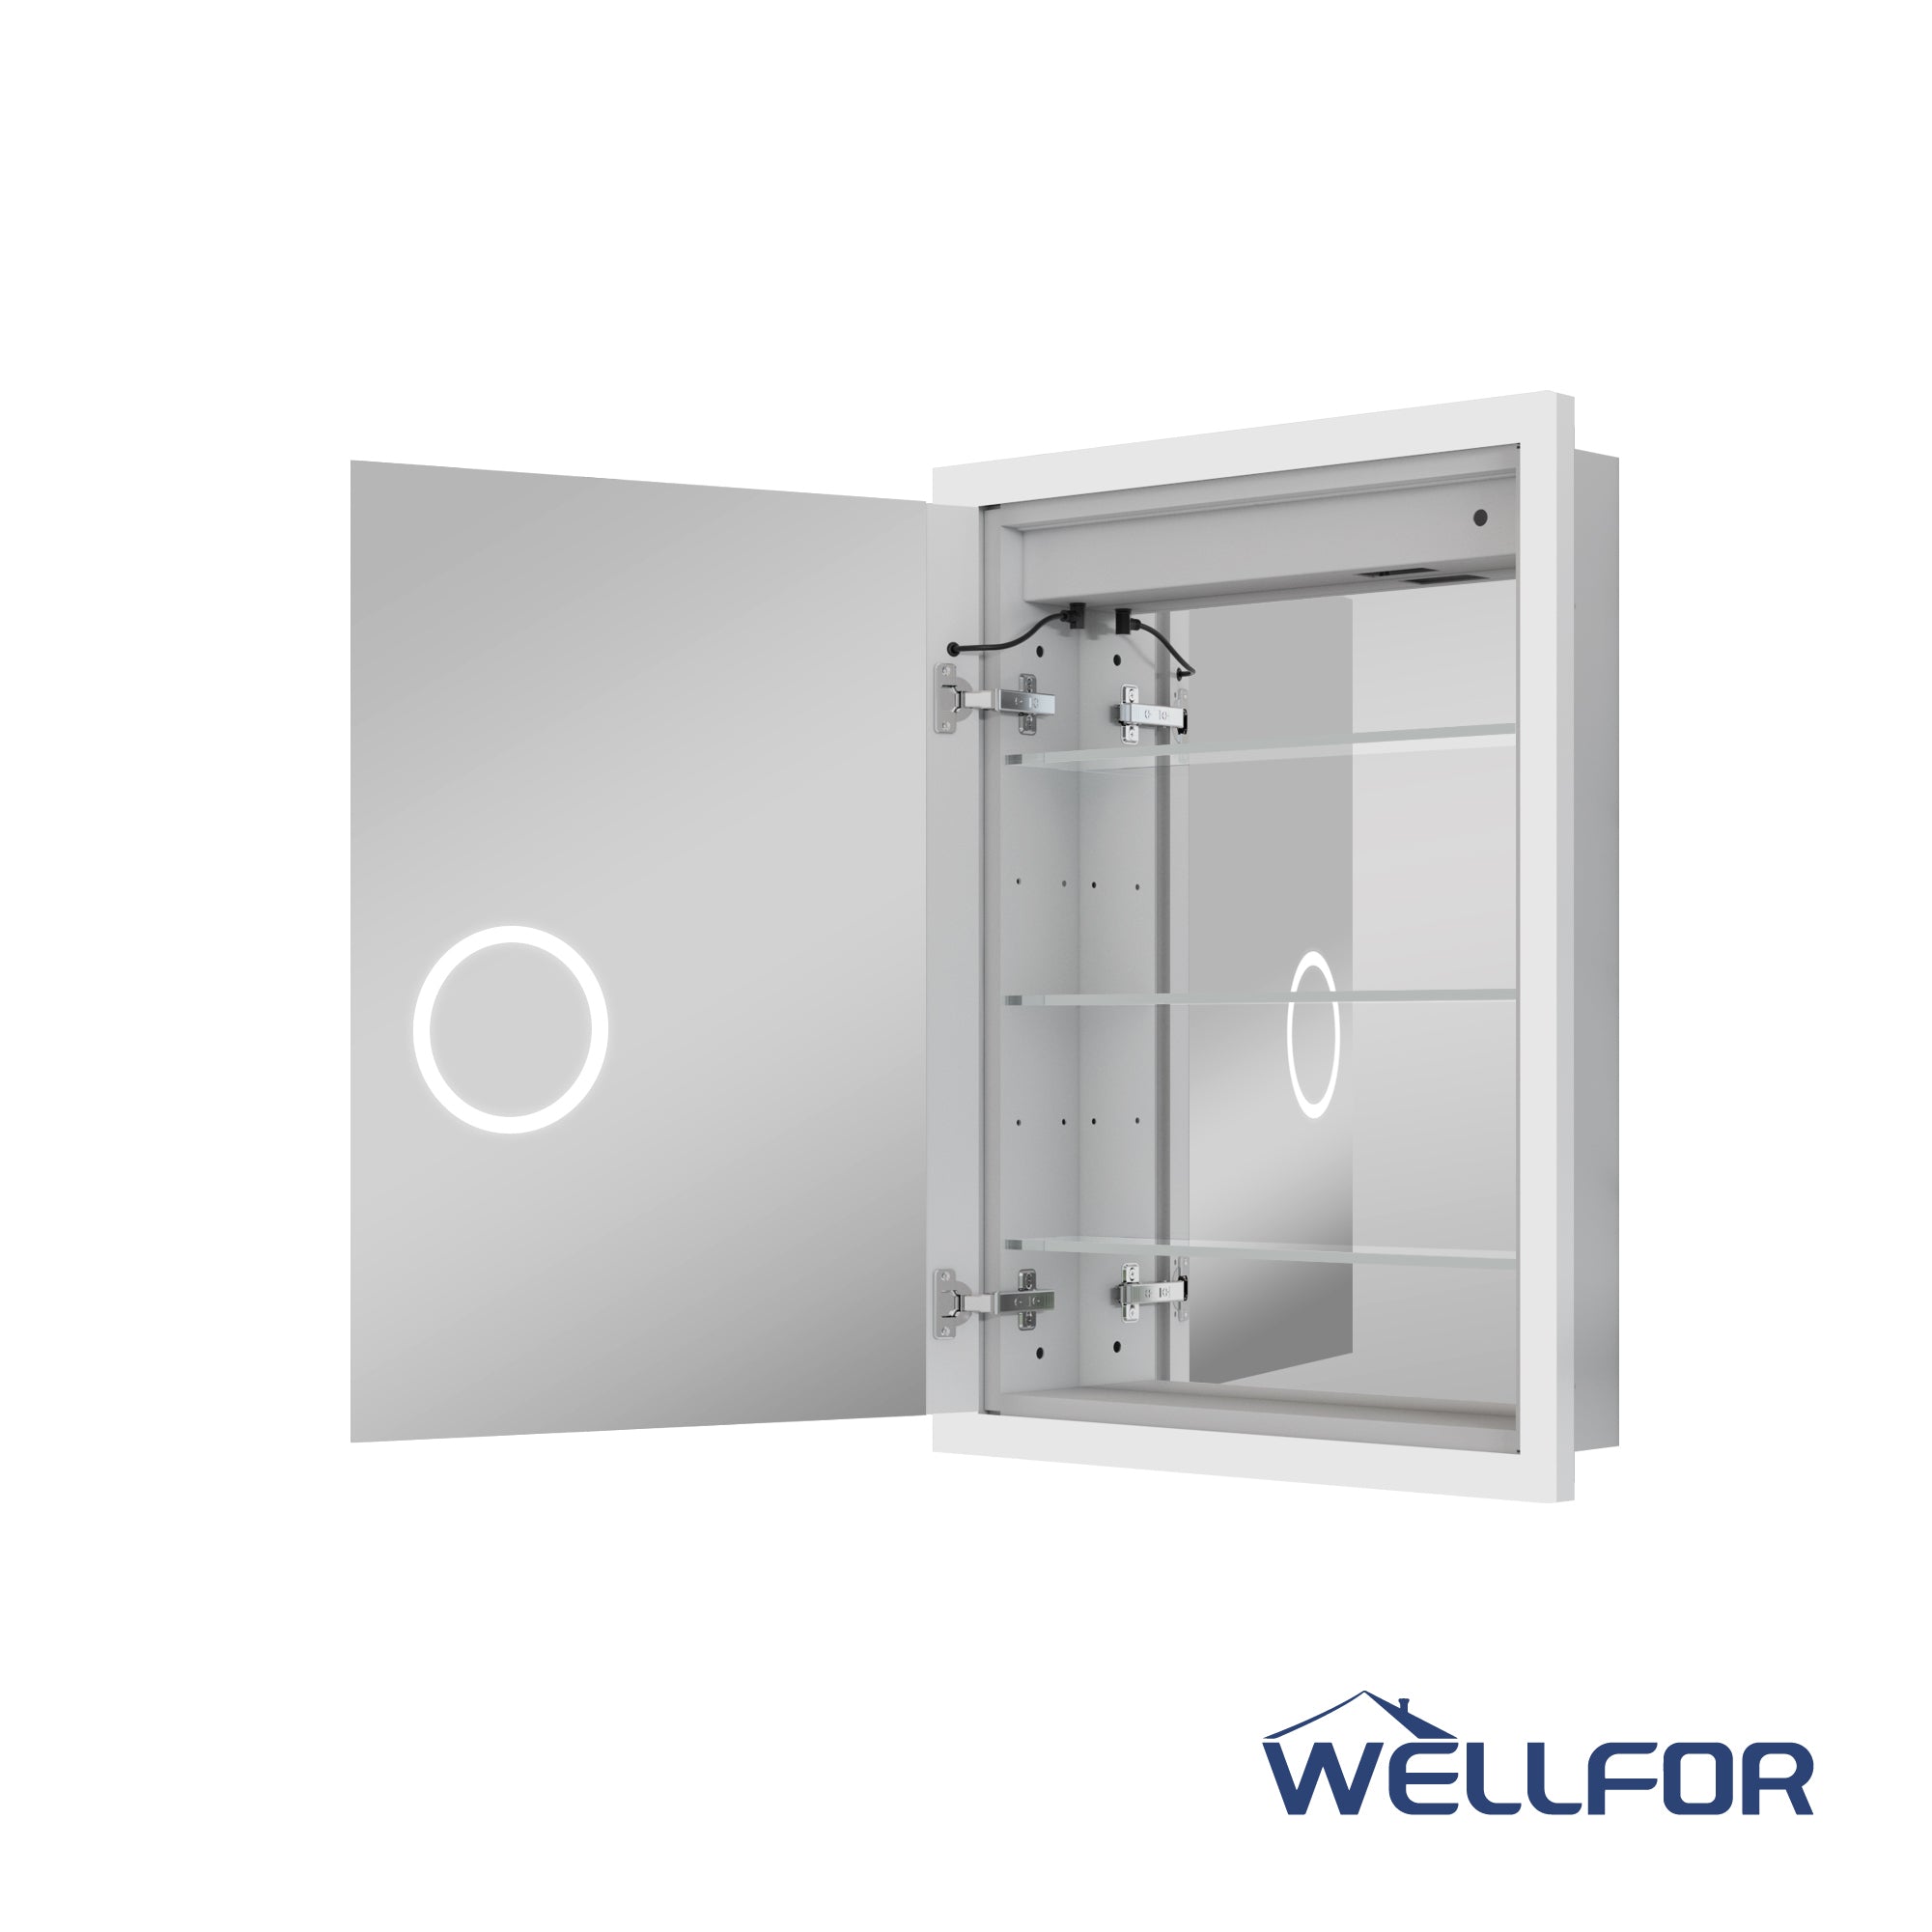
If a mirrored medicine cabinet is selected, an embedded slot with a depth of approximately 3.5 to 4 inches should be reserved on the wall in advance.
Stage 3: Final stage (lighting, debugging, and beautification)
After all the complex installations are completed, proceed with the final installation of the mirror.
Use professional brackets or explosion-proof screws to secure and ensure load-bearing safety.
For mirrors with lights, the anti-fog function, power connection, and lighting brightness should be tested.
It is recommended to use power equipment with a waterproof rating of IP44 or above to ensure safety.
4. Common misconceptions about installing 36-inch mirrors
Misconception 1: Consider the size after tiling tiles
Causing insufficient reserved space or vast mirrors, affecting aesthetics.
Correct approach: Determine the size and position of the mirror in the early stages of design.
Misconception 2: Power supply not reserved
For mirrors or anti-fog mirrors with lights, an independent power interface is required, which can be very troublesome to install later.
Suggestion: Coordinate wiring with electricians and reserve at least one controllable power source.
Misconception 3: Inappropriate height
Installing mirrors too high or too low can cause visual dissonance.
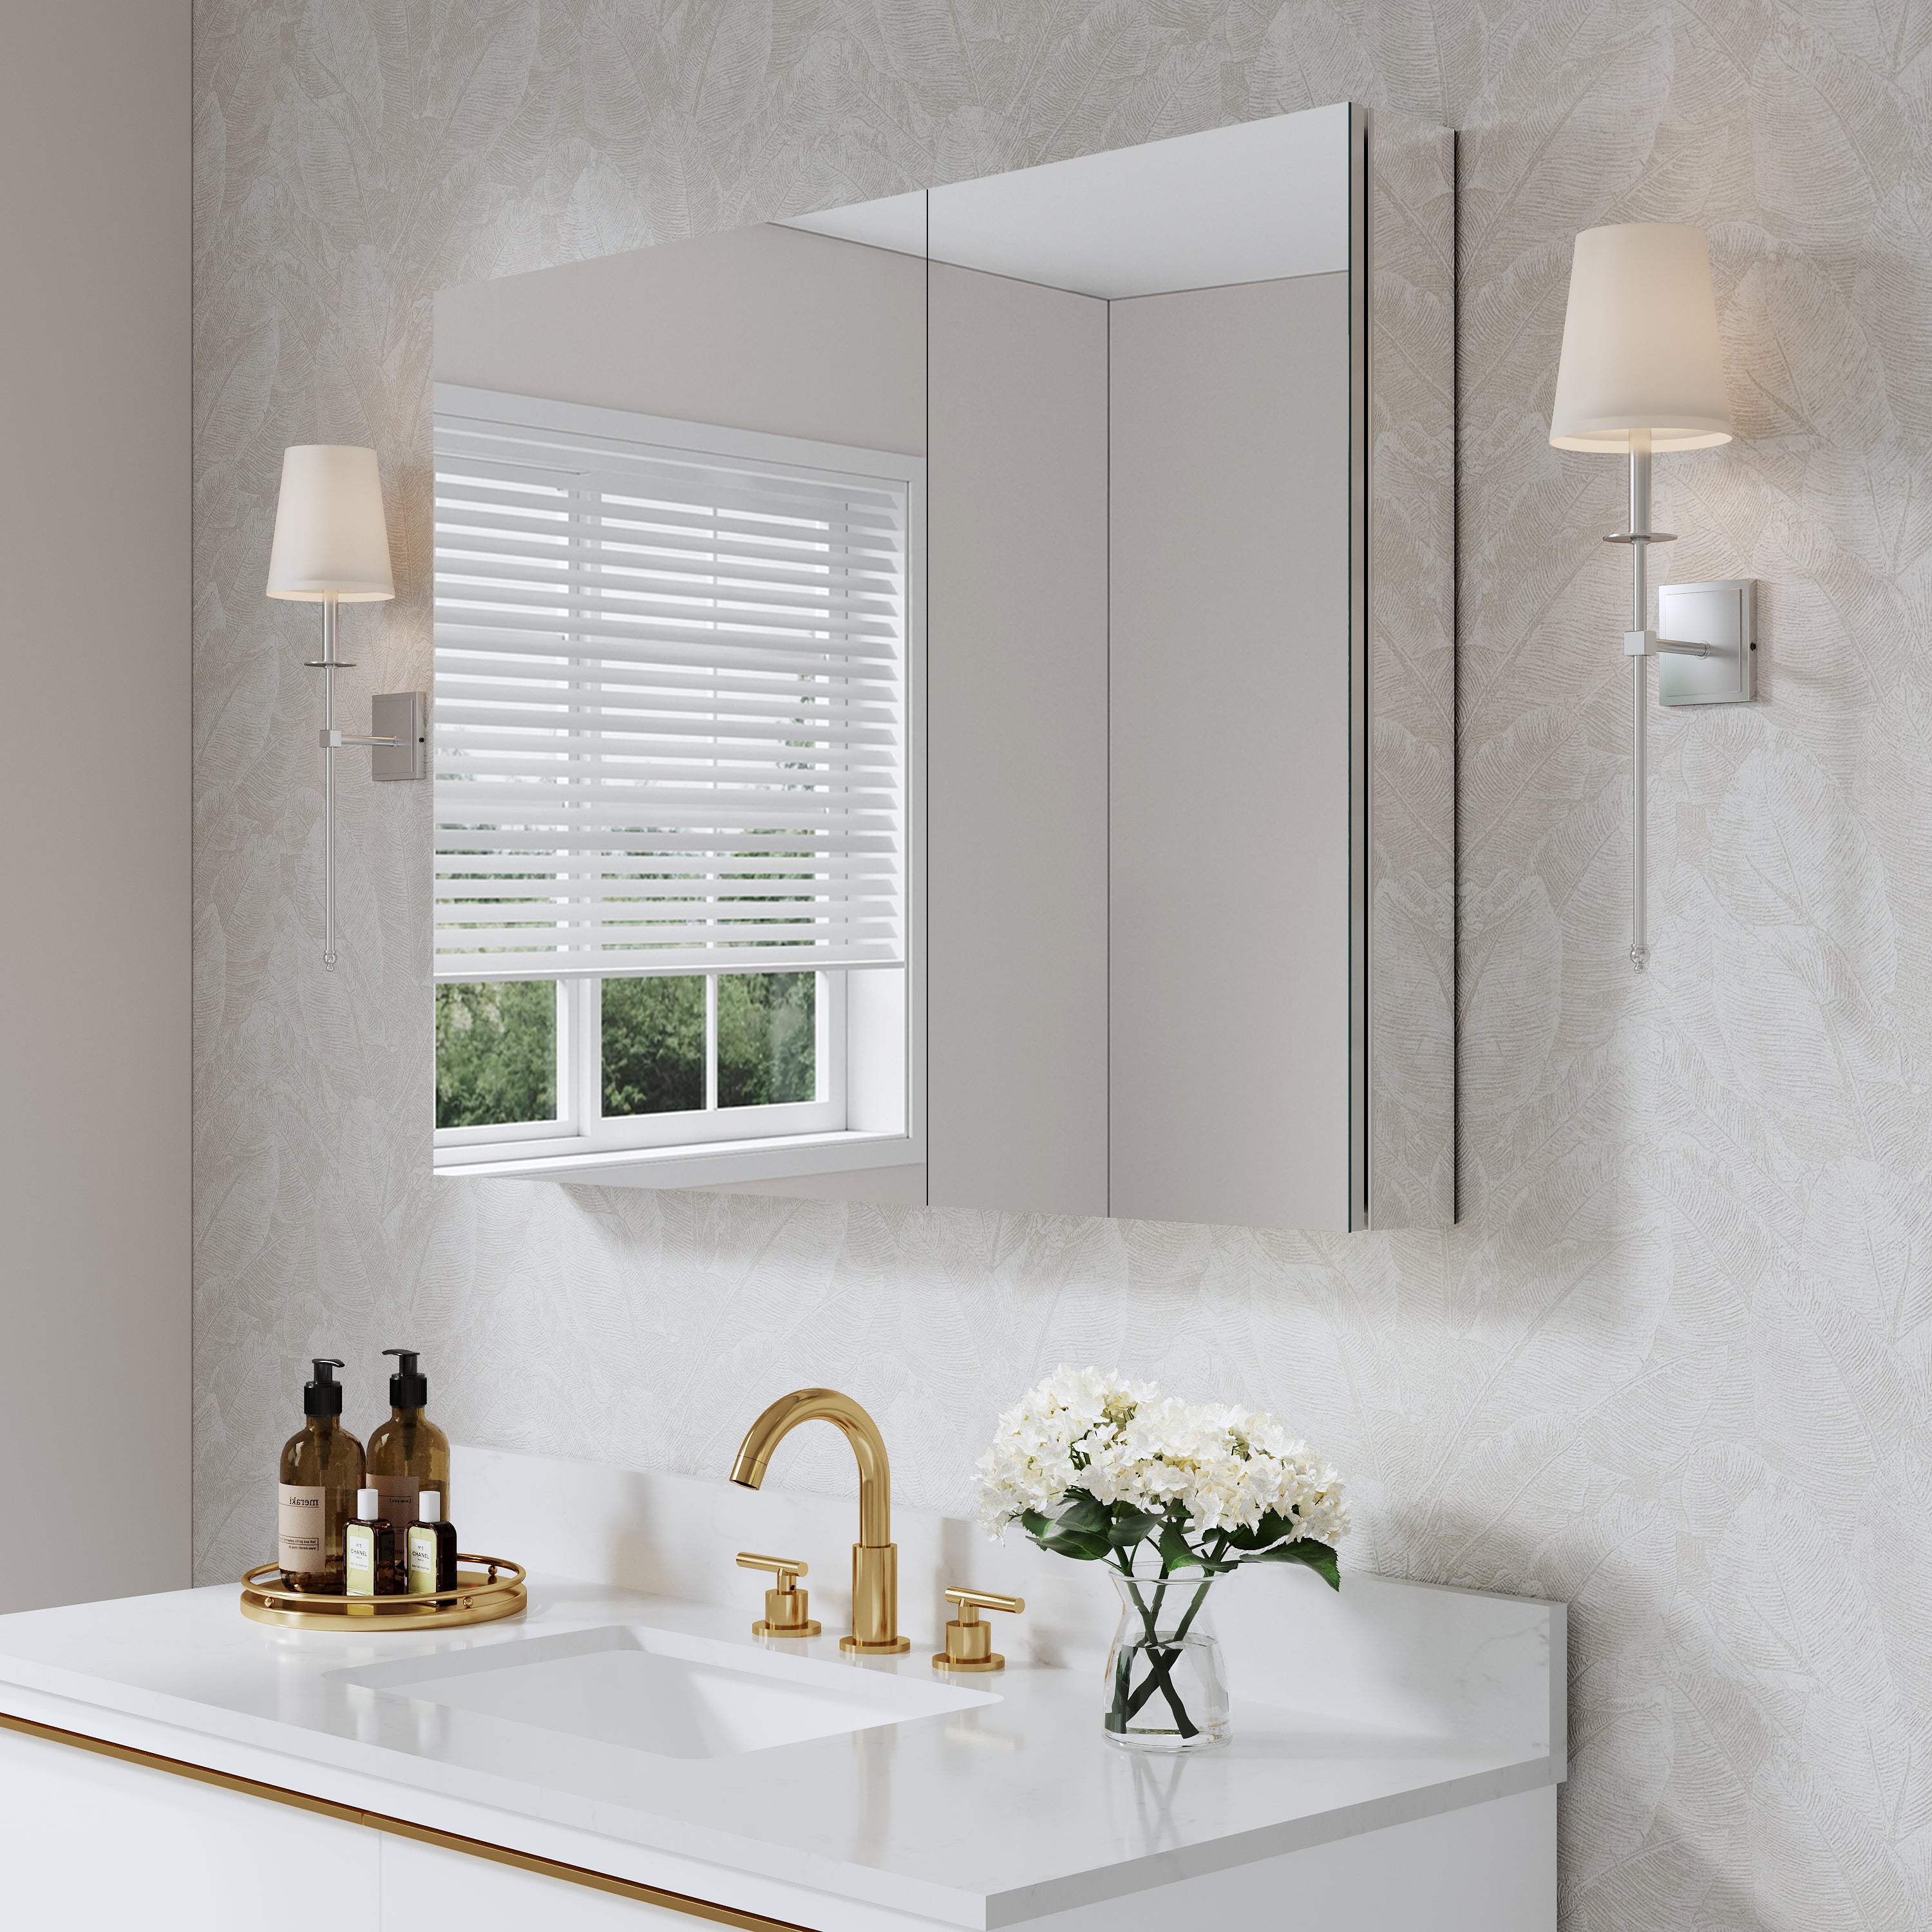
Standard recommendation: The center of the mirror should be level with the adult's eye height (approximately 60-64 inches off the ground).
Misconception 4: Ignoring Lighting Reflection
Improper angle of the light source can lead to uneven illumination or glare.
Recommendation: Use neutral white light (approximately 4000K) and adjust the angle of the light source to avoid direct exposure to the eyes.
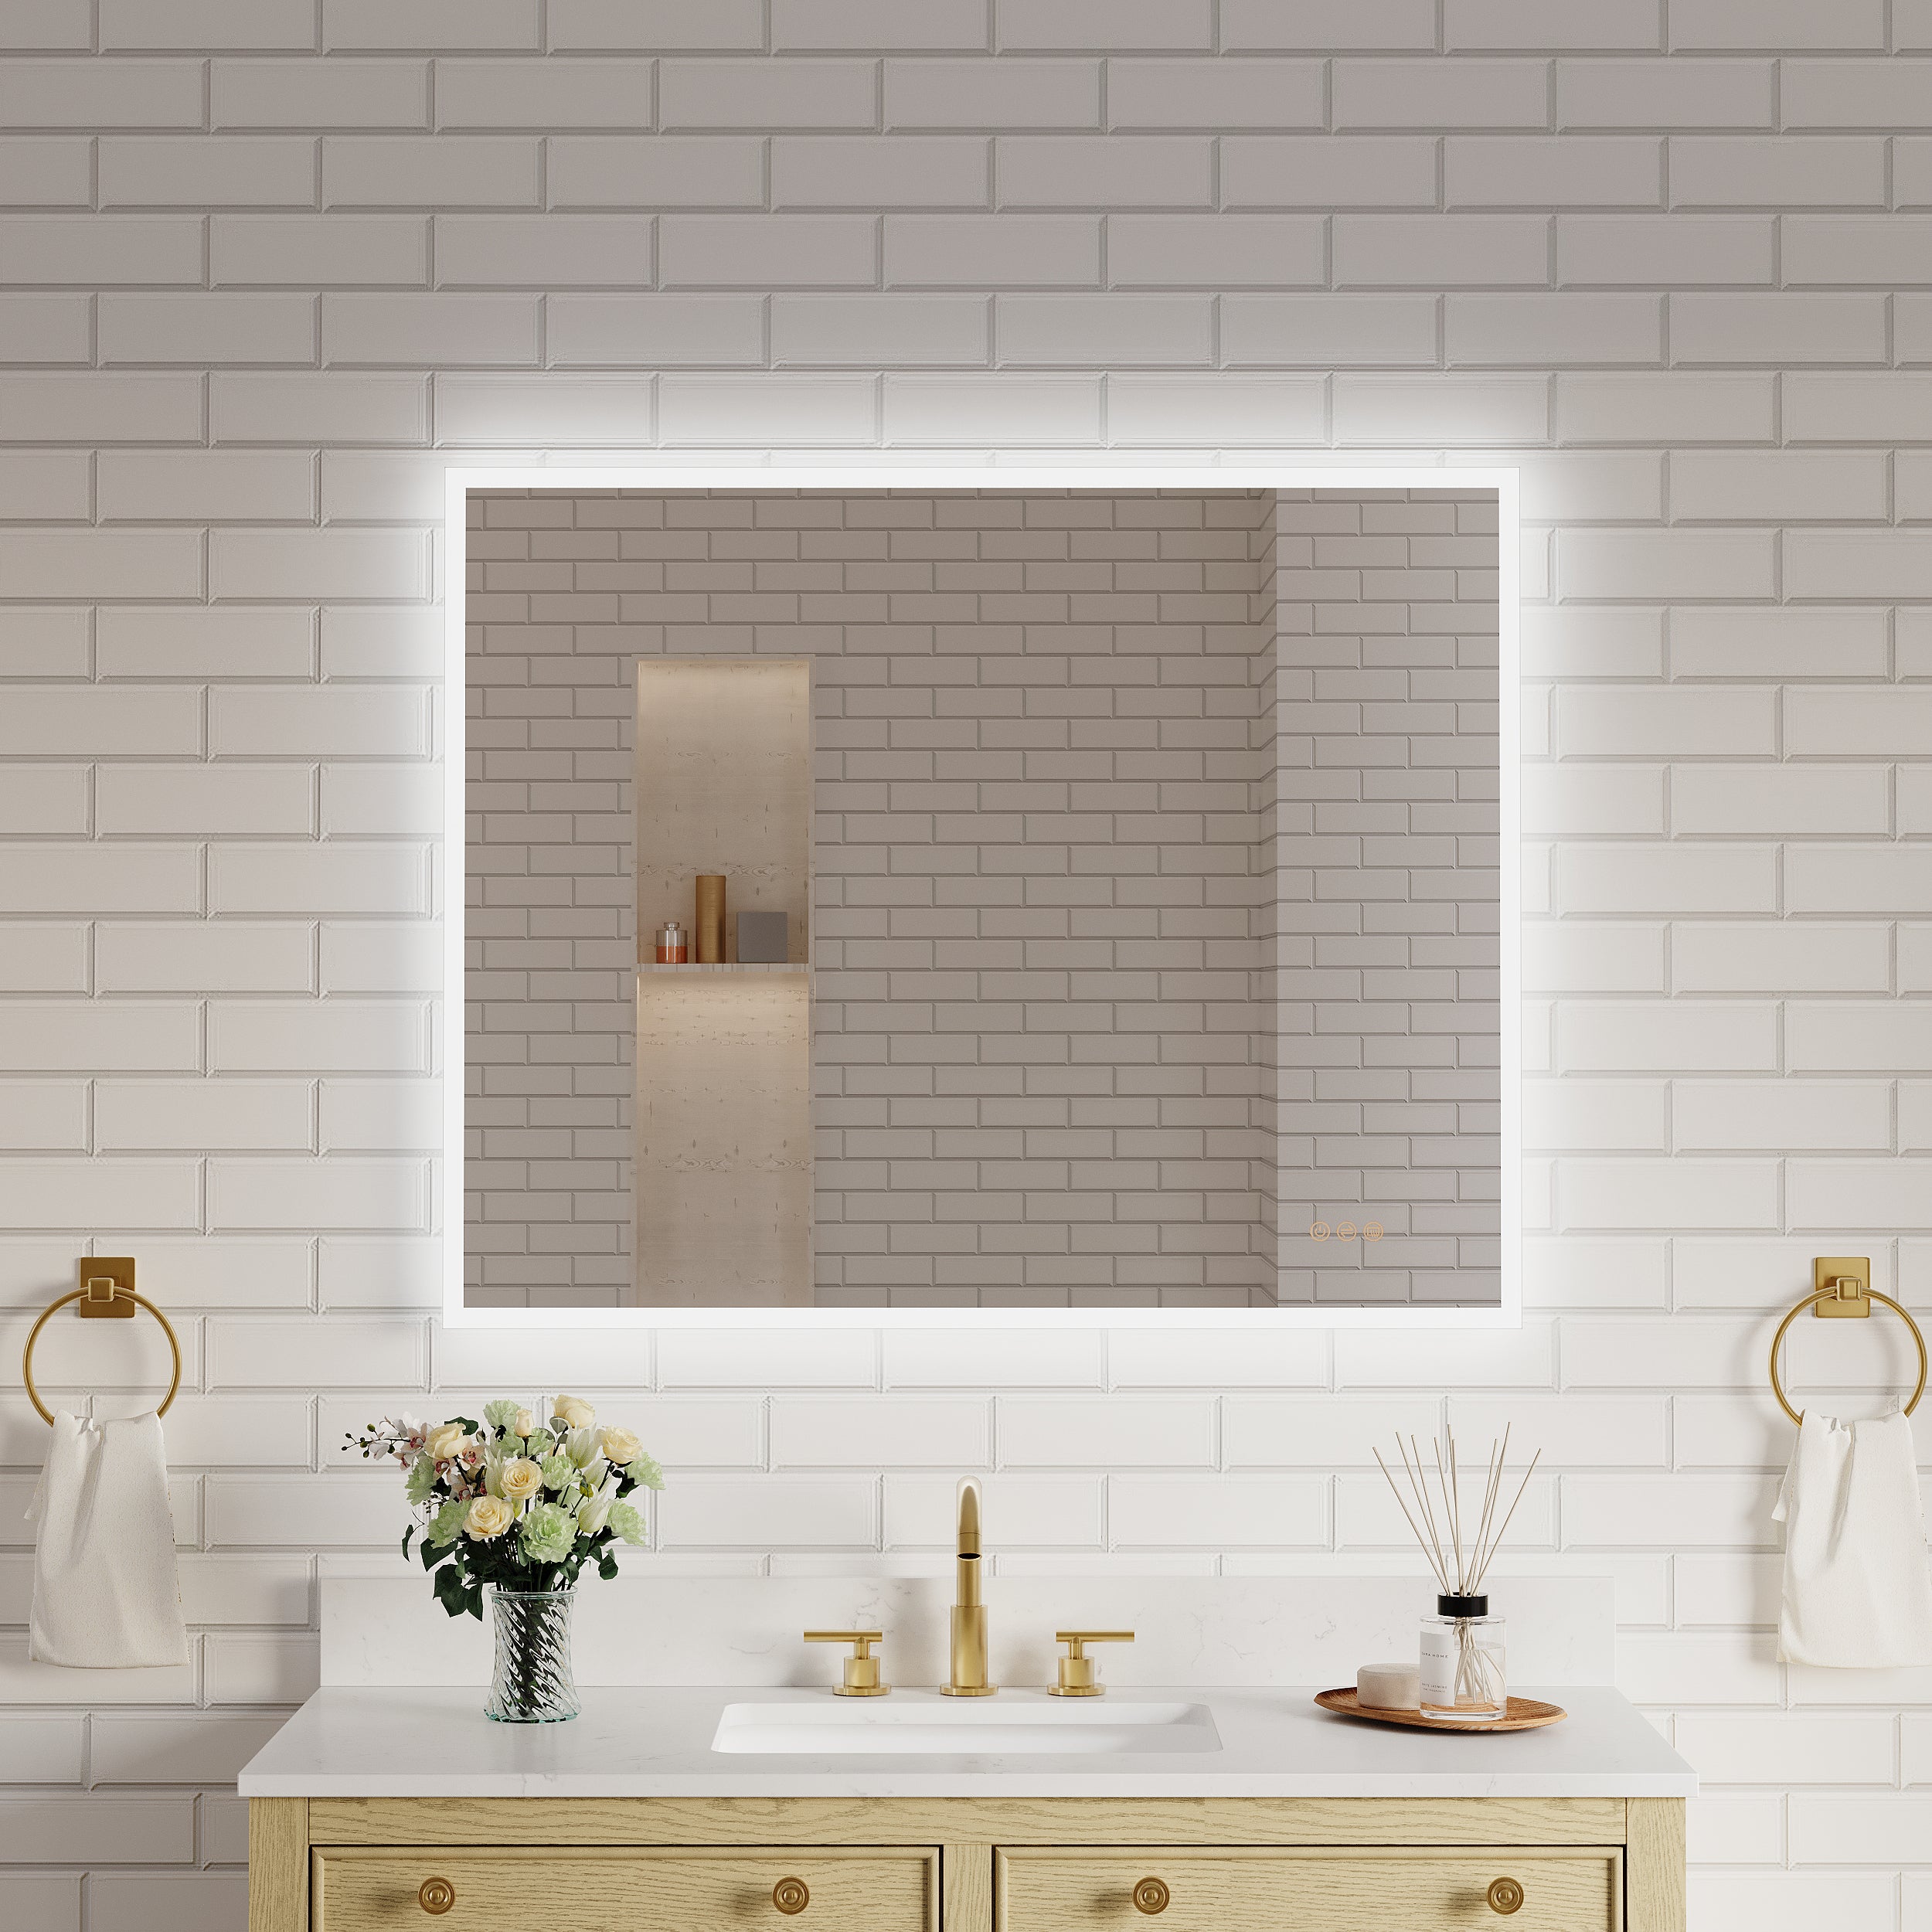
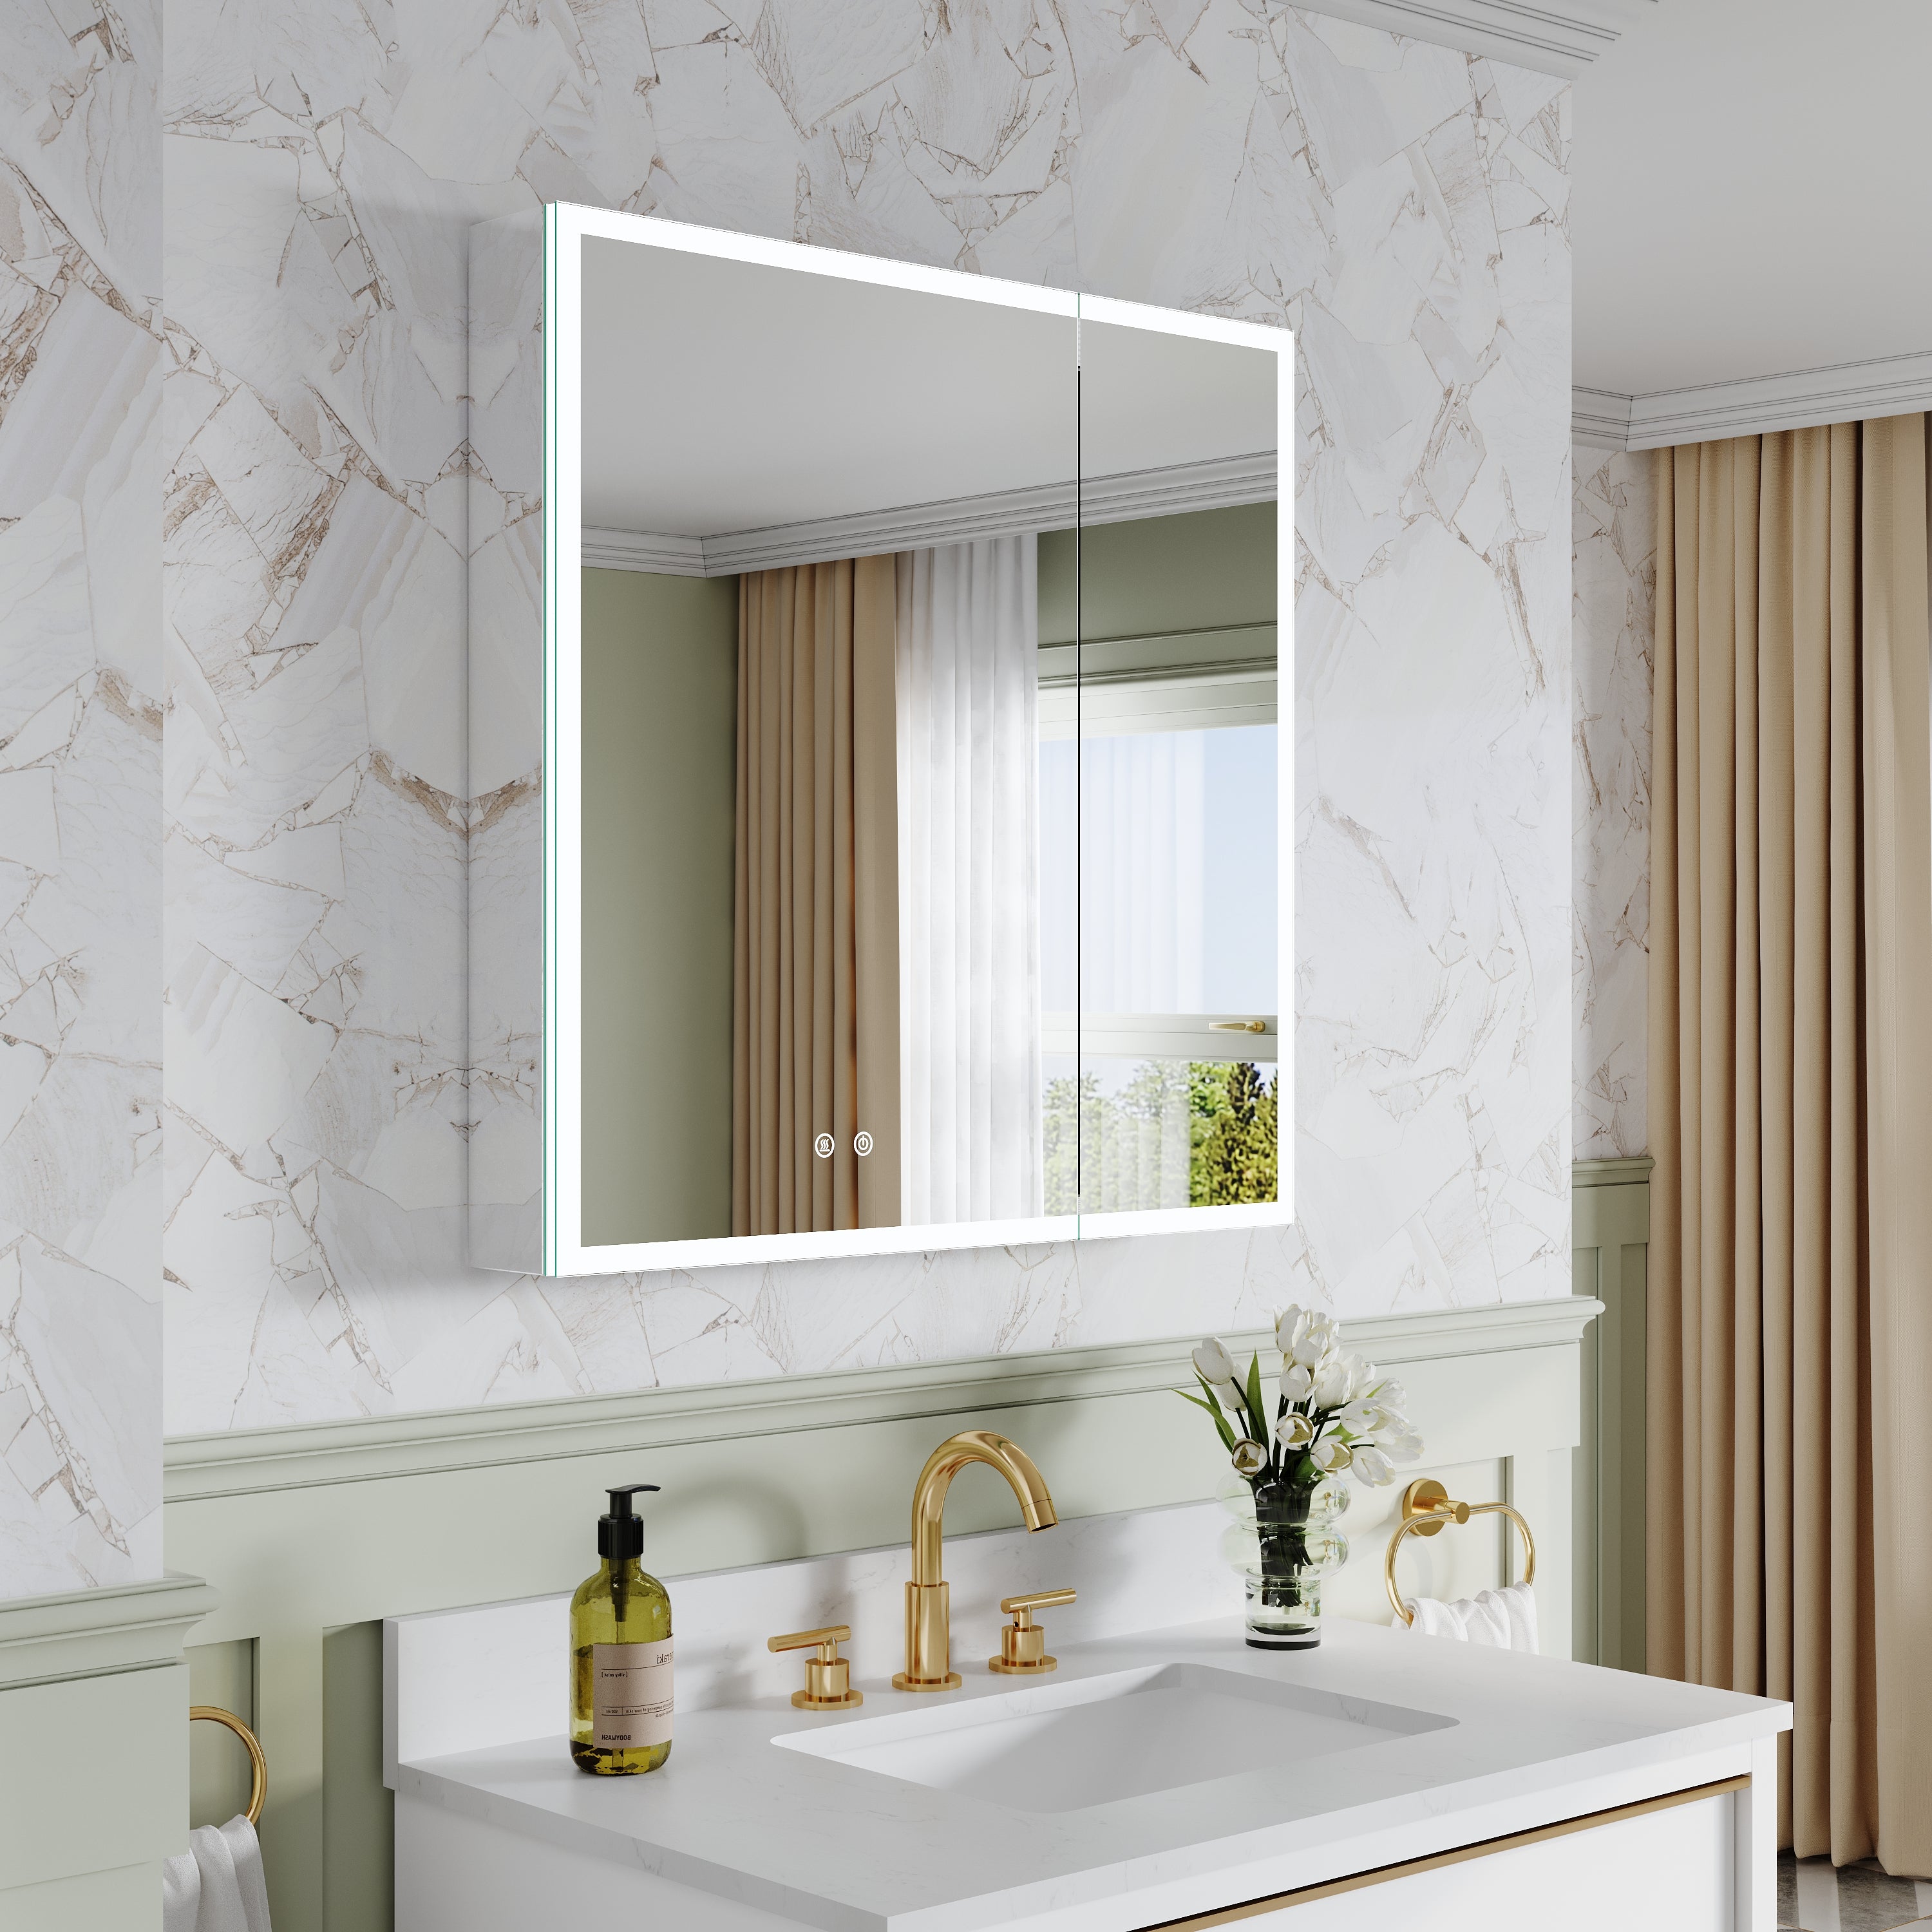
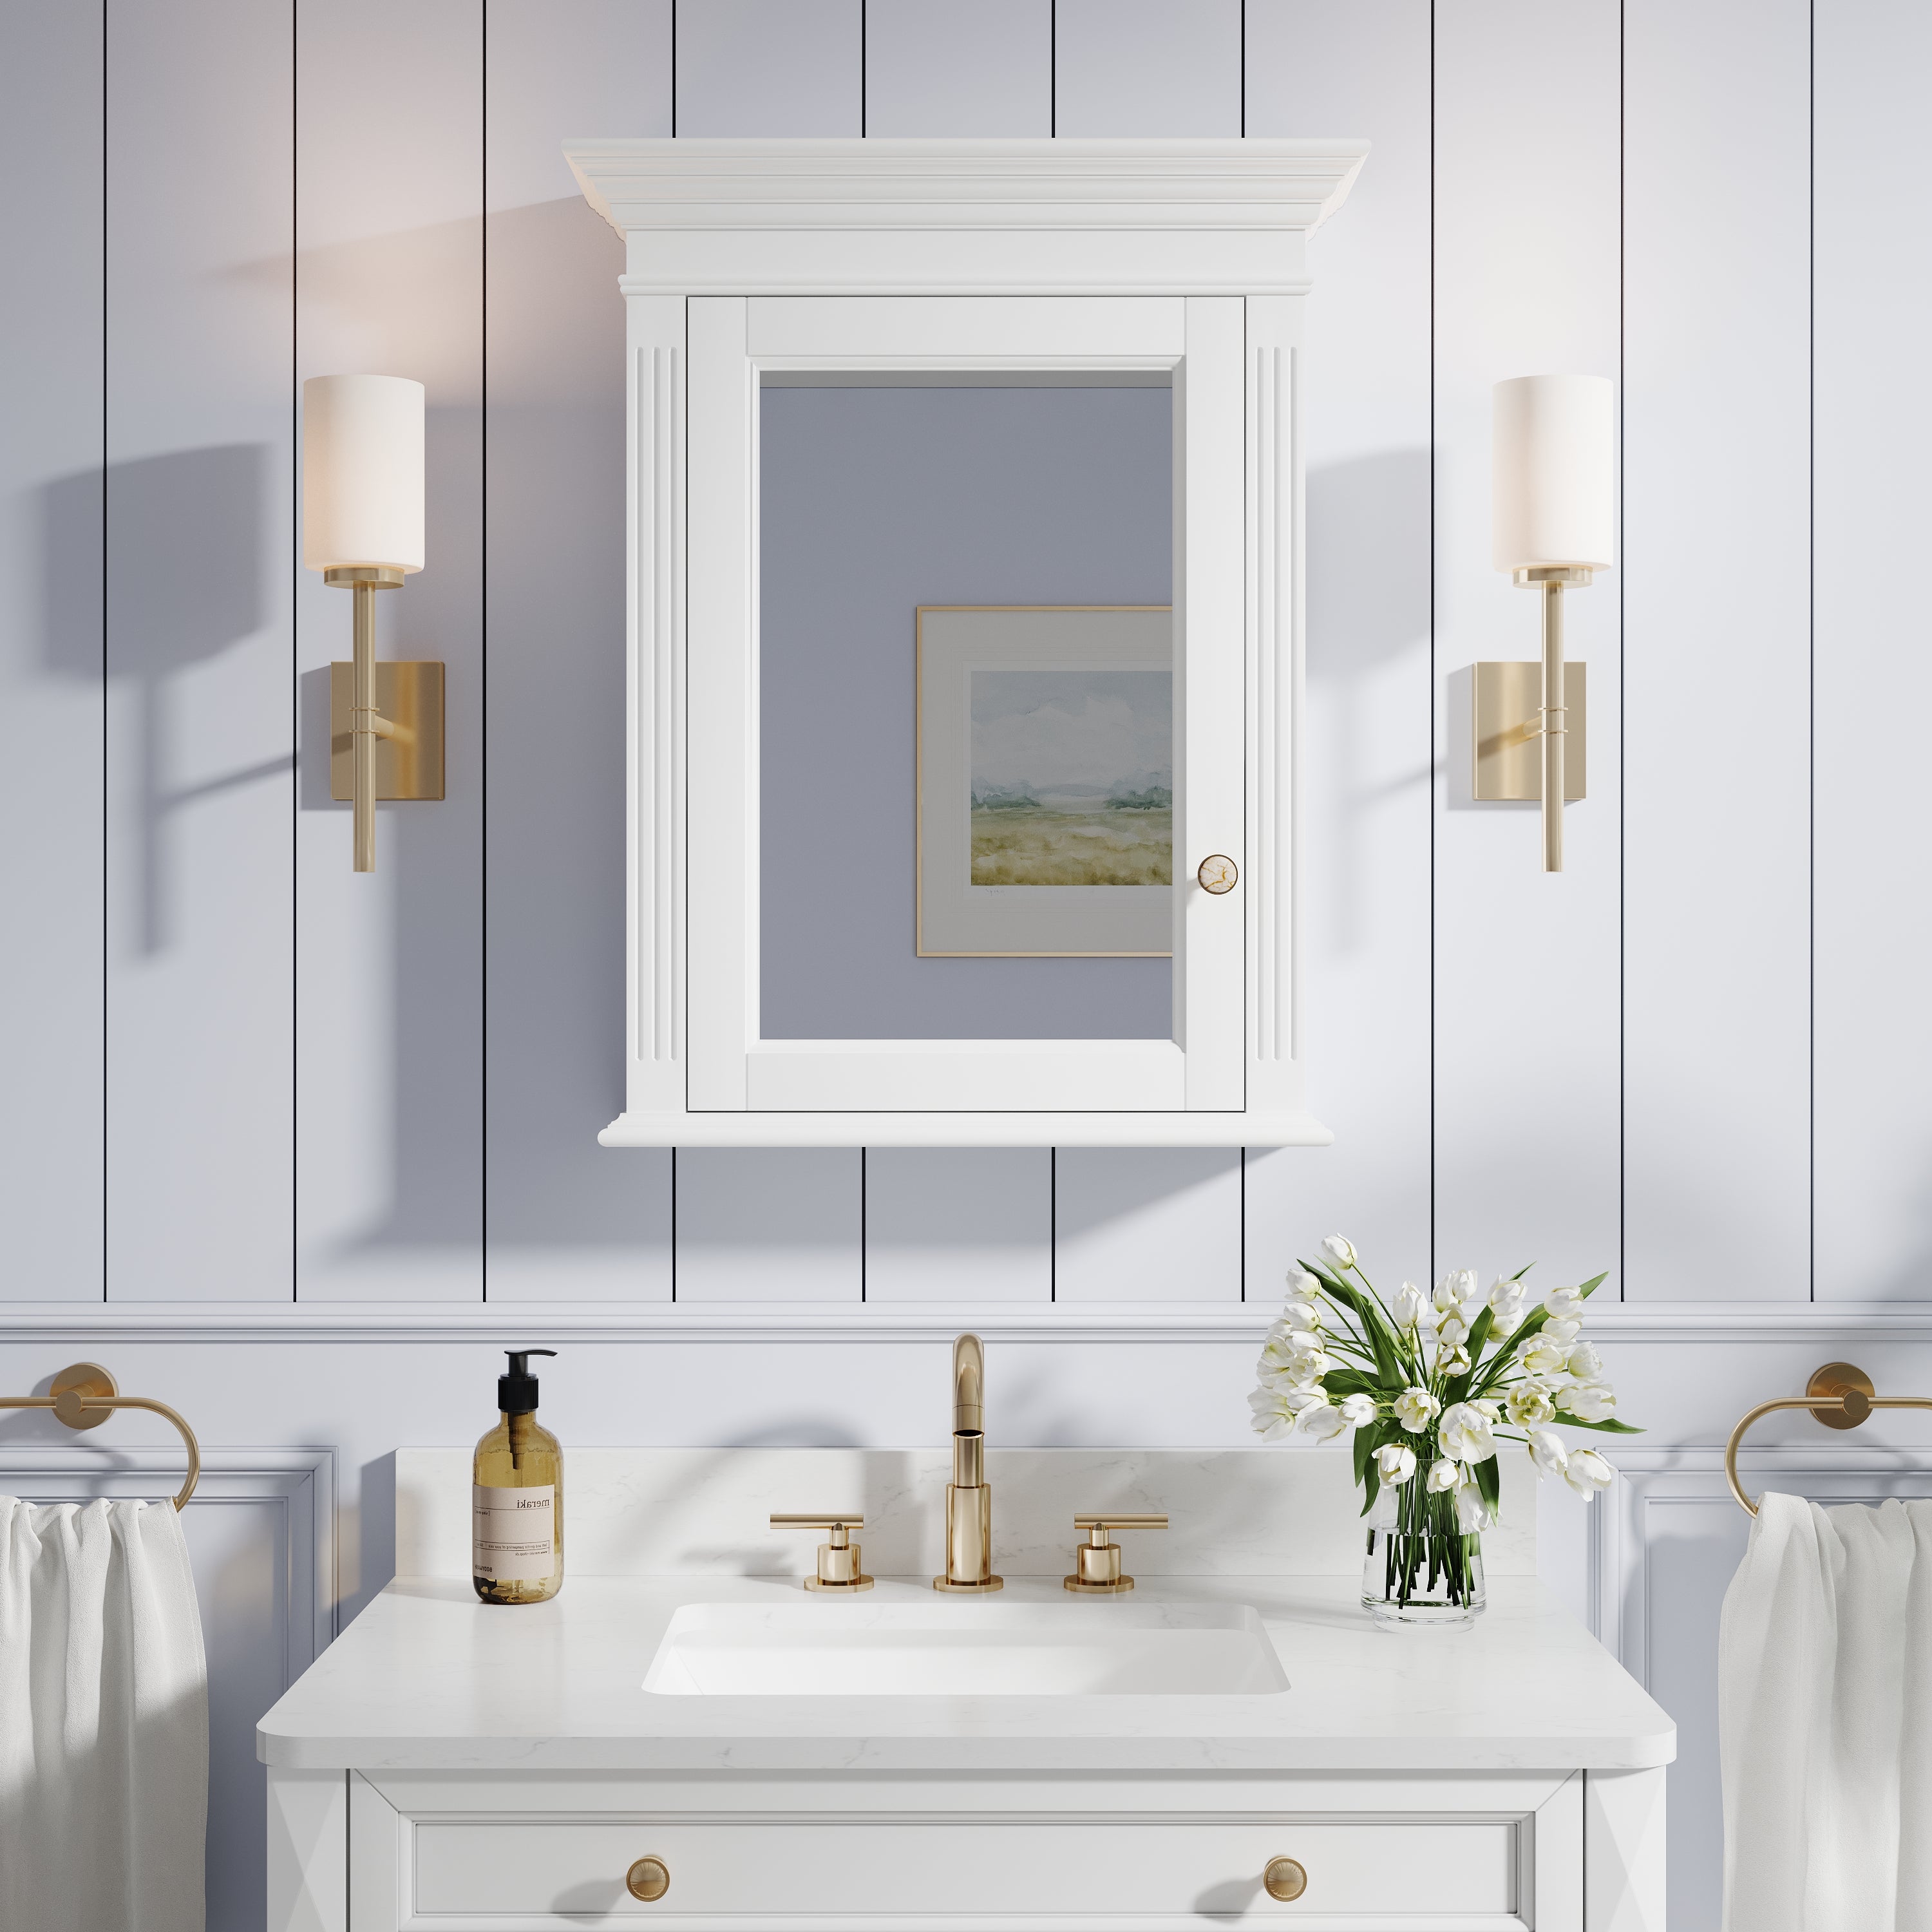
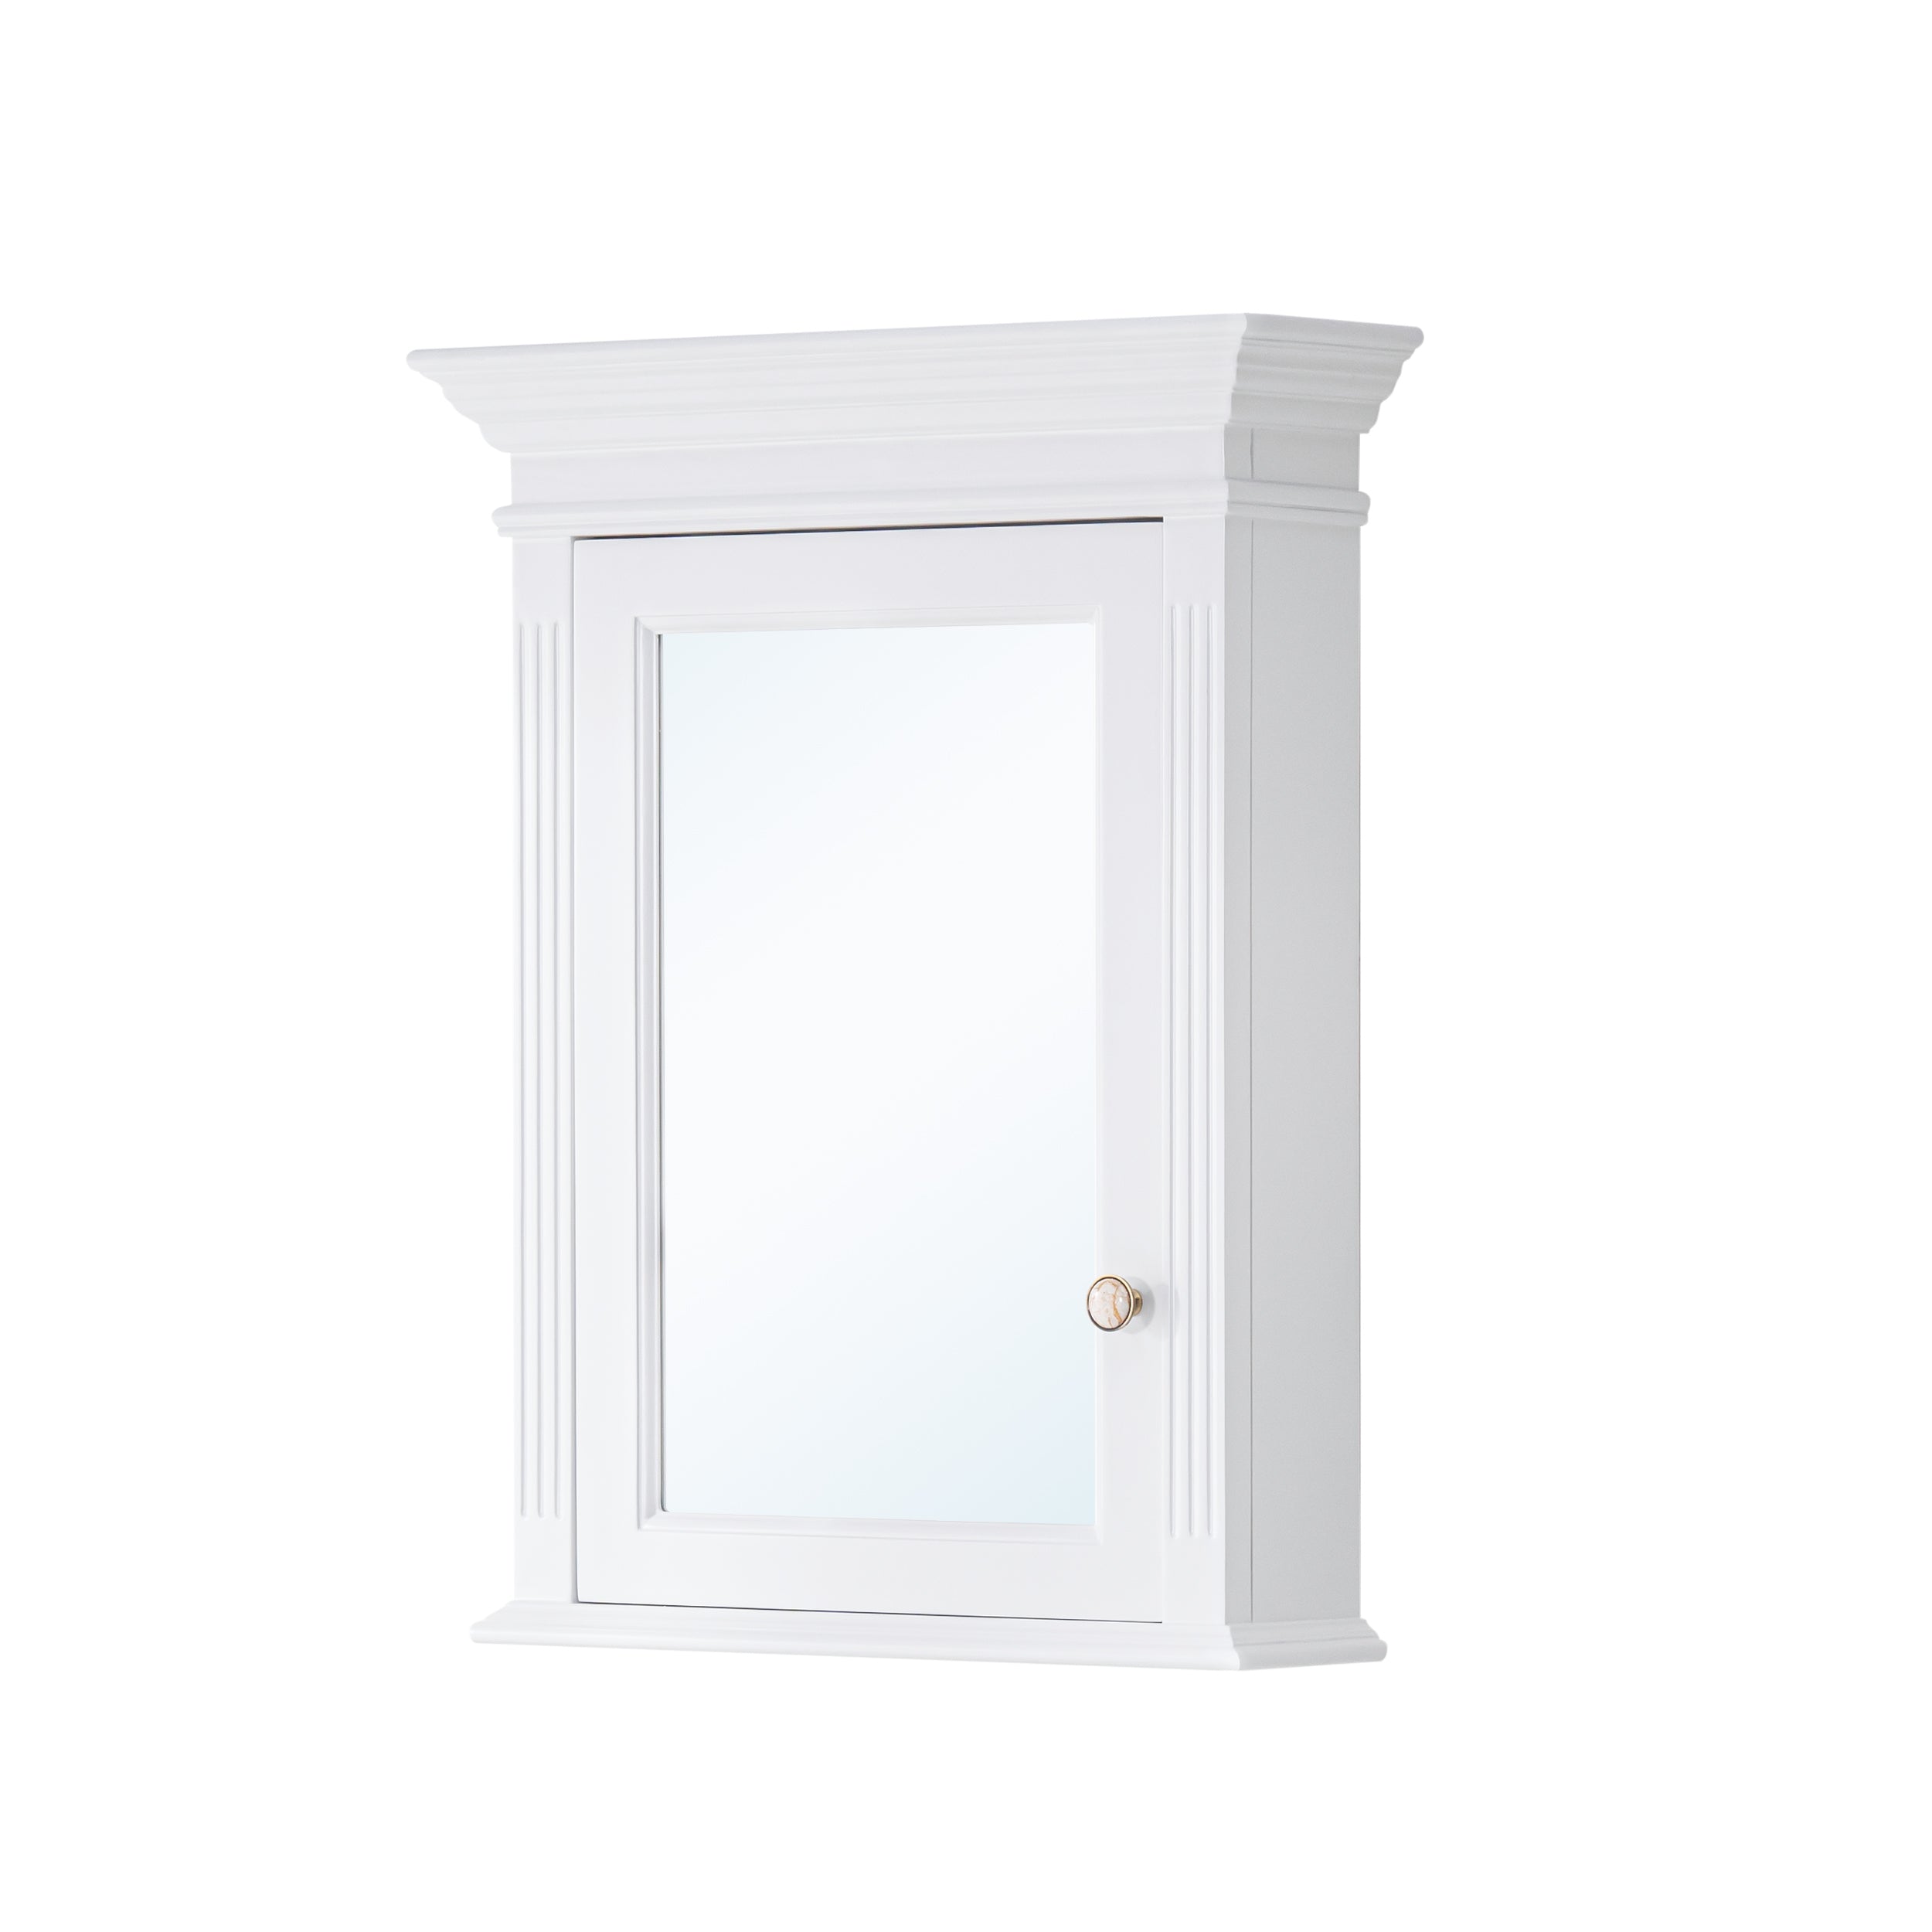
5. How to choose a suitable 36-inch mirror
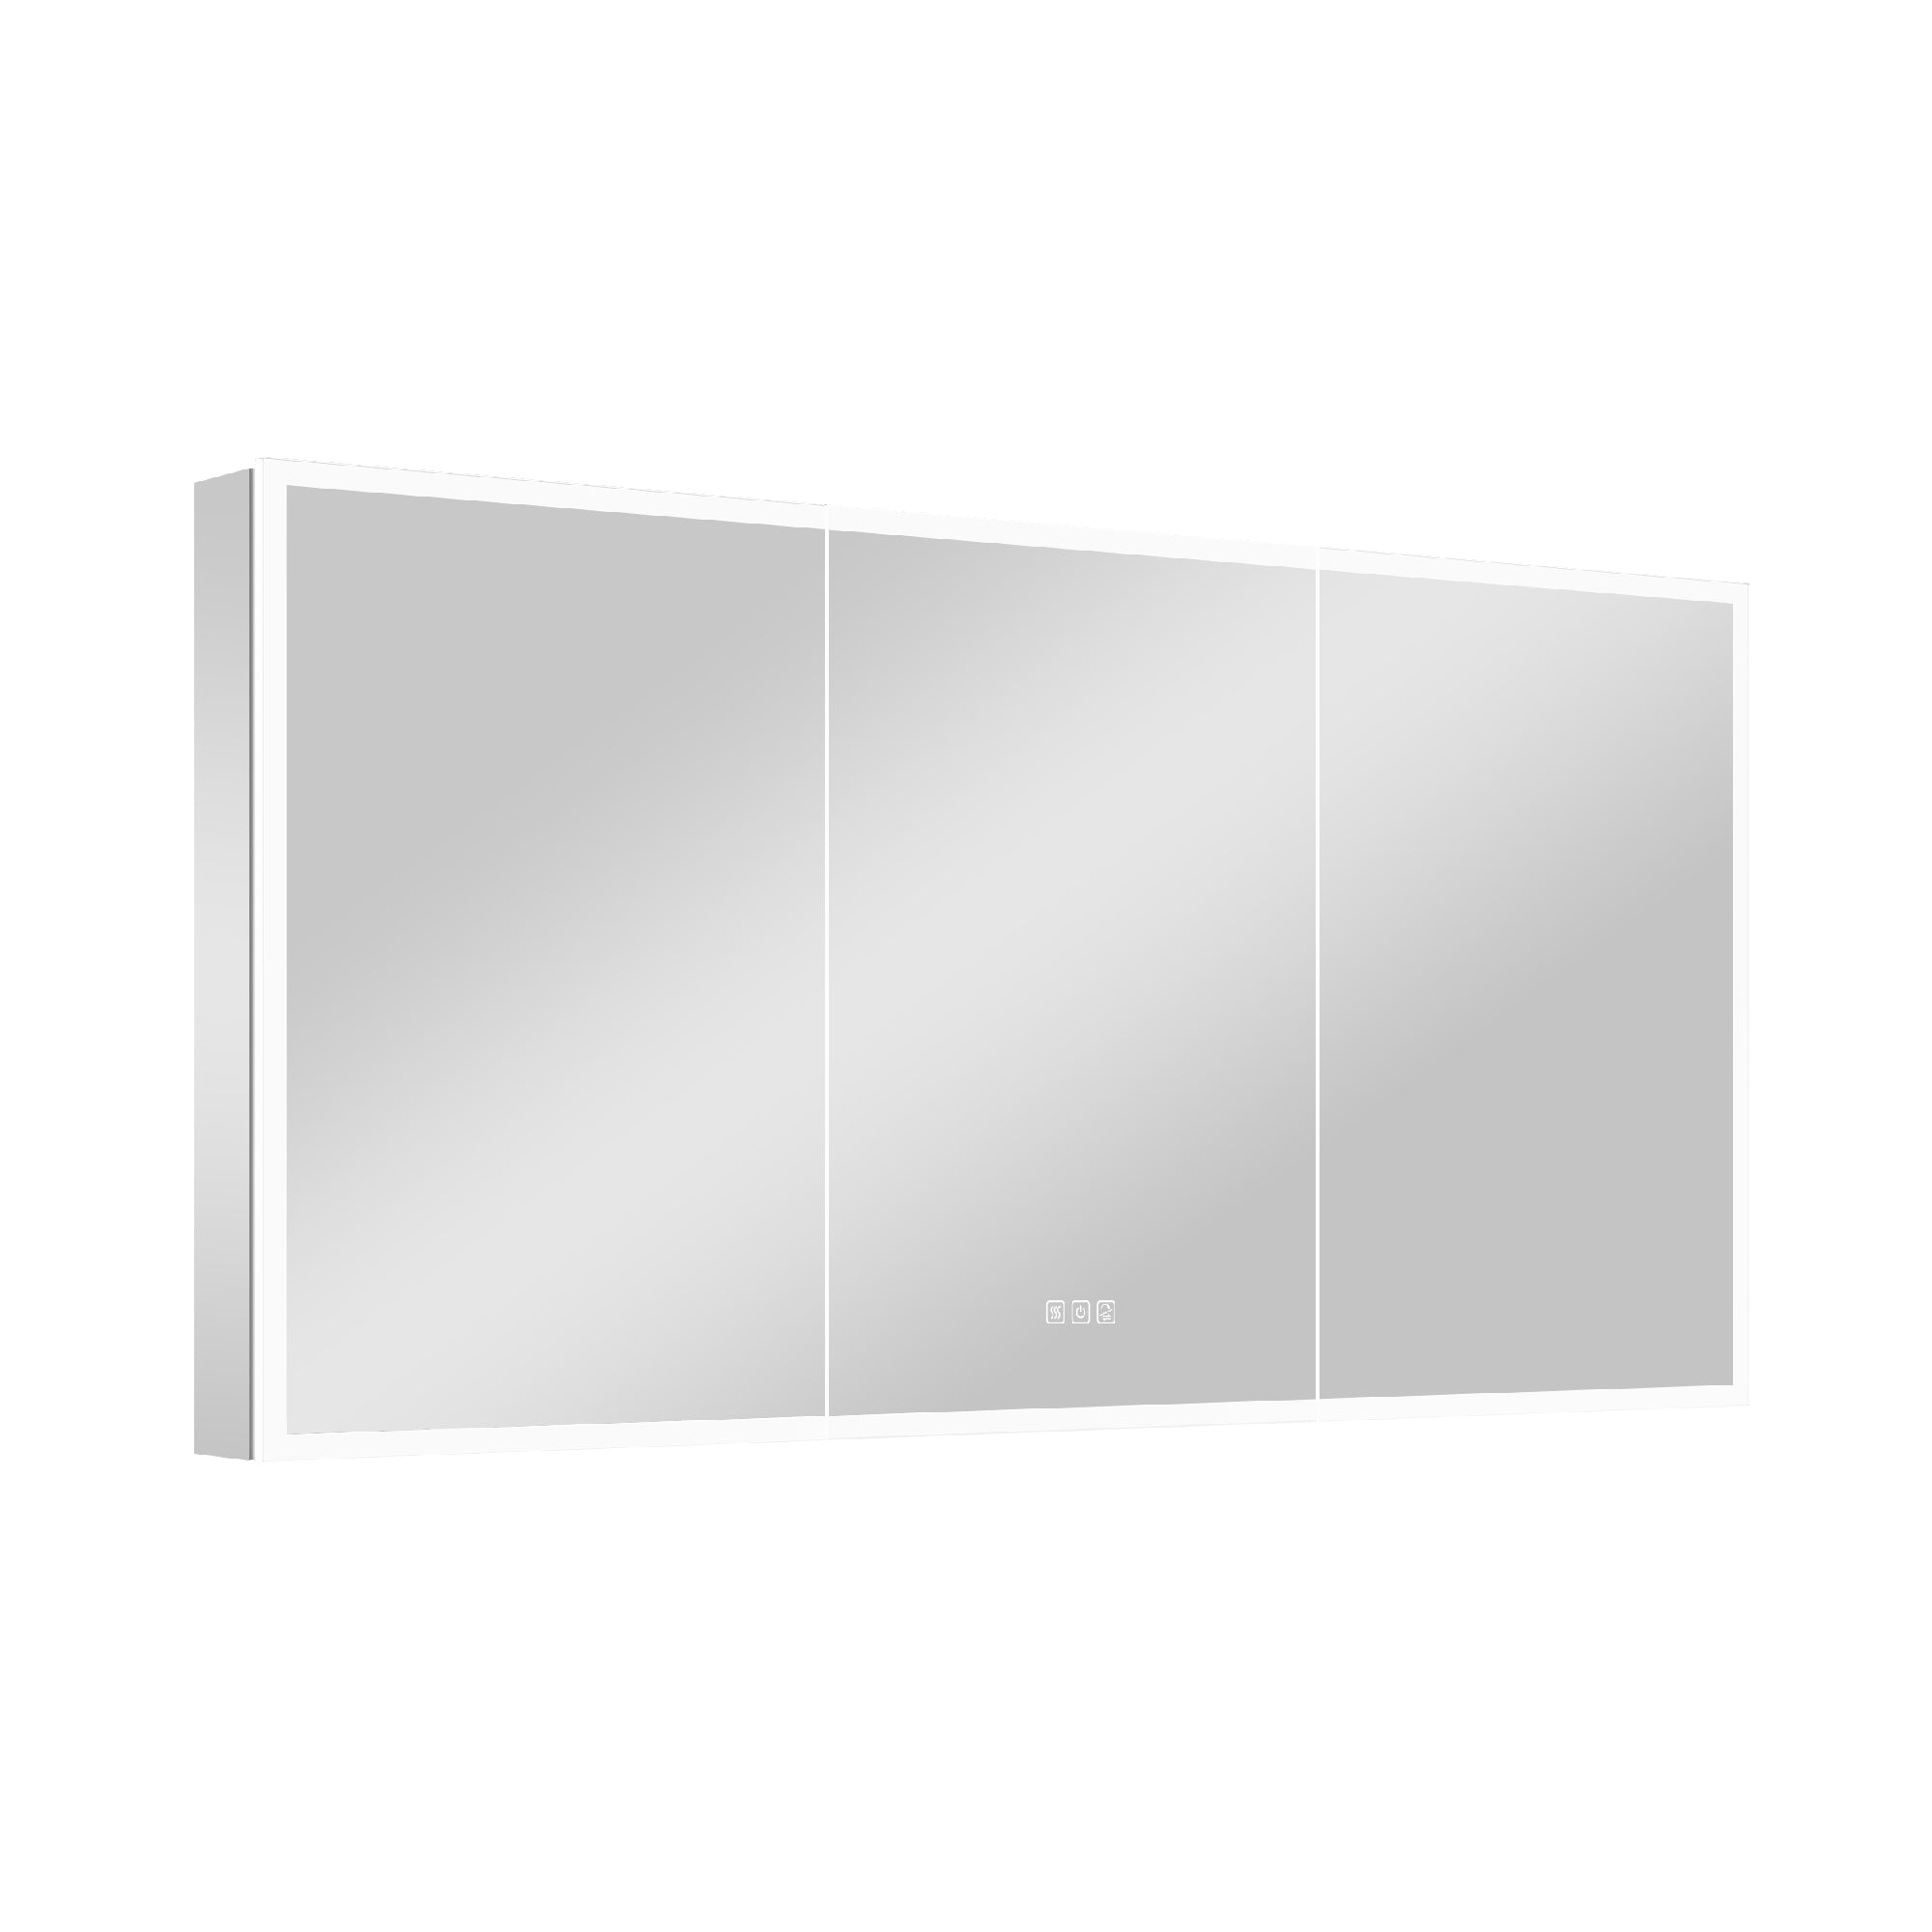
Standard 36-inch bathroom mirrors are primarily categorized into three types:
Light-free ordinary mirror – simple to install and cost-effective, suitable for small bathrooms with basic decoration.
Lamp-equipped anti-fog mirror – combines lighting and anti-fog functions, energy-saving and environmentally friendly, ideal for high-end decoration and areas with high humidity.
Smart mirror – typically found in high-end bathrooms or smart home systems, offering adjustable dimming, touch control, anti-fog technology, and Bluetooth capabilities.
According to a consumer survey (source: Statista, 2024), over 58% of households in the US market opt for products with lights or smart mirrors when renovating their bathrooms, underscoring the dual demand for both functionality and aesthetics.
6. Summary: The timing of installation determines the effect and experience
In bathroom decoration, the installation timing of 36-inch mirrors is not only a construction issue, but also an essential part of design coordination.
An ideal installation schedule is as follows:
Design phase: Determine the size of the mirror and the position of the power supply.
Water and electricity stage: Complete the reservation of wires and sockets.
Bricklaying stage: Reserve the installation area to avoid displacement of holes.
Closing stage: Debugging the lighting, correcting the position, and finally fixing it.
Choosing the appropriate installation timing can maximize the functionality and aesthetics of the mirror, achieving an ideal balance between lighting, space, and comfort experience in the bathroom.
As an American interior designer said in Architectural Digest,
"Bathroom mirrors are not only daily reflective surfaces, but also the visual focal point of the entire space. If installed at the right stage, it will become a key detail in improving the quality and comfort of the bathroom."


Leave a comment
This site is protected by hCaptcha and the hCaptcha Privacy Policy and Terms of Service apply.