


Lighted mirrors have gone from being considered "nice to have" to "standard spec" in the vernacular of bathroom renovations and even vanities. They can be flattering and are energy-efficient, making them ideal for task work. That said, mirrors with lights don't provide enough light to light a room entirely. A bright, comfortable, and photogenic space needs a simple layered strategy. Here’s a clear recap of best practices that designers and contractors are currently using.
1) Start with Layers: Task, Ambient, Accent
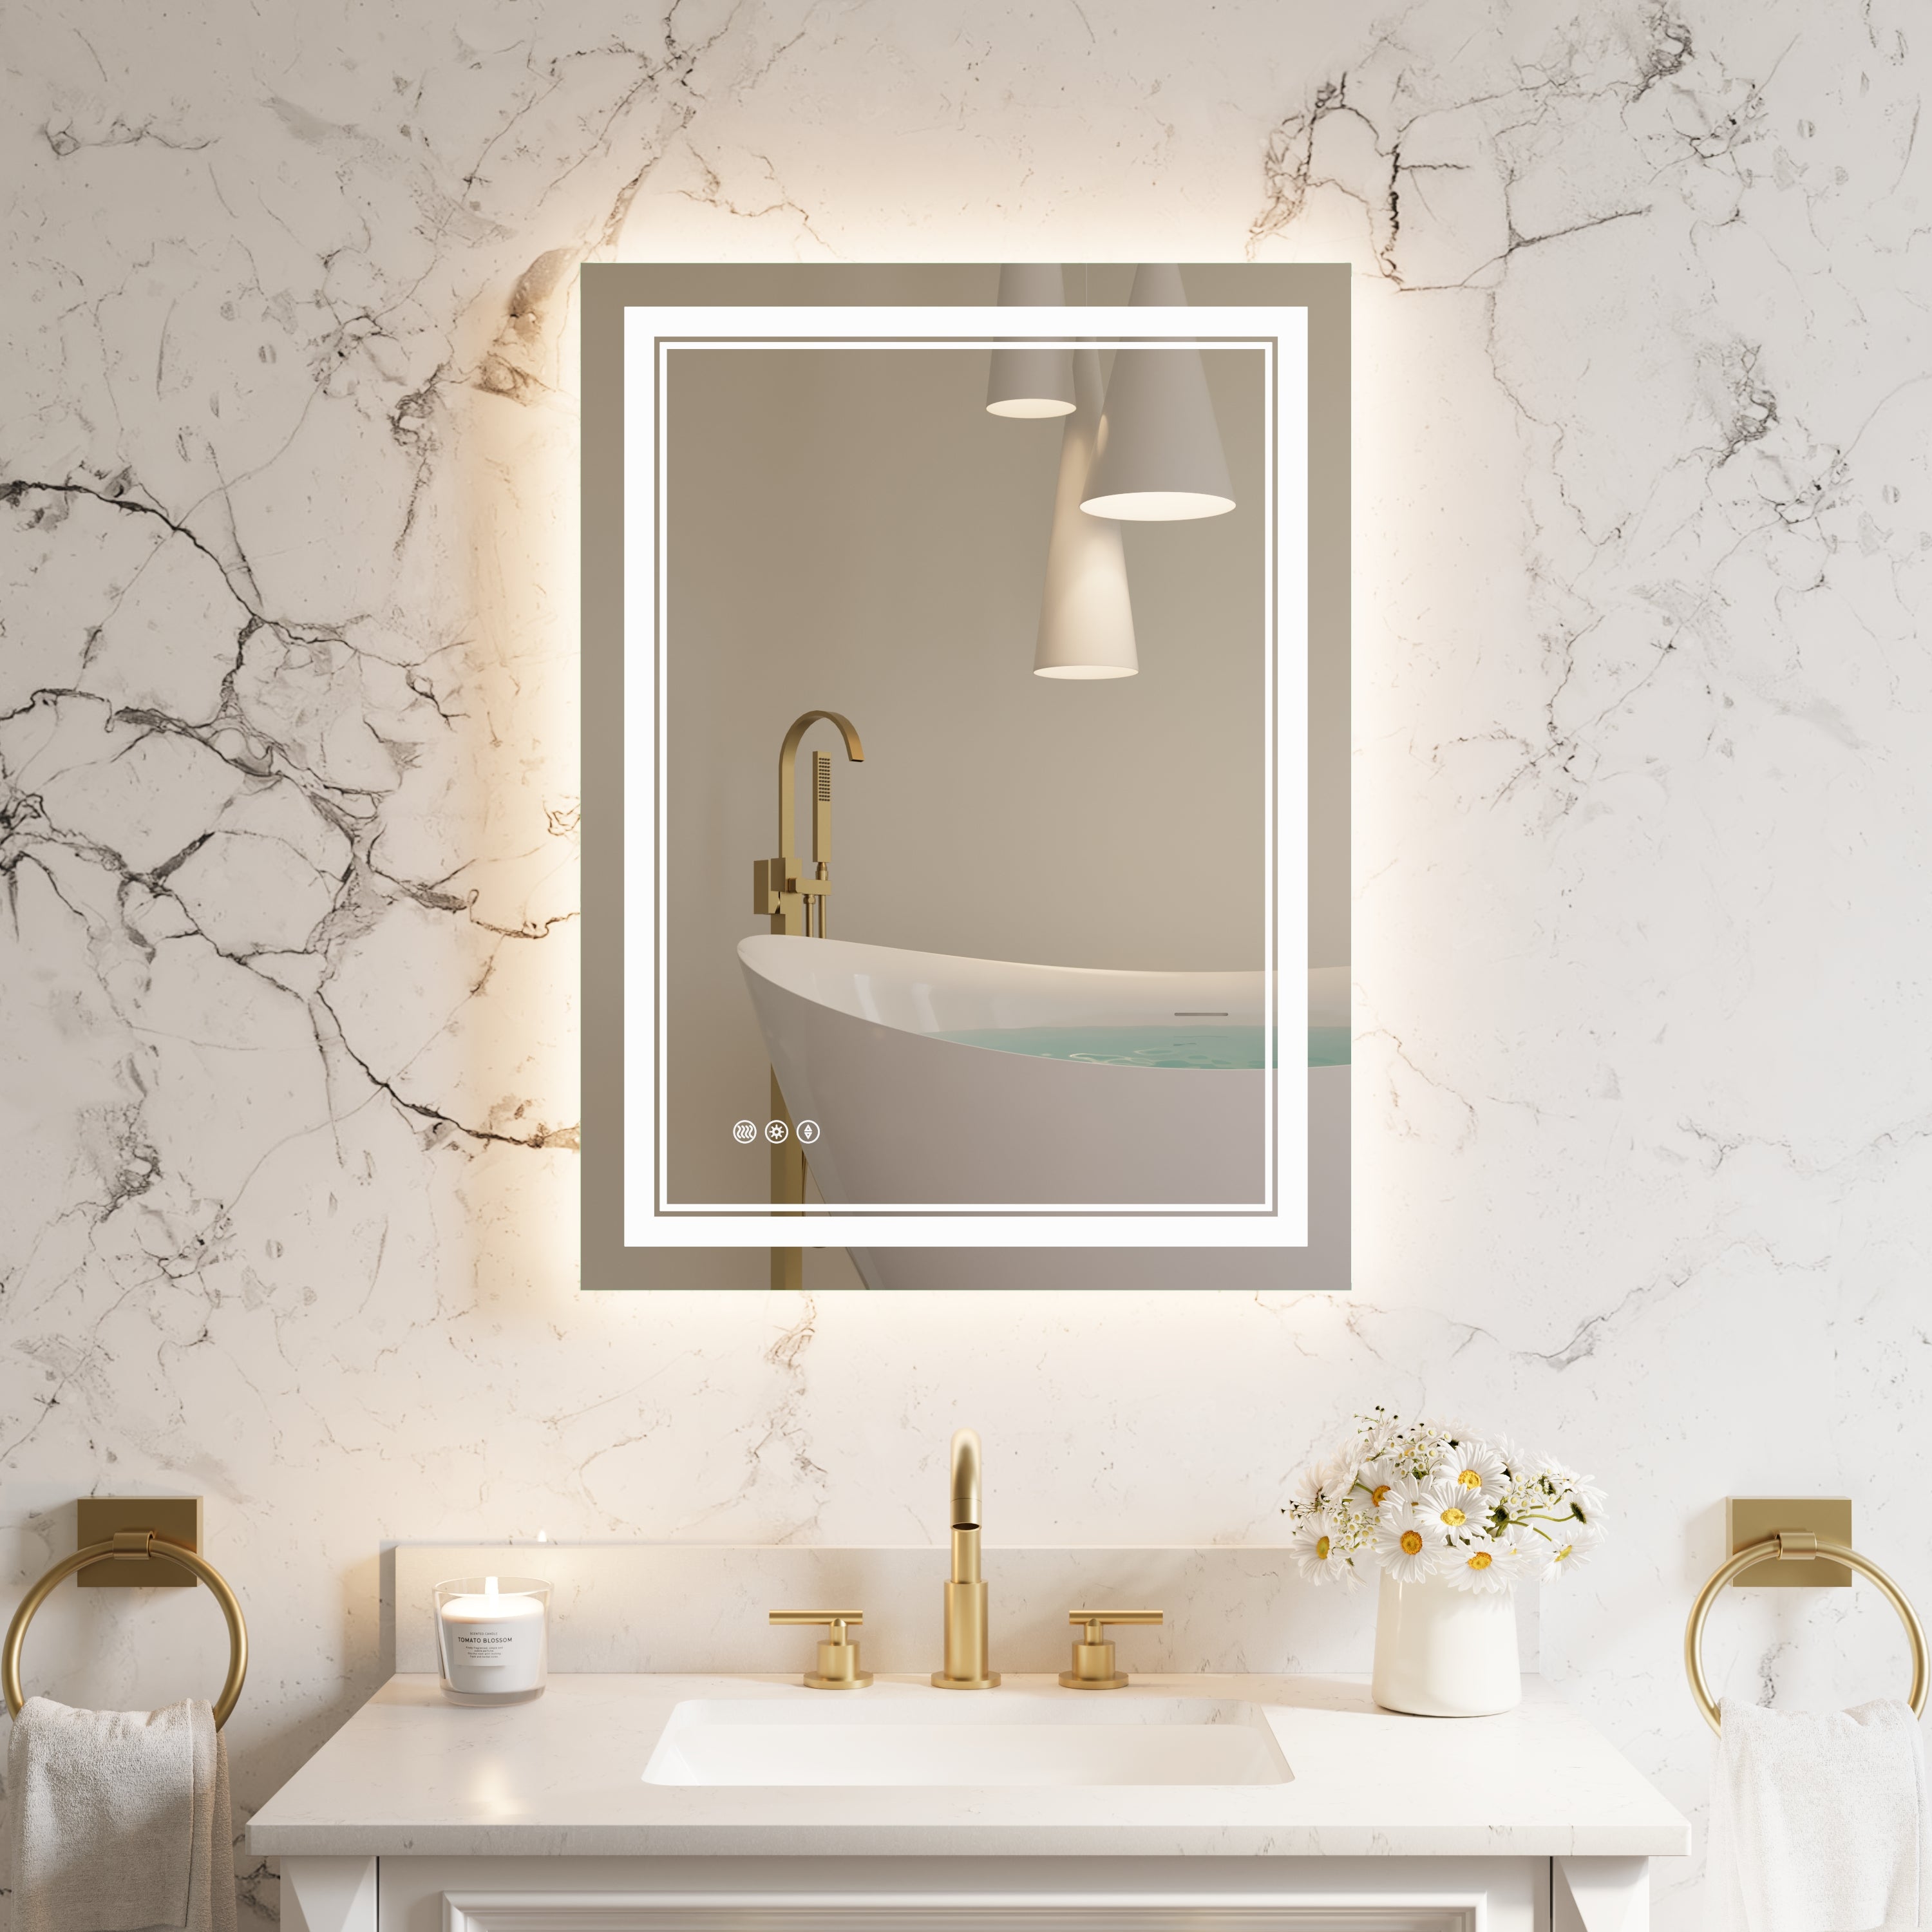
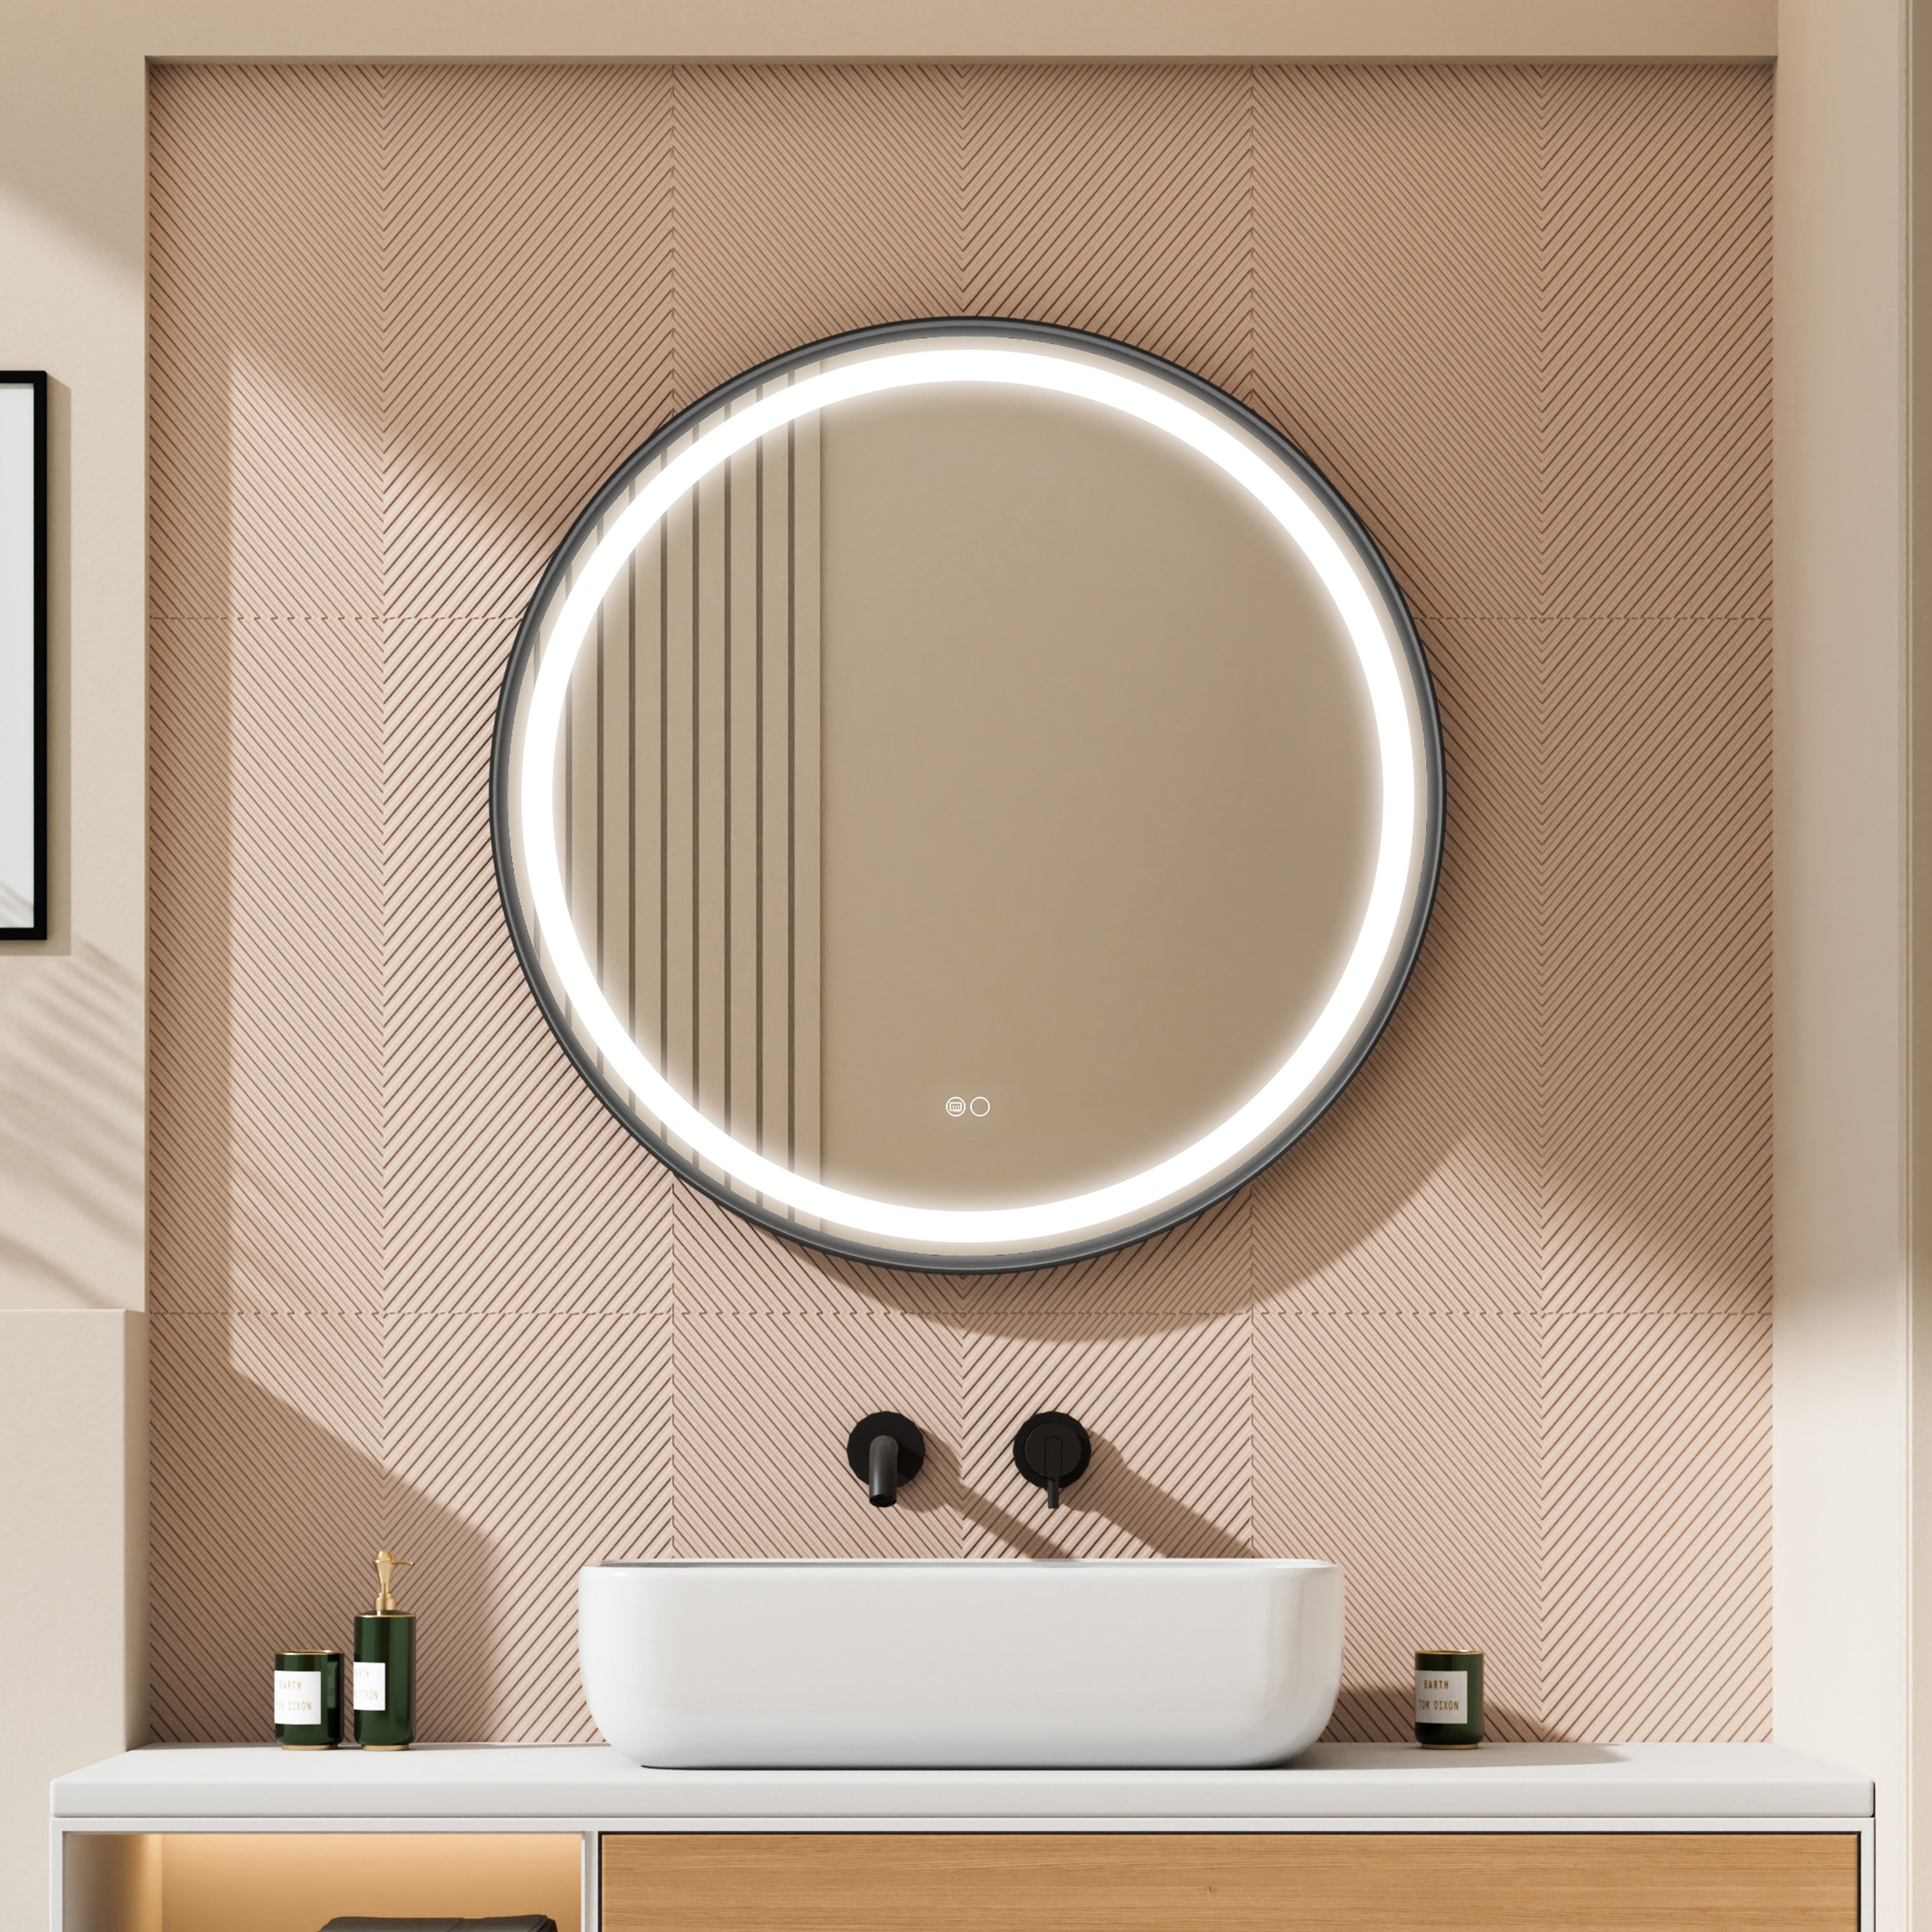
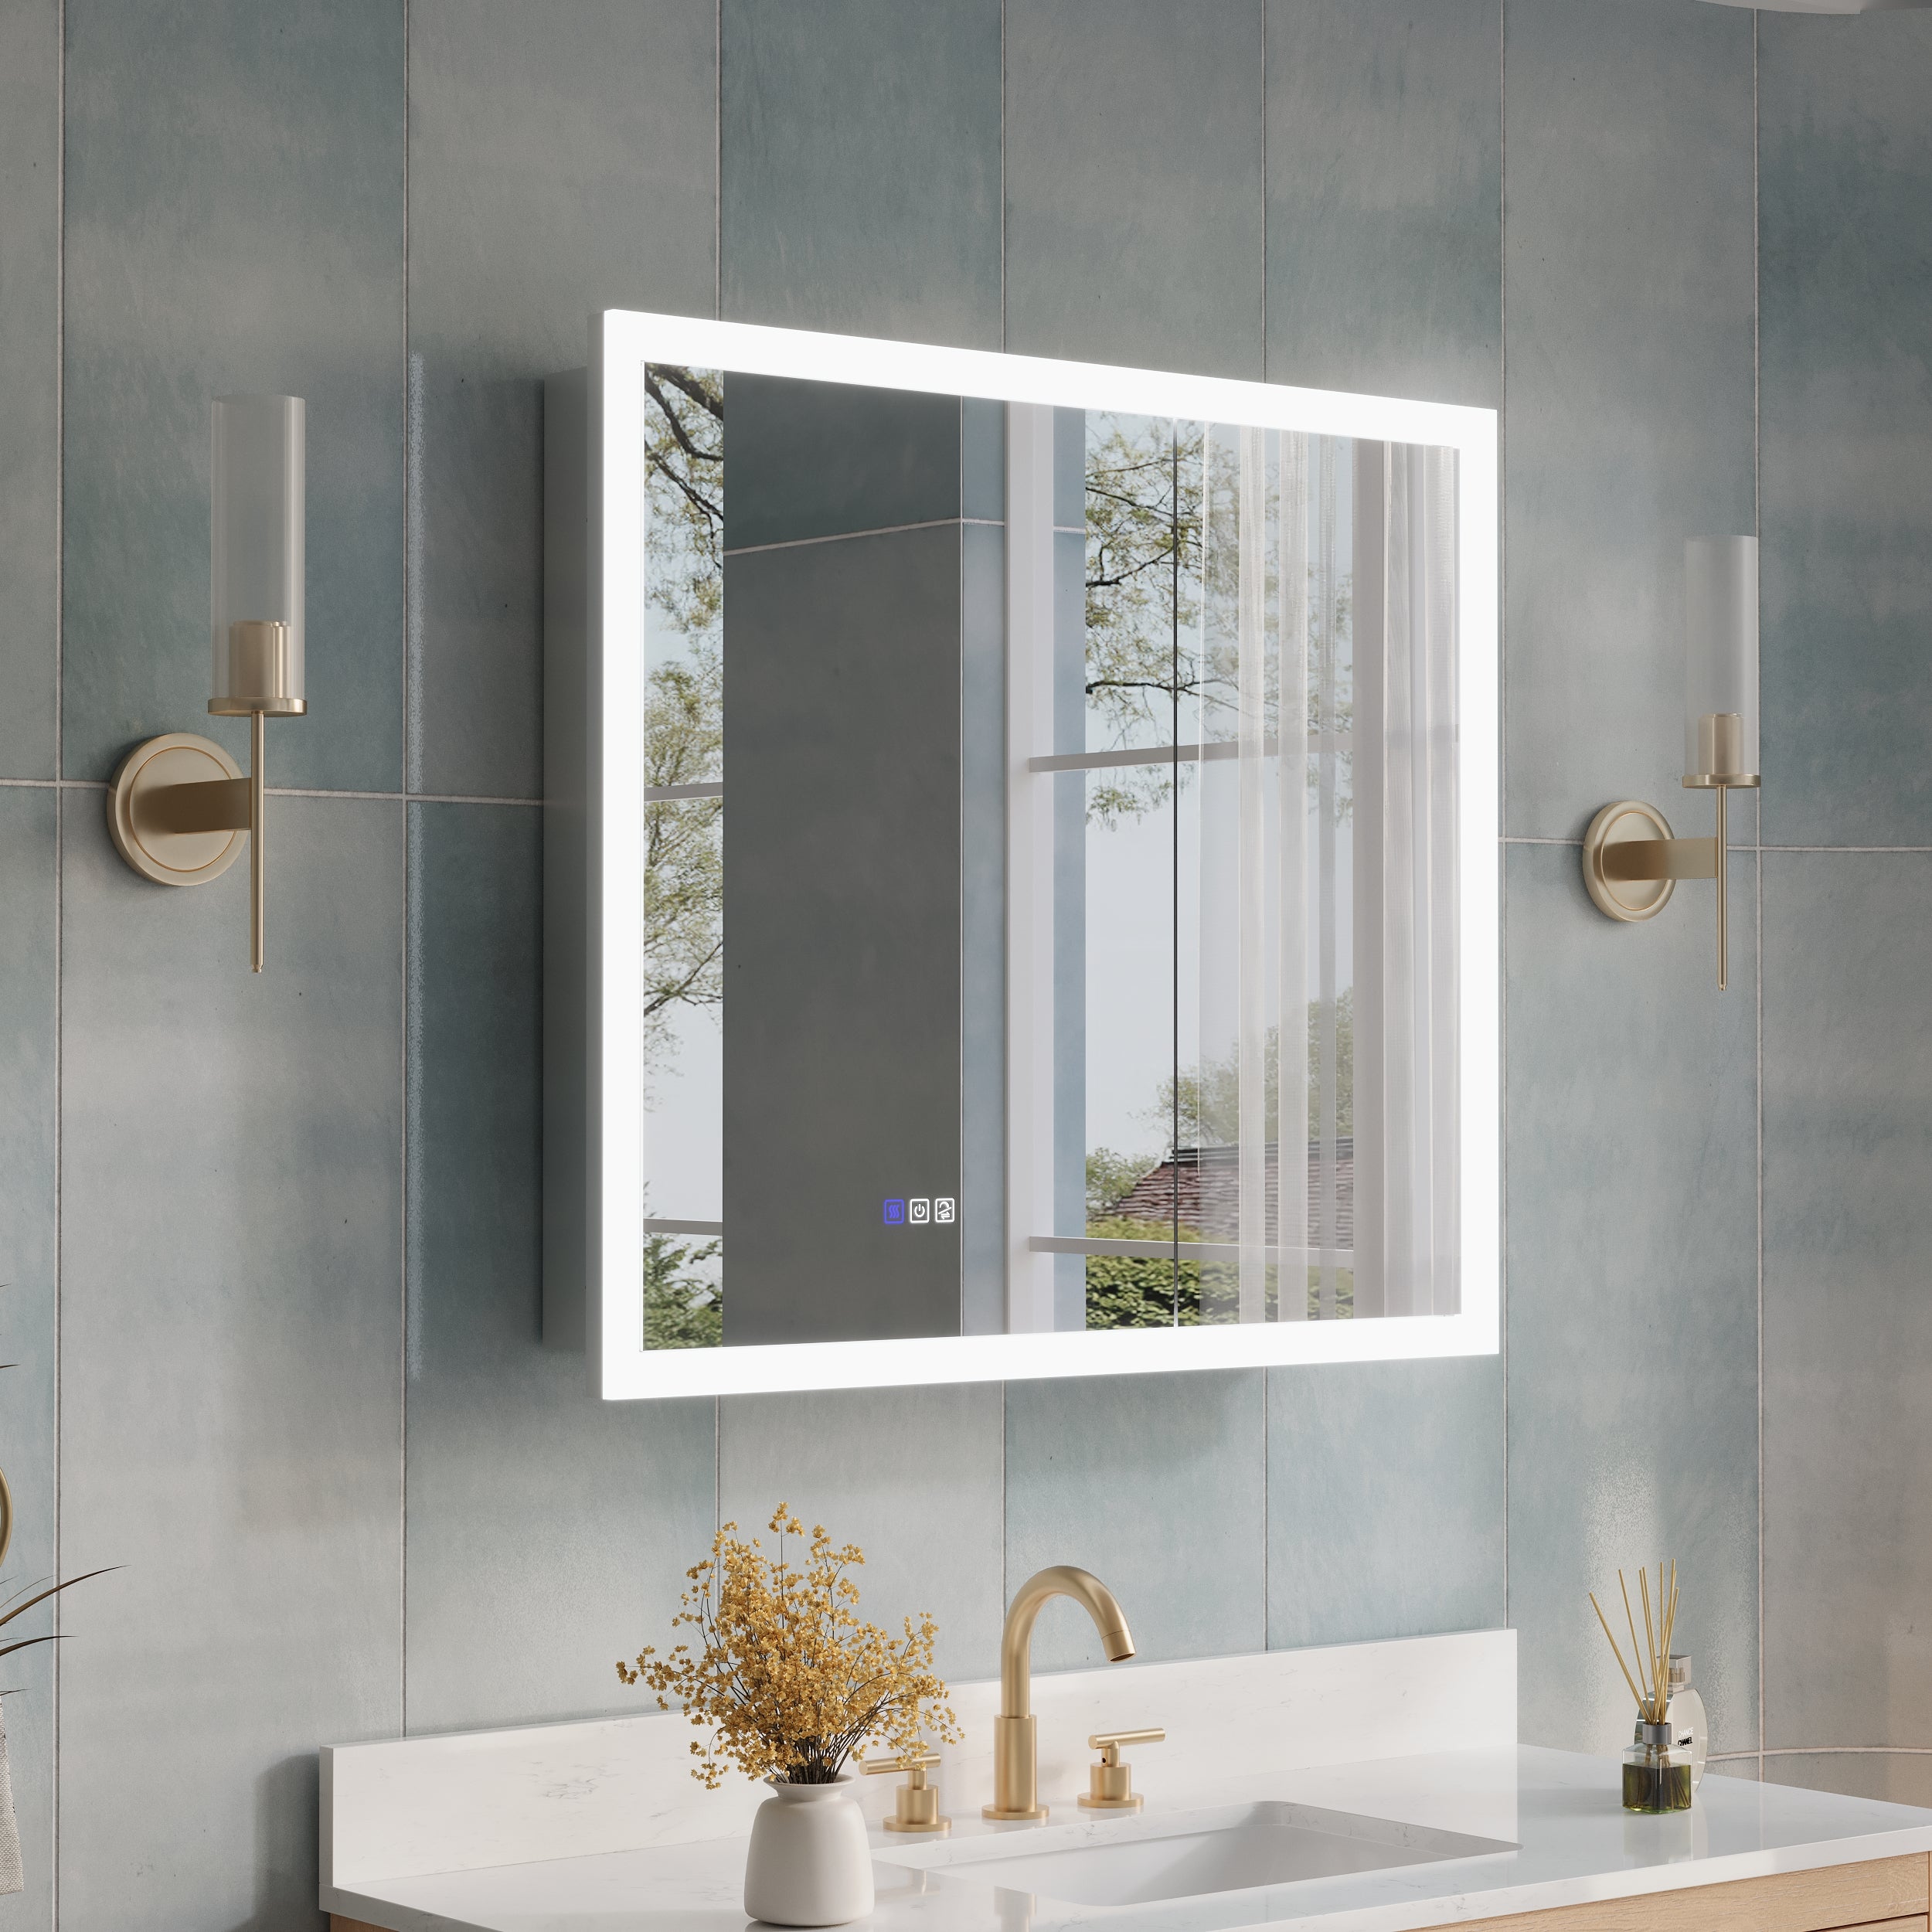
· Task (face-first): Your lighted mirror is the hero for grooming—shaving, makeup, skincare. Keep it at eye level with even, shadow-free output.
· Ambient (room brightness): Add a ceiling or cove source to lift overall brightness and reduce contrast so the mirror doesn’t feel like a spotlight in a dark room.
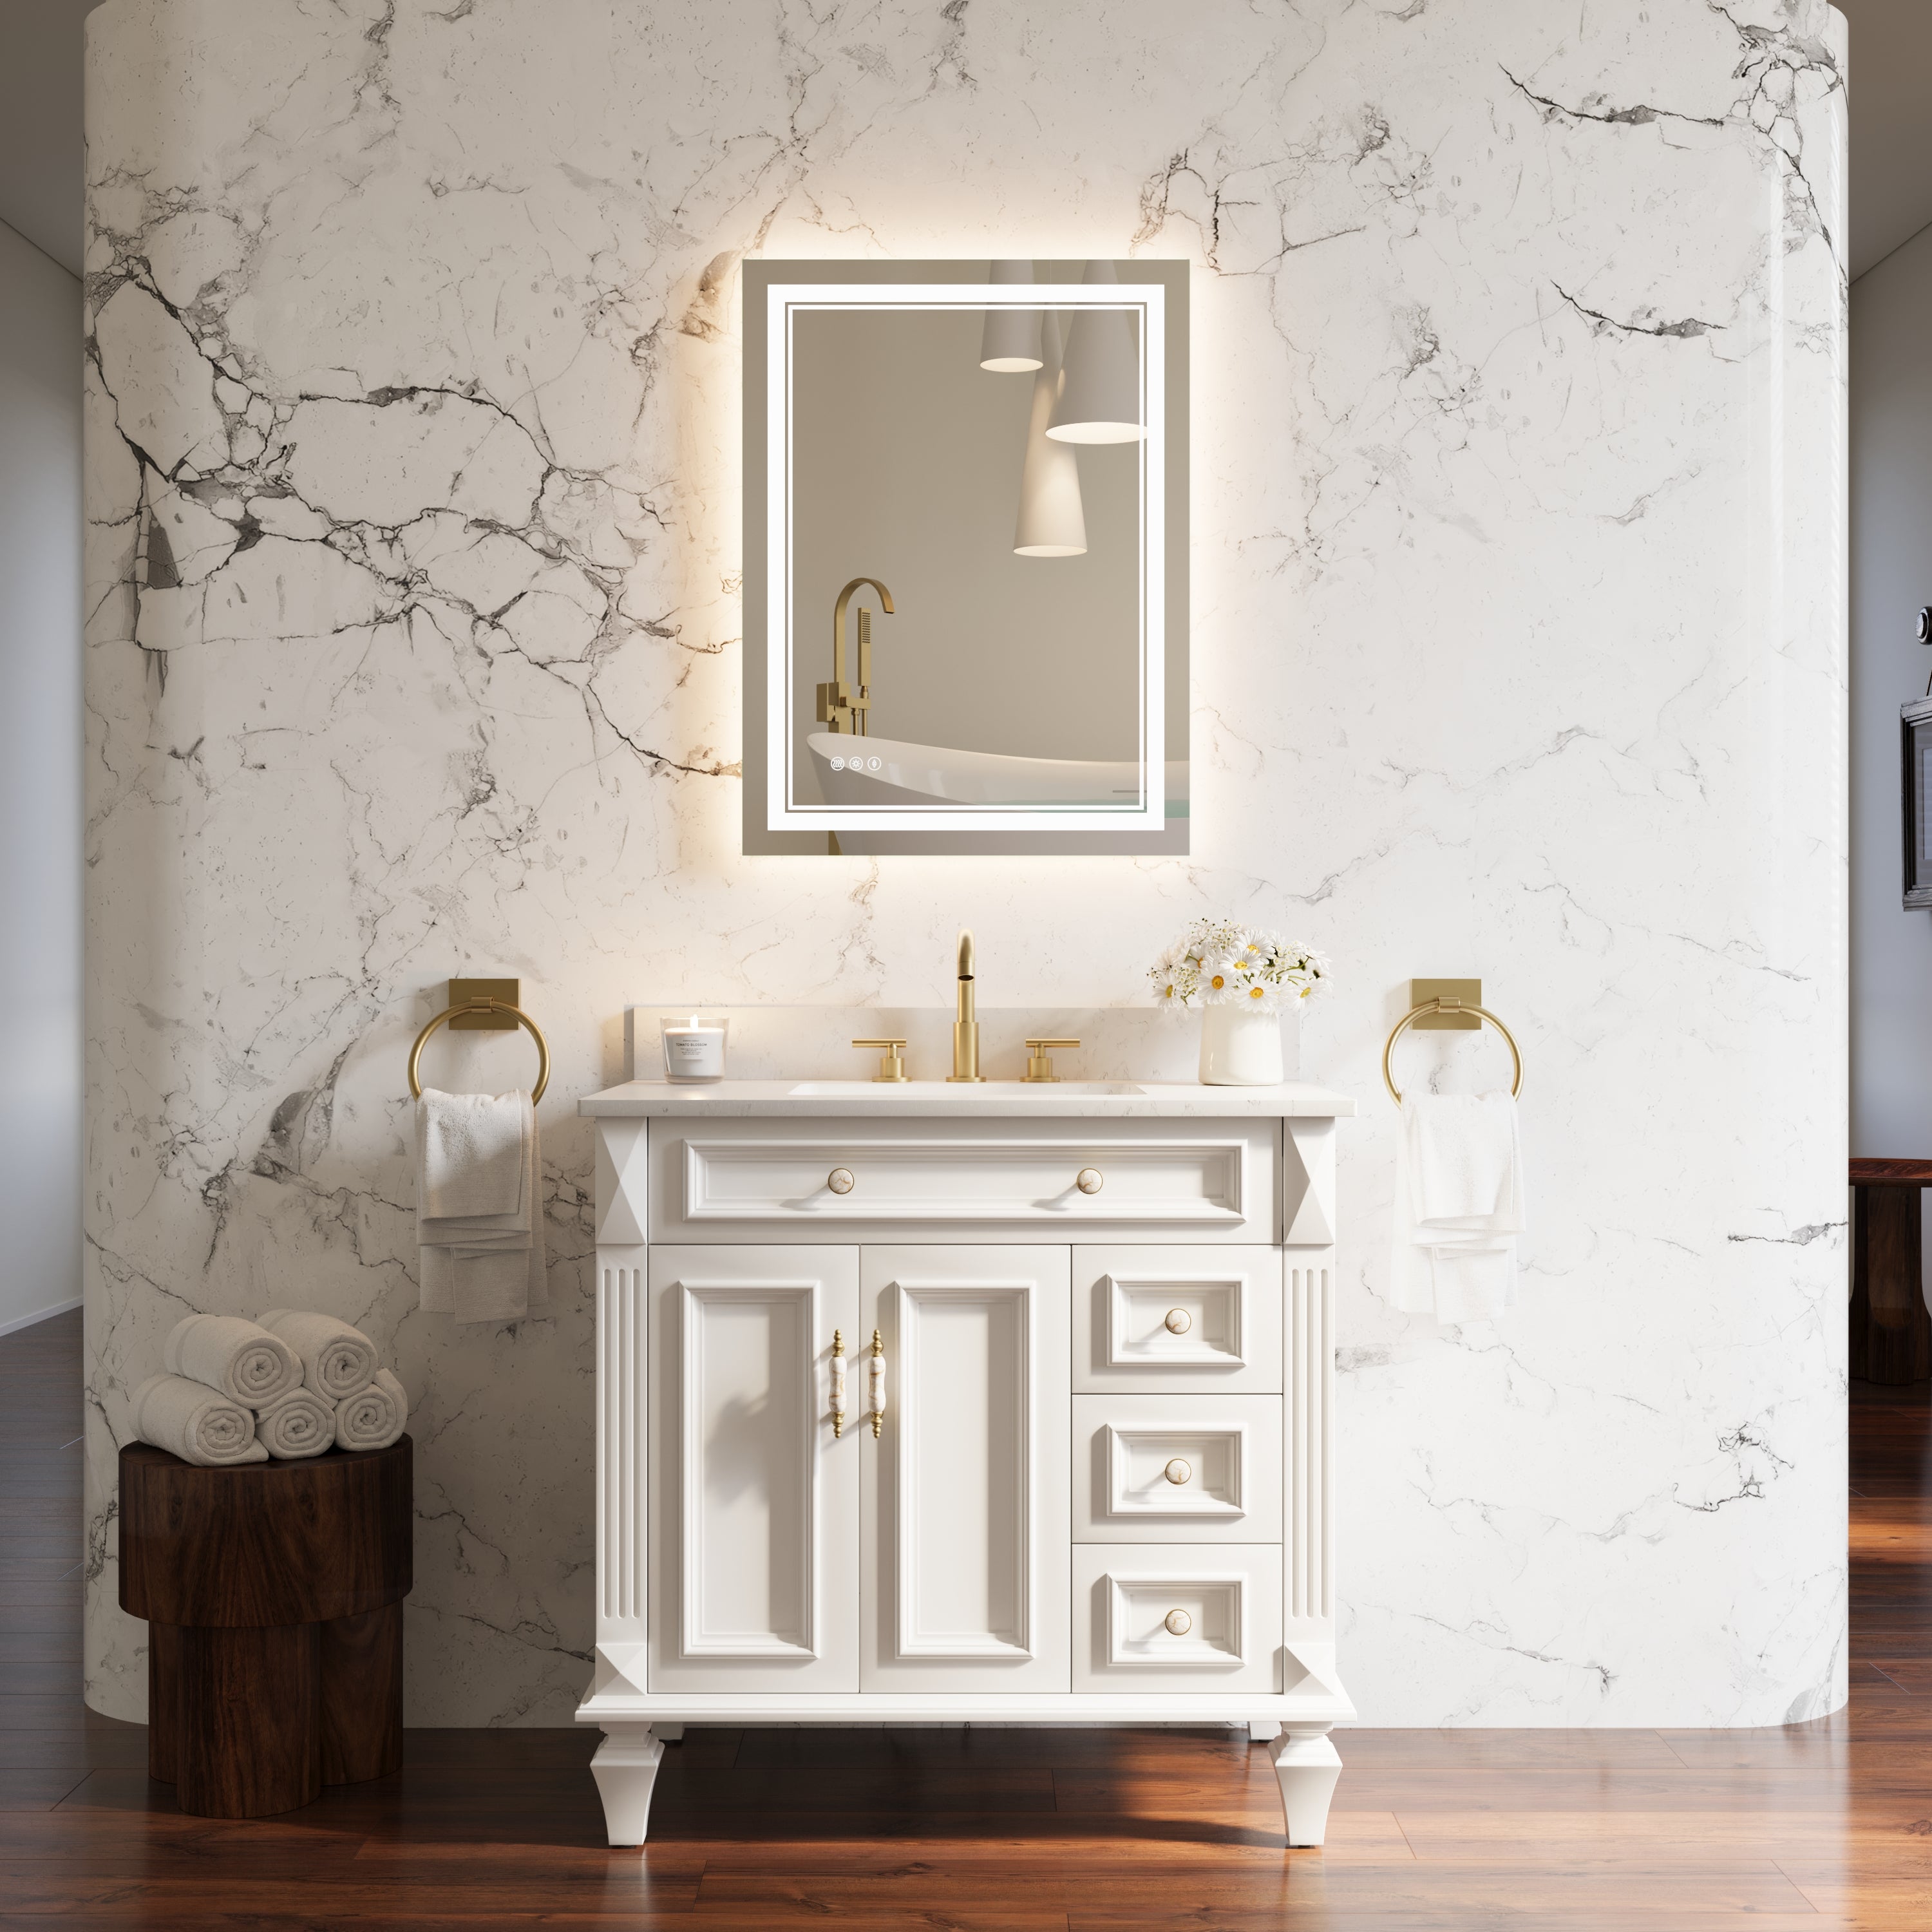
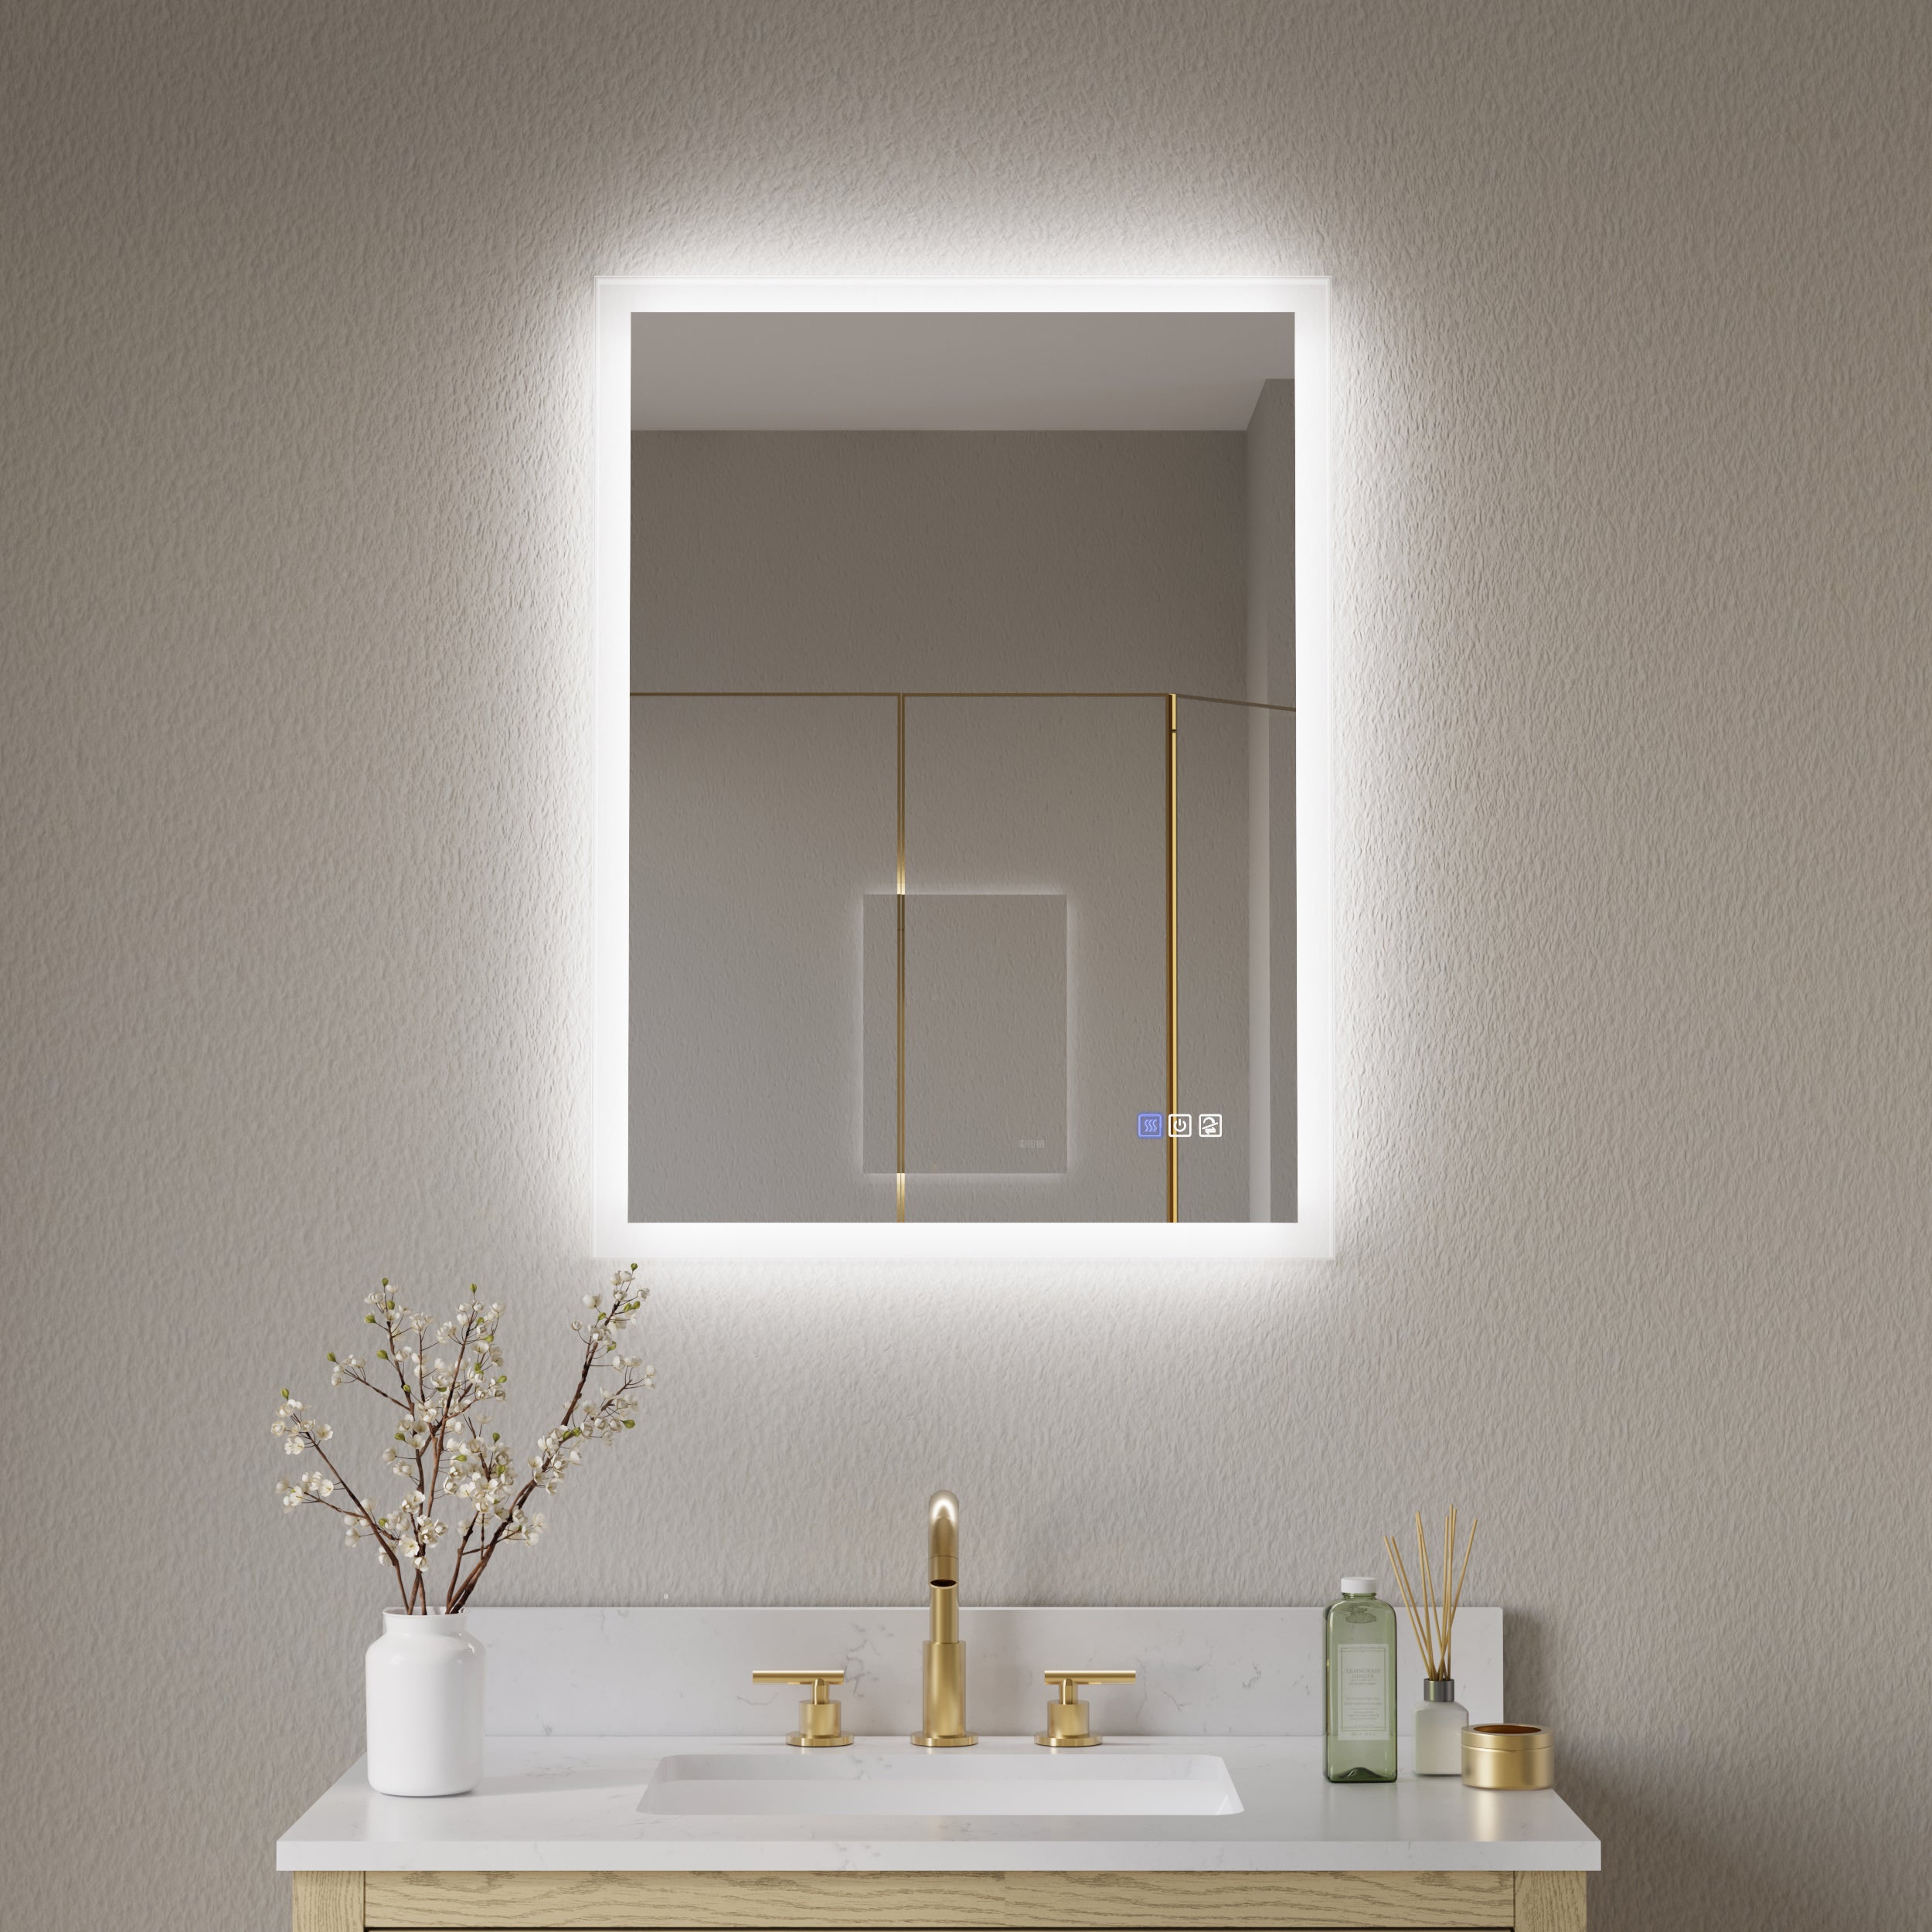
· Accent (mood + depth): Toe-kick LEDs, niche lights, or a soft backlight behind the mirror add dimension and an evening “spa” vibe without glare.
Why it works: Layering spreads light around the room, so your eyes aren’t working hard to adapt from bright to dark. The space feels larger and calmer.
2) Tune the Color Temperature to the Task
· Morning kick-start: 3500–4000K (neutral to cool) feels crisp and helps with alertness—great for weekday routines.
· Night wind-down: 2700–3000K (warm) is easier on the eyes and better for sleep routines.
· Makeup realism: Neutral 3500K with high CRI (90+) accurately represents accurate skin tones and color cosmetics.
Tip: If your mirror offers tunable white, set two presets: “Day” and “Night.” Consistency beats fiddling.
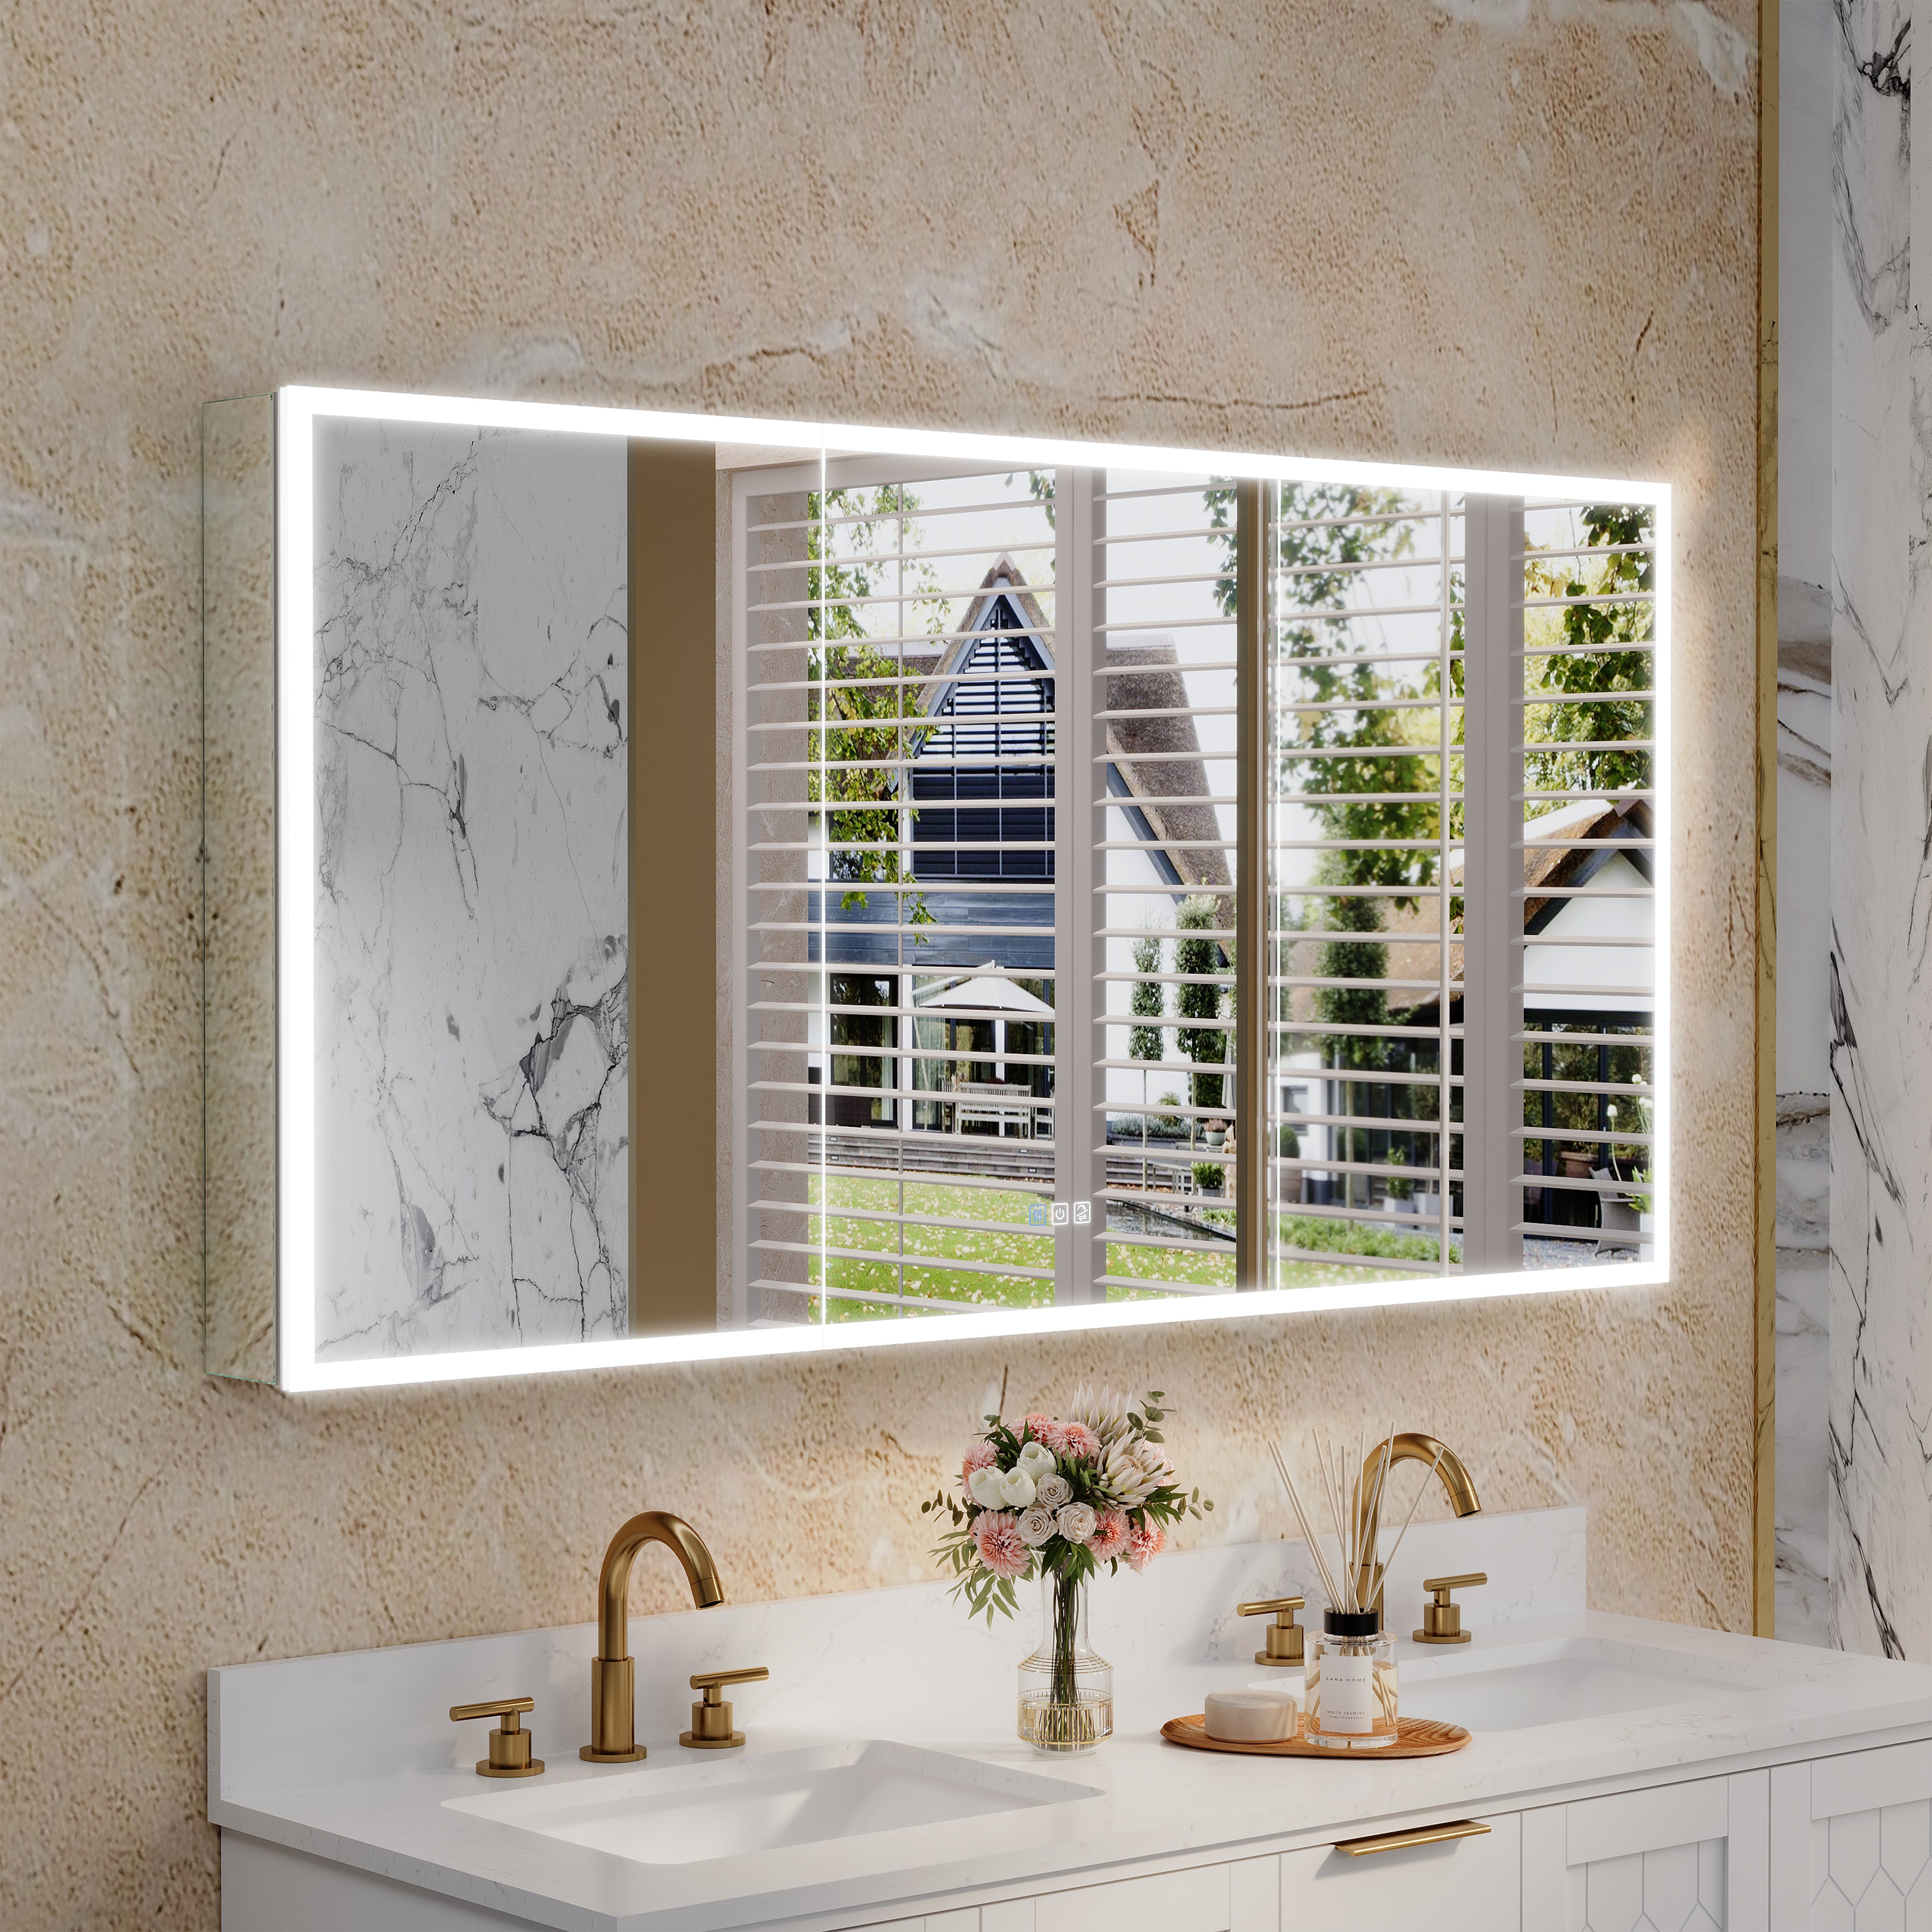
3) Prioritize CRI and Uniformity
· A CRI of 90 or higher is the modern baseline for mirrors with lights. It renders skin and hair naturally, avoiding the gray or green cast of older LEDs.
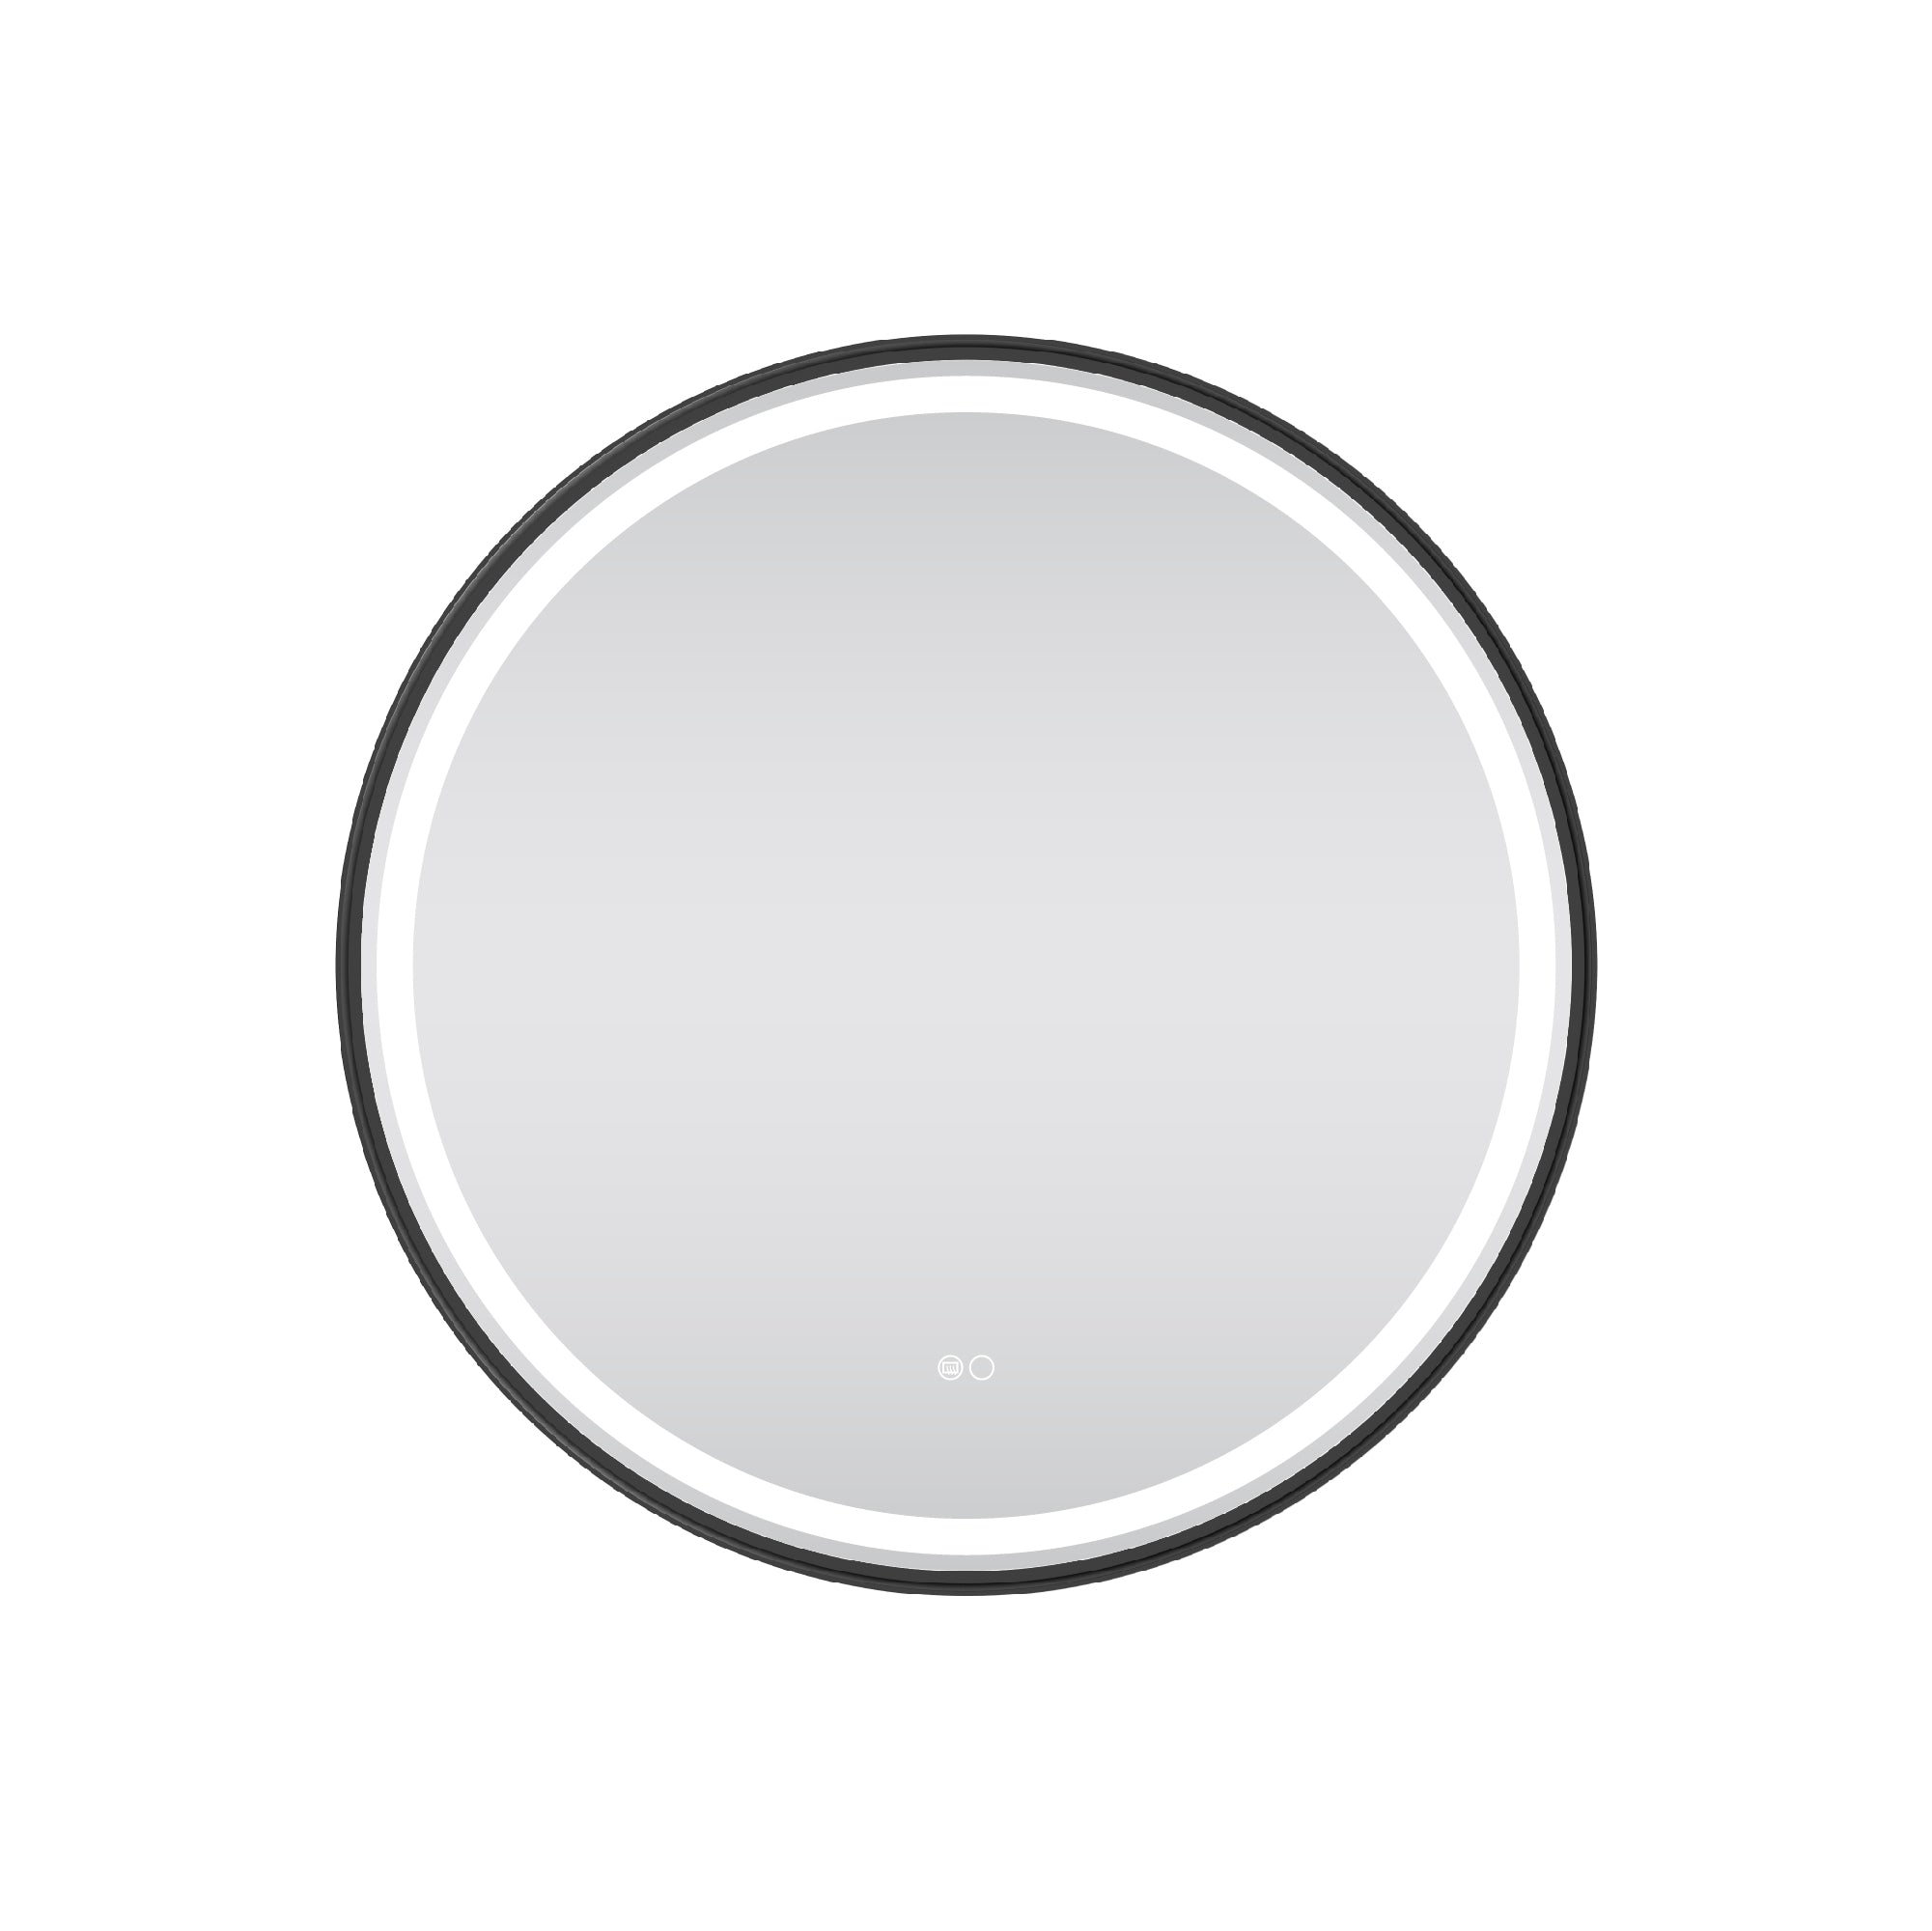
· Even diffusion: Look for mirrors with light guides, diffusion films, or frosted edges that eliminate “hot spots” and LED pin-prick glare.
On-site check: Turn the mirror on, step side to side, and watch for hard shadow lines. Face the glass and raise your chin; if the under-chin shadow is harsh, you need better ambient fill or side lighting.
4) Add Side Lighting Where Possible
Even with a good mirror, vertical lighting helps—especially in larger baths or when two people use the vanity.
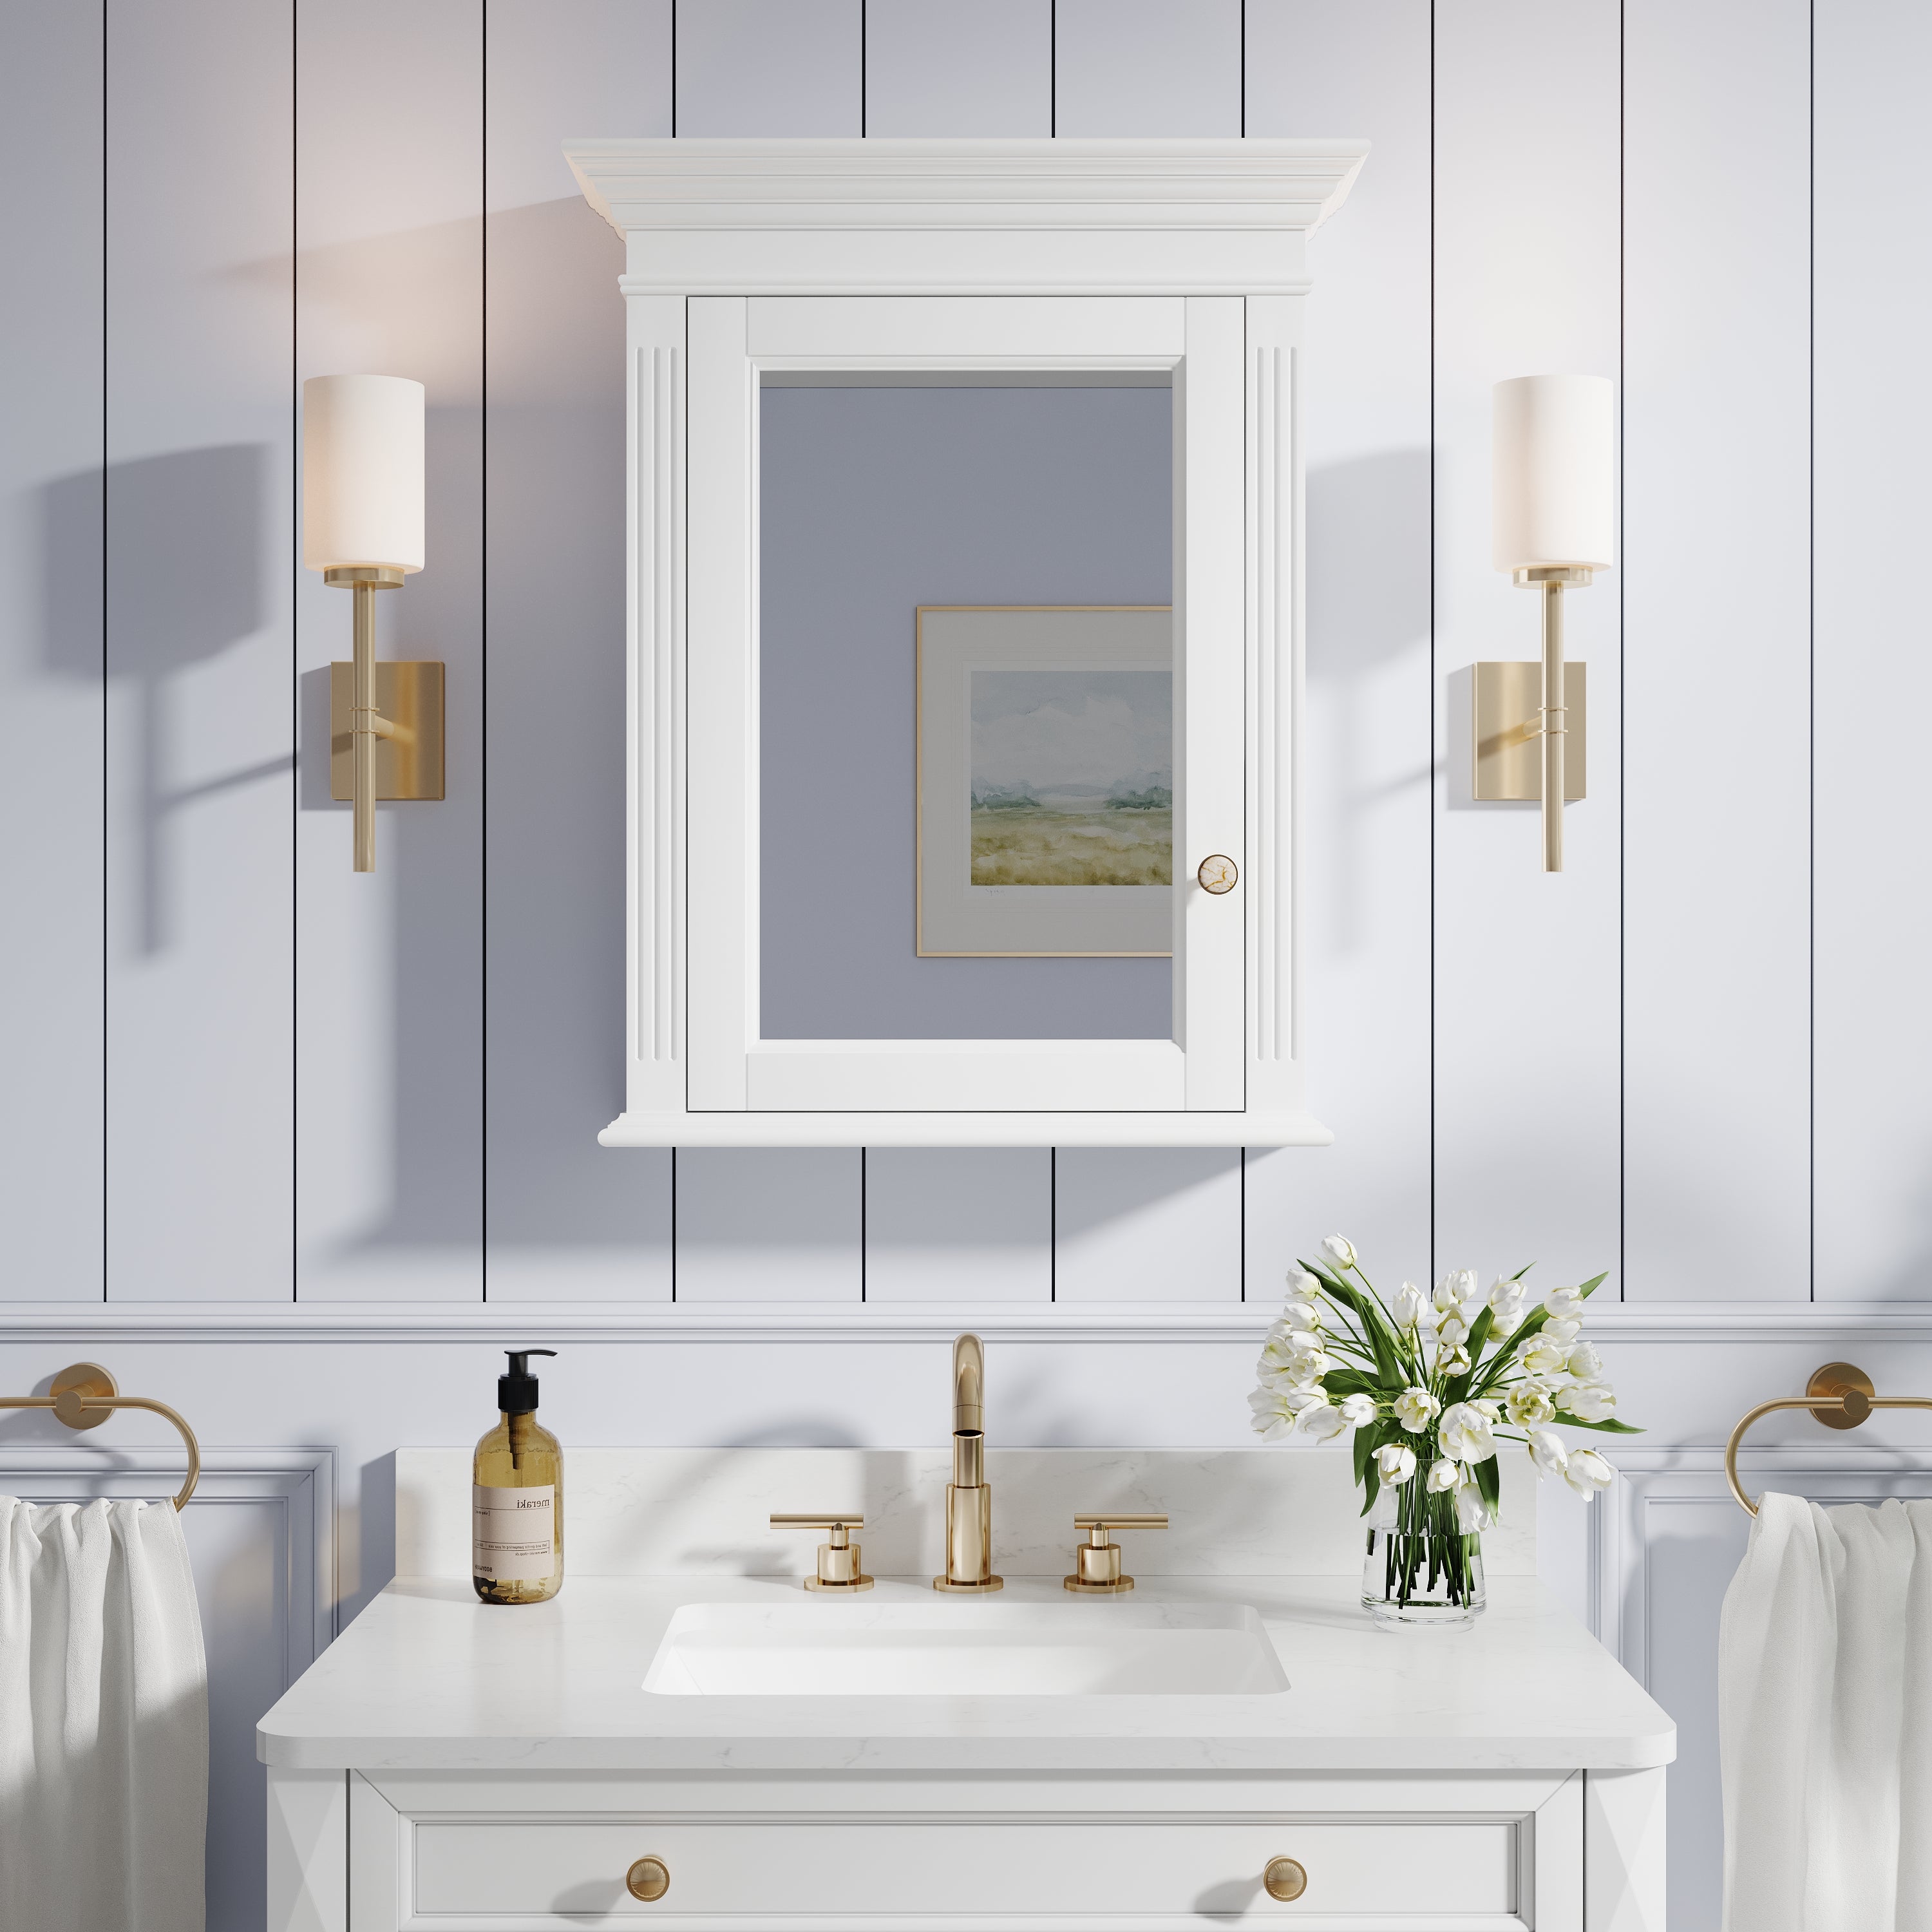
· Vertical sconces on both sides of the mirror (centered around eye height) flatten shadows under the eyes and nose.
· If space is tight, slim vertical LED bars can flank the mirror or sit just beyond the cabinet edges.
Trick: Keep vertical lights within 18–36 inches of your face line. Too far away and you lose the shadow-fighting benefit.
5) Don’t Skip the Ceiling—But Soften It
Ceiling lights still matter. The goal is soft fill, not interrogation-style downlight.
· Favor wide-beam recessed downlights or a diffused surface fixture.
· Keep any single downlight off the forehead line; a can directly above the sink can create raccoon eyes. Offset it slightly forward or behind the user line.
· In low ceilings, consider shallow profile fixtures or a perimeter cove to bounce light off the ceiling.
6) Use Dimming and Scenes—Small Cost, Big Comfort
· Dimmers on all layers (mirror, ambient, accent) are budget-friendly and deliver instant flexibility.
· Program simple scenes:
· “Bright & Clear” (morning rush): Task 100%, ambient 80%, accent 0–20%.
· “Daily Grooming”: Task 70%, ambient 60%, accent 20–30%.
· “Evening Spa”: Task 20–40% warm, ambient 30% warm, accent 40–60% warm.
· “Nightlight”: Task off, ambient off, toe-kick/under-vanity 5–10%.
Bonus: Memory functions on mirrors save your last setting—set it once, forget it.

7) Control Glare and Reflections
Shiny tile and glass can bounce light into your eyes or the camera lens.
· Choose mirrors with frosted edges or hidden emitters that diffuse at the source.
· Aim accent strips away from direct sightlines (e.g., toe-kick facing the floor, cove facing the ceiling).
· Matte or satin finishes around the vanity soften glare and keep the focus on faces, not reflections.
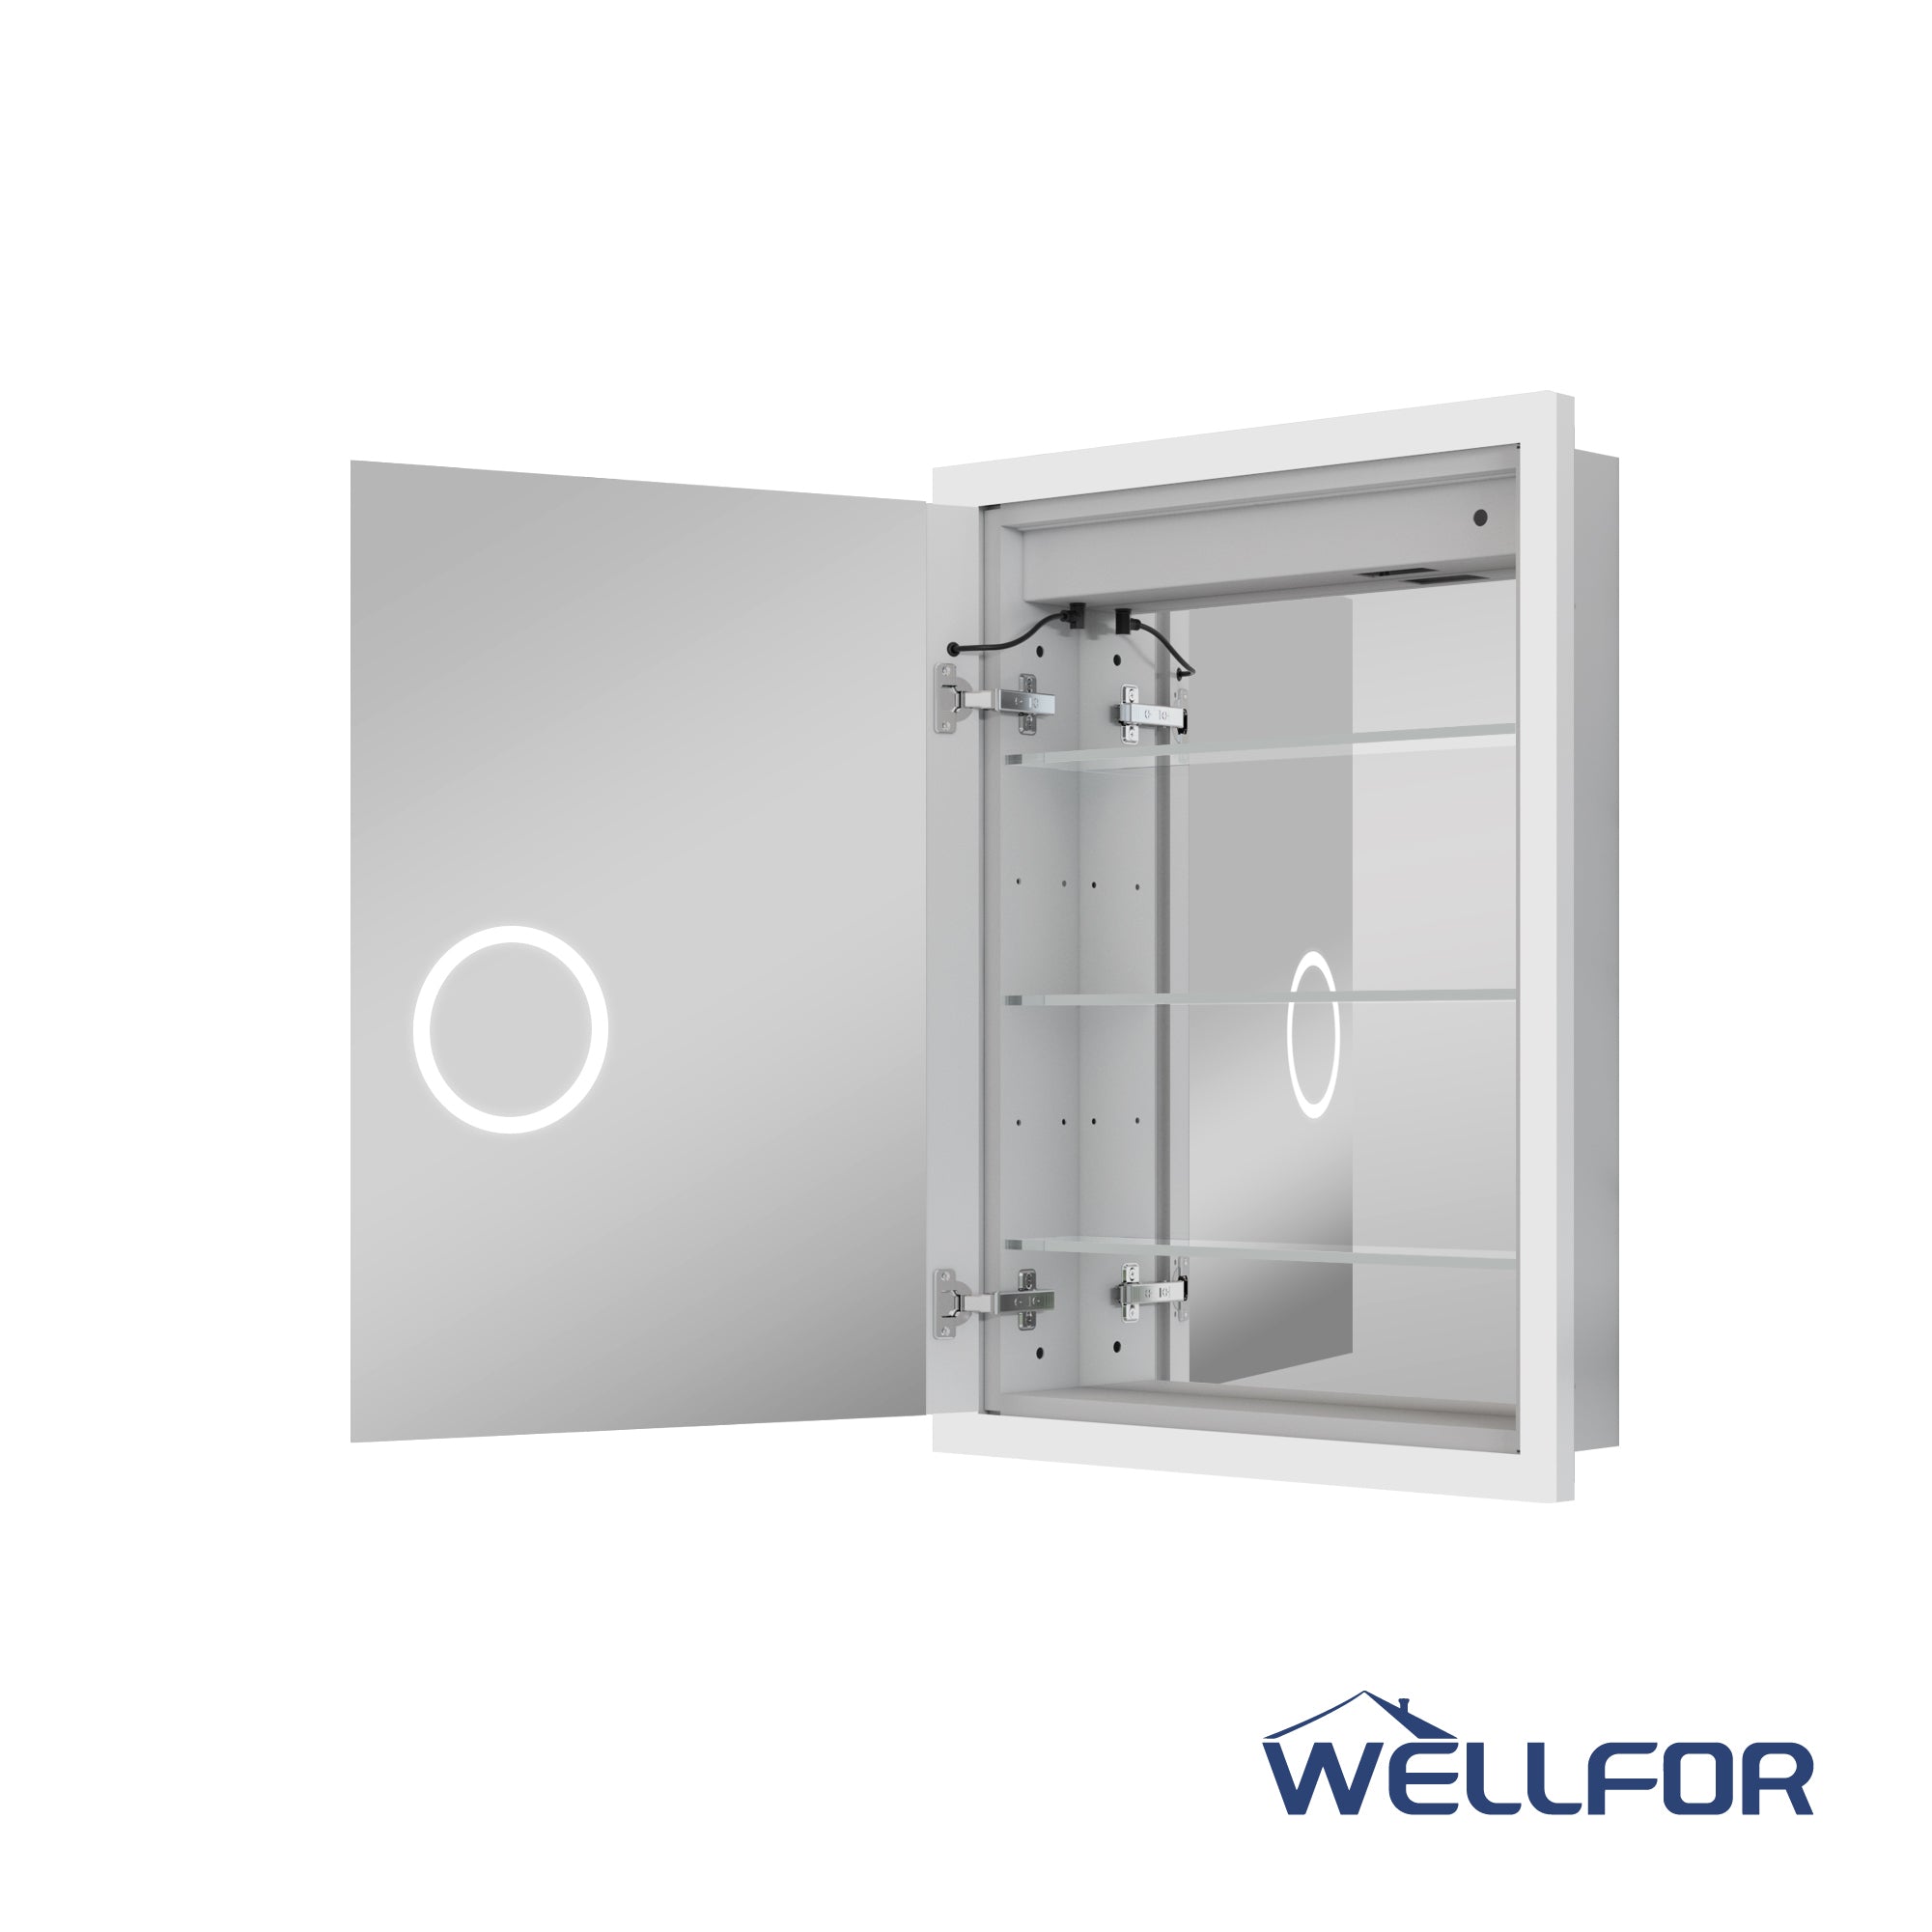
8) Plan Wiring Early (and Keep It Serviceable)
· Dedicated circuit or shared? Mirrors with heaters (anti-fog), sensors, or Bluetooth often require continuous power, as well as a switched leg. Confirm with your electrician before drywall.
· Junction box placement: Centered behind the mirror makes for clean installs; leave slack and use quick-disconnects for maintenance.
· Low-voltage drivers: If external, mount them in a ventilated, accessible location (such as a cabinet or service bay).
Pro tip: Photograph open walls with a tape measure in the frame—future you will thank you during service calls.
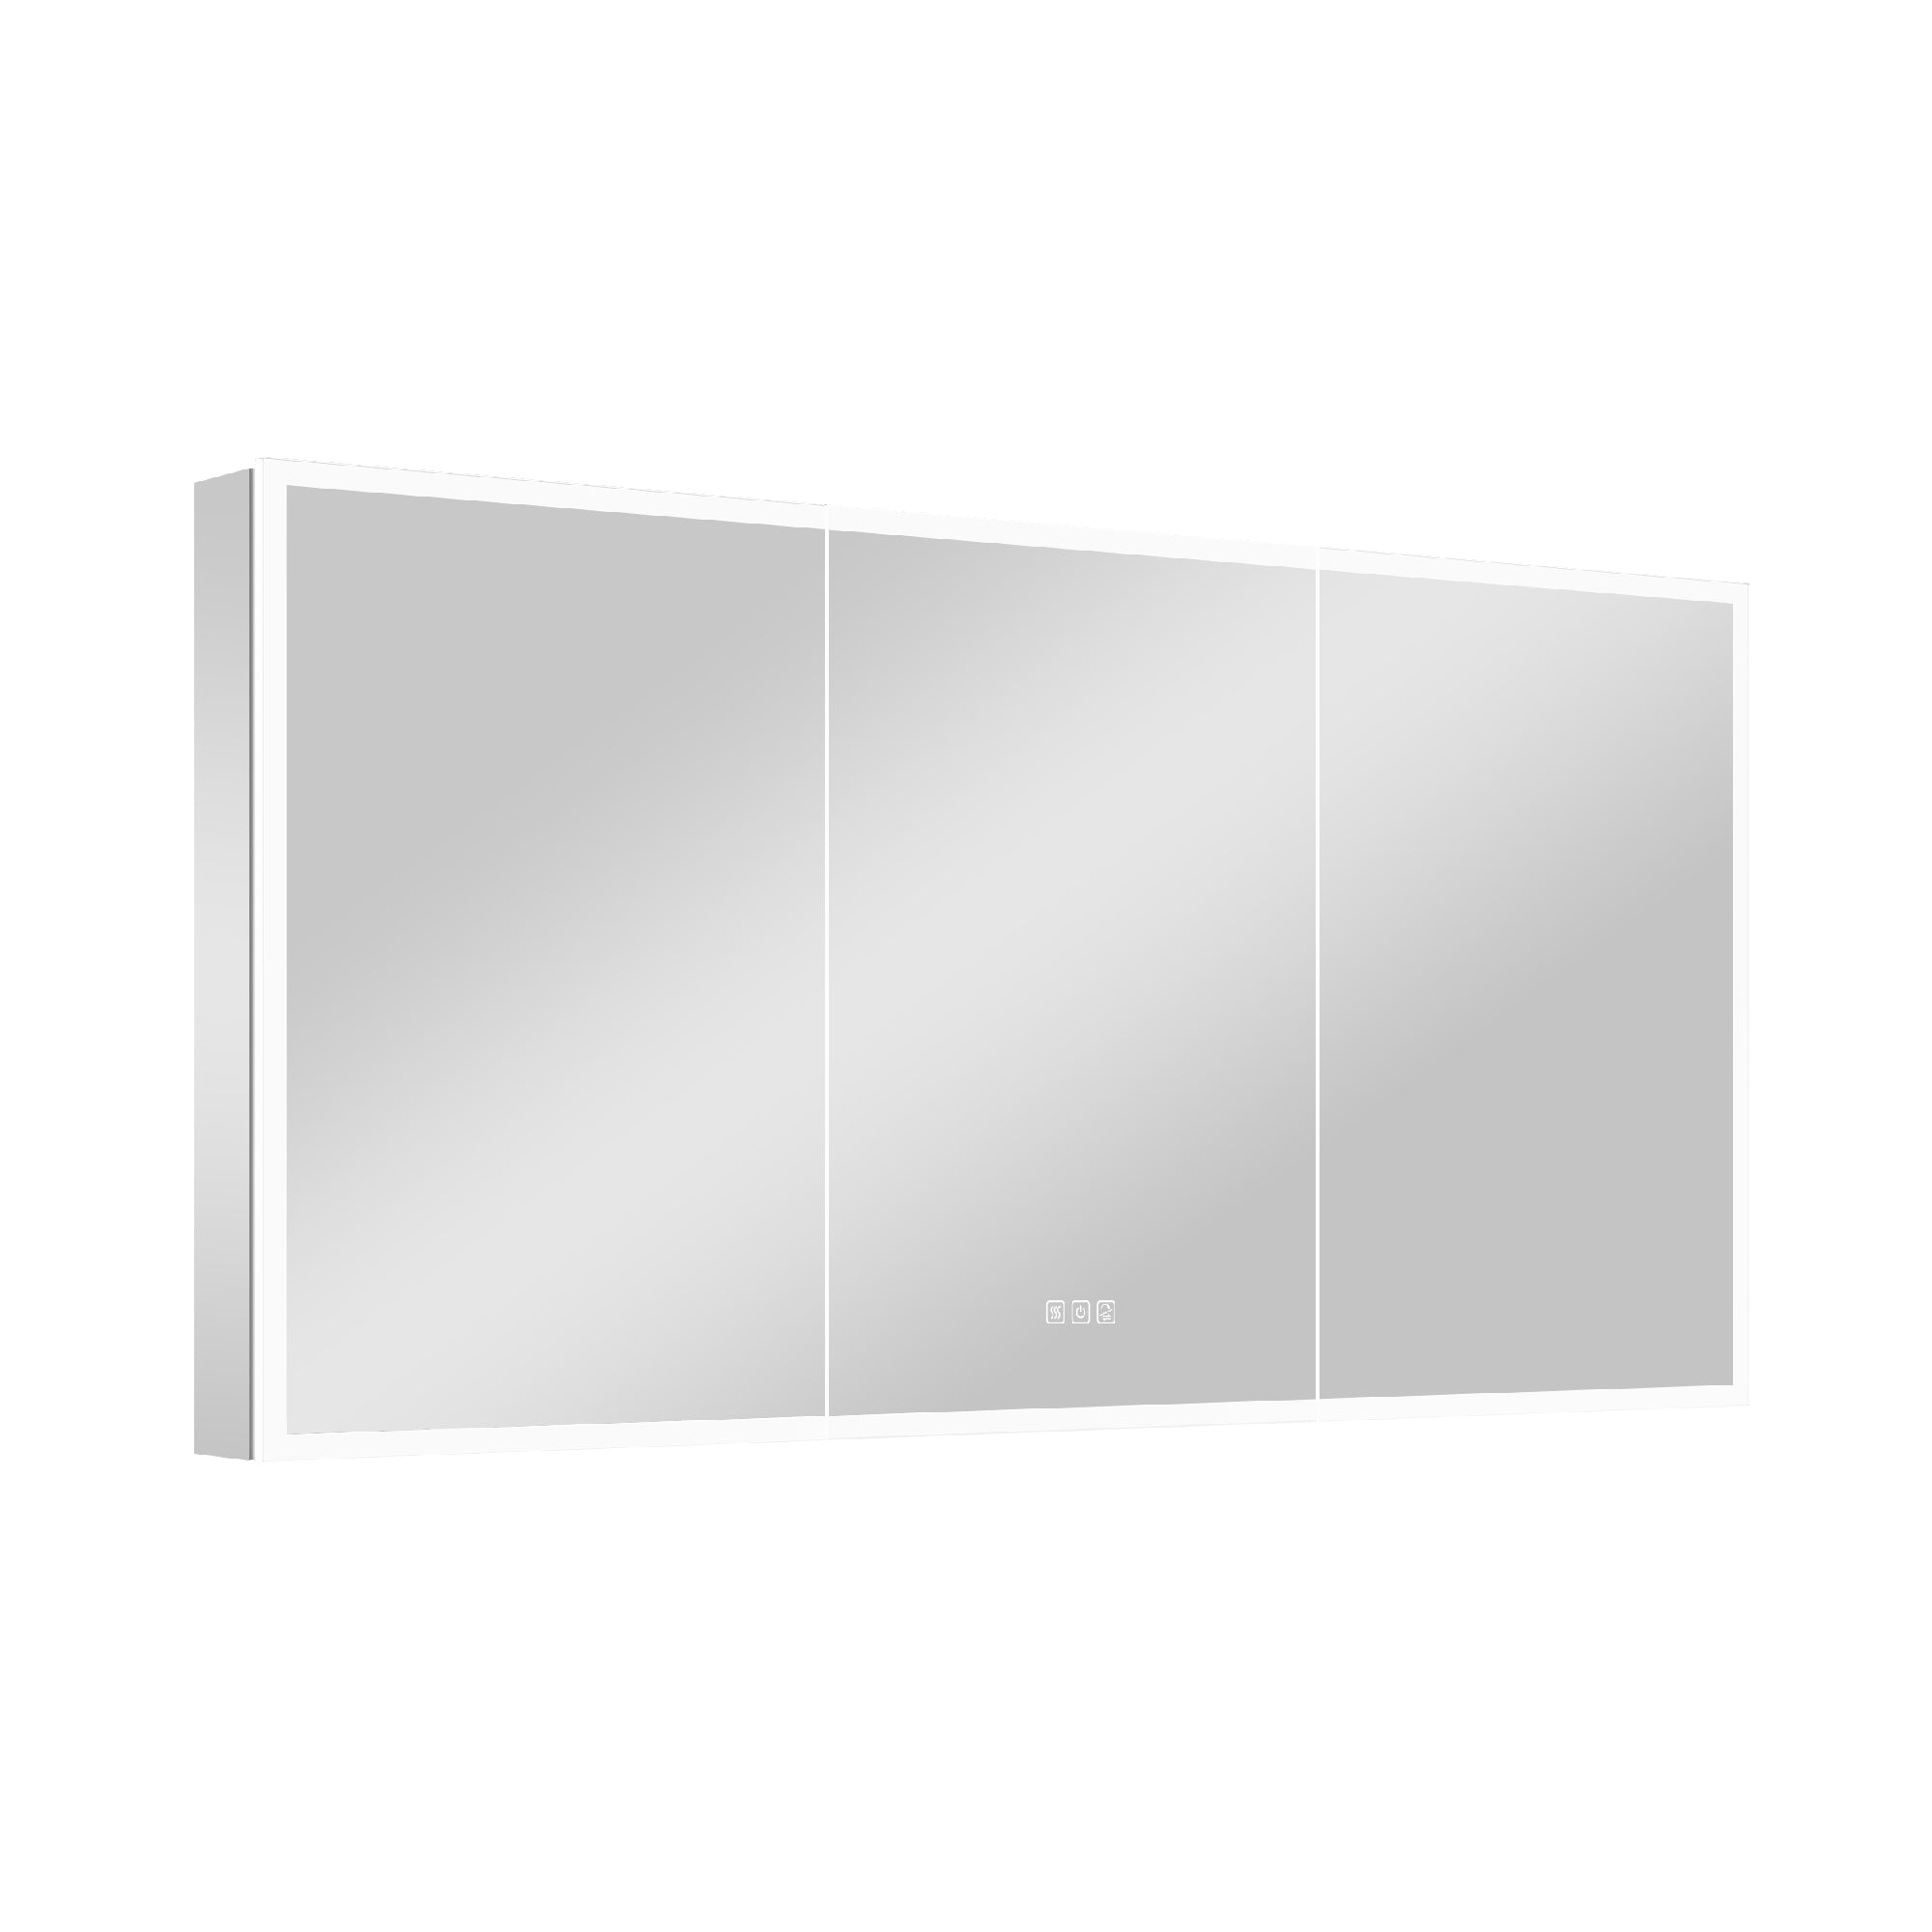
9) Smart Features That Actually Help
Skip gimmicks; focus on features that improve everyday use.
· Anti-fog zones: Keep the center clear after hot showers—great for shared baths.
· Presence sensors: Auto-on at low levels for nighttime entries.
· Voice/app scenes: Useful if you’re integrating ventilation, heat, or music with lighting.
Guardrails: Ensure manual control is always functional and reliable. Smart should be optional, not mandatory.
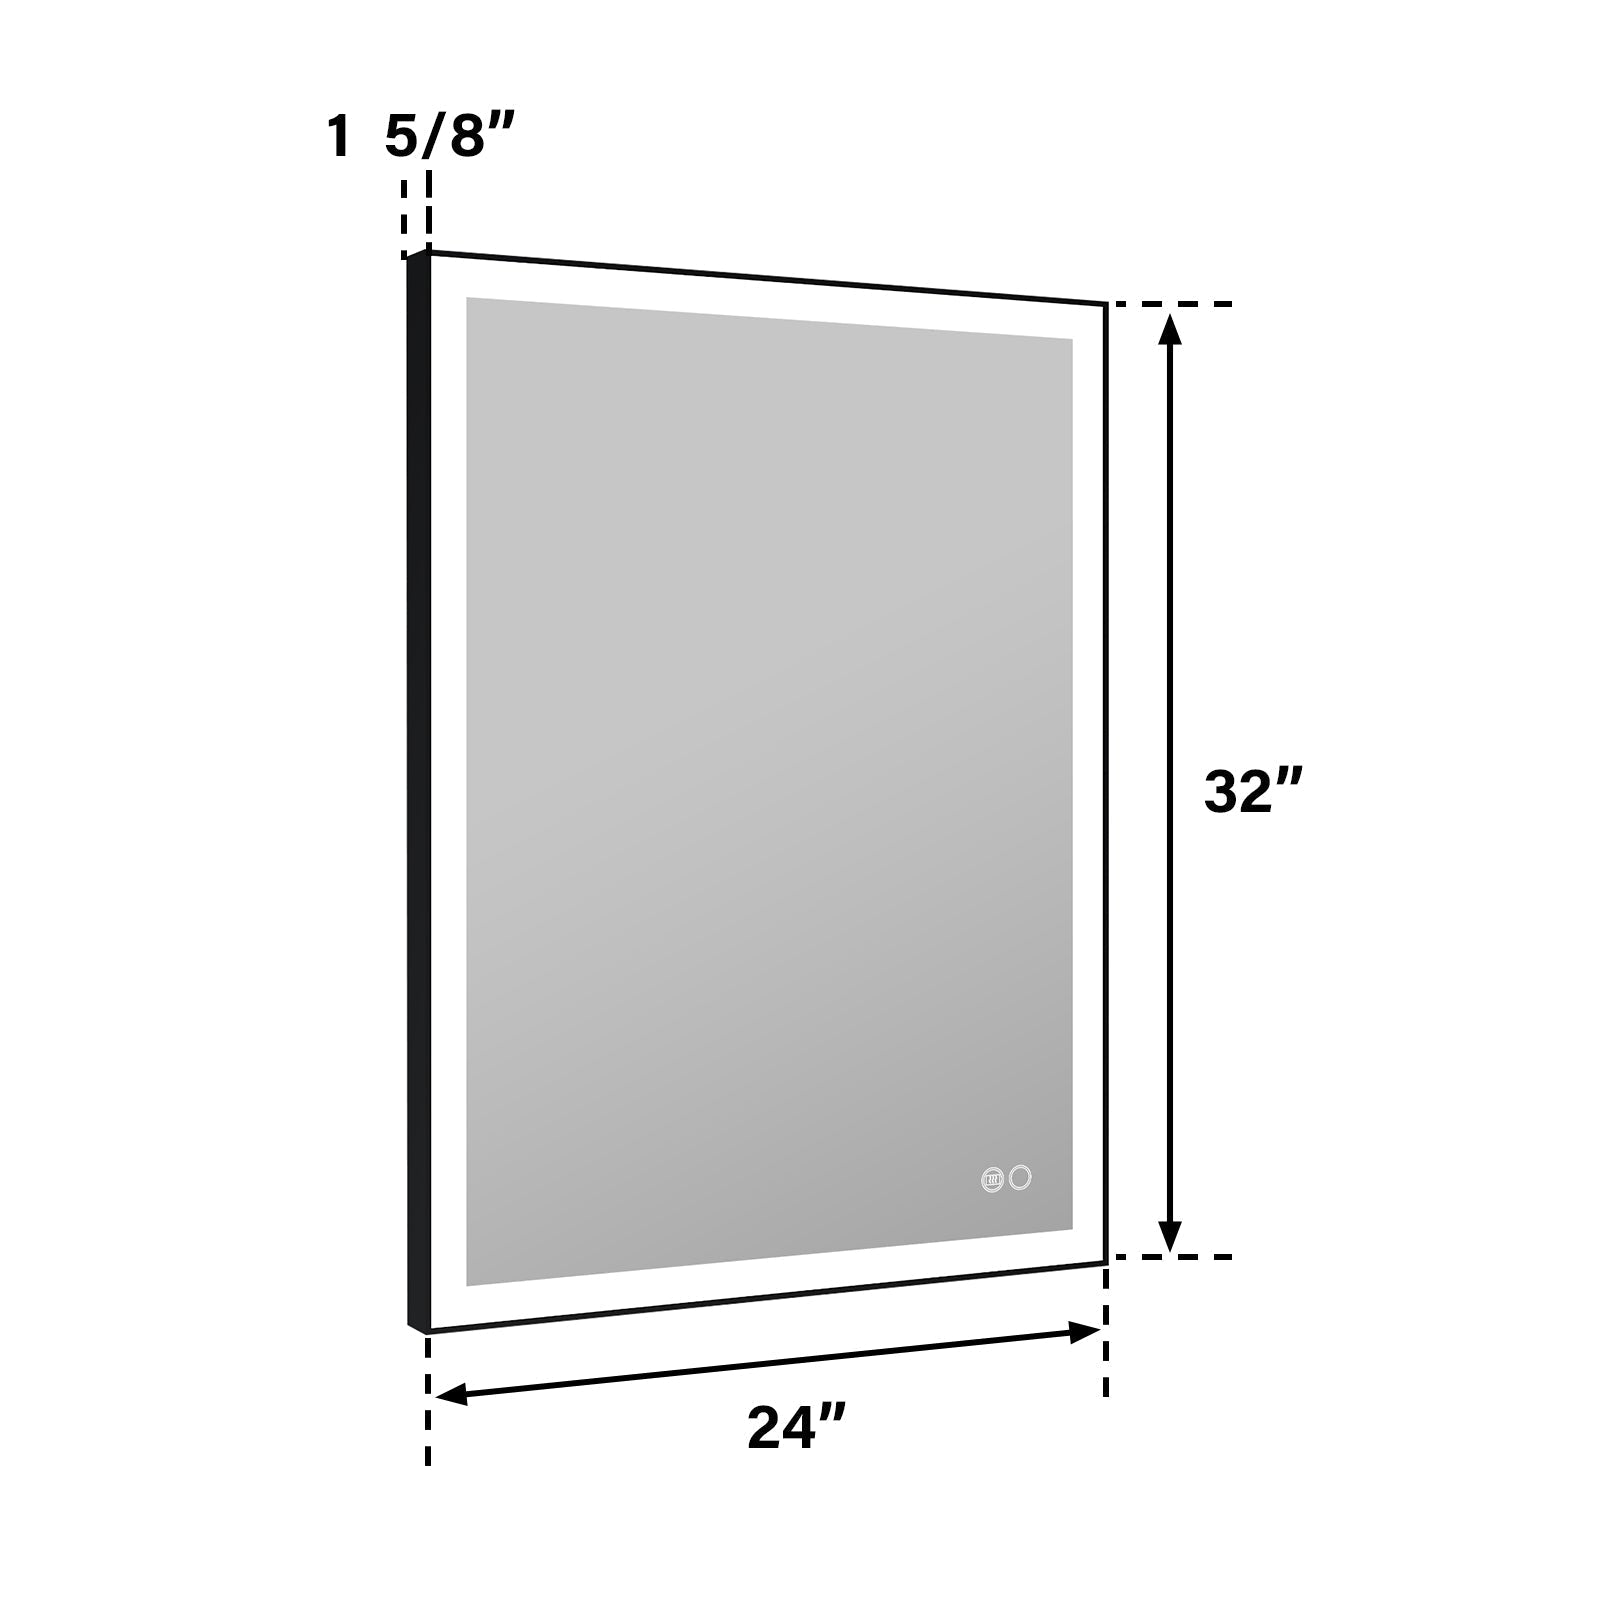
10) Size, Height, and Spacing Rules of Thumb
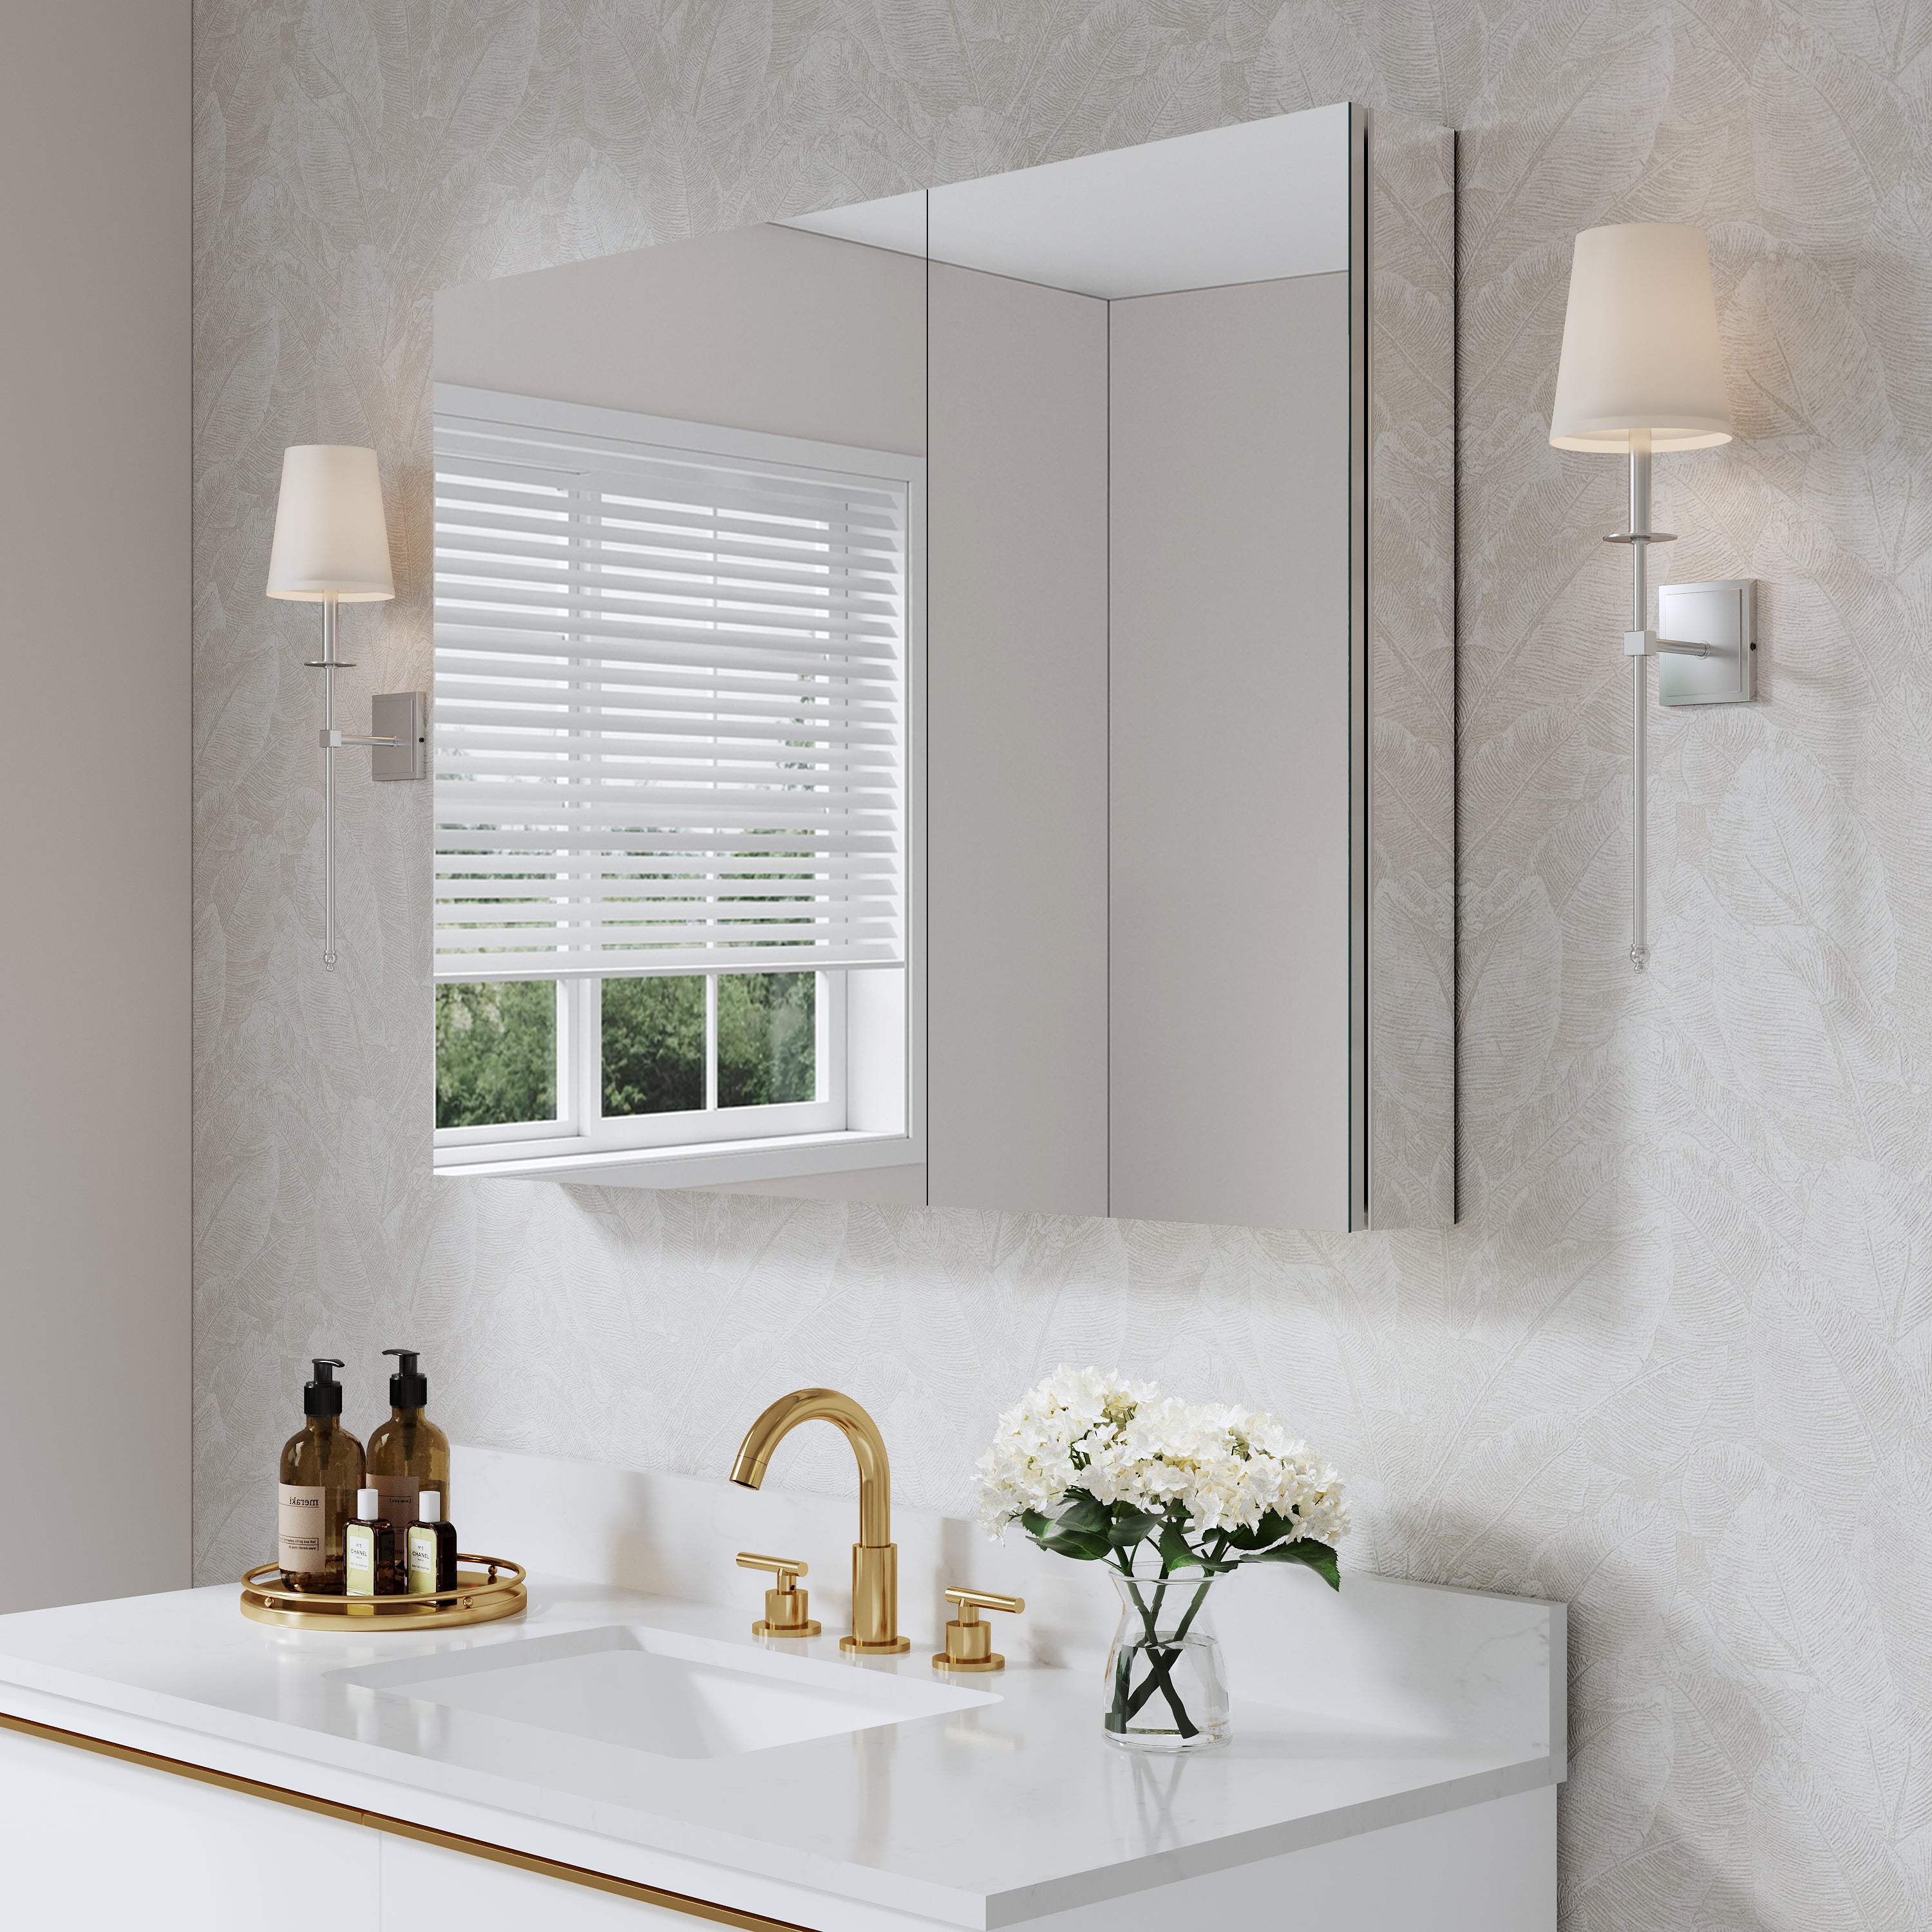
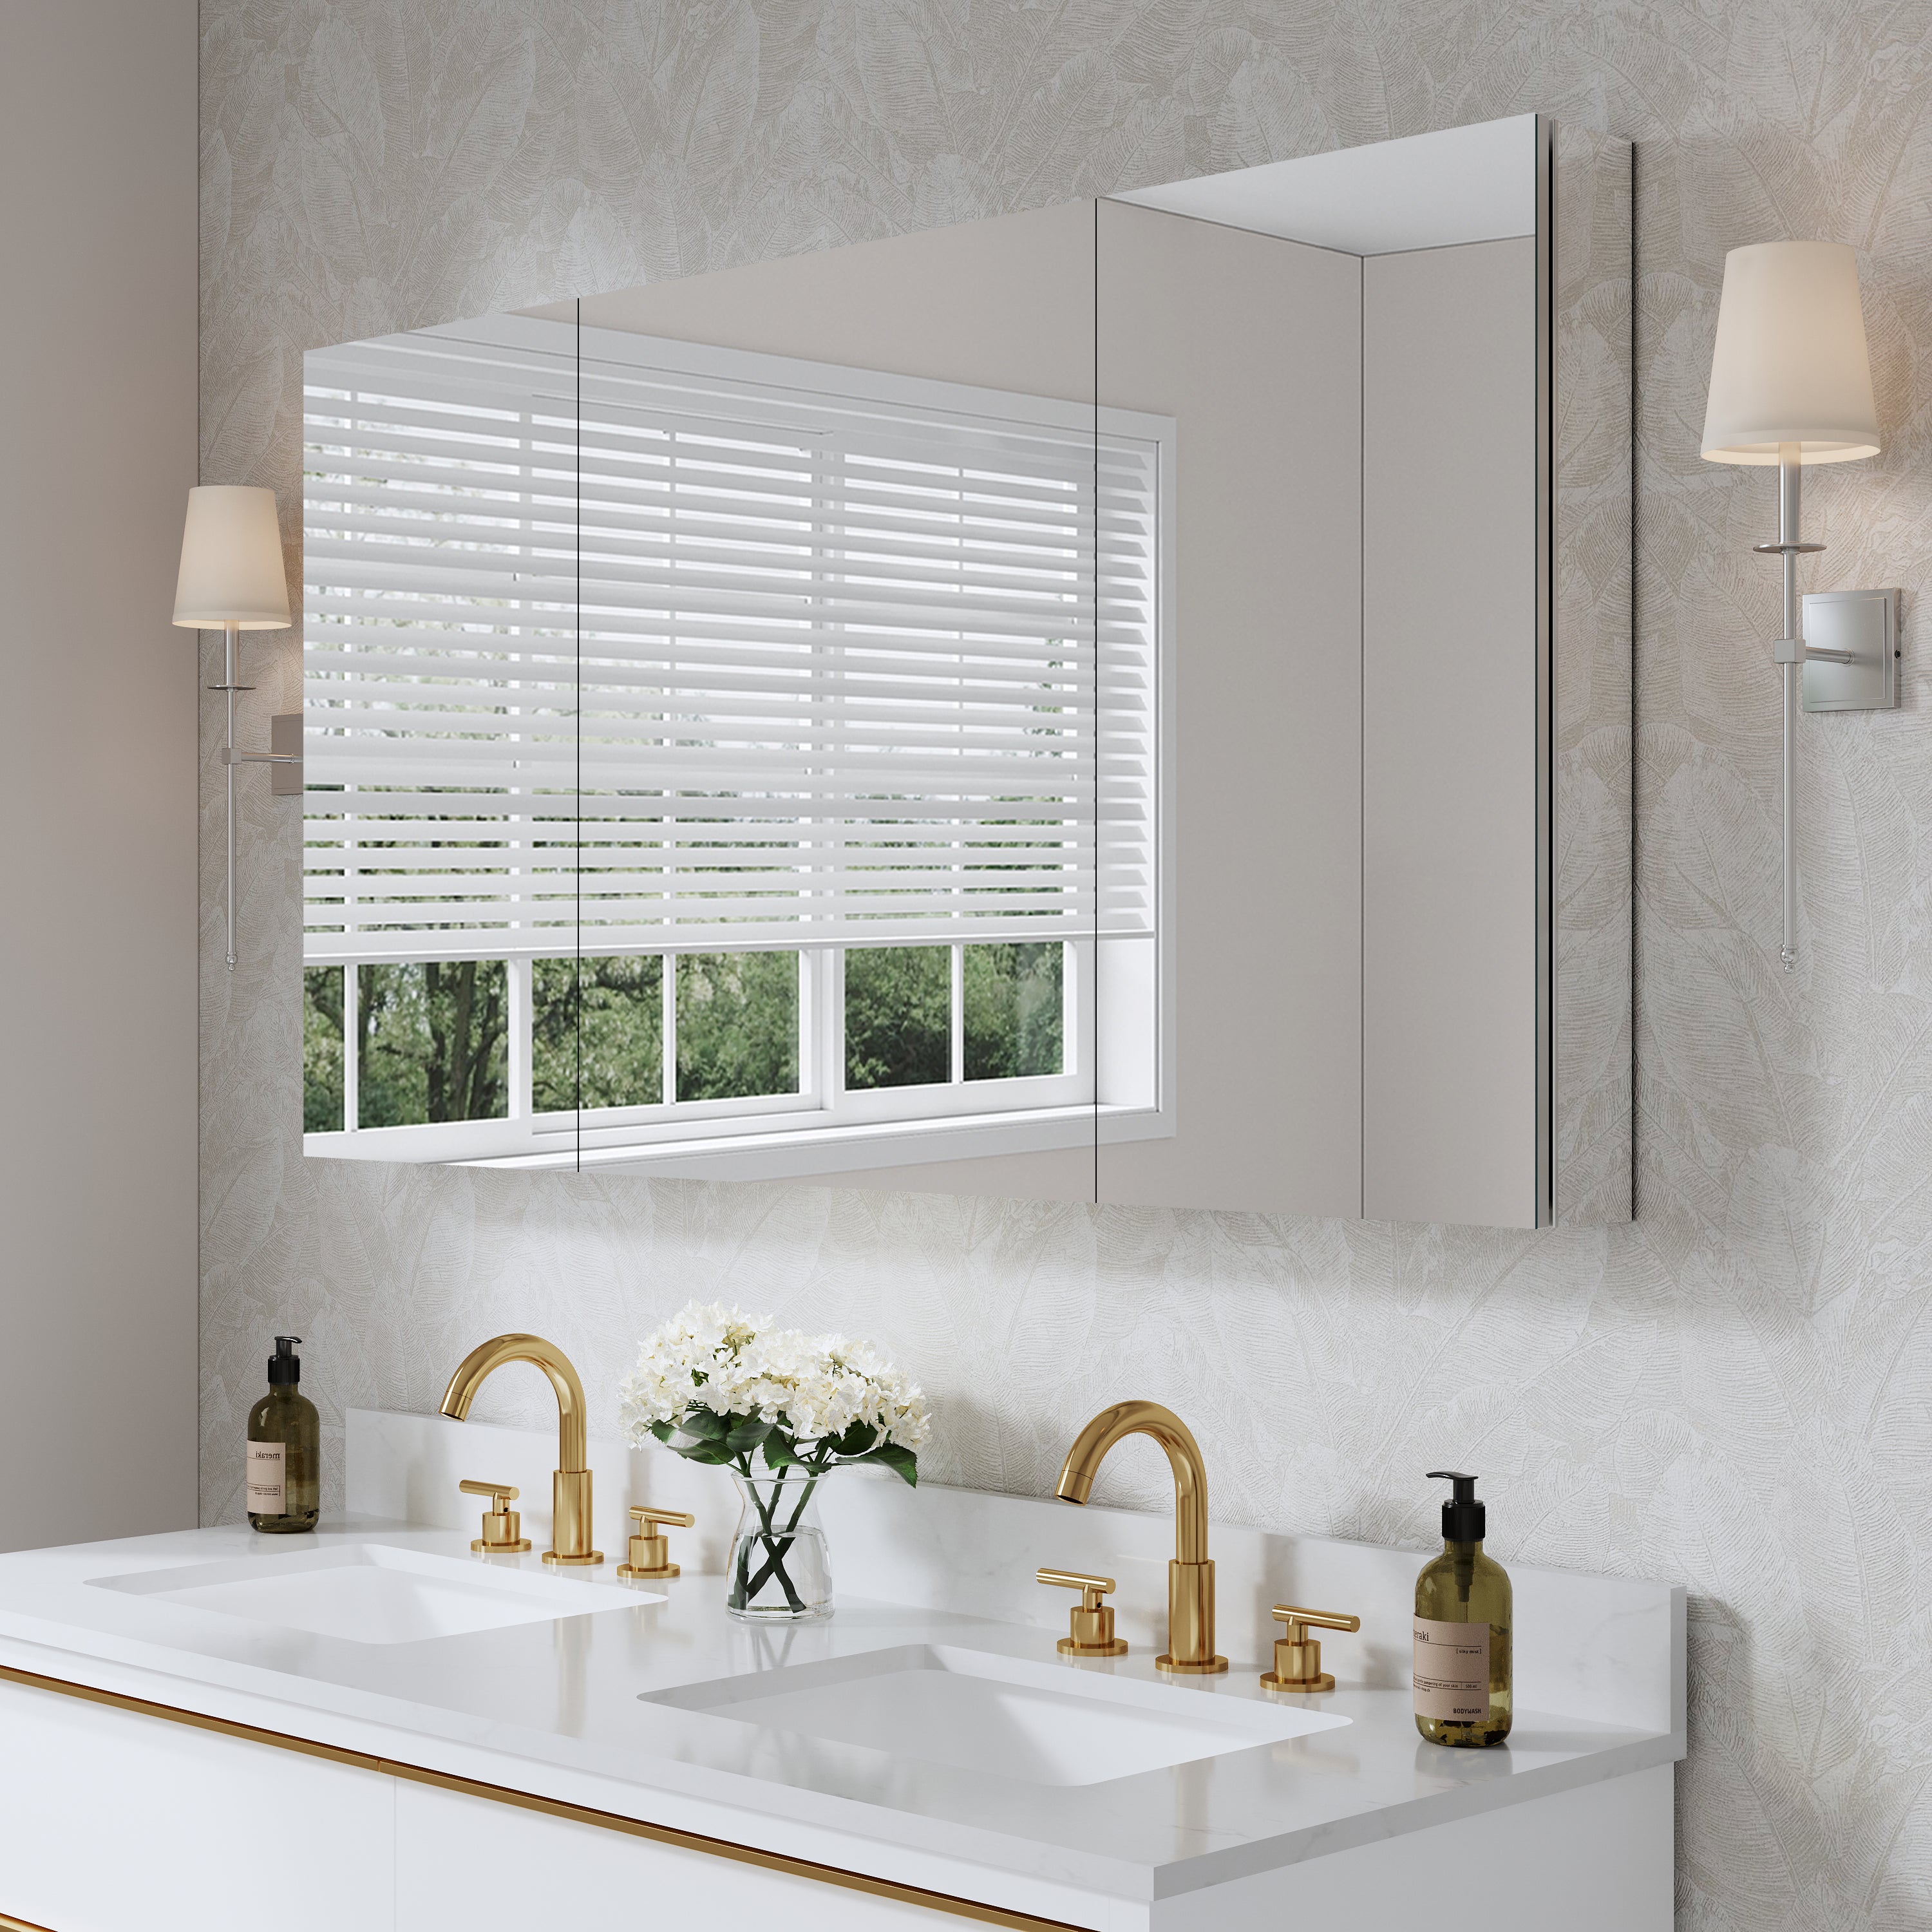
· Mirror size: Slightly narrower than the vanity looks intentional; for double vanities, two mirrors with 2–4 inches of wall between feel upscale and reduce glare crossover.
· Mounting height: Target the mirror’s luminous area to span from nose to chin at eye level. For most adults, the mirror center ends up 60–66 inches from the floor (adjust to user height).
· Sconce height: Around 60–65 inches to the center is a common starting point; adjust to avoid eye-level glare.
11) Moisture, Safety, and Code Basics
· In bathrooms, aim for fixtures rated for damp locations where appropriate.
· IP44 or better for mirror lighting in splash zones.
· Use GFCI-protected circuits where required, and follow local code on distances from tubs and showers.
· Seal penetrations and keep drivers out of steam paths.
12) Common Mistakes—and Easy Fixes
· Only the mirror is bright; the rest of the room is dark. Add a soft ambient layer or bump the ambient dimmer to 40–60%.
· Harsh shadows even with a lit mirror. Introduce vertical sconces or relocate the ceiling light away from the face line.
· Everything feels “blue” or “yellow.” Standardize CCT across fixtures, or use mirrors with tunable white.
· Glare in photos. Angle the camera slightly, dim the accent layer, and avoid direct sightlines into emitters.
Bottom Line
A lighted mirror is a highly functional task tool, but the best improvements marry light with soft ambient fill, vertical side light, and intelligent dimming. Maintain color temperature coordination, demand high CRI, and design for serviceability. Do that, and you have created what we all want from a modern bath: A place that looks bright, photographs beautifully, and feels good at 6 a.m. and 10 p.m.—while not wasting a watt or cluttering the walls.


Leave a comment
This site is protected by hCaptcha and the hCaptcha Privacy Policy and Terms of Service apply.