


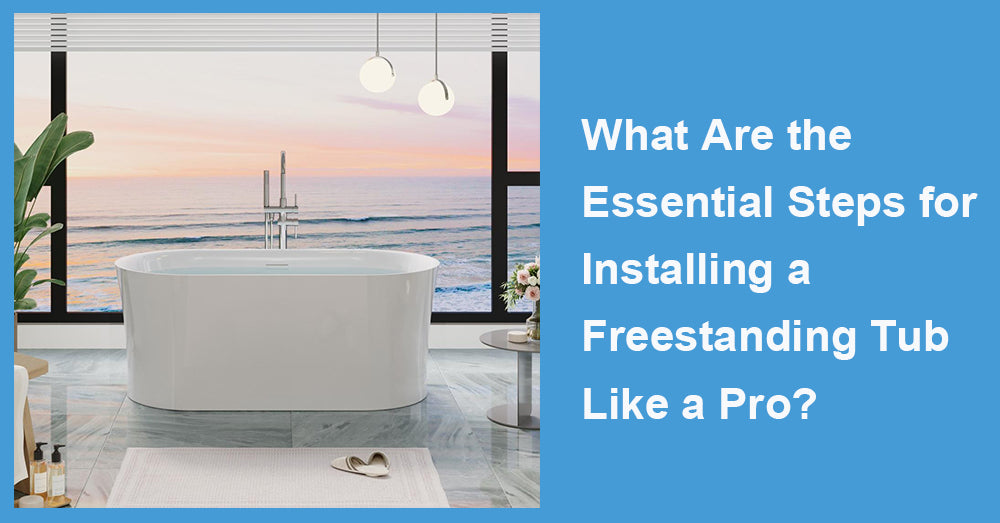
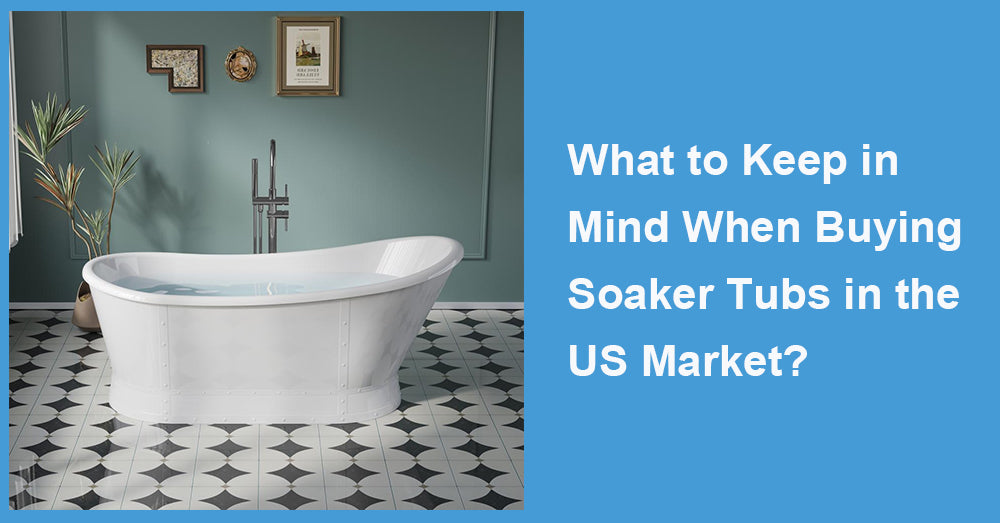
A freestanding tub is an home improvement project that can dramatically change the look and feel of your bathroom. When you walk into a bathroom with a freestanding tub, regardless of size, there is an automatic upgrade of sophistication and luxury. It feels calmer, and more relaxing – it feels like a spa. A freestanding tub can provide a nice level of elegance and sophistication. But, you don't just put it in the centre of the bathroom and call it done.
If you will tackle this project yourself or want to know what is involved in the process, you are in the right place. Here is a step-by-step process as if you were to reinstall your tub as a pro; welcome to best practices if you are a DIY'er or contractor brushing up on best practices!
Step 1: Choose the Right Tub
Before thinking about an installation, you must select what tub to buy. Freestanding tubs come in different shapes, sizes, materials, and styles, and your choices will affect everything that needs to be done, from plumbing to reinforcing your floor.
Here are a few things to consider:
· Material: Acrylic, cast iron, stone resin, or copper. Acrylic is lightweight and easy to work with. Cast iron is heavy and durable but may need extra floor support.
· Size: Make sure the tub fits your space visually and physically. Also, remember to check that it can pass through your doorways!
· Style: Slipper, clawfoot, pedestal, or modern square-edge? Your look will also influence the type of installation hardware you'll need.
Pro tip: Double-check that your chosen tub has (or is compatible with) a drain assembly and overflow kit. Not all do.
Step 2: Check the Plumbing
Many people get confused about freestanding tubs. They don't function like traditional built-in bathtubs, which are next to a wall and have hidden plumbing. The drain is exposed and generally functions through the floor. This means that before you make any installations, your bathroom's rough-in plumbing has to be in the right place.
What to do:
· Make sure the drain location lines up with the tub's drain.
· If installing on a concrete slab, you might need to cut into the floor to move plumbing—something best left to professionals.
· Consider installing a freestanding tub drain rough-in kit. These kits help line everything up neatly and securely.
If unsure, this is a good time to call a licensed plumber. Plumbing missteps can quickly become expensive.
Step 3: Prepare the Floor
Freestanding tubs can be heavy, especially once they're filled with water and someone is inside. Your floor needs to be strong enough to support the weight.
Floor prep checklist:
· Reinforce if necessary: This is especially important with cast iron or stone tubs.
· Level it out: Use a level to ensure your floor isn't sloped. An uneven floor can cause wobbling or make the tub feel unstable.
· Protect the surface: If installing on tile, lay down a blanket or soft covering to avoid scratches during positioning.
Also, if installing new flooring, do so before the tub. It's much easier that way.
Step 4: Dry Fit the Tub
Before you get all crazy and start connecting things, dry-fit it. Dry fitting means putting the tub where it is supposed to go to see how things will line up: drain, faucet, etc.
· To help you confirm drain alignment.
· You will be able to see how the tub occupies space visually.
· You can confirm the reach of the faucet, especially if using a floor or wall-mounted filler.
Quick test: Sit inside the tub (carefully!) and make sure it feels comfortable in the space. This is your chance to make adjustments without making a mess.
Step 5: Install the Drain Assembly
Now, let's move on to the plumbing. The drain assembly connects your tub to the drain in the floor, and getting it right is essential for leak-free performance.
Follow these Steps:
1. Attach the drain flange and rubber gasket to the bottom of the tub.
2. Connect the trap and drain line according to your kit's instructions.
3. Attach the drain flange and rubber gasket to the bottom of the tub.
4. Carefully lower the tub onto the drain to complete the connection.
This can be difficult, especially in tight spaces. Be patient and always check for leaks before moving on!
Step 6: Secure the Tub
After the drain is connected, you should prepare to fasten the tub. Most freestanding tubs are placed directly on the floor, but some tubs include mounting brackets or feet that you must adjust.
What to check:
· The tub is level and does not rock or wobble. If there is a bracket, screw it down onto the subfloor as indicated. For clawfoot tubs, ensure that all feet are levelled and the legs are aligned. Be sure to leave ample clearance around the tub for cleaning and access. Approximately 2-4 inches around the tub is ideal.

Step 7: Connect the Faucet
Freestanding tubs are usually paired with one of three faucet types:
1. Floor-mounted: Requires water lines coming up through the floor.
2. Wall-mounted: Mounted to the wall behind the tub.
3. Deck-mounted: Attached directly to the tub (if the design allows).
Installation tips:
· For floor-mounted faucets, use mounting blocks to keep everything stable.
· Always check for leaks before final tightening.
· Make sure the spout reaches over the edge of the tub comfortably.
Also, test the water temperature and pressure before calling it done.
Step 8: Seal and Finish
The final step is sealing around the base of the tub to prevent water from seeping underneath.
Use a high-quality silicone caulk to:
· Seal between the tub and the floor (if needed)
· Seal any exposed pipe penetrations
Let the caulk cure fully per the instructions—usually 24 hours—before using the tub.
Step 9: Final Inspection and Clean-Up
Before you take that long-awaited soak, it's time for a thorough check.
Go through this checklist:
· No leaks at the drain or faucet connections
· The tub is level and secure
· The water drains properly
· The surrounding floor is clean and undamaged
Now's also the time to polish any visible surfaces and remove any protective film or stickers.
Bonus Tips from the Pros
Here are a few additional tips from professional installers to make your job even easier:
· Take your time: Only do this once. Mistakes are expensive to fix. Keep the instructions on hand: Each tub may have slightly different needs.
· Use two people: Most freestanding tubs are heavy enough that having two people will help with manoeuvrability.
· Check your local codes: Some areas may require permits or inspections when doing a bathroom remodel.
In Conclusion
While adding a freestanding tub is not the easiest home improvement project, it is one of the best. You can add a tub like a pro (or at least know when to call one) if you prepare yourself, have some eye for detail, and have some patience to complete the installation.
An independent tub delivers an impact when replacing the tub in your master bath or completing a remodelling project like few other fixtures can. So, take your time, follow these easy steps, and before you know it, you will be enjoying a nice little, hard-earned and well-deserved, relaxing time!


Leave a comment
This site is protected by hCaptcha and the hCaptcha Privacy Policy and Terms of Service apply.