


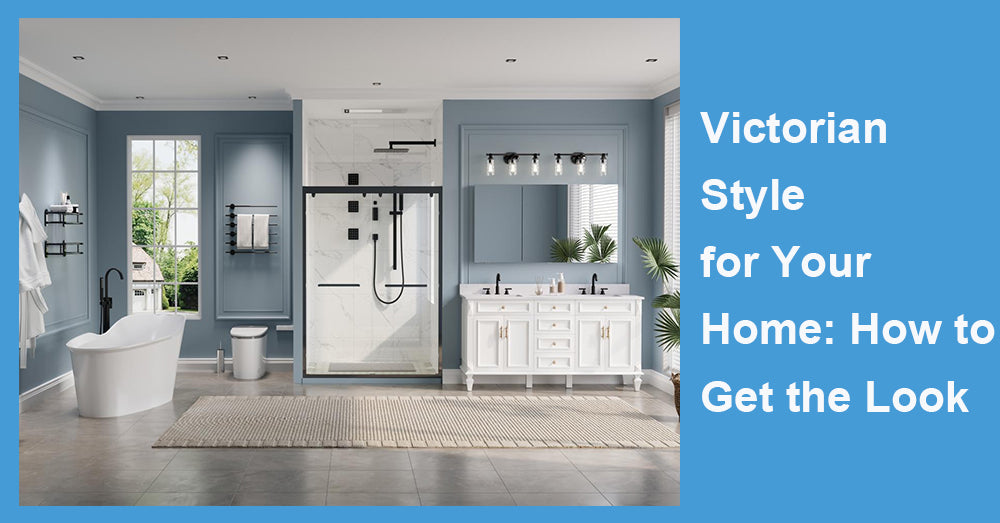
The Victorian revival is putting “vintage bathrooms” back on the home-industry radar. In the past, people worried that a Victorian bath meant “too ornate and hard to maintain.” The 2025 take is different: keep the classic silhouettes and materials, but pair them with modern plumbing, storage, and easy-clean tech so beauty and usability coexist. Brands are rolling out complete bathroom bundles, supply chains are leaning on lighter materials and corrosion-resistant finishes to lower barriers, and designers are proving that even minor upgrades can deliver significant, cinematic results.
1) What makes a bathroom feel Victorian?
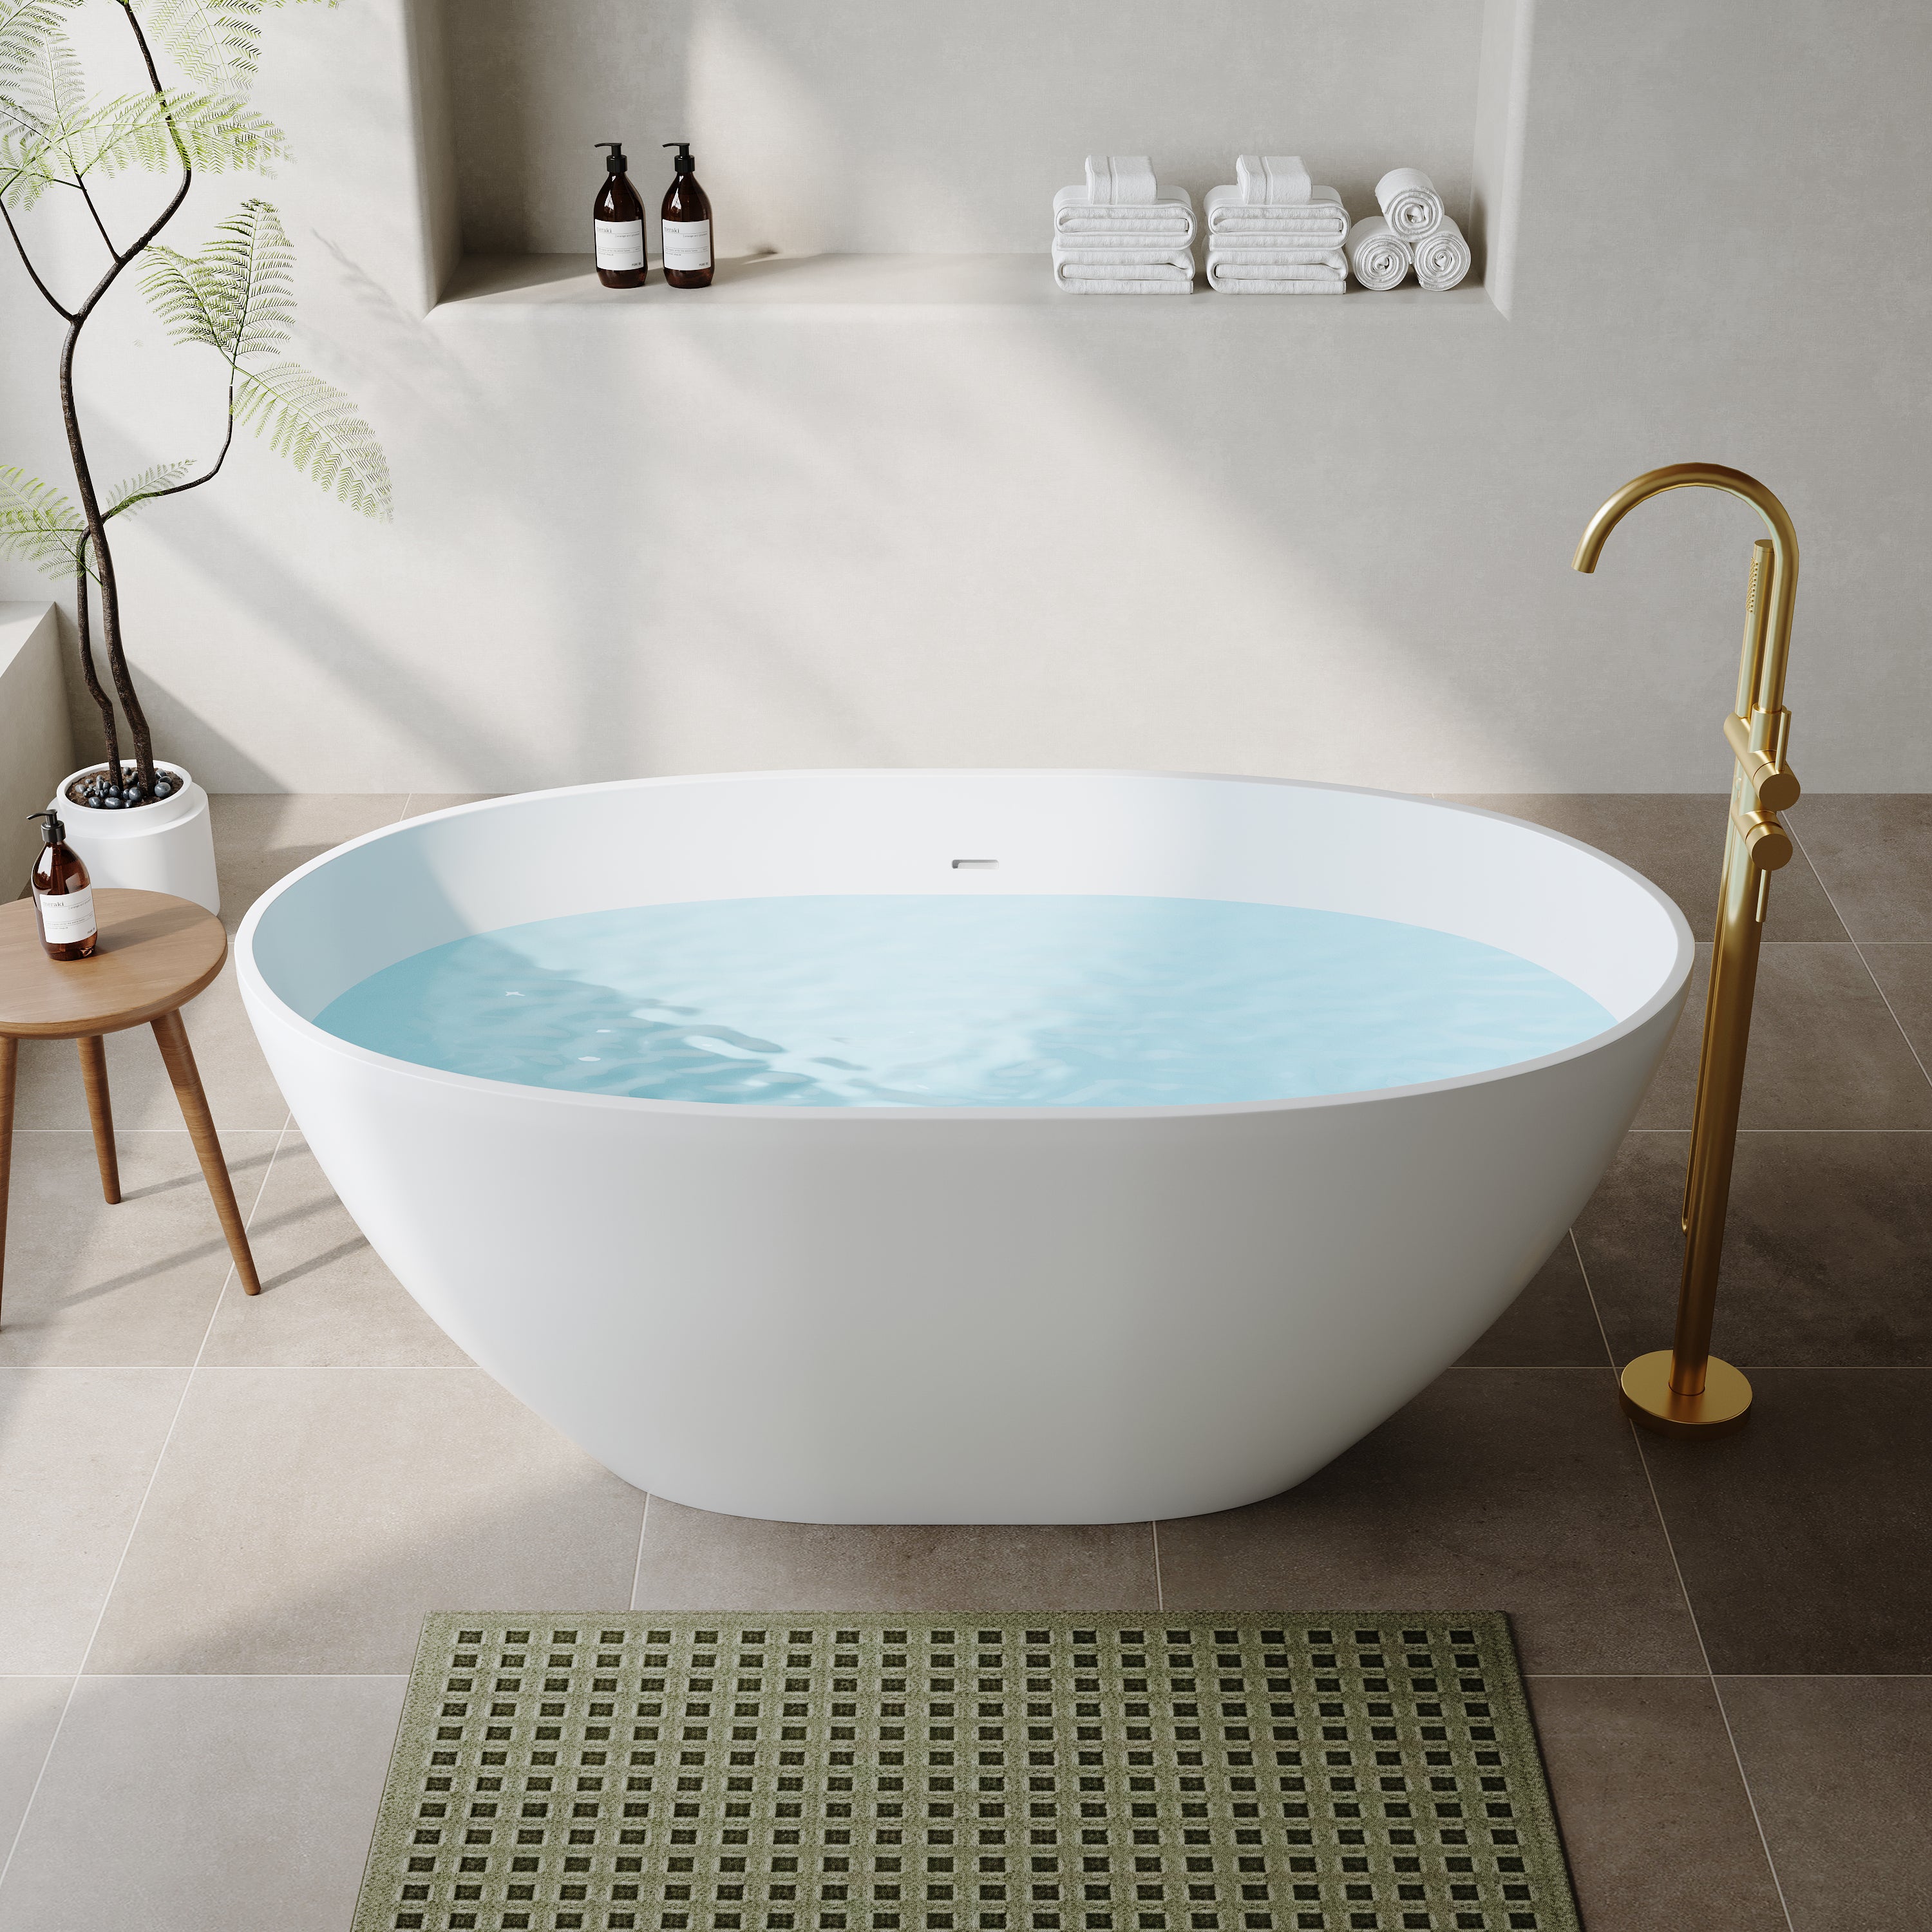
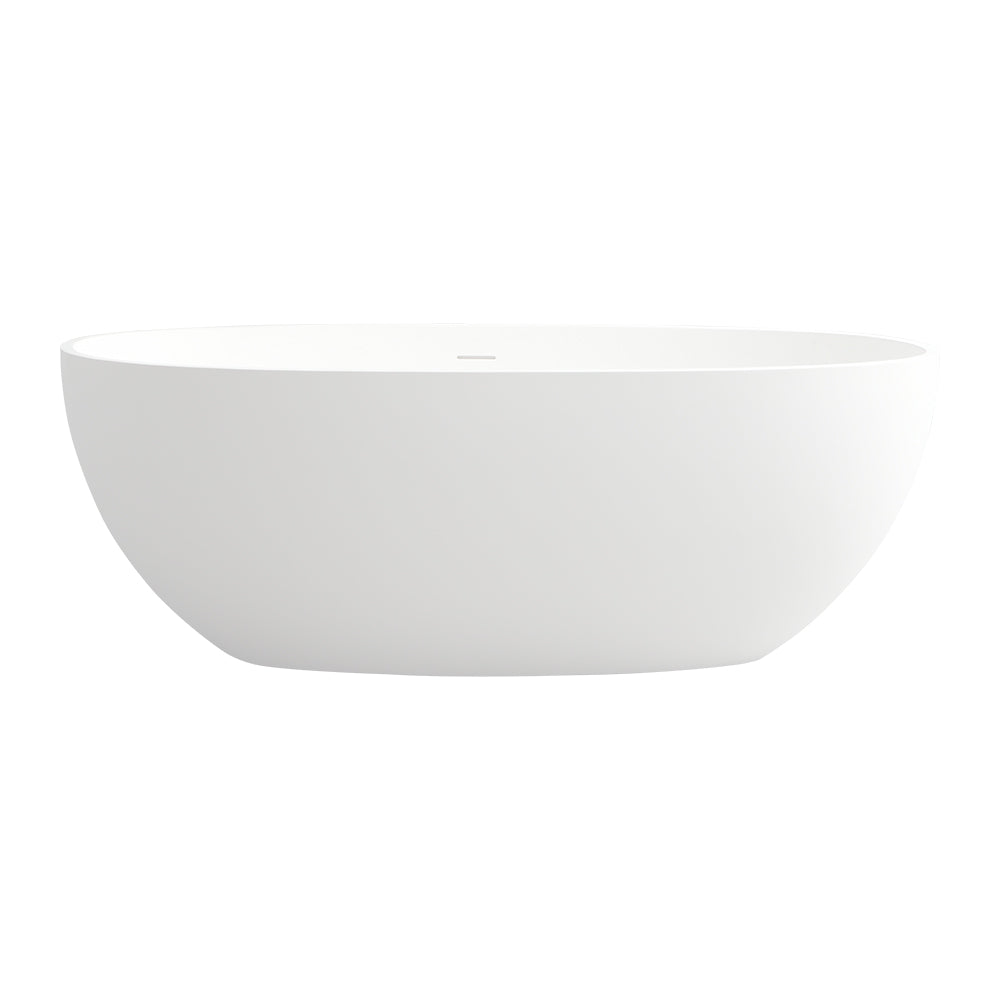
· Bathtubs: The clawfoot tub is the mood setter. Cast iron and acrylic run in parallel: the former holds heat and feels substantial; the latter is lighter and easier to install. For compact spaces, consider a short, deep soaker against the wall, plus a folding screen to keep wet and dry areas separate.
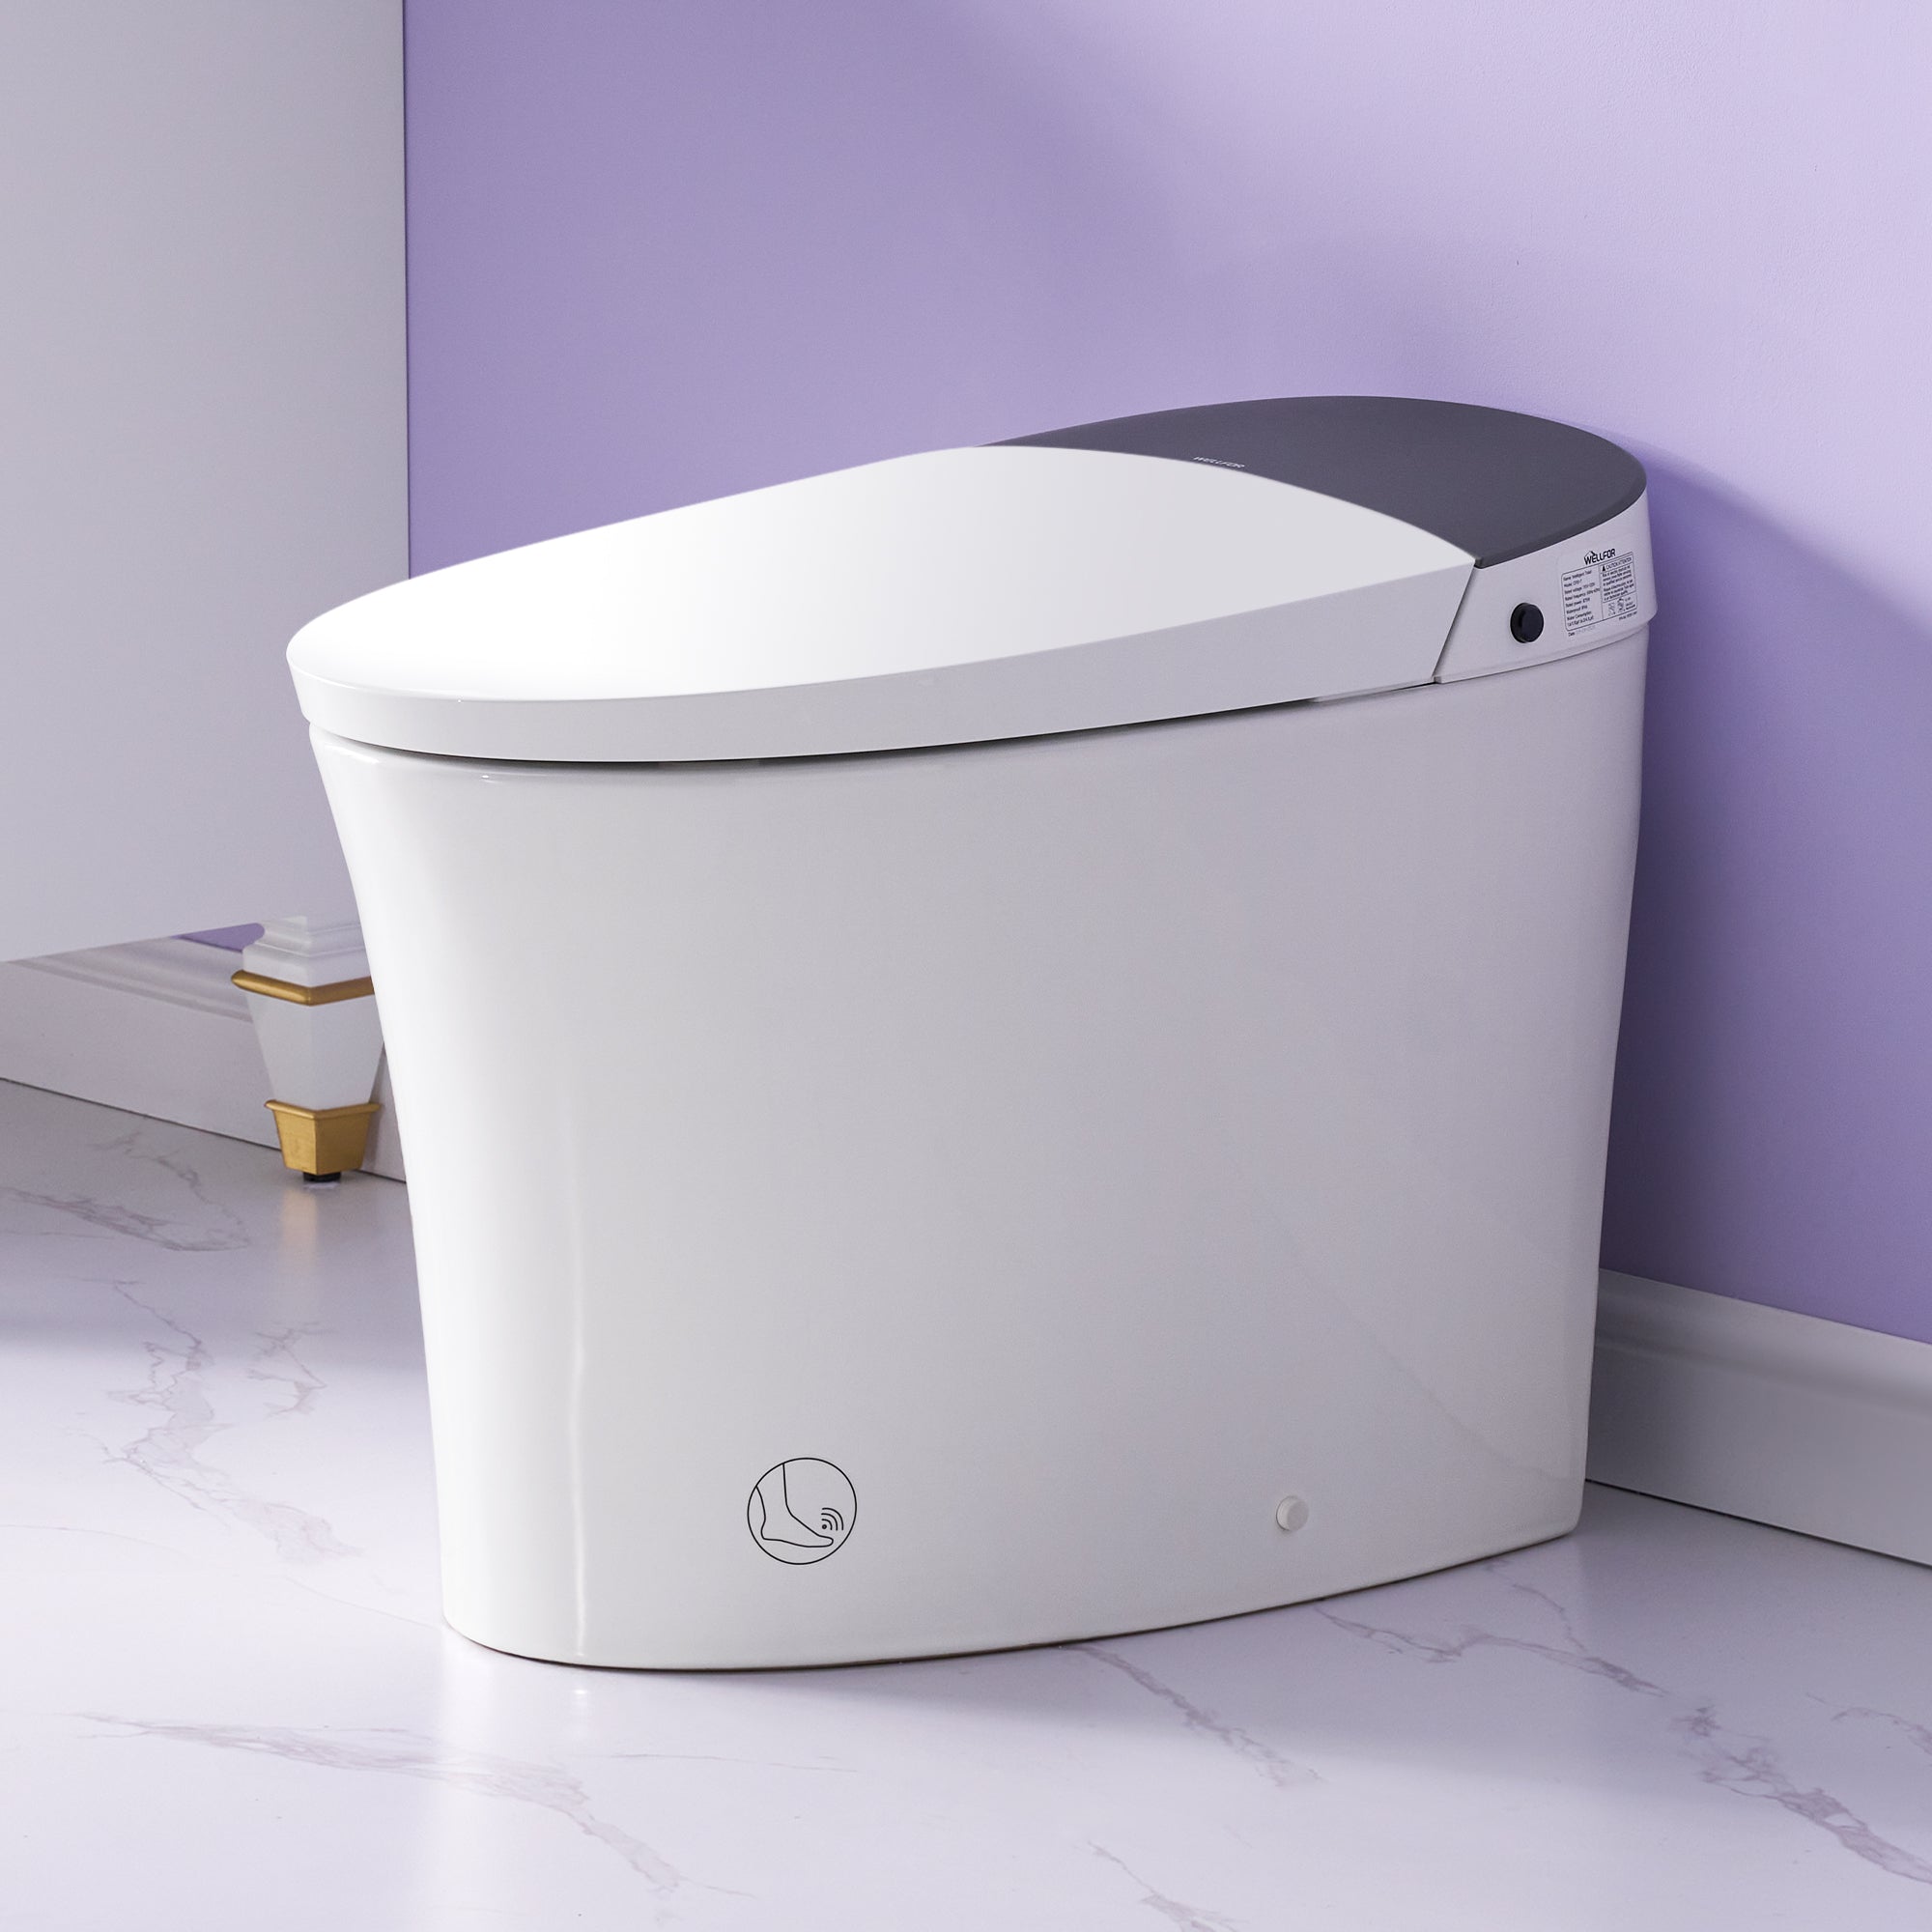
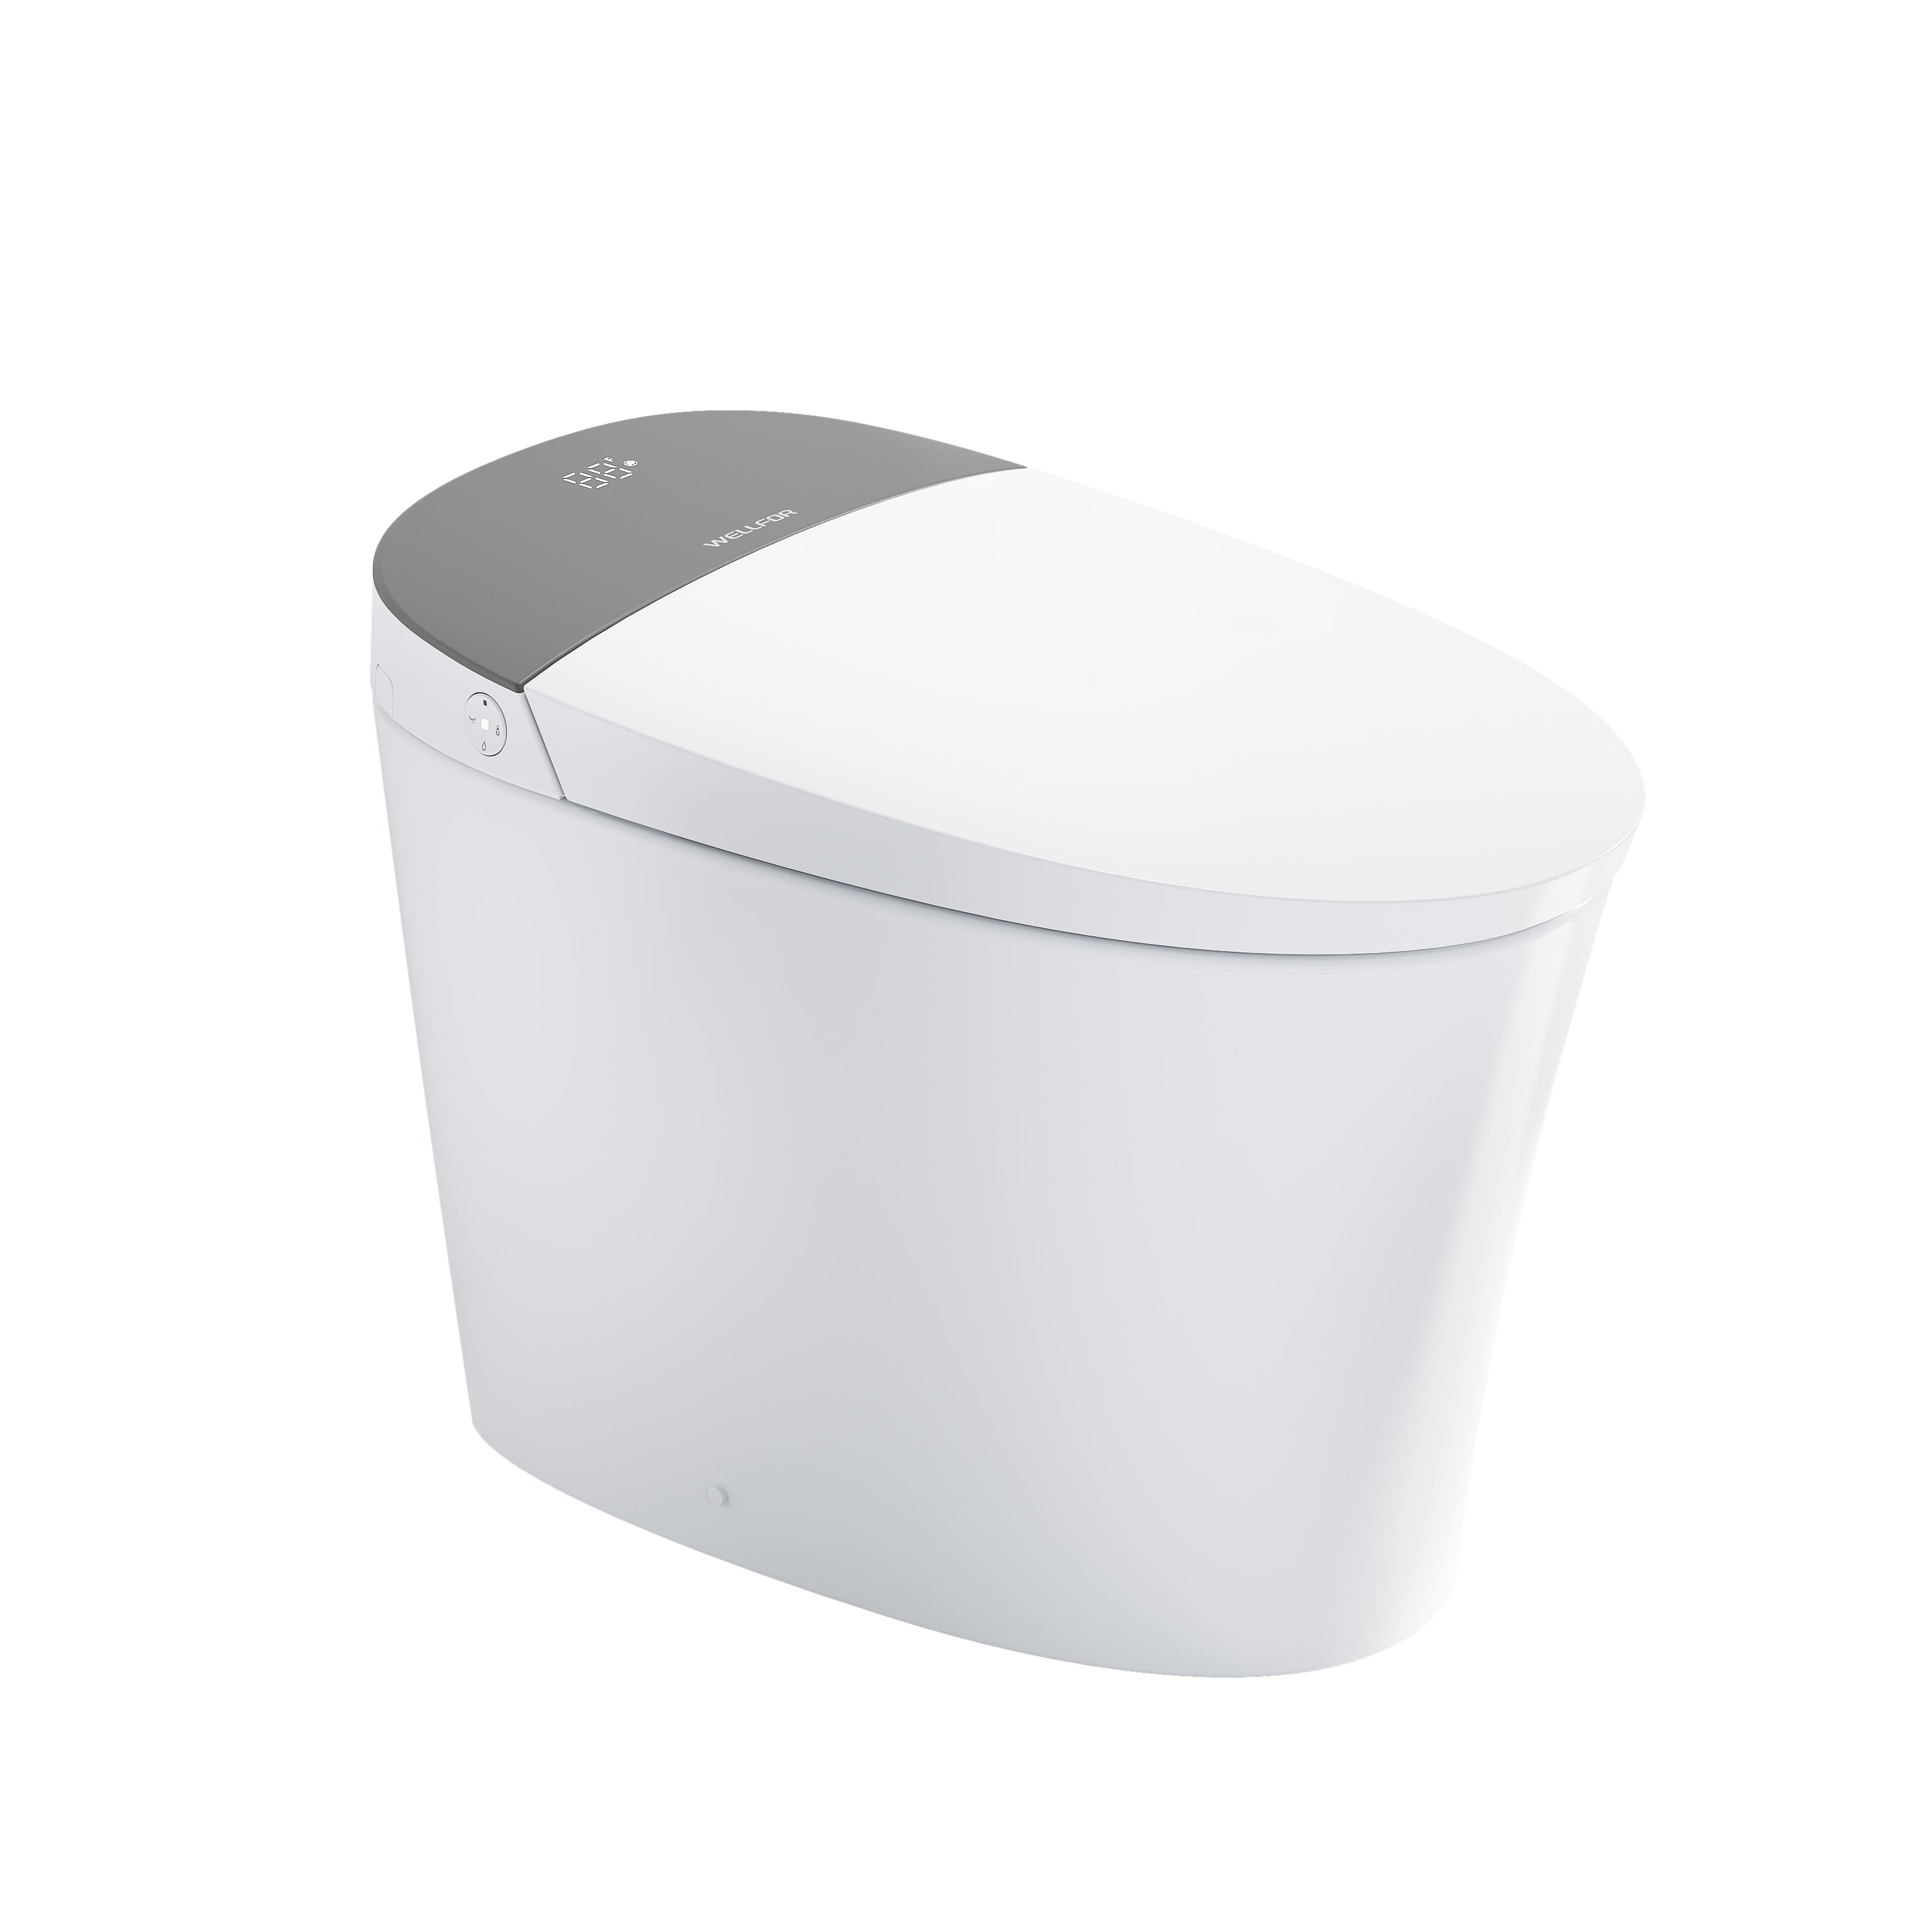
· Basins & toilets: A pedestal sink and a high-tank, pull-chain toilet are icons. Practically speaking, many brands now combine heritage exteriors with modern interiors—dual-flush tanks, soft-close seats, and efficient glazing.
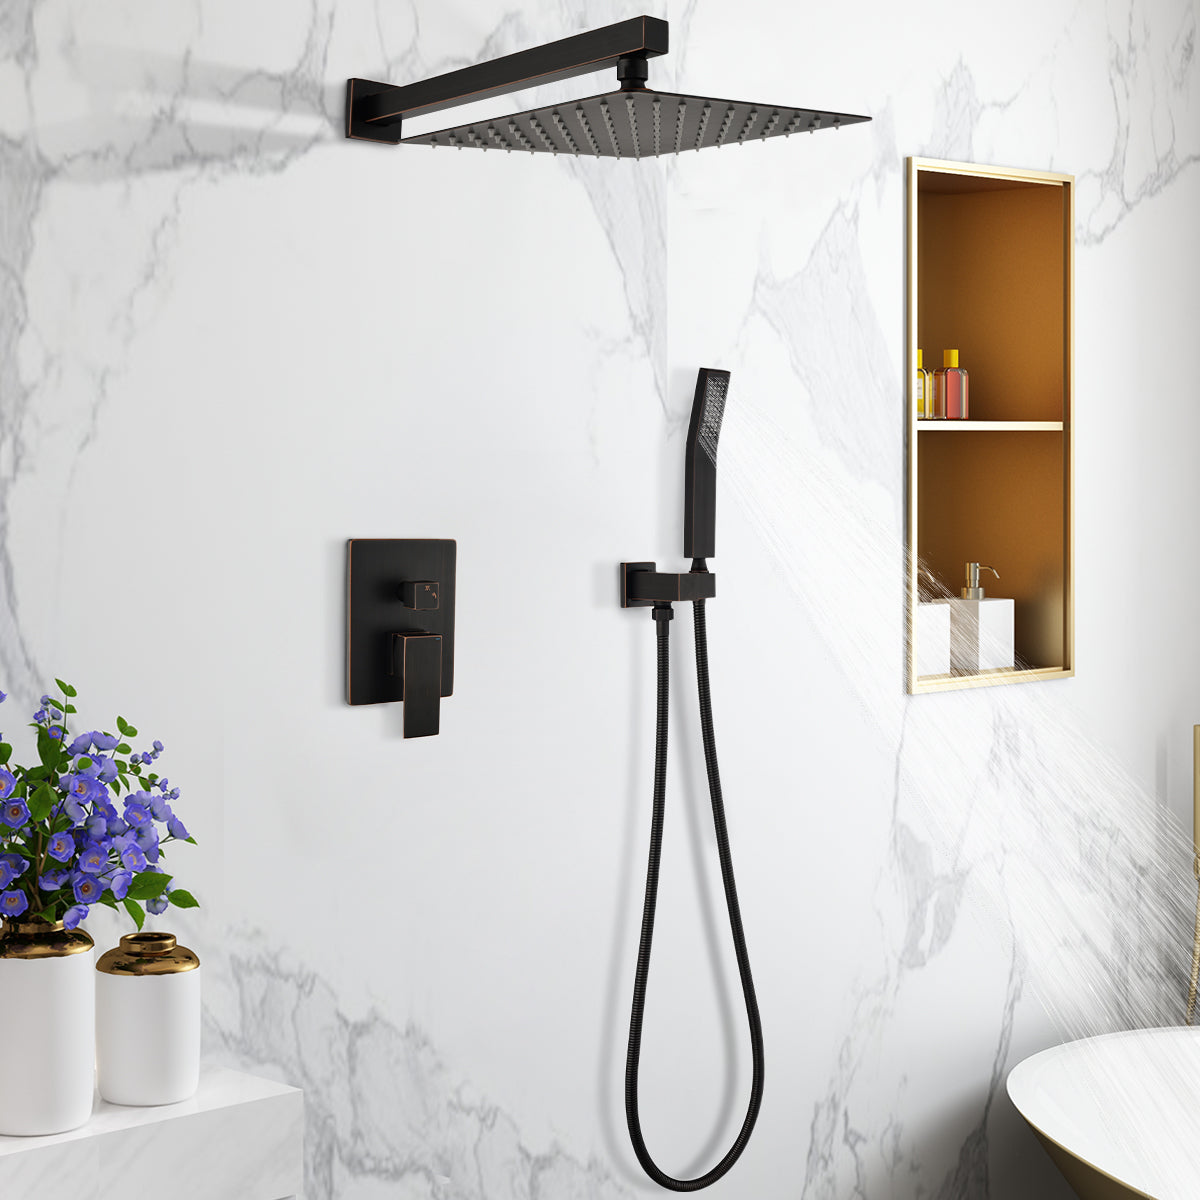
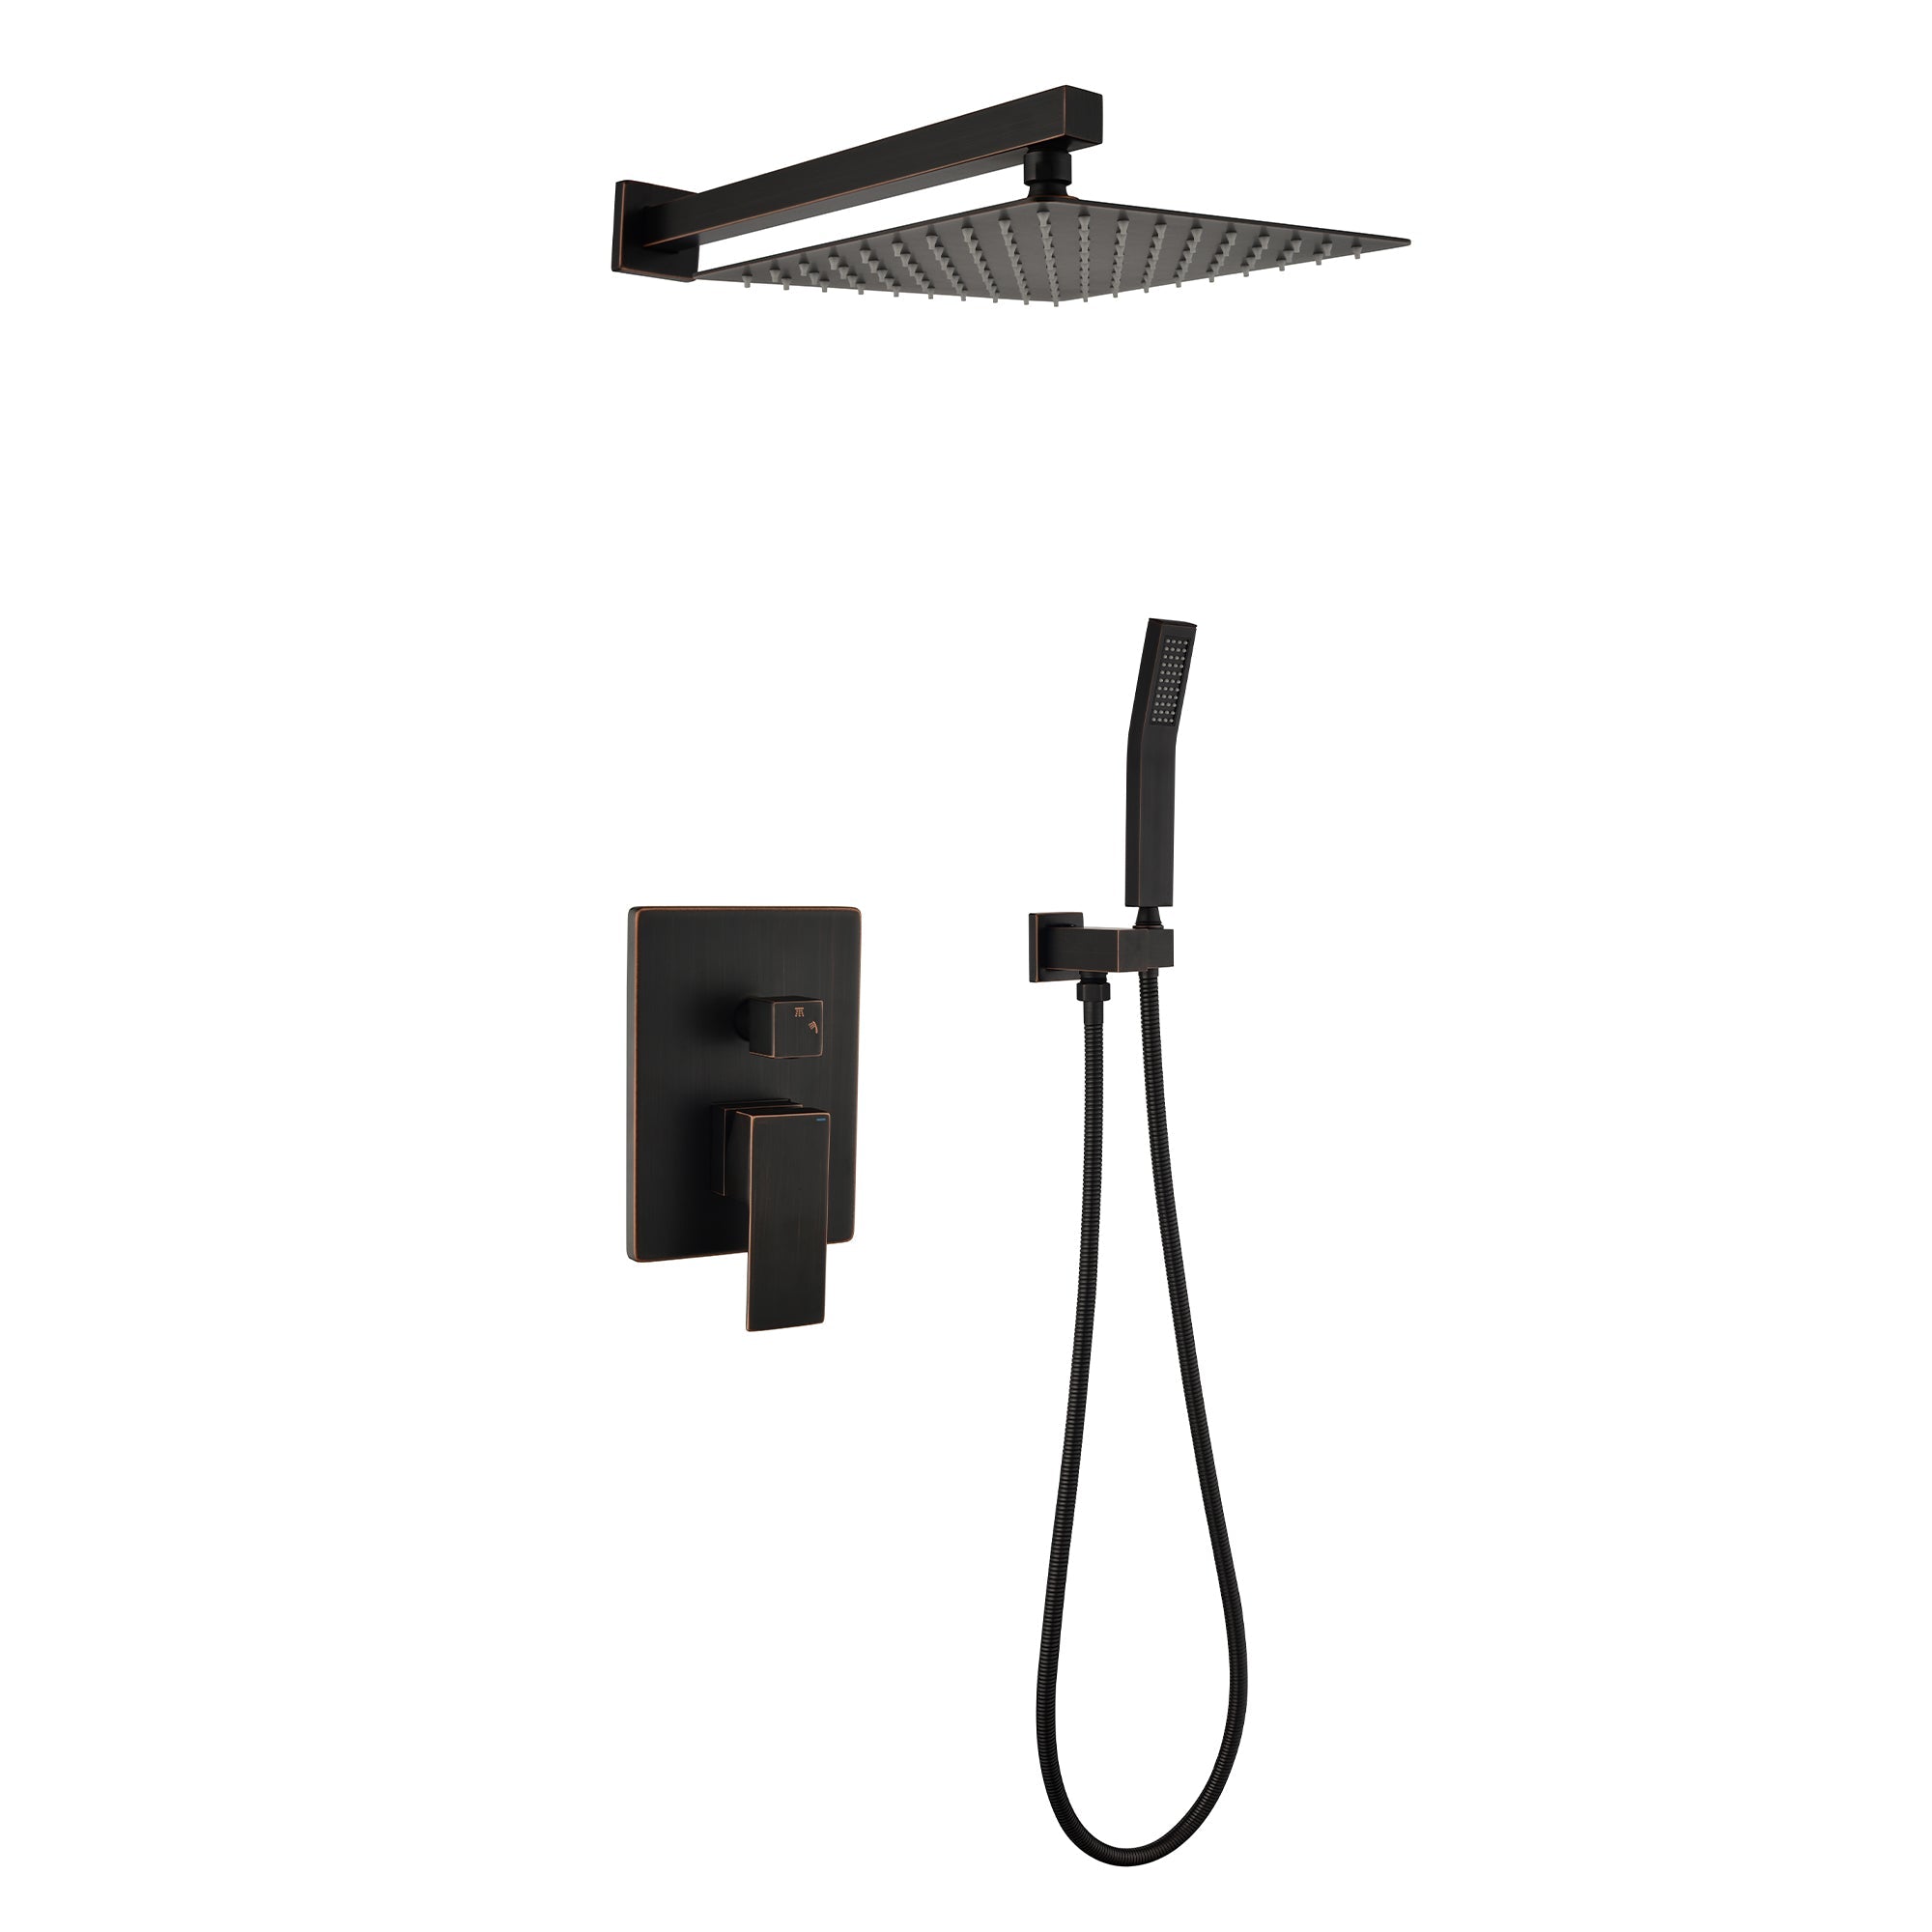
· Hardware: Aged brass and warm bronze are on point. Cross handles, three-hole faucets, exposed valves, and graceful S-traps add period charm.
· Walls & floors: Small florals with half-height wainscoting, white subway tile, black-and-white checkerboard, and fish-scale or hex mosaics quickly set the style.
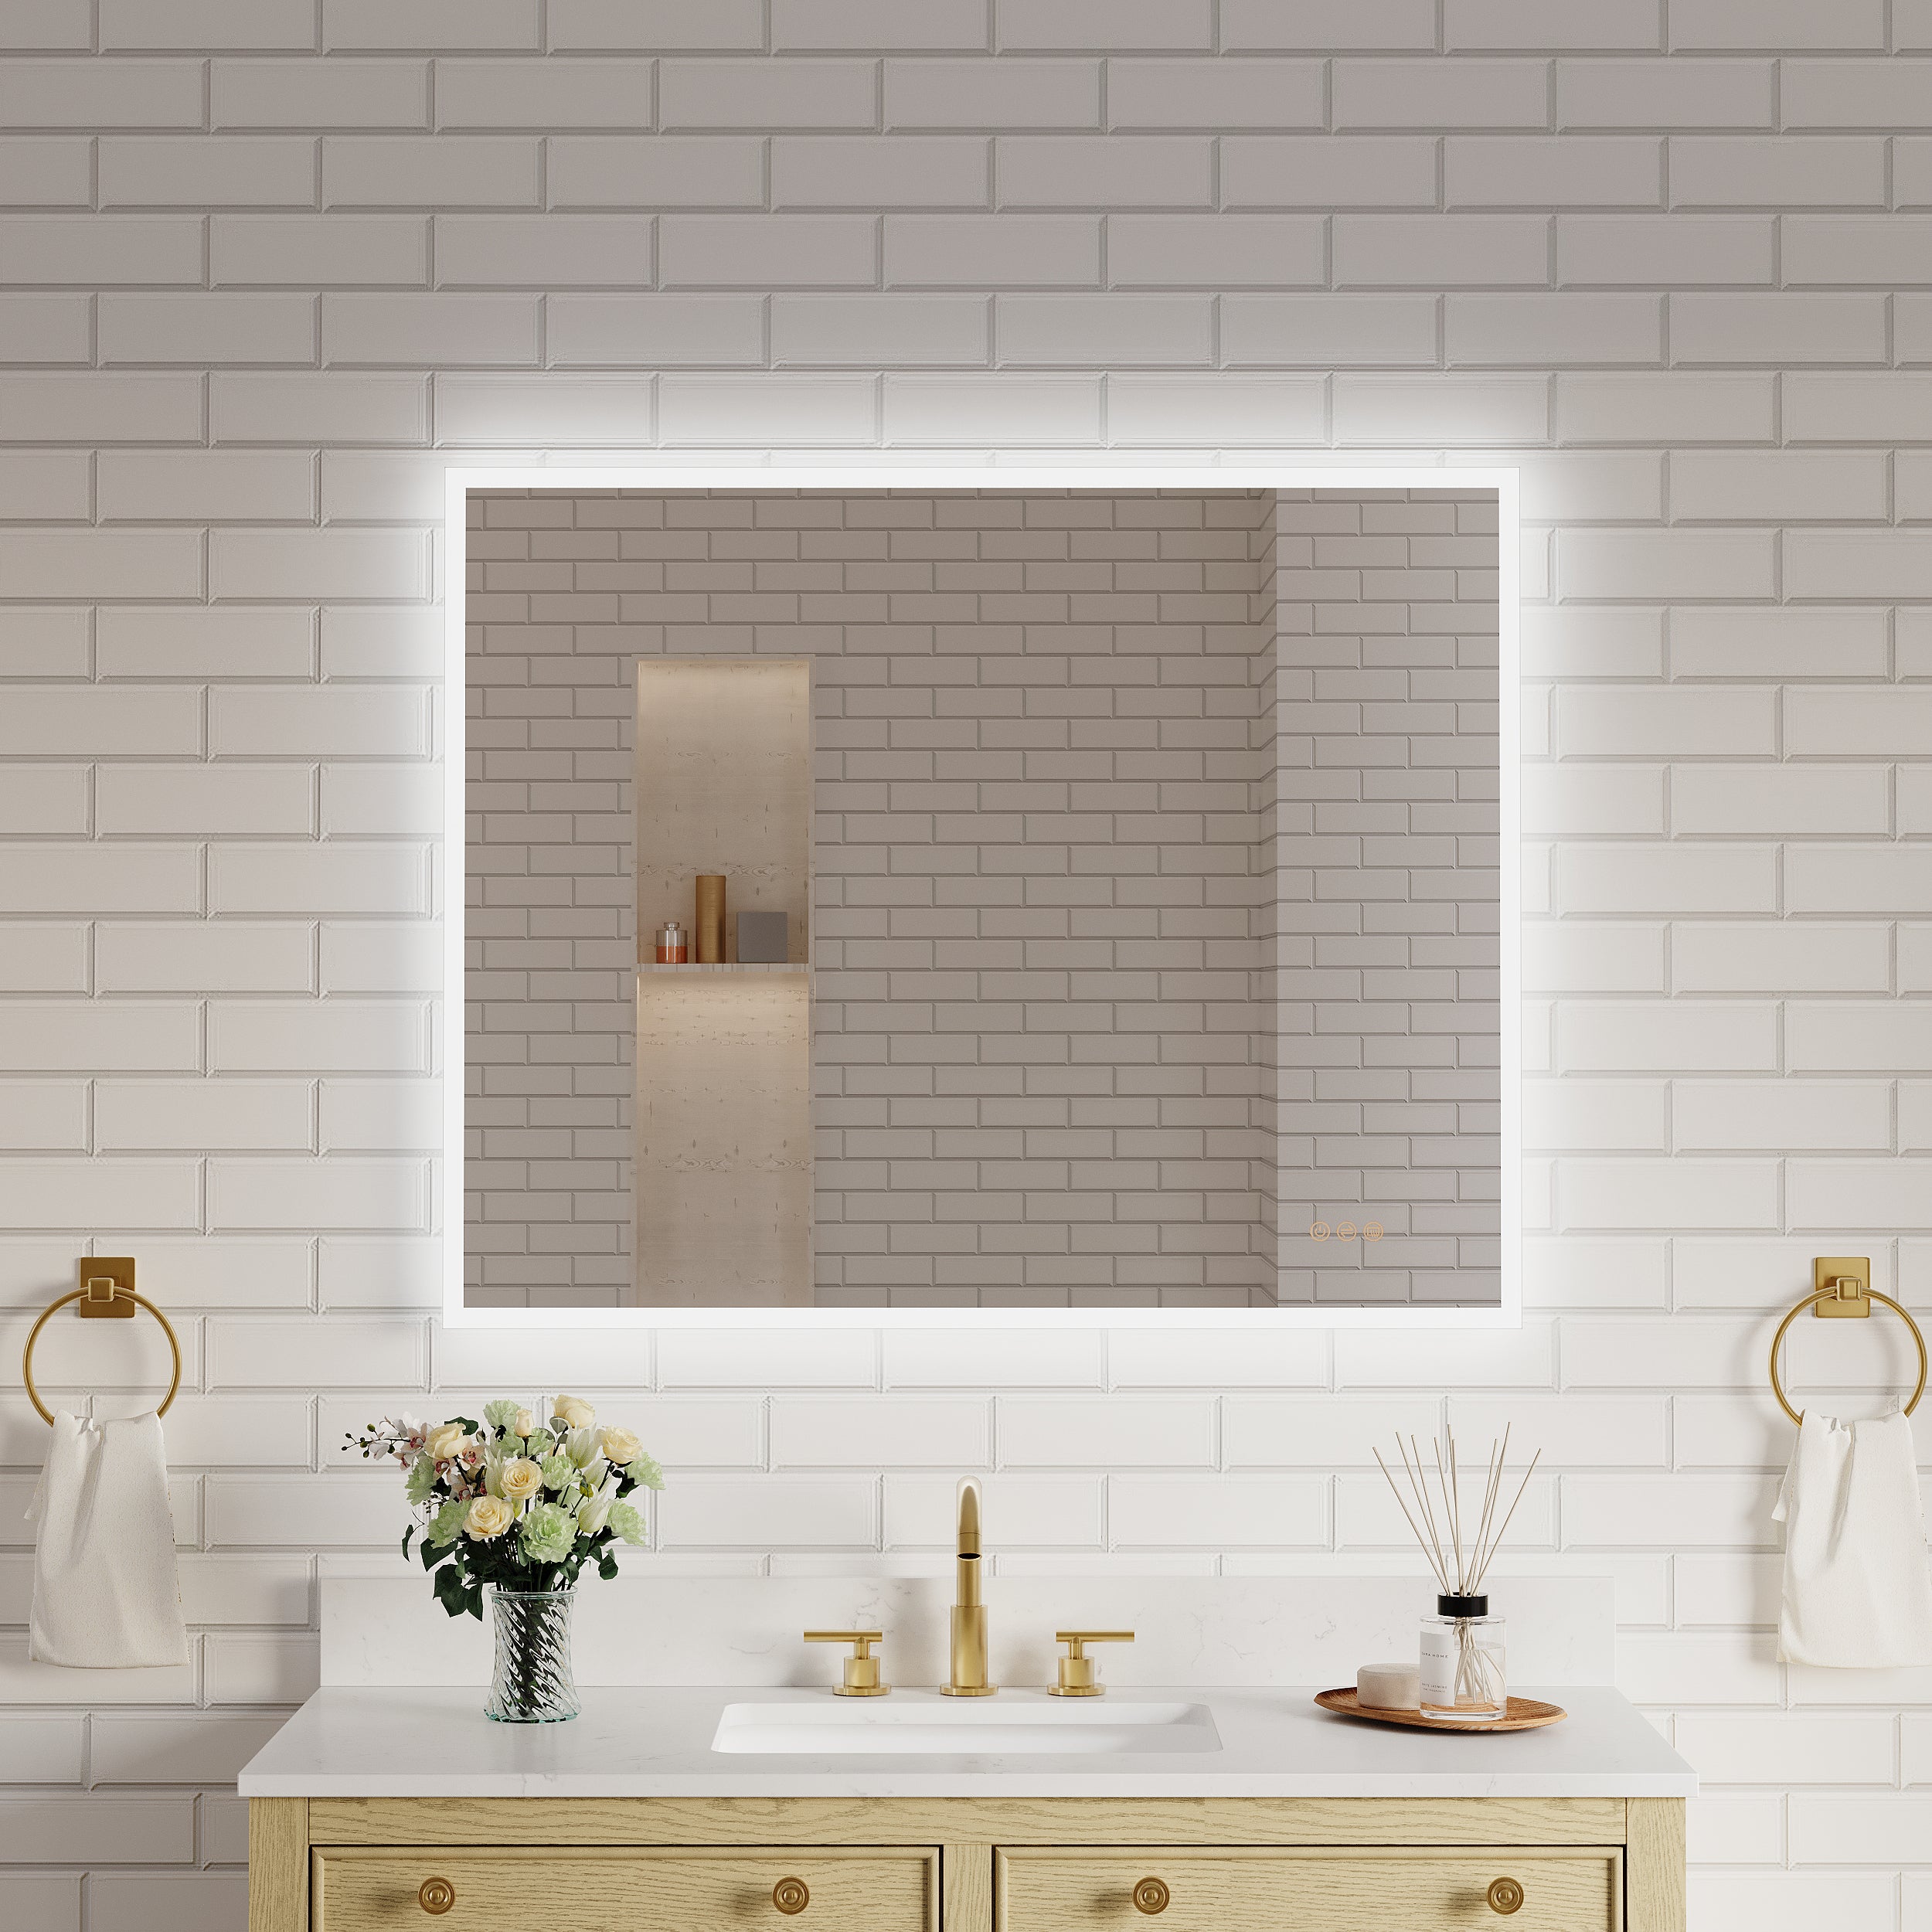
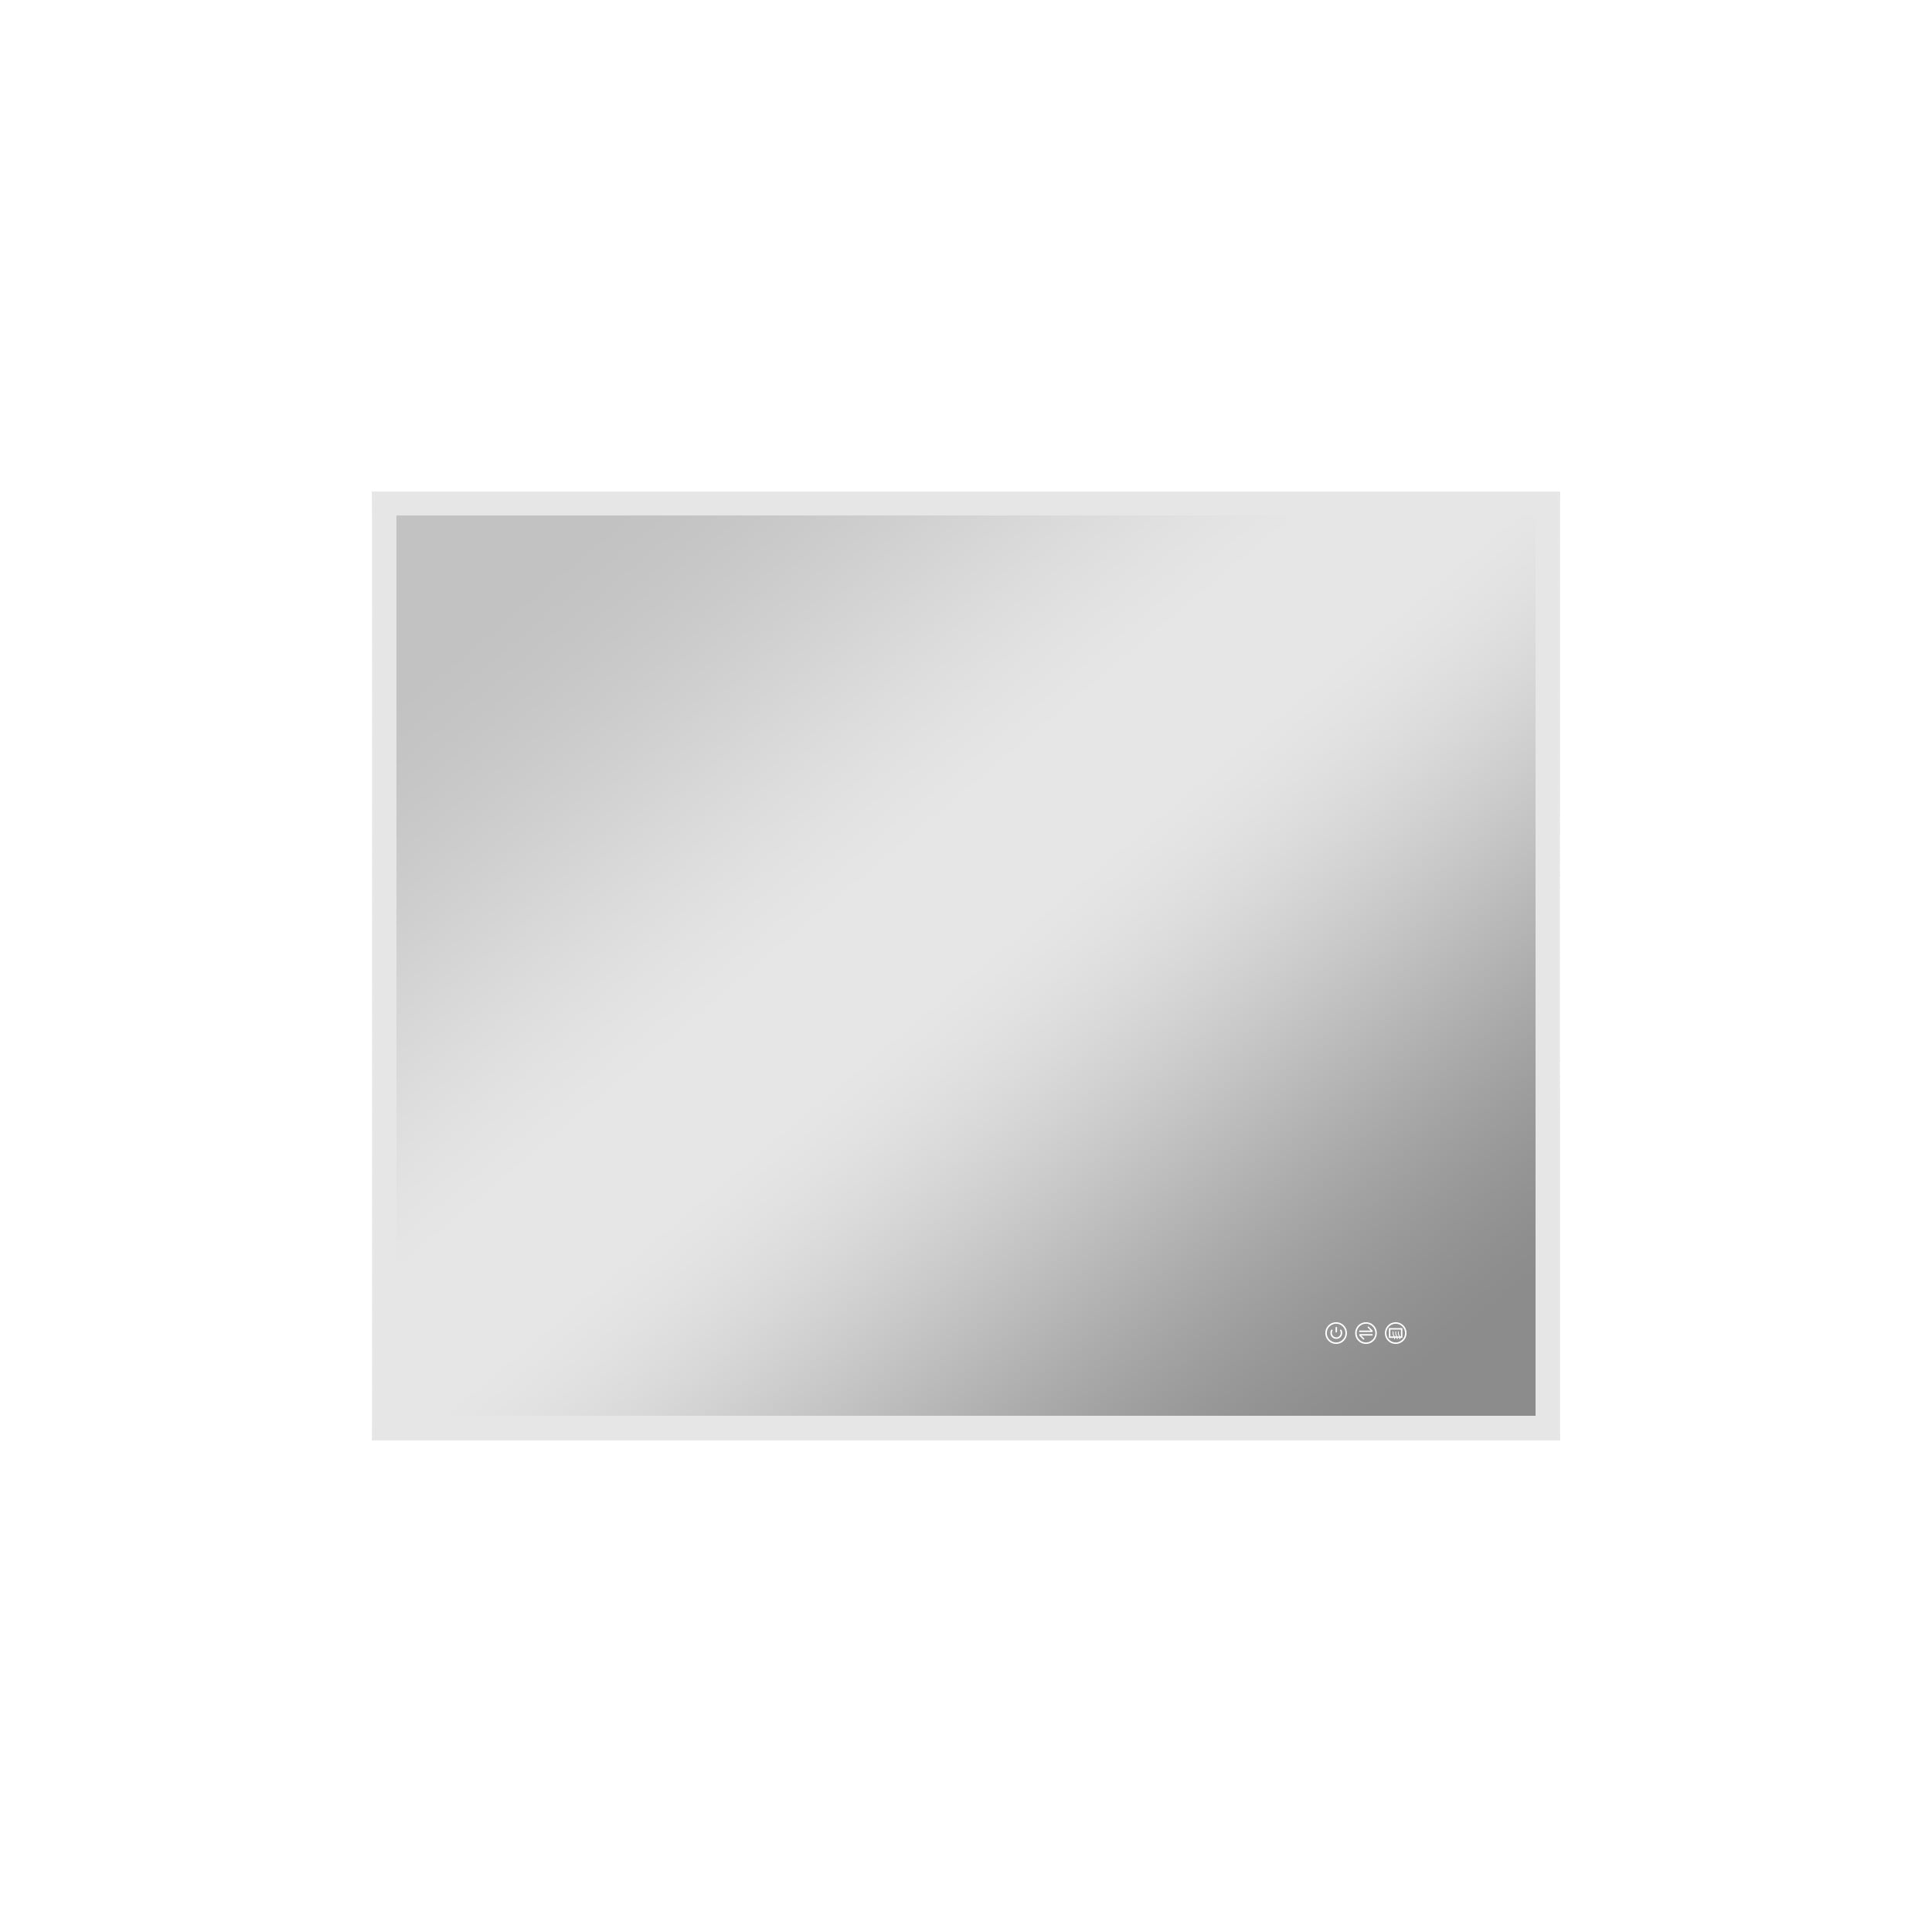
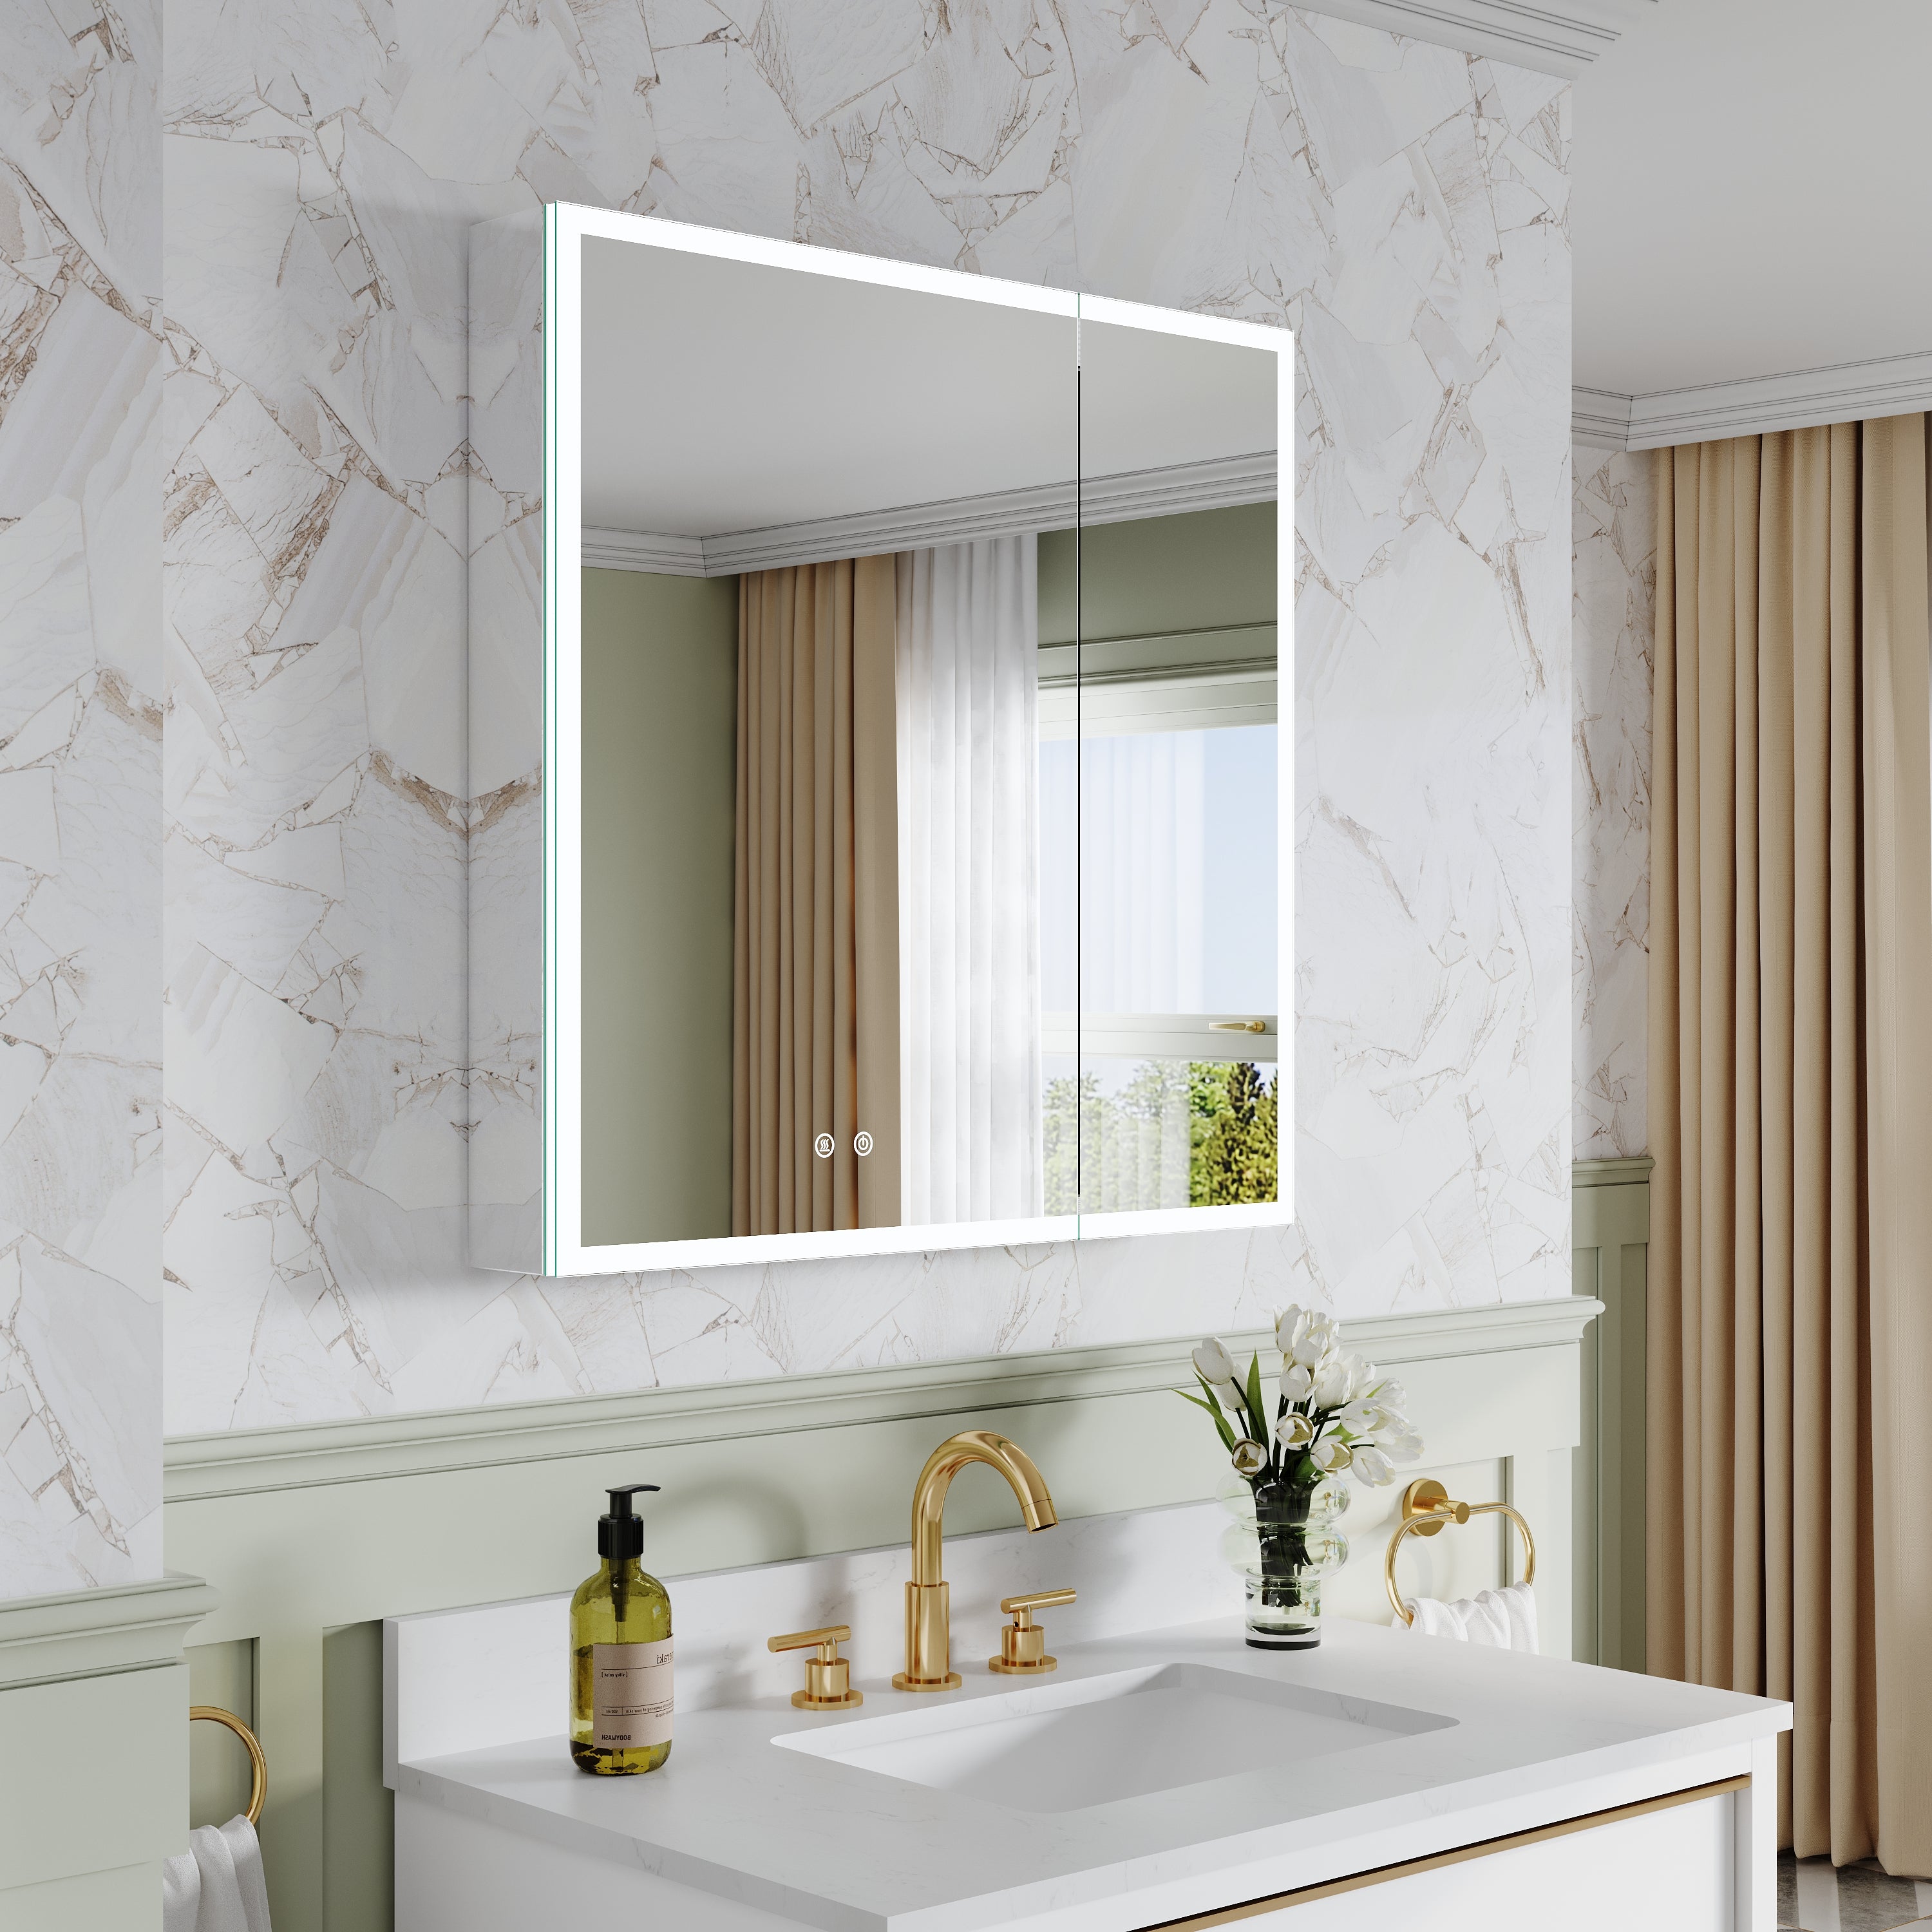
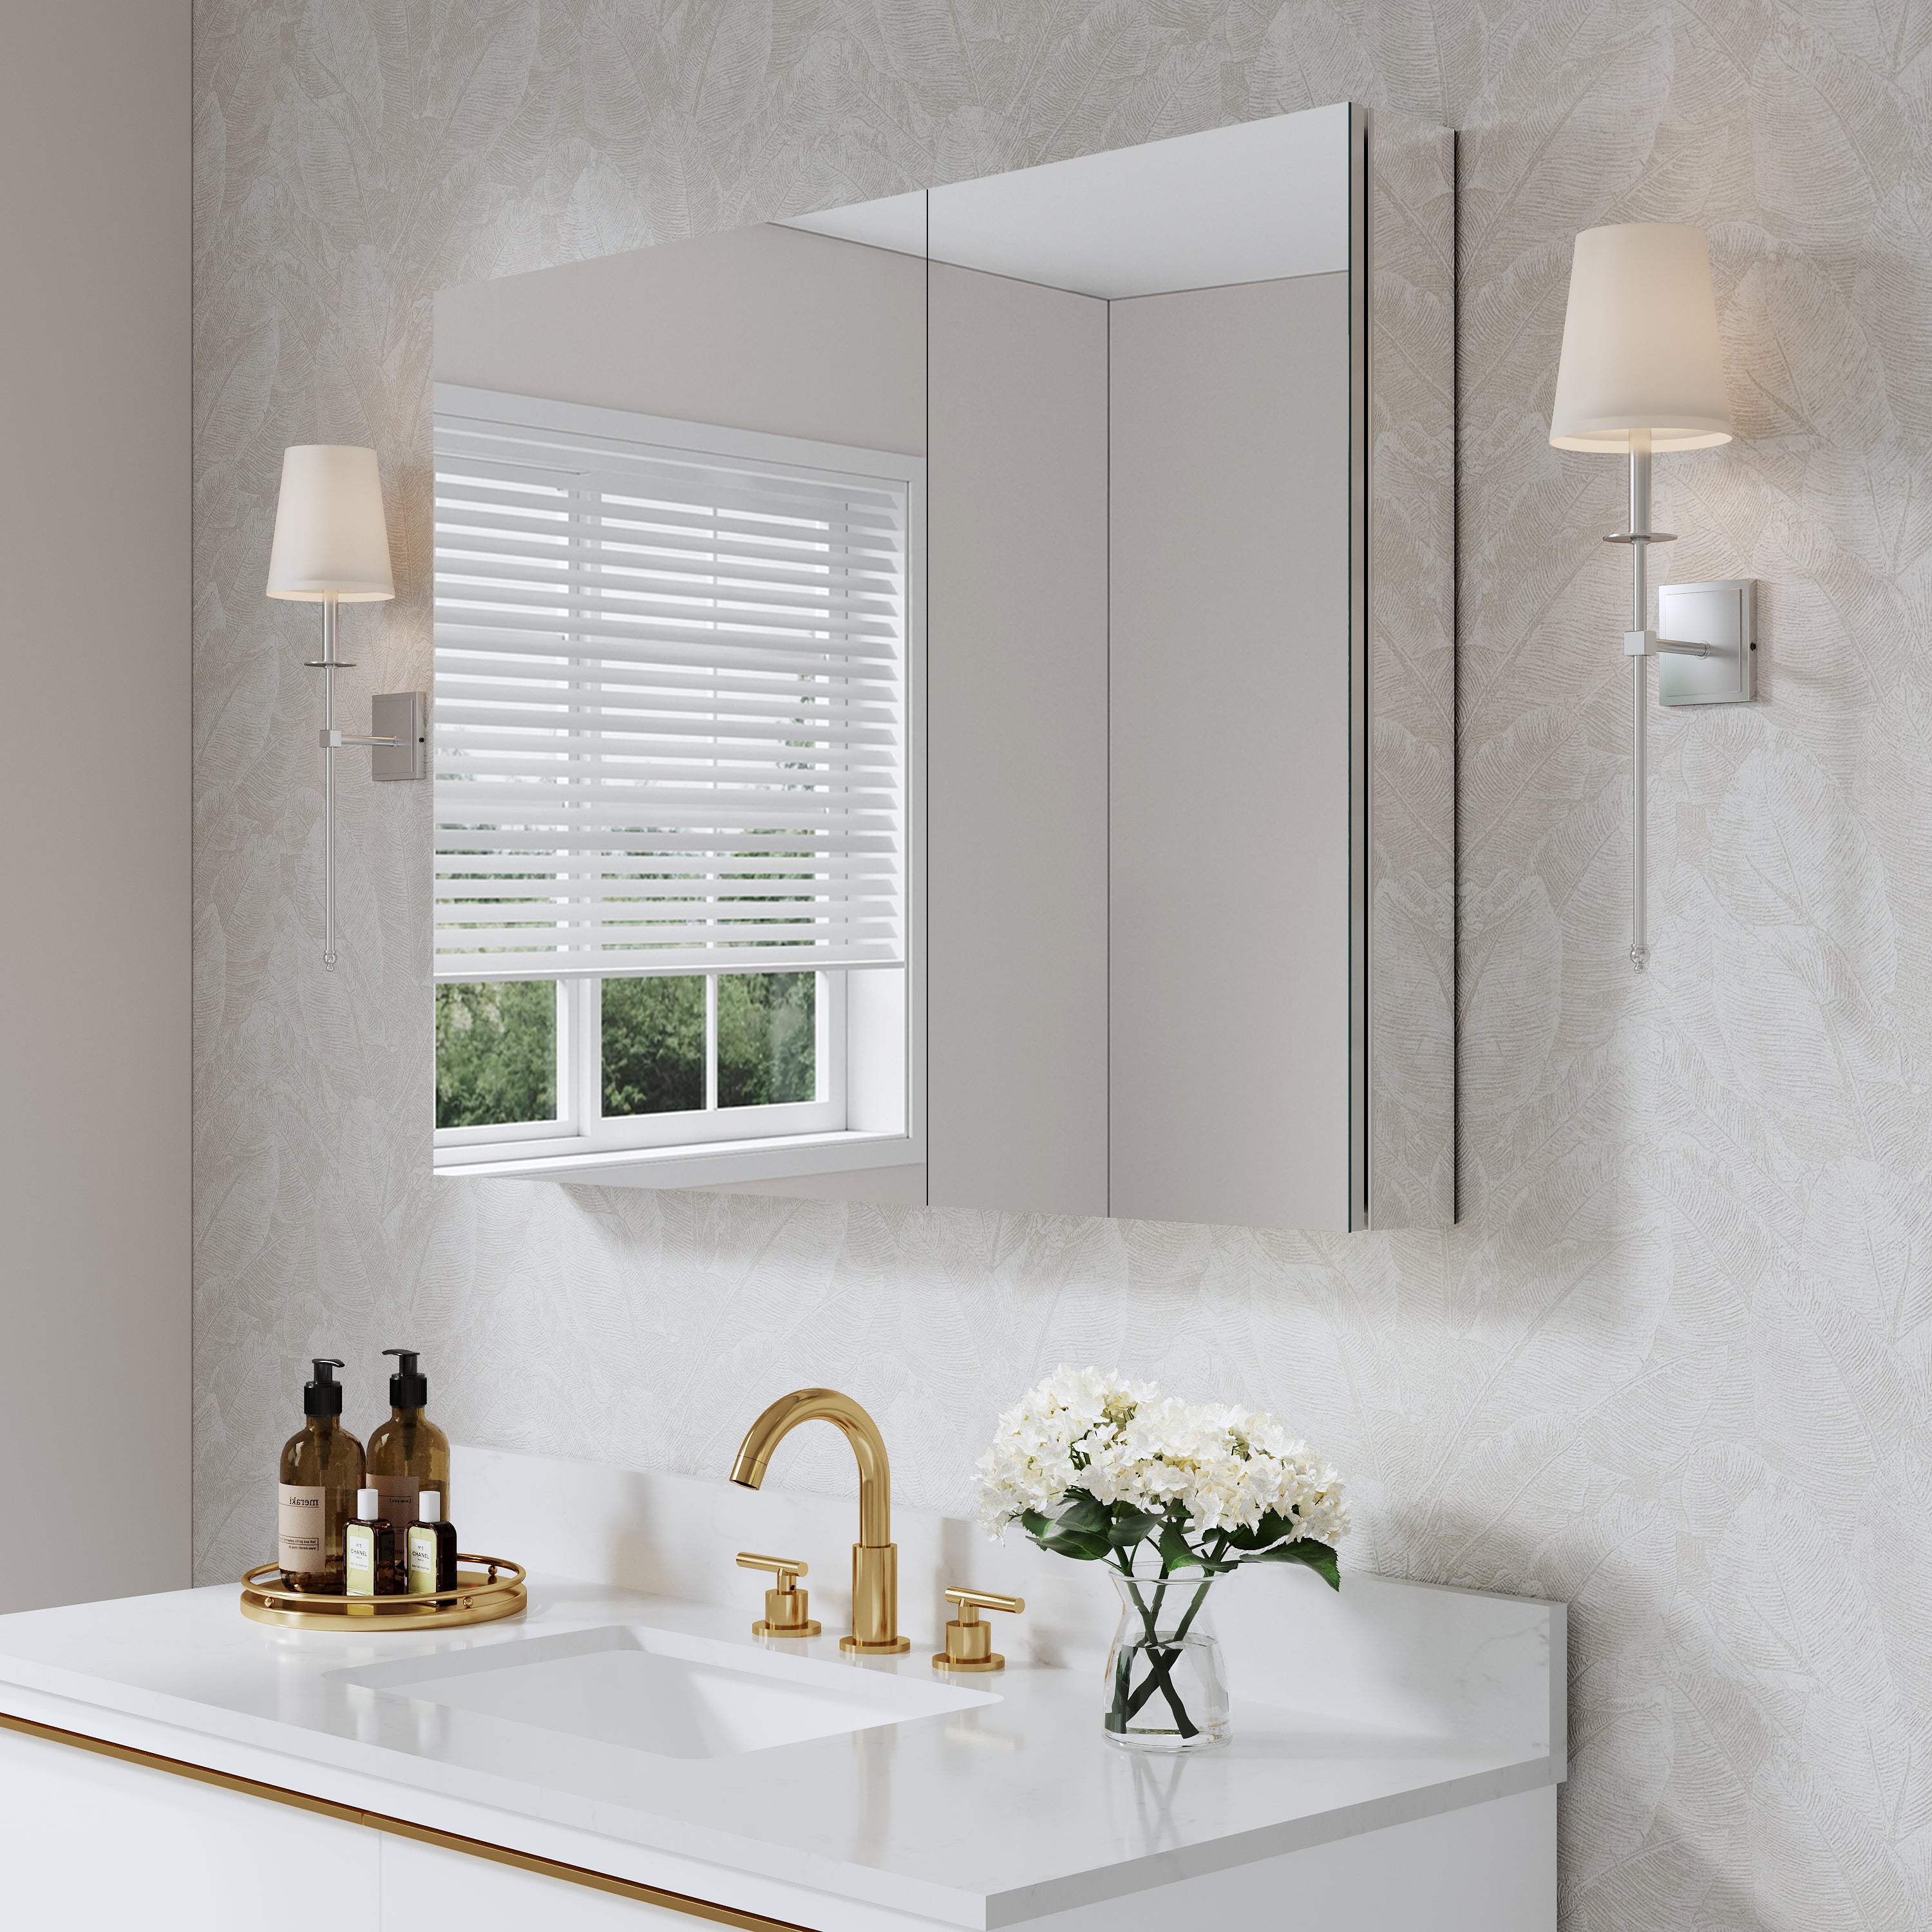
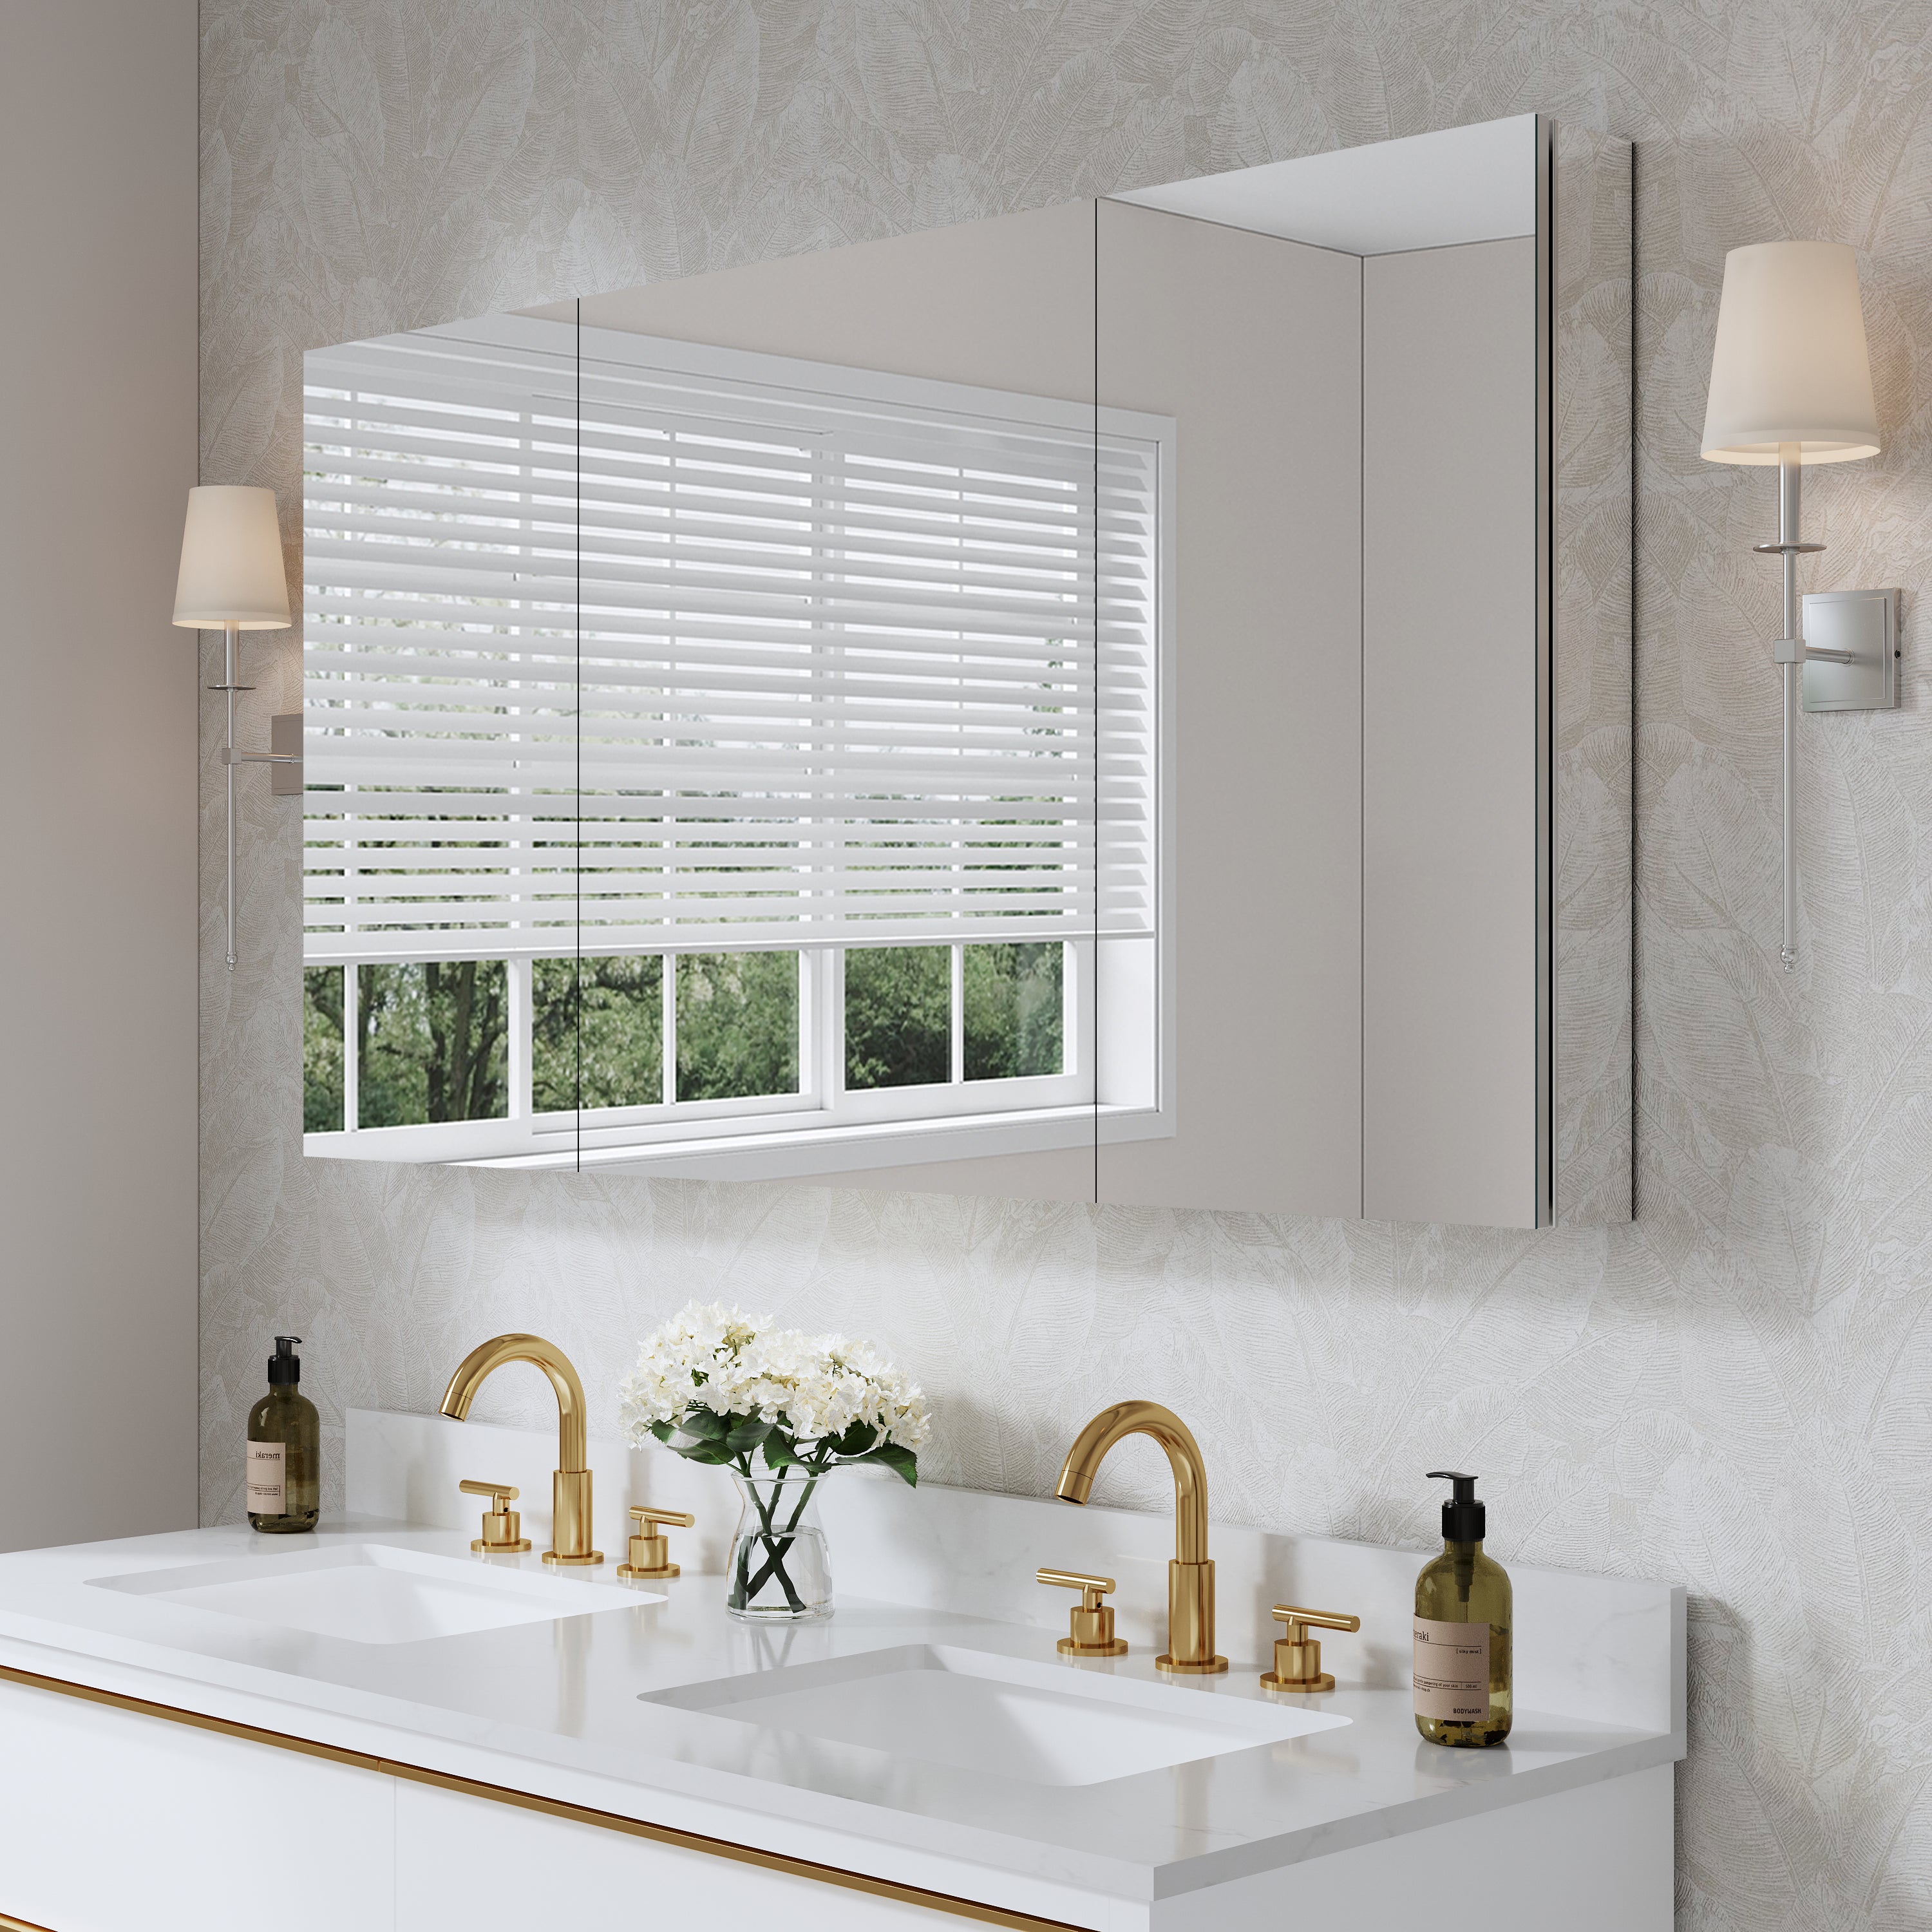
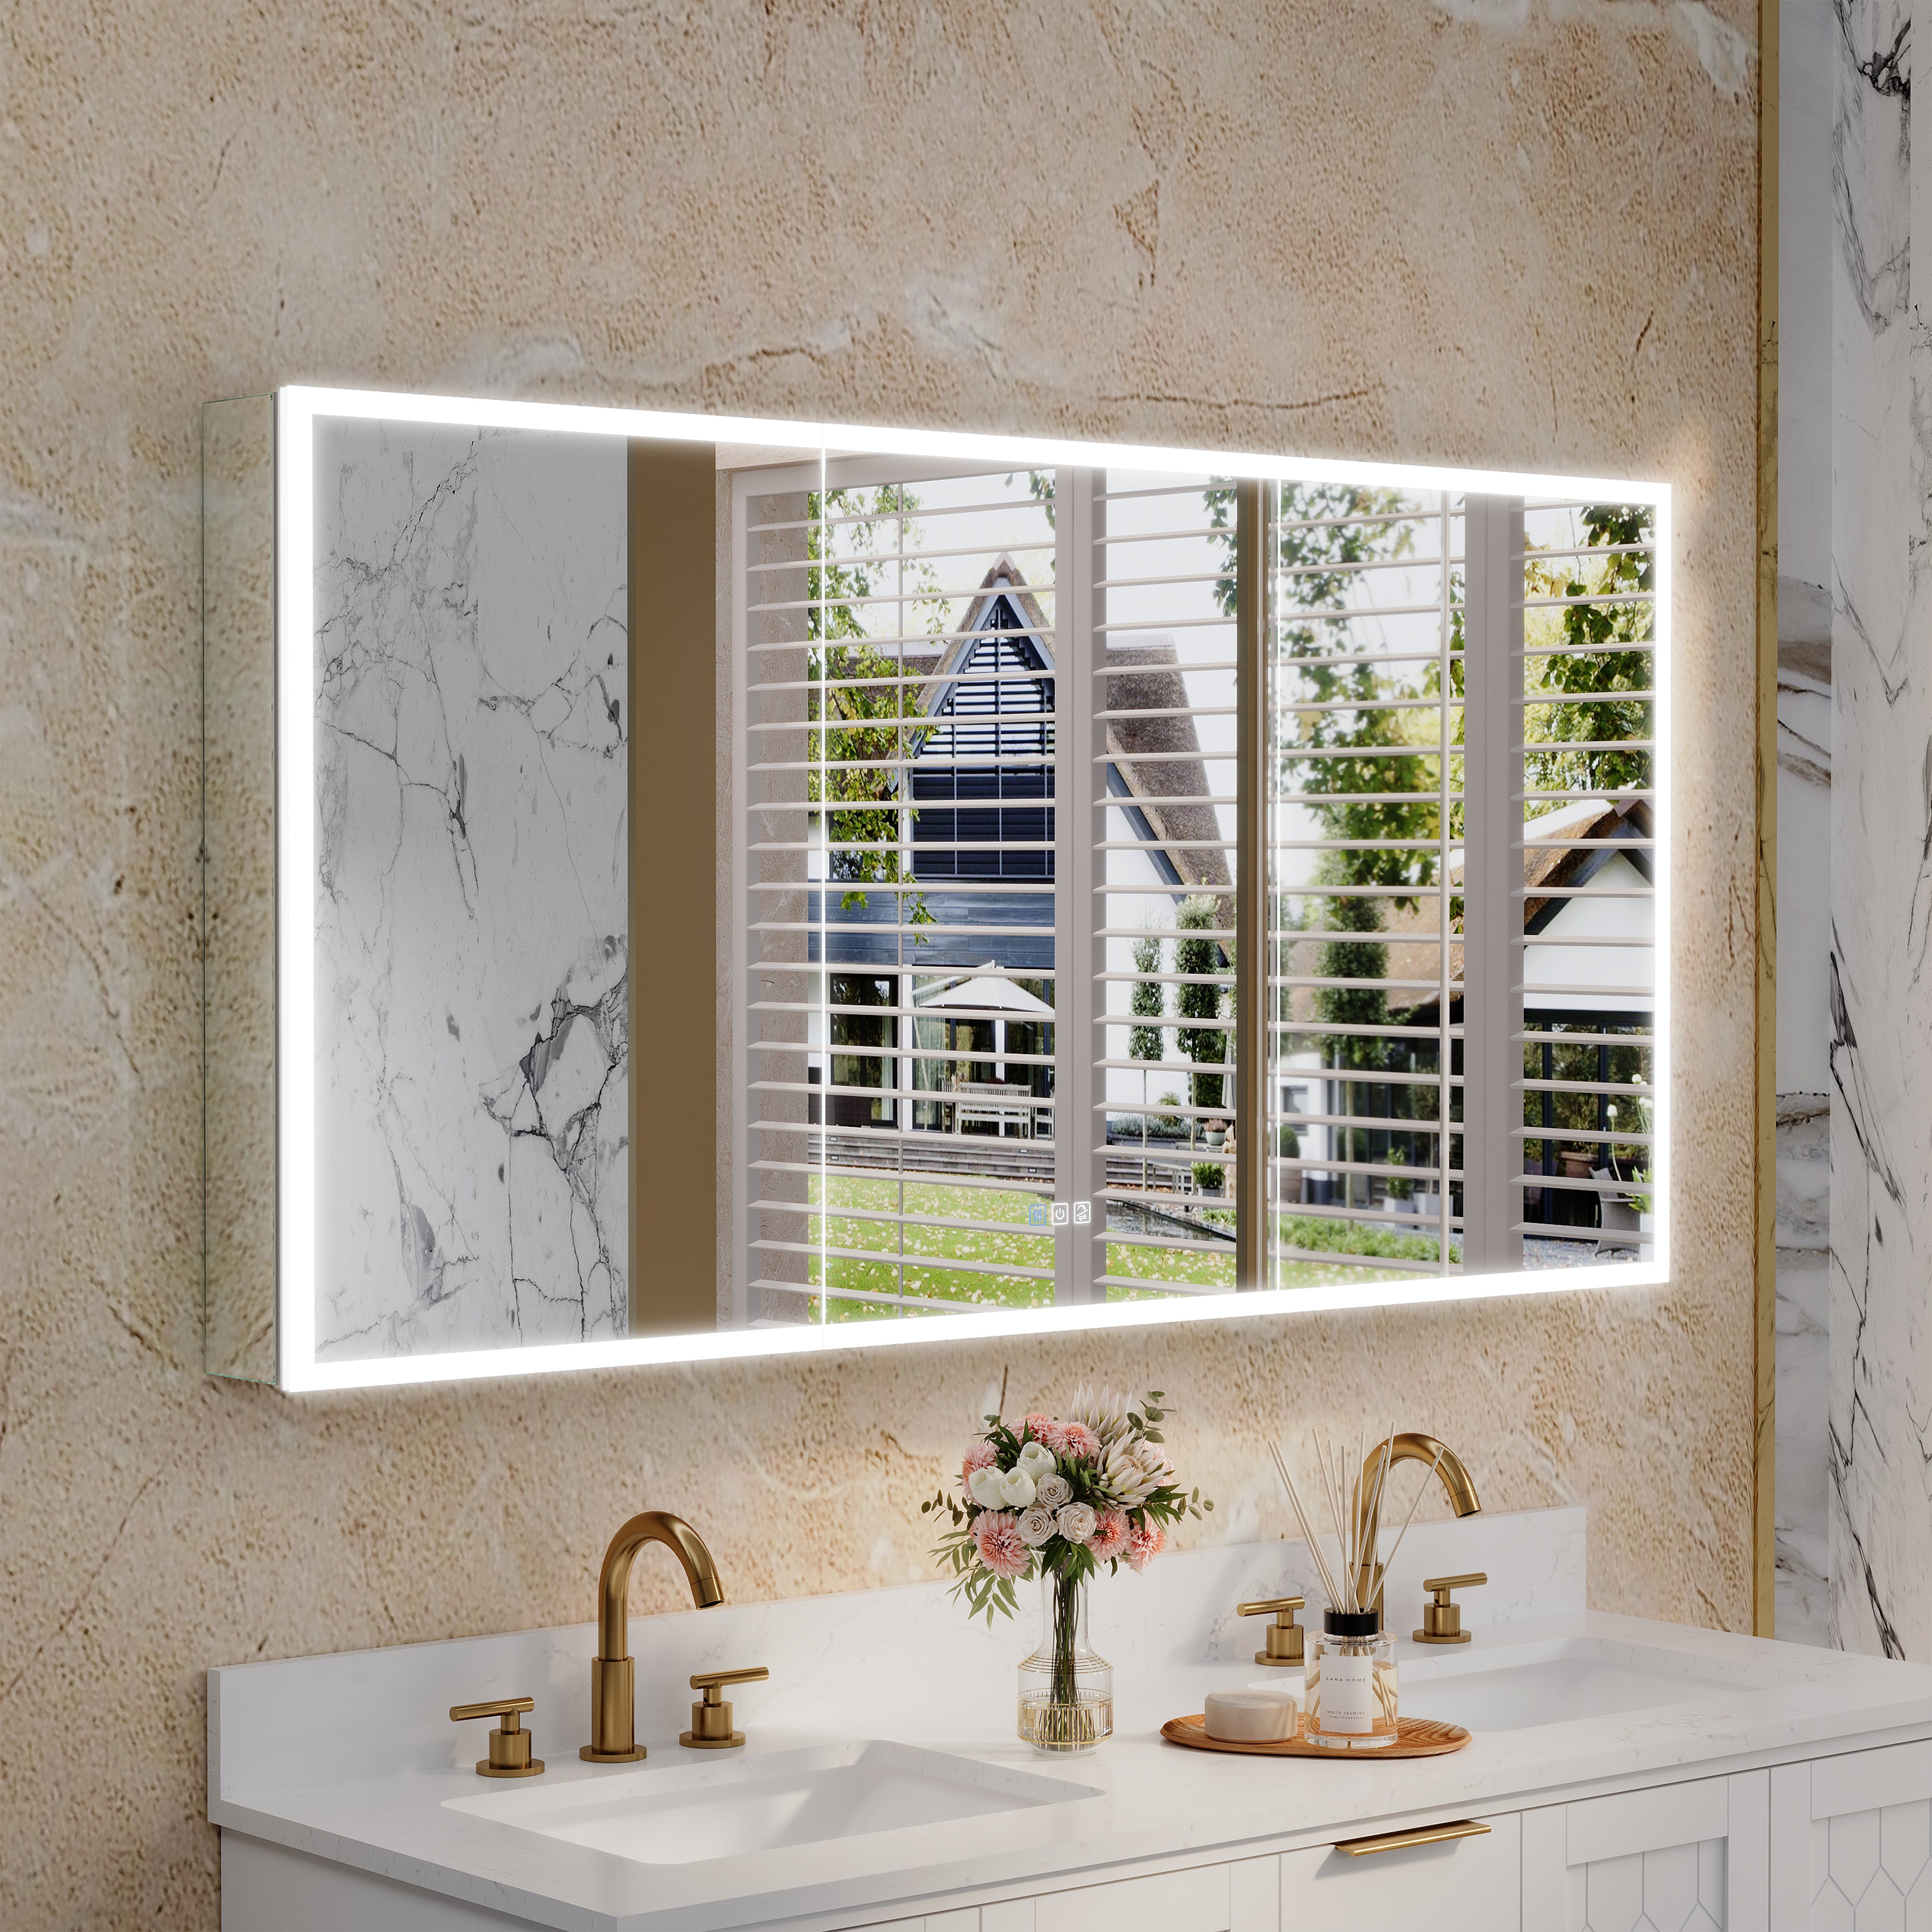
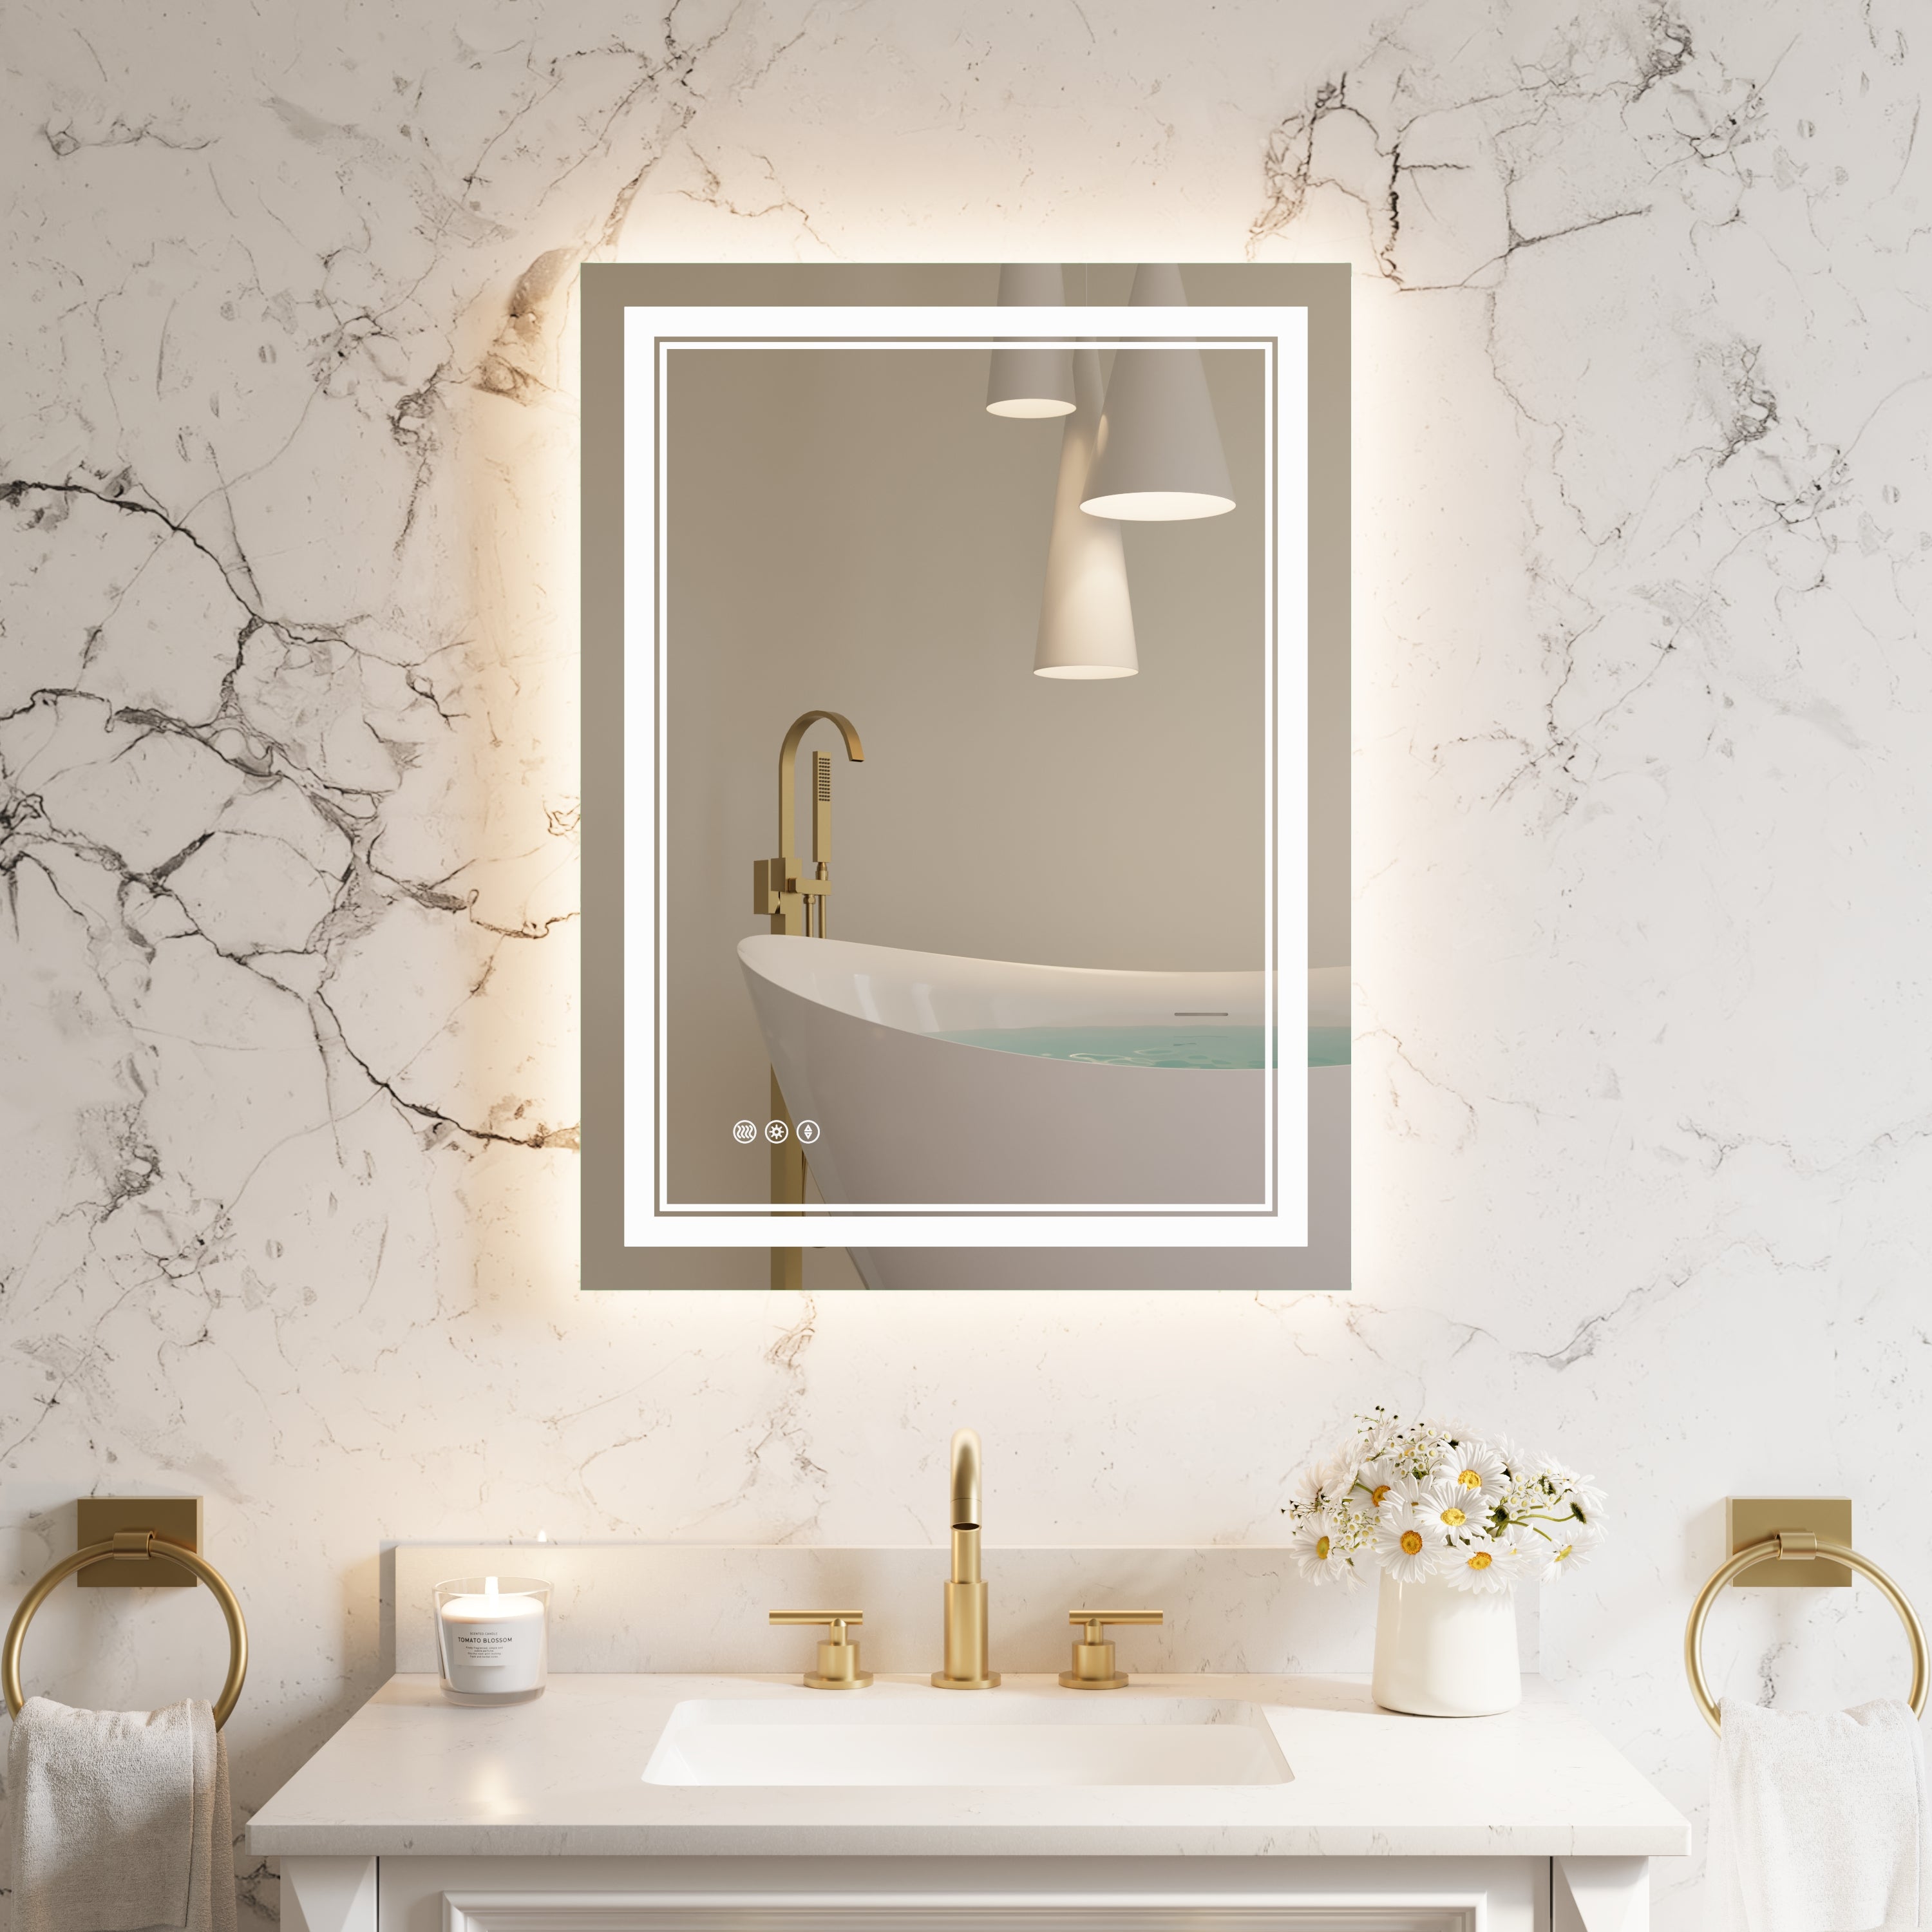
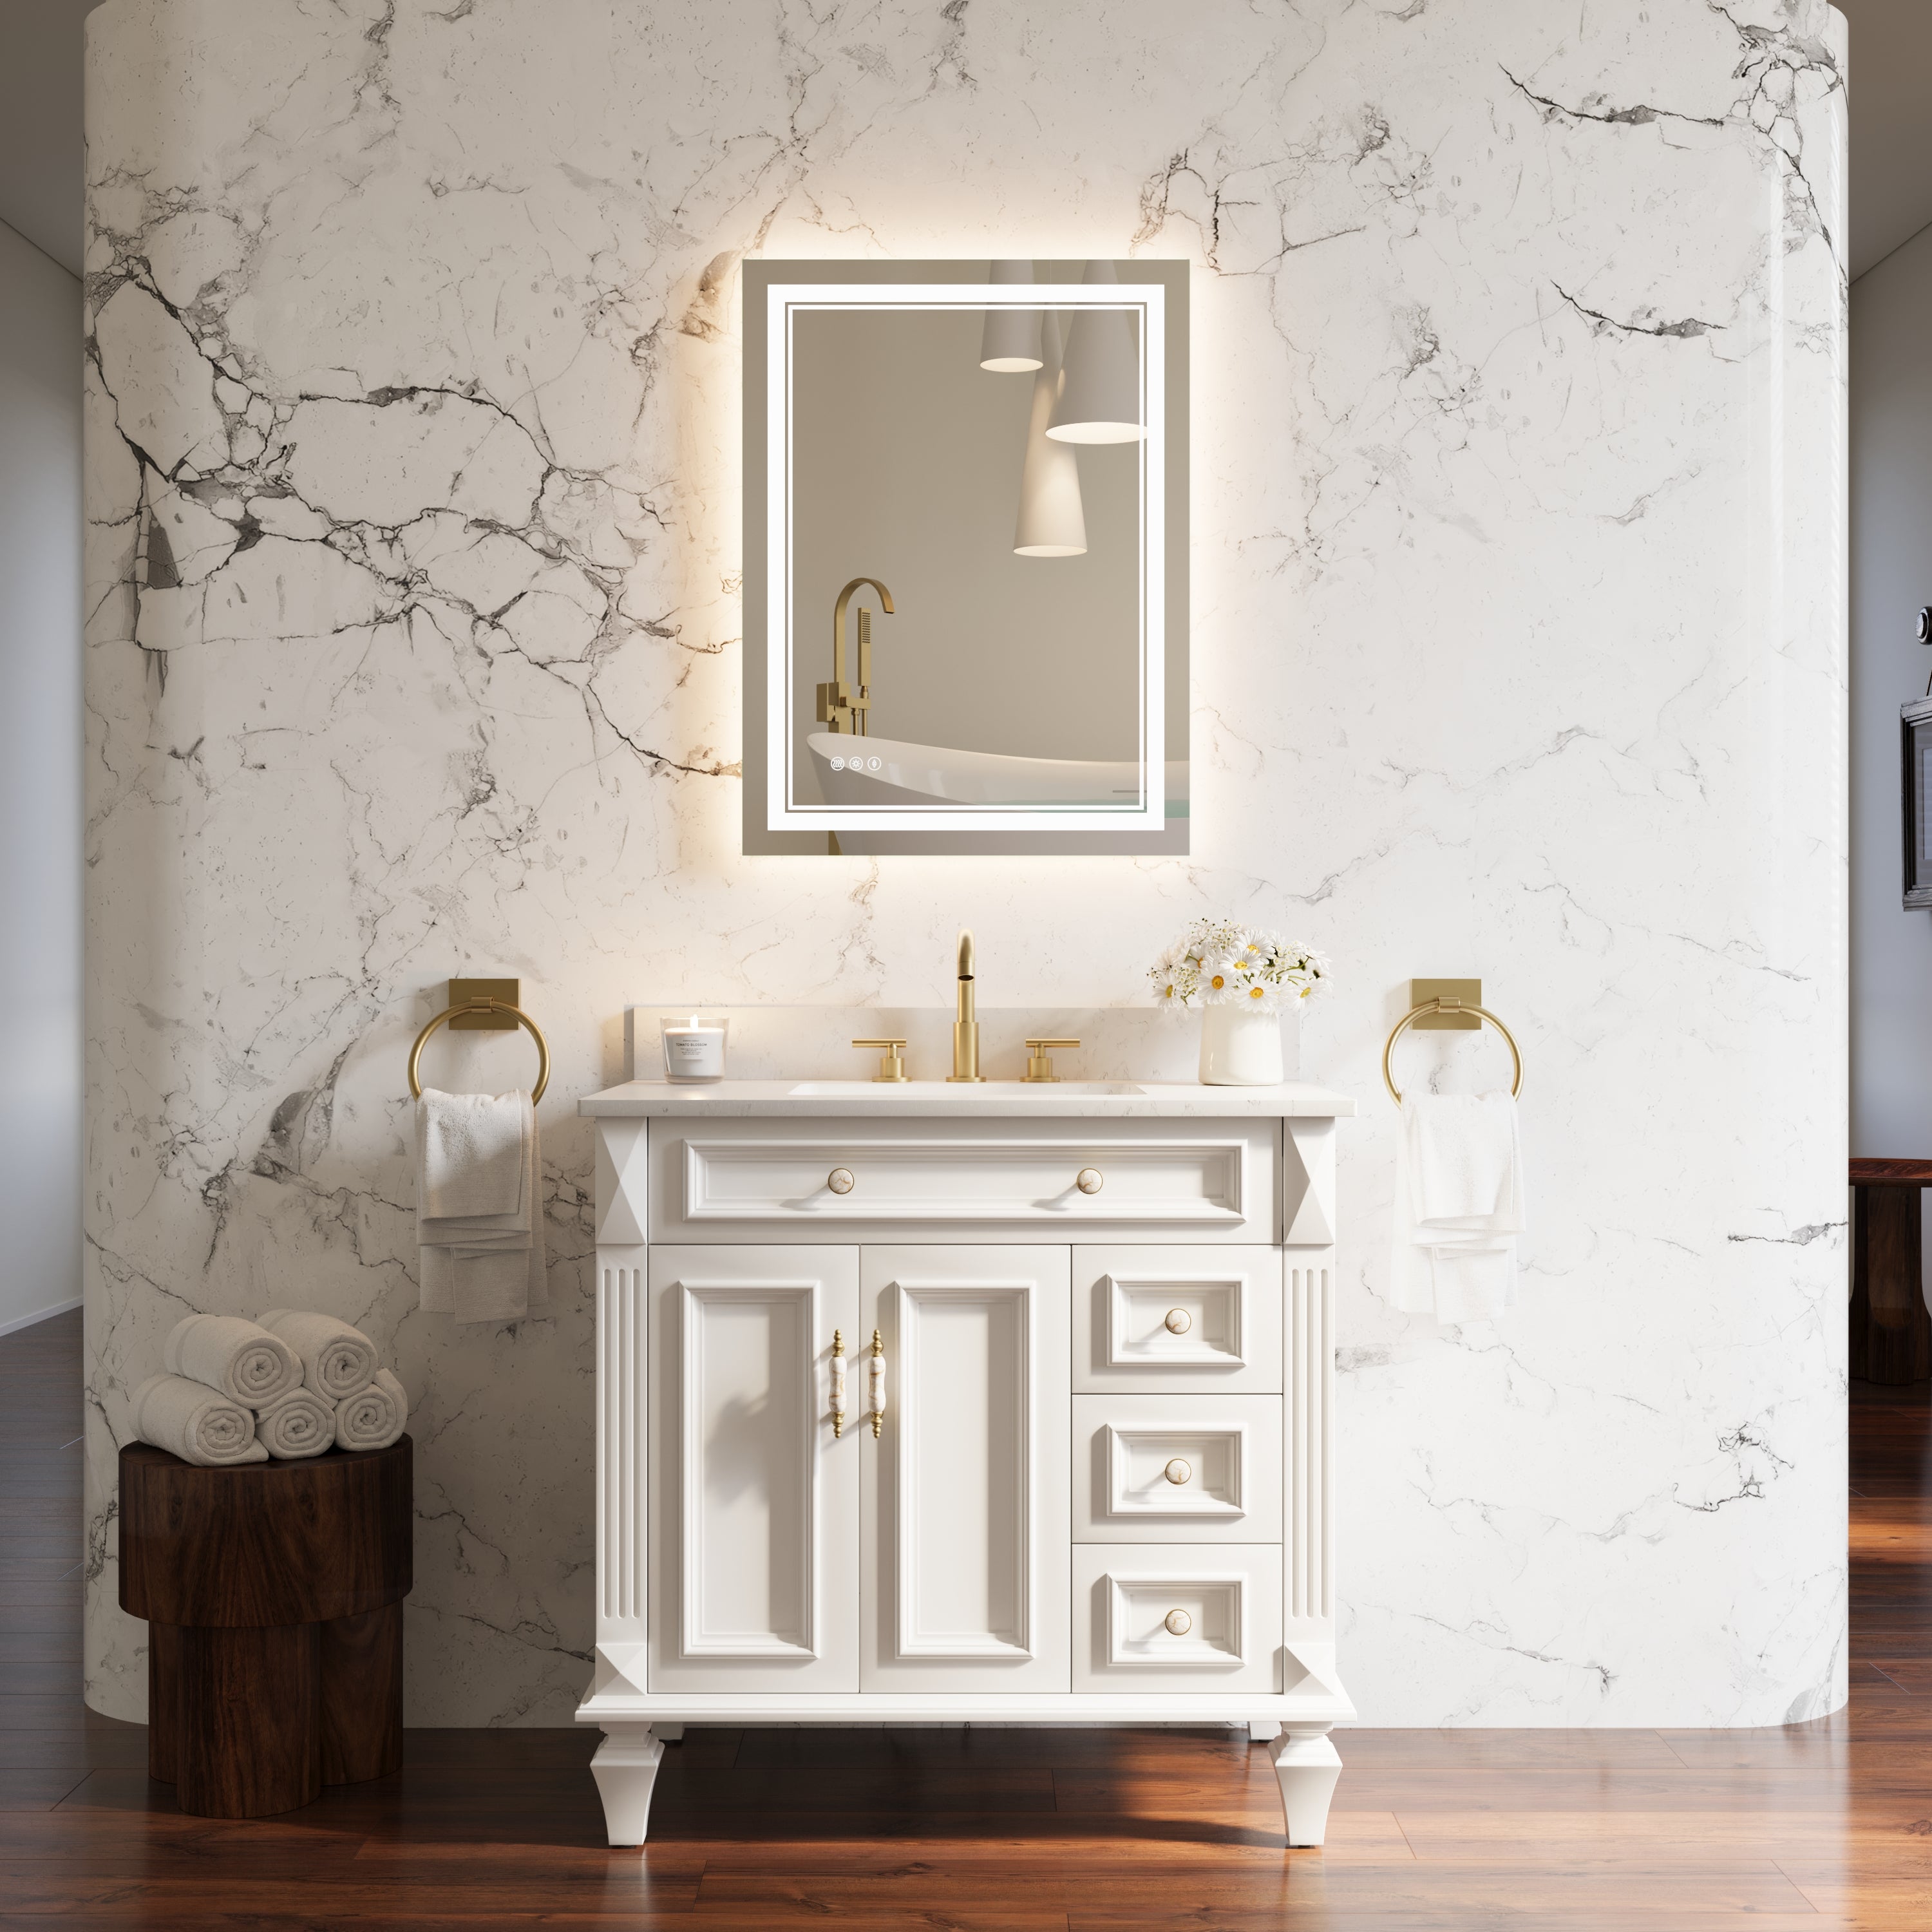
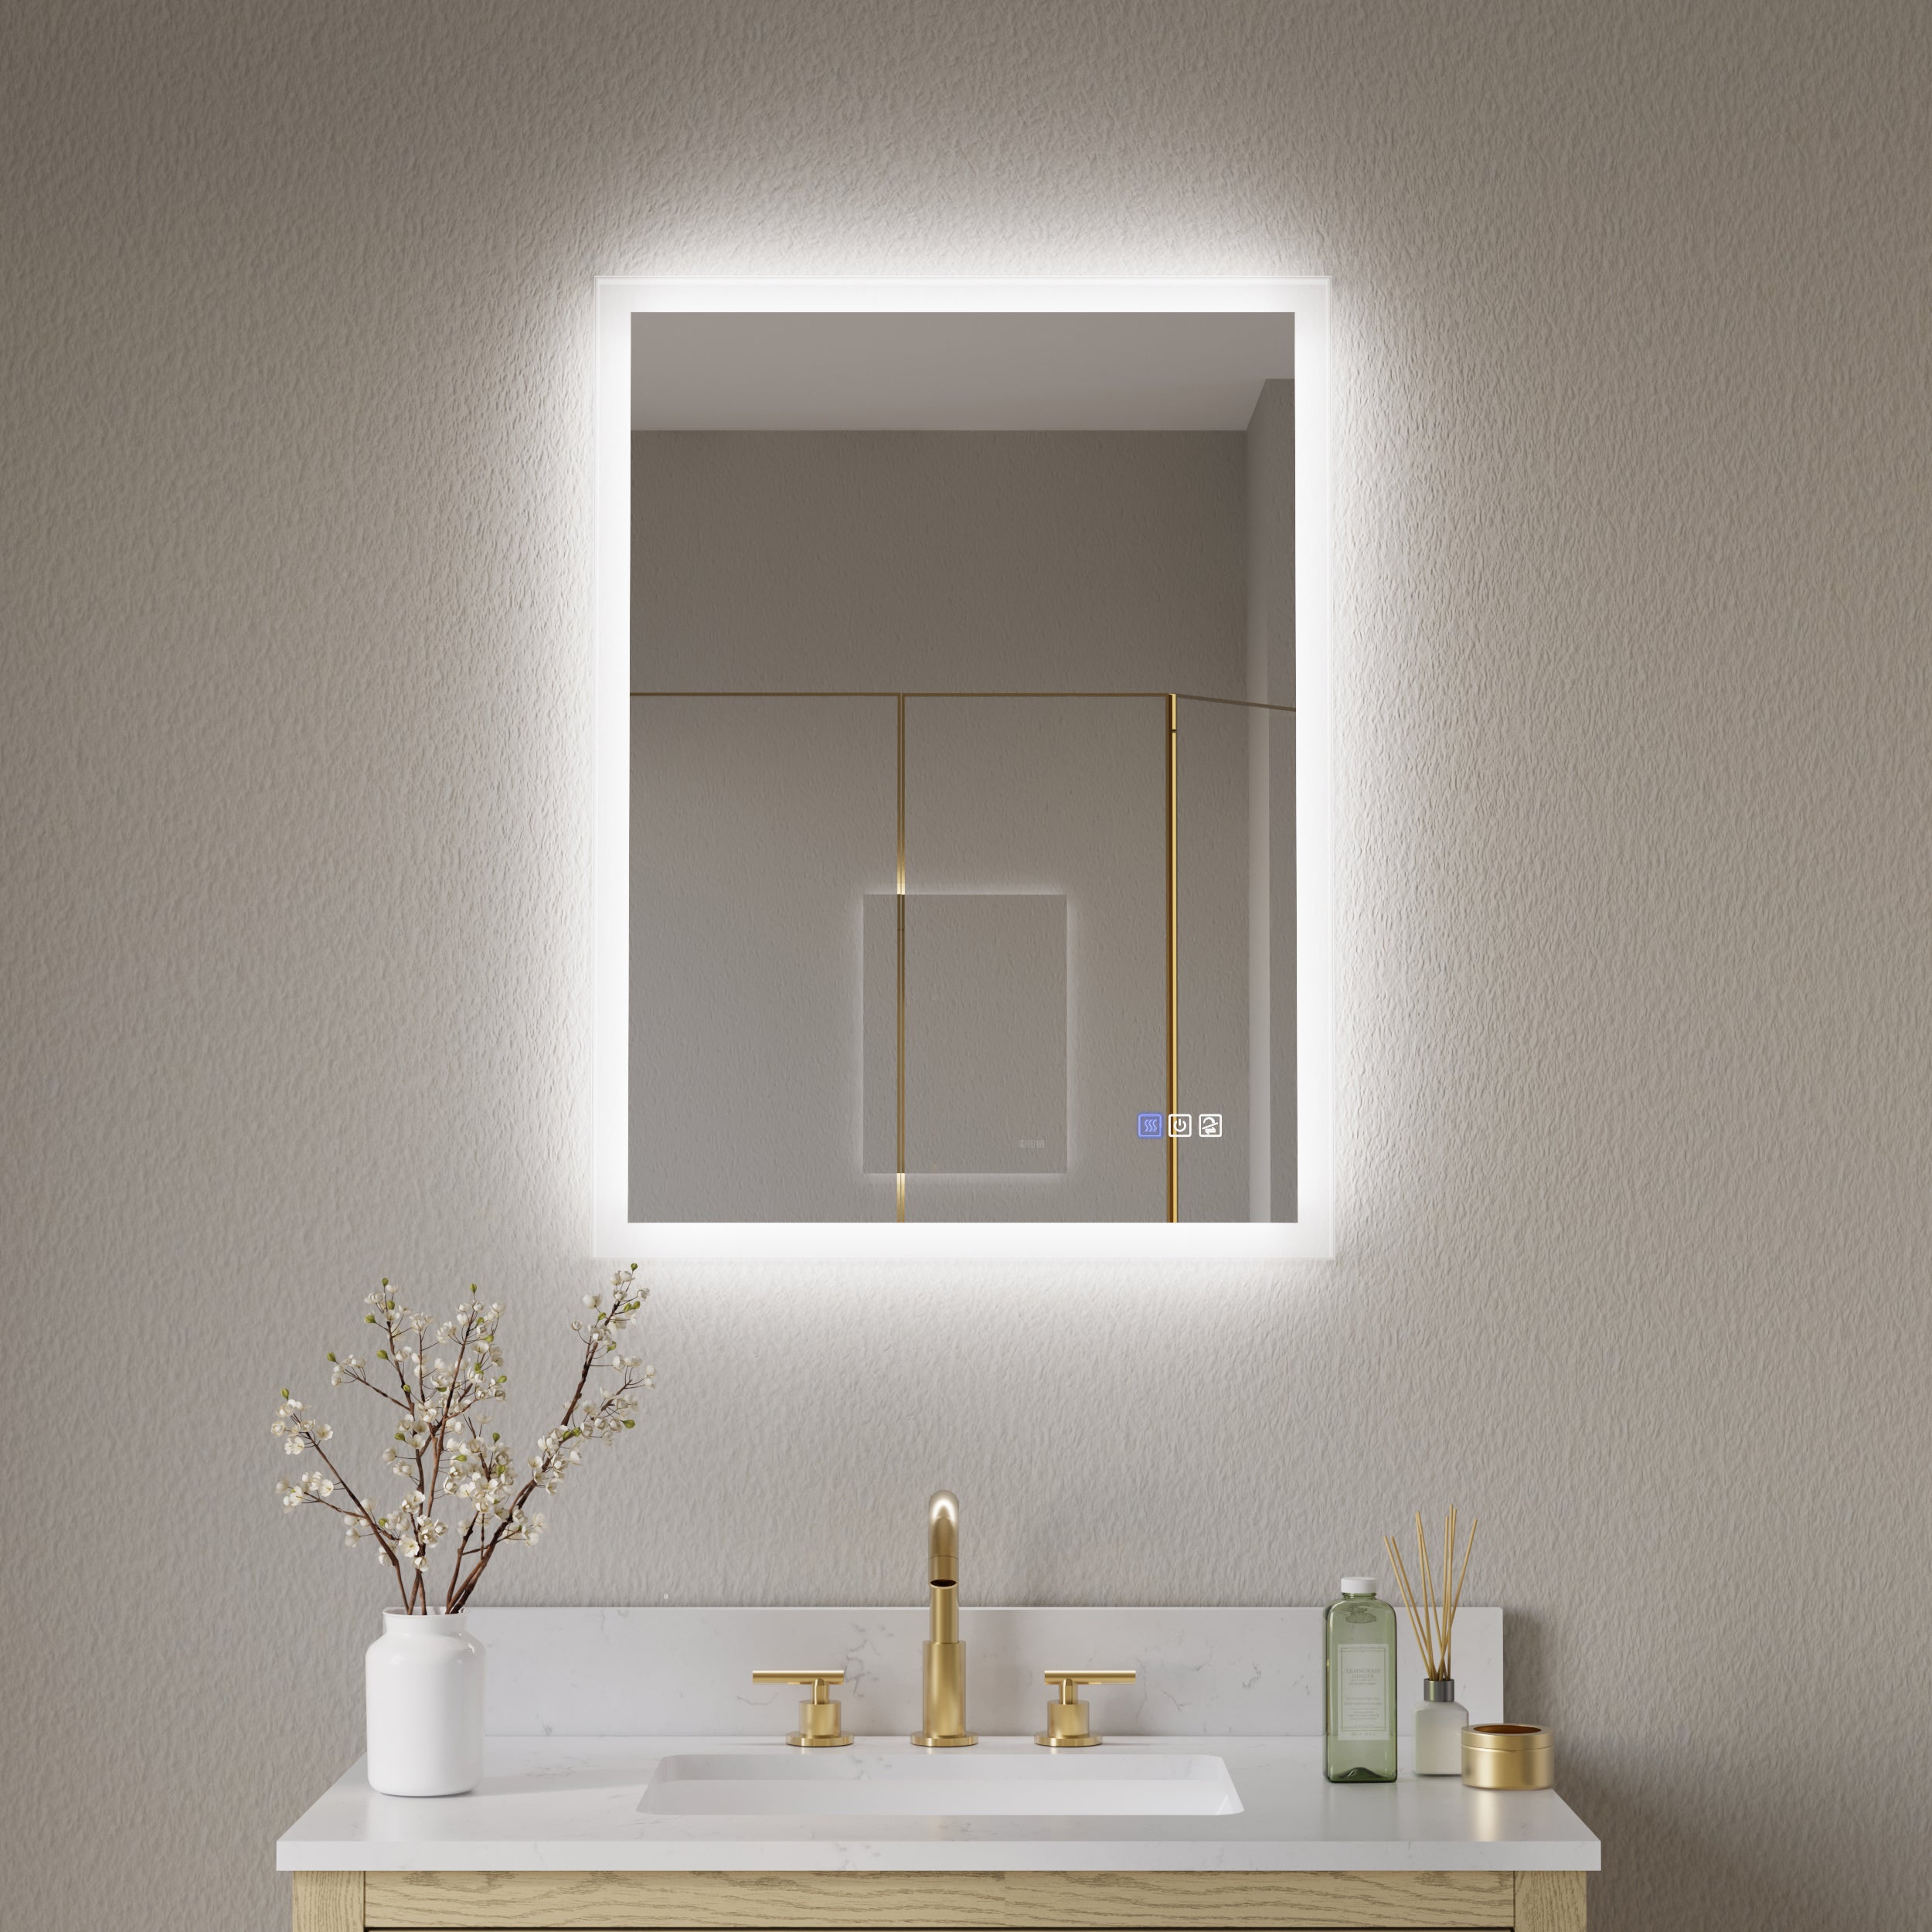
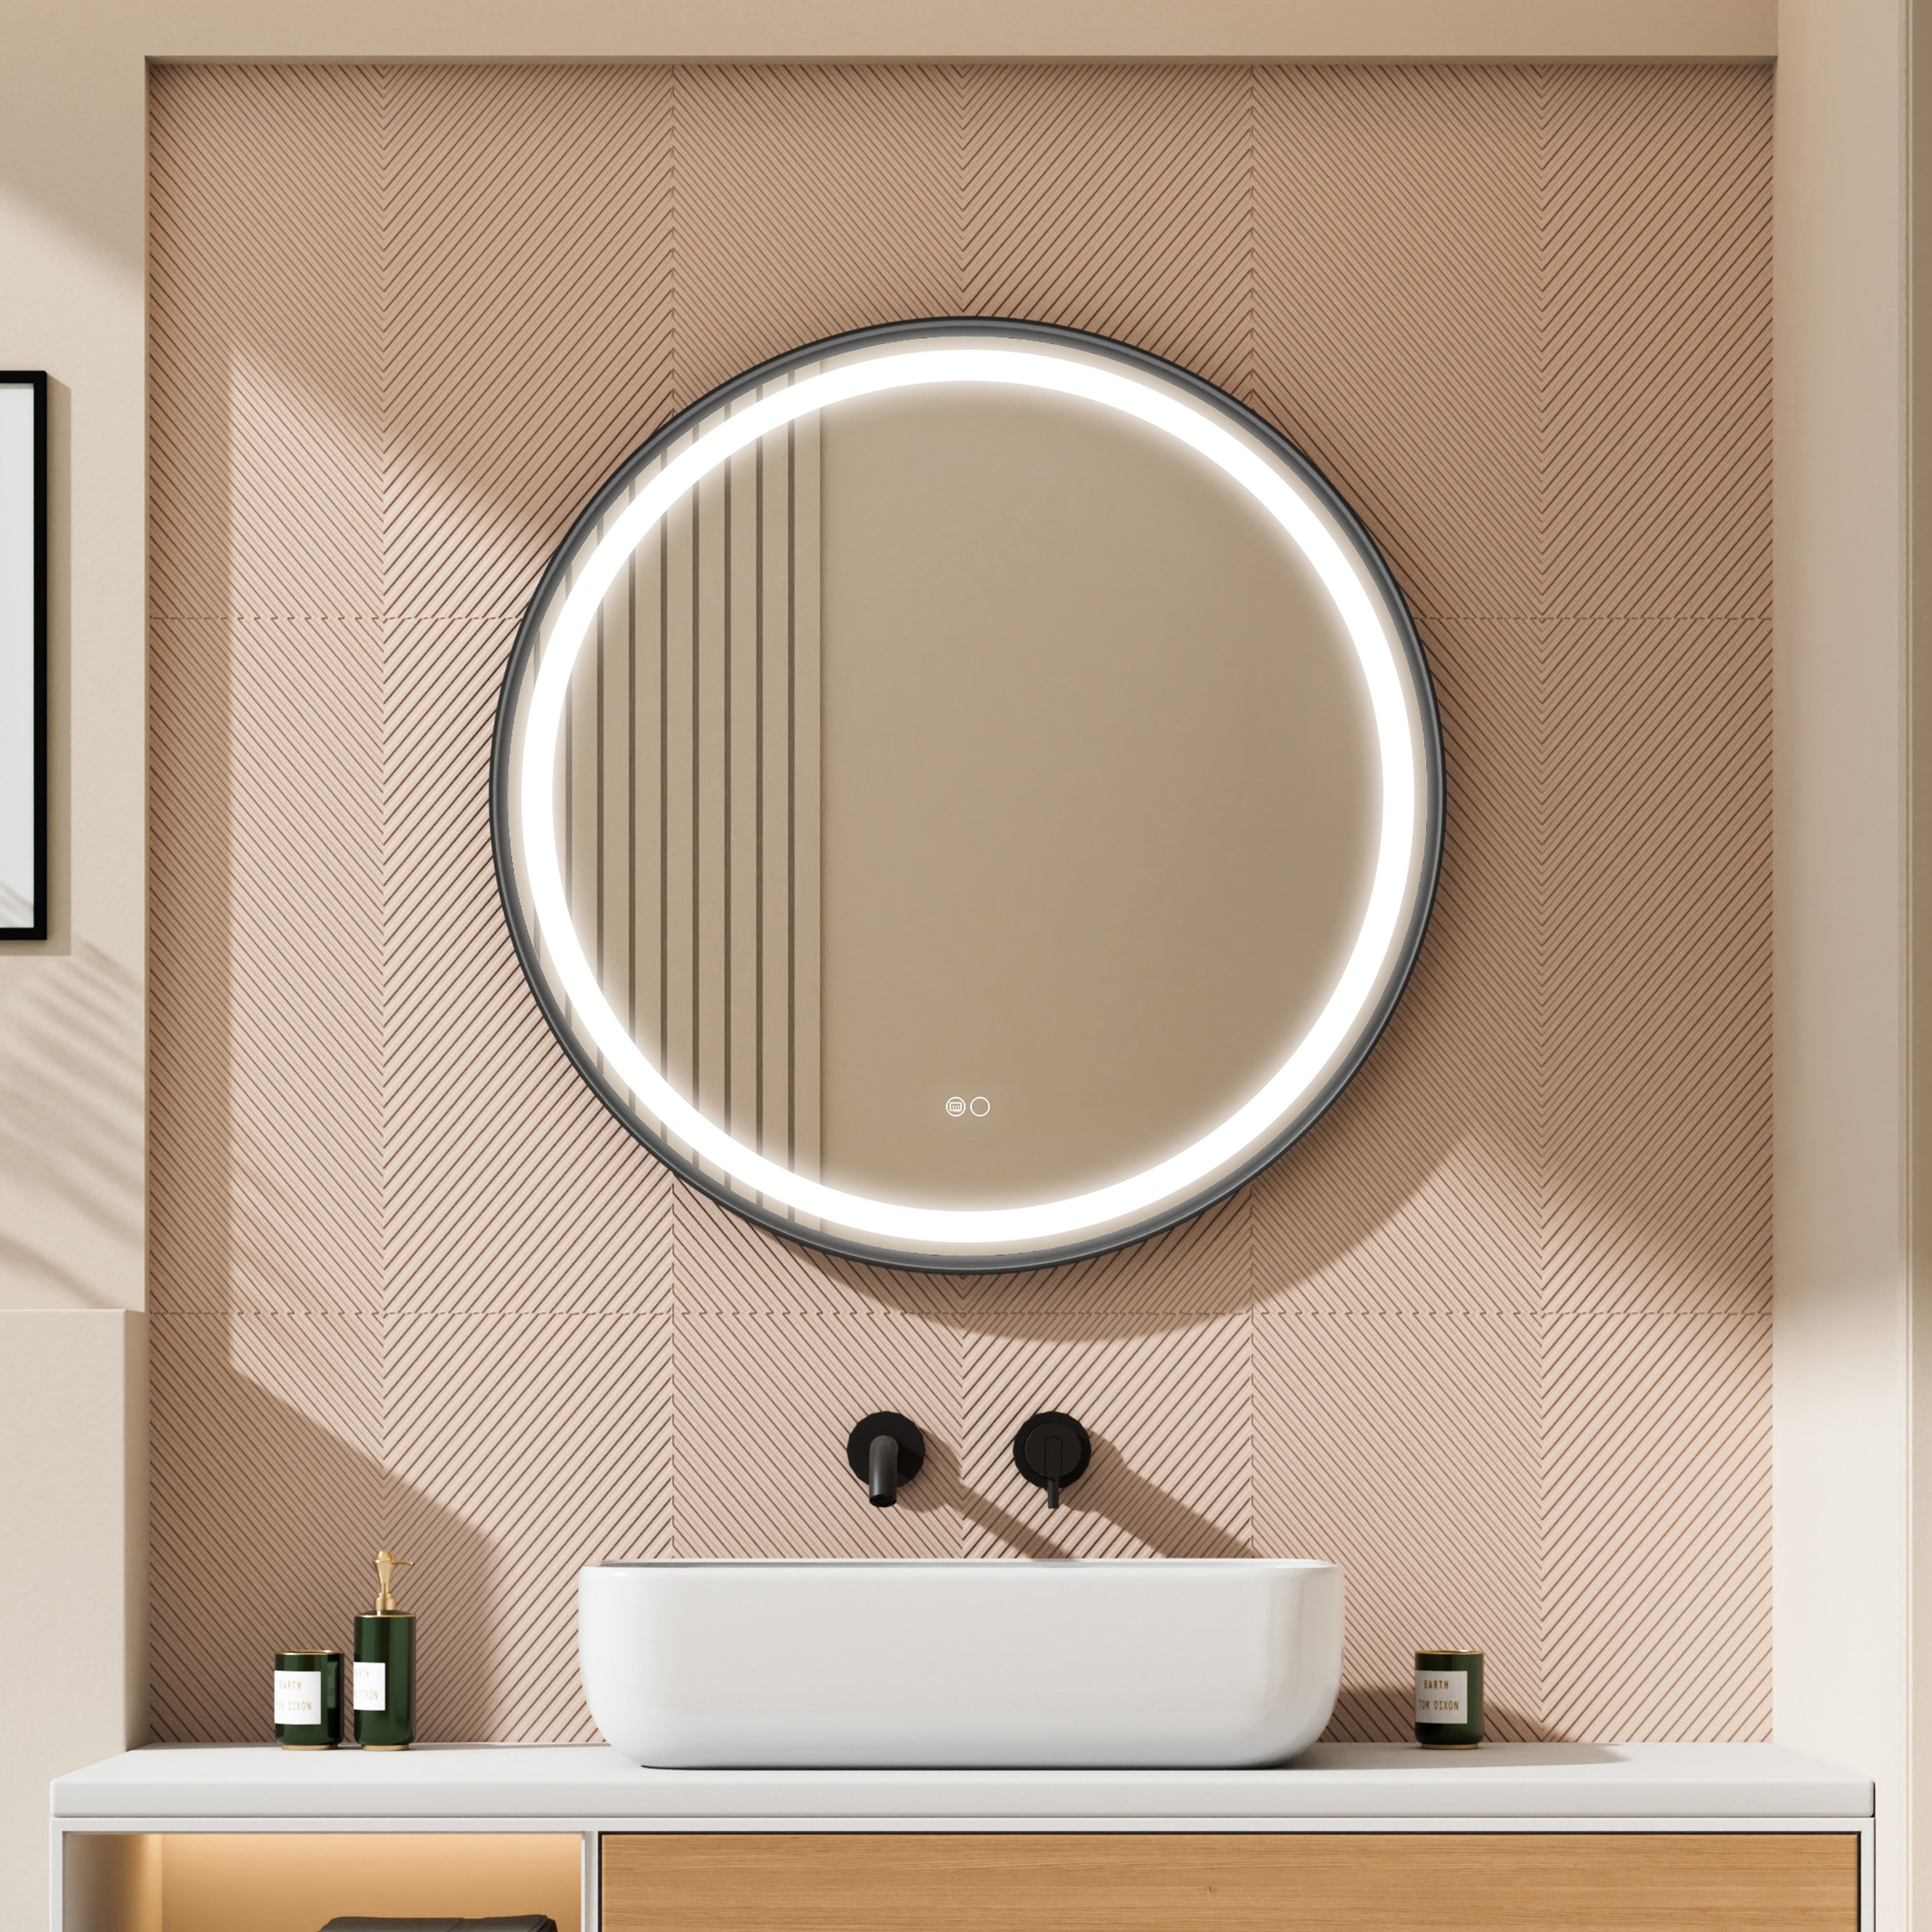
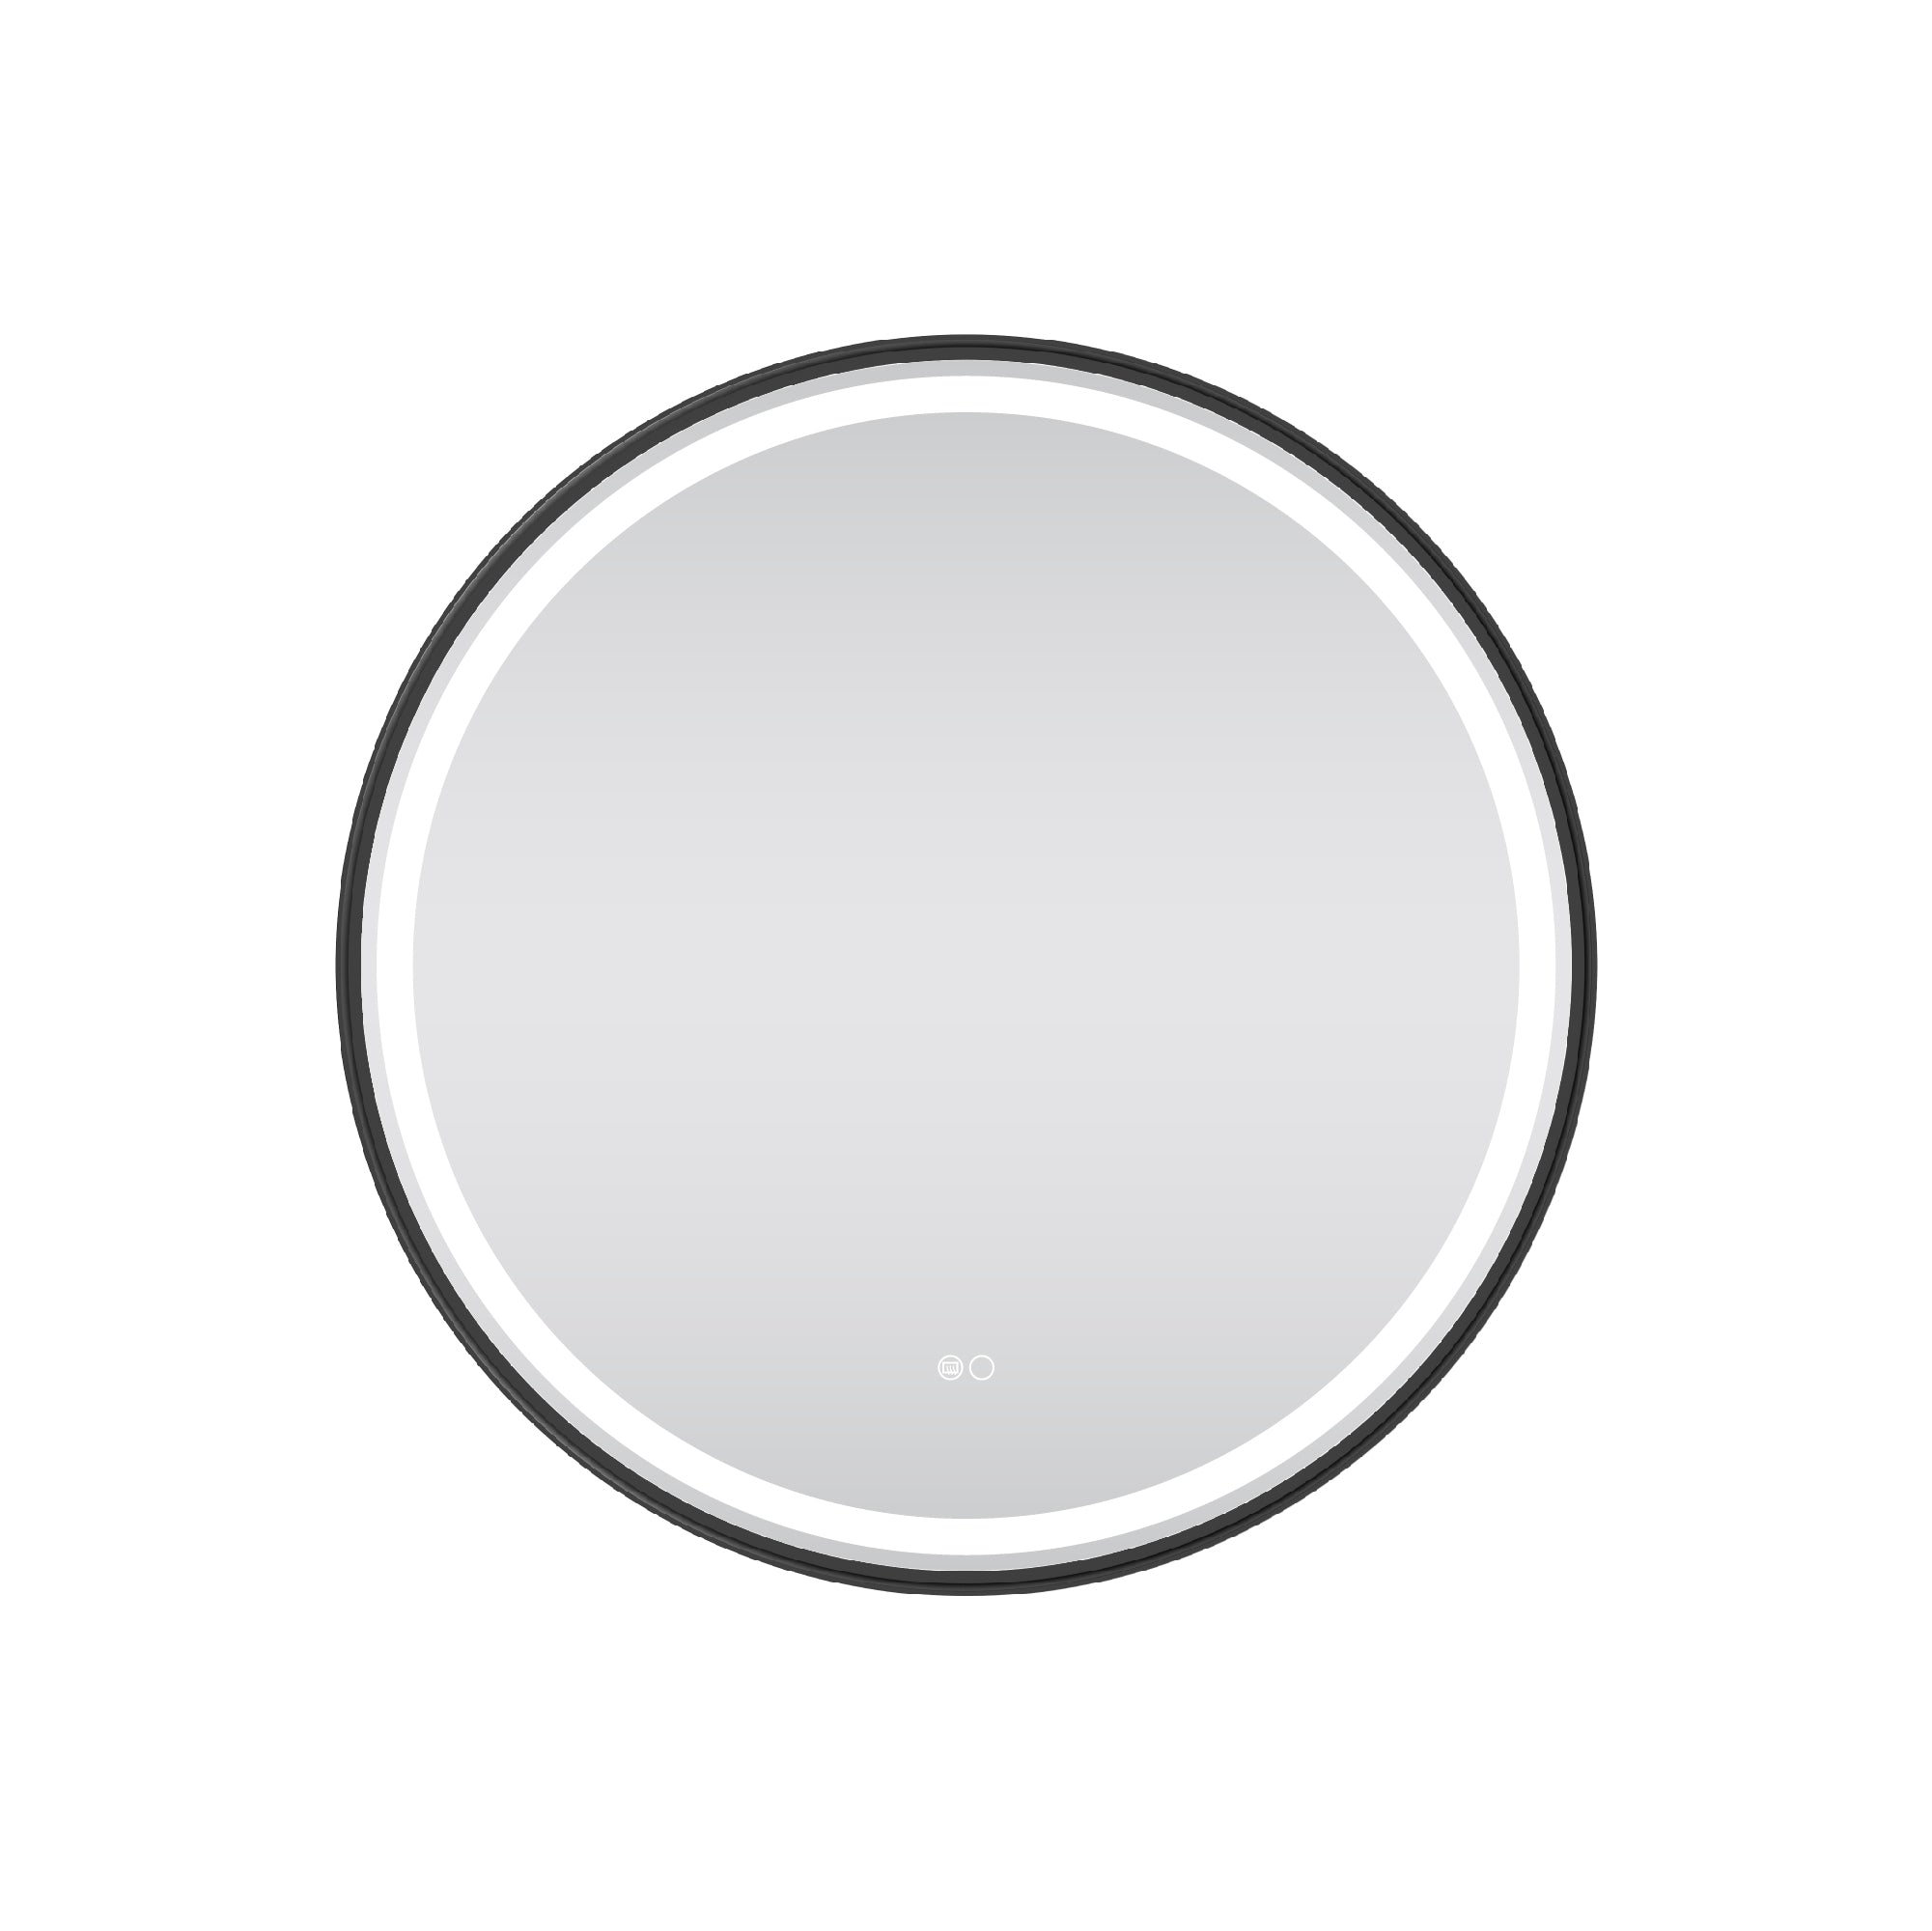
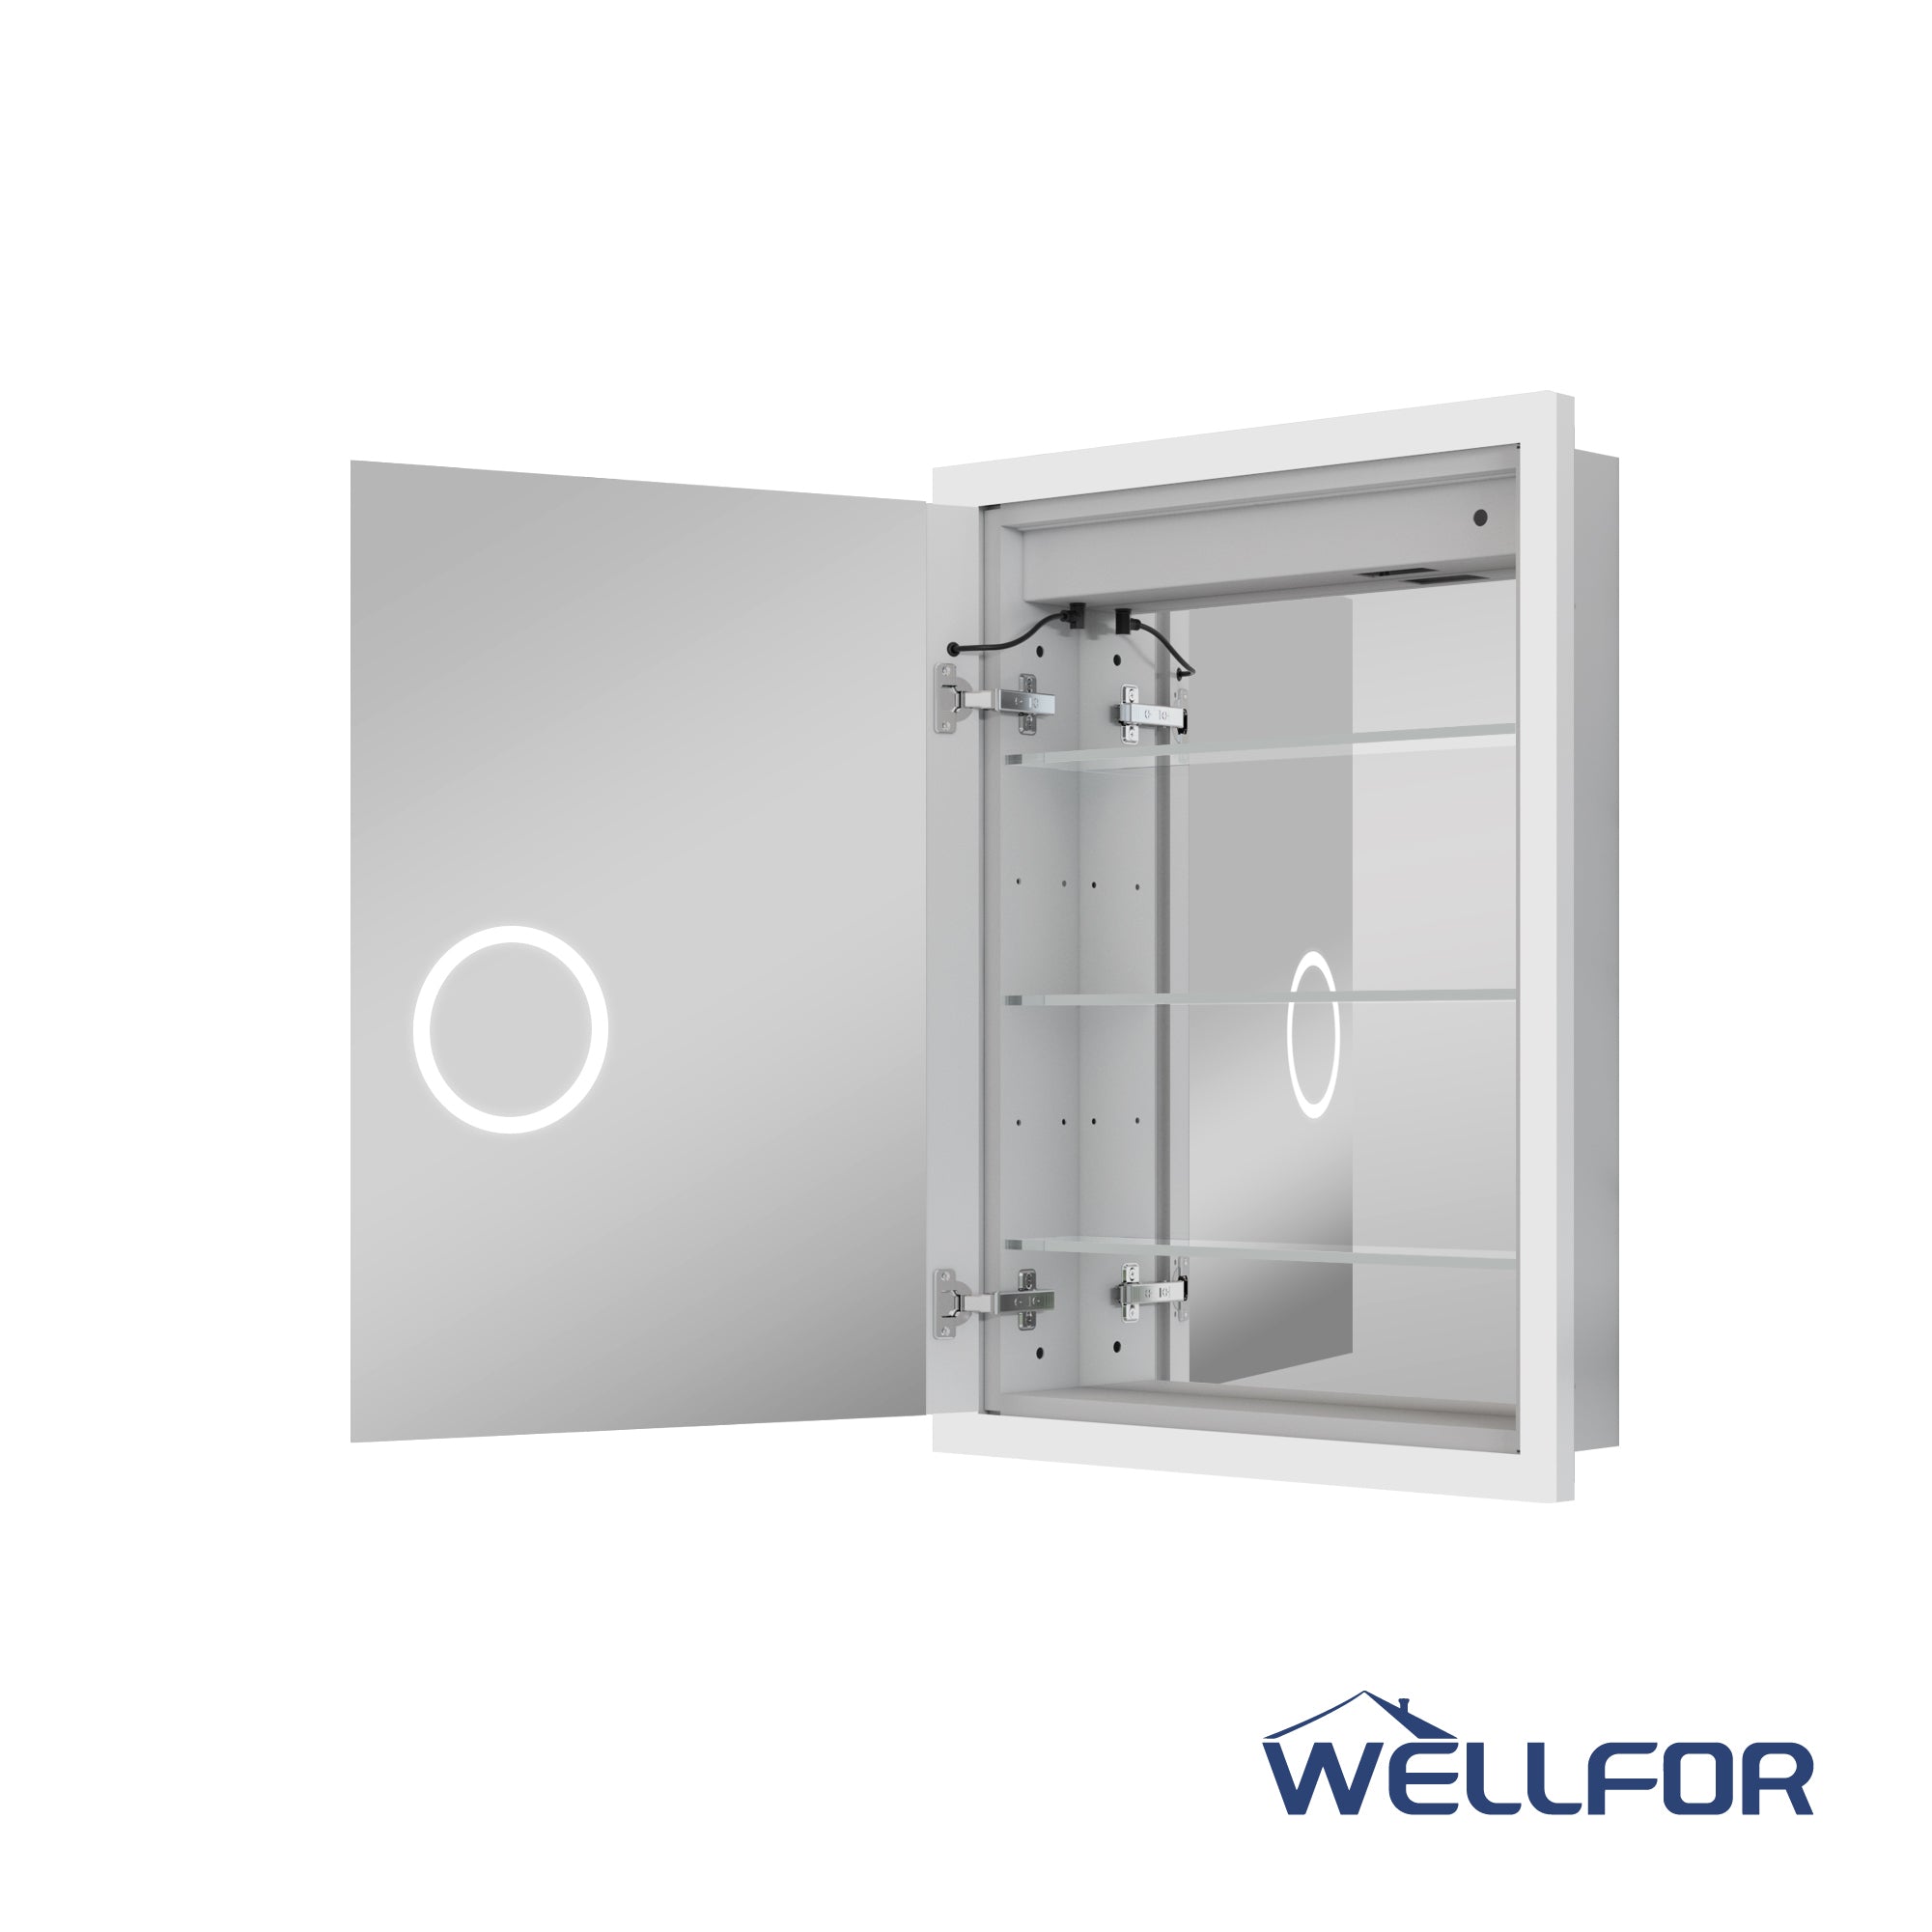
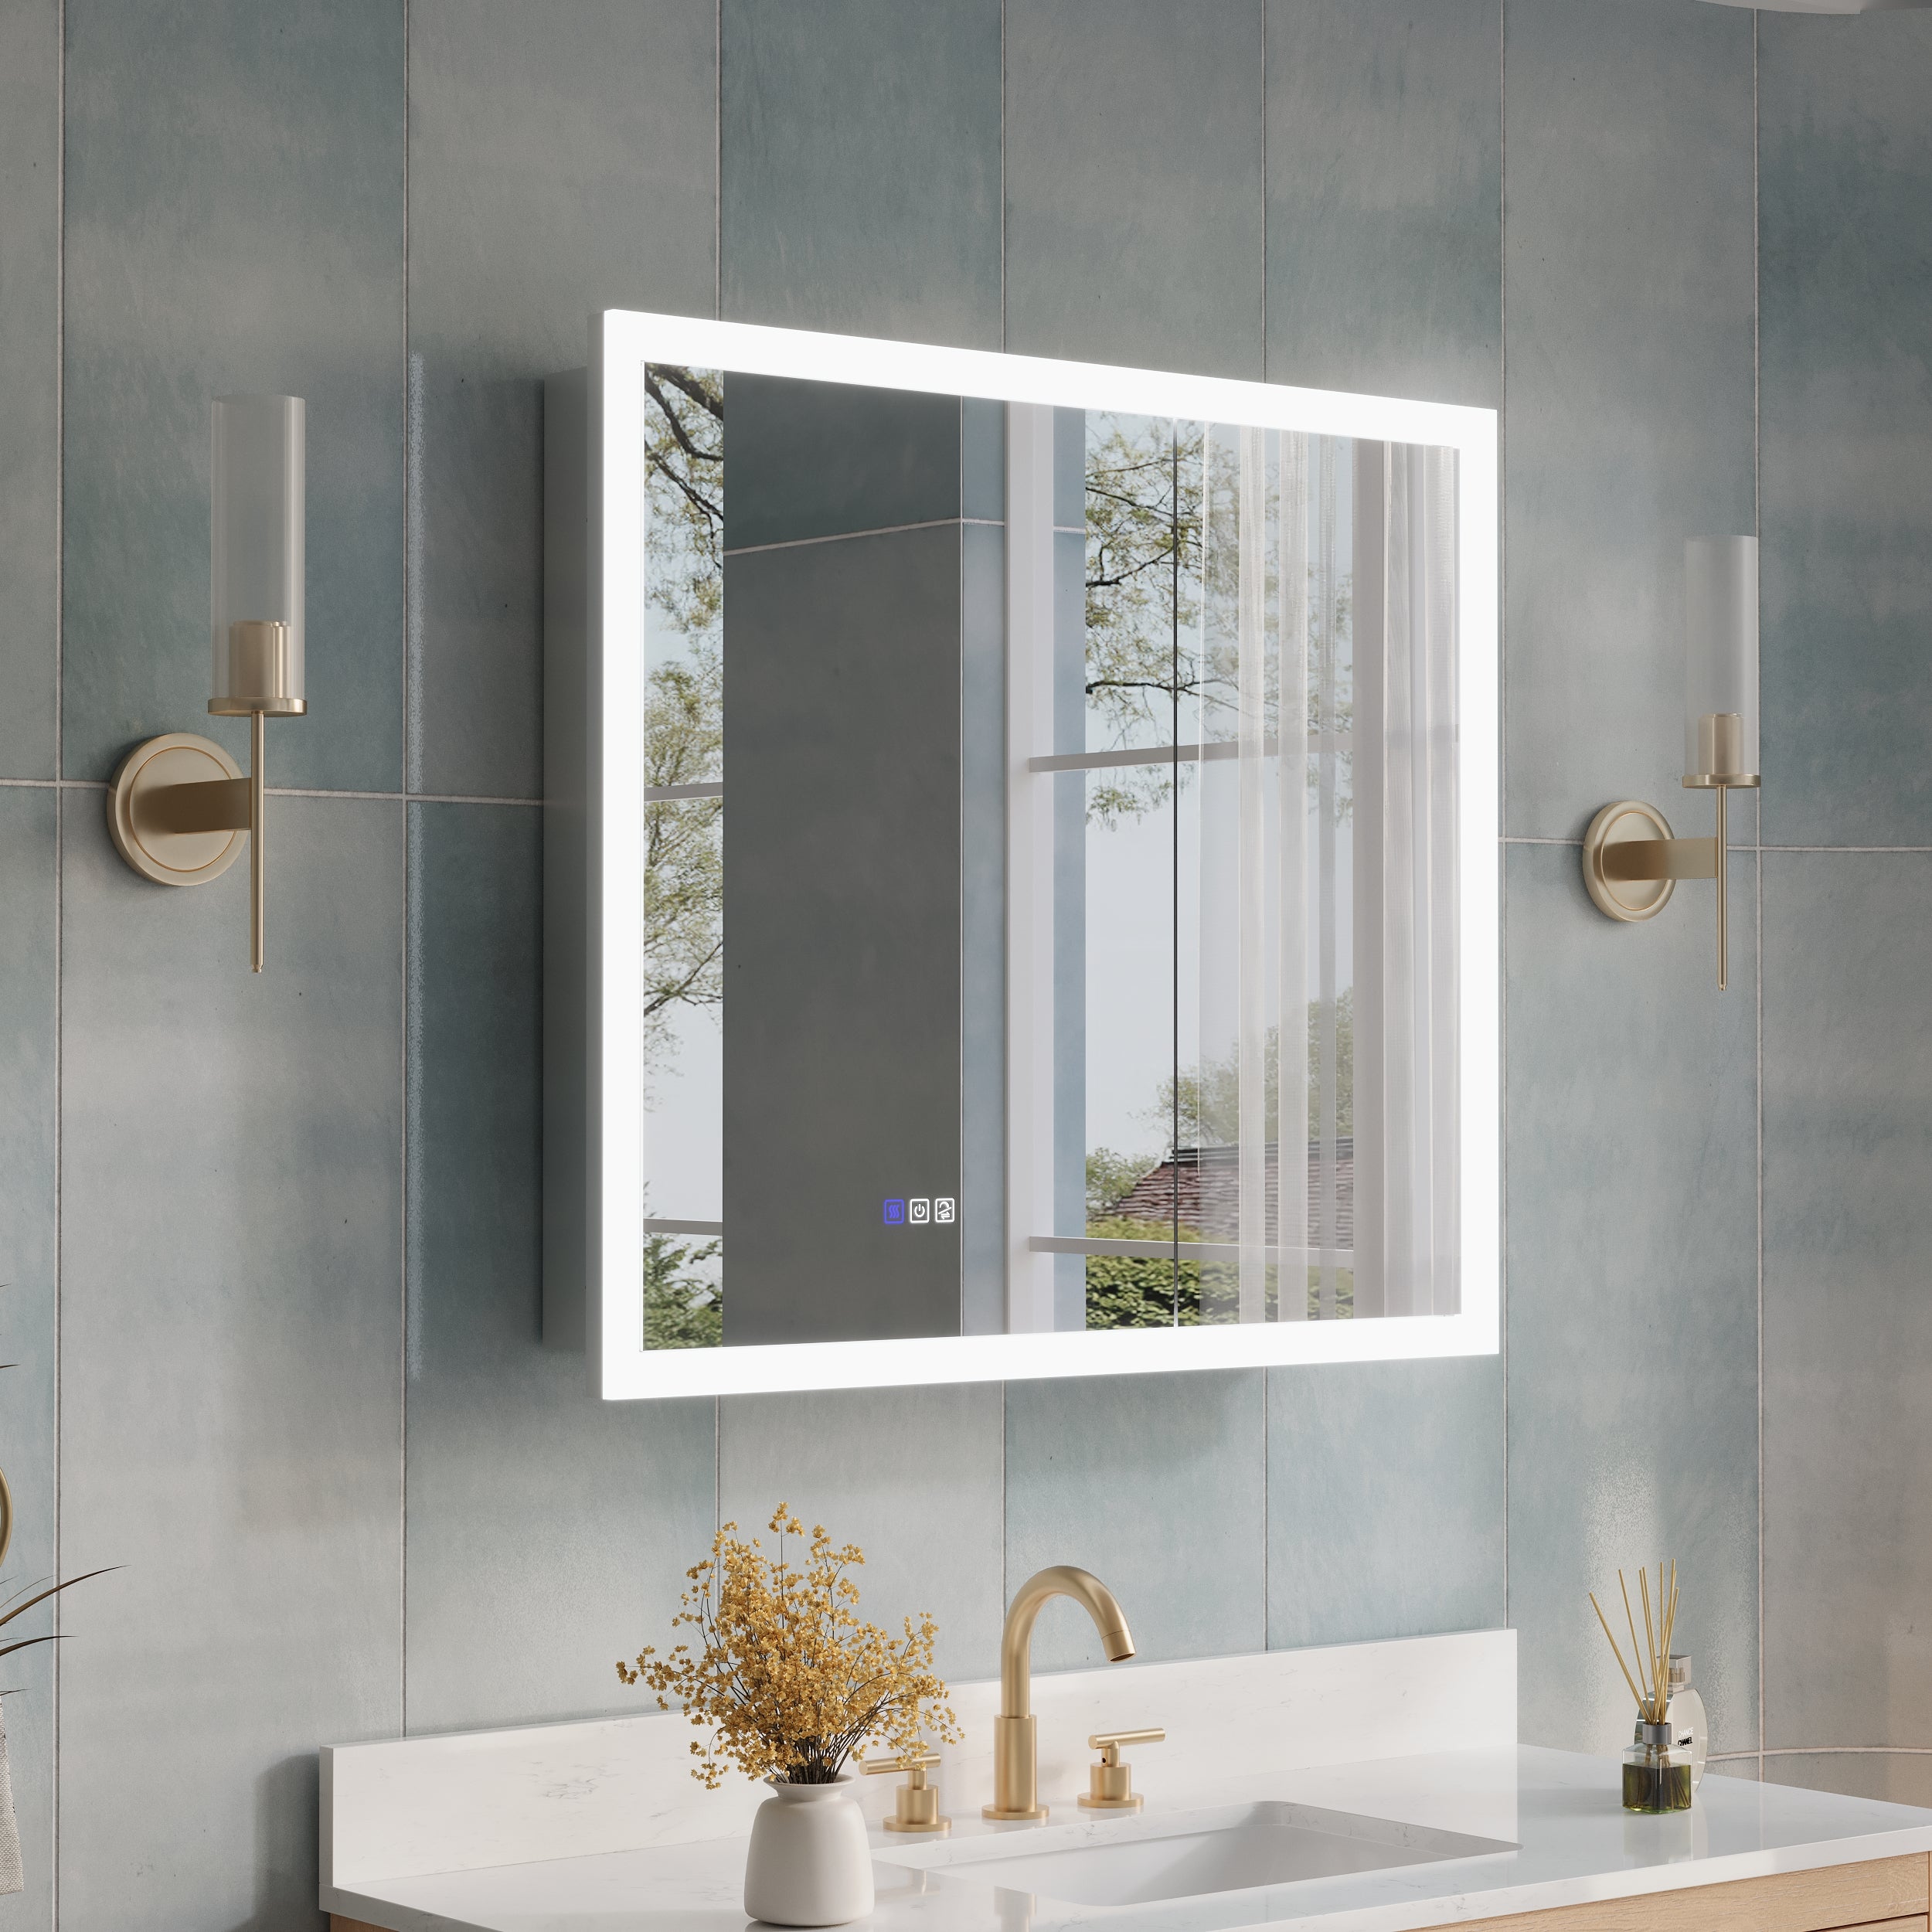
· Lighting & mirrors: Bullseye sconces, fabric-shade vanity lights, and oval beaded mirrors build that candlelit, layered glow.
2) Vintage looks × modern performance—how to have both
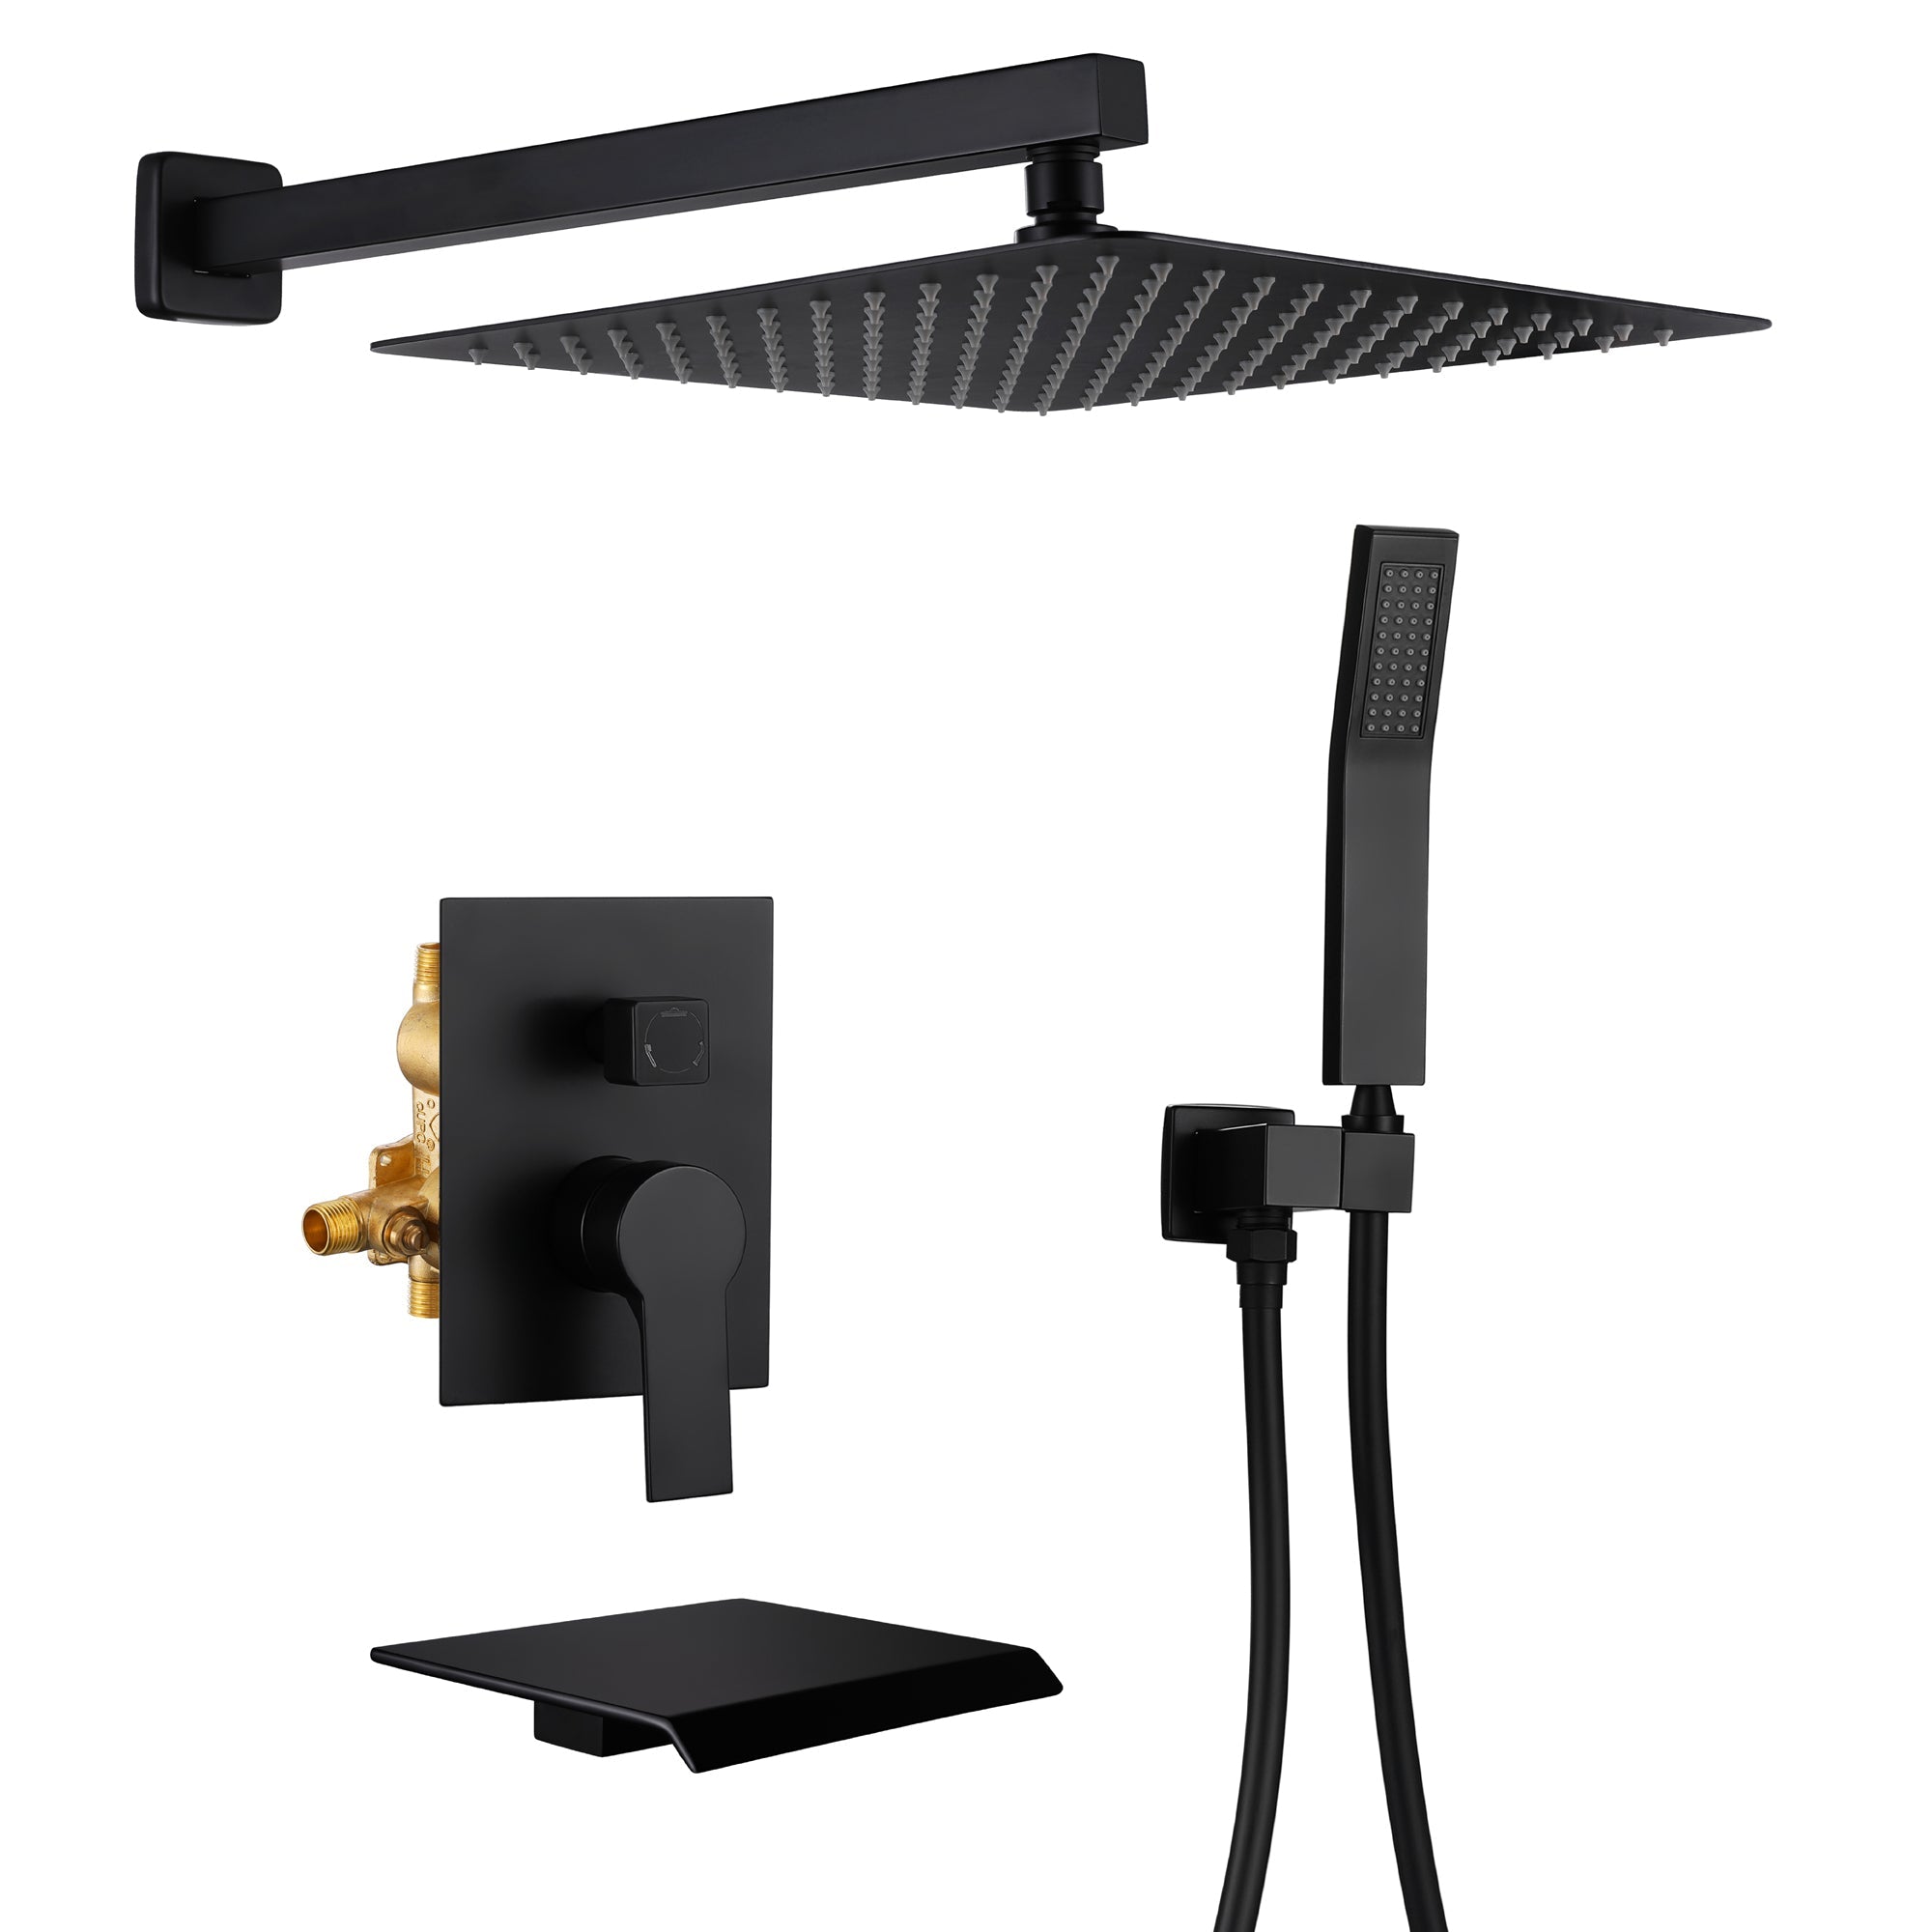
· Water experience: Thermostatic valves, pressure-boost hand showers, and easy switching between overhead and handheld make daily use smoother. With concealed systems, you can keep a traditional faceplate while the working parts are state-of-the-art.
· Durability & cleaning: PVD vacuum plating improves corrosion resistance on metals; ceramic glazes with anti-soil coatings shed water marks; shower glass with anti-limescale film cuts cleaning time.
· Energy & water: Aerators on taps and dual-flush toilets hit conservation targets without compromising aesthetics. Timers for underfloor heat or heaters balance comfort with efficiency.
· Light quality: Aim for 2700–3000K throughout for warmth, and high CRI (Ra ≥ 90) at the mirror for accurate skin tones—vintage atmosphere, modern visibility.
3) Making it work in small spaces
· Scale first: Choose a slim pedestal or wall-hung basin to free floor area; pick a compact clawfoot or a short, deep soaker; go for a corner or curved shower to reduce footprint.
· Color strategy: Keep walls light above and darker below the chair rail to lower the visual center of gravity. Cream or soft gray walls with brass accents read calm, not cramped.
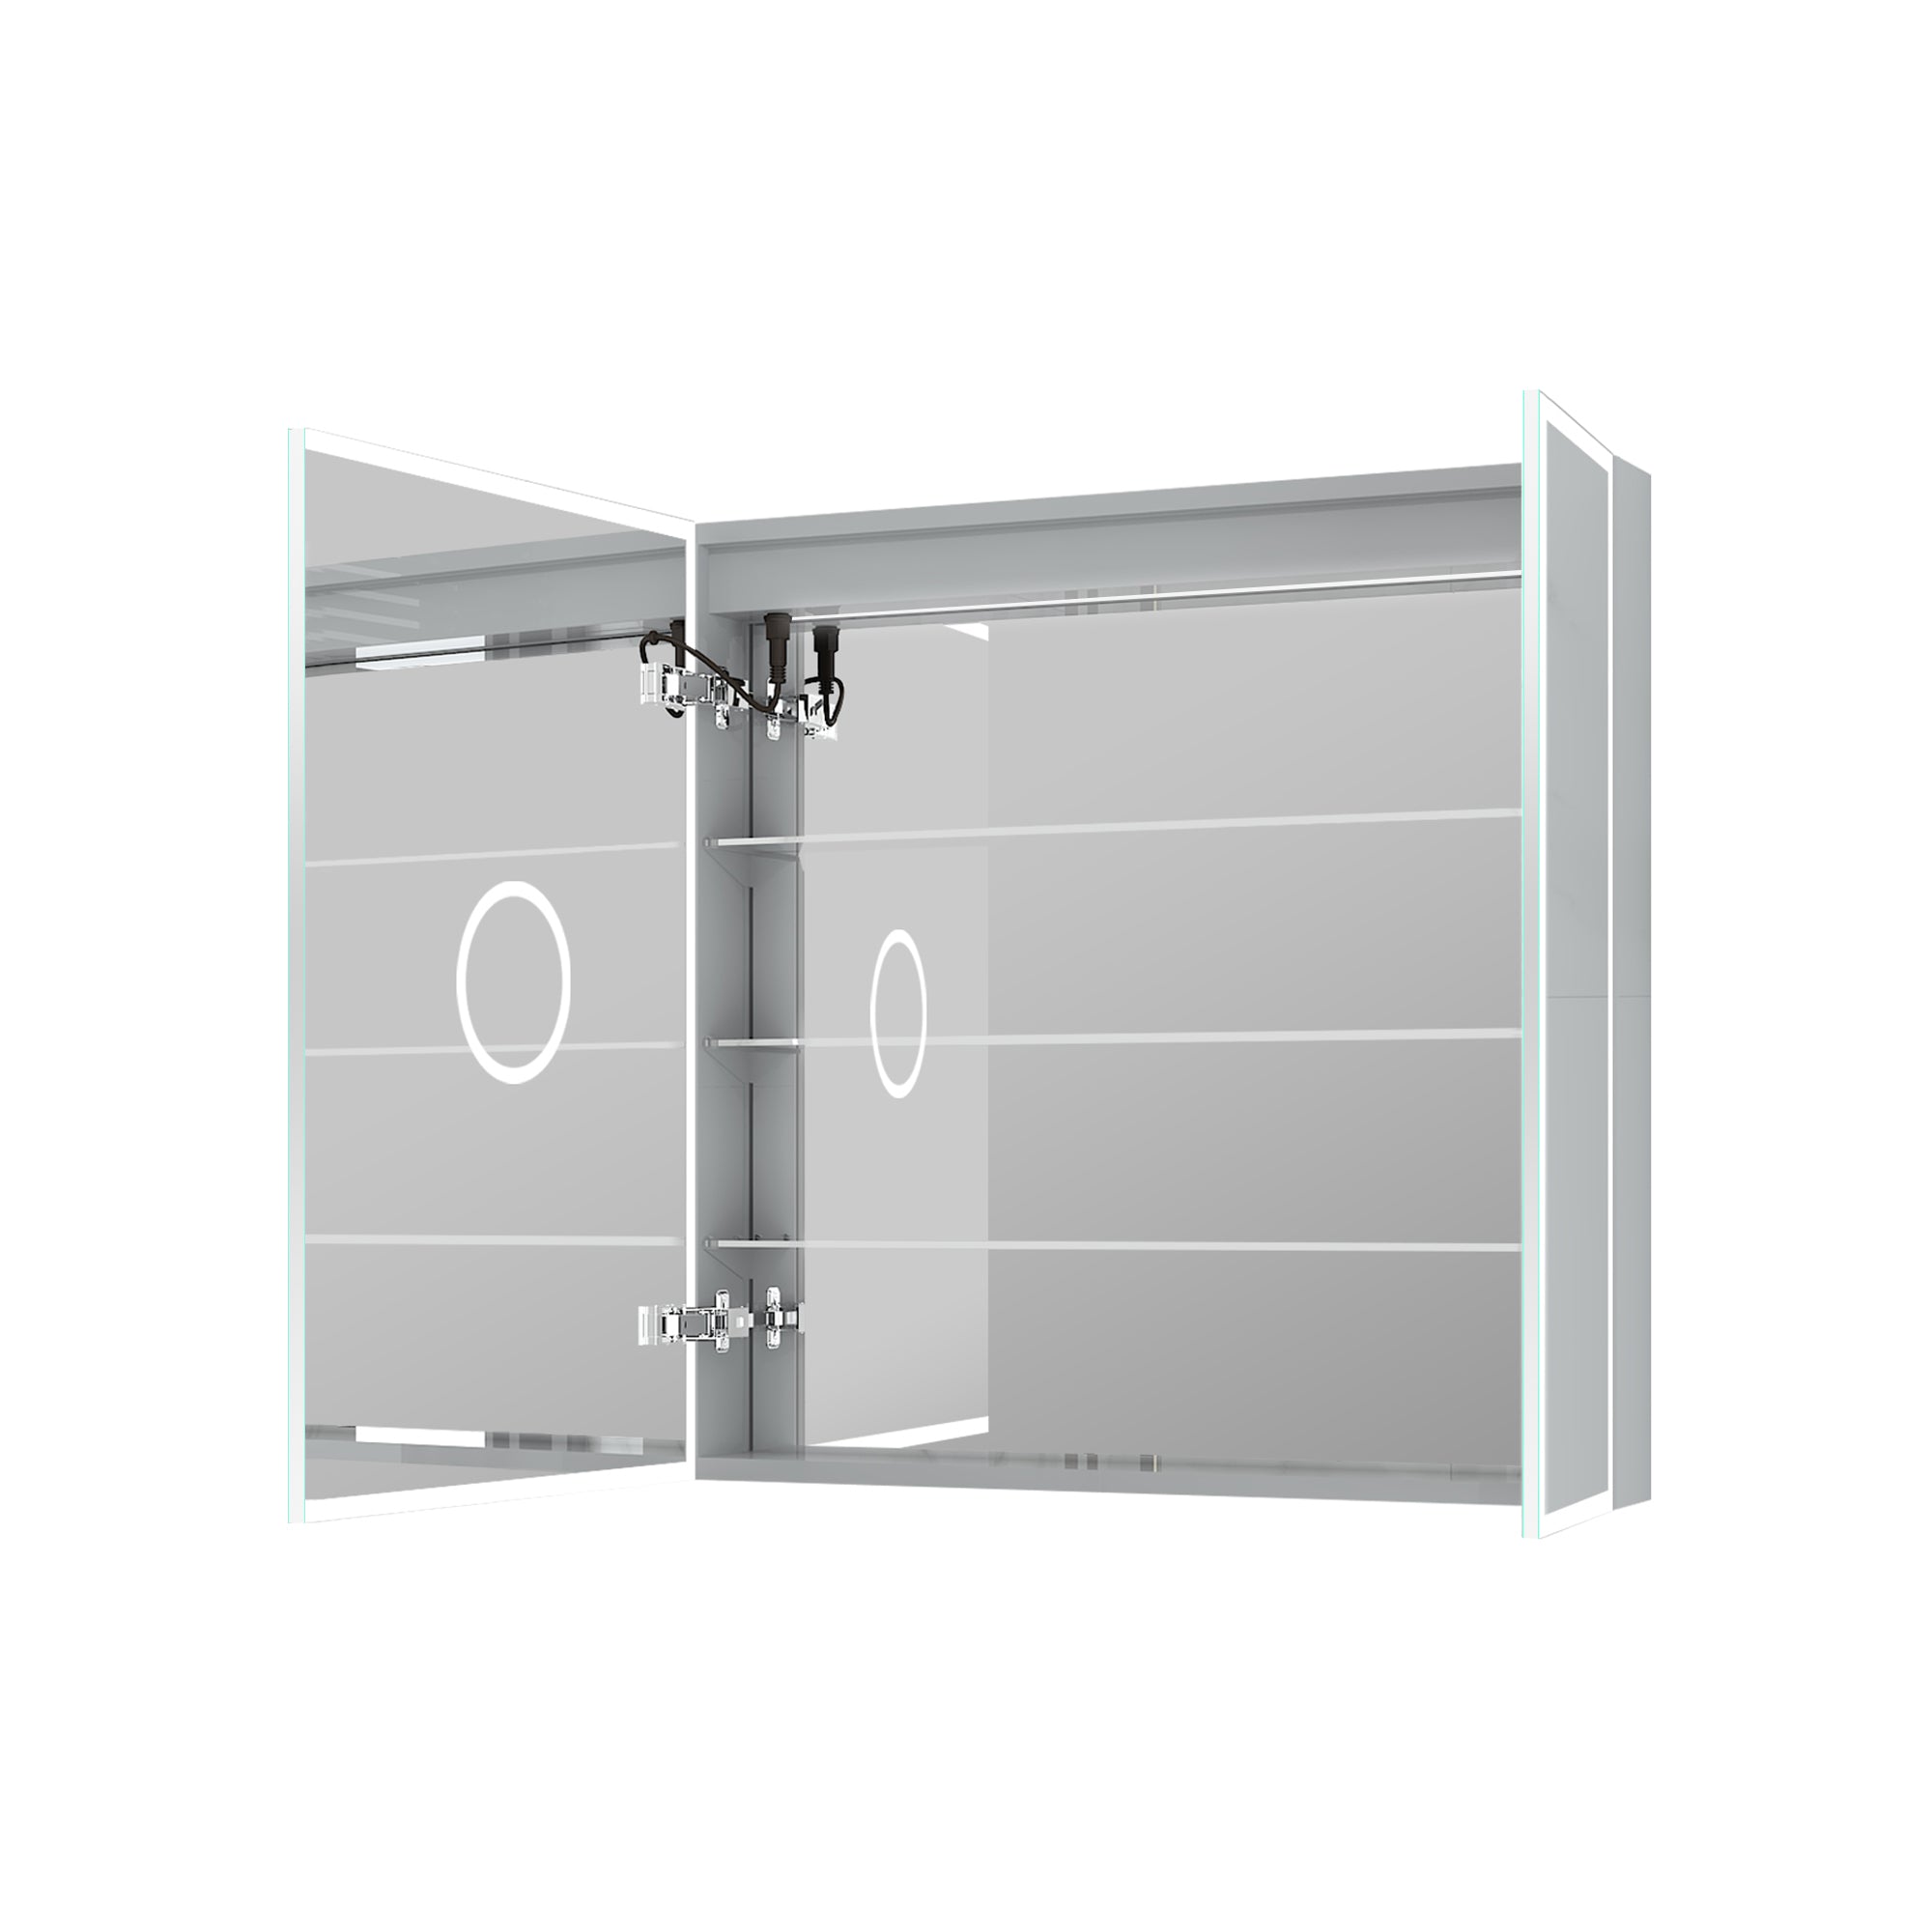
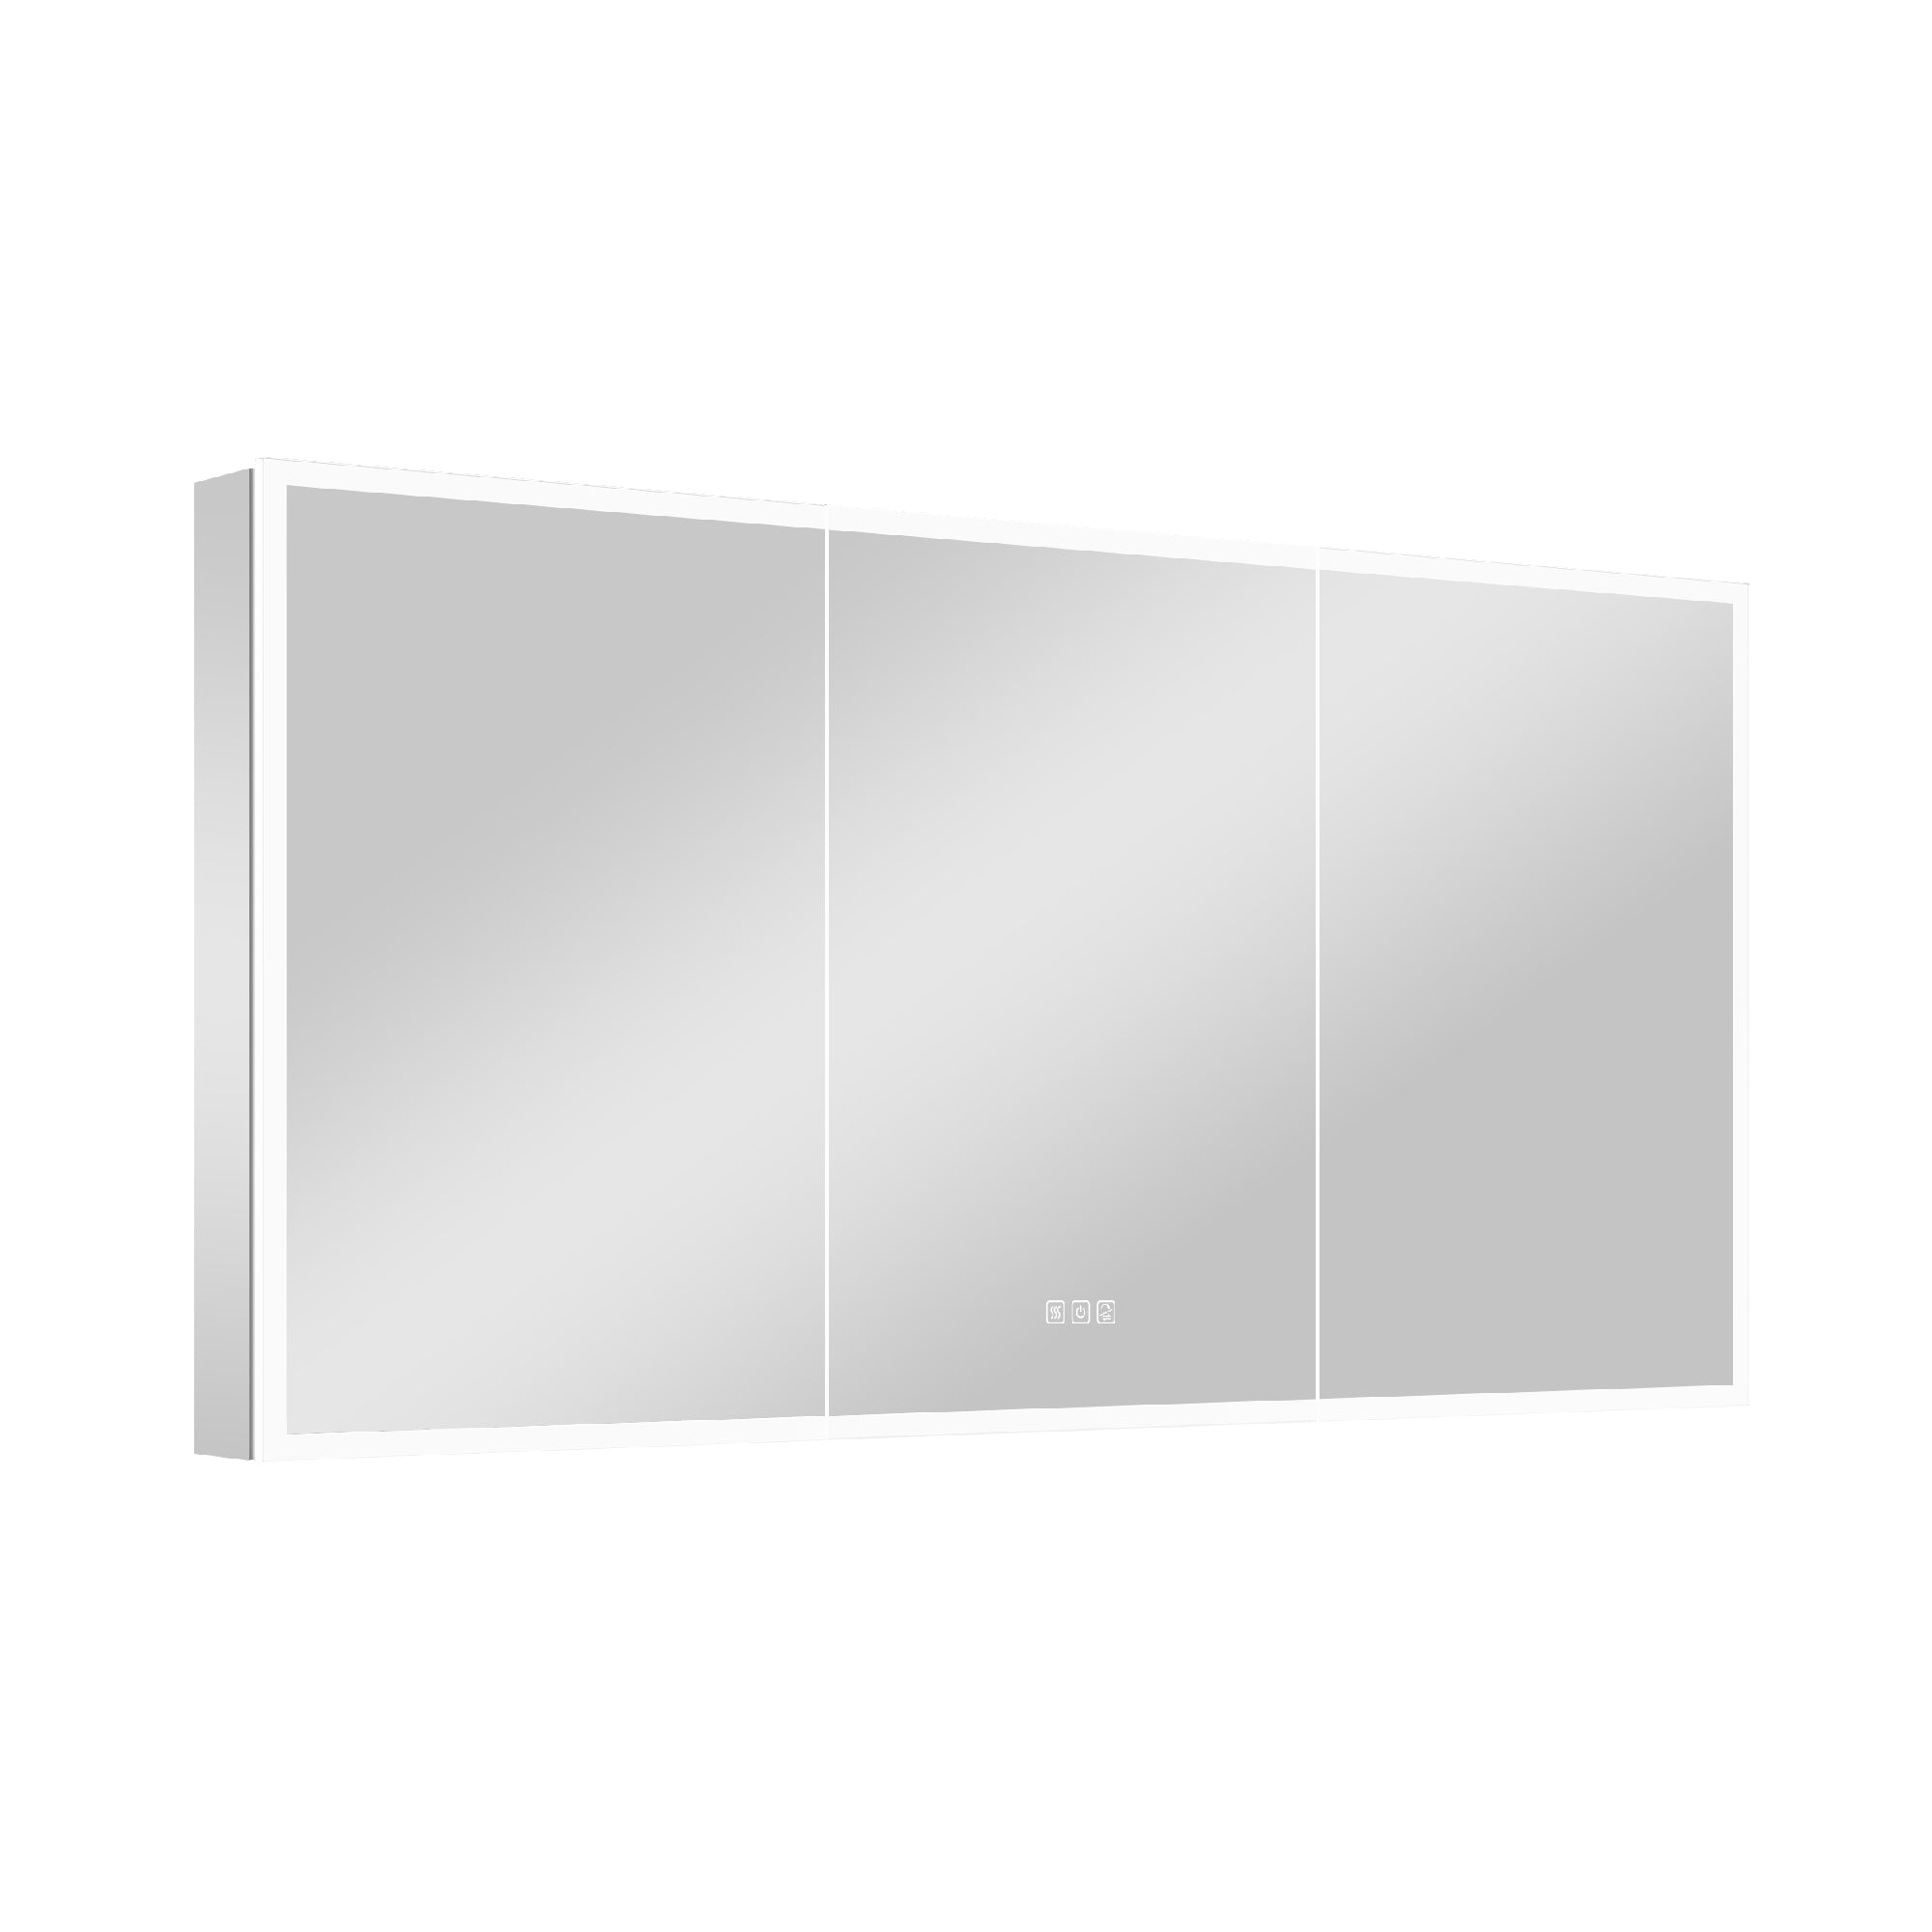
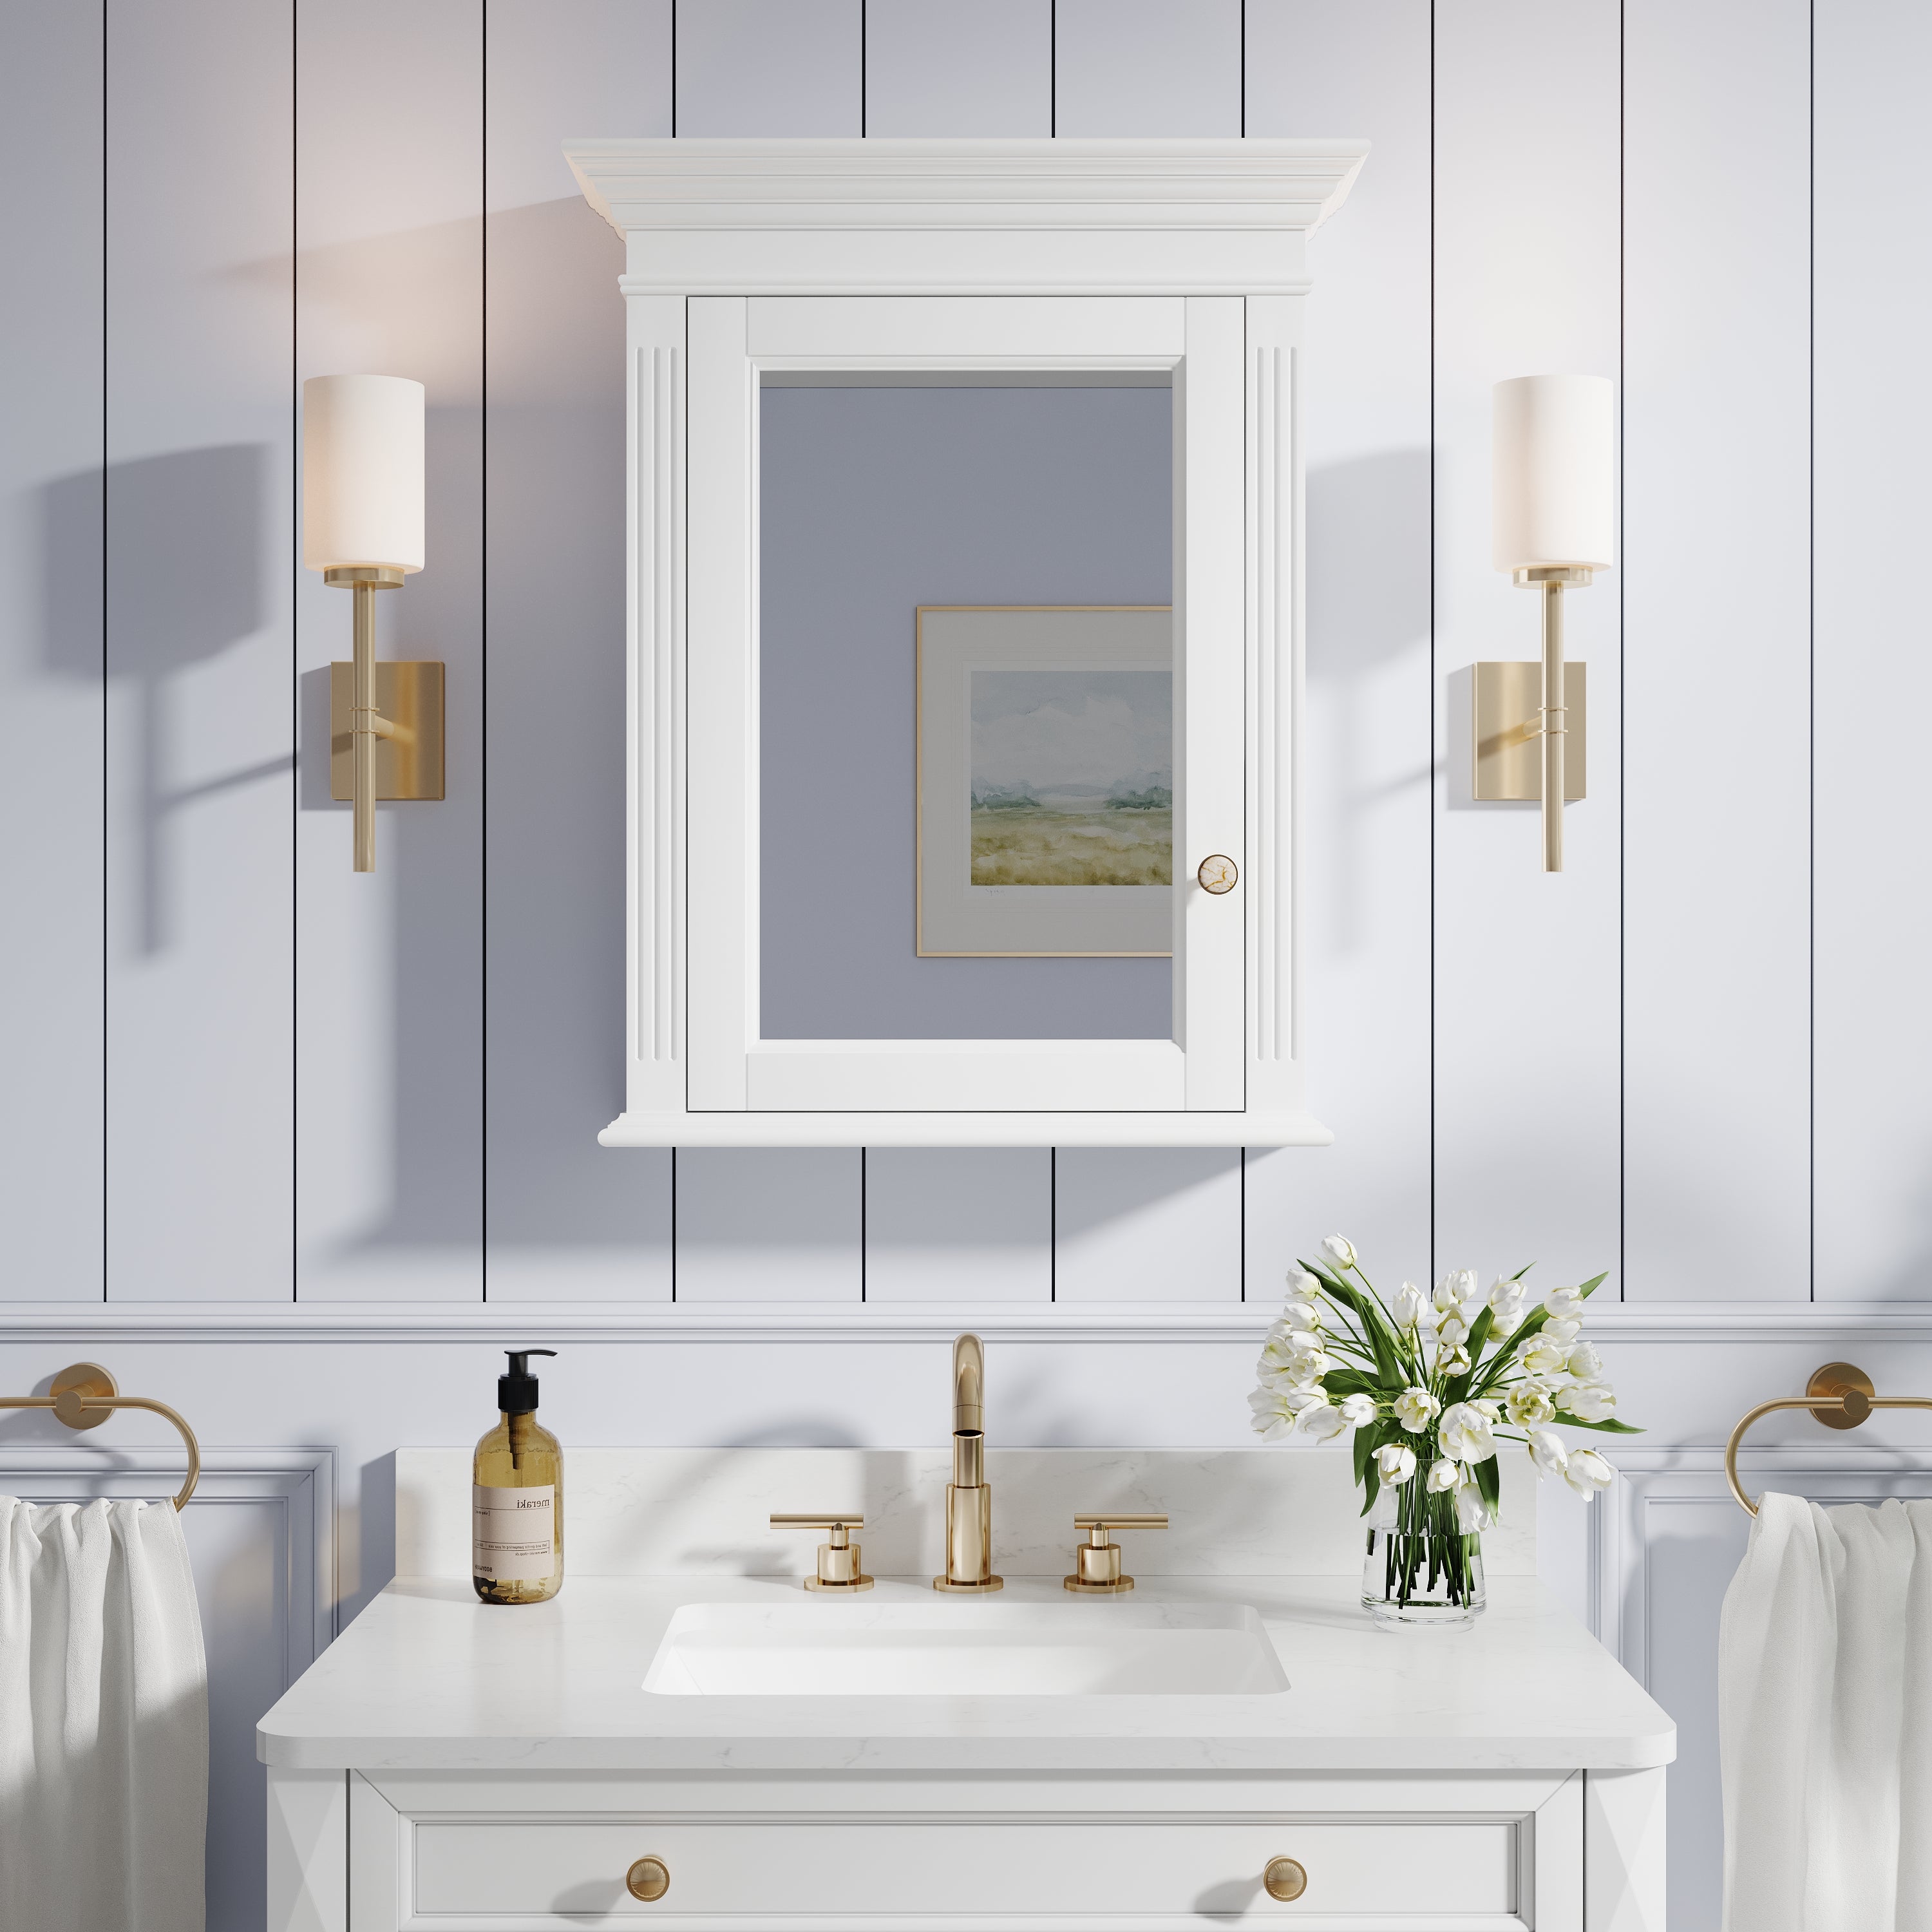
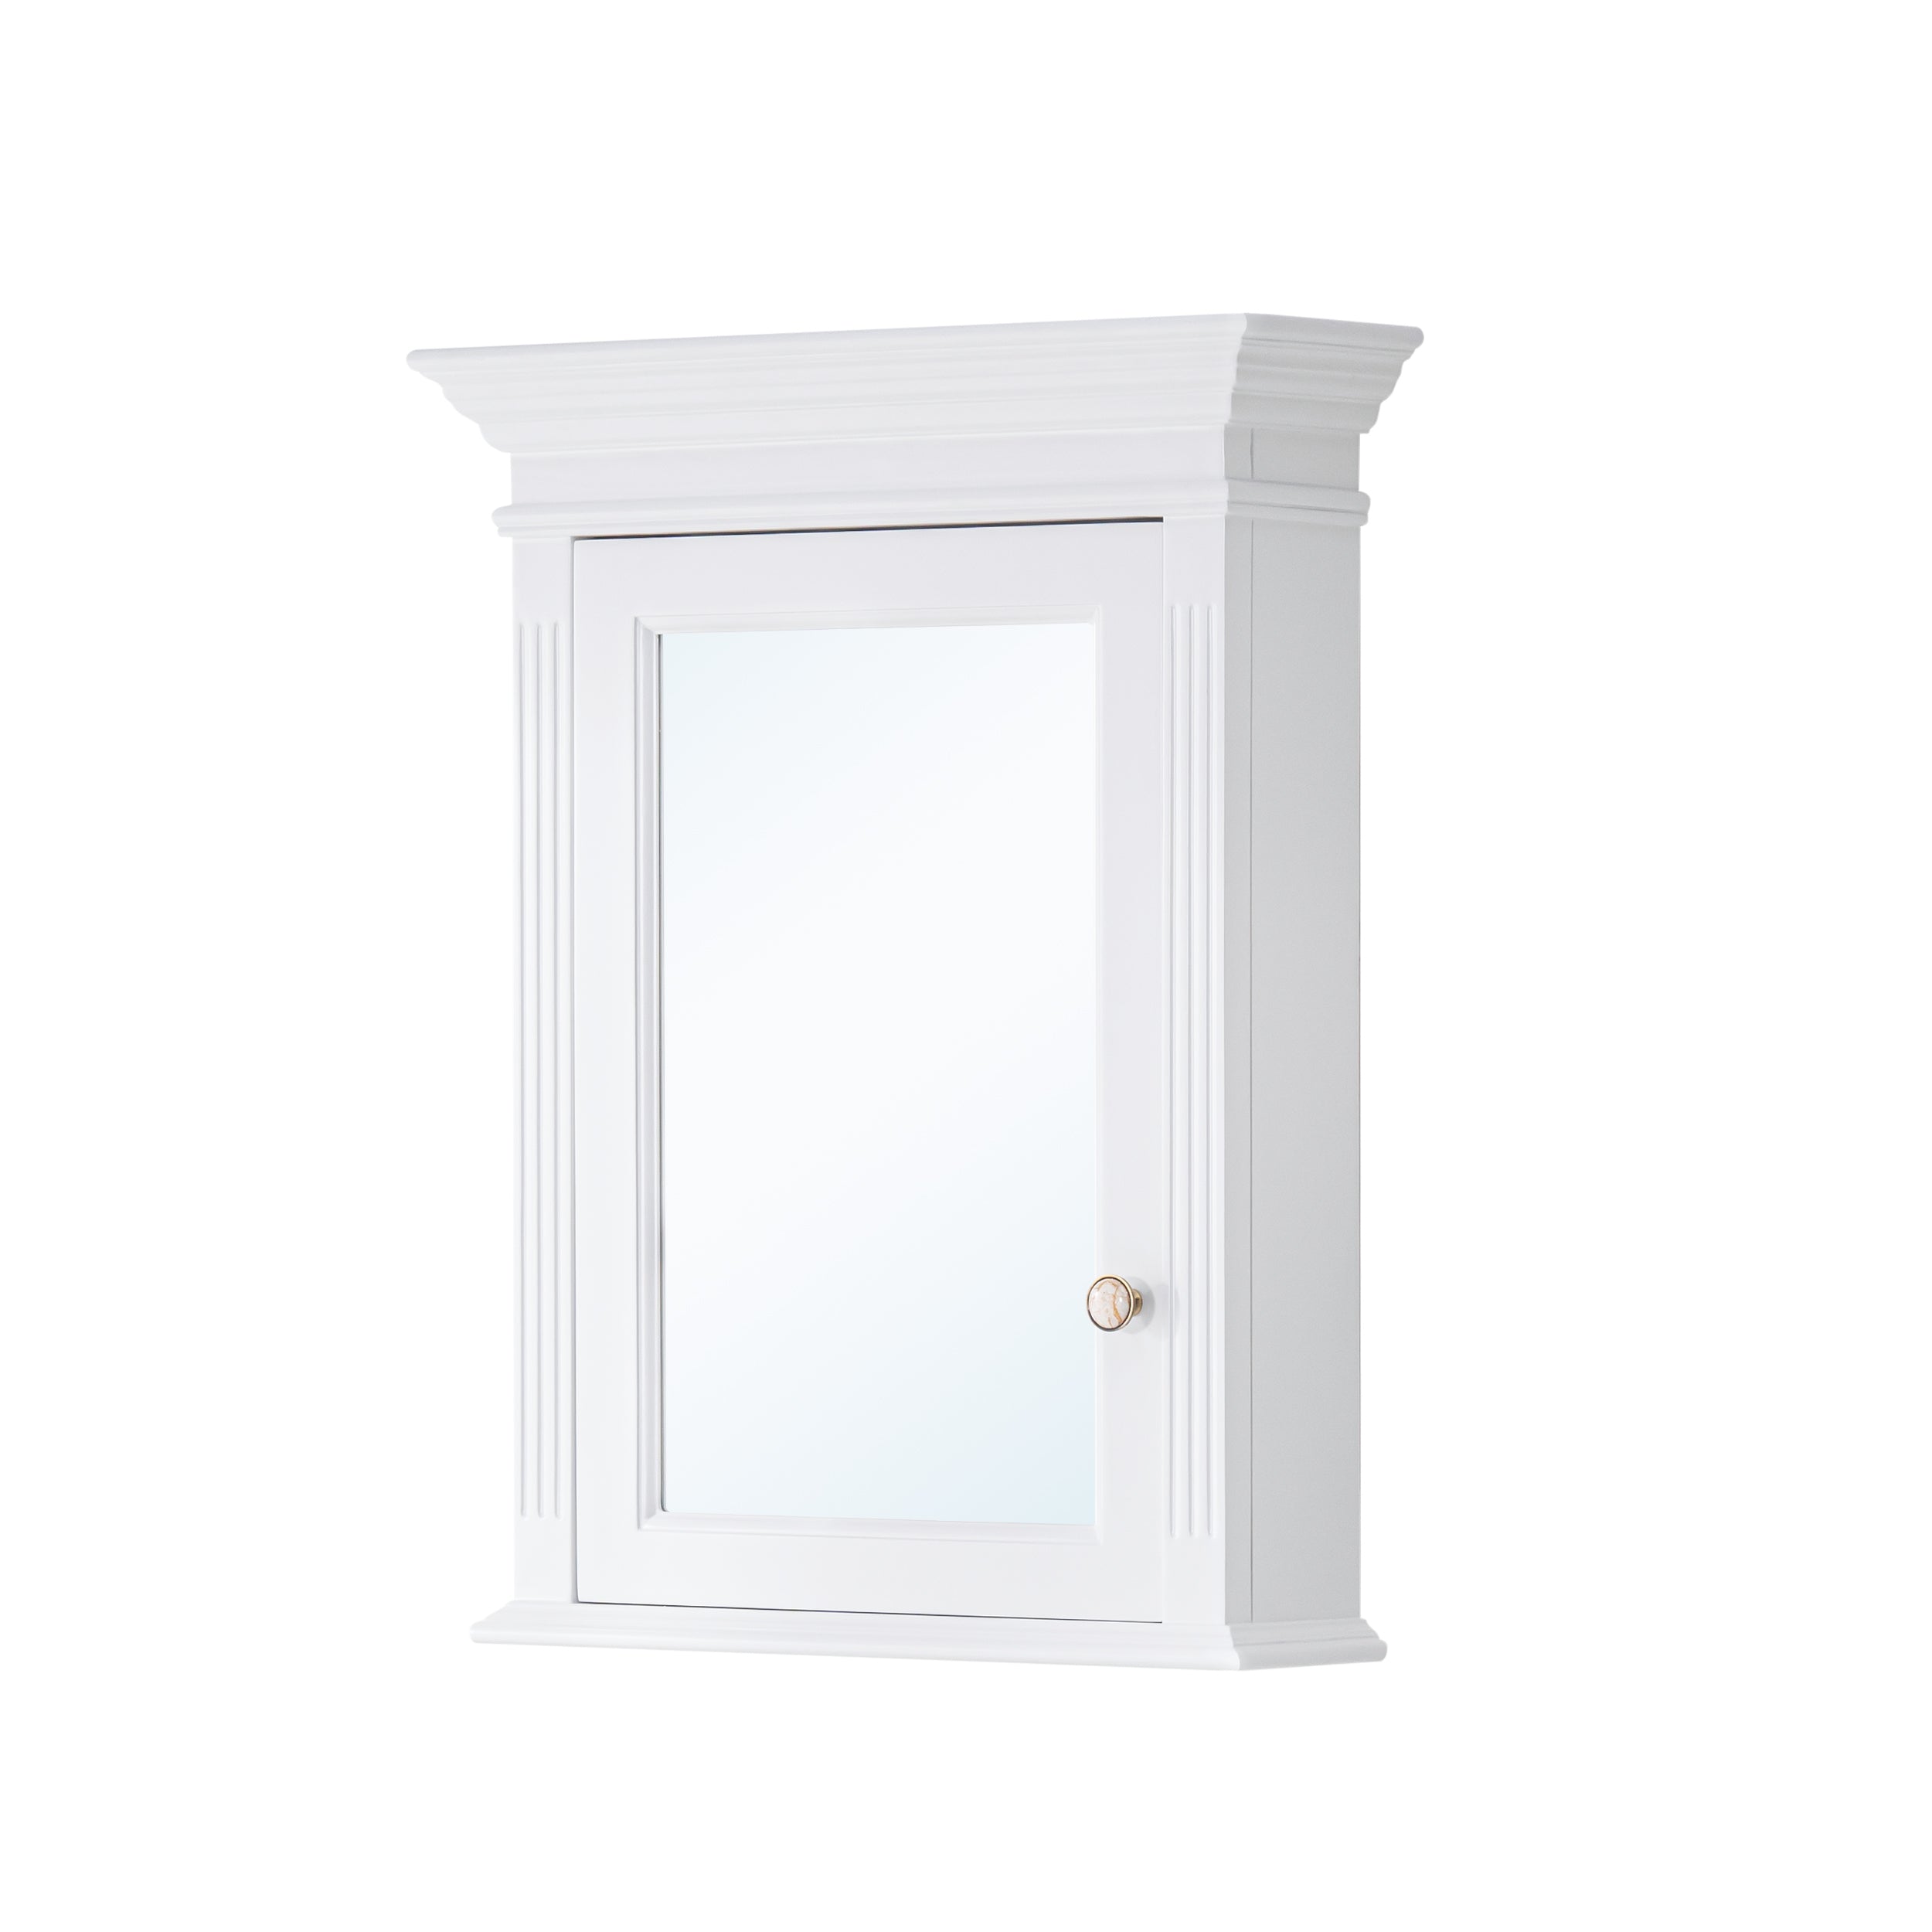
· Hidden storage: Use mirrored cabinets, toe-kick drawers, and niches with integrated lighting—treat “nothing messy in sight” as Rule One.
· Lightweight materials: Acrylic tubs and resin or solid-surface tops are easier to carry and install—ideal for renovations in older buildings.
4) Construction & waterproofing (how not to fall into traps)
· Plumbing before pretty: Victorian doesn’t require fully exposed pipes. In most cases, go concealed for reliability, then selectively expose a few brass bends as “features.” Always plan accessible service panels.
· Waterproof by zone: Fully waterproof the shower, tub surround, and vanity wall; use anti-mold grout. At the door, combine a threshold/stopper with a perimeter drain to keep the dry zone actually dry.
· Floor falls: Ensure the correct slope to the drain before you set patterned tiles. Dry-lay checkerboards or florals to avoid awkward cuts.
· Ventilation & moisture: Pair a quiet, high-CFM exhaust with make-up air. Seal timber edges near wet zones.
· Safety: Choose flooring with R10 or higher slip resistance. Separate electrical zones with appropriate IP ratings; vanity lights must meet splash standards.

5) Industry view: where brands and channels can win
· Sell “room kits,” not parts: Offer 32 sq. ft. / 43 sq. ft. / 65 sq. ft. Victorian bathroom packages that bundle the tub, sink, toilet, hardware, mirror, lighting, and tiles, plus an installation checklist — fewer decisions, faster conversion.
· Two-track materials: Run cast iron and acrylic; brass and stainless—let budgets vary while the outward style stays consistent. Market it as “same look, configurable core.”
· Content drives purchase: Publish “1 hero + 3 quick upgrades” playbooks (e.g., swap faucet & vanity light, add half-height paneling, lay a checkerboard floor) to lower the try-in barrier.
· Refurb services: Add cast-iron tub resprays, brass re-finishing, and re-grouting to capture “upgrade without gutting” demand.
· Supply coordination: Support small-batch custom trims, odd-radius bends, and non-standard frames. Co-author a “retro install white paper” with contractors to cut rework costs.
6) Budgeting that actually pays off
· Spend heavily on the pieces you touch and see most—tub, faucet, shower set, toilet—and on the substrate: waterproofing and floors. That’s where longevity lives.
· Balance light with value brands for wallpaper, shower screens/curtains, mirrors, and shelves. Mix soft and hard finishes to elevate the look without overspending.
· Mix in secondhand: A vintage brass sconce, a silver soap dish, or a porcelain jar adds soul at low cost. For electrics, check age and safety before use.
7) Fast color-and-material recipes
· Classic: Deep green or burgundy or navy + creamy white + brass; floor in black-and-white checks or small hex.
· Soft: Sage or dusty blue + off-white + brushed nickel; pair with fine stripes or petite florals above wainscoting.
· Quiet luxe: Latte walls + dark walnut top + unlacquered brass that’s allowed to patina naturally.
8) A practical punch list (for homeowners and designers)
1. Define the palette (deep hero color + neutral + metal finish).
2. Pick one “lead” piece—clawfoot tub, pedestal basin, or a tall, framed mirror—then build around it.
3. Standardize hardware: keep taps, shower, towel bars, paper holder, and drain in the same finish to avoid a mismatched look.
4. Do the infrastructure first —waterproofing, drainage, ventilation, and electrical zones—then save wallpaper and trims for last.
5. Plan concealed storage—mirror cabinets, niches, places for hair tools and cleaning supplies.
6. Layer lighting: ceiling for ambient, high-CRI vanity for task, sconces for mood; keep color temp at 2700–3000K.
7. Finish soft: bath mat, curtain/screen, scent, and a few vintage accents—stay within the palette.
In one line: The heart of a Victorian bathroom isn’t “more ornament,” it’s classic forms with modern ease. Nail three things—proportion and profiles, unified and durable hardware, and reliable wet/dry zoning with robust waterproofing—and you’ll have an elegant, low-maintenance vintage bath in any footprint. For brands and showrooms, this is the moment to convert taste into results with bundled designs + dependable service.


Leave a comment
This site is protected by hCaptcha and the hCaptcha Privacy Policy and Terms of Service apply.