
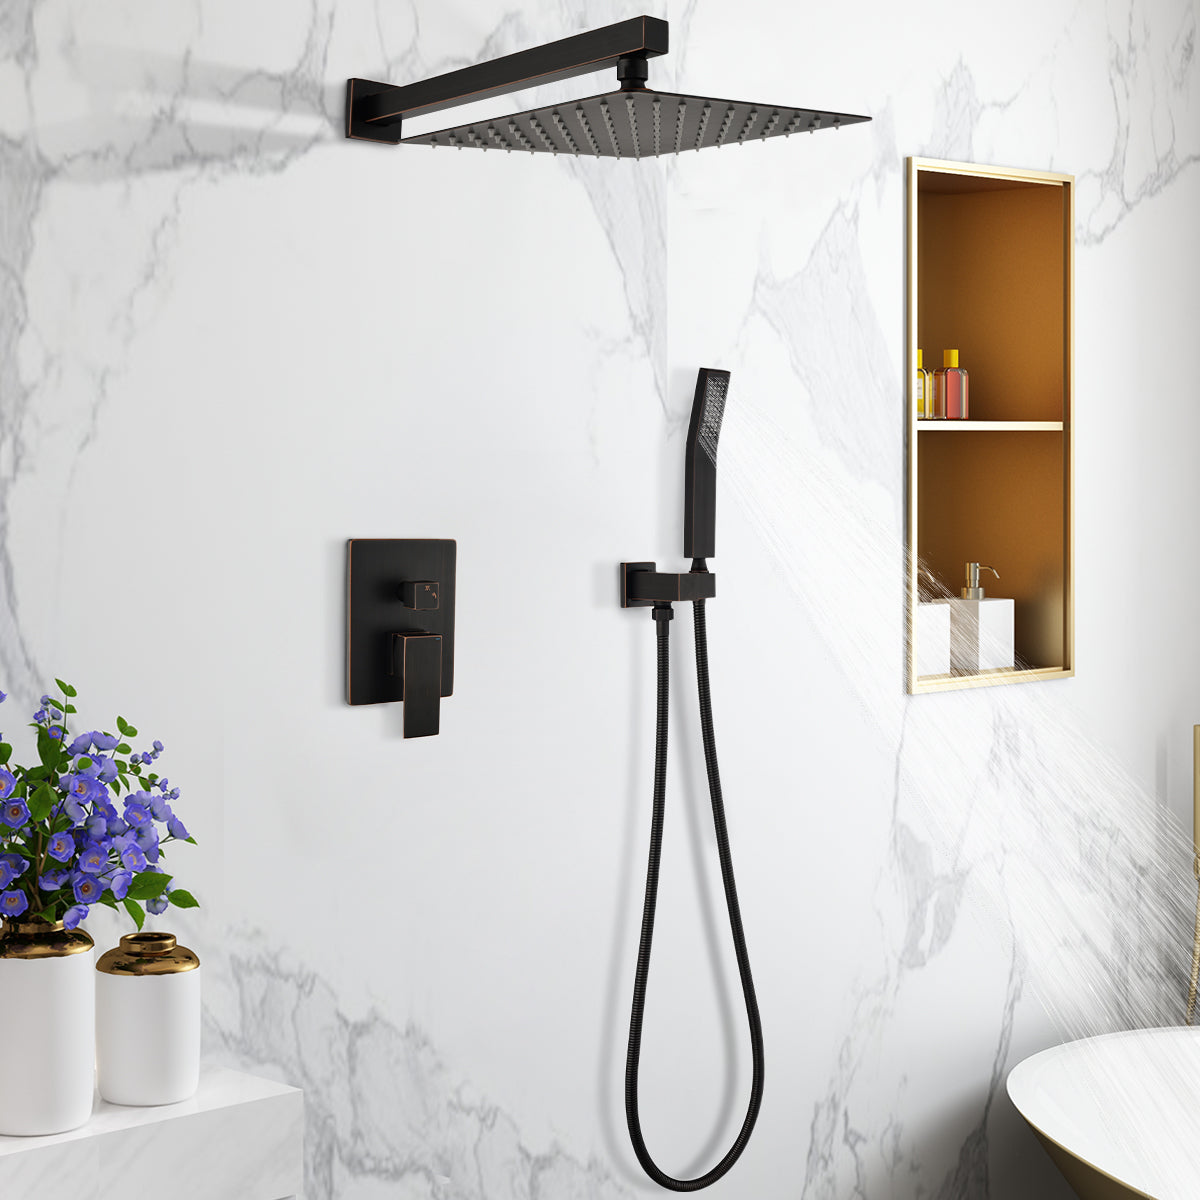


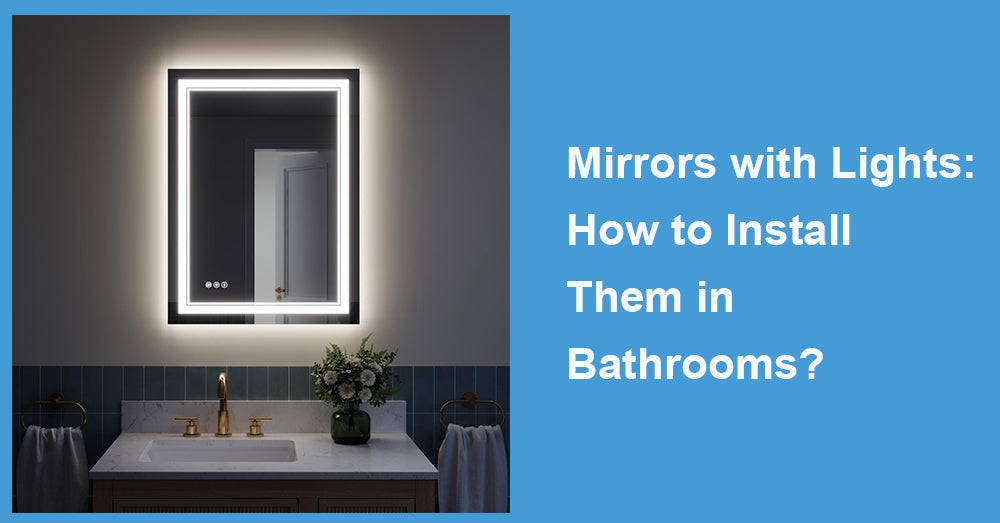
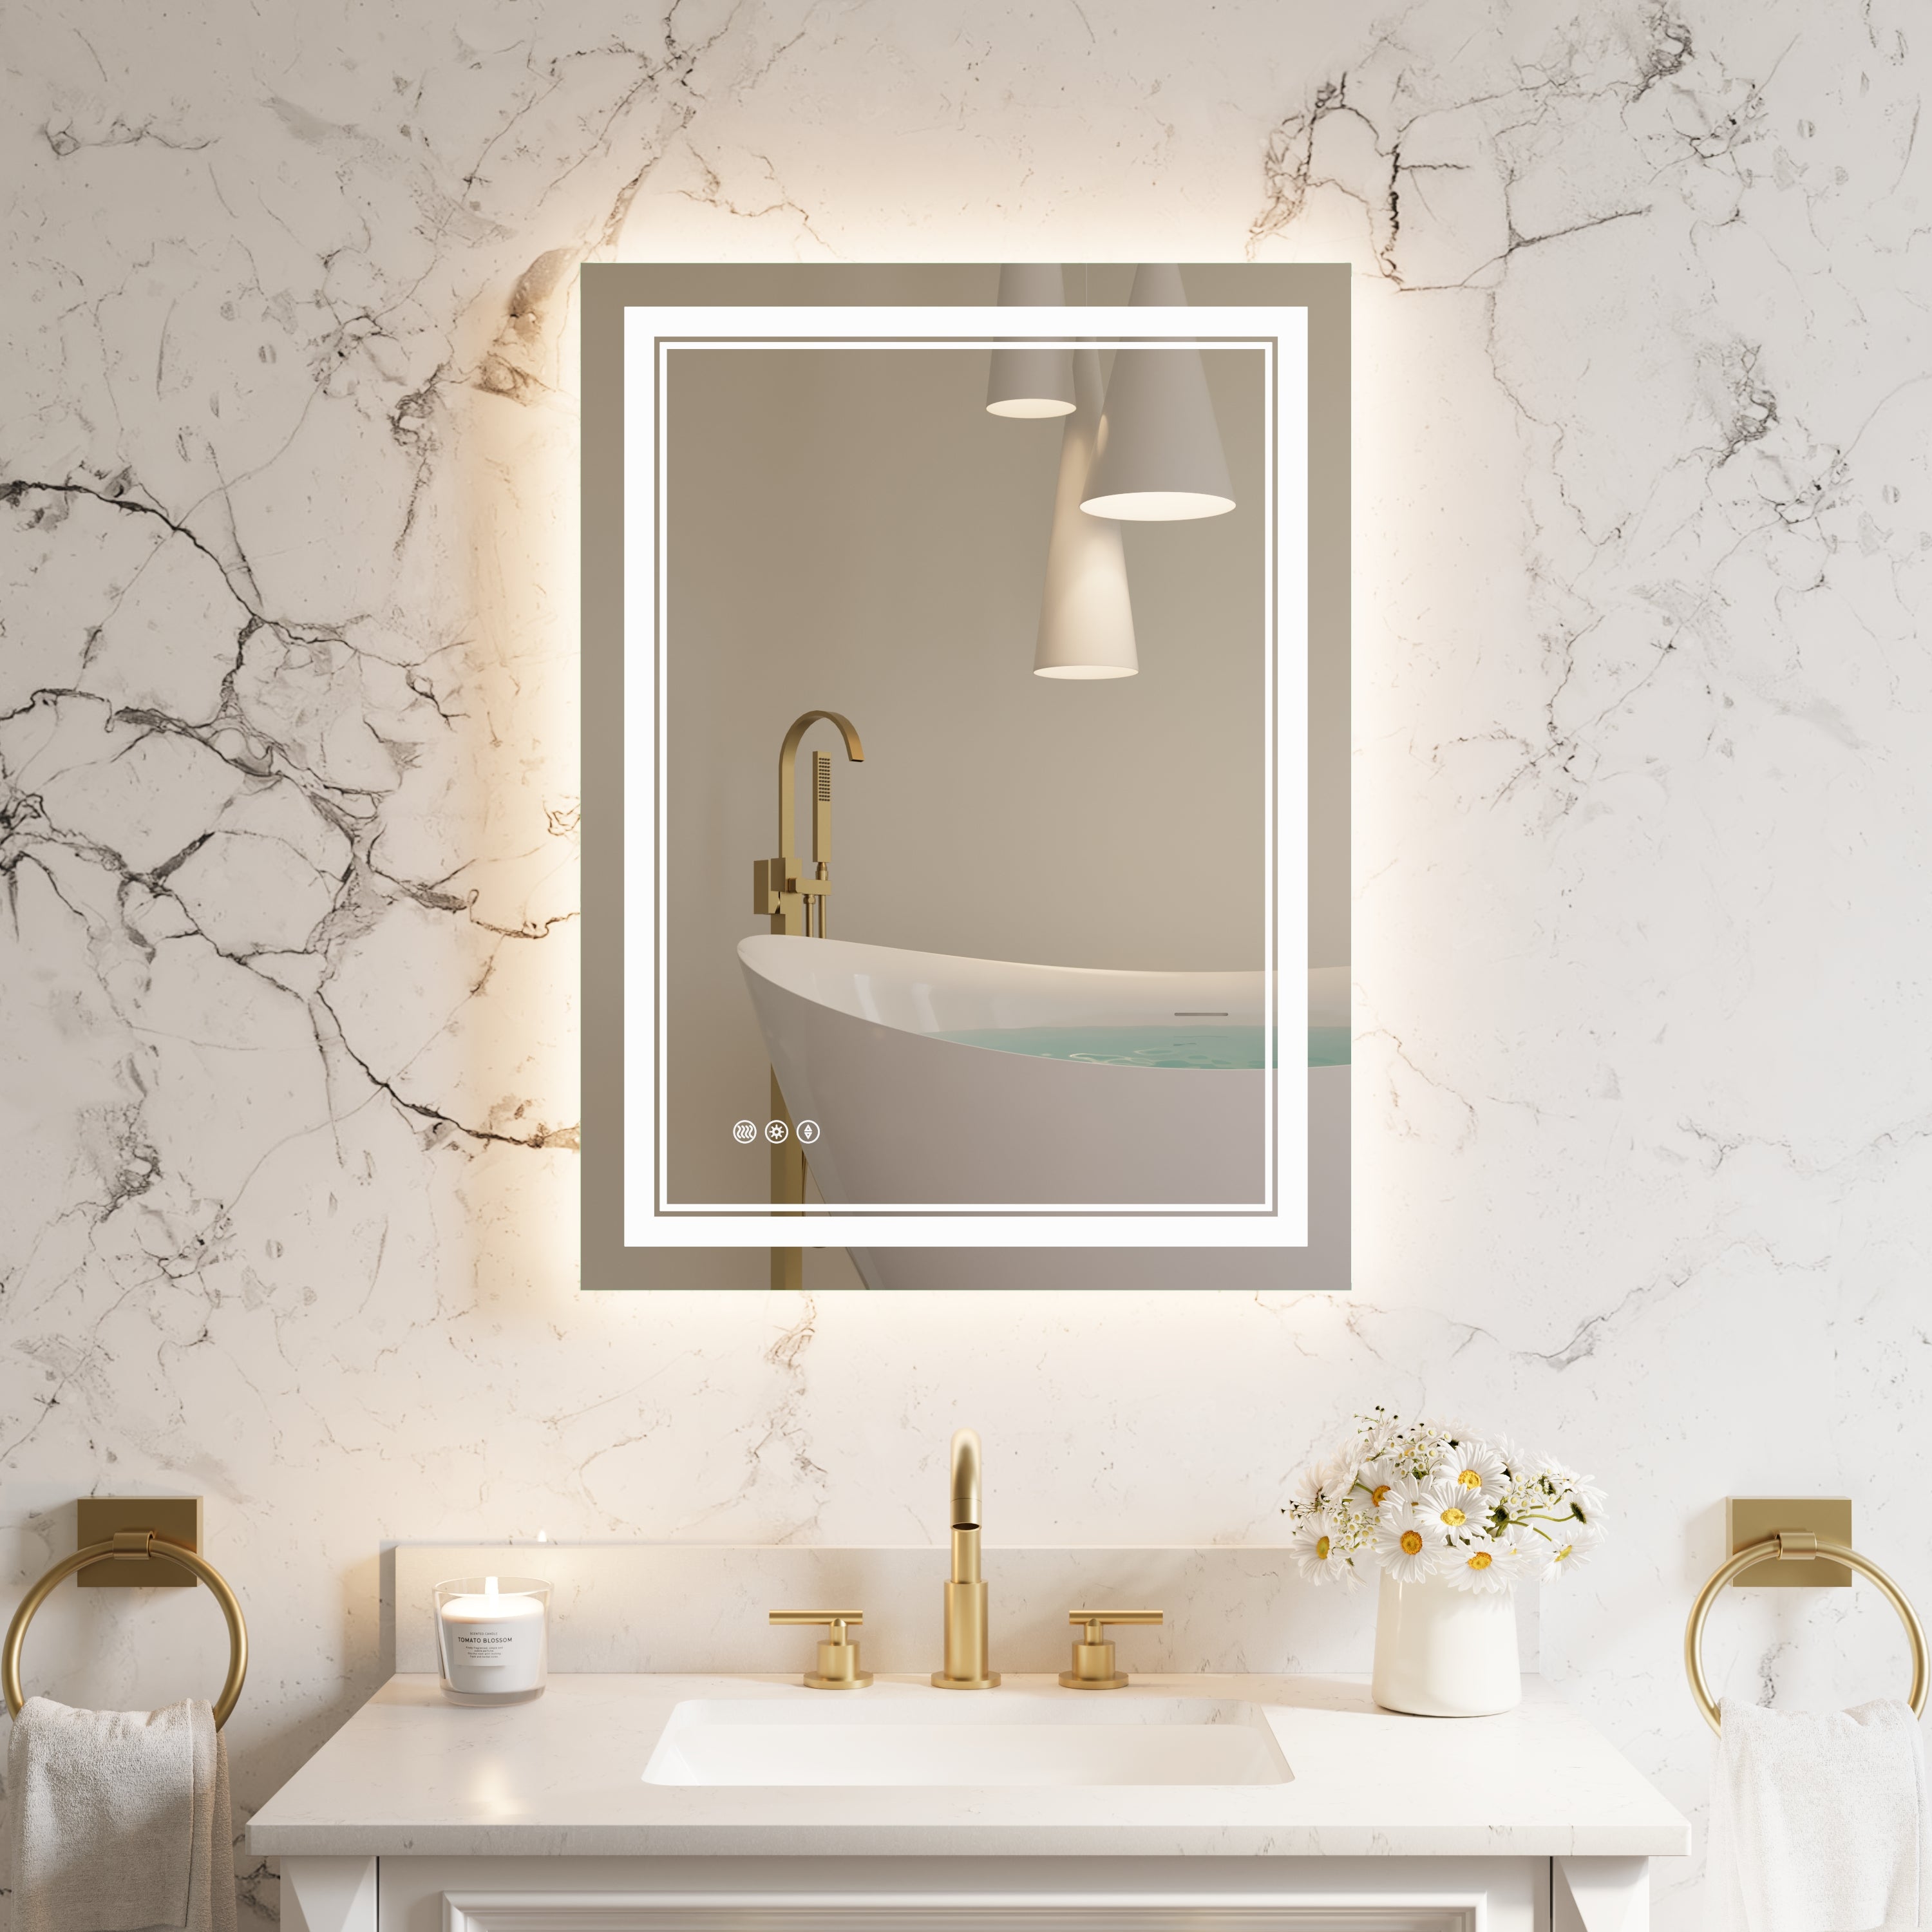
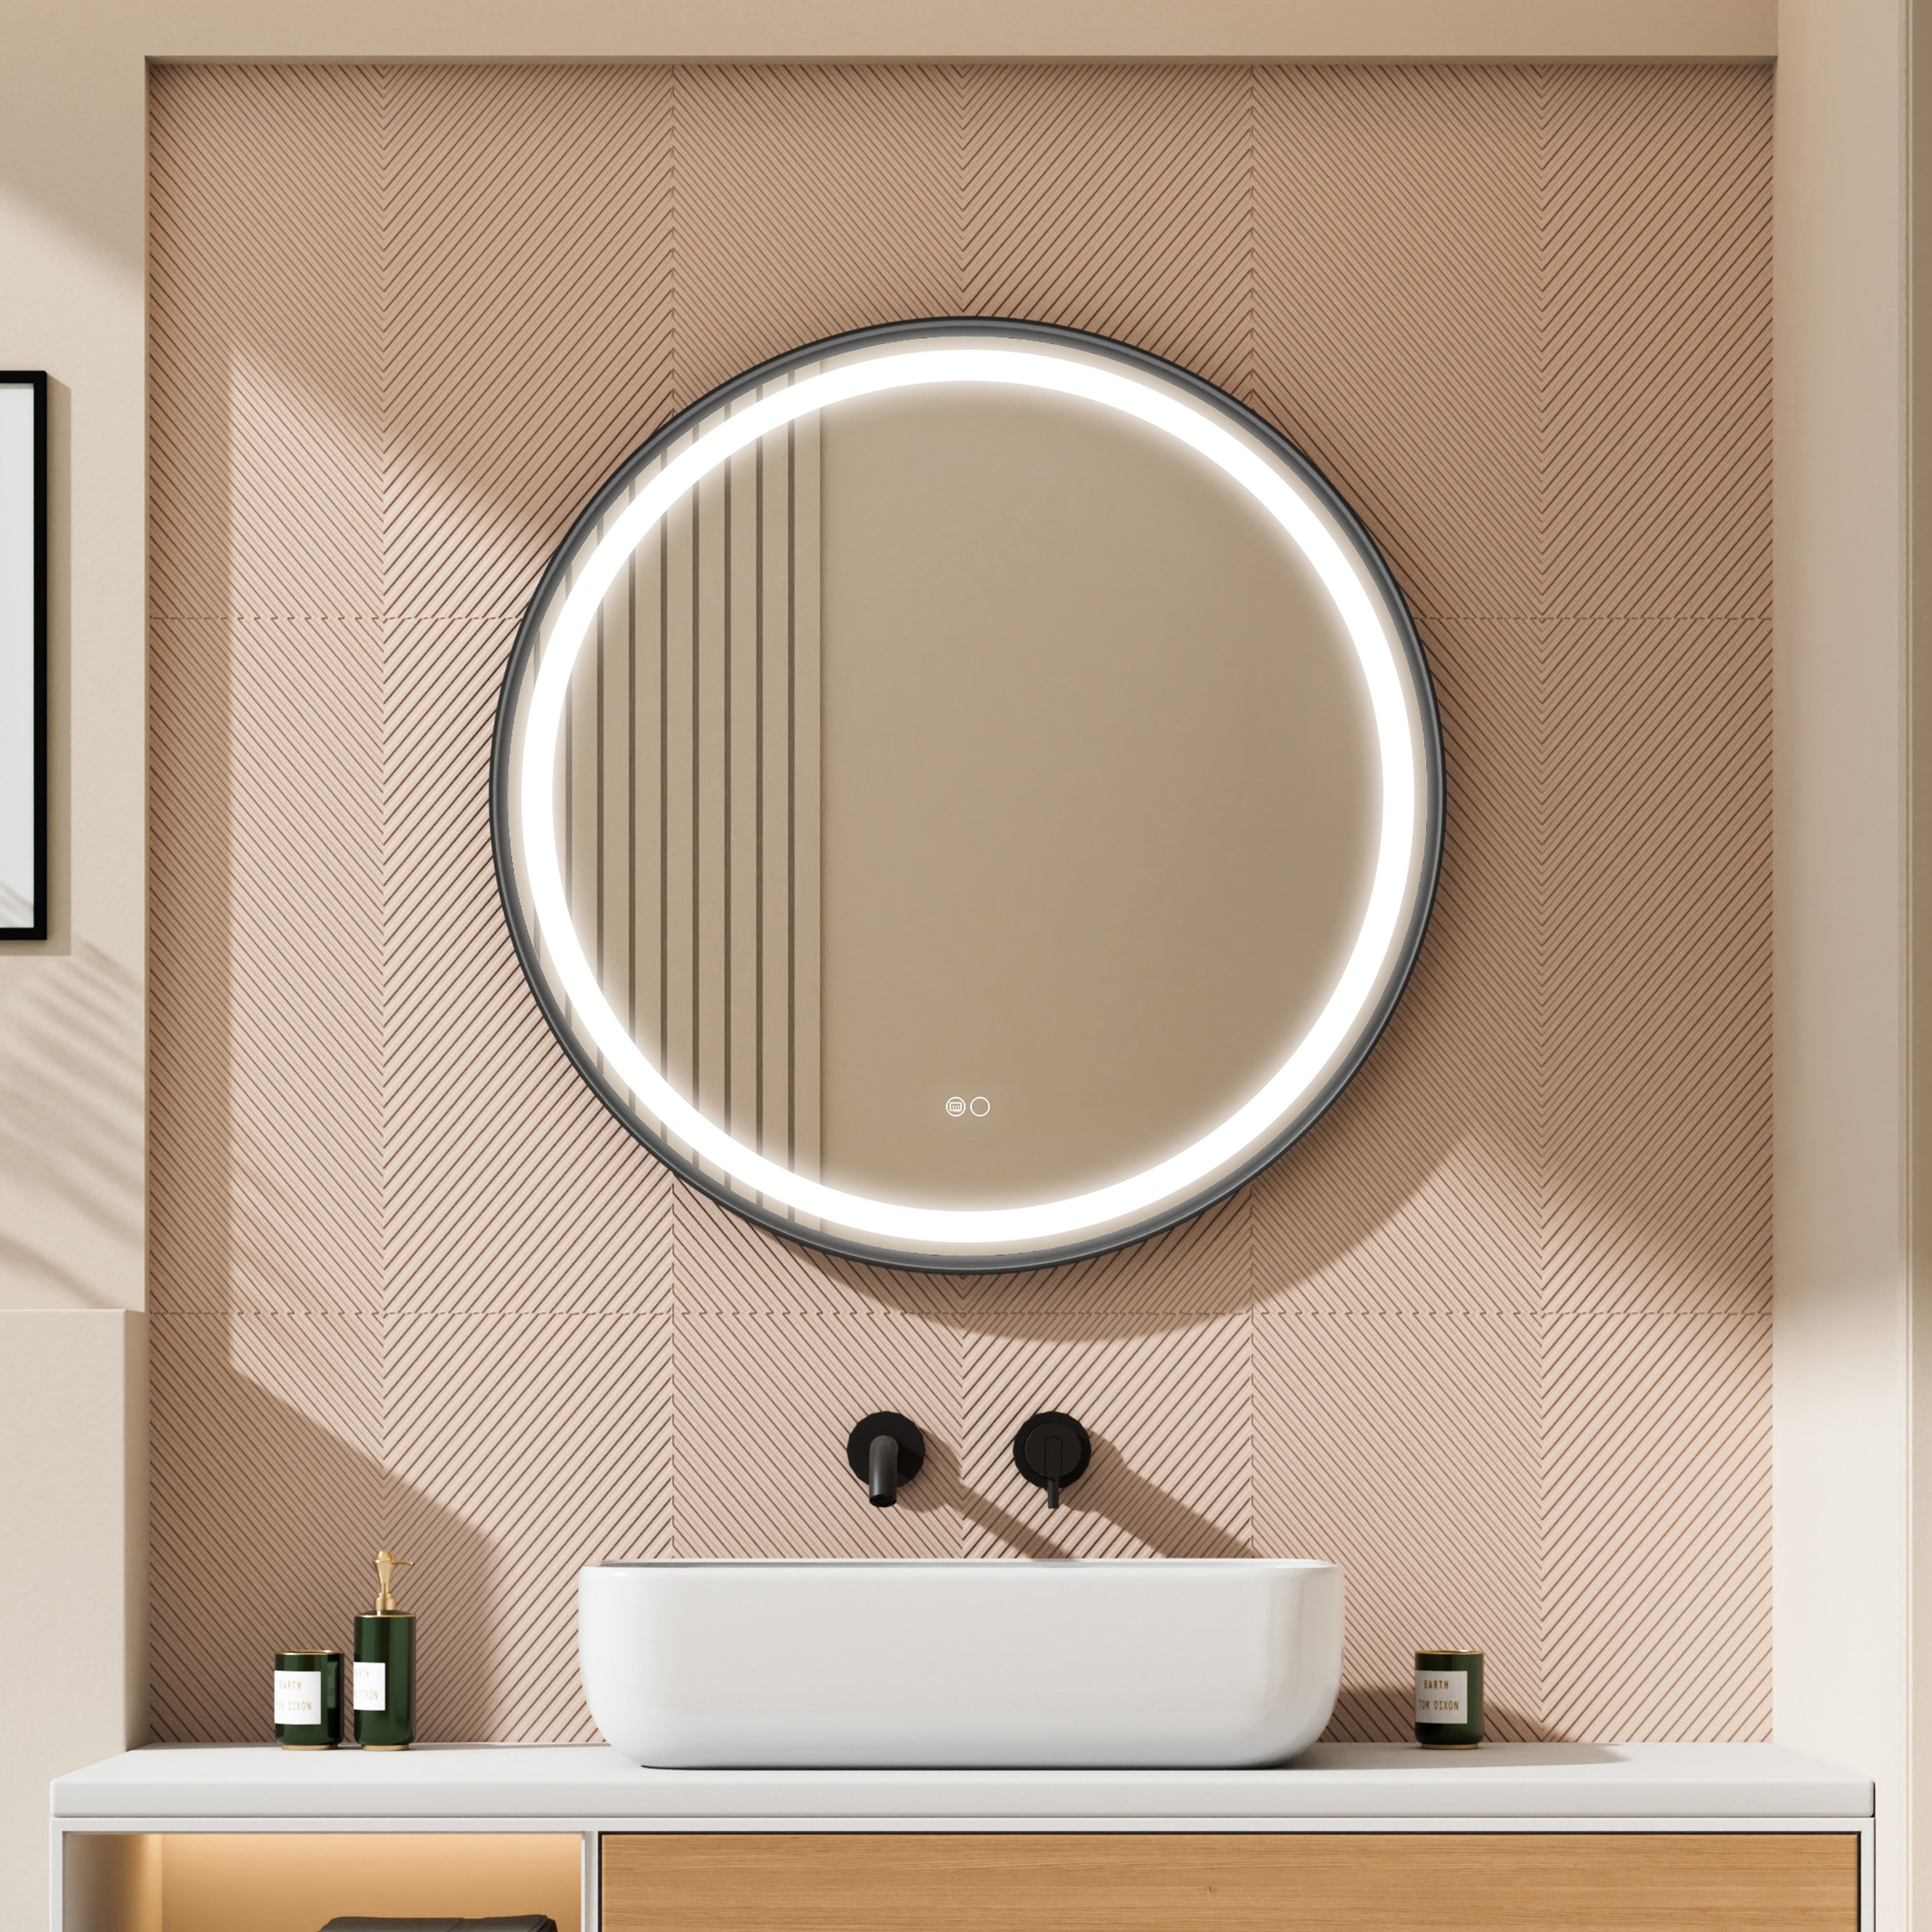
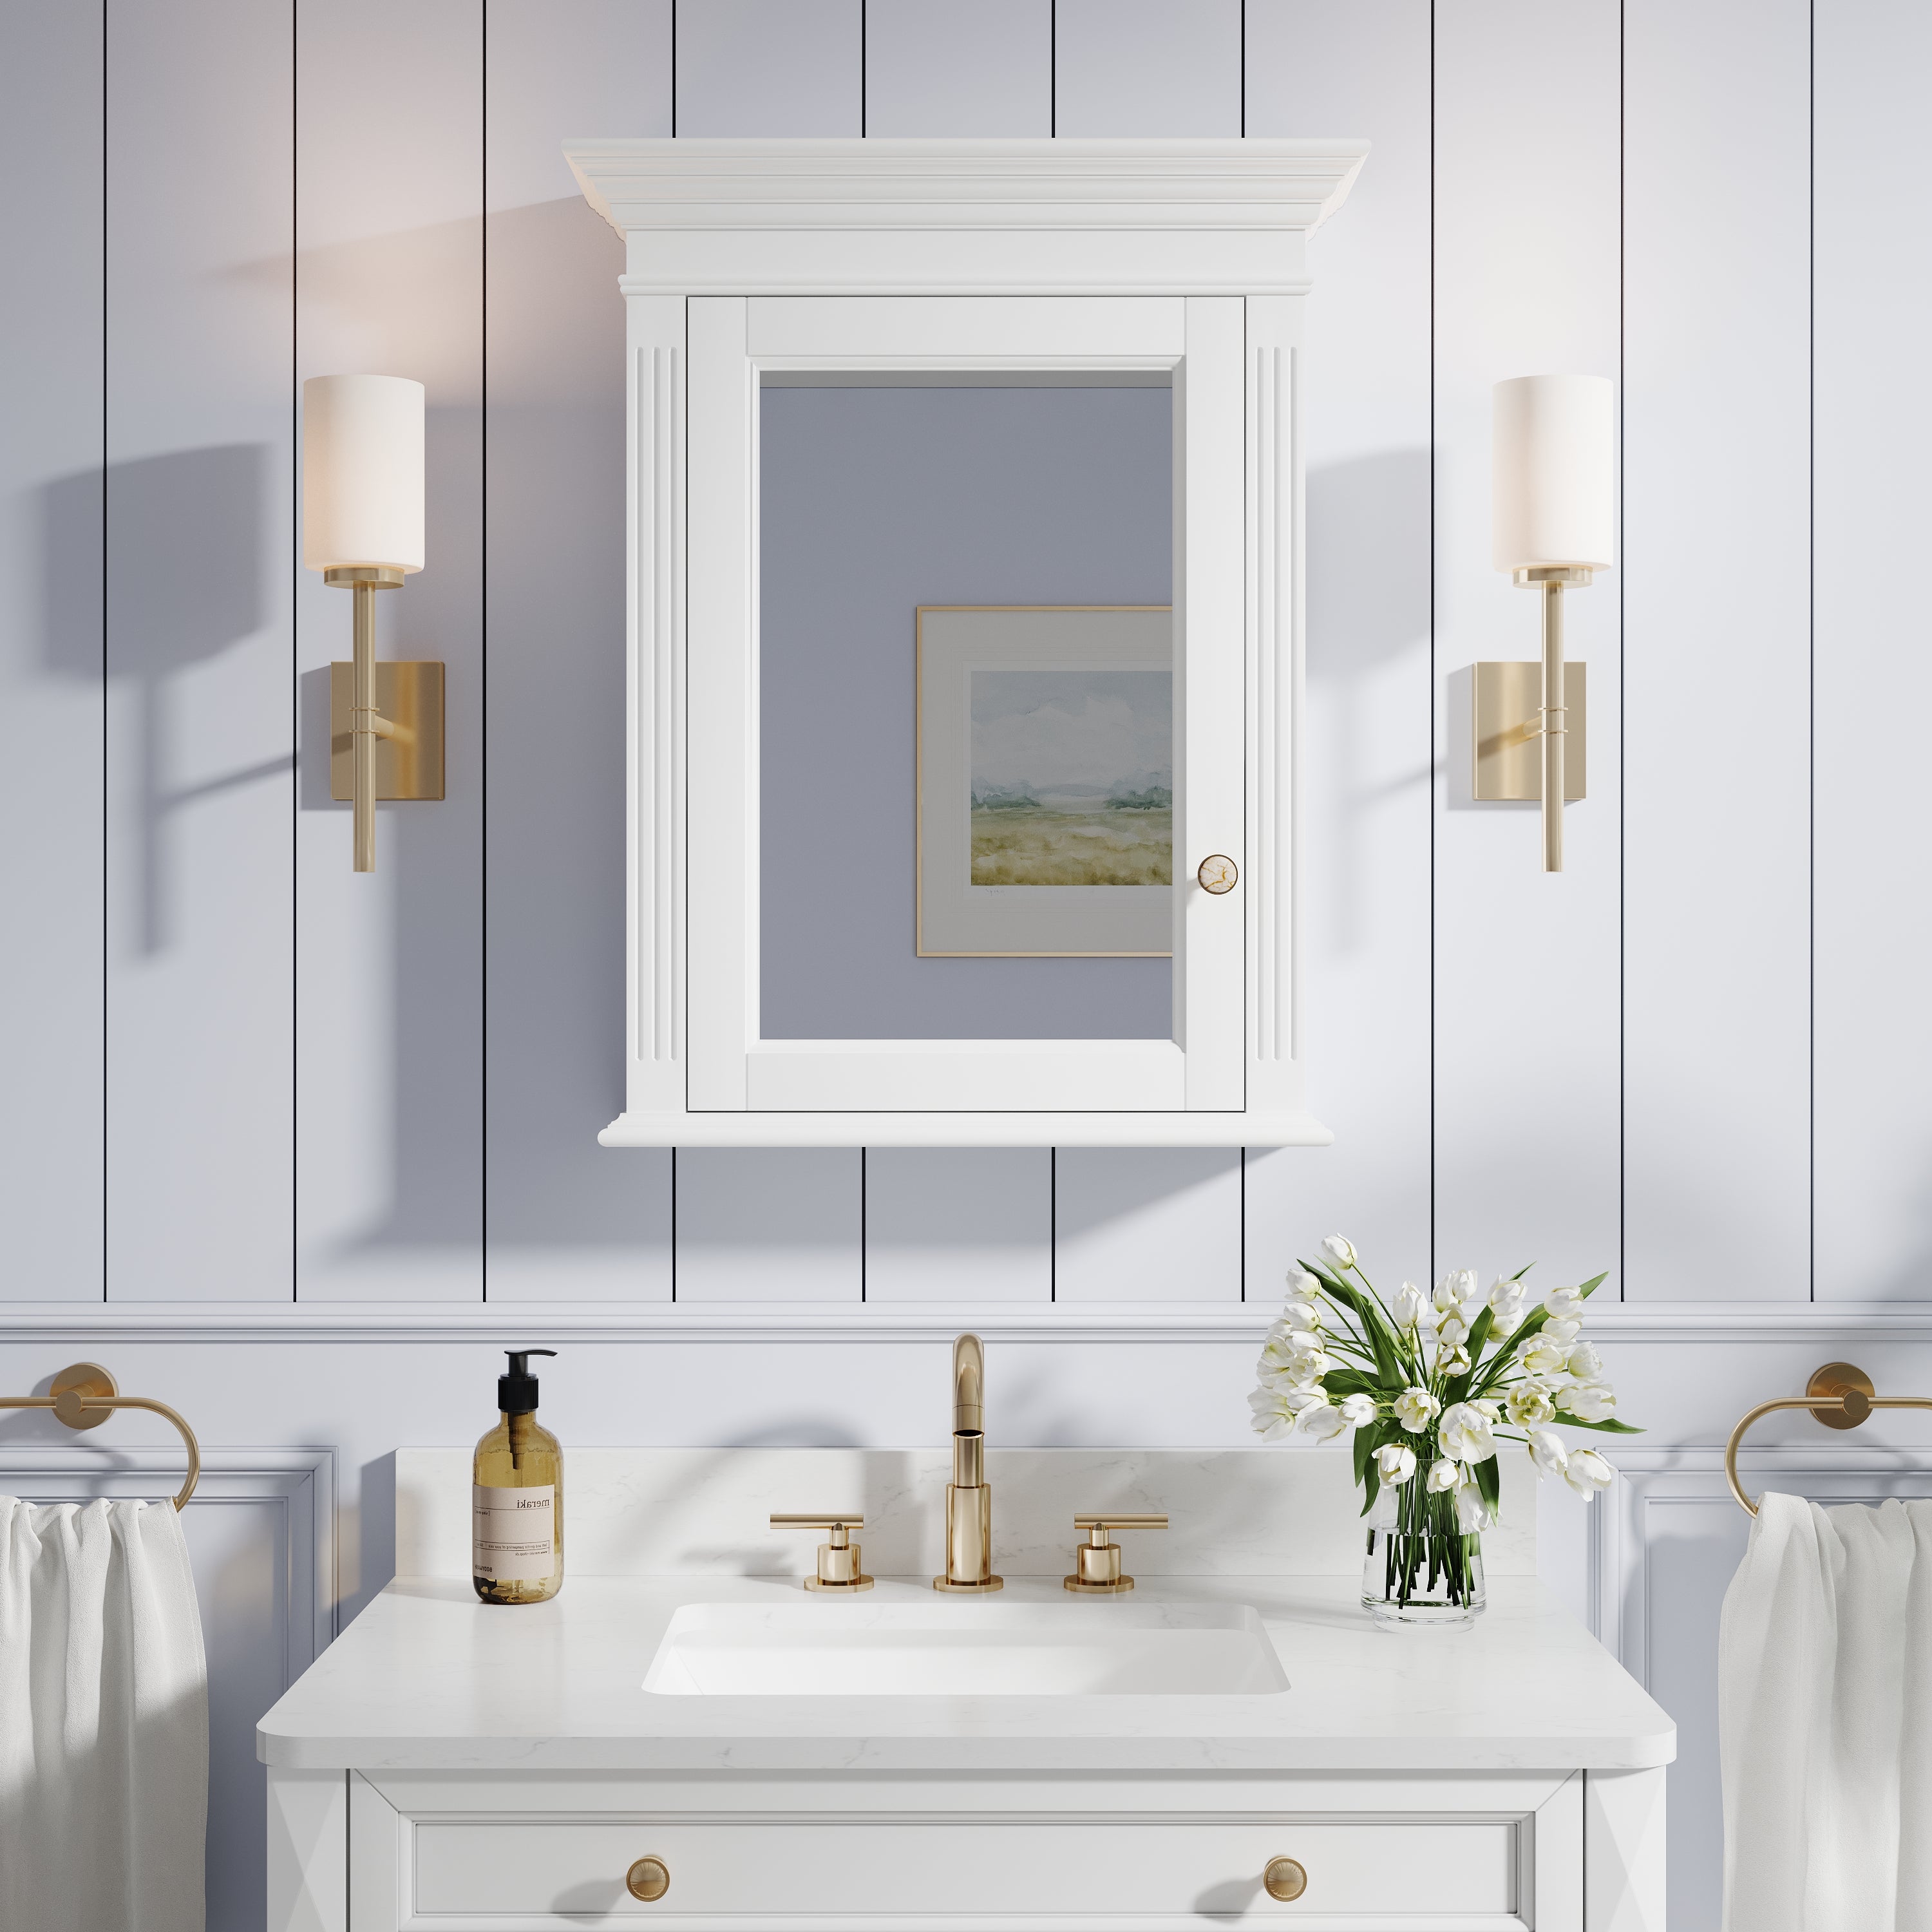
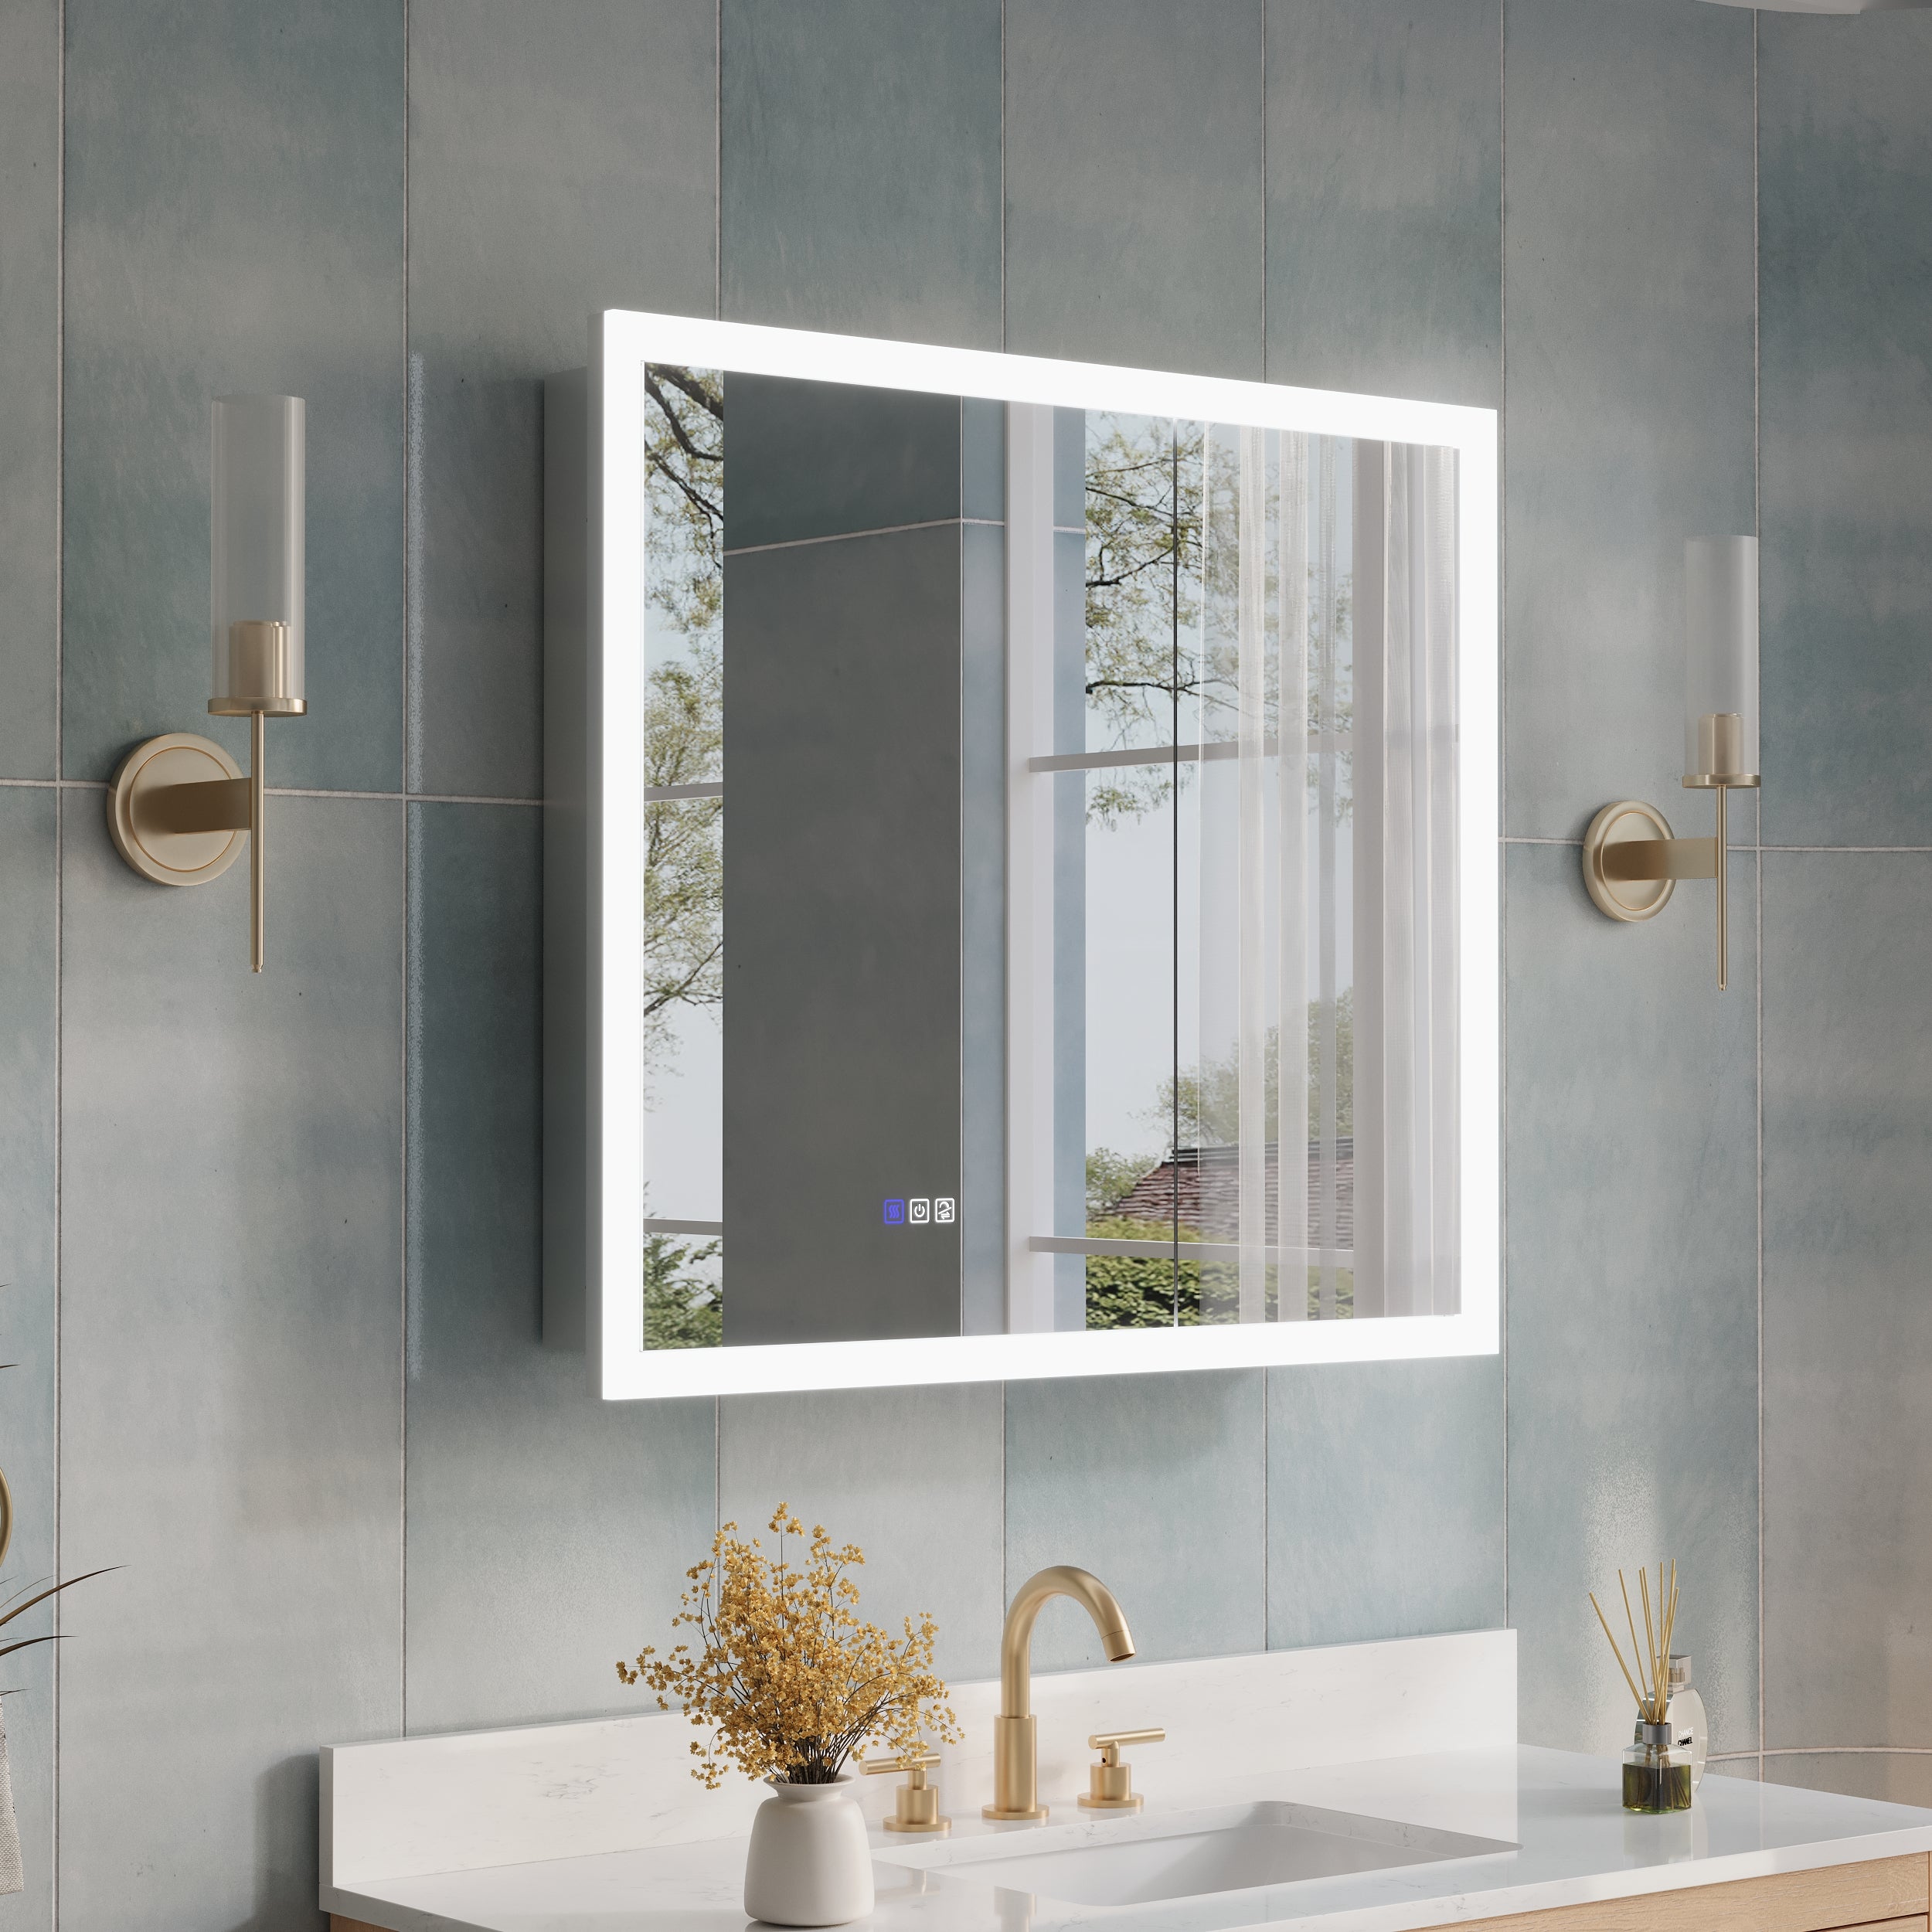
In recent years, mirror lights have become the norm in bathroom design. It not only provides basic lighting but also optimizes facial visibility in grooming, shaving, skincare, and makeup scenes, improves light and shadow distribution, and enhances the bathroom experience, making it more professional and comfortable. According to industry research, mirror products with LED lighting for bathroom lighting equipment have seen significant growth and are expected to maintain high demand in the coming years (source: Statista.com). Meanwhile, user feedback from multiple home design platforms indicates that people are increasingly valuing the combination of bathroom lighting and functional use (source: Houzz.com).
However, for those preparing to replace or install the illuminated mirror for the first time, issues such as installation method, wiring safety, size and positioning, wall-hanging height, and moisture-proof measures are often more critical than "choosing what style". This article will provide a detailed analysis from four aspects — pre-installation planning, installation steps, wiring precautions, and post-use maintenance — to help install mirrors with lights correctly, safely, and stably in the bathroom.
1. Pre installation planning: precise measurement and spatial layout
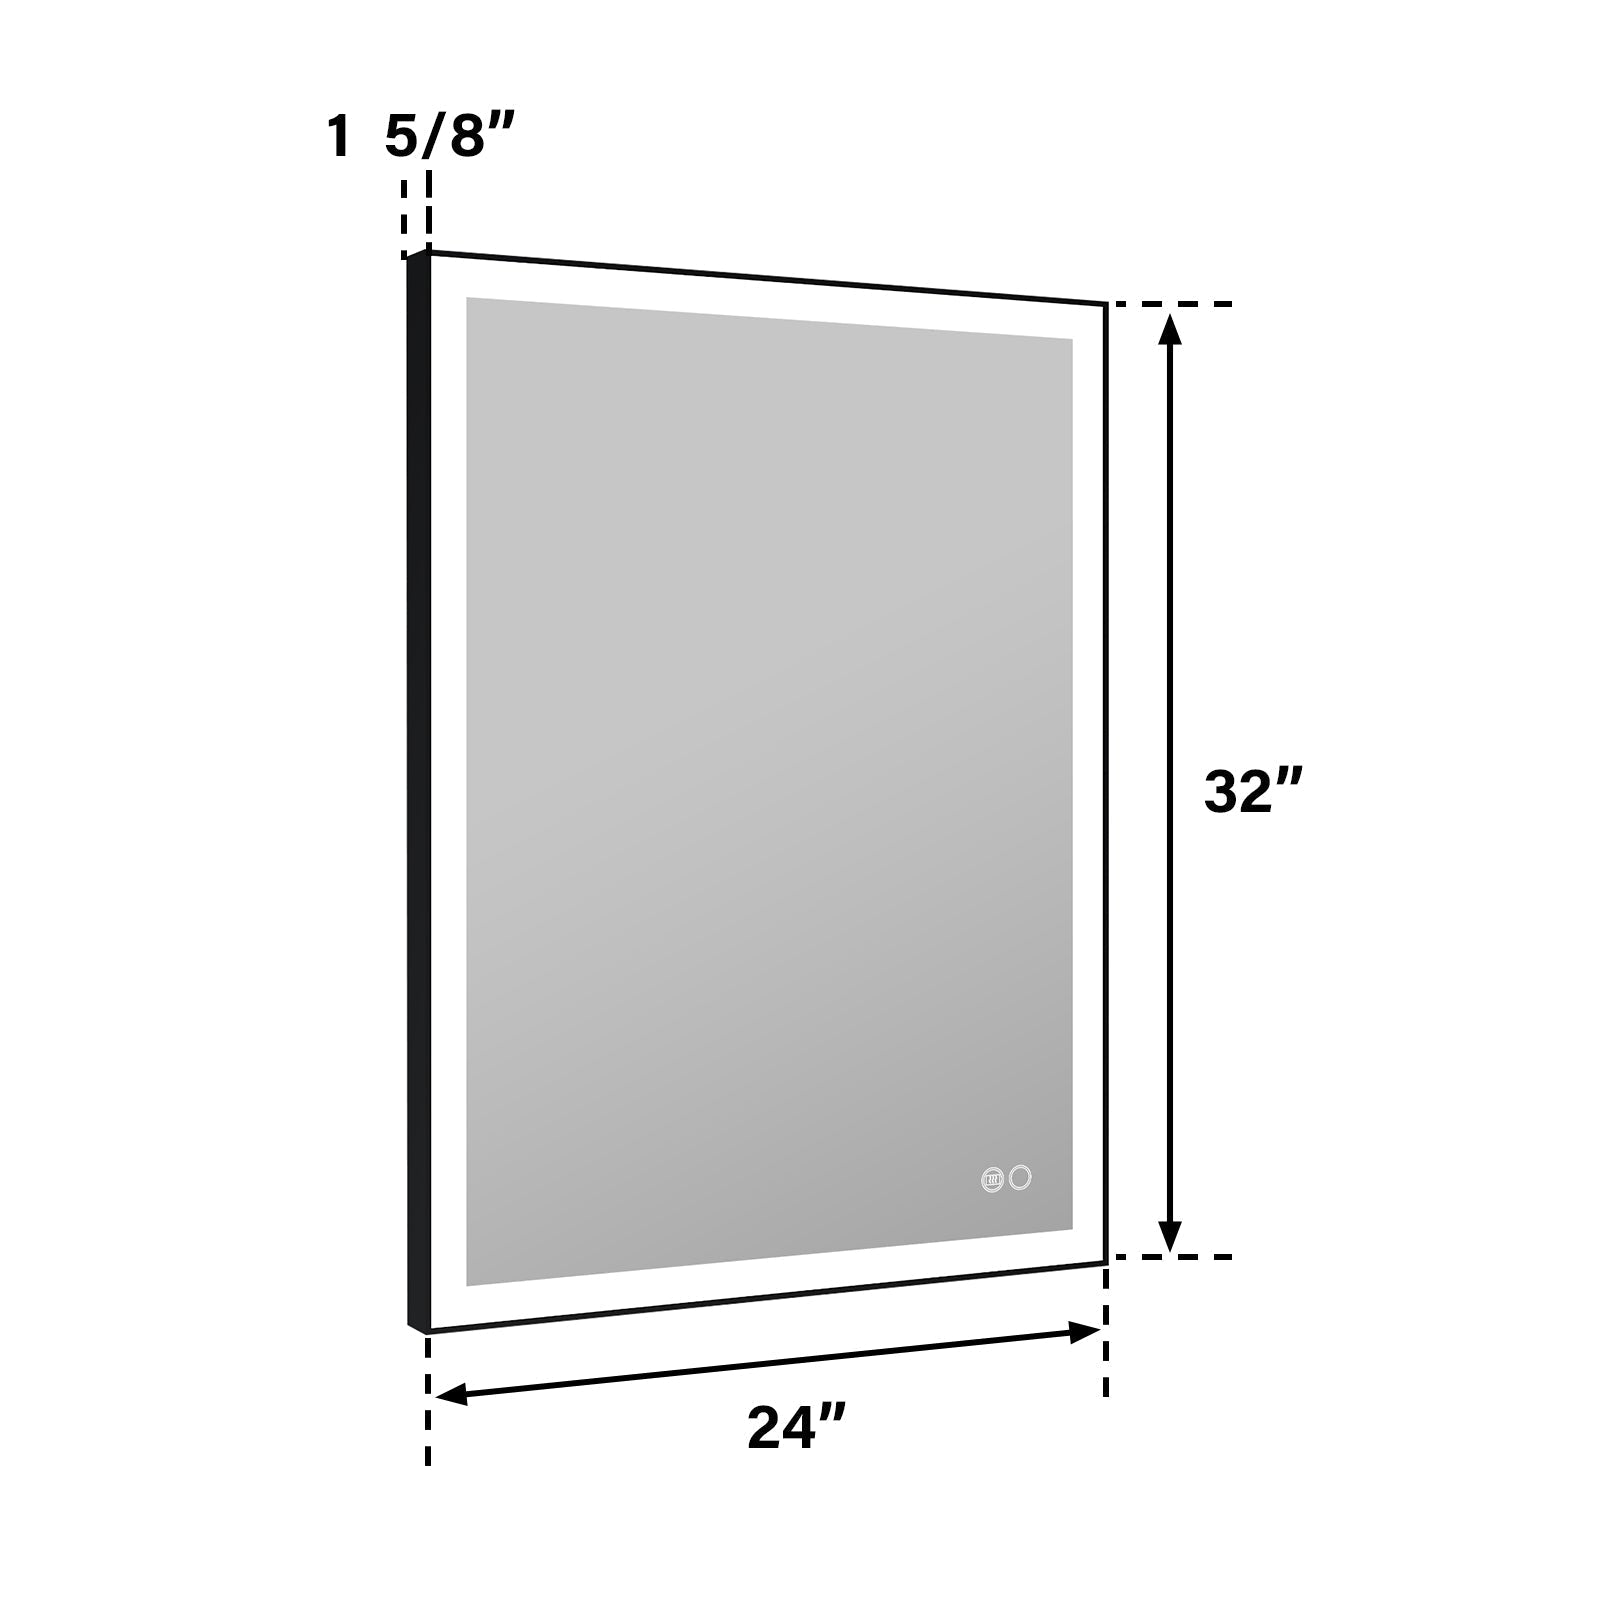
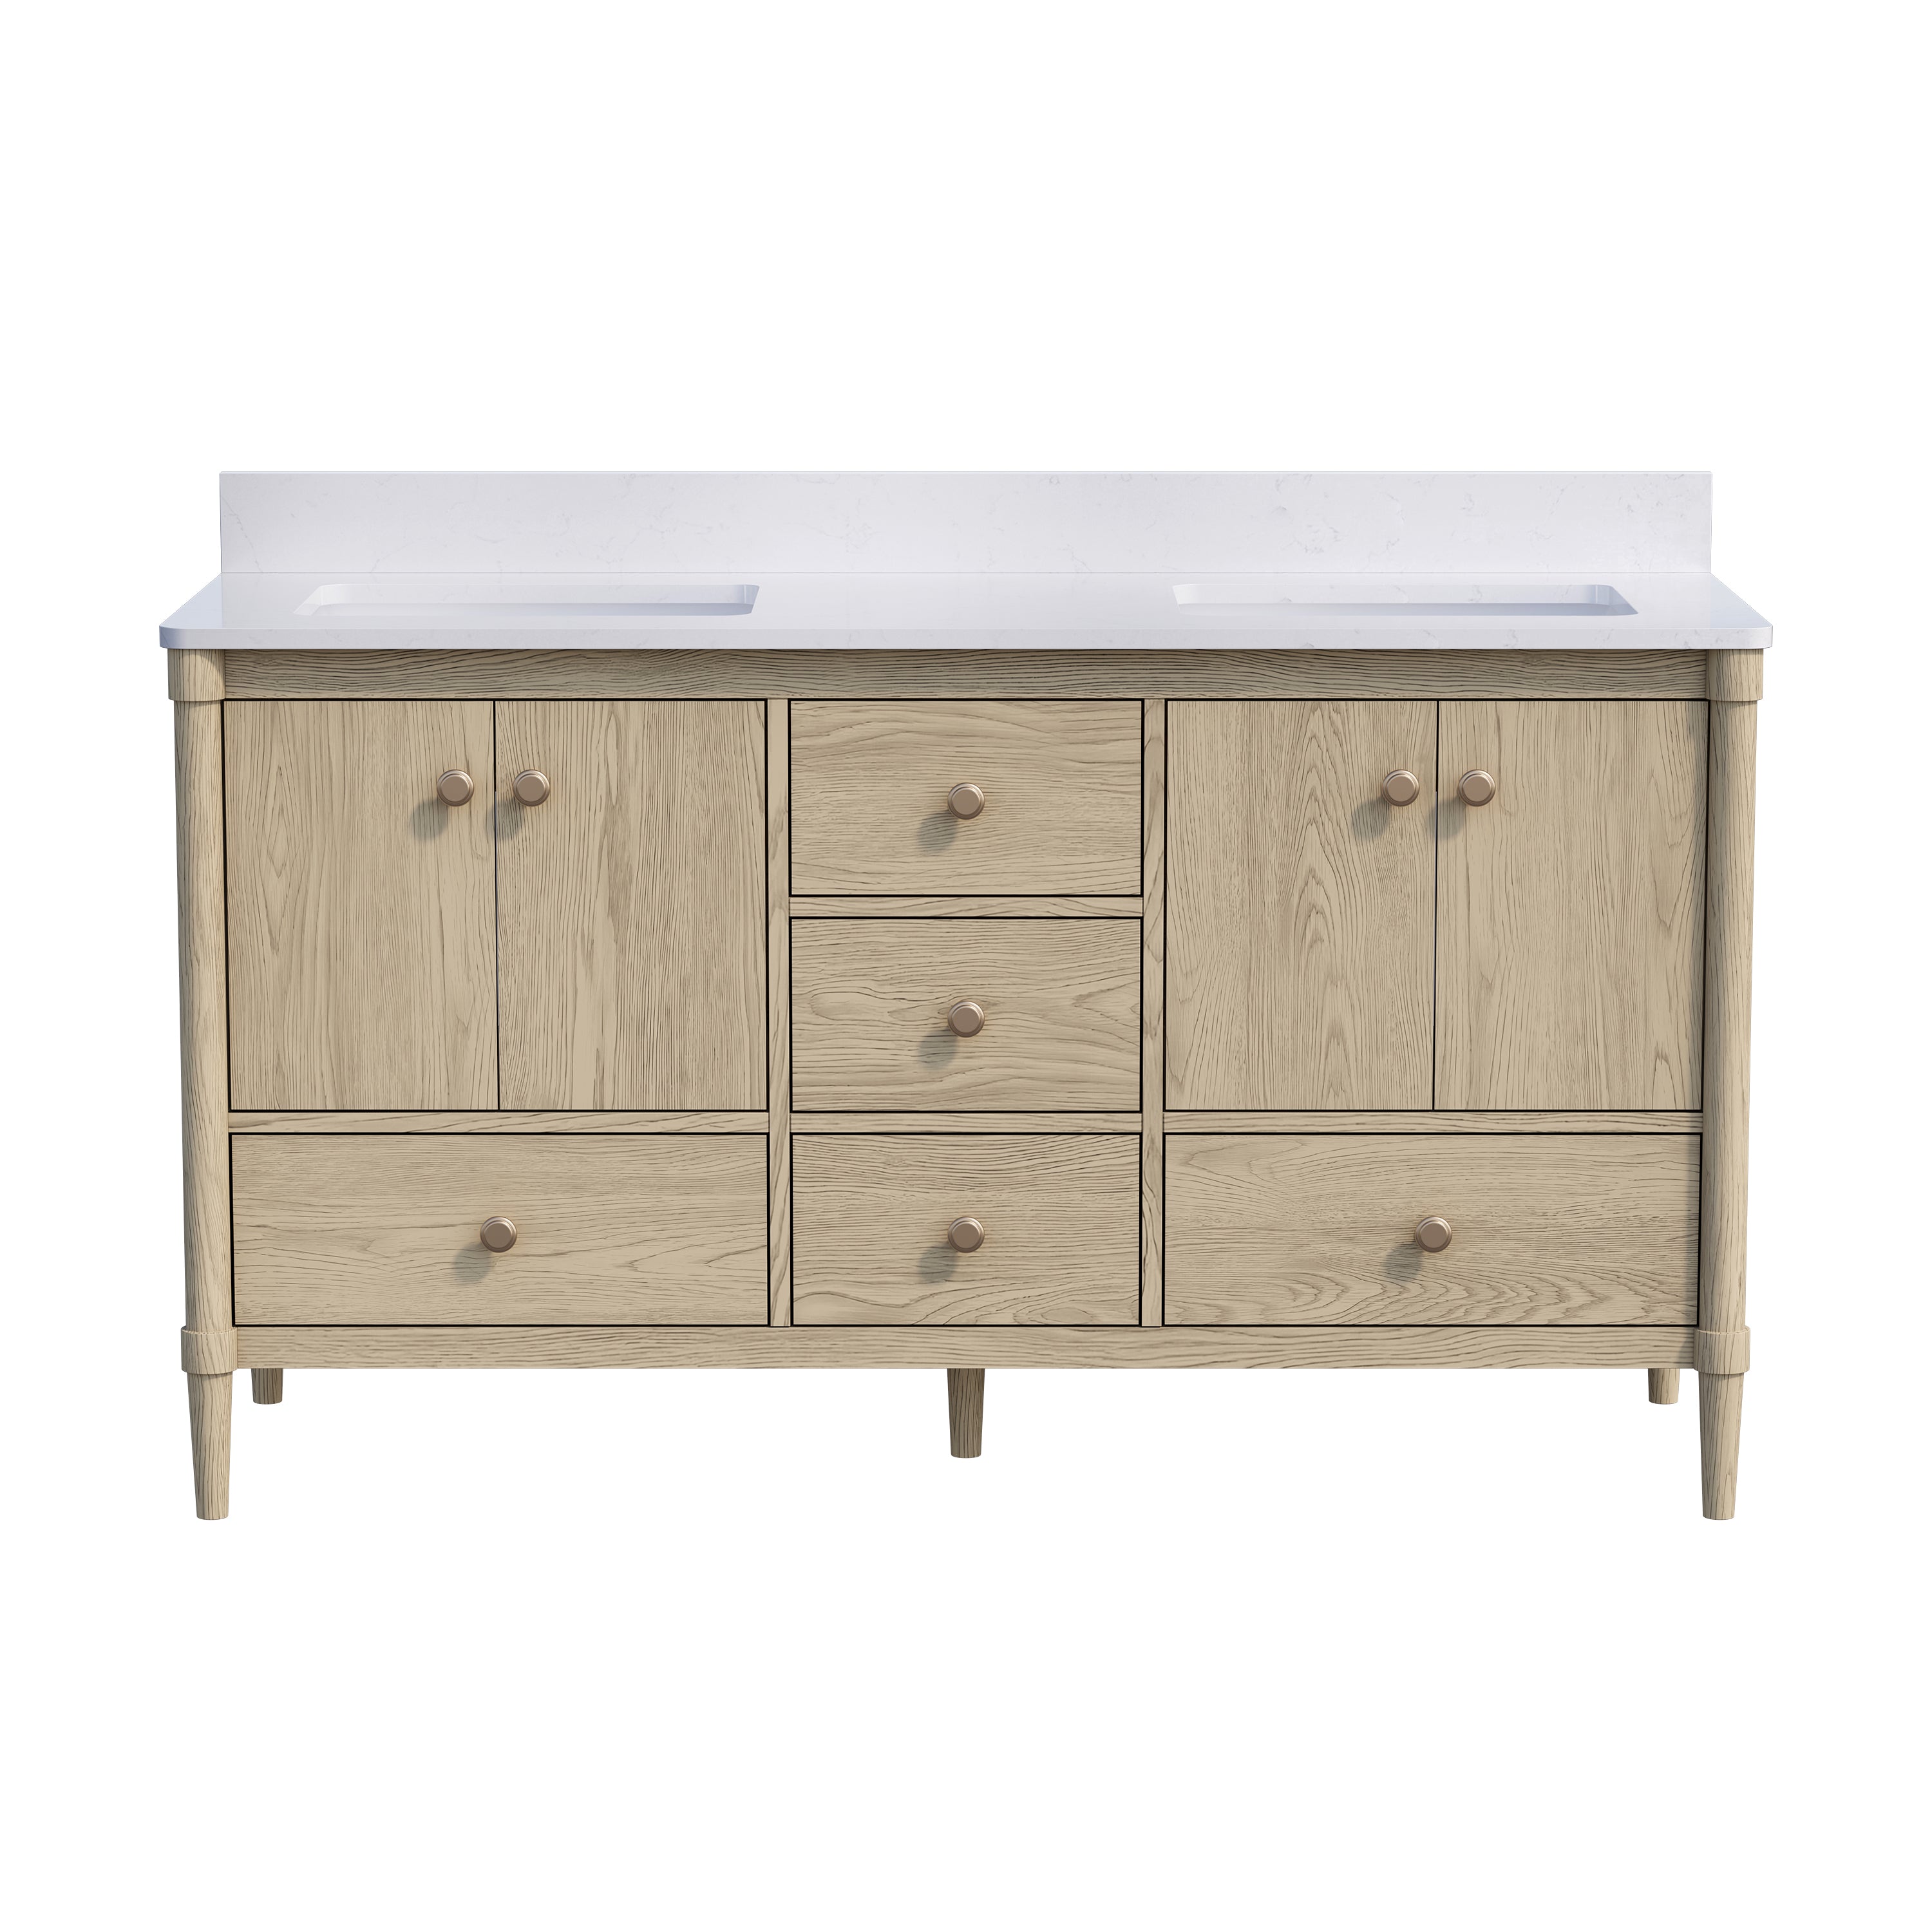
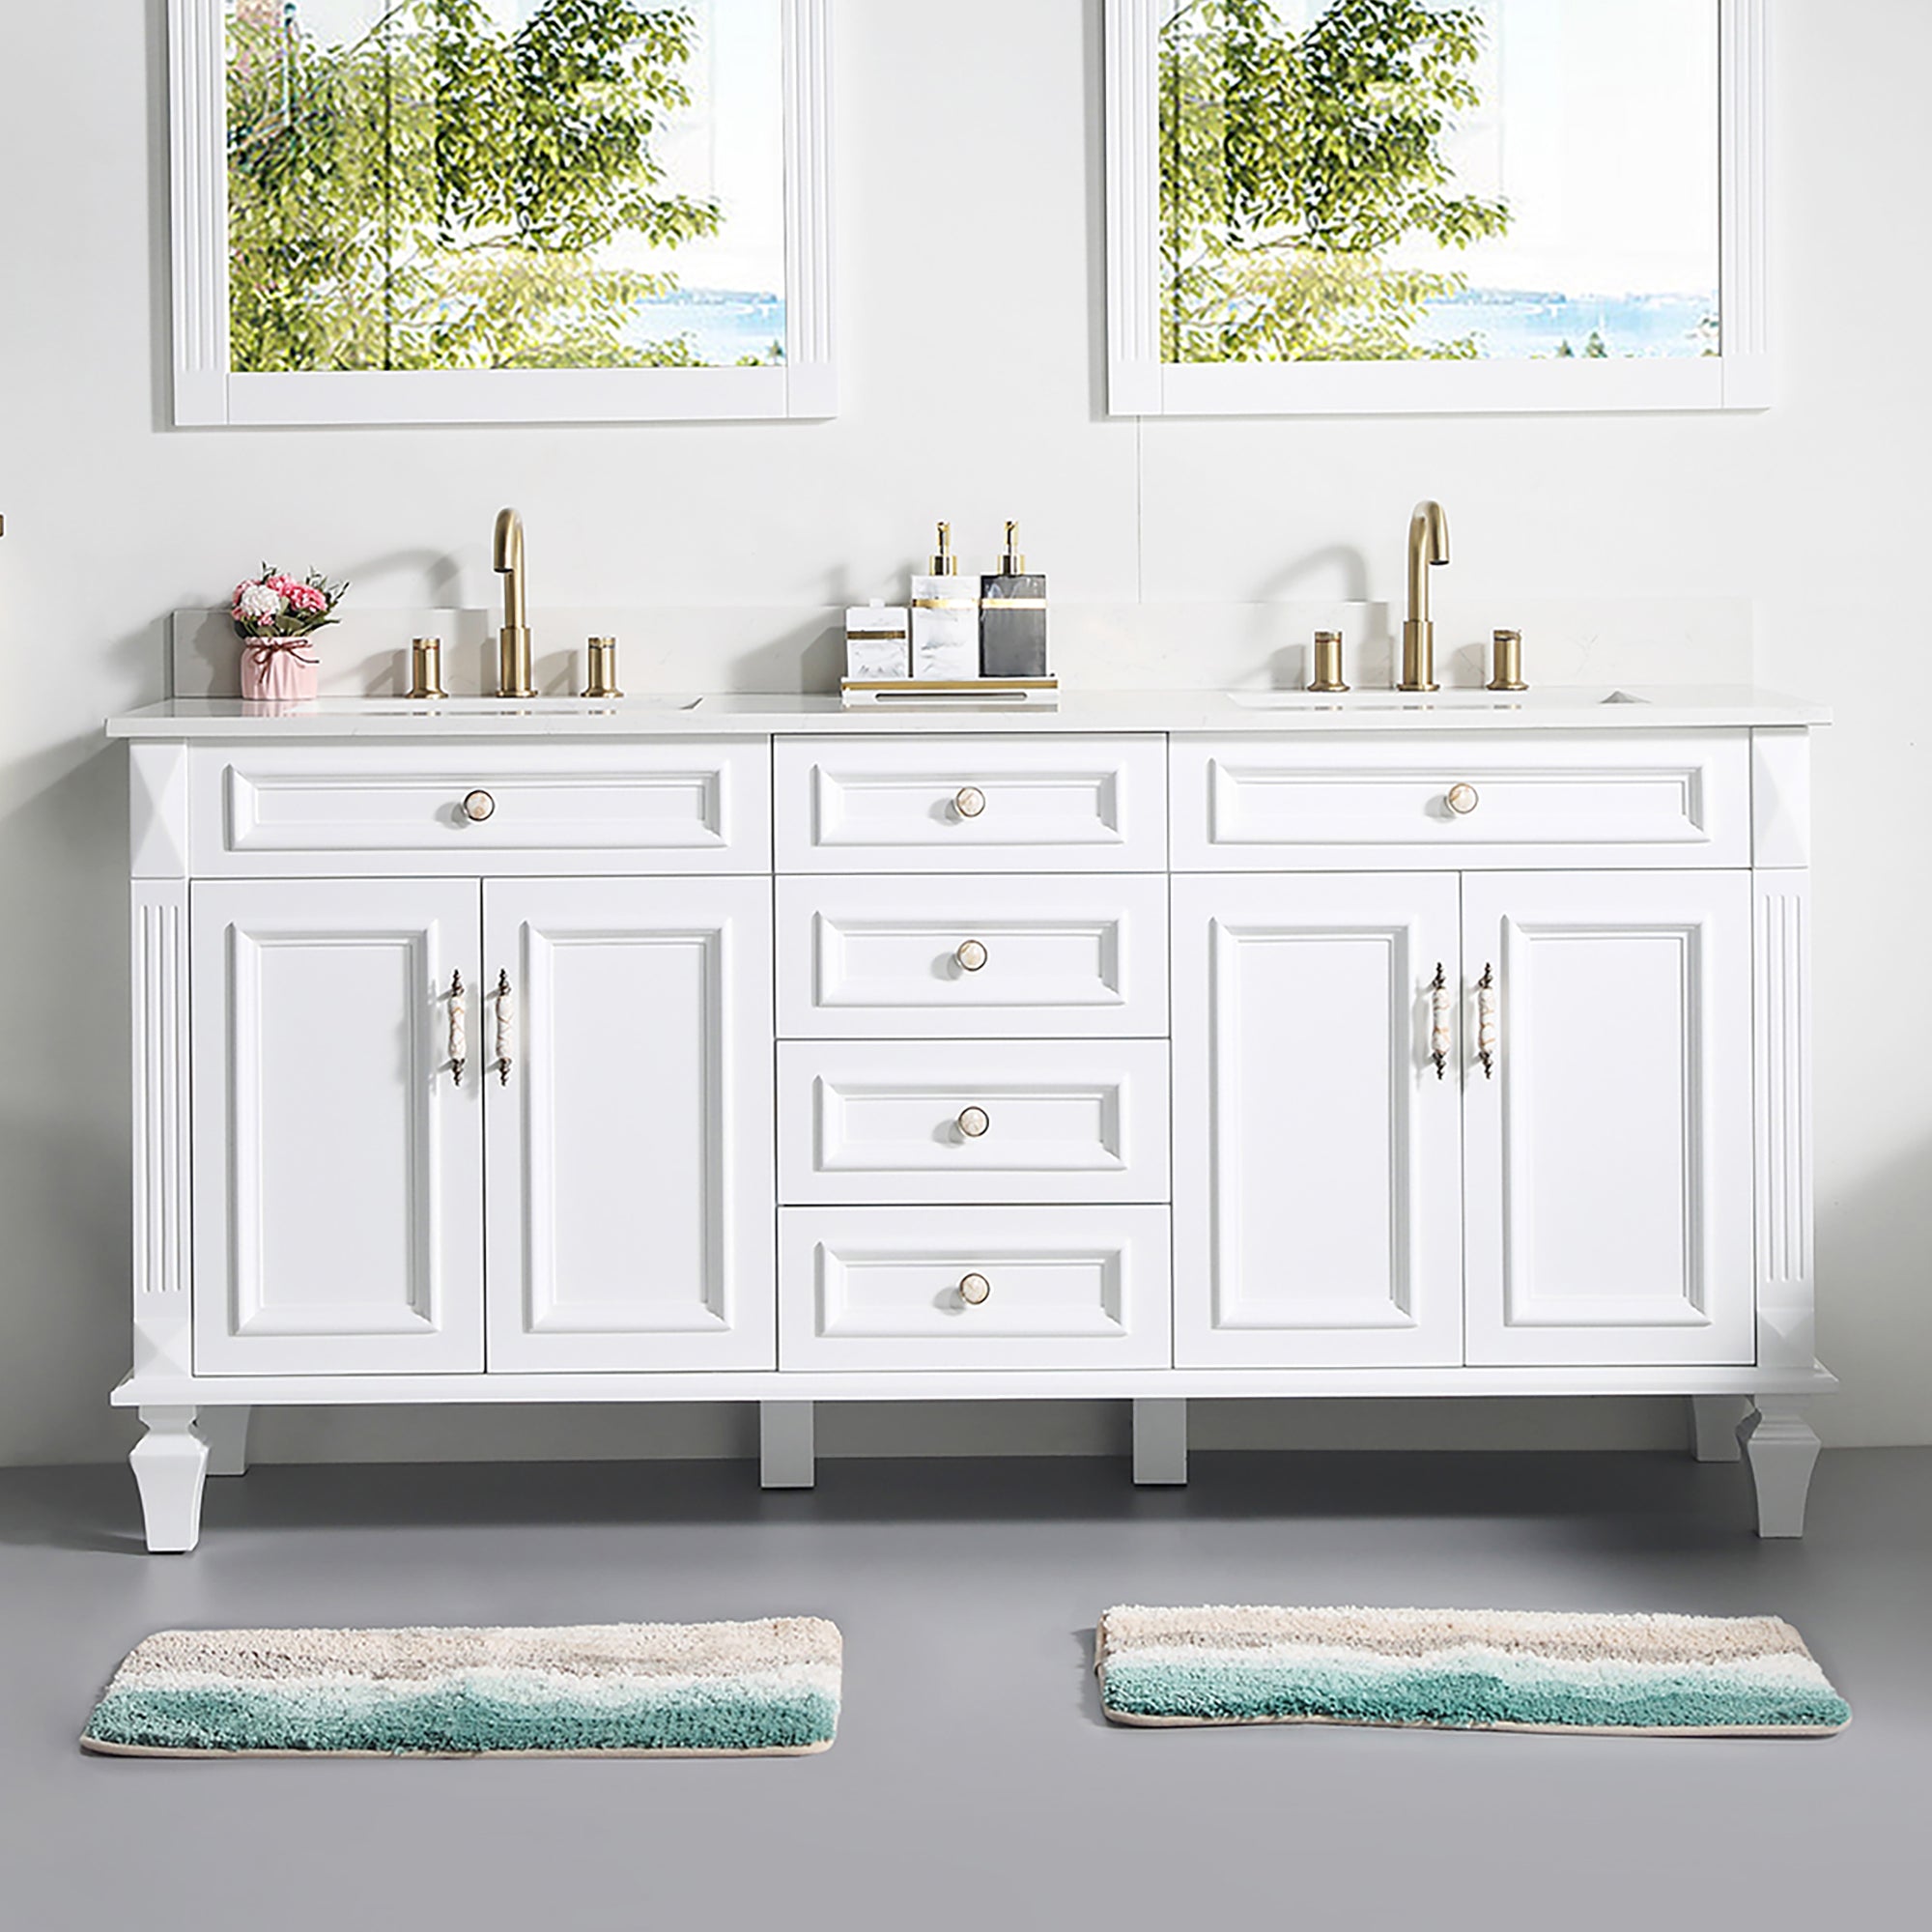
Before officially starting the installation, size confirmation is the primary step. The ratio of mirrors to washbasins directly affects the comfort and visual coordination of use.
The standard size matching suggestions are as follows:
Single washbasin width: 24inch, 30inch, 36inch, 48inch Common
Suggested width of mirror: approximately 70% -100% of the width of the washbasin
For example:
30inch washbasin → 24-30inch mirror
48-inch washbasin → 36-48-inch mirror
Height reference:
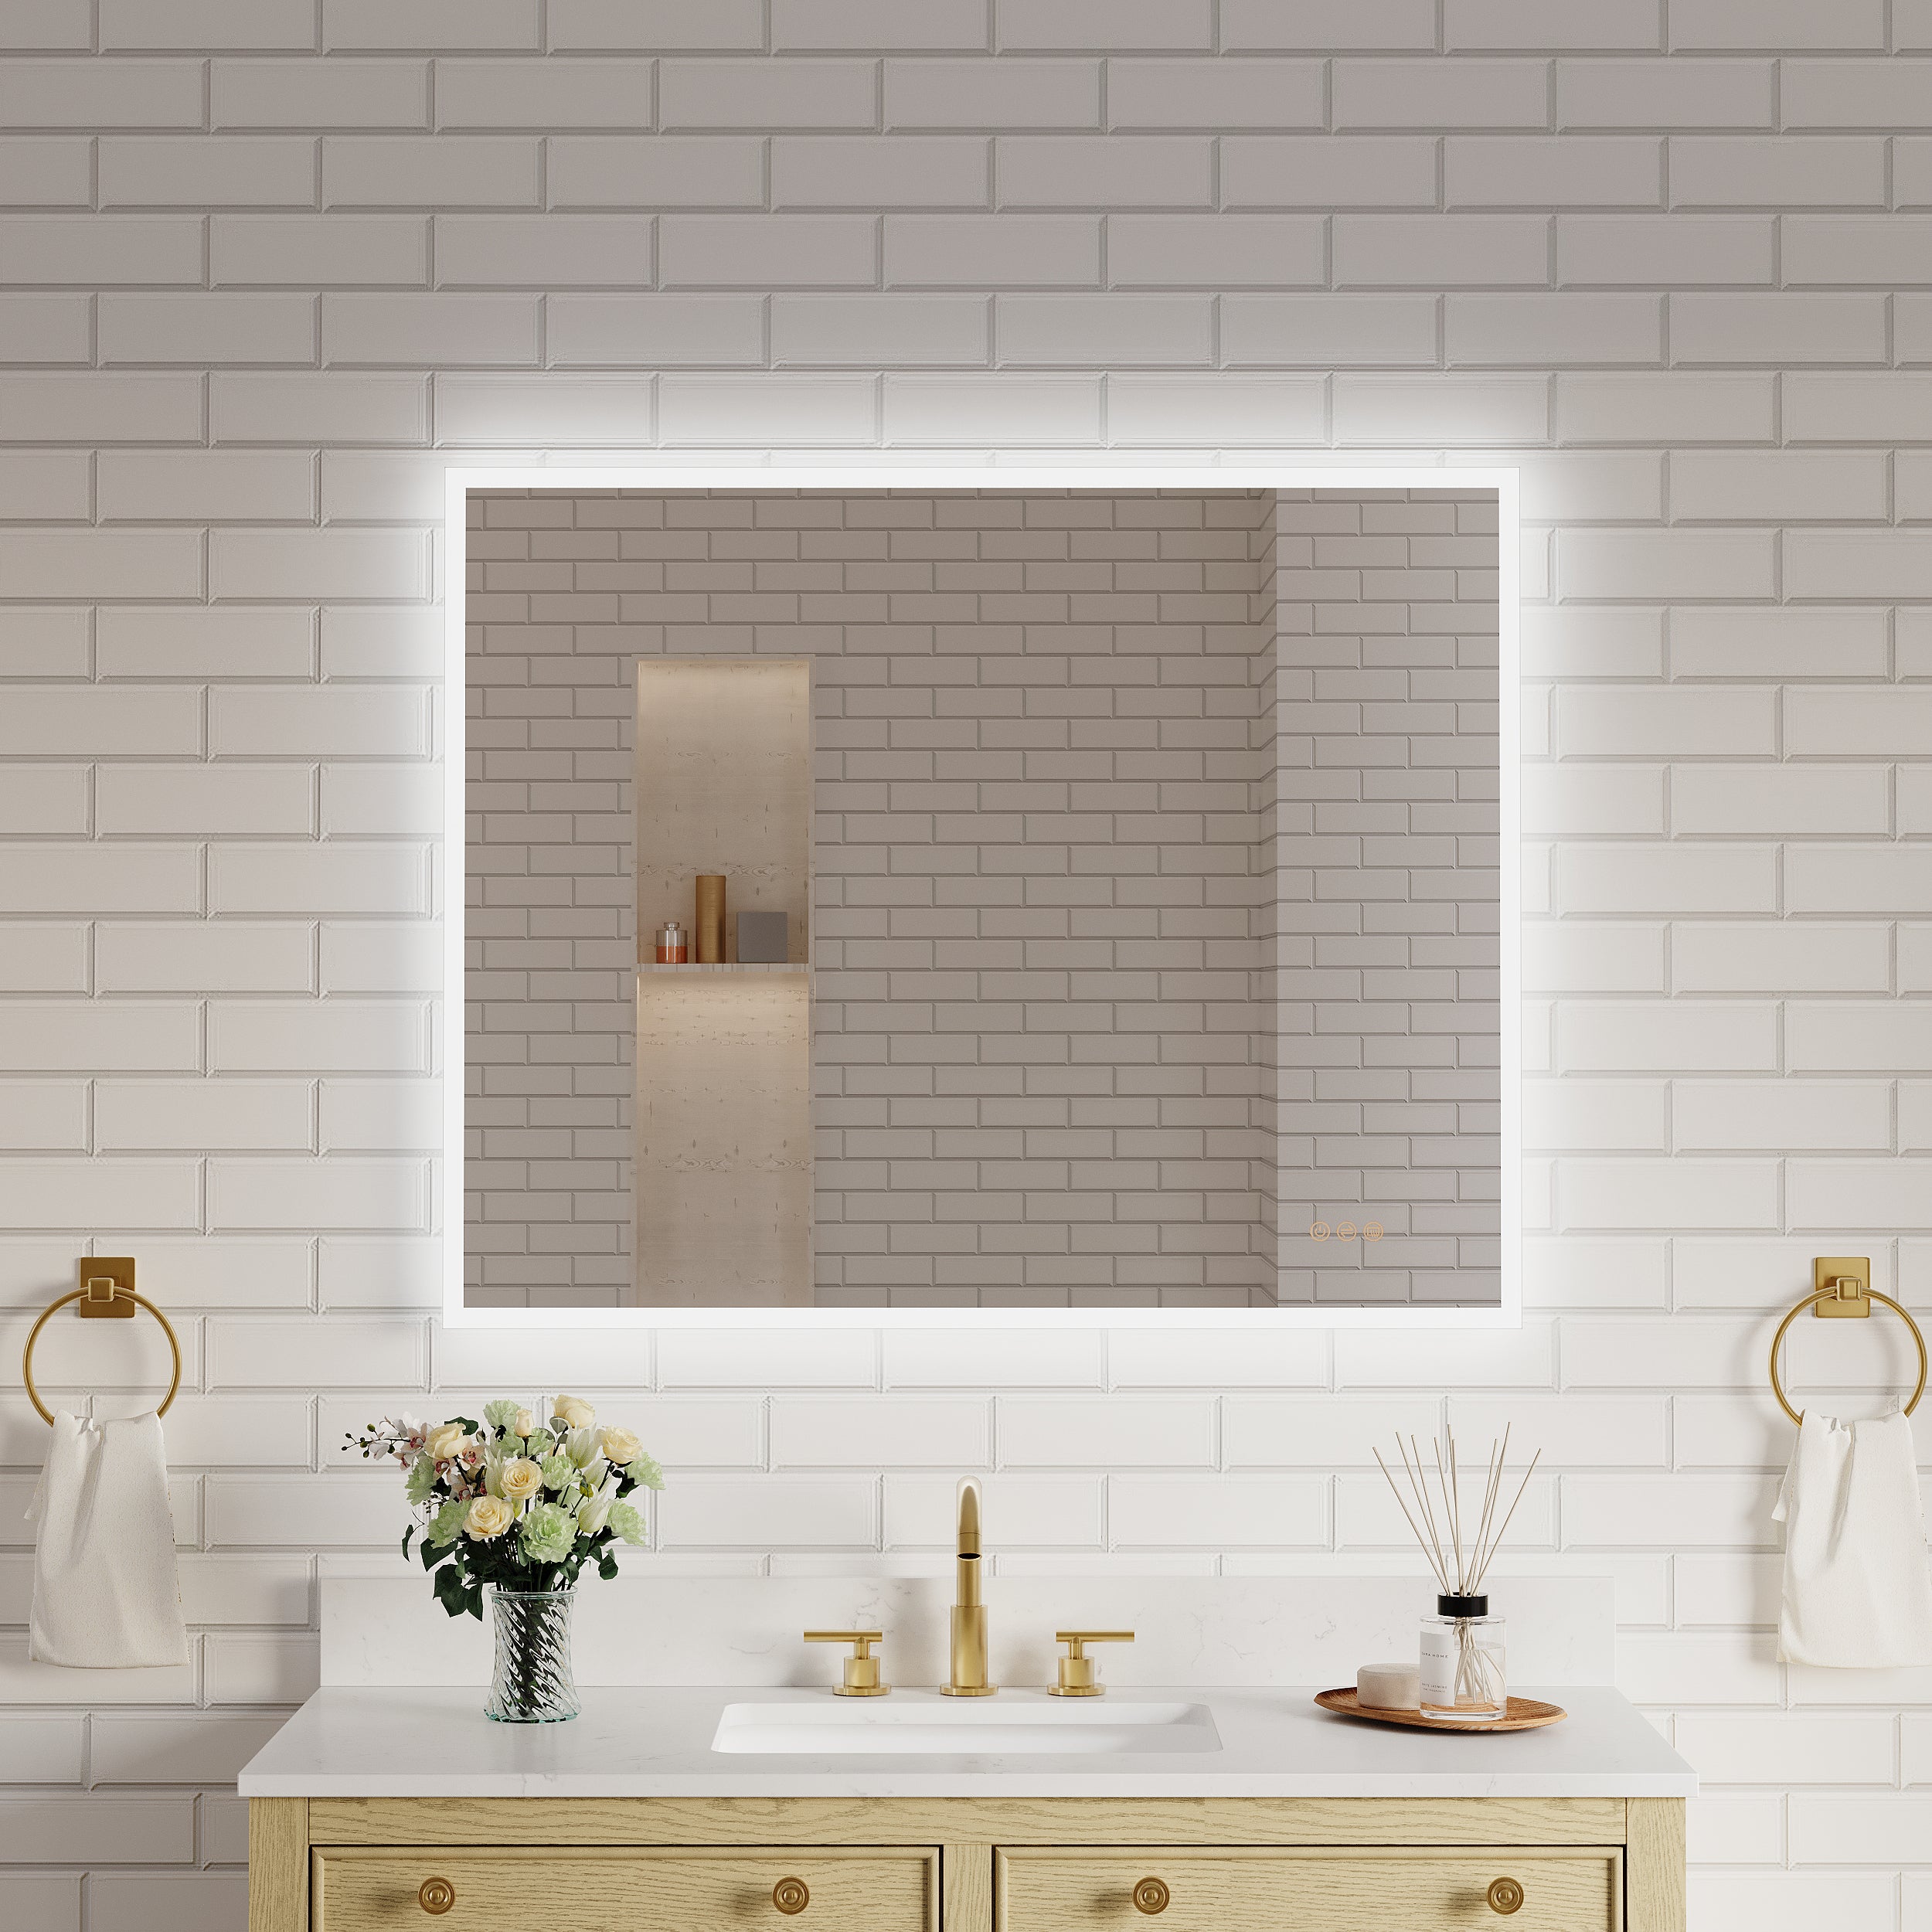
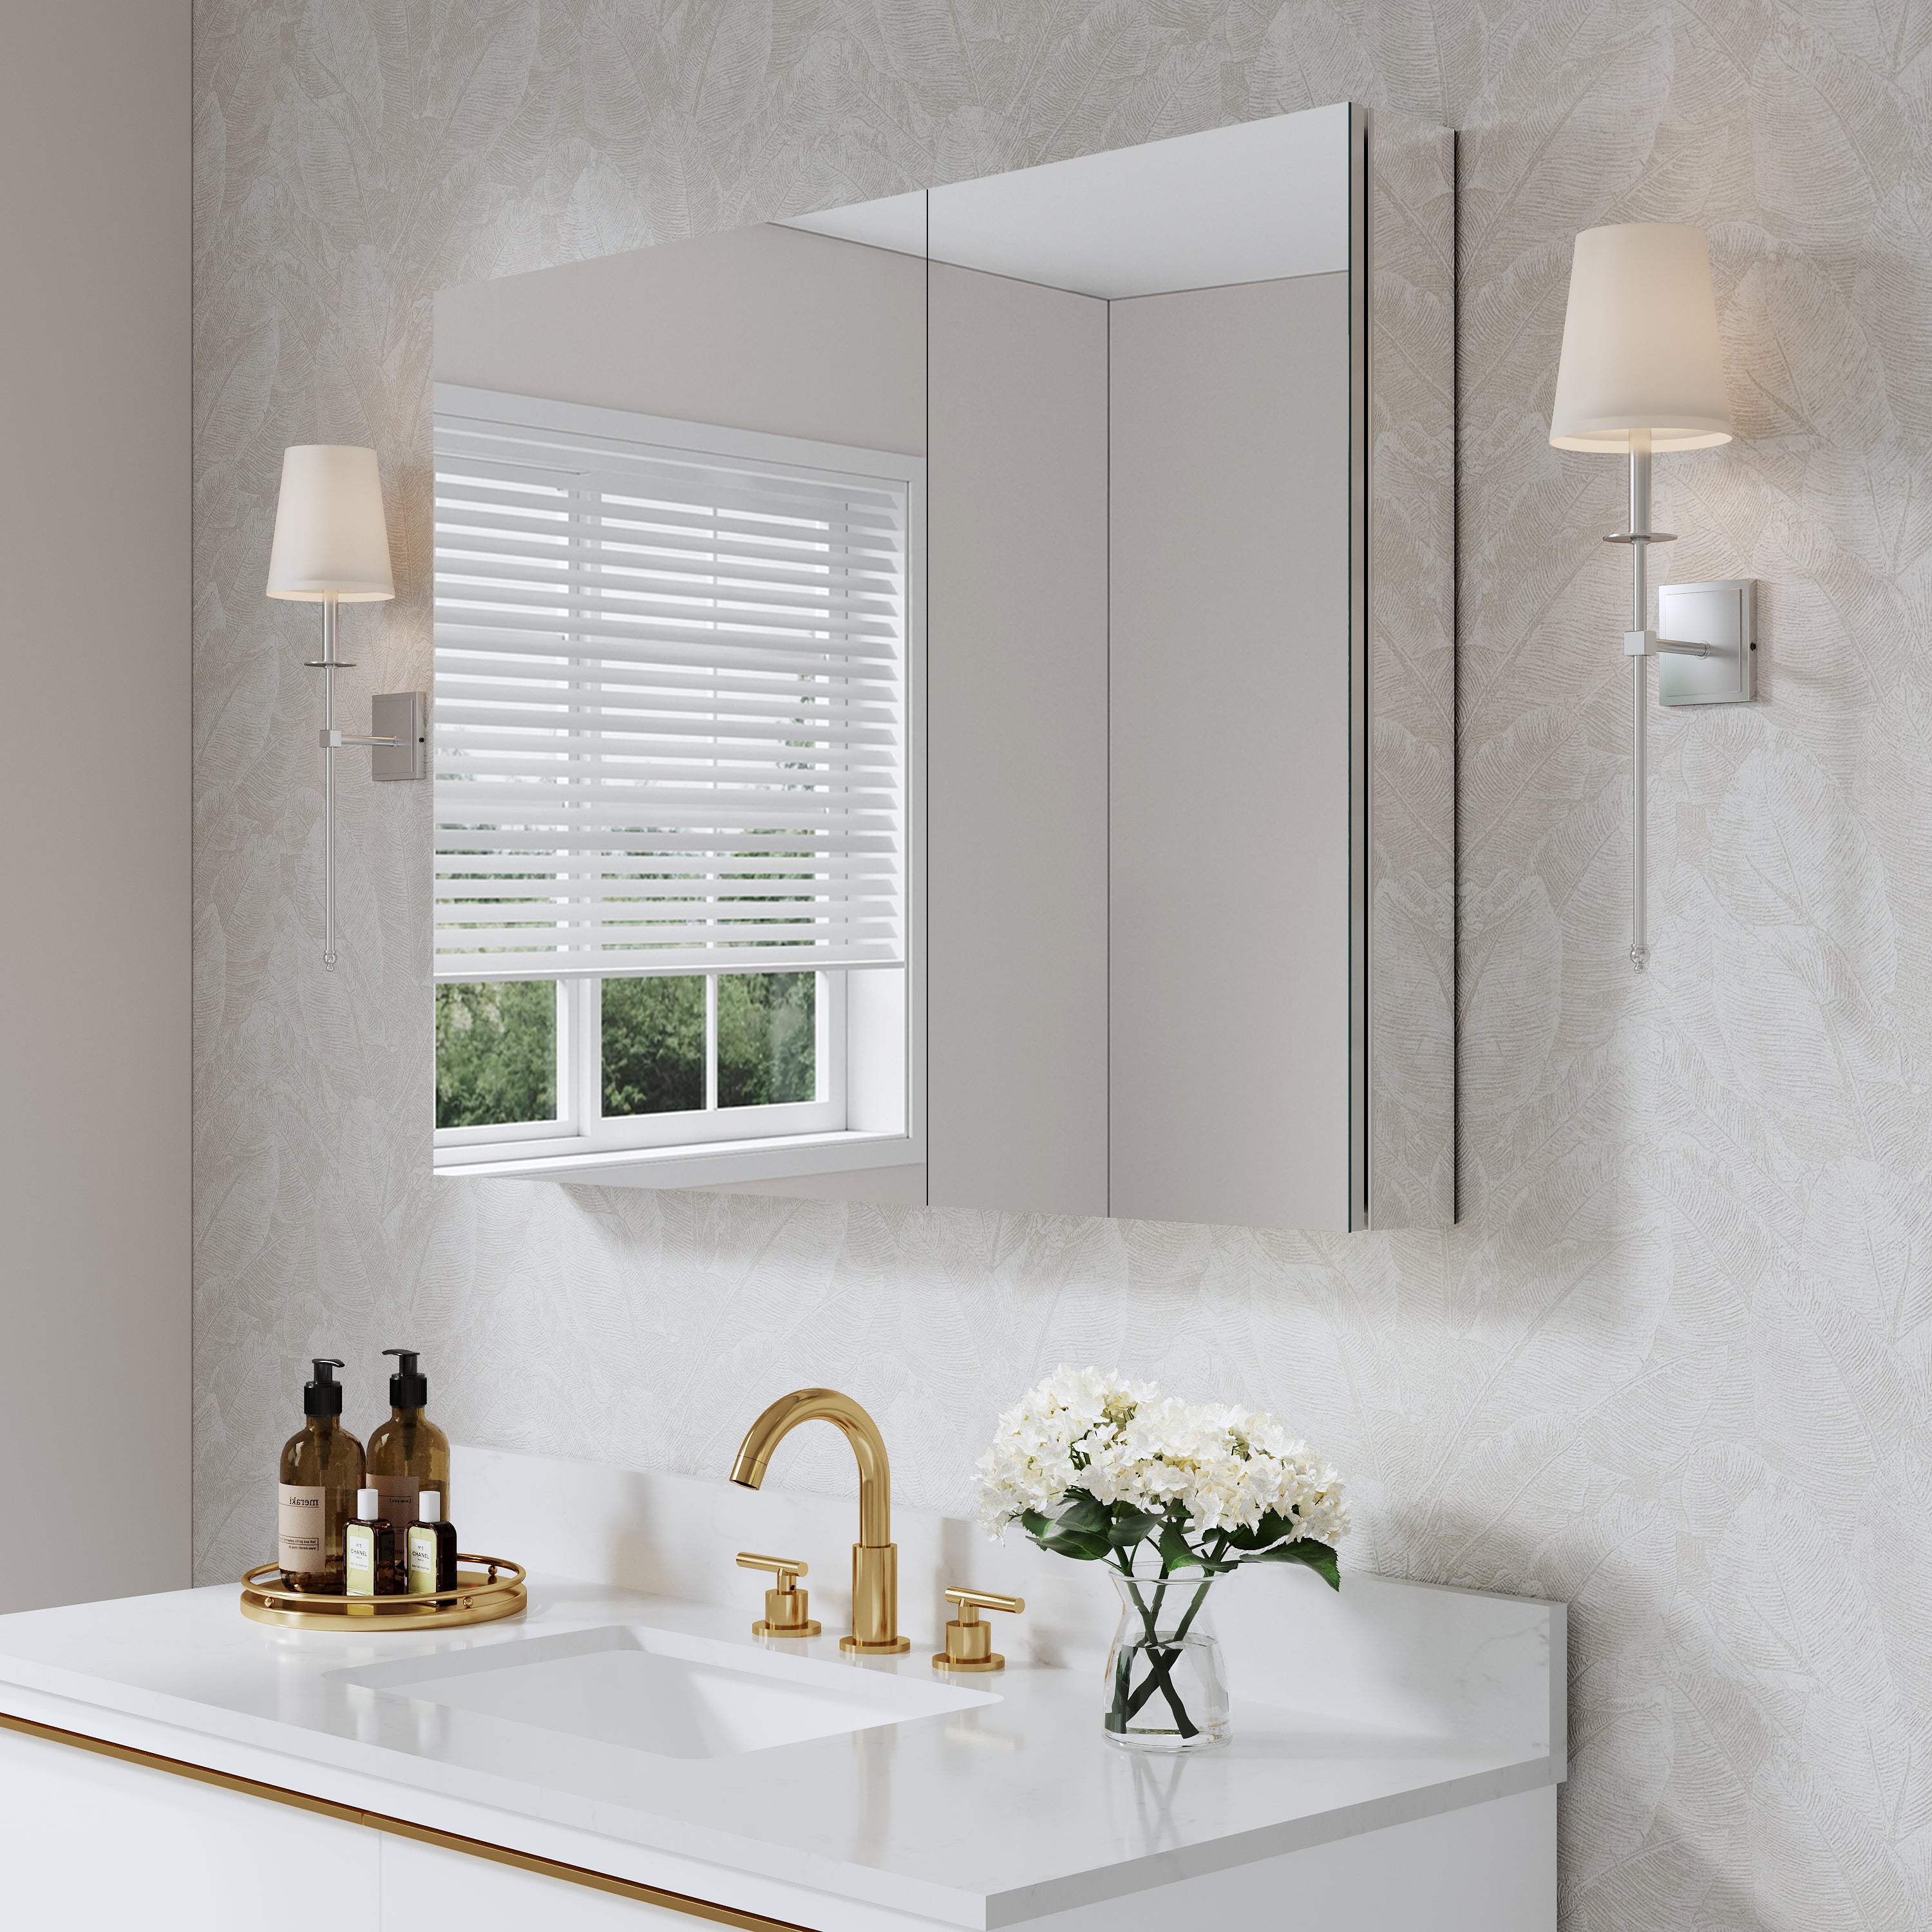
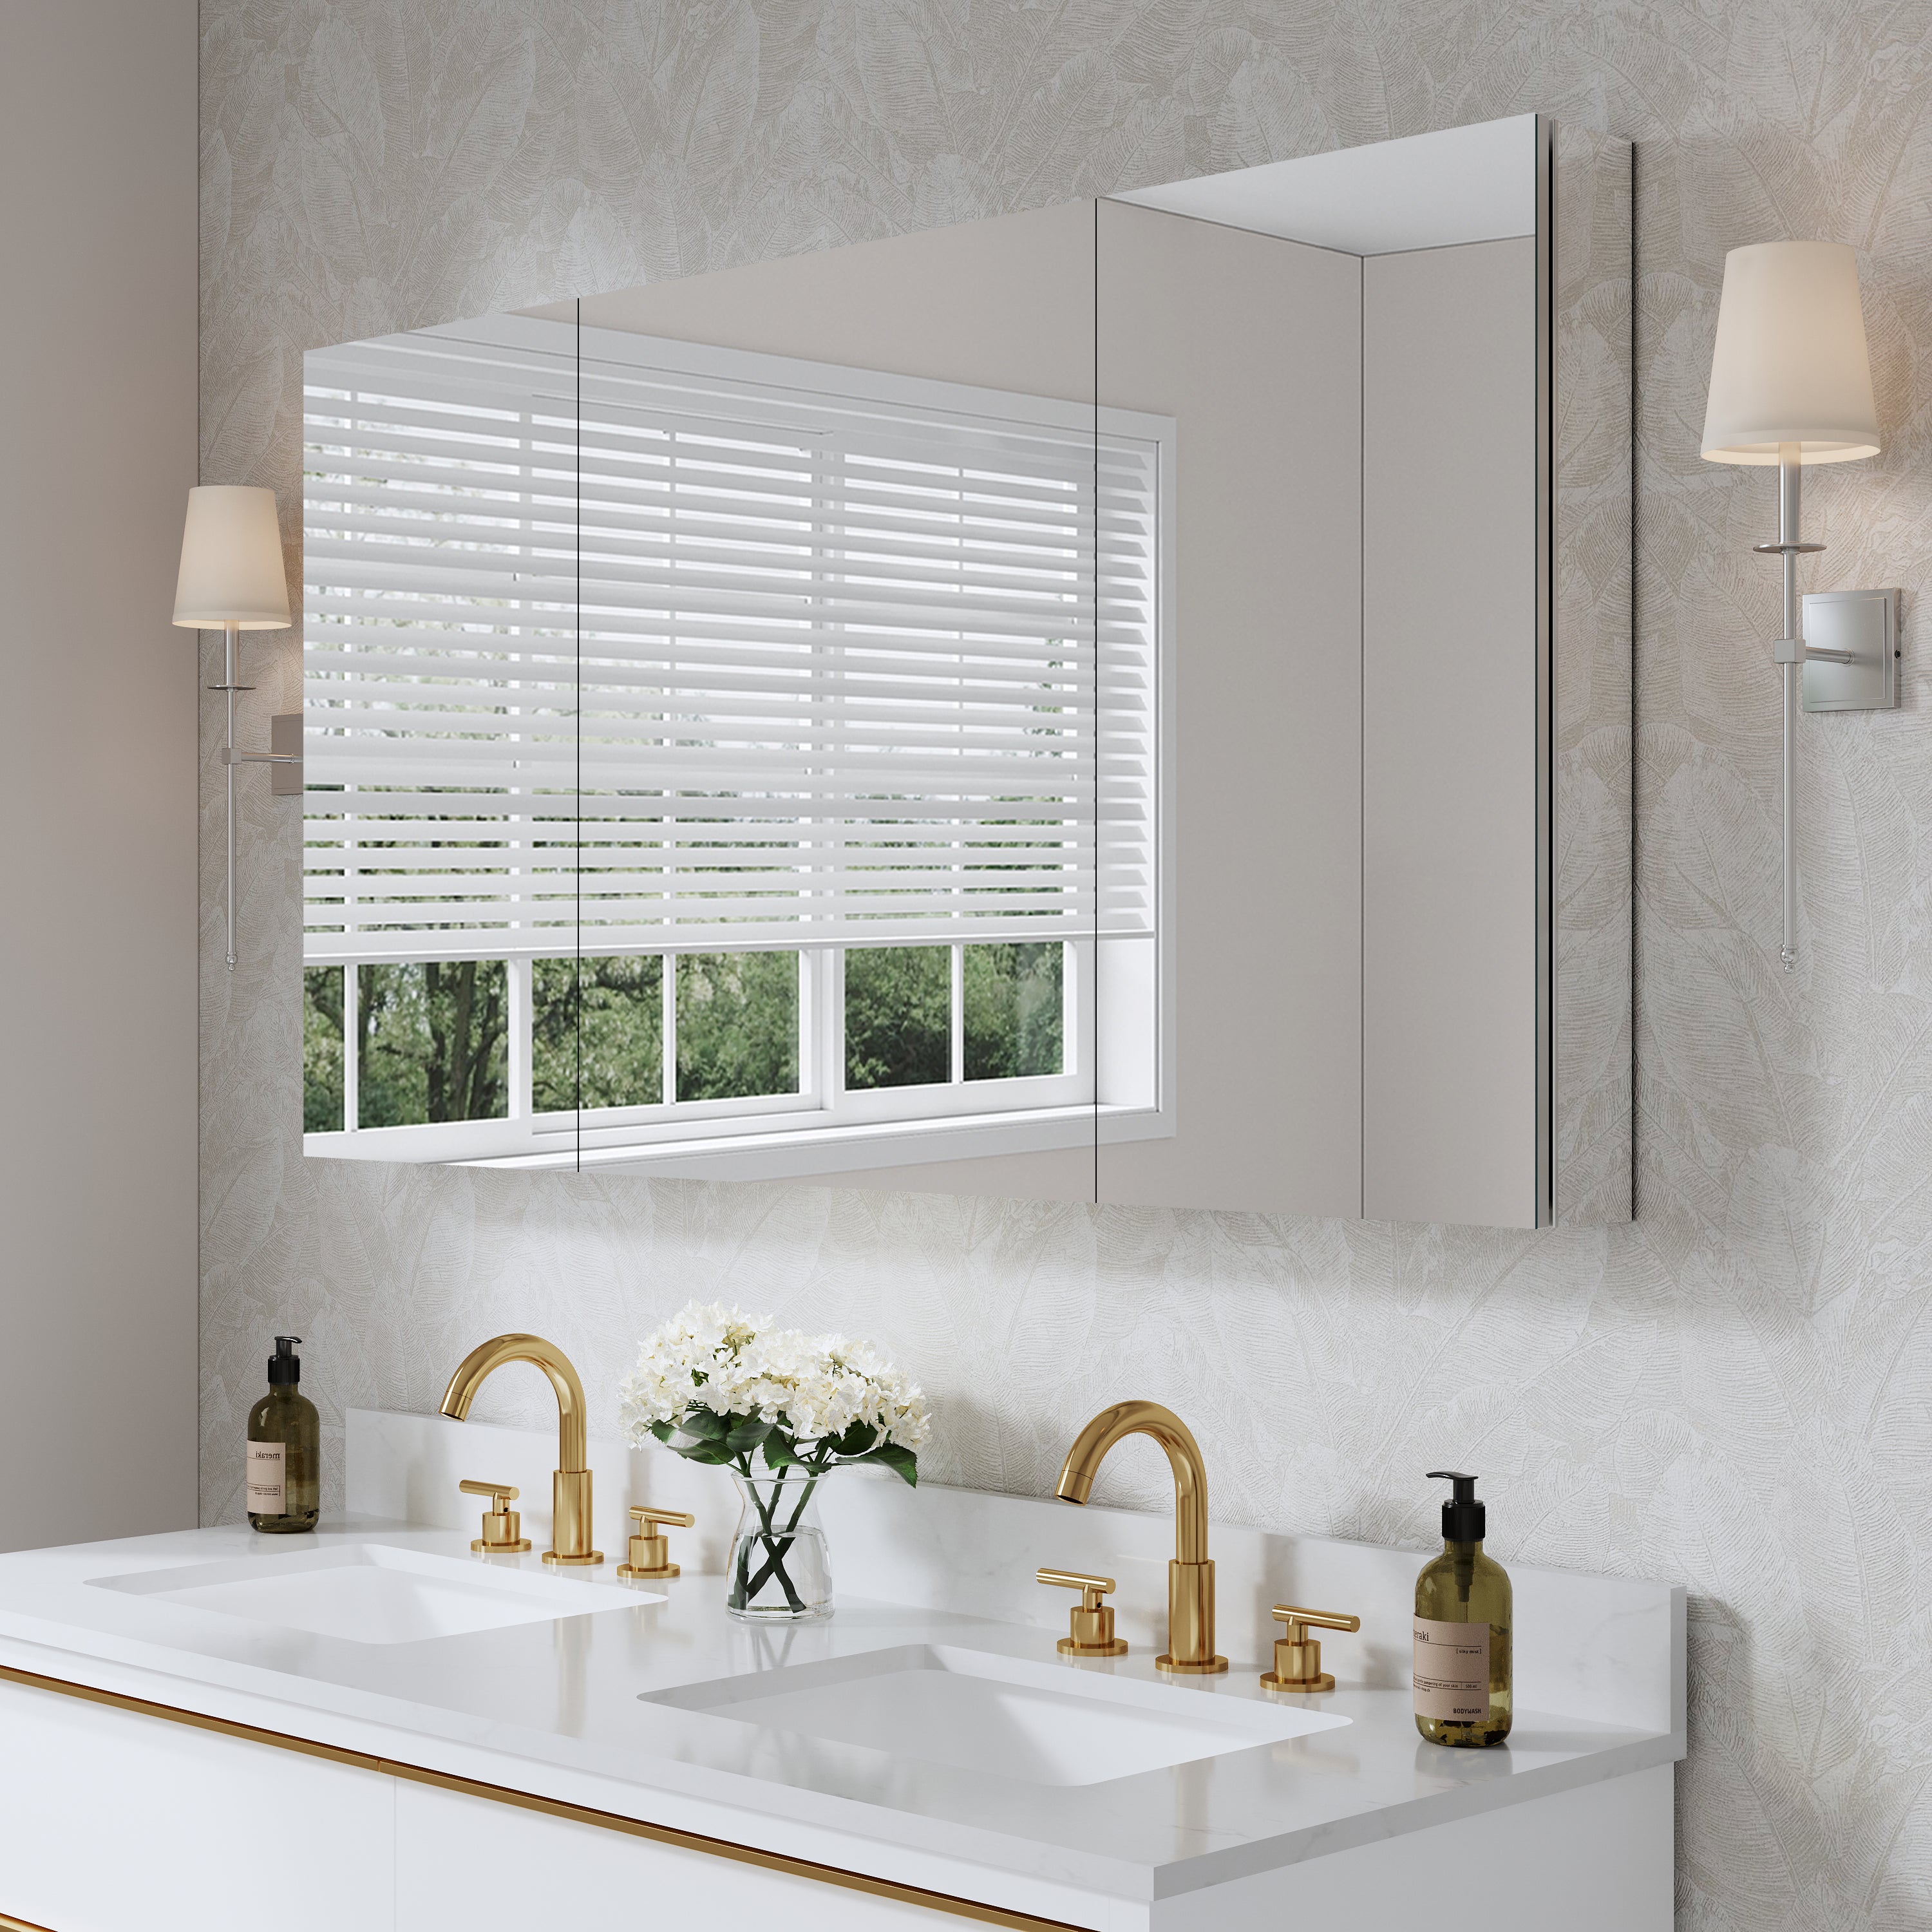
The height of the mirror installation center is usually 60-65 inches from the ground, but it should be adjusted to the user's height and the height of the washbasin. The goal is to naturally see the entire face while standing, without discomfort from looking up or down.
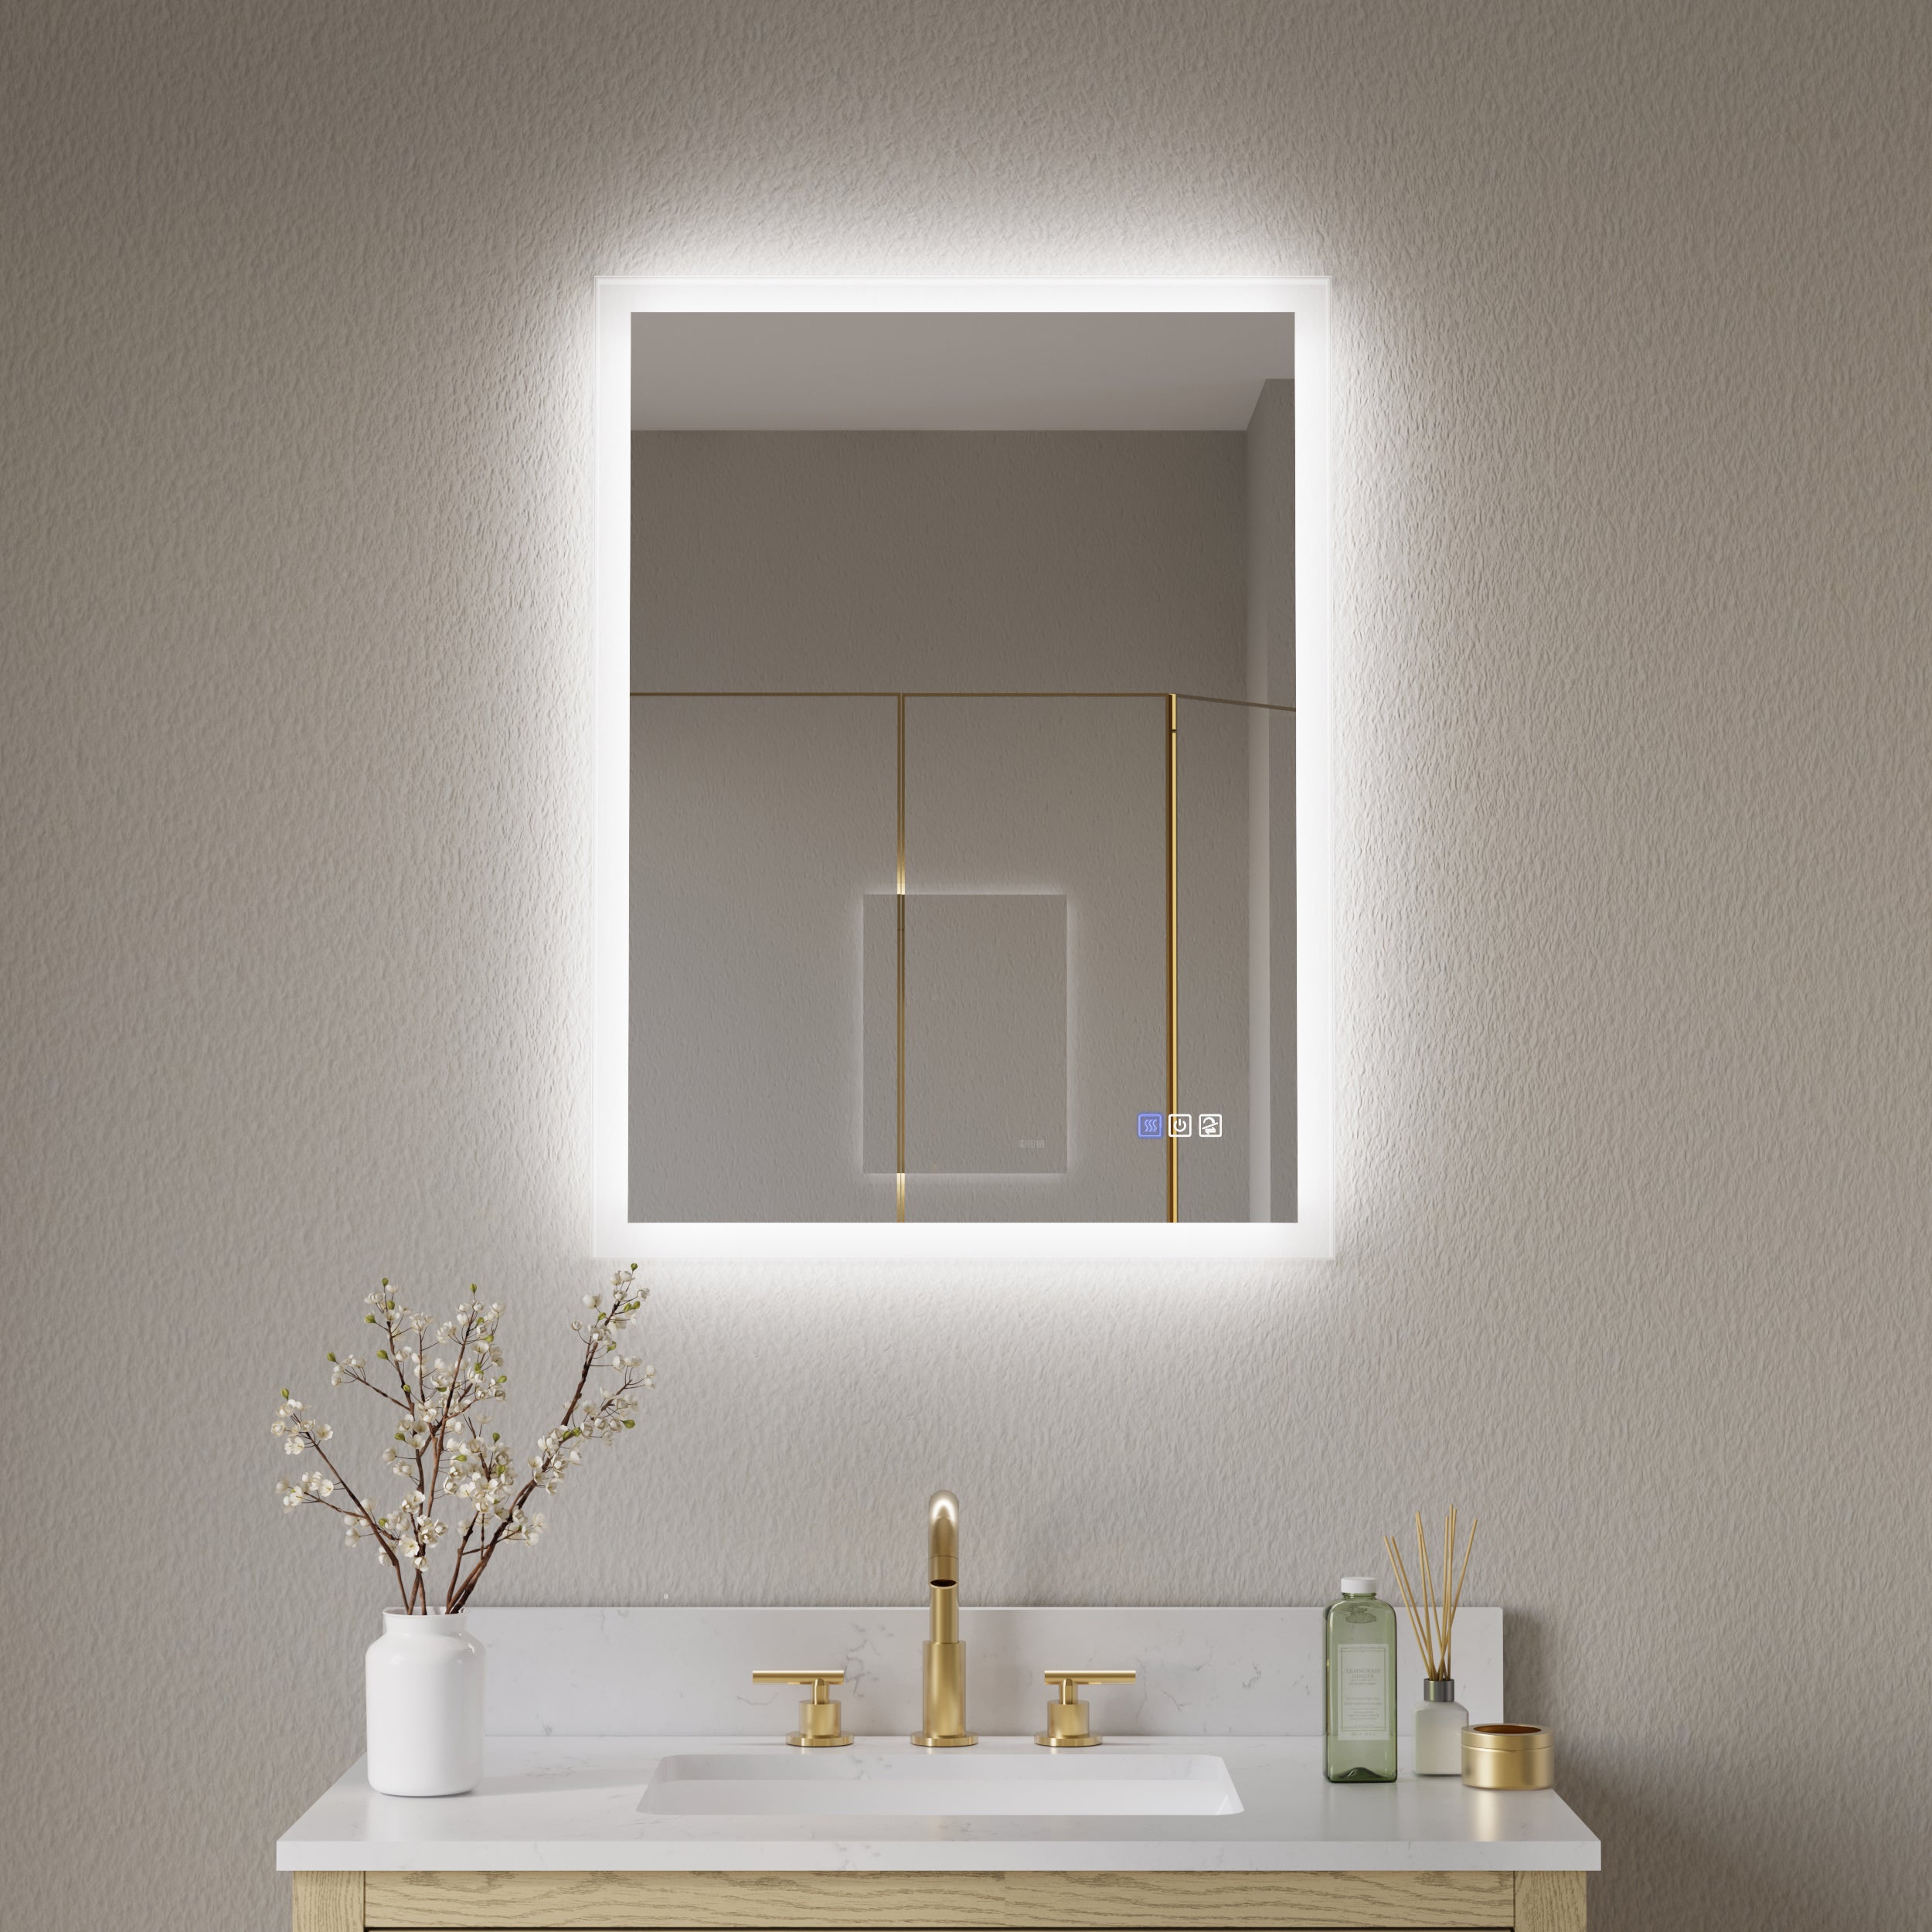
Confirmation of lighting and color temperature:
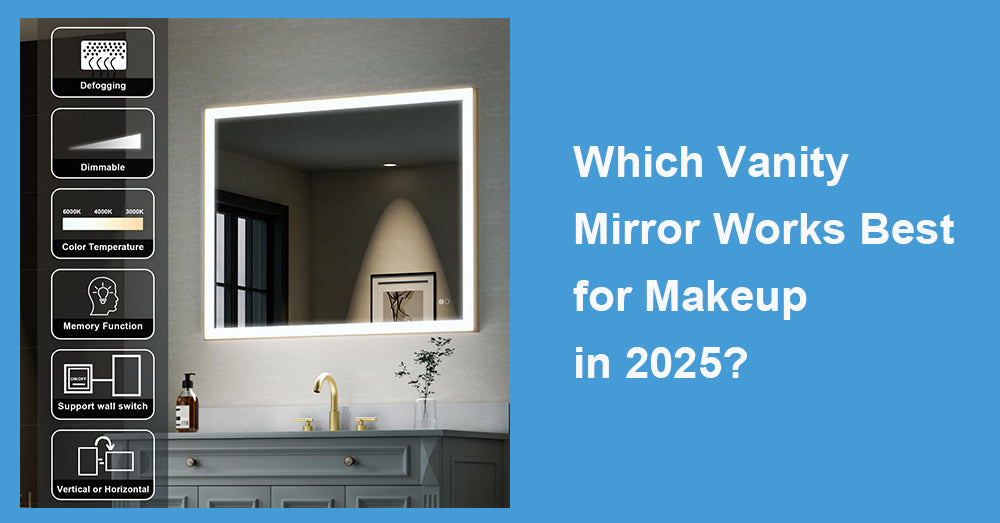
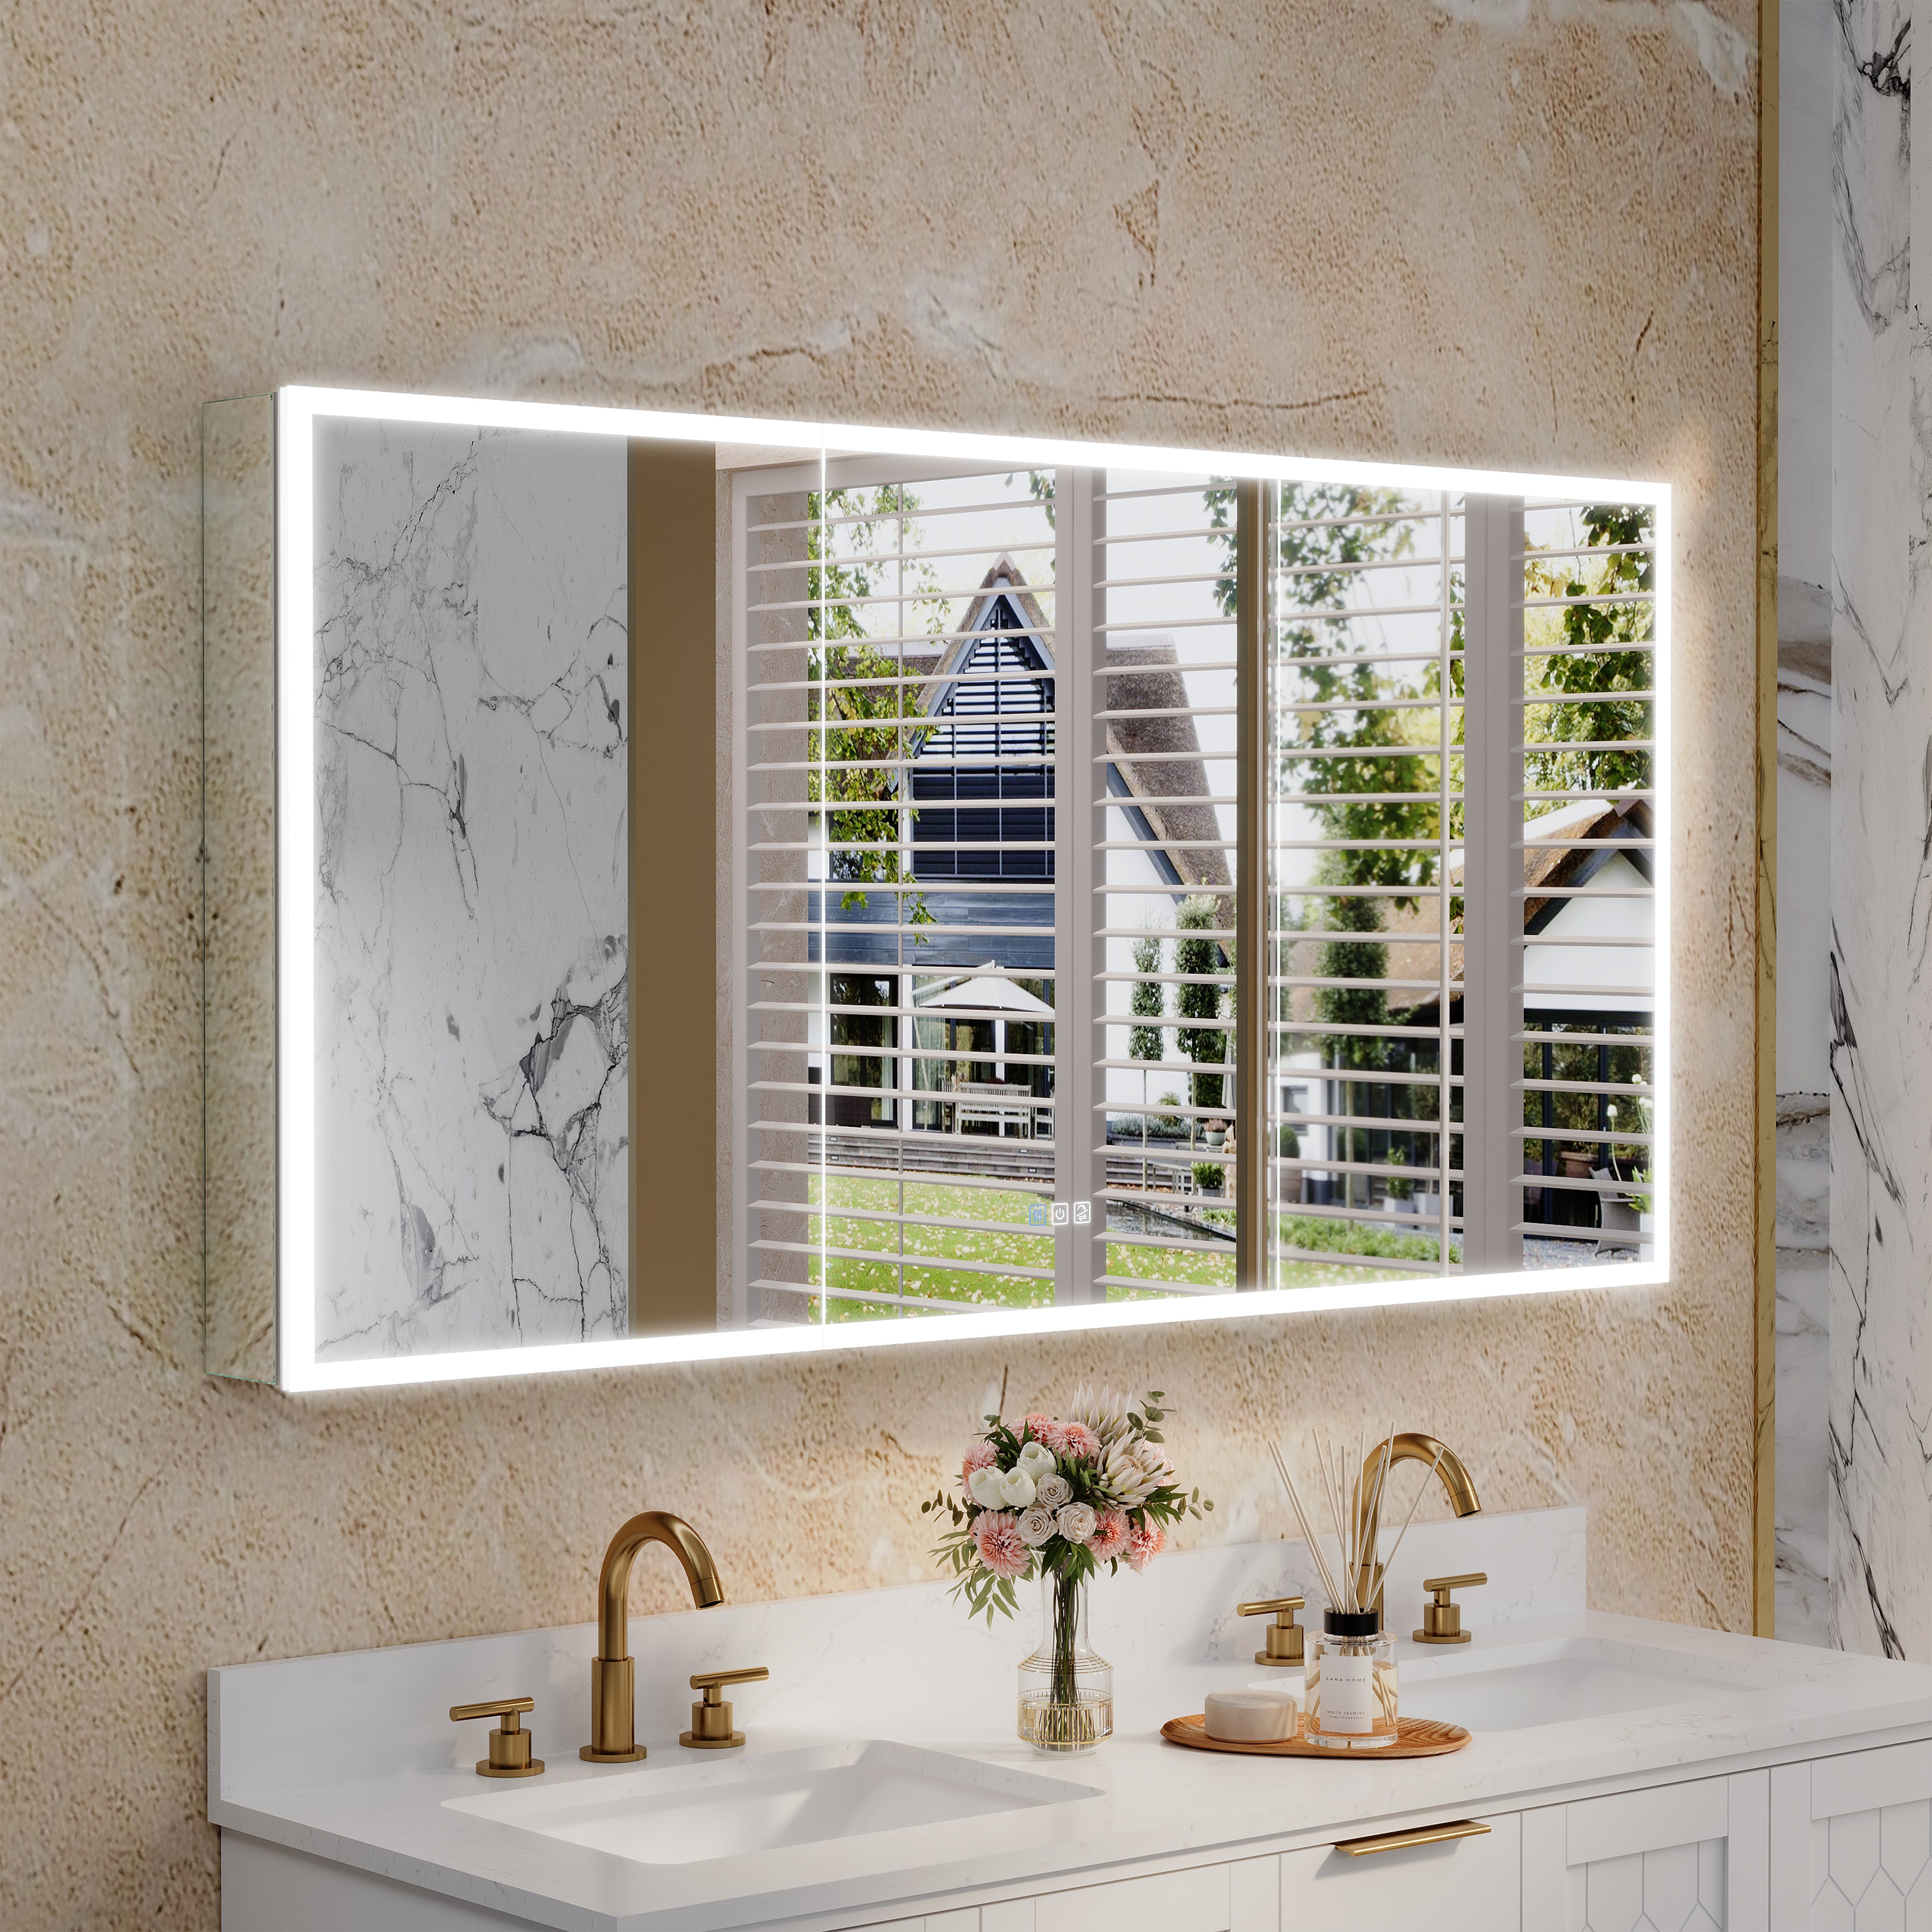
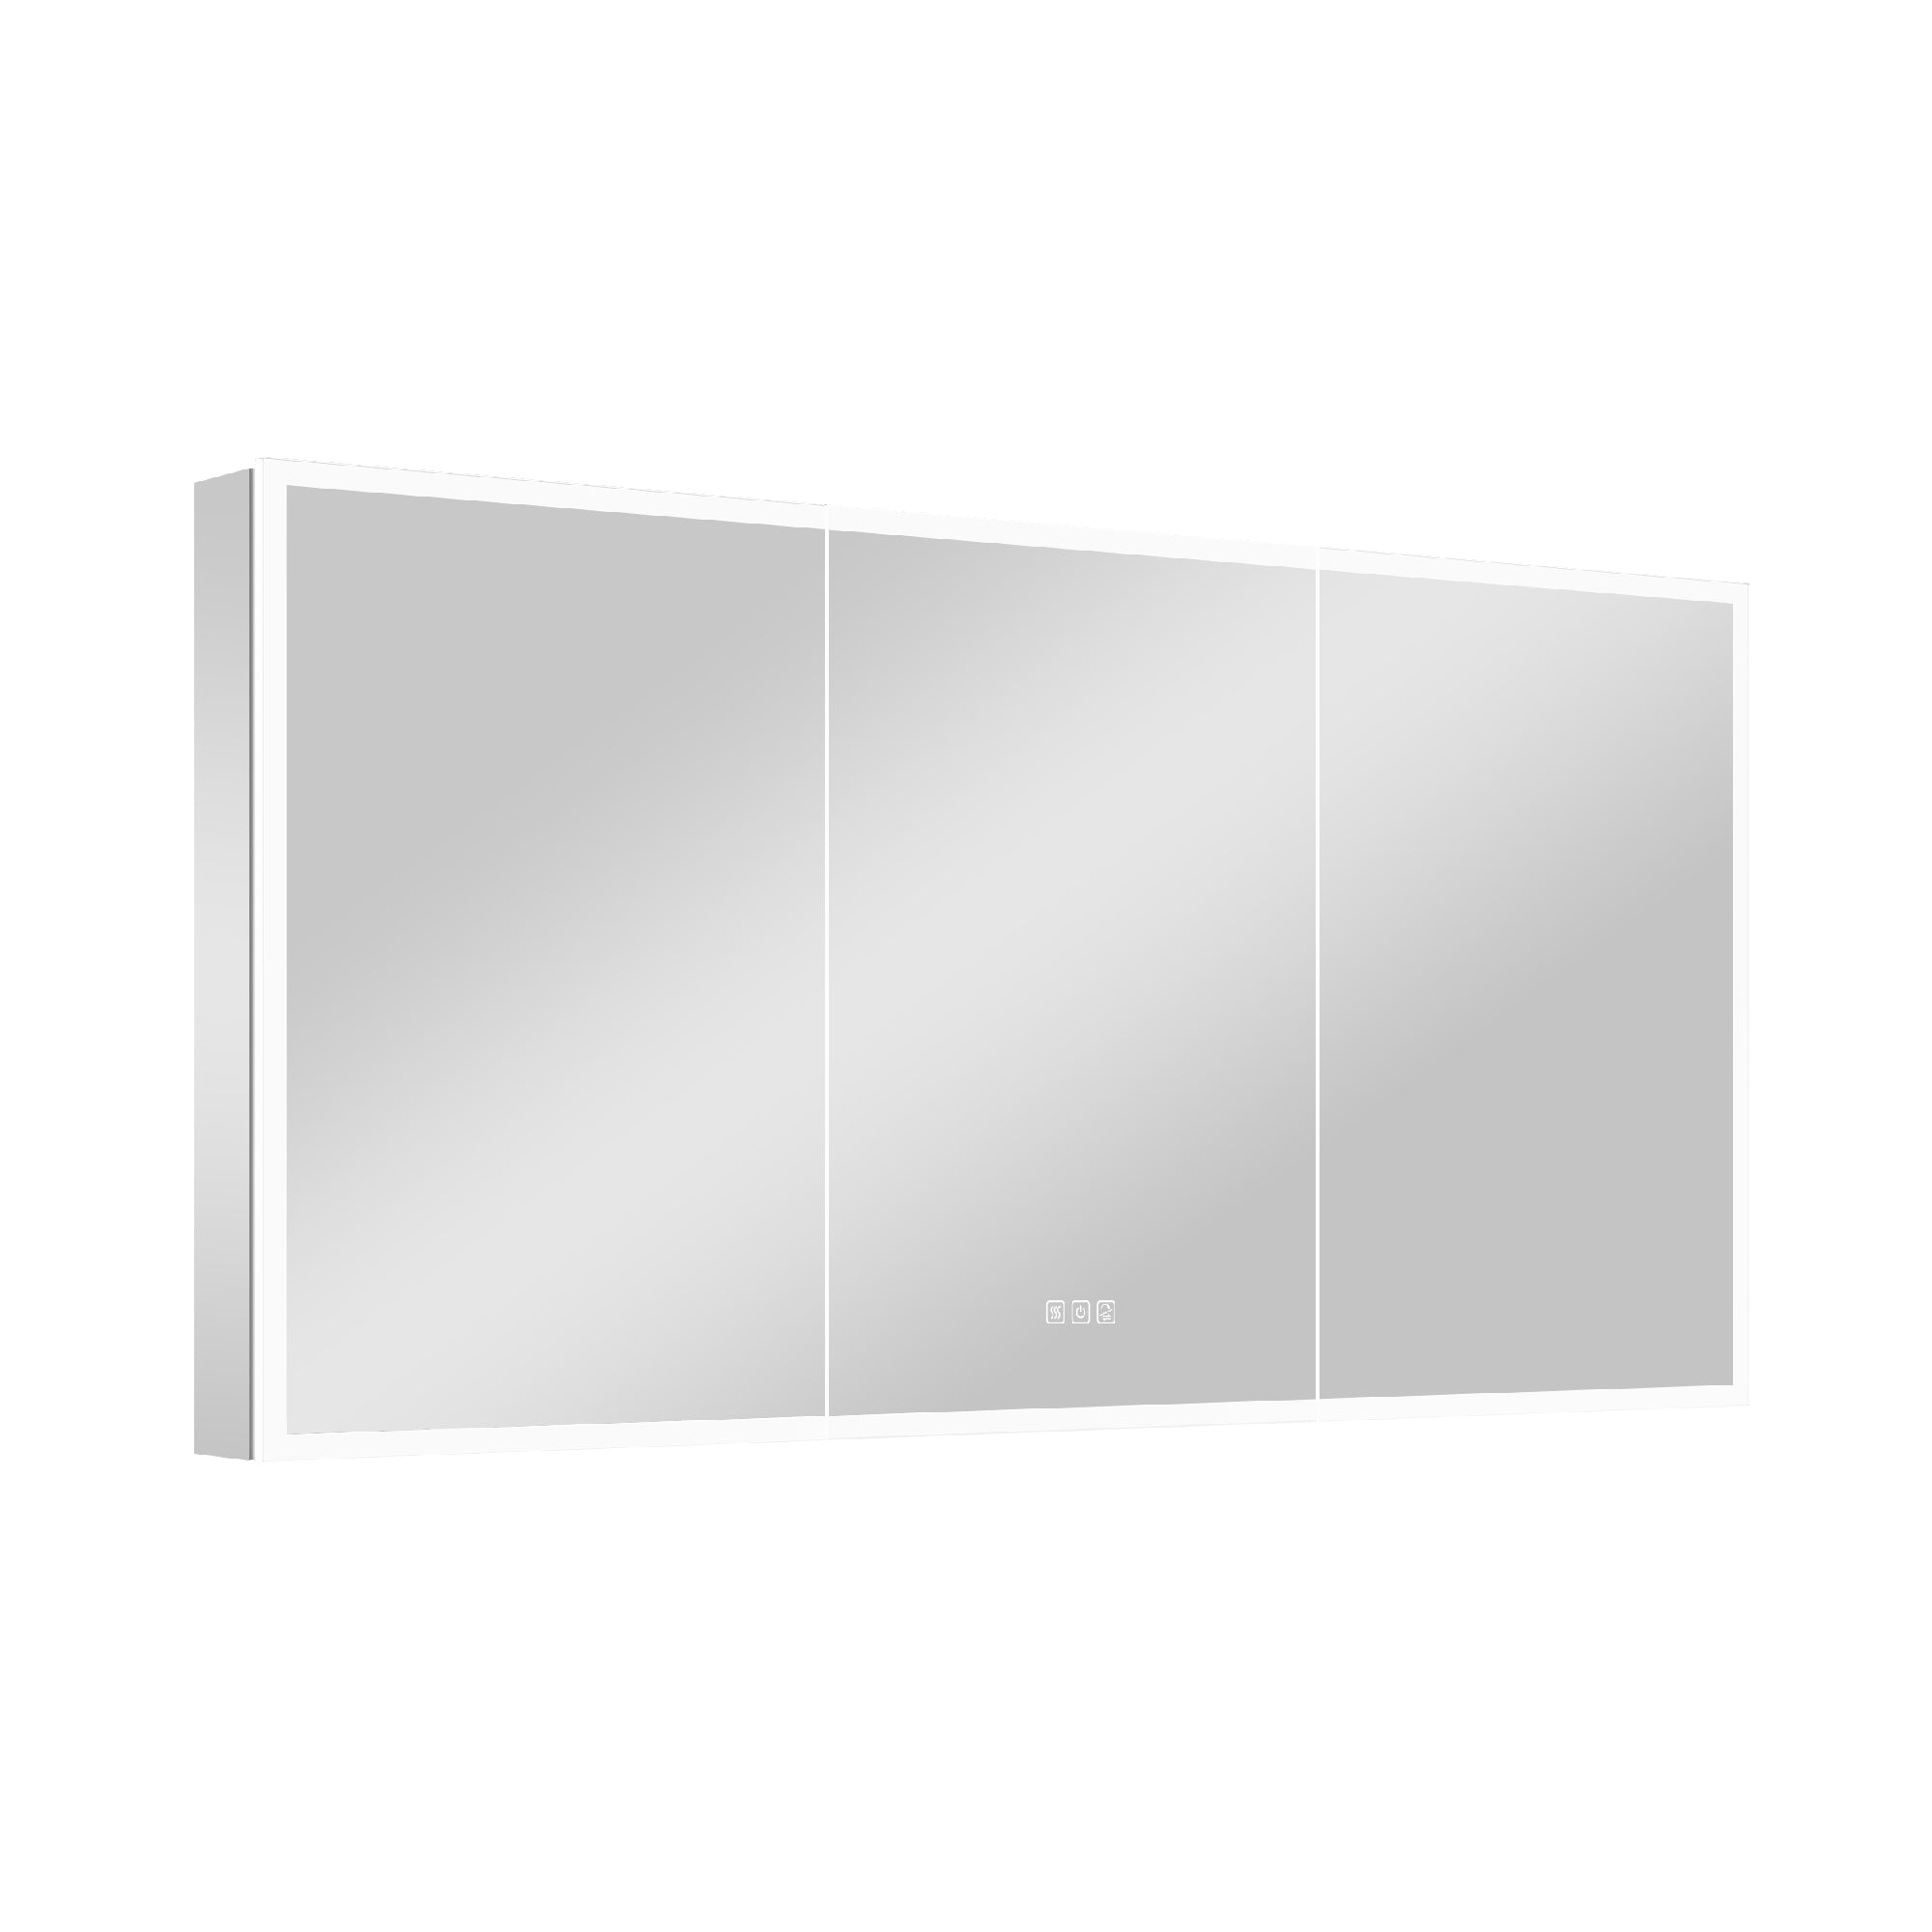
Suppose the mirror is equipped with LED lighting. In that case, it is recommended to choose an adjustable color temperature (3000K-5000K) and a color rendering index (CRI ≥ 90) to ensure natural skin tone and makeup appearance (source: EnergyStar.gov).
2. Determine power supply location: Hardwired vs socket power supply
There are usually two power supply methods for illuminated mirrors:
Recommended scenarios for power supply mode characteristics
Hardwired wires are hidden in the wall, making the visual experience more straightforward. New decoration and re planning of wiring scenes
Plug in installation is more flexible for socket power supply, but upgrading and retrofitting exposed wires without breaking walls
Confirmation before installation:
Has the wall area reserved a power supply location
Does the power supply have corresponding moisture-proof protection?
Does the switch need to be independently controlled from the leading light to enhance the convenience of use?
The industry's electrical safety assessment shows a risk of short circuits and electric shock from exposed electrical wiring in humid environments, so hard-wired connections should be installed by professionals (source: UL.com).
3. Formal installation steps
The following is a relatively common installation process, which can be adjusted appropriately according to specific mirror instructions:
1. Wall positioning and drilling
Measure the distance between mirror hooks or the position of back plate screws.
Mark the line on the wall with a level to ensure that the mirror does not tilt after installation.
Use a suitable drill bit to drill holes and install expansion bolts to enhance load-bearing stability.
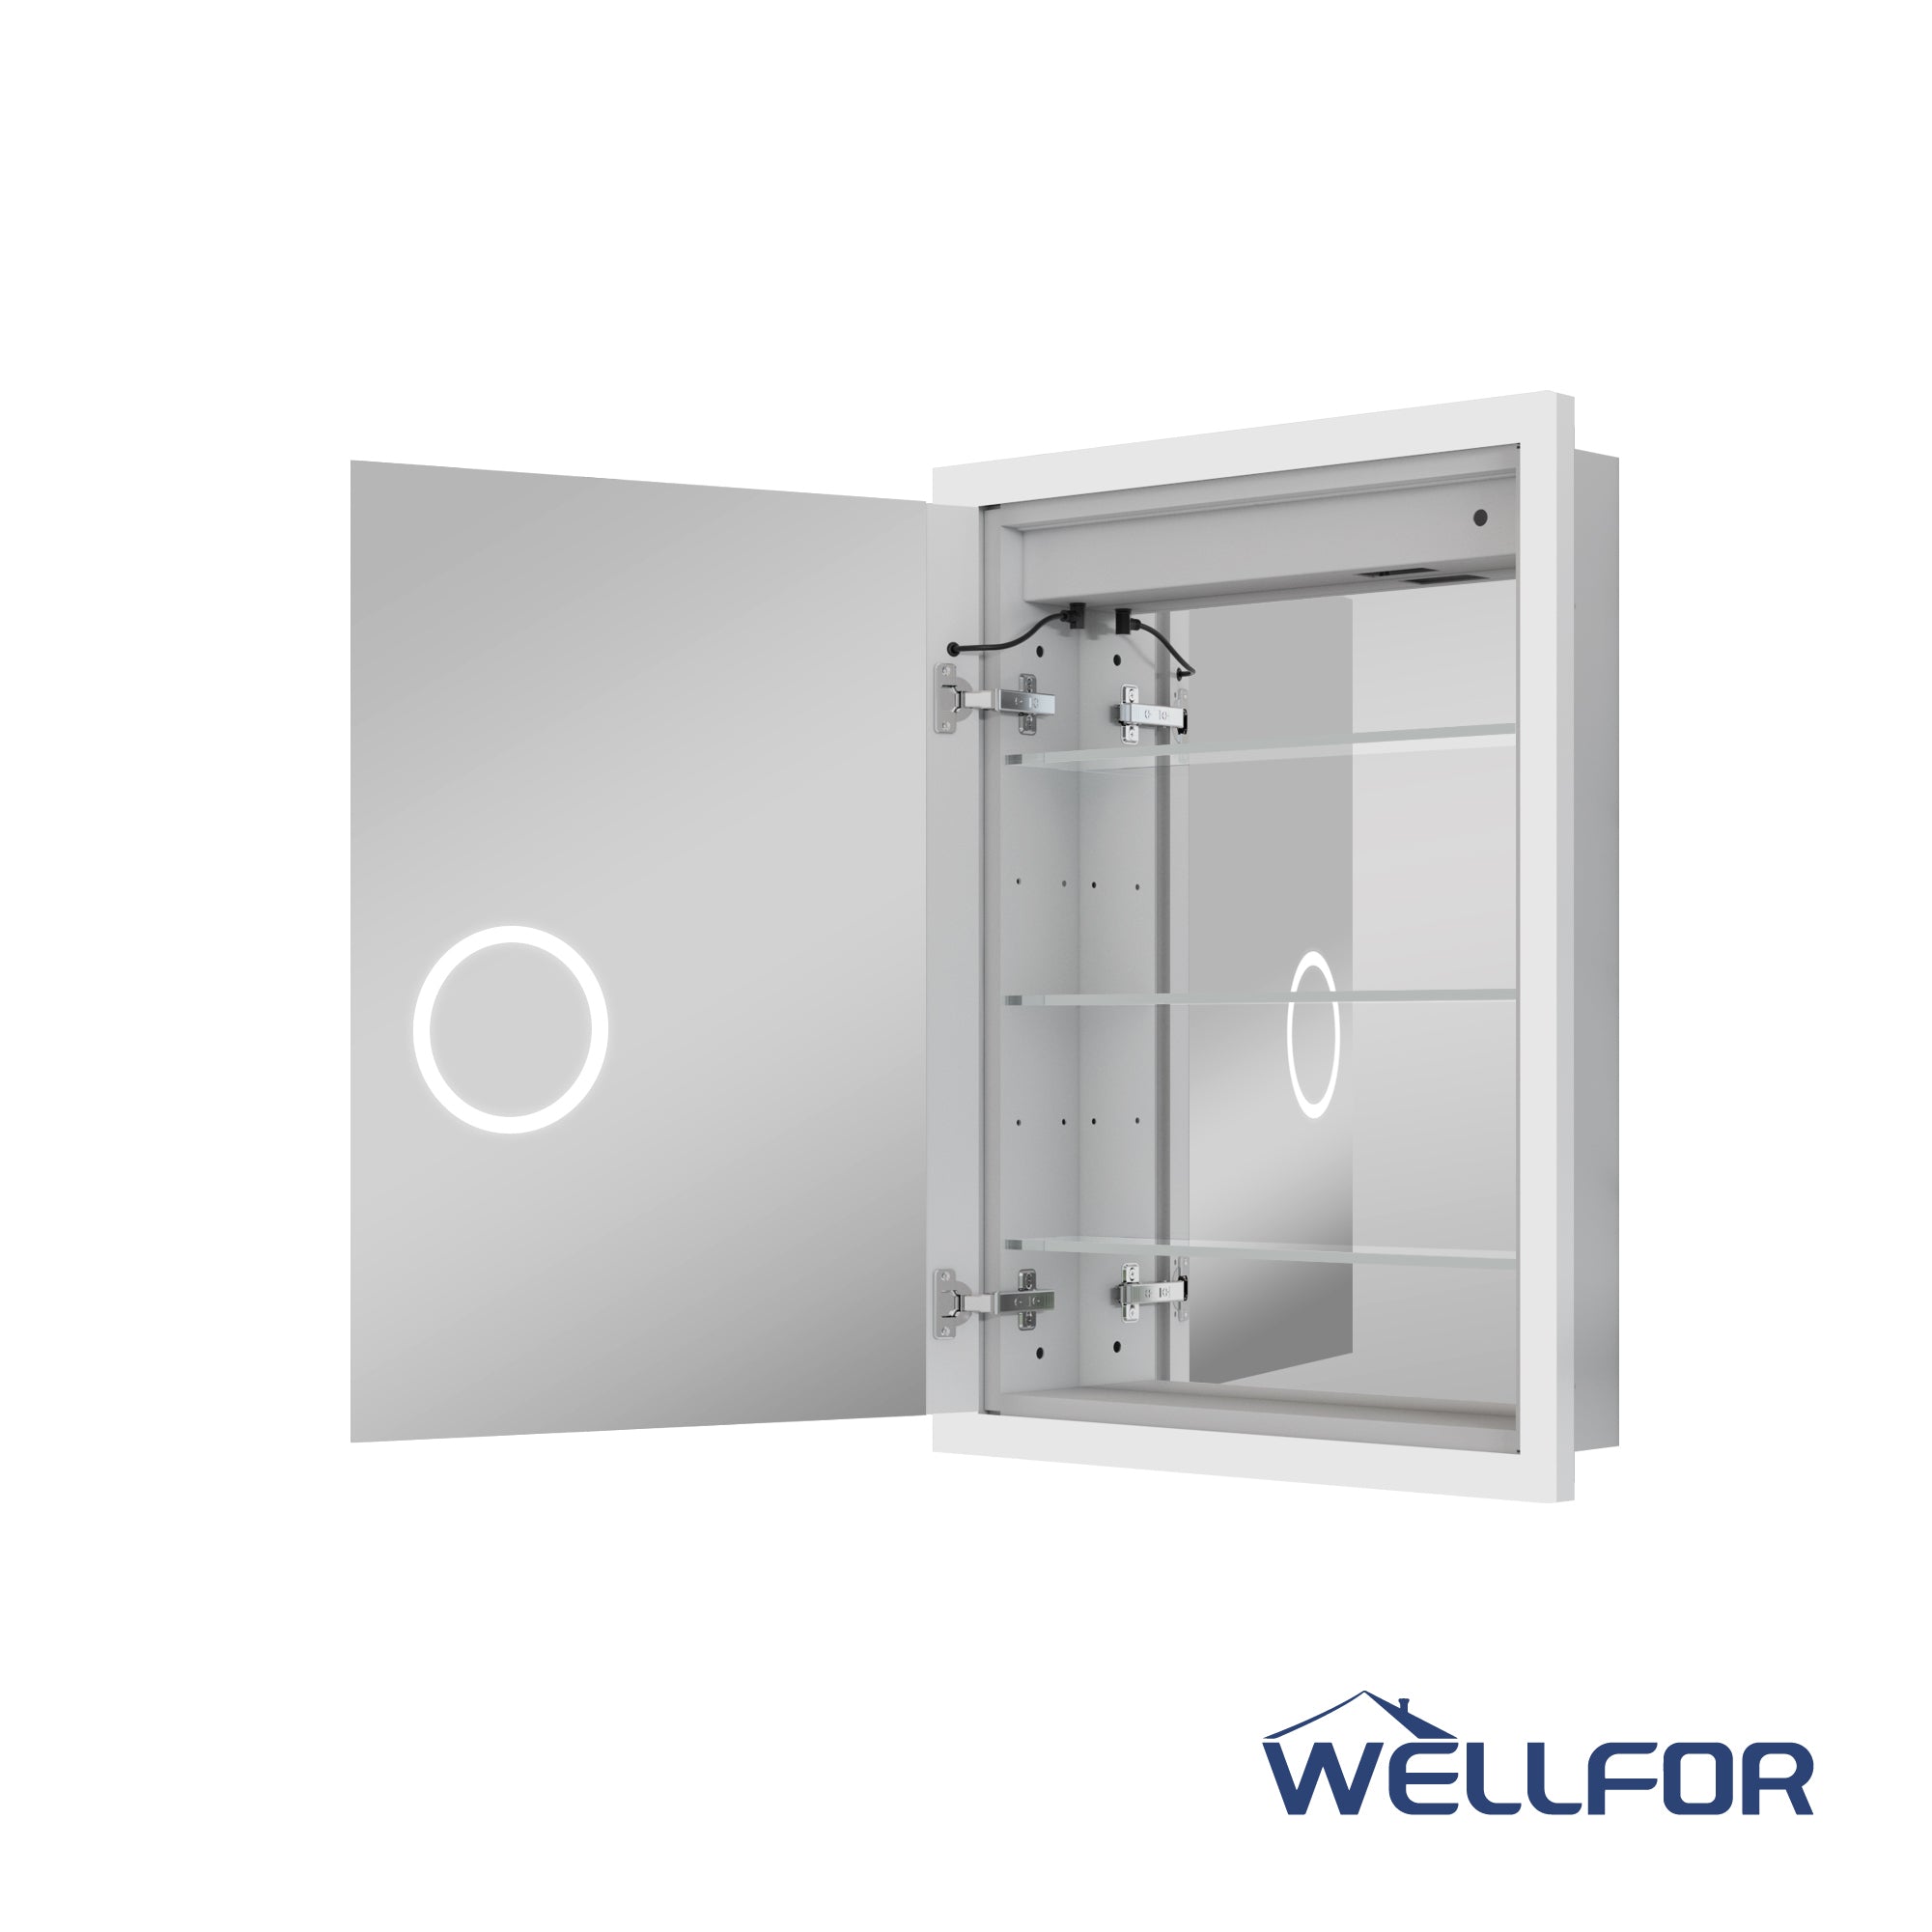
(The weight of most illuminated mirrors is between 15-30lb, and metal frame models may be heavier. It is essential to ensure that the load-bearing walls are secure.)
2. Fixed pendant or backboard
Fix the back-hanging plate, metal bracket, or hanging groove of the mirror to the wall.
If the mirror is large (e.g., 40-60 inches), it is recommended that two people lift it together.
3. Connect the power supply
Hardwired method: power-off → connect the live wire, neutral wire and ground wire correspondingly → insulation protection → restore power test
Plug-in method: Hide the wiring route to avoid visual clutter under the mirror.
4. Adjustment and Inspection
Ensure that the mirror fits snugly against the wall without any noticeable shaking.
Turn on the lights to test brightness, color temperature adjustment, and touch sensitivity.
If the mirror has a defogging function, confirm that the preheating zone is uniform, with no obvious heat spots.

4. Precautions for installation in wet areas
The bathroom environment is humid, so special attention should be paid to the following details:
Waterproof level: It is recommended that the mirror back panel and touch module have at least a moisture-proof structure
Avoid direct water flushing: keep the mirror at an appropriate distance from the showerhead.
Keep the wall flat and dry, as damp walls may affect the stability of the expansion bolts.
If installed near the shower area, consult an electrician to confirm the electrical specifications for the area.
According to industry standards, electrical installations in bathrooms near water areas should comply with safety distance and insulation requirements (source: SafetyStandards.org).
5. Daily maintenance and usage suggestions
Regularly wipe the mirror with non-alcoholic mirror cleaner and a soft cloth to avoid scratches.
LED light sources do not need to be frequently turned off; modern LEDs have a longer lifespan and lower energy consumption (Source: EnergyStar.gov. gov)
If equipped with a defogging function, it is recommended to turn it on in advance when the steam is high to obtain the best clarity.
Avoid high heat sources near the mirror backplate to extend the lifespan of electronic components.
Conclusion
Mirrors with lights have evolved from decorative products to sophisticated bathroom lighting tools. During installation, size matching, power handling, moisture-proofing measures, and ease of use are key factors that affect the user experience. Compared with traditional mirrors, illuminated mirrors not only provide more natural, uniform lighting but also enhance the bathroom's overall ambiance and comfort.
For those planning bathroom decoration or partial upgrades, confirming space, lighting, and installation methods in advance will yield greater quality differences in actual use.


Leave a comment
This site is protected by hCaptcha and the hCaptcha Privacy Policy and Terms of Service apply.