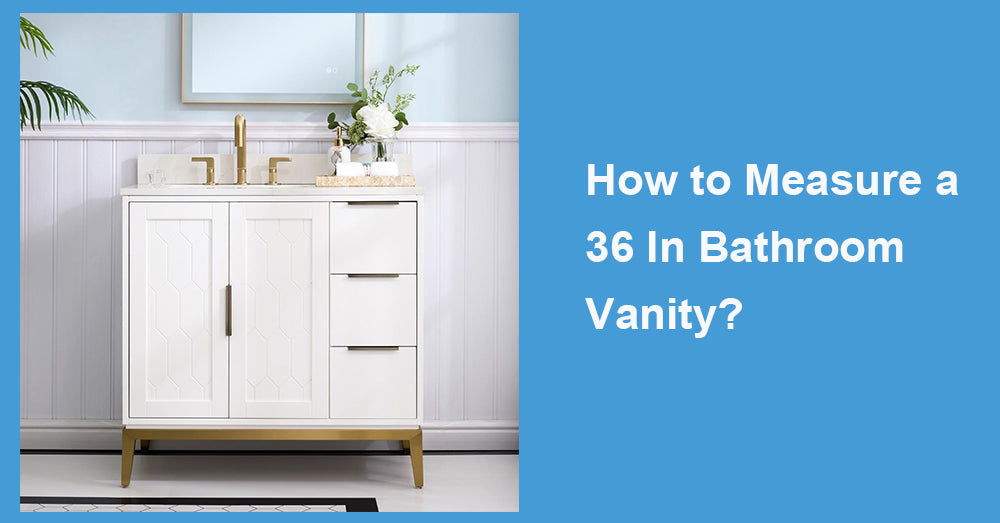
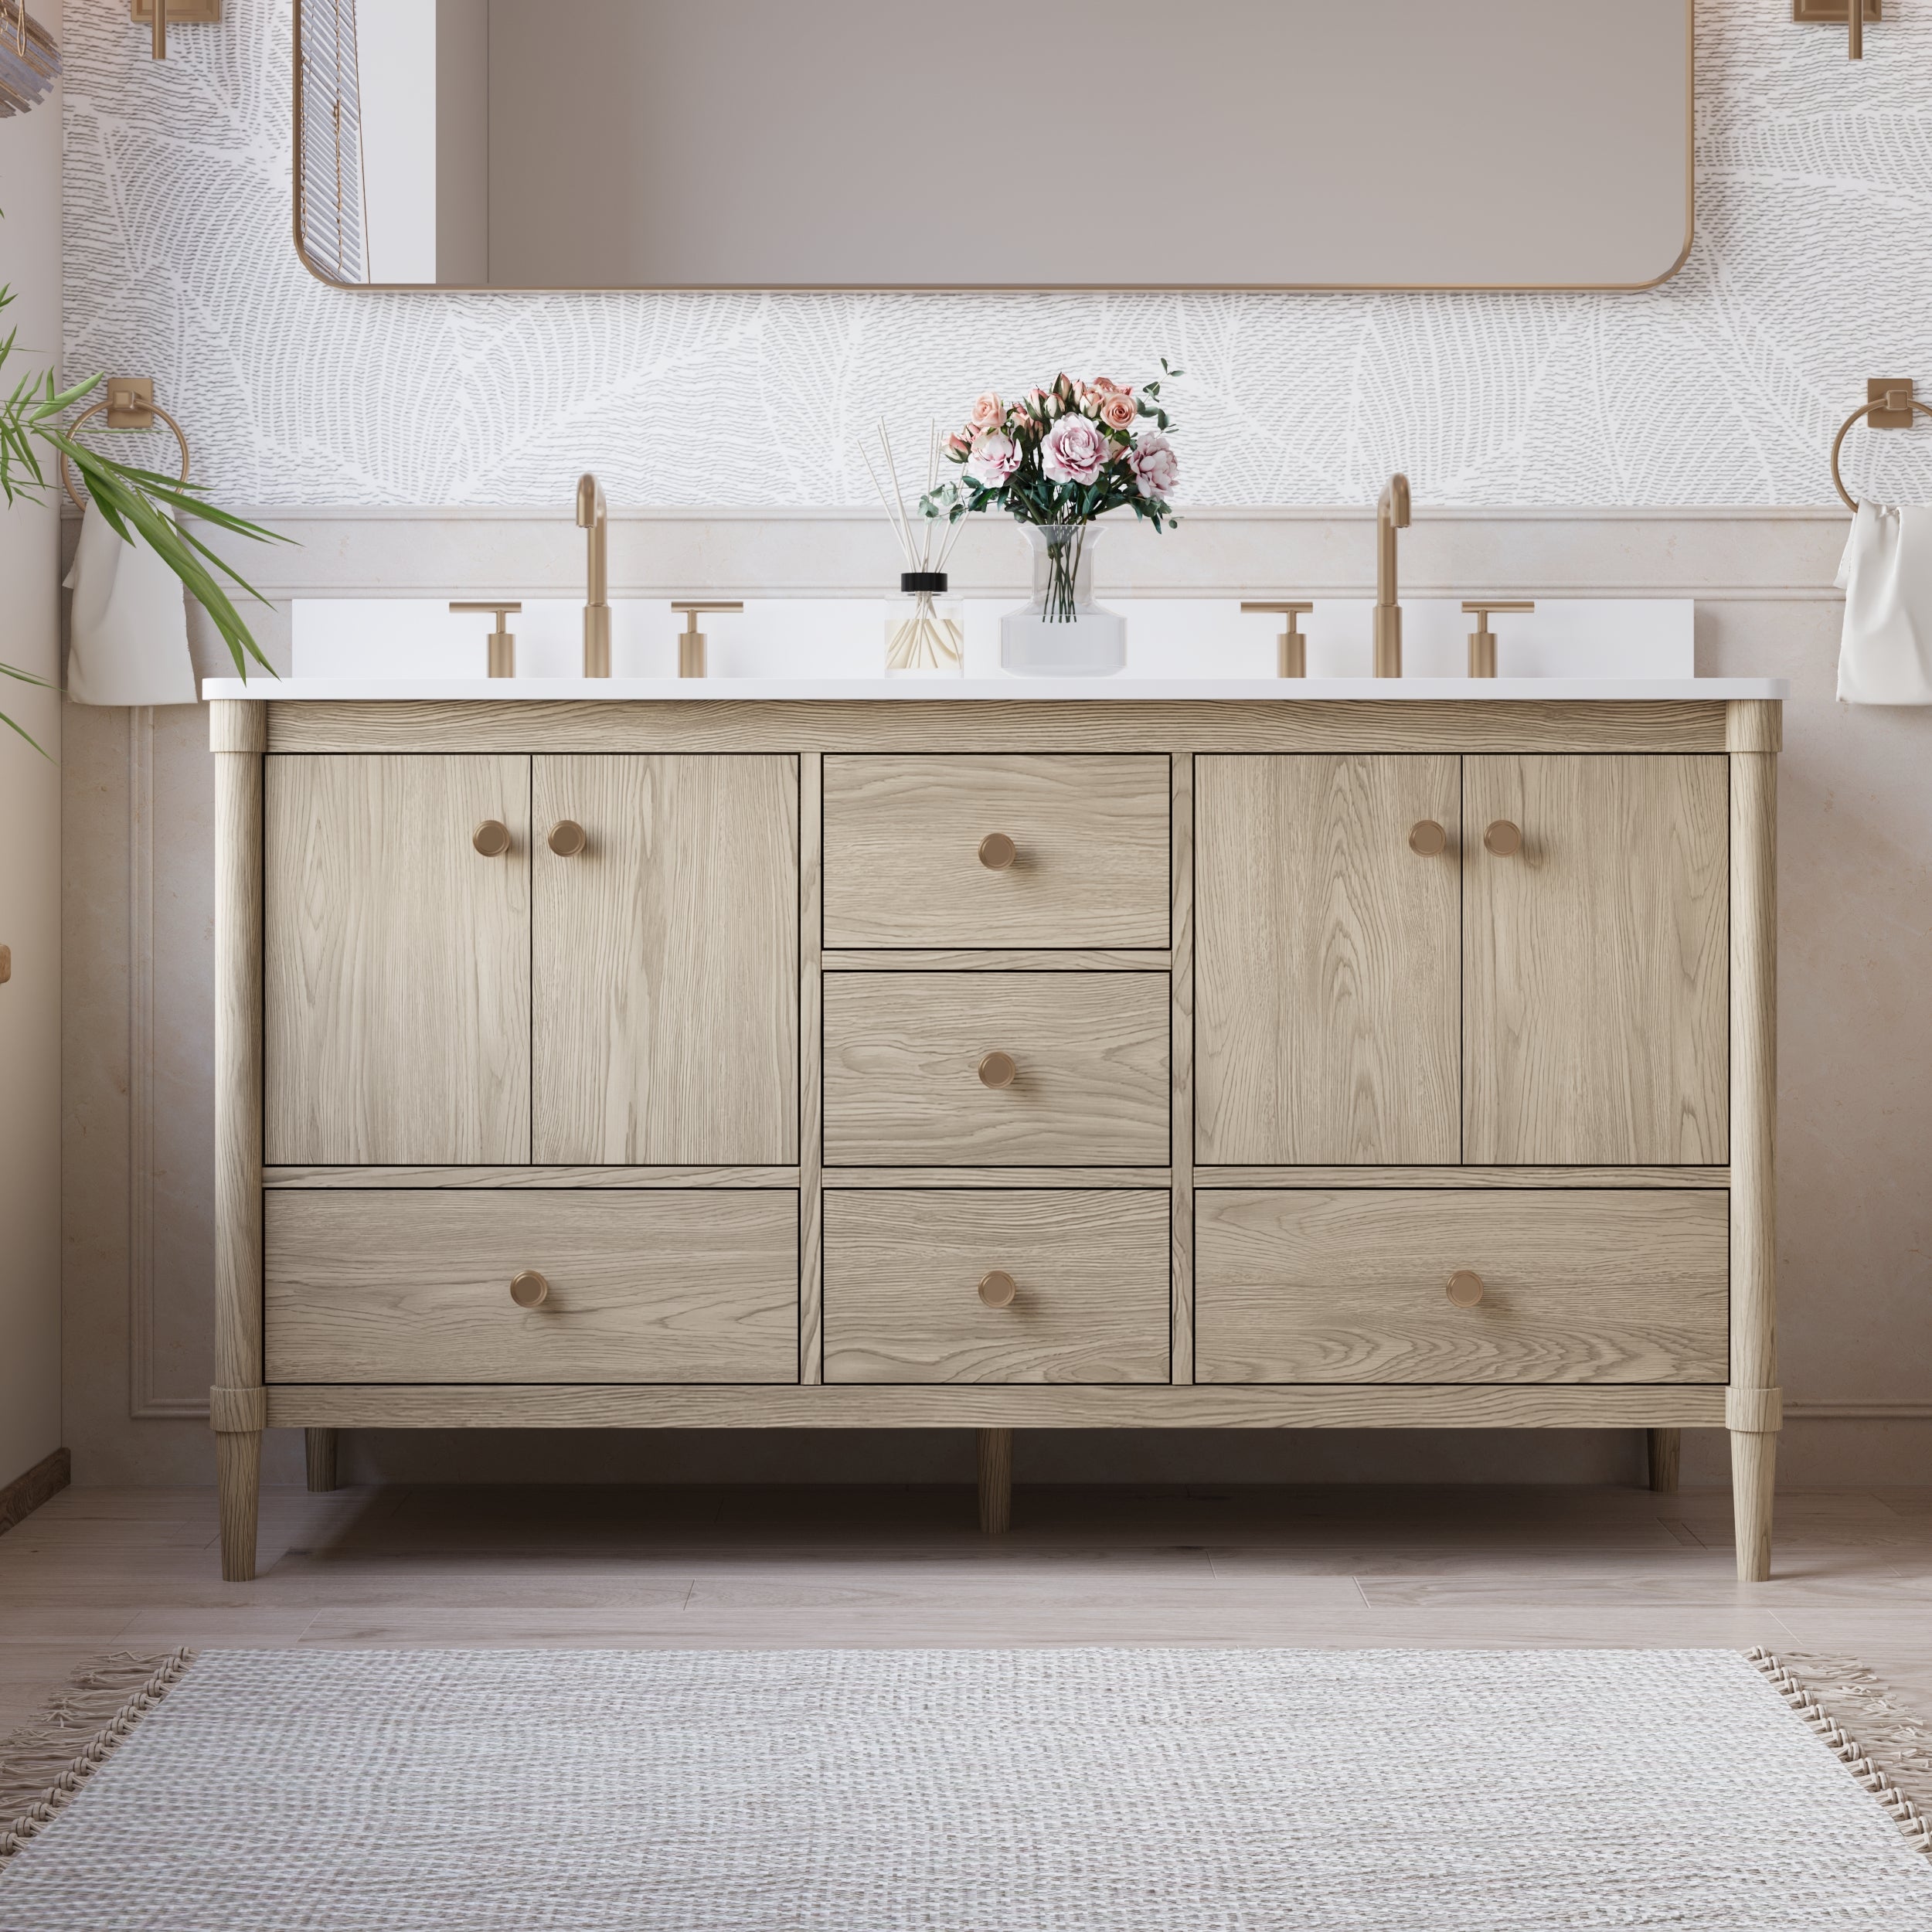
When planning a bathroom space, choosing the right-sized vanity is crucial. 36 in bathroom vanity, in particular, is a popular choice for many families due to their comfortable size and comprehensive functionality. They offer ample space for daily washing and storage, yet are comfortable enough for everyday use. However, even a standard-sized vanity can vary in different spaces due to factors such as wall width, plumbing layout, and drawer opening angles. To avoid rework and save time and budget, accurate pre-purchase measurements are crucial. This article, from a user's perspective, details the step-by-step process for measuring a 36-inch vanity, ensuring a smooth purchase and installation.
1. Why is it important to measure accurately?
Many people often rely on intuition or rough estimation when choosing a vanity. Only to discover upon delivery that the cabinet doesn't fit into the doorway, the doors won't open fully, or even that the plumbing connections don't align perfectly. Accurate measurement is key. For example, first use a tape measure to measure the width, height, and depth of the reserved bathroom space to confirm that a 36-inch vanity is the correct size. Pay special attention to the width and height of the cabinet's entryway to prevent jamming during installation. Measure the position and height of the plumbing to ensure smooth connection between the faucet and drain. Taking these precautions can effectively avoid subsequent installation hassles and rework, saving both time and worry.
2. Required Tools
Before you begin measuring, please gather the following standard tools:
Tape measure or laser distance meter
Pencil and notepad (for recording dimensions)
Level (to check the wall or floor for flatness)
Flashlight (for checking corners and pipe locations)
3. Pre-measurements
① Clear the space: Remove any existing sinks and other debris to ensure the measuring area is clear.
② Identify obstructions: Corners, electrical outlets, pipes, and baseboards can affect sink placement.
③ Confirm water supply and drainage points: Record the location of hot and cold water pipes and drain pipes to facilitate subsequent installation.
4. Step-by-step measurement guide
① Step 1: Measure the total width of the installation area
Use a tape measure to measure the horizontal distance between the two walls where the sink will be located. A 36-inch sink requires at least 38-40 inches of space to allow for installation and maintenance.
② Step 2: Measure the depth from the wall to the wall feature
A 36-inch sink typically has a depth of 18 to 22 inches. Measure from the wall outward to confirm the remaining clearance, paying particular attention to any doors, walkways, or other obstructions.
③ Step 3: Measure the height from the floor to the drain outlet.
This height generally determines whether the sink drain structure will fit. The standard height is approximately 18-20 inches. If your pipes are located higher, custom or modified drain designs may be required.
④ Step 4: Measure the location of the water pipes.
Record the distances from the centre points of the hot and cold water pipes and the drain pipe to the left or right wall, respectively, to facilitate accurate positioning during installation.
⑤ Step 5: Check that the wall and floor are level.
Use a level to check this. If there is any tilt, you may need to raise the area or make minor adjustments during installation.
⑥ Step 6: Check the opening clearance of doors and drawers.
Make sure that the sink doors and drawers do not collide with the wall, toilet, or other fixtures when opened. Ideally, allow at least 15 inches of clearance.

5. Simple Dimension Recording Sheet
|
Measurement Item |
Recommended Range |
Example Value |
|
Wall-to-wall horizontal space |
≥ 38 inches |
41 inches |
|
Distance from wall to front obstruction |
≥ 24 inches |
27 inches |
|
Floor to drain outlet height |
18–20 inches |
19 inches |
|
Distance from drain to left wall |
Varies by layout |
12 inches |
|
Distance from hot/cold supply to left wall |
Varies by layout |
11 in / 13 in |
|
Clearance for door/drawer opening |
≥ 15 inches |
18 inches |
6. Practical Tips
Allow Spacing: Leave at least 1 inch on each side of the vanity to avoid over-tightening, which can cause wear and inconvenience in maintenance.
Consider Baseboard Thickness: If there is baseboard in the corners, remember to measure its thickness, as it can affect the vanity's fit against the wall.
Simulate Use: Use tape to mark the edges of the vanity on the floor to simulate the space it will occupy after placement.
Measure Twice for Accuracy: Record the first measurement and verify the second to avoid errors.
7. Conclusion: Accurate Measurements Ensure Smooth Installation
A 36-inch bathroom vanity may not be too large, but even a single inch of error can lead to unnecessary problems during installation. The gap between the cabinet and the wall may be too narrow, making future repairs difficult; or the plumbing connections may be misaligned, requiring temporary adjustments to the drainage structure. These problems often stem from careless measurement.
Accurate measurements are the first step to ensuring a smooth renovation. Not only does it reduce rework during installation, it also helps you confidently select products and clearly define your desired specifications, structure, and style. For DIY enthusiasts, knowing key dimensions in advance can improve efficiency. For those hiring a professional for installation, accurate data also facilitates smoother communication and avoids misunderstandings.
A meticulously measured and planned space ultimately creates not only a clean and harmonious visual experience but also a smooth and comfortable experience. We hope this guide can provide practical help in the process of purchasing and installing a 36-inch vanity, saving you the trouble of repeated comparisons and trial and error, making the entire bathroom upgrade process more secure and fulfilling.




















Leave a comment
This site is protected by hCaptcha and the hCaptcha Privacy Policy and Terms of Service apply.