


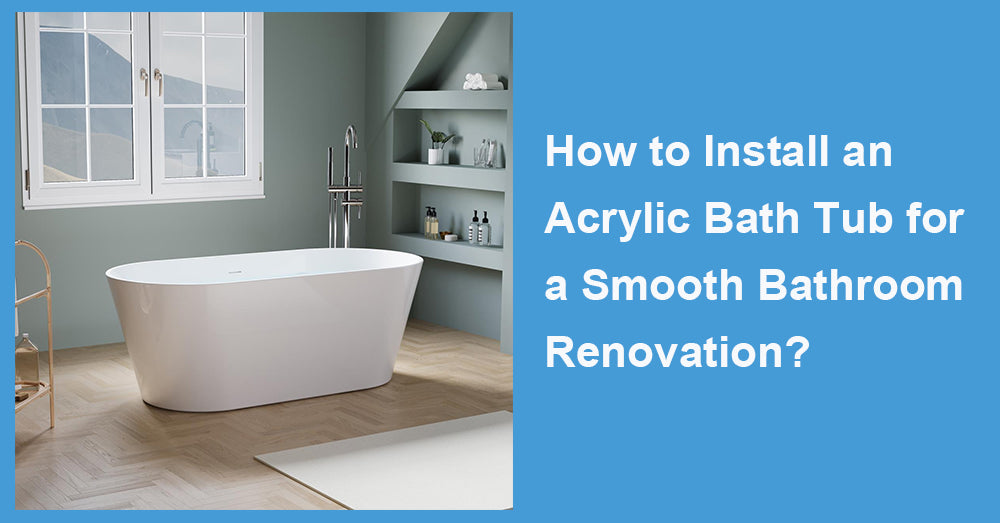
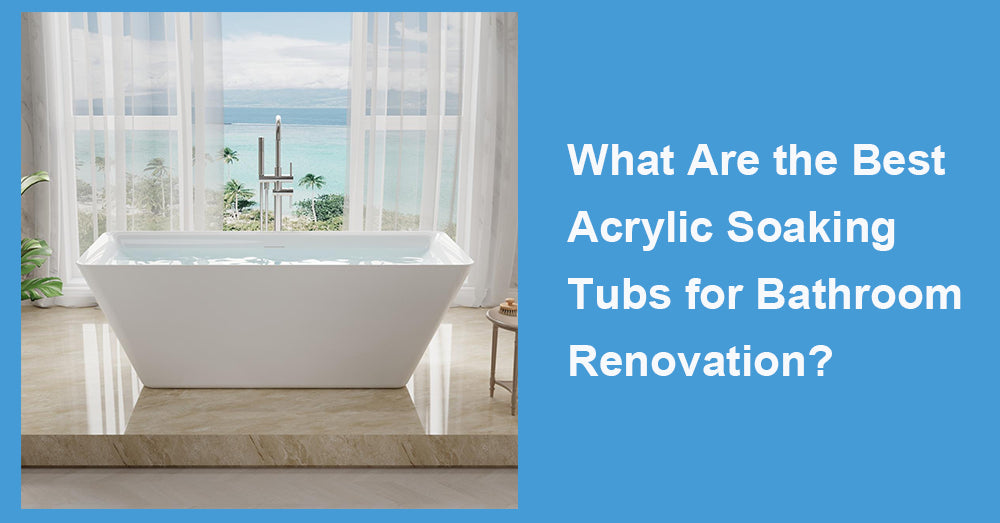
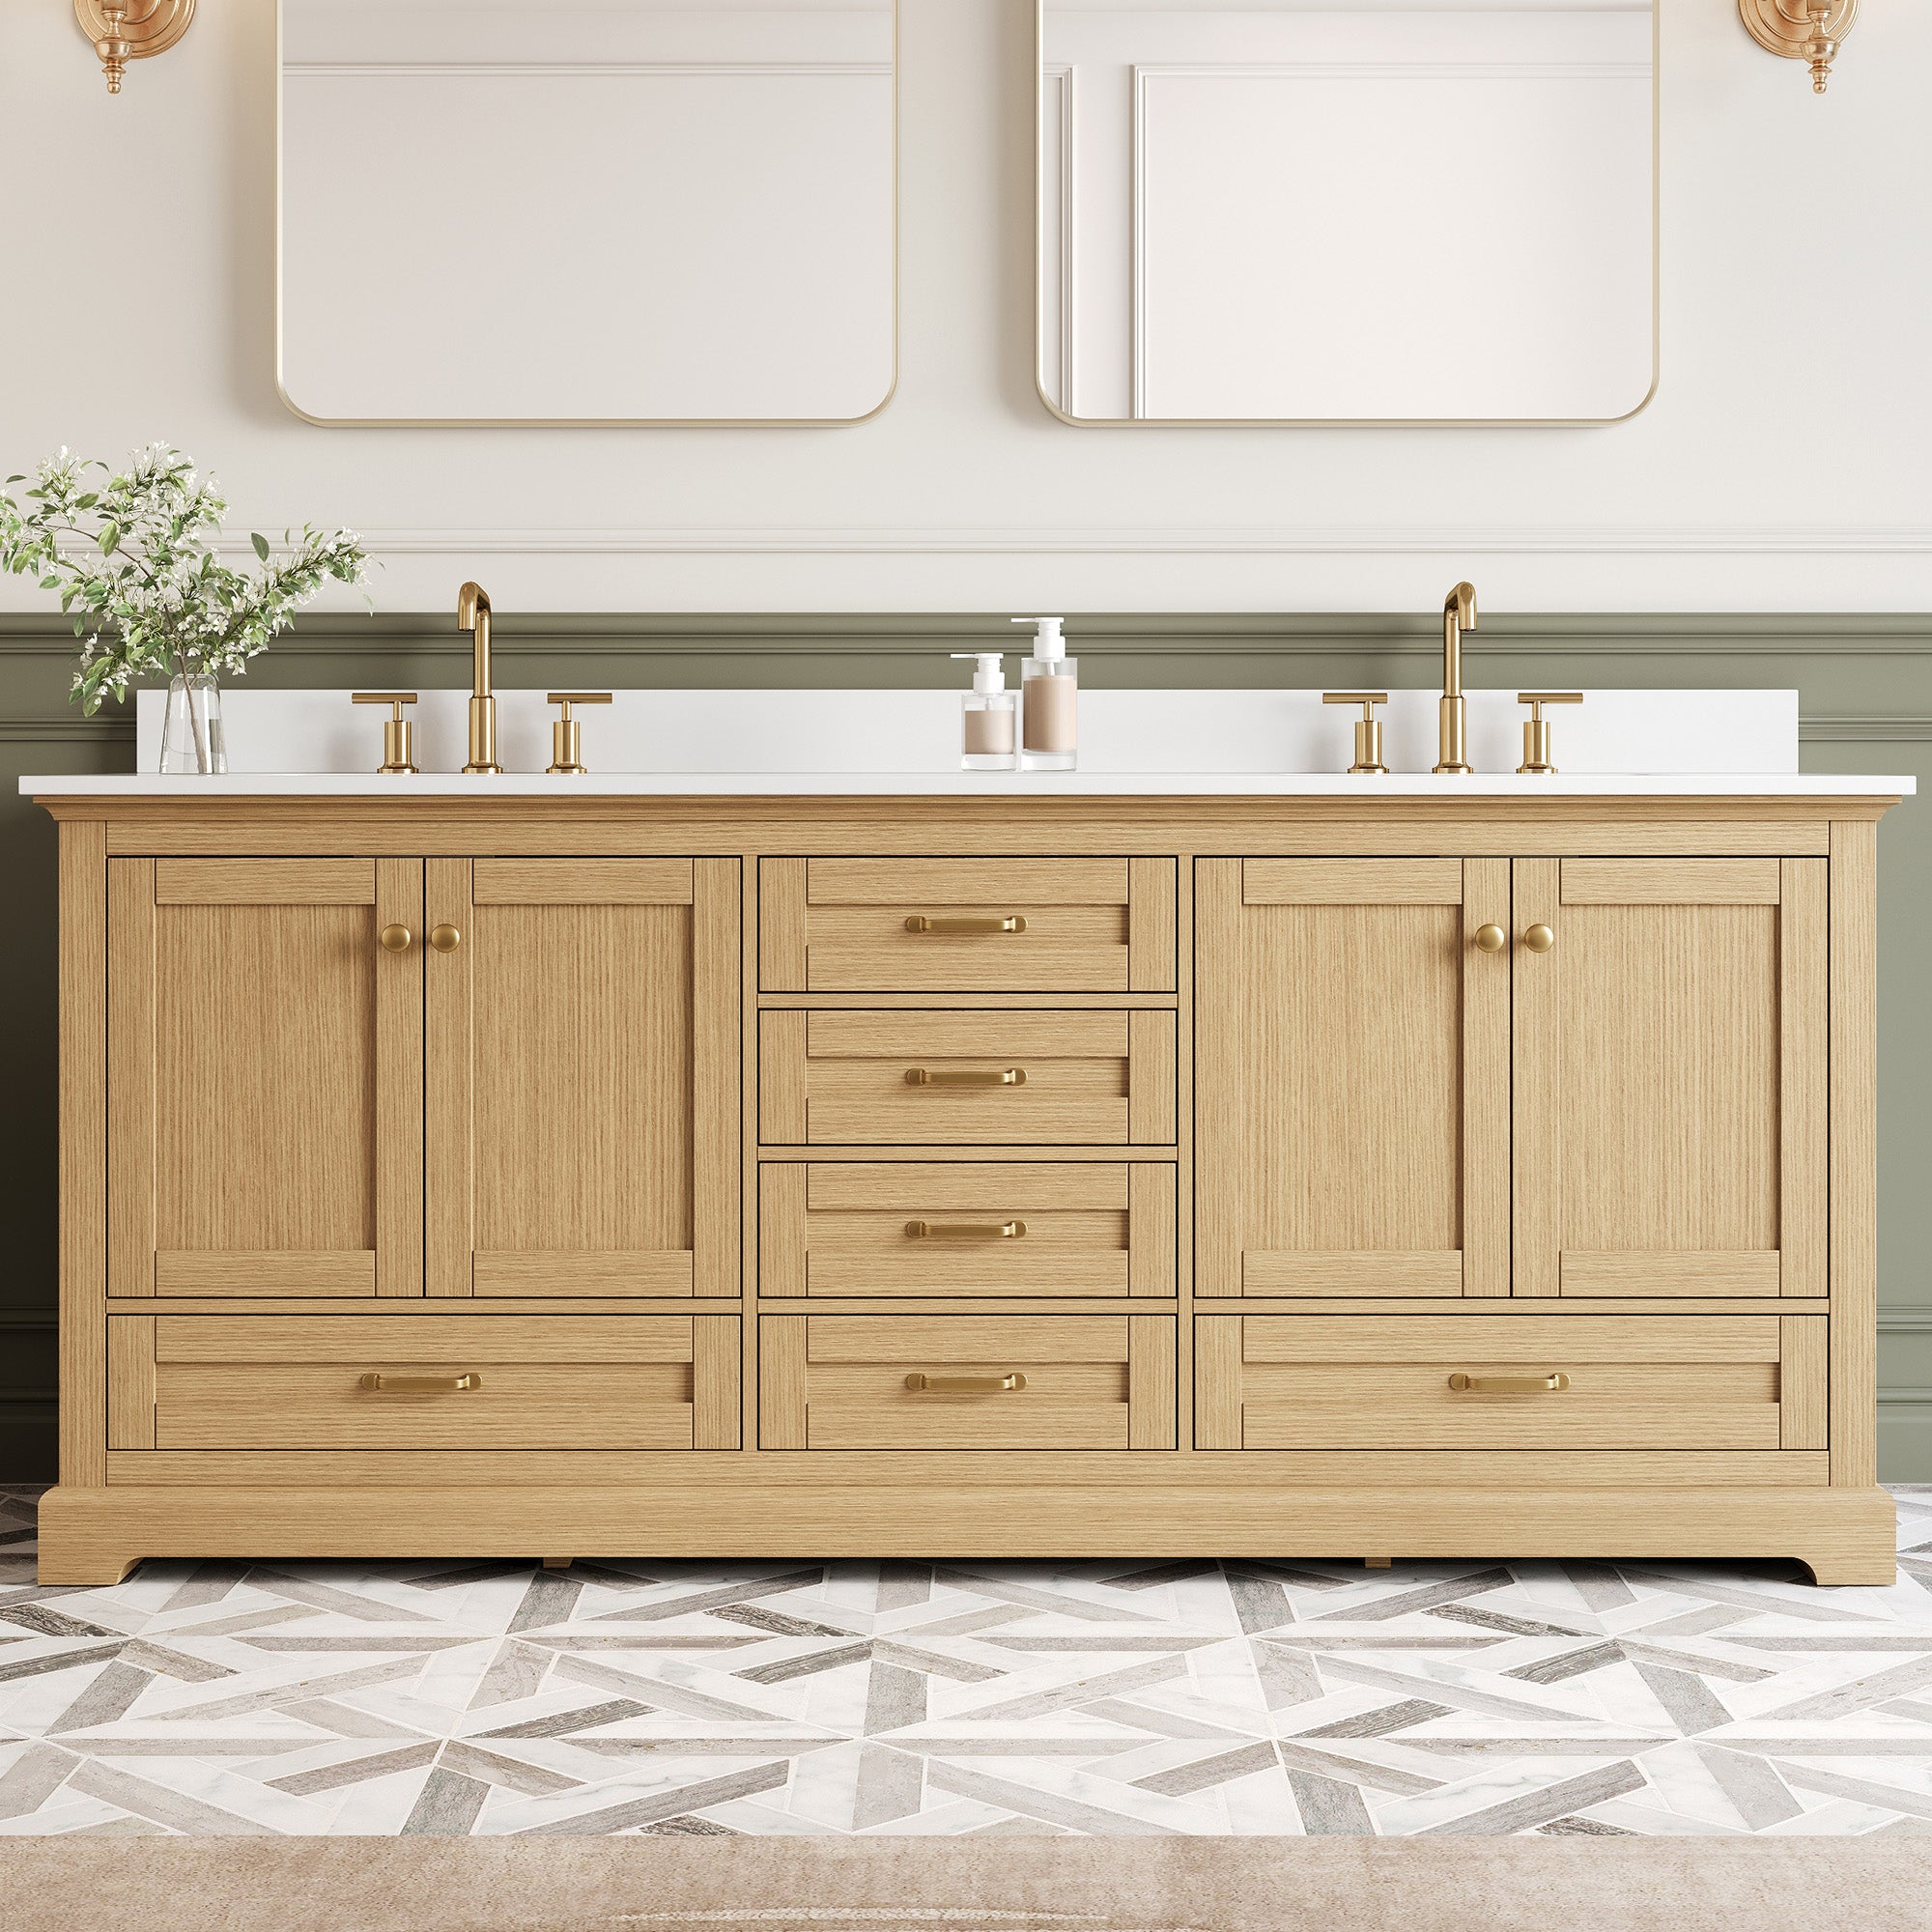
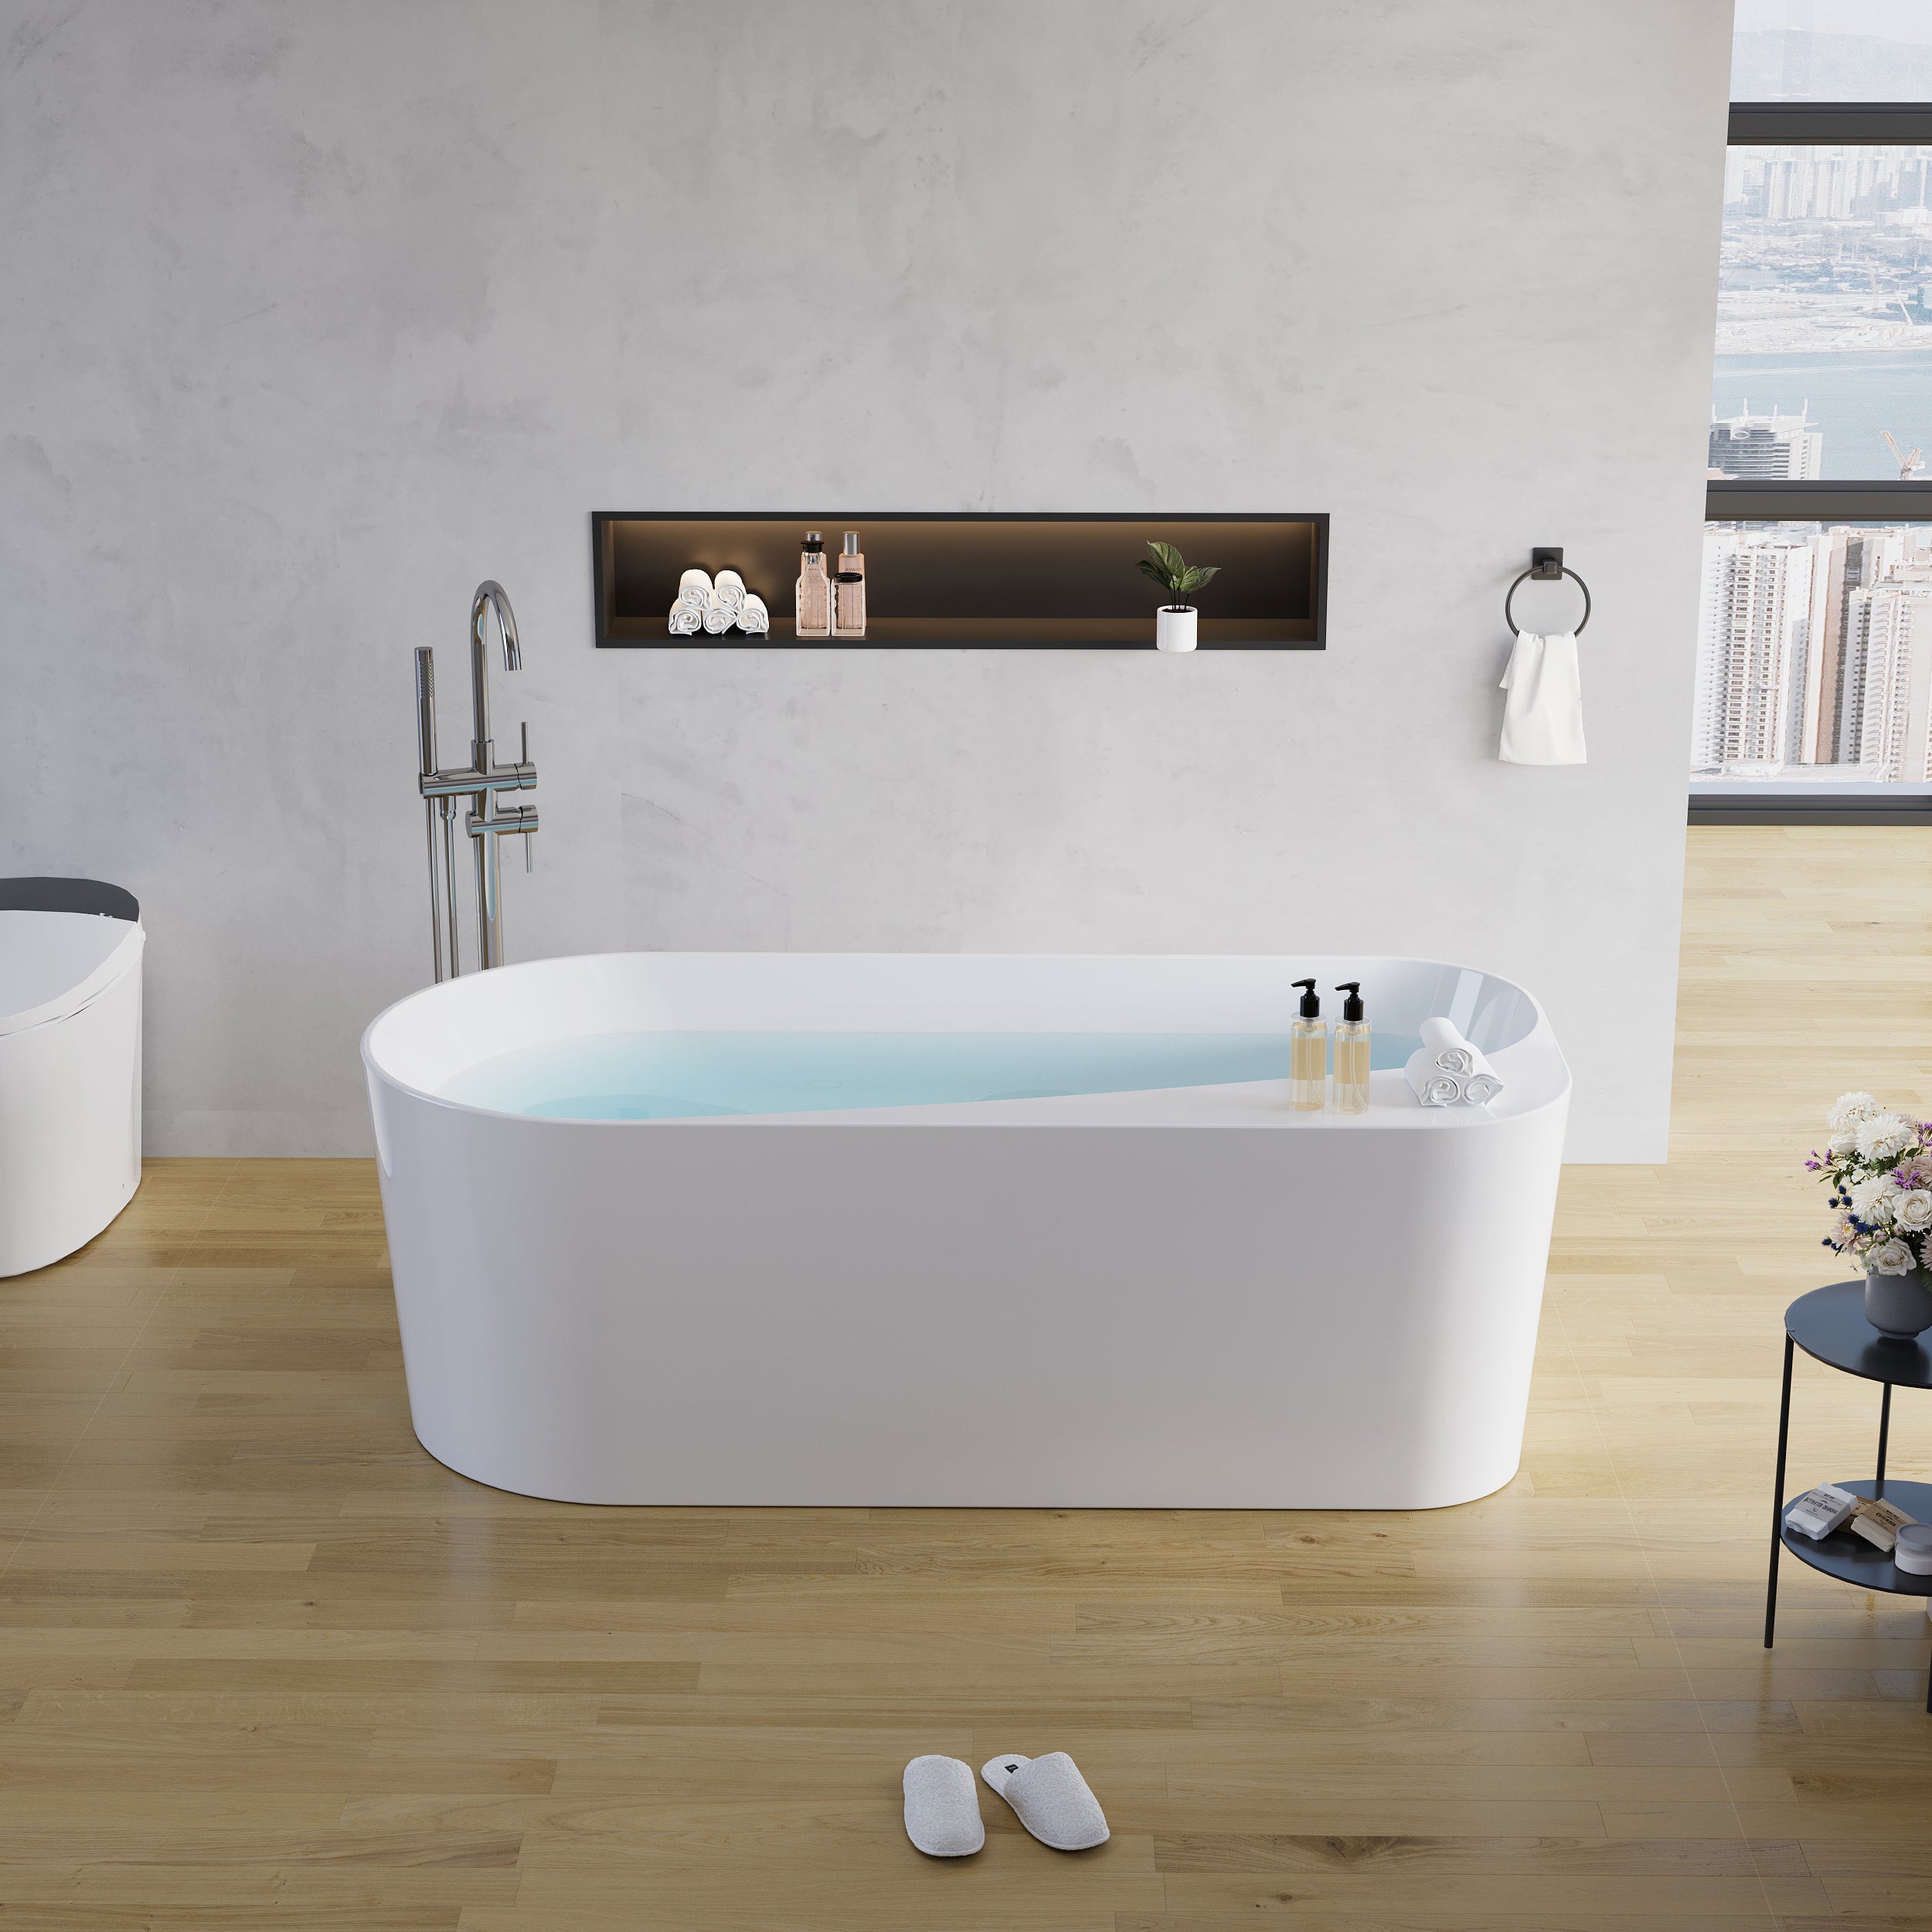
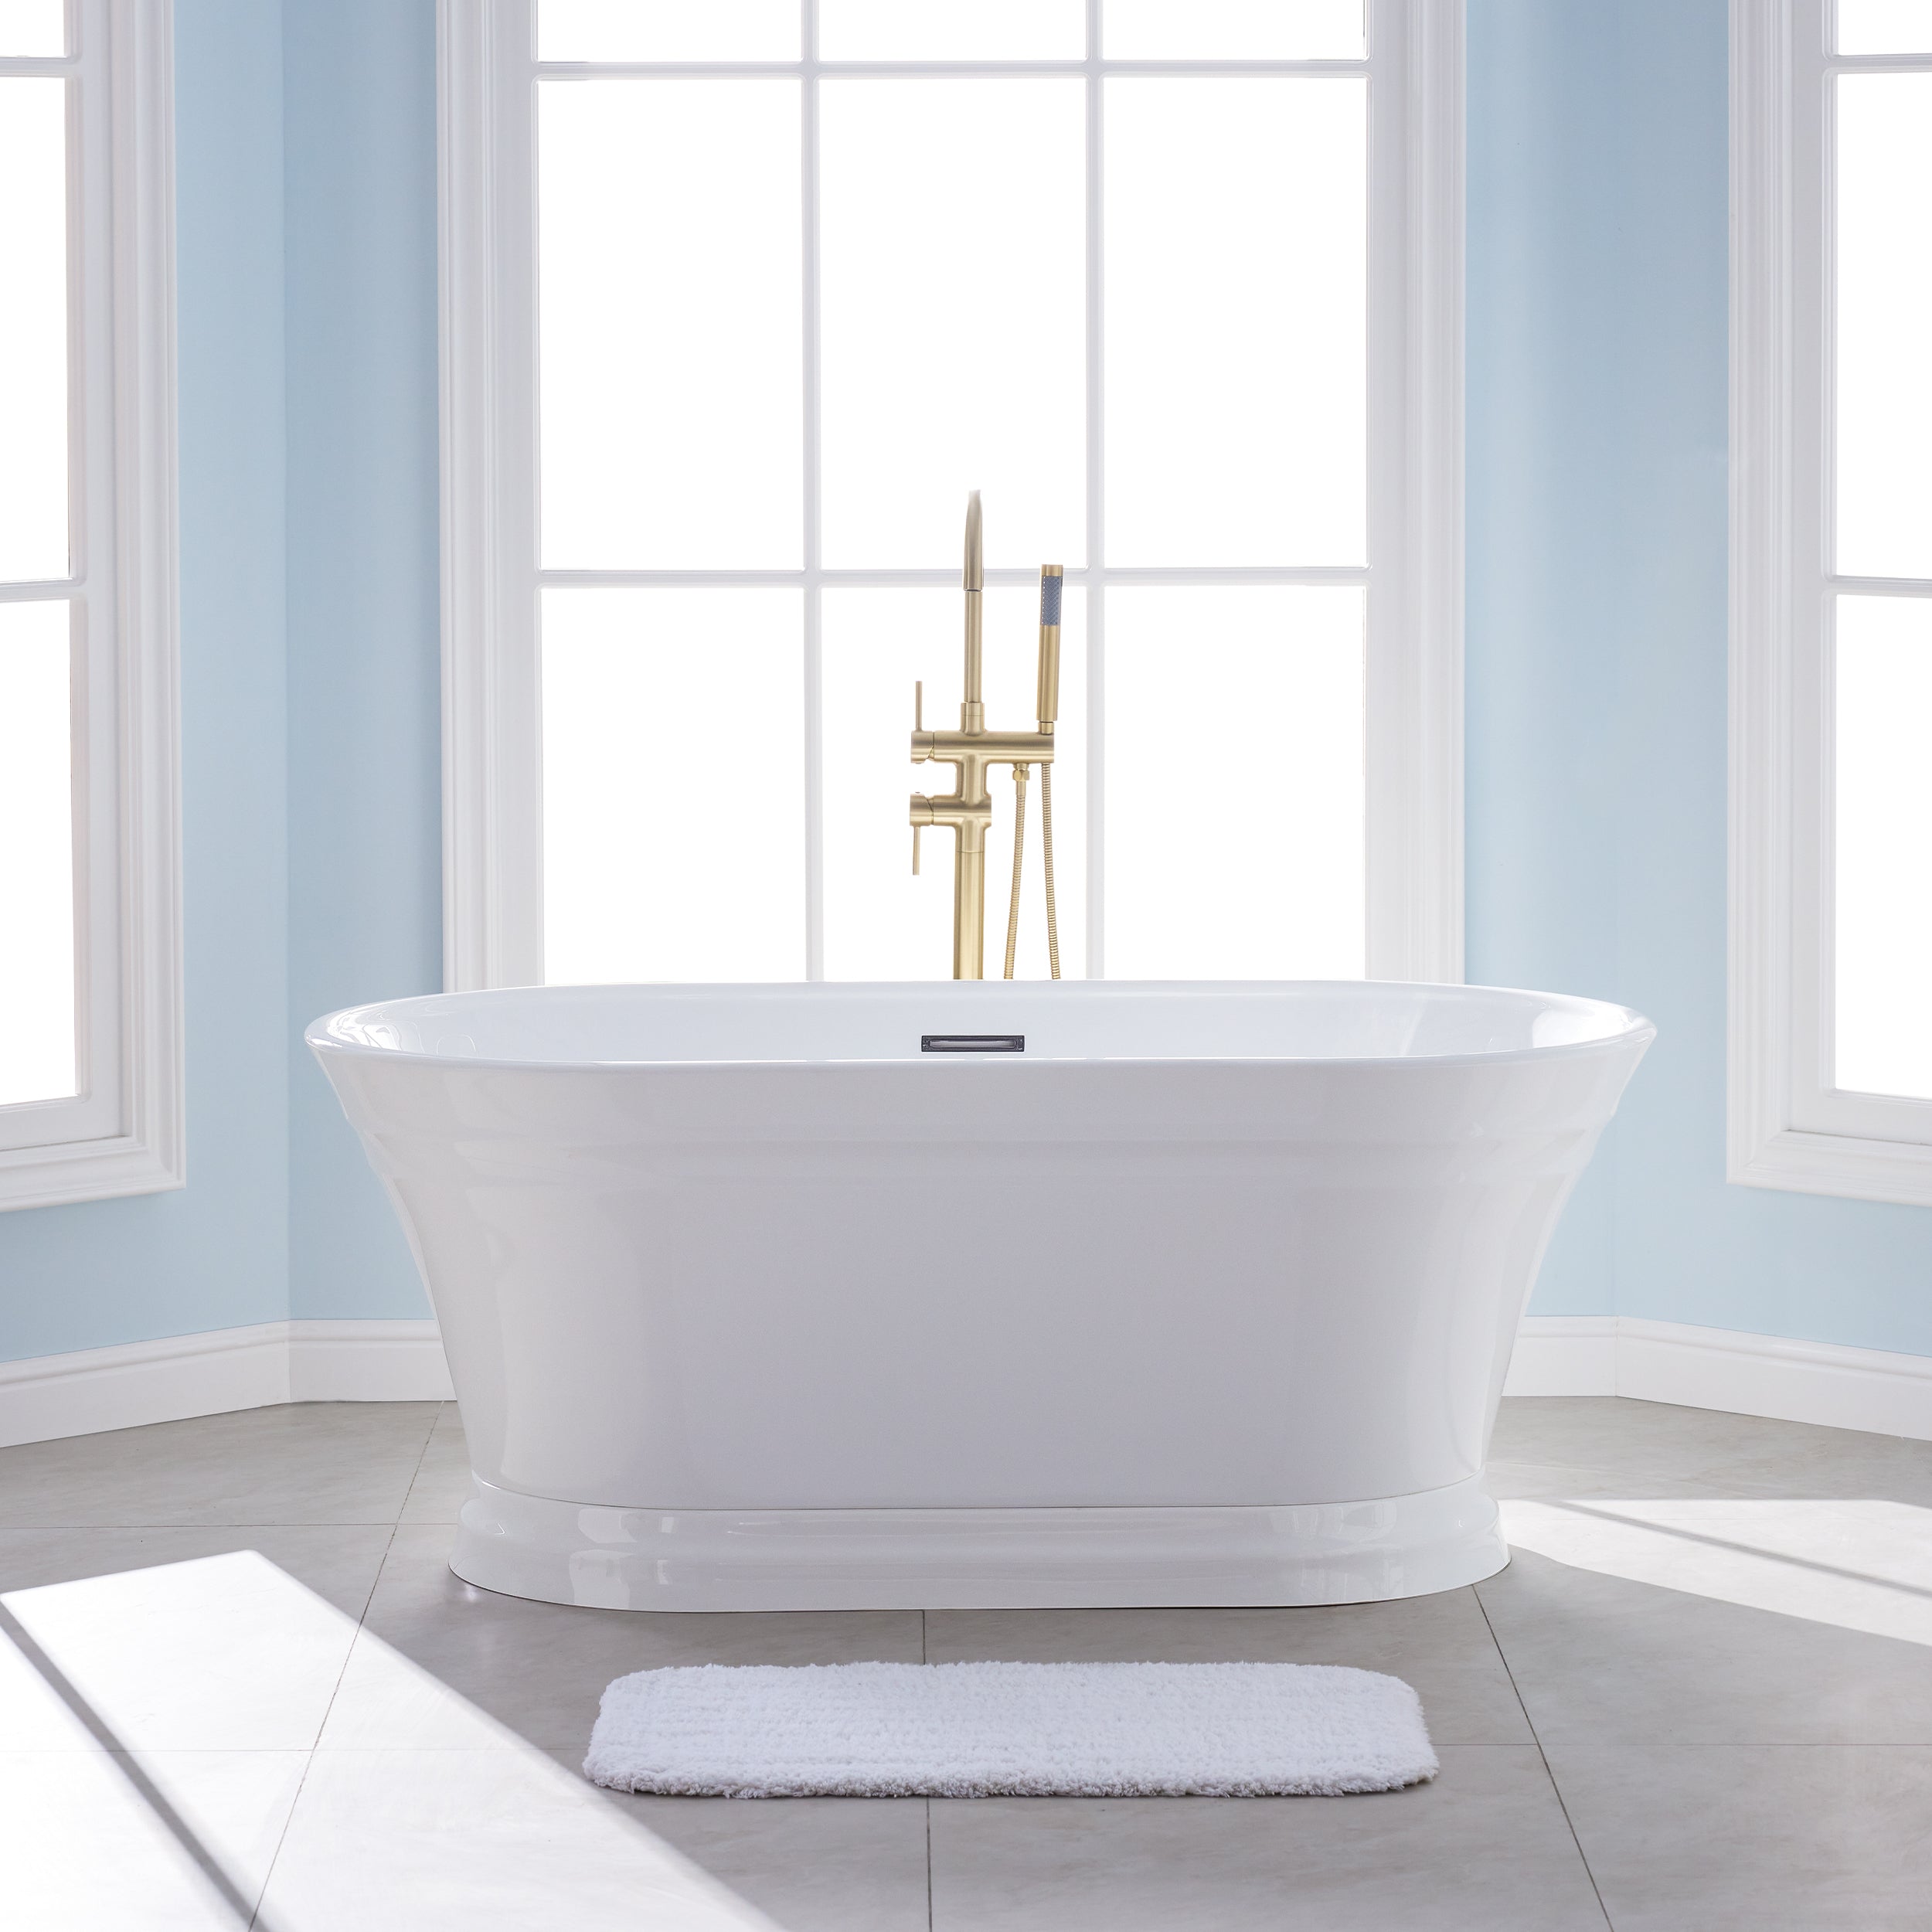
In modern bathroom design, the acrylic bath tub is gradually becoming the mainstream choice. It not only has a simple and stylish appearance, but also is lightweight, has good insulation performance, and is easy to clean, which is highly favored by families and designers. However, if a high-quality bathtub is not installed correctly, it may cause problems such as water seepage, looseness, and even structural damage, which can seriously affect the user experience. This article provides a detailed analysis of how to correctly install an acrylic bathtub, covering preparation, installation, and subsequent maintenance, to ensure a smooth, efficient, and reassuring bathroom renovation.
1. Why Choose an Acrylic Bath Tub
According to the Home Improvement Research Institute (HIRI) 2024 market survey, approximately 46% of homeowners choose acrylic bathtubs for bathroom renovations. Compared to traditional cast-iron or stone bathtubs, acrylic tubs are significantly lighter in weight, typically ranging from 60 to 100 pounds, whereas cast-iron bathtubs can weigh over 300 pounds. The lightweight feature means it is easier to handle and install, while also requiring lower ground load-bearing capacity.
Additionally, the non-porous surface of acrylic provides it with excellent anti-fouling properties, making it less prone to mold or bacterial growth. Cleaning it only requires warm water and mild cleaning agents. More importantly, acrylic materials have good thermal stability and can better maintain water temperature during prolonged baths.
2. Preparation Work Before Installation
Any successful renovation project cannot do without sufficient preparation. Before installing an acrylic bathtub, it is essential to confirm the following points:
Measure spatial dimensions: The bathtub should match the size of the reserved space, usually requiring about half an inch of installation allowance.
Check the load-bearing capacity and flatness of the ground: The ground should be stable and able to withstand the weight of being filled with water and the human body.
Confirm the location of drainage and water supply pipelines: Ensure that the bathtub's drainage outlet is aligned with the existing drainage system to avoid future rework.
Prepare installation tools, including a level, wrench, sealant, Plumber's tape, mortar or foam support materials, protective gloves, and goggles.
If replacing an old bathtub, care should be taken to avoid damaging the walls or pipelines during disassembly, and then thoroughly inspect for leaks, mold, or structural looseness. If necessary, repair it first.
3. Installation Key One: Create a Stable Base
Due to the lightweight nature of acrylic material, bottom support during installation is crucial to ensure its service life. Most professional installers recommend laying a layer of mortar bed or foam base at the bottom of the bathtub to enhance stability.
The operation steps are as follows:
Adjust the mortar to a consistency similar to peanut butter.
Spread evenly on the floor below the bathtub, without being too thick.
Slowly place the bathtub on top and gently press to ensure a snug fit.
Use a spirit level to check in all four directions to ensure that the bathtub is stable and not tilted.
The solidification of mortar usually takes about 24 hours. This process cannot be omitted; otherwise, there may be problems of "shaking" or "abnormal noise" in the later stage.
4. Installation Key Two: Connect the Drainage System Correctly
The next step is the installation of critical drainage and overflow outlets. Align the drainage component with the bathtub interface and wrap it with Plumber's tape to prevent water seepage. After the connection is completed, a test should be conducted: first, add a small amount of water and observe whether the drainage is smooth and whether there is any dripping.
If there is a slight deviation between the drainage outlet and the original sewer pipe, a flexible joint can be used for fine adjustment. However, suppose relocation of the pipeline is necessary. In that case, it is recommended to have a certified plumber perform the work to avoid violating local building regulations or exposing hidden water leakage risks.
5. Installation Key Three: Wall Edge Finishing and Waterproof Sealing
After the bathtub is securely in place, the next step is to handle wall trimming and sealing. The common practice is to use waterproof tiles or acrylic wall panels and apply 100% silicone sealant to all joints. The purpose of this step is to prevent water vapor from seeping into the wall, avoiding mold and structural damage.
Notes:
Use silicone explicitly designed for bathrooms; do not use "paintable" sealant.
Wait at least 24 hours after gluing before draining and using the item.
The glue should be applied evenly and continuously, and can be smoothed with wet fingers or a scraper to ensure both aesthetic appeal and airtightness.

6. Common Errors and Avoidance Methods in Installation
Even experienced decorators may make some common mistakes during the installation process:
|
Problem |
Preventive Measure |
|
Bottom support is often overlooked, which can lead to shaking or cracking. |
Use a mortar or foam layer to fix it. |
|
Uncalibrated horizontal drainage and water retention. |
Use a level for multi-directional calibration. |
|
Excessive tightening of pipe fittings is causing cracks. |
Only tighten sufficiently to prevent leakage |
|
Surface not dry/clean before applying glue. |
Ensure proper cleaning and drying. |
|
For use with uncured glue or for immediate use. |
Wait at least 24 hours before use |
By avoiding these details, the lifespan of the bathtub can be significantly extended, and maintenance costs can be avoided in the later stages.
7. Cost and Construction Time
According to the HomeAdvisor 2025 Bathroom Renovation Report, the average cost of installing an acrylic bathtub in the United States ranges from approximately $1,000 to $3,500, including both material and labor costs. If installed by oneself, the price can be significantly reduced, but for inexperienced owners, the cost of repairing erroneous operations is often higher.
Generally speaking:
DIY installation: takes about 1-2 days;
Professional installation: typically completed within 8 hours.
If pipeline or wall adjustments are necessary, the project may be extended by approximately 3 days.
8. Maintenance Suggestions After Installation
Proper daily maintenance can keep acrylic tubes looking as new as the day they were purchased.
Clean with a mild detergent and a soft sponge once a week.
Avoid using cleaning products containing bleach, acetone, or strong acids and bases.
If there are slight scratches on the surface, a special repair paste or fine sandpaper can be used to polish and repair them.
Regularly inspect the edges of the sealant and promptly apply replacement if any looseness is found.
Good maintenance not only extends the lifespan of the bathtub but also maintains its shiny visual effect, keeping the bathroom comfortable and upscale at all times.
9. Summary: One Correct Installation Brings Years of Comfortable Experience
The process of installing an acrylic bathtub is not complicated, but each step affects the final user experience. From measuring space, setting the base, precise drainage, to the final waterproof sealing, any negligence in details can lead to subsequent problems.
In the current trend of emphasizing "high cost-effectiveness and practical design" in American decoration (National Kitchen & Bath Association, 2025), acrylic tubing has become an increasingly popular choice for more and more families due to its lightweight, aesthetic, and economic benefits. As long as the correct installation process is followed, whether it is a new house renovation or an old bathroom renovation, this classic bathtub can be perfectly integrated into the space, creating a private relaxation corner that combines functionality and aesthetics.


Leave a comment
This site is protected by hCaptcha and the hCaptcha Privacy Policy and Terms of Service apply.