


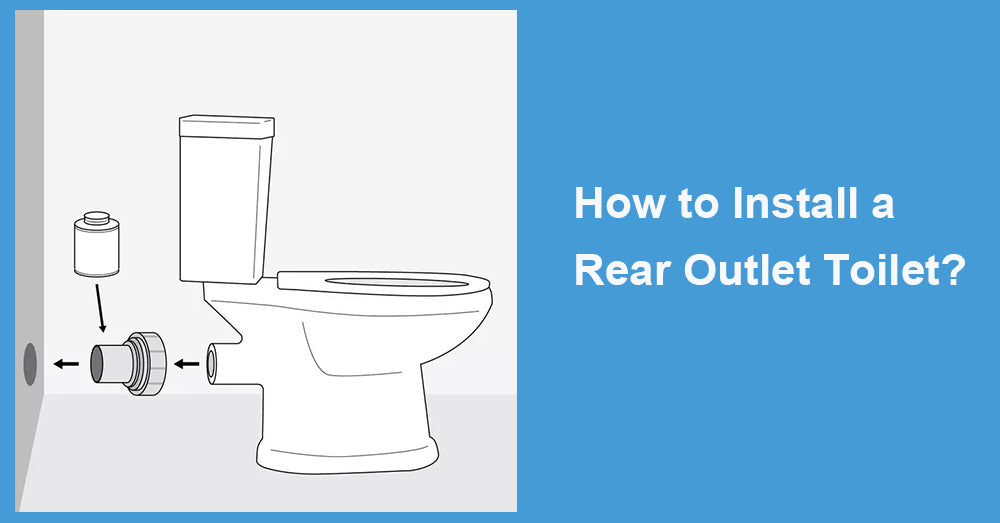
Do you want to install a rear outlet toilet in the bathroom? Don't be scared by its structure. Although it may seem a bit more complex than a regular layout, people with stronger hands-on abilities can actually handle it themselves. Below, we will walk you through the process step by step, from preparation to installation.
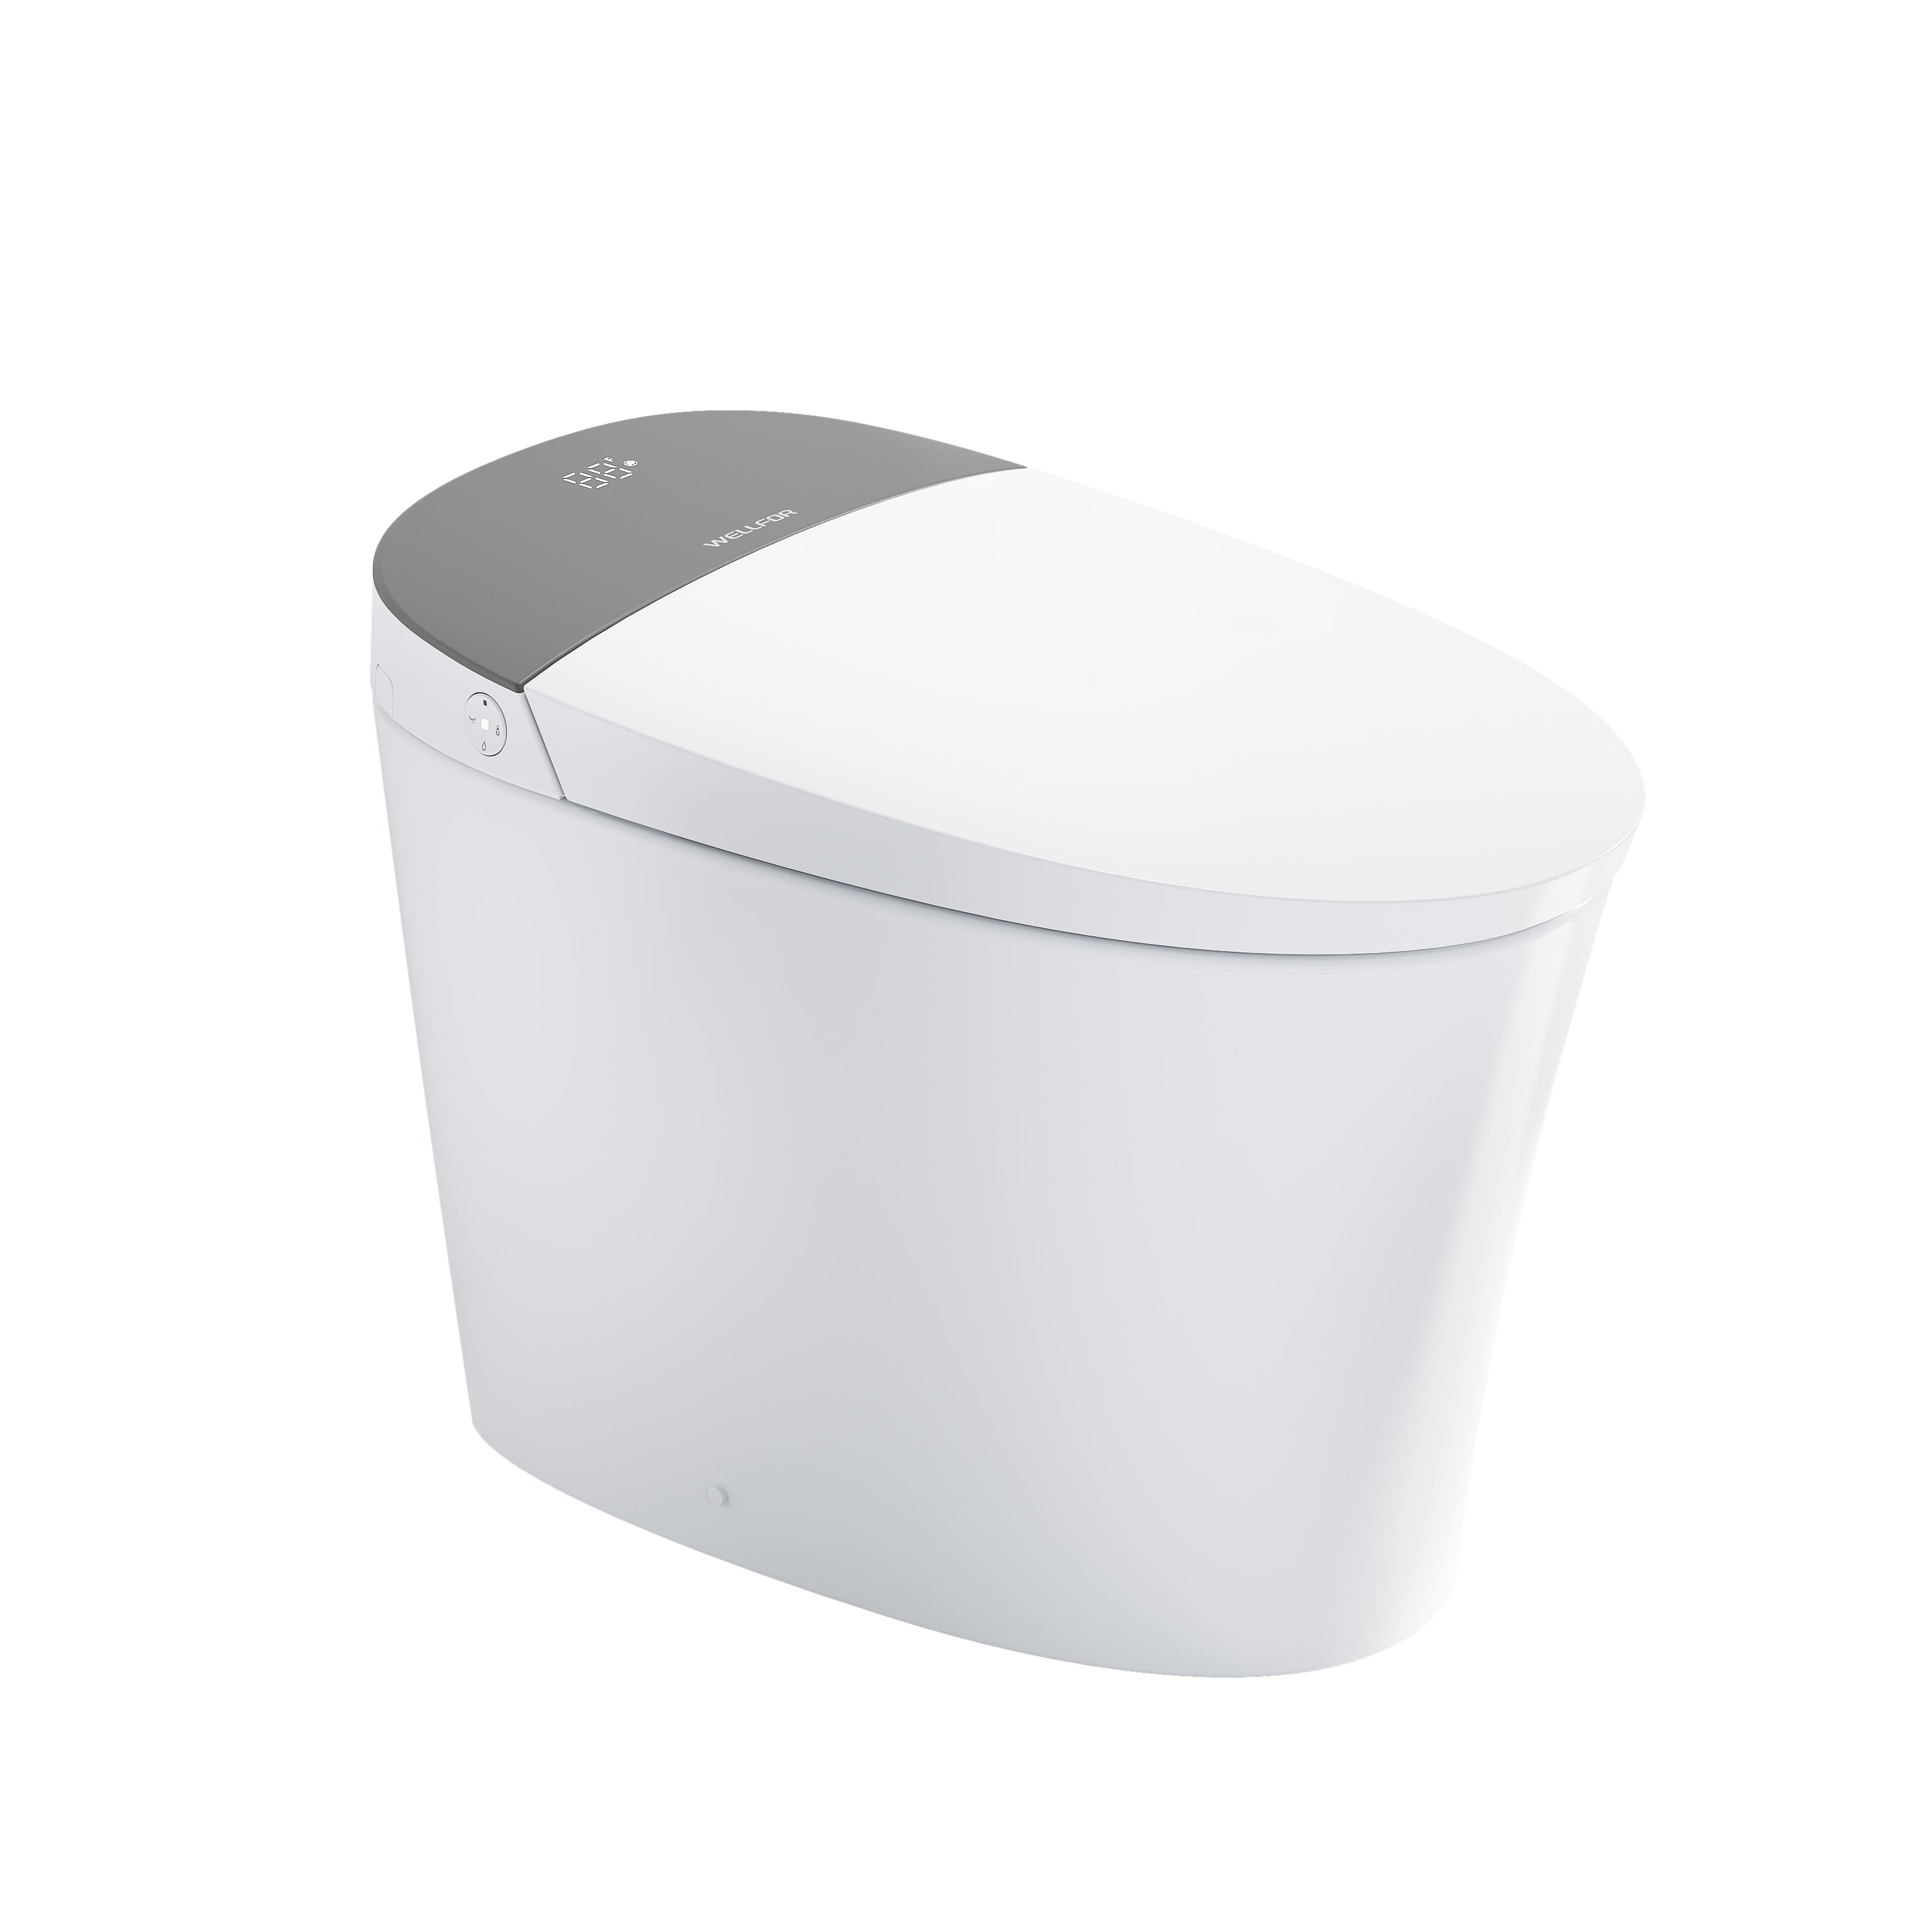
1.Why choose a rear seat toilet
The biggest feature of the rear seat toilet is that the drain outlet is located behind the toilet, against the wall, not through a hole in the ground. It has several obvious advantages:
Space saving and convenient renovation
It is particularly suitable for old houses or basements because there is no need to dig a hole to connect the sewage pipe, as long as there is a pipe behind the wall.
Neat appearance
The pipeline is hidden behind the wall, giving it a more modern appearance. Many new apartments and small bathrooms like this design.
Easy maintenance
When repairing pipelines, there is no need to damage the ground, just remove the rear wall panel.
Of course, there are also disadvantages, such as more precise installation requirements and stricter sealing for sewage interfaces, and higher design requirements for flushing force.
2.Preparation before installation
Before starting, confirm a few key points. Being well prepared can save a lot of trouble.
Confirm the direction of discharge
Check if your toilet is in the floor or back row.
If it was originally an underground row and you want to switch to the rear row, you have to change the pipes in the wall. It is best to confirm in advance whether there is enough space behind the wall to accommodate pipes.
Measure the size properly
The height from the center of the wall drain outlet to the ground is generally 4 inches.
Either too high or too low will not match.
Also measure the left and right space to avoid squeezing the toilet into the sink or corner of the wall after installation.
Prepare tools and materials
Prepare these basic tools:
Tape measure, level ruler, screwdriver, wrench, PVC/ABS adhesive, sealing gasket (recommended: neoprene), installation bolt, silicone, water supply hose.
If special accessories (such as P-trap connectors) are mentioned in the manual, they should also be prepared in advance.
Turn off the water source and dismantle the old toilet
Turn off the angle valve, flush and drain the water tank.
Dismantle the old toilet, clean the floor and old seal residue, and keep it flat and dry.
Check the walls and floors
Ensure that the wall is vertical, the ground is flat, and there are no cracks or blockages in the drainage outlet.
By the way, check the water supply valve and hose. If they are old, replace them now to avoid trouble later.

3. Installation steps
1. Pre positioning
Place the new toilet in the designated location and check whether the rear drain aligns perfectly with the wall interface. Measure and trim the connecting pipe to the required length.
2. Install seals
Place a sealing gasket between the toilet drain and the wall interface, and fix it with PVC glue. If there are compatible fittings, insert them into the wall drain pipe approximately 1.5 inches.
3. Place and secure the toilet
Slide the toilet into place and gently press it down to ensure a tight fit.
Mark the position of the foundation hole, drill a small hole and install bolts and washers, alternately tighten until the toilet is stable. Do not apply too much force to prevent the porcelain body from cracking.
4. Connect the water tank to the water supply pipe
If it is a two-piece design, first fix the water tank to the toilet seat. Then connect the water supply hose and open the water valve for testing.
5. Testing and Closing
Rinse the water a few times and check for any leaks.
Confirm that the toilet is stable and not shaking.
Apply a silicone ring at the base of the toilet to prevent water from seeping in.
4.Frequently Asked Questions
The height of the sewage outlet is incorrect
If the sewage pipe is too high or too low, the interface is prone to misalignment. Generally, a center-to-ground distance of 4 inches is most suitable.
Incorrect selection of sealing gasket
We do not recommend traditional wax rings for the rear seats. It is more stable to replace them with neoprene washers.
The flushing is not smooth
Because the water is discharged horizontally, it is recommended to choose a toilet with a pressure-assist system for a stronger impact.
Insufficient wall support
The sewage pipe behind the wall should be firmly fixed, as it may loosen over time and leak water.
Height change after ground renovation
If later tiling or adding layers raises the ground by a fraction of an inch, the sewage center will become lower, so it needs to be calculated in advance.
5.Summary
The key to installing a rear seat toilet is alignment, sealing, fixing, and testing.
Although there may seem to be many steps, the logic is actually very clear:
Measure the size first;
Connect the sealing components properly;
Fixed toilet;
Connect water supply;
Check for no water leakage.
As long as you are careful and follow the order, you can handle it without hiring a plumber.
Although the rear seat toilet is more flexible in appearance and layout, it also places greater demands on installation accuracy. If you have good hands-on skills, this is definitely a DIY project that can make the bathroom look brand new.


Leave a comment
This site is protected by hCaptcha and the hCaptcha Privacy Policy and Terms of Service apply.