


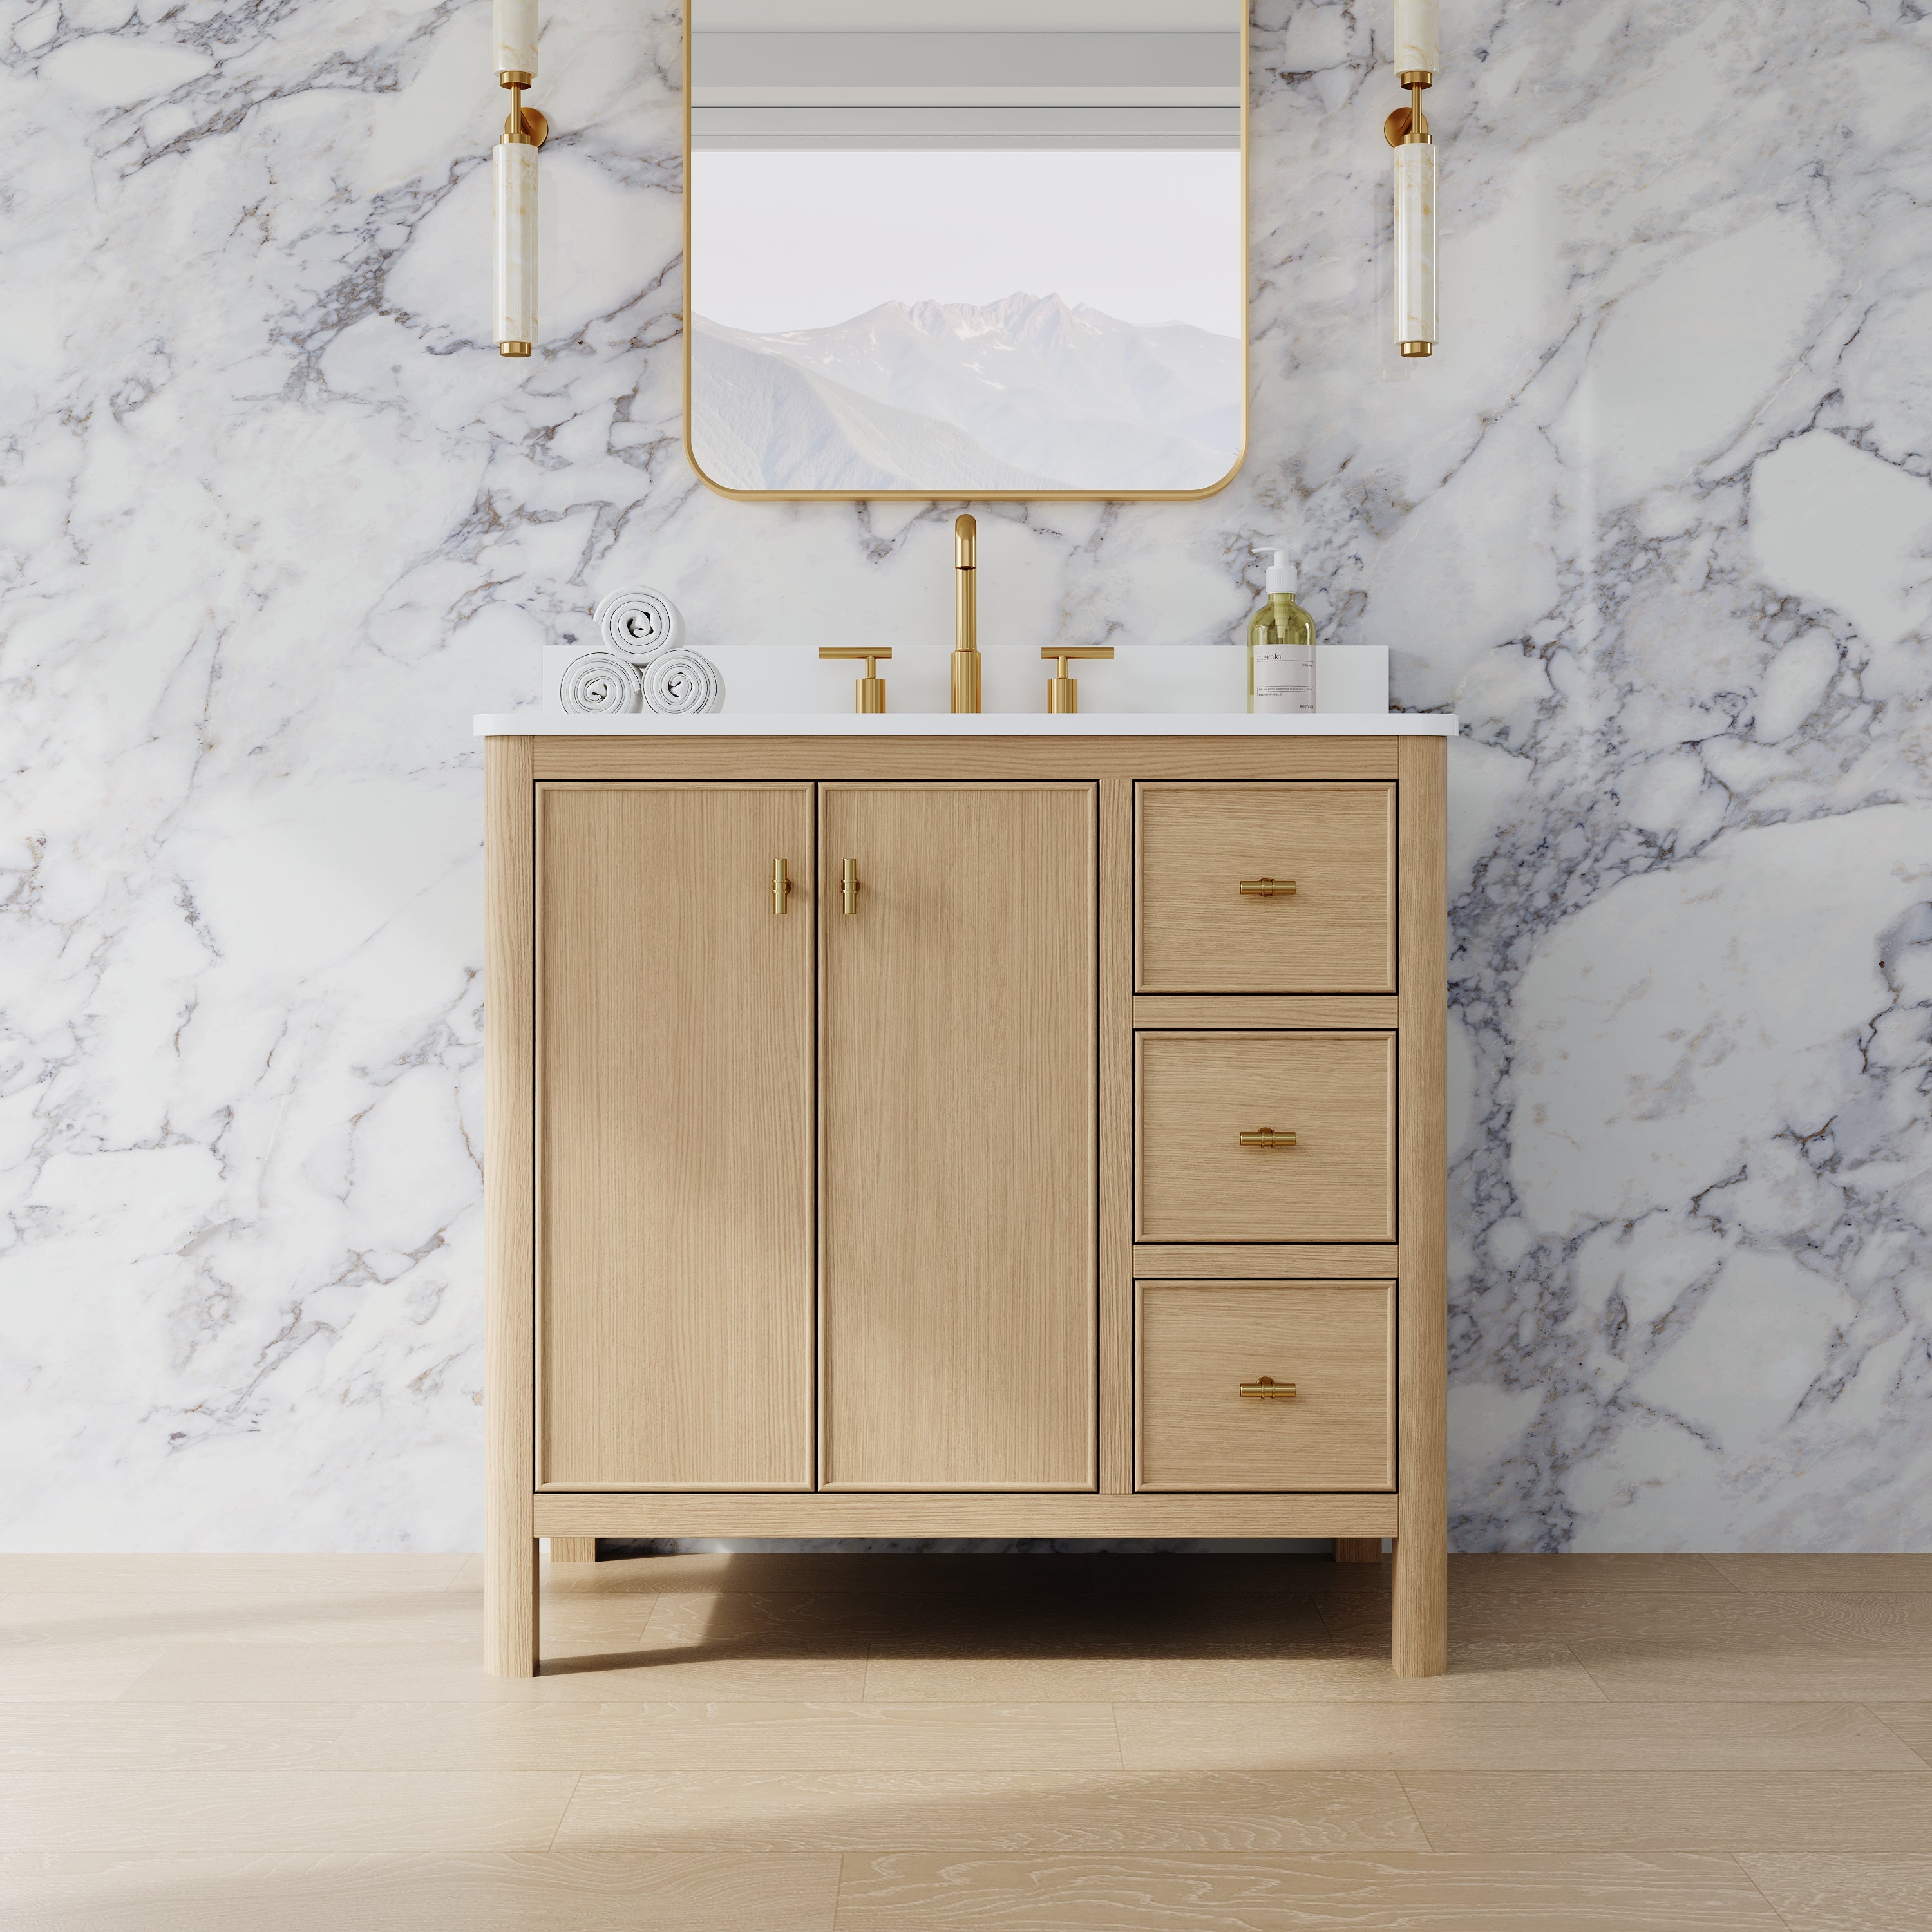


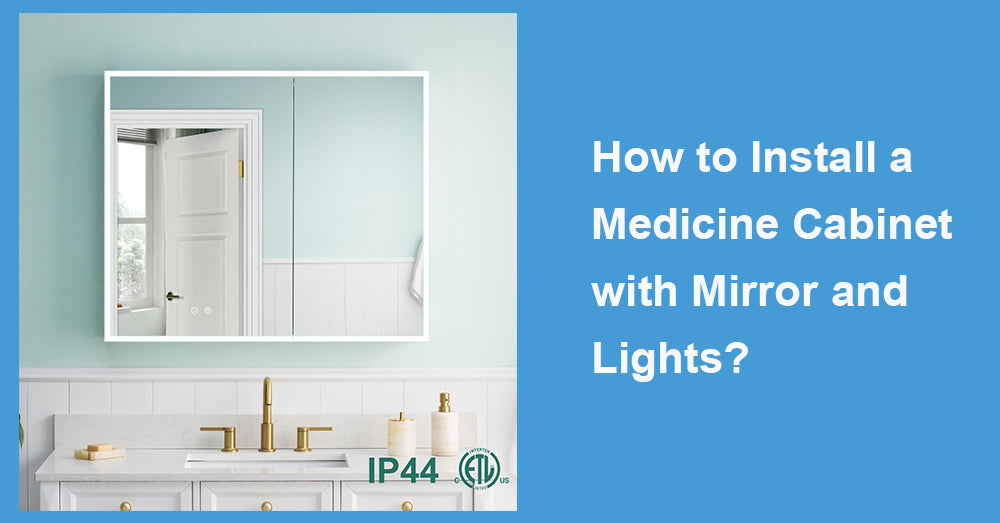
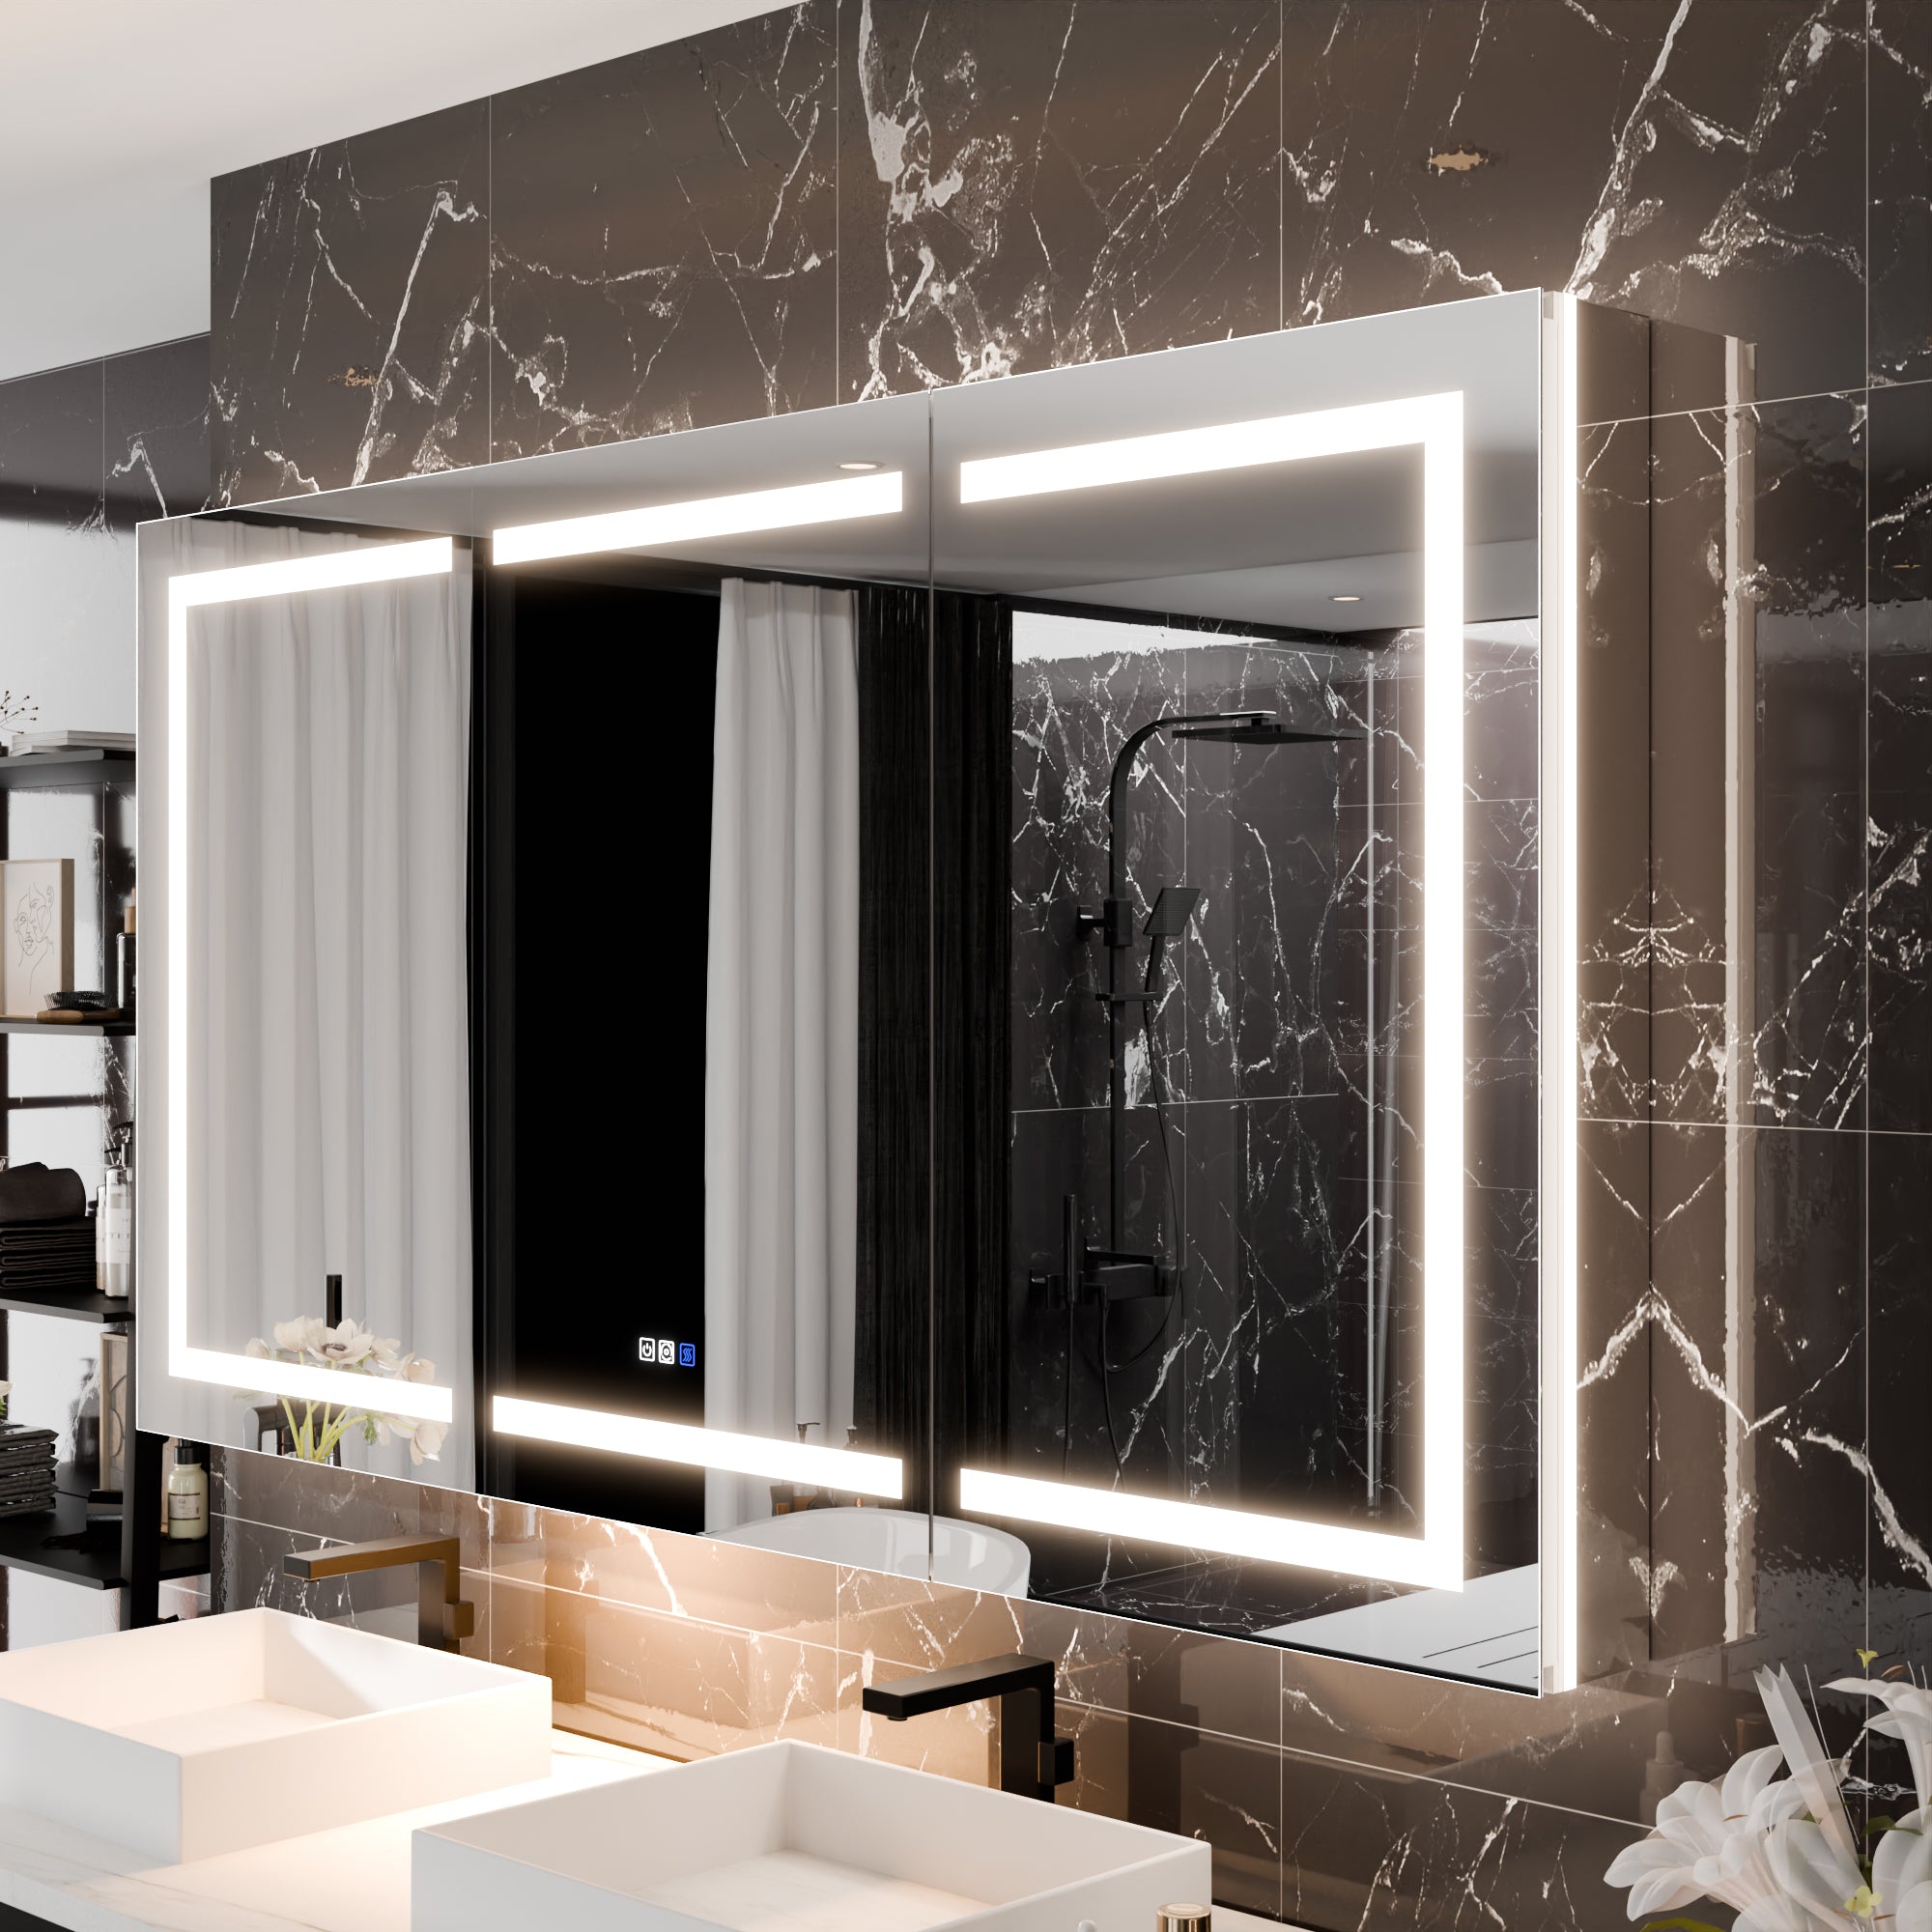
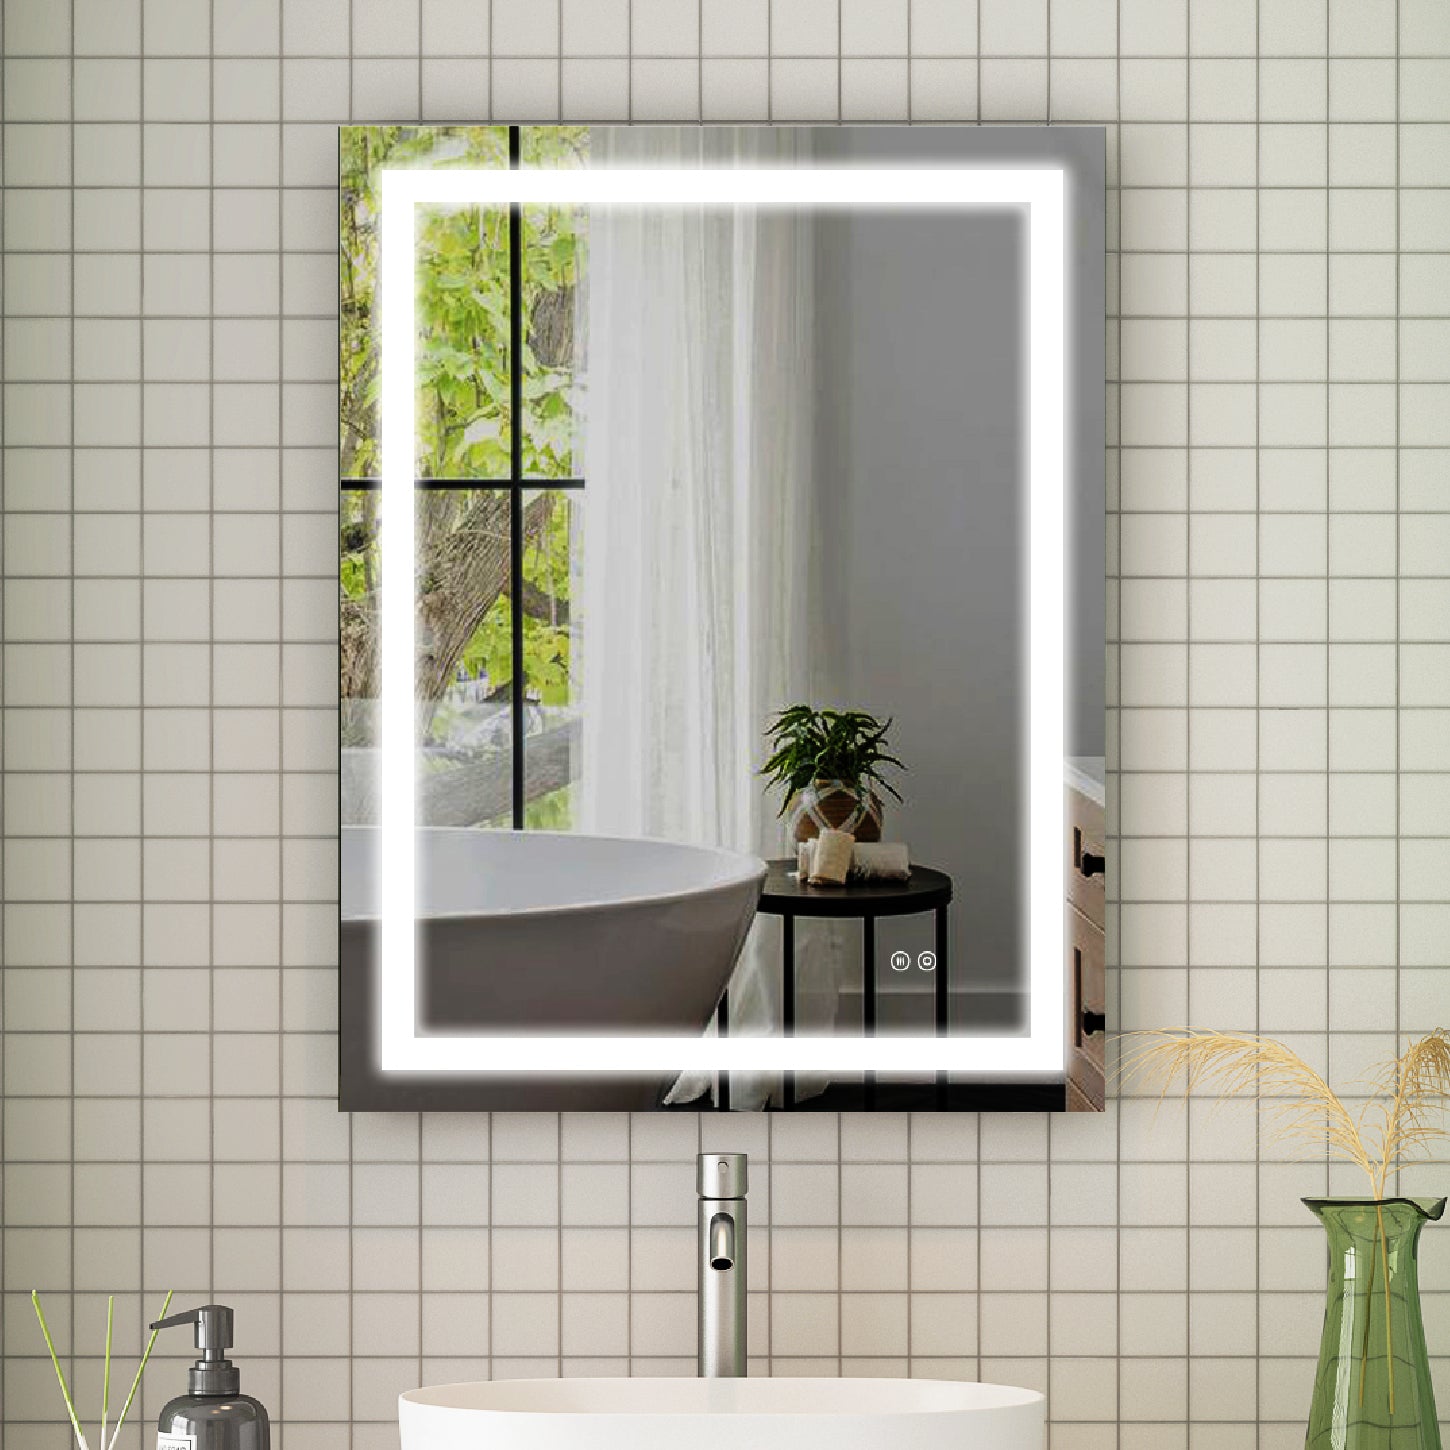
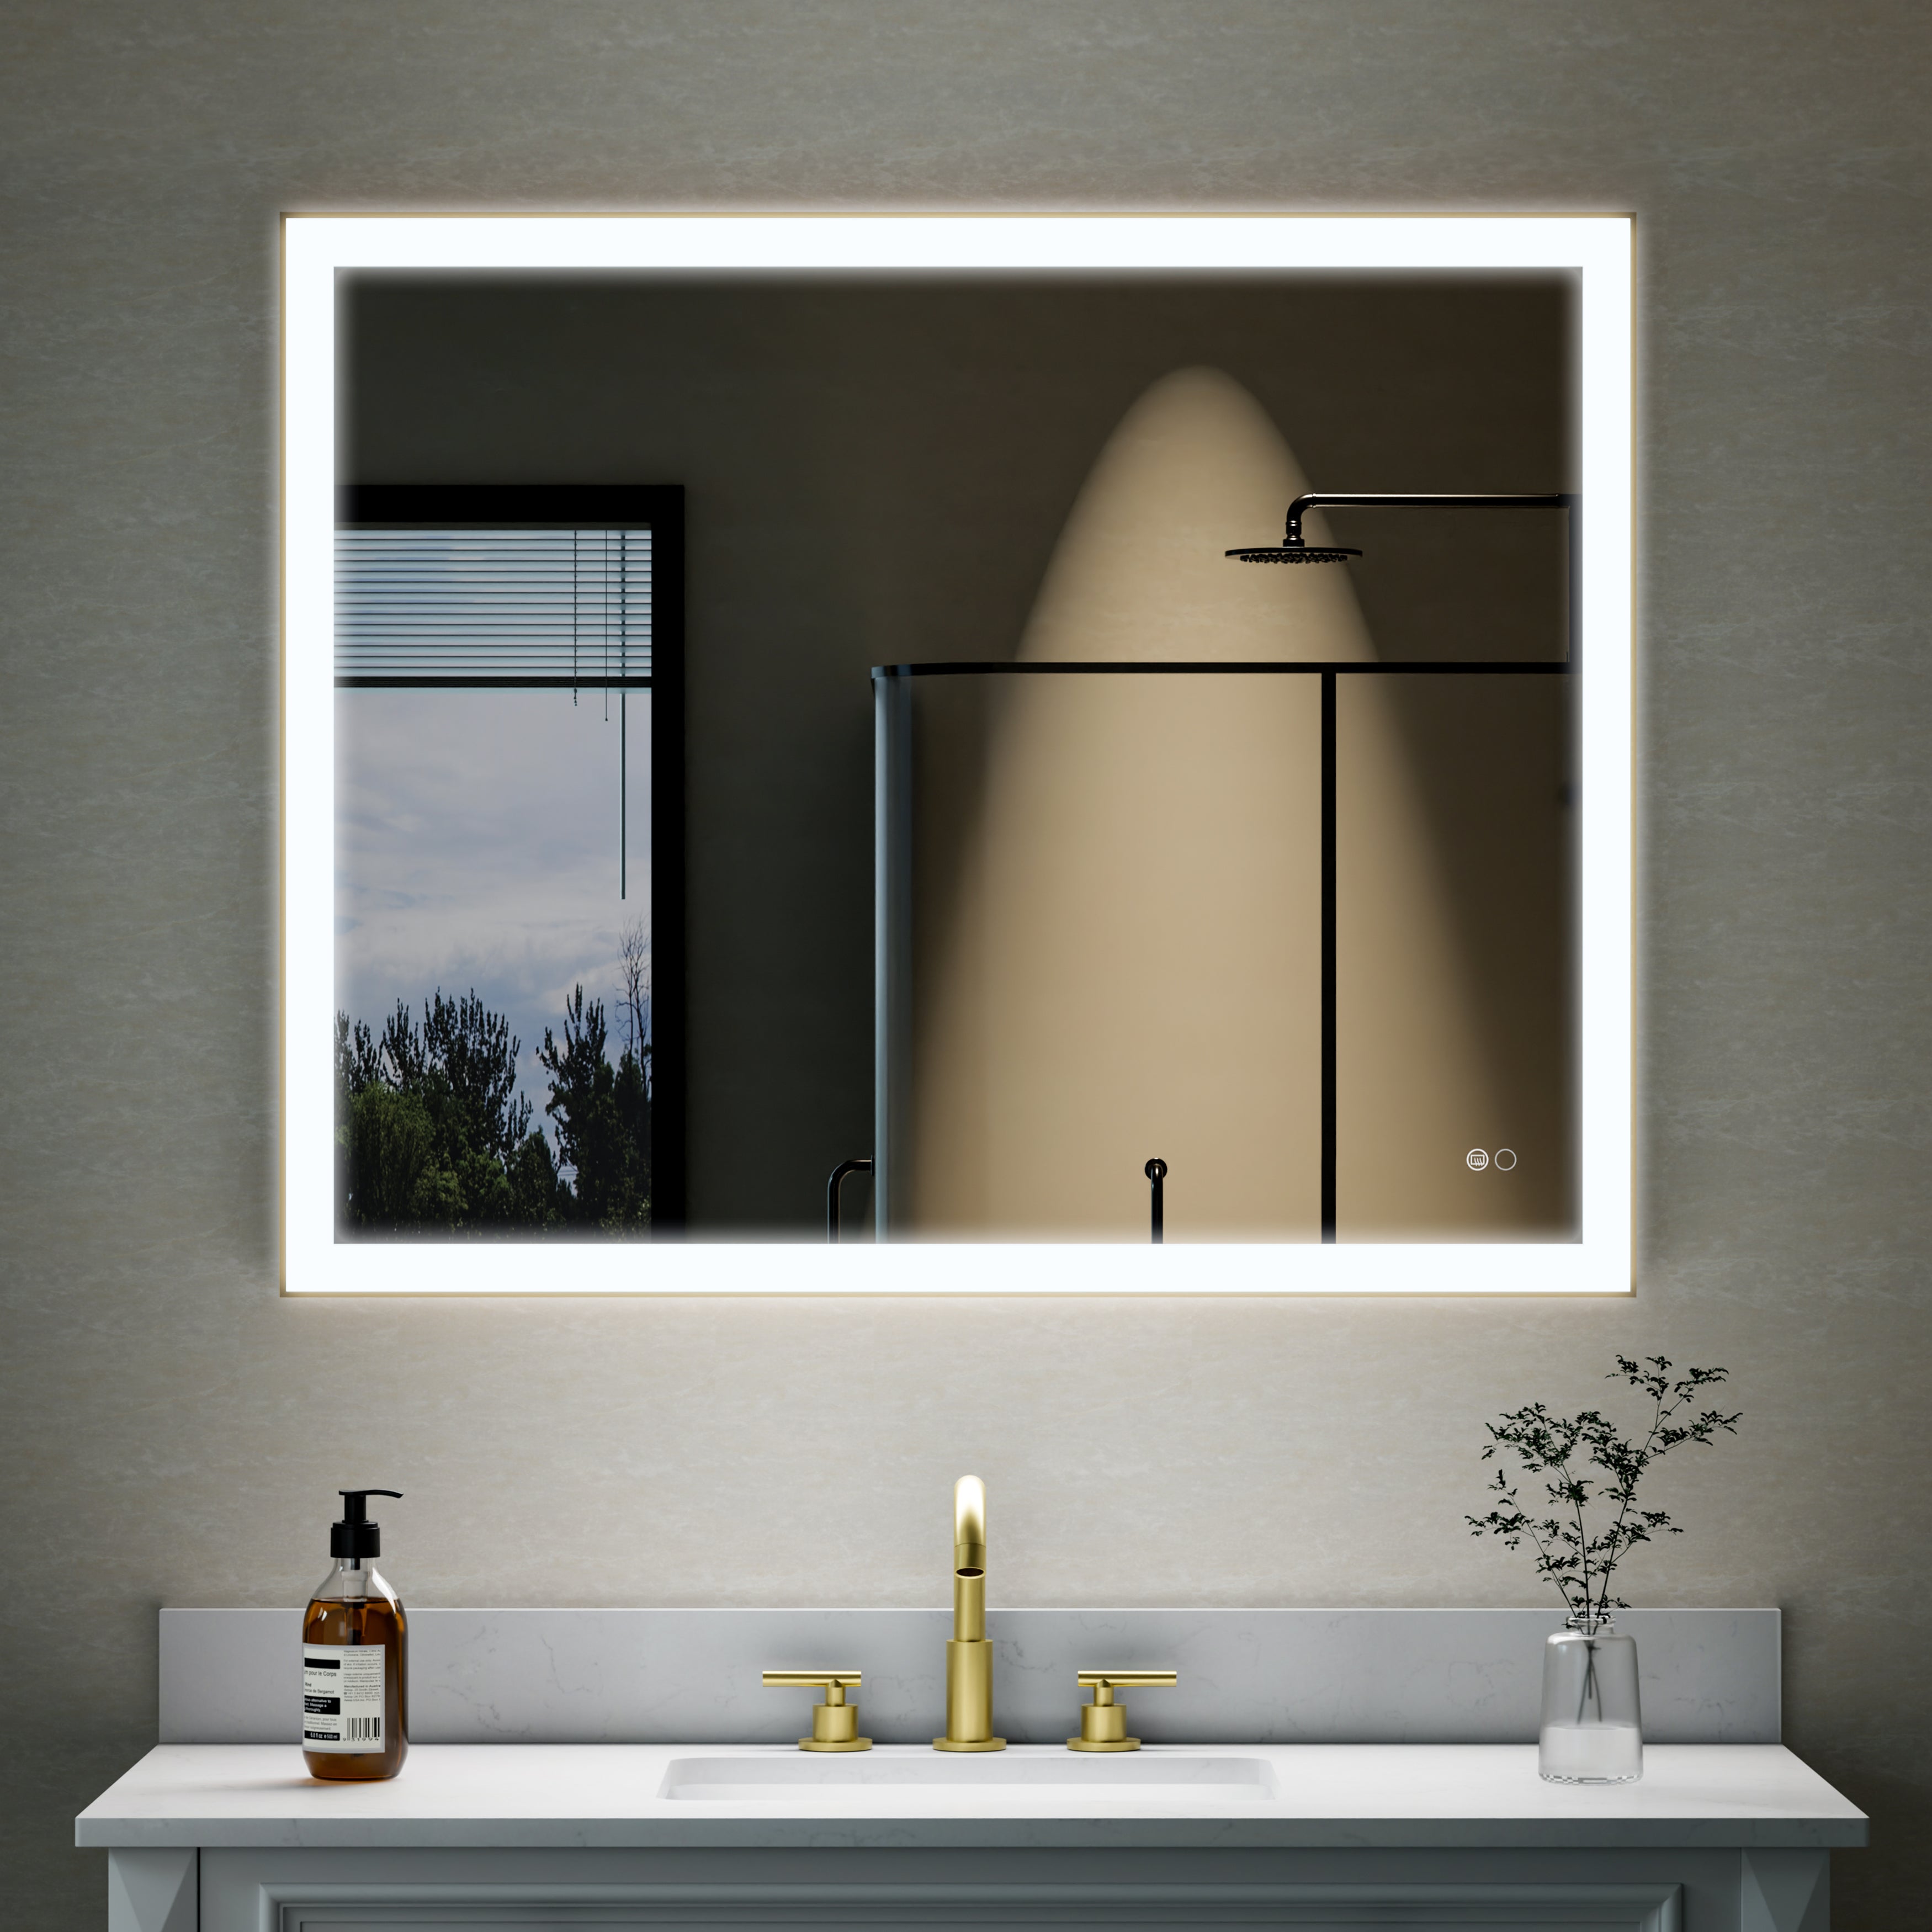
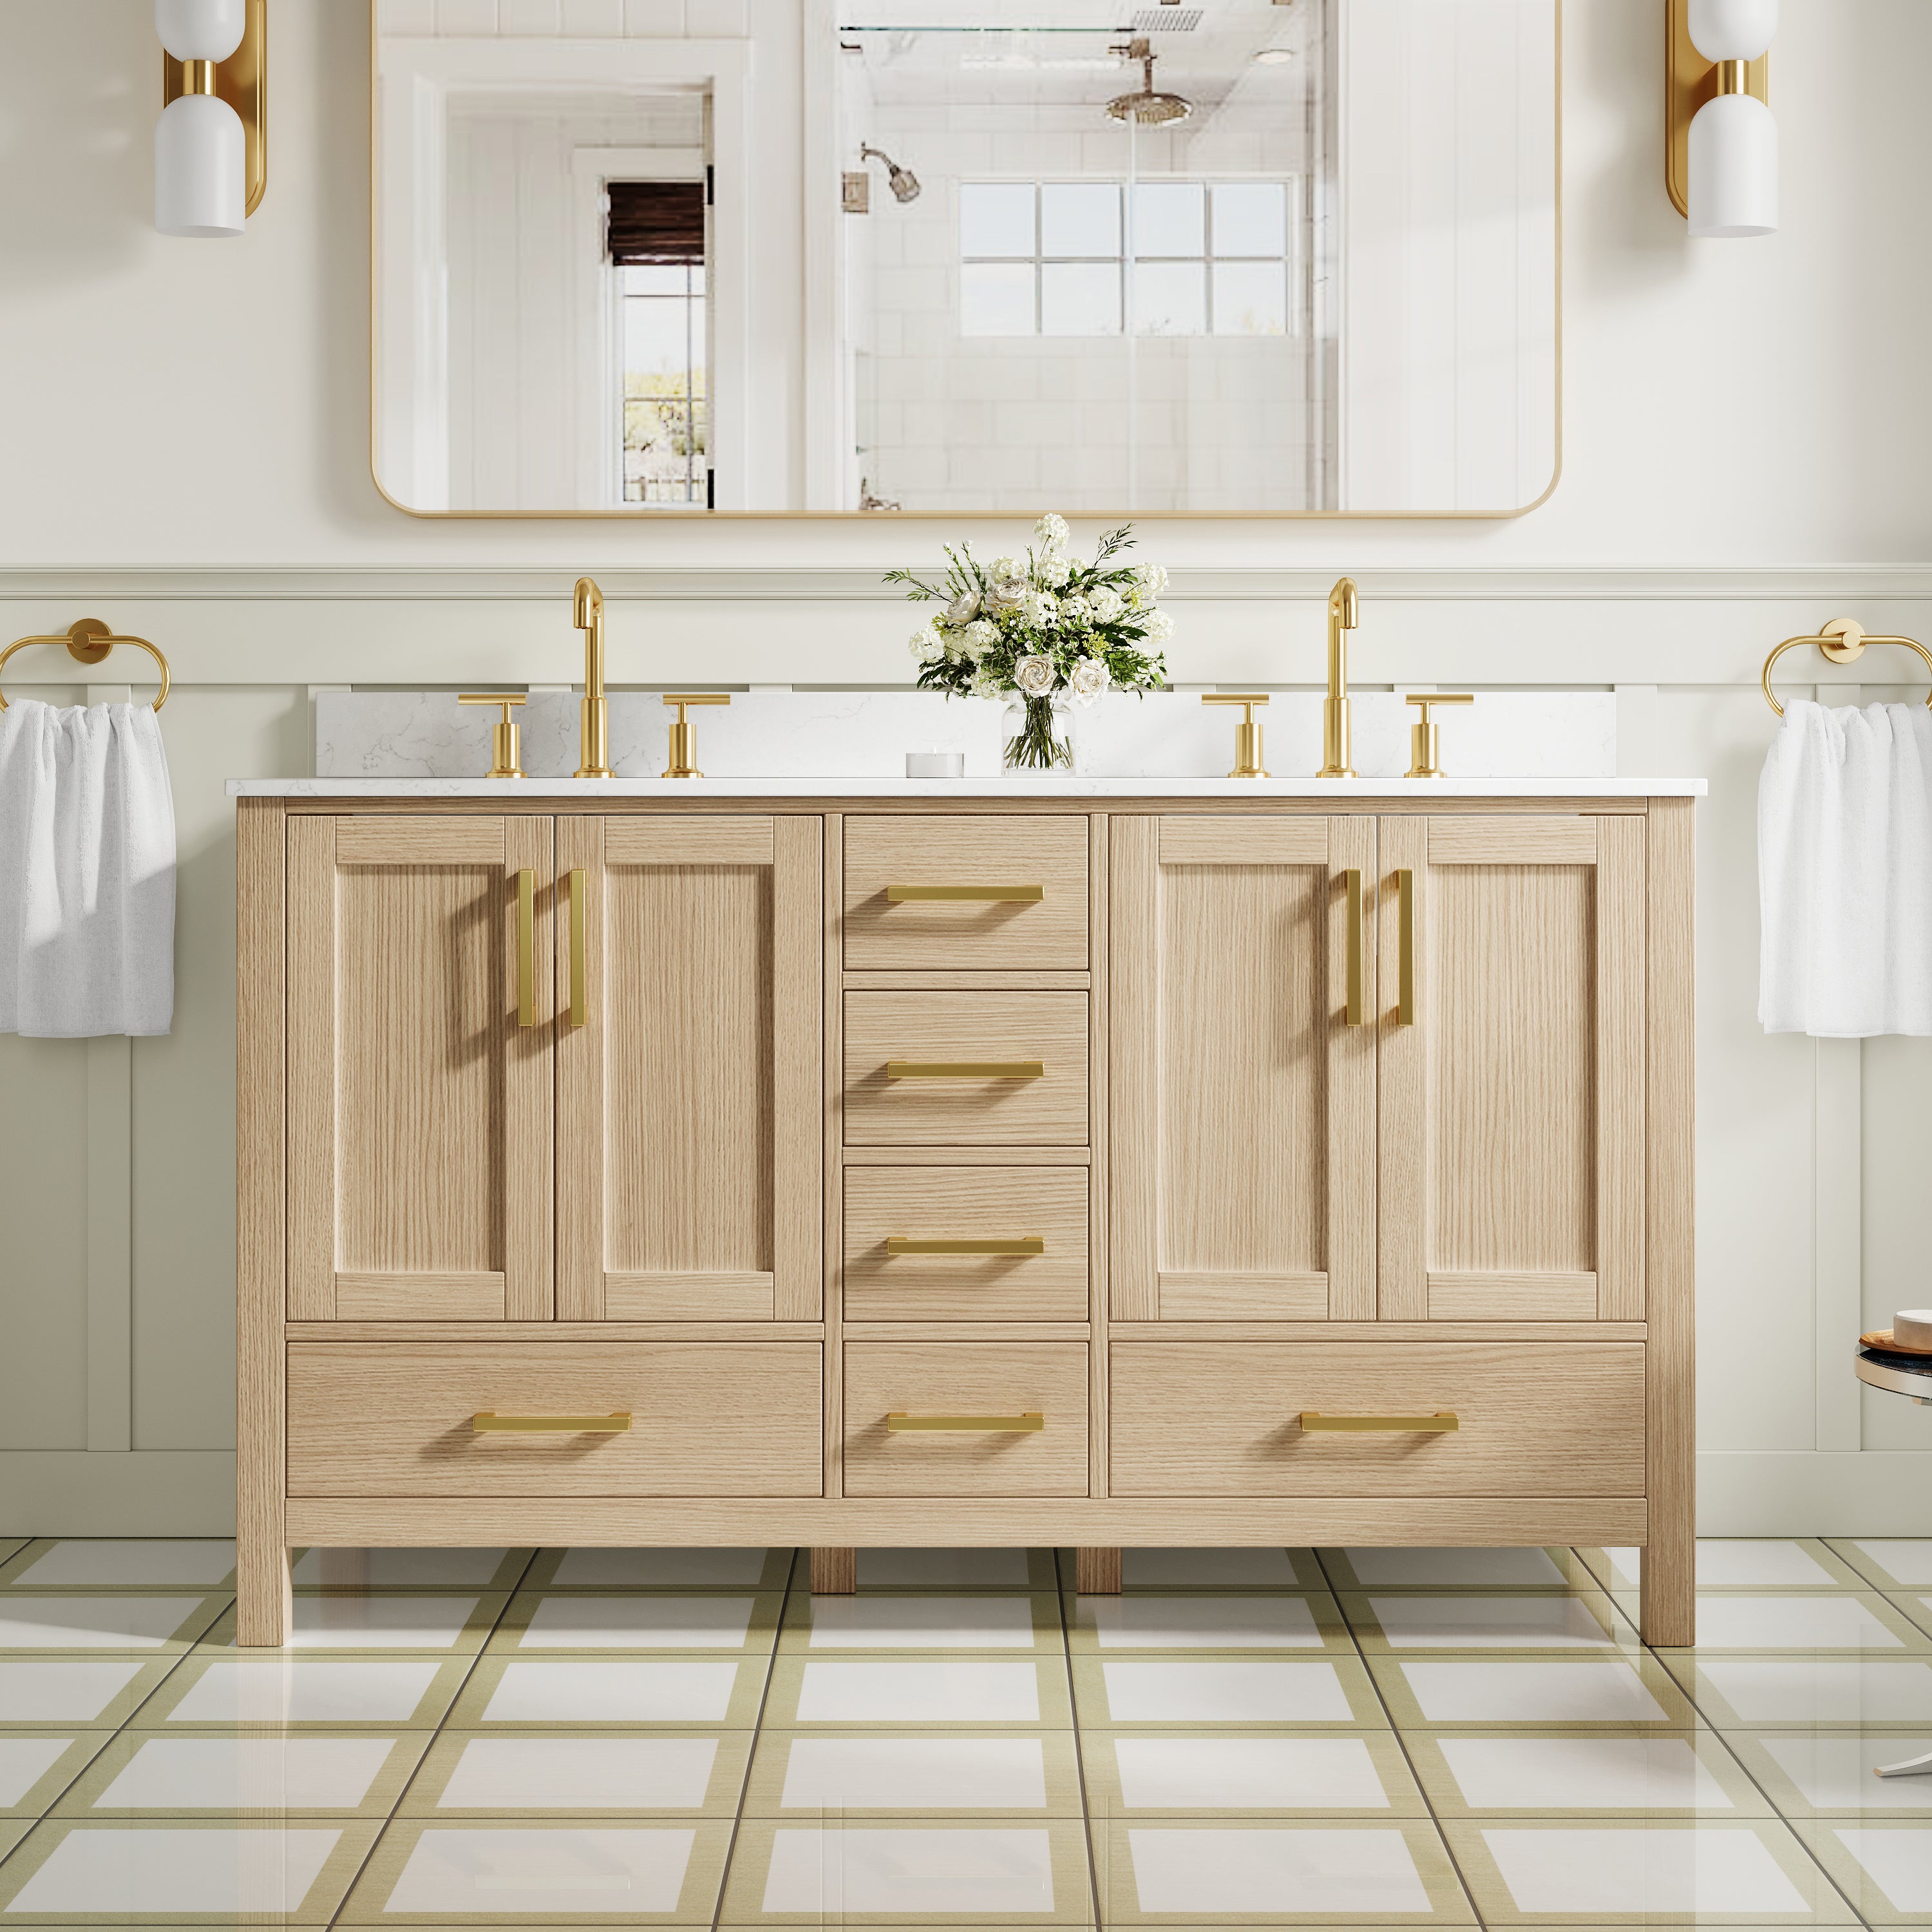
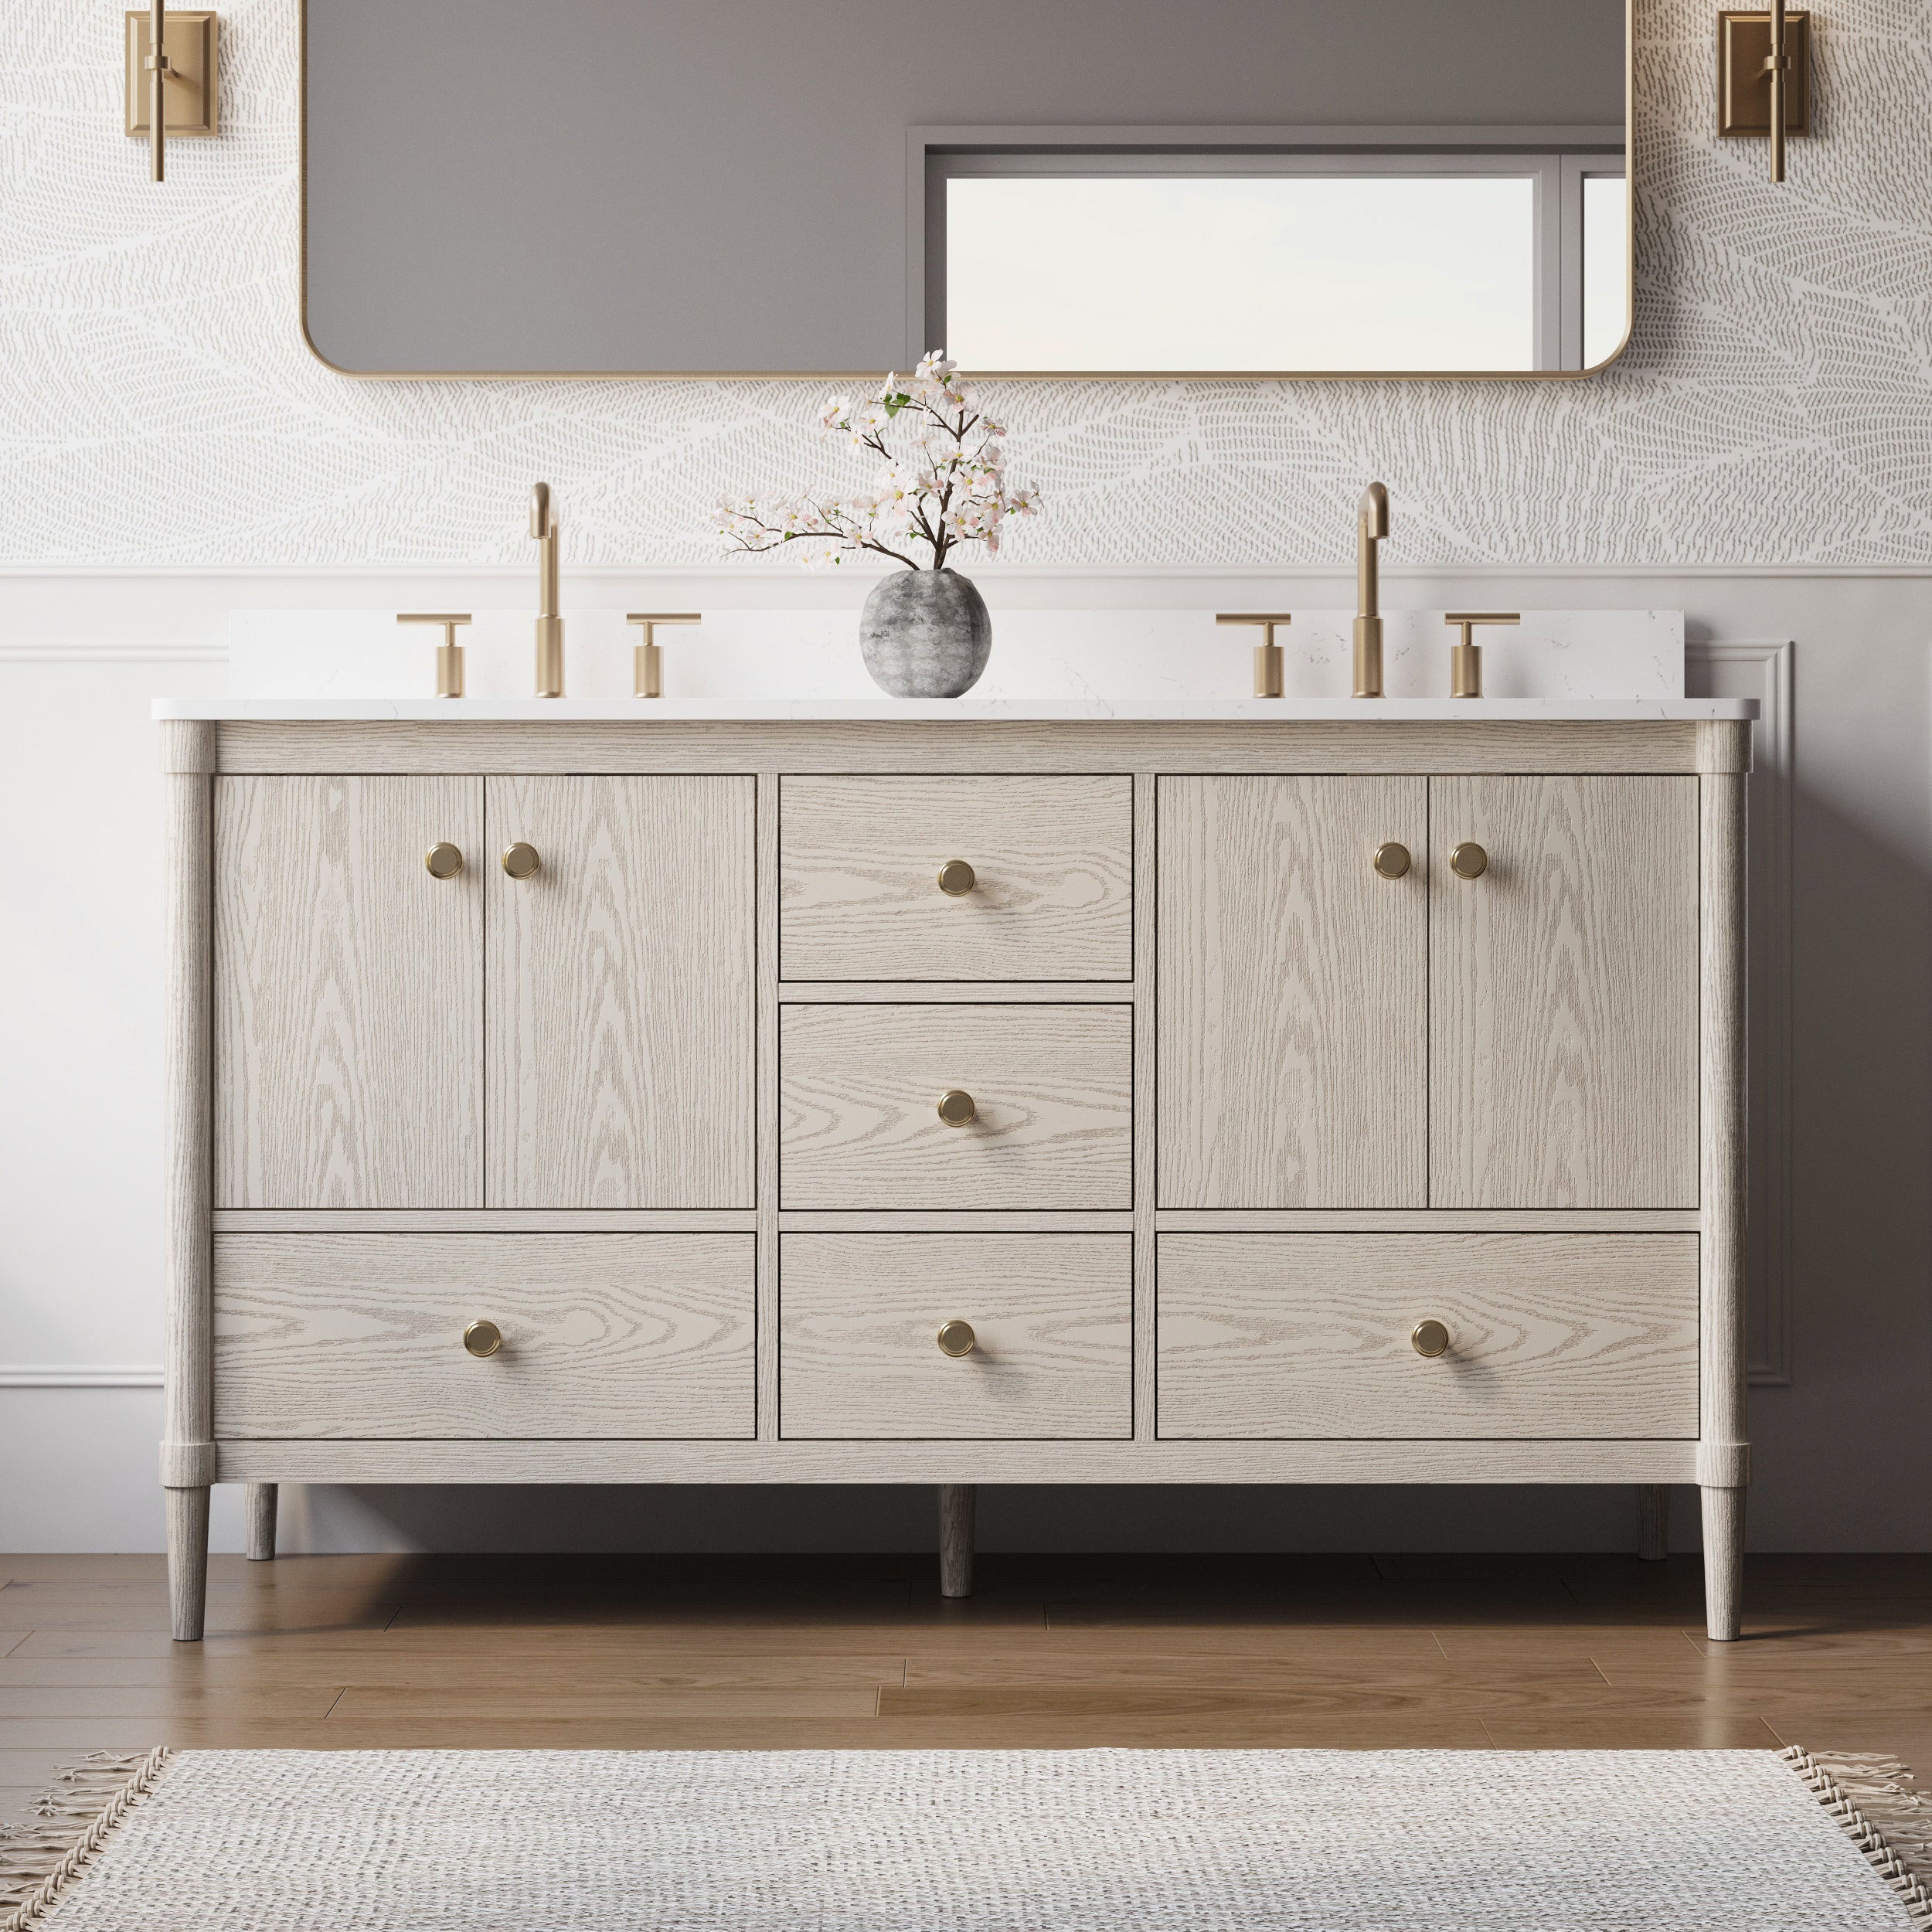
In home decoration, the mirrored medicine cabinet with mirror and lights in the bathroom not only improves storage capacity but also provides lighting and decorative effects. It is more practical and design-oriented than ordinary mirrors or wall cabinets, and is a common choice in platinum-standard decoration. If this is your first time installing such a product, don't worry. This article will guide you through the installation process step by step, from tool preparation and circuit configuration to rack installation, debugging, and testing, ensuring professional results and safe use.
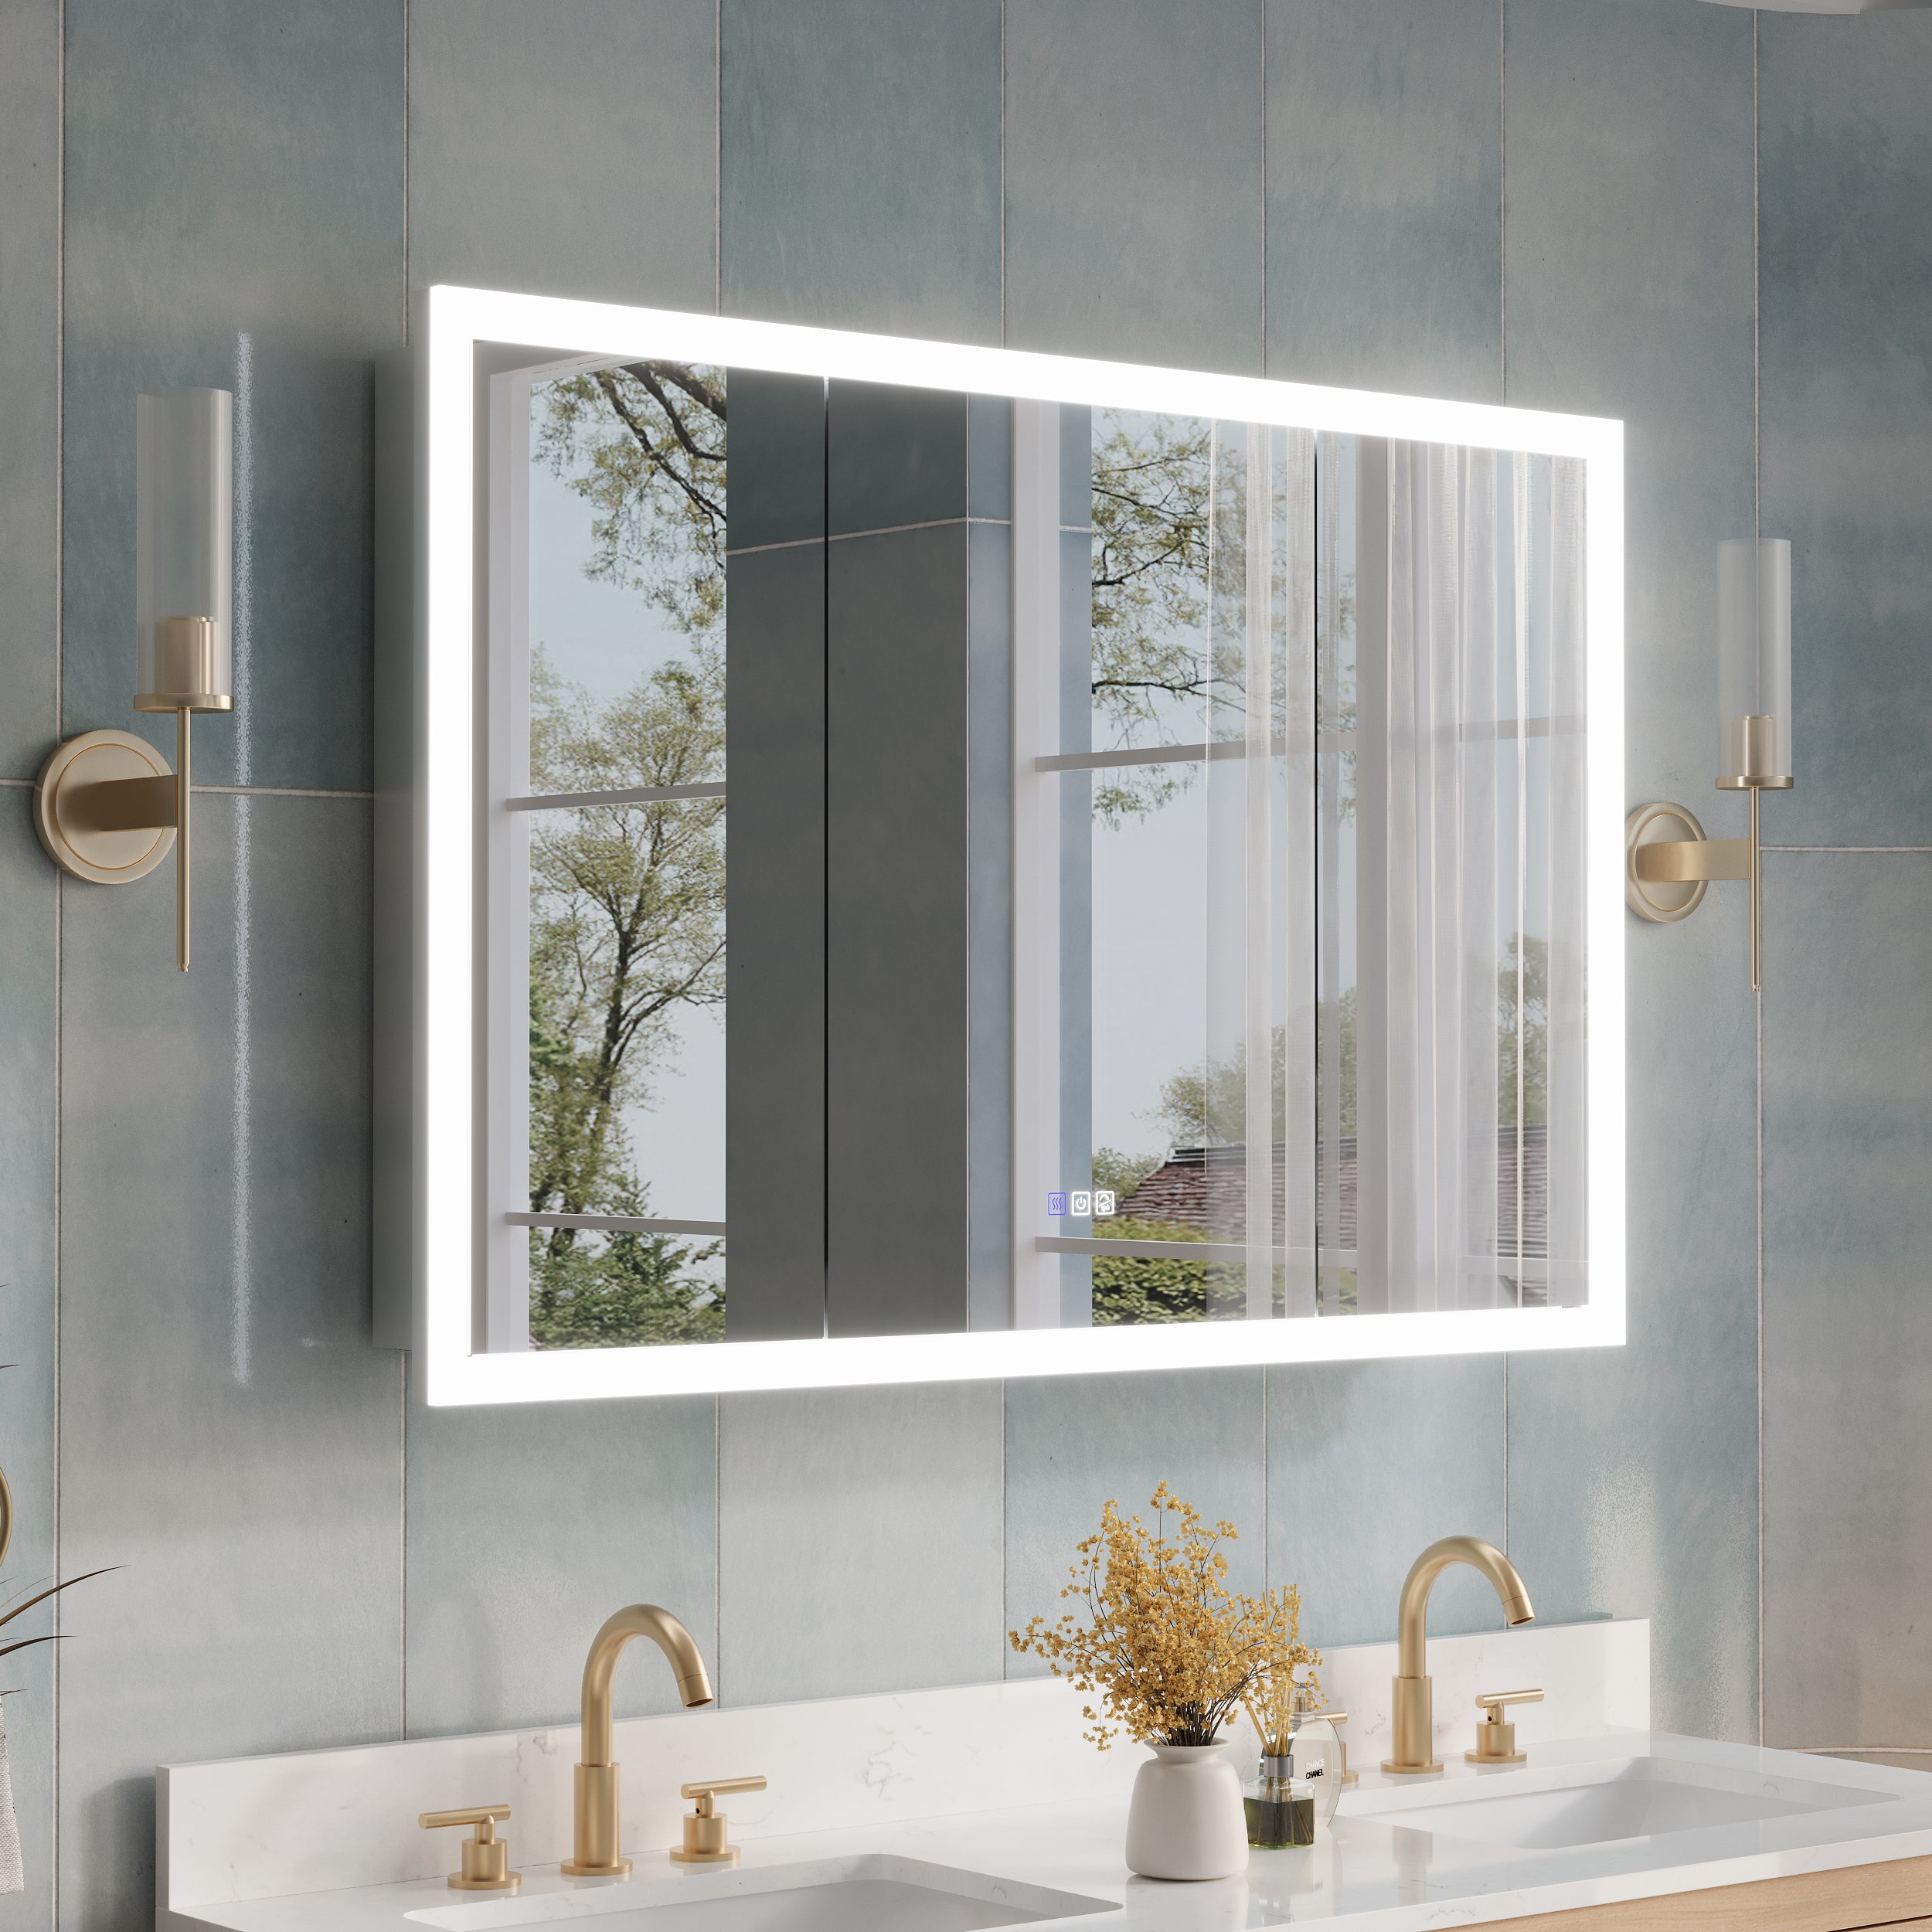
1. Why choose a mirrored medicine cabinet with mirror and lights?
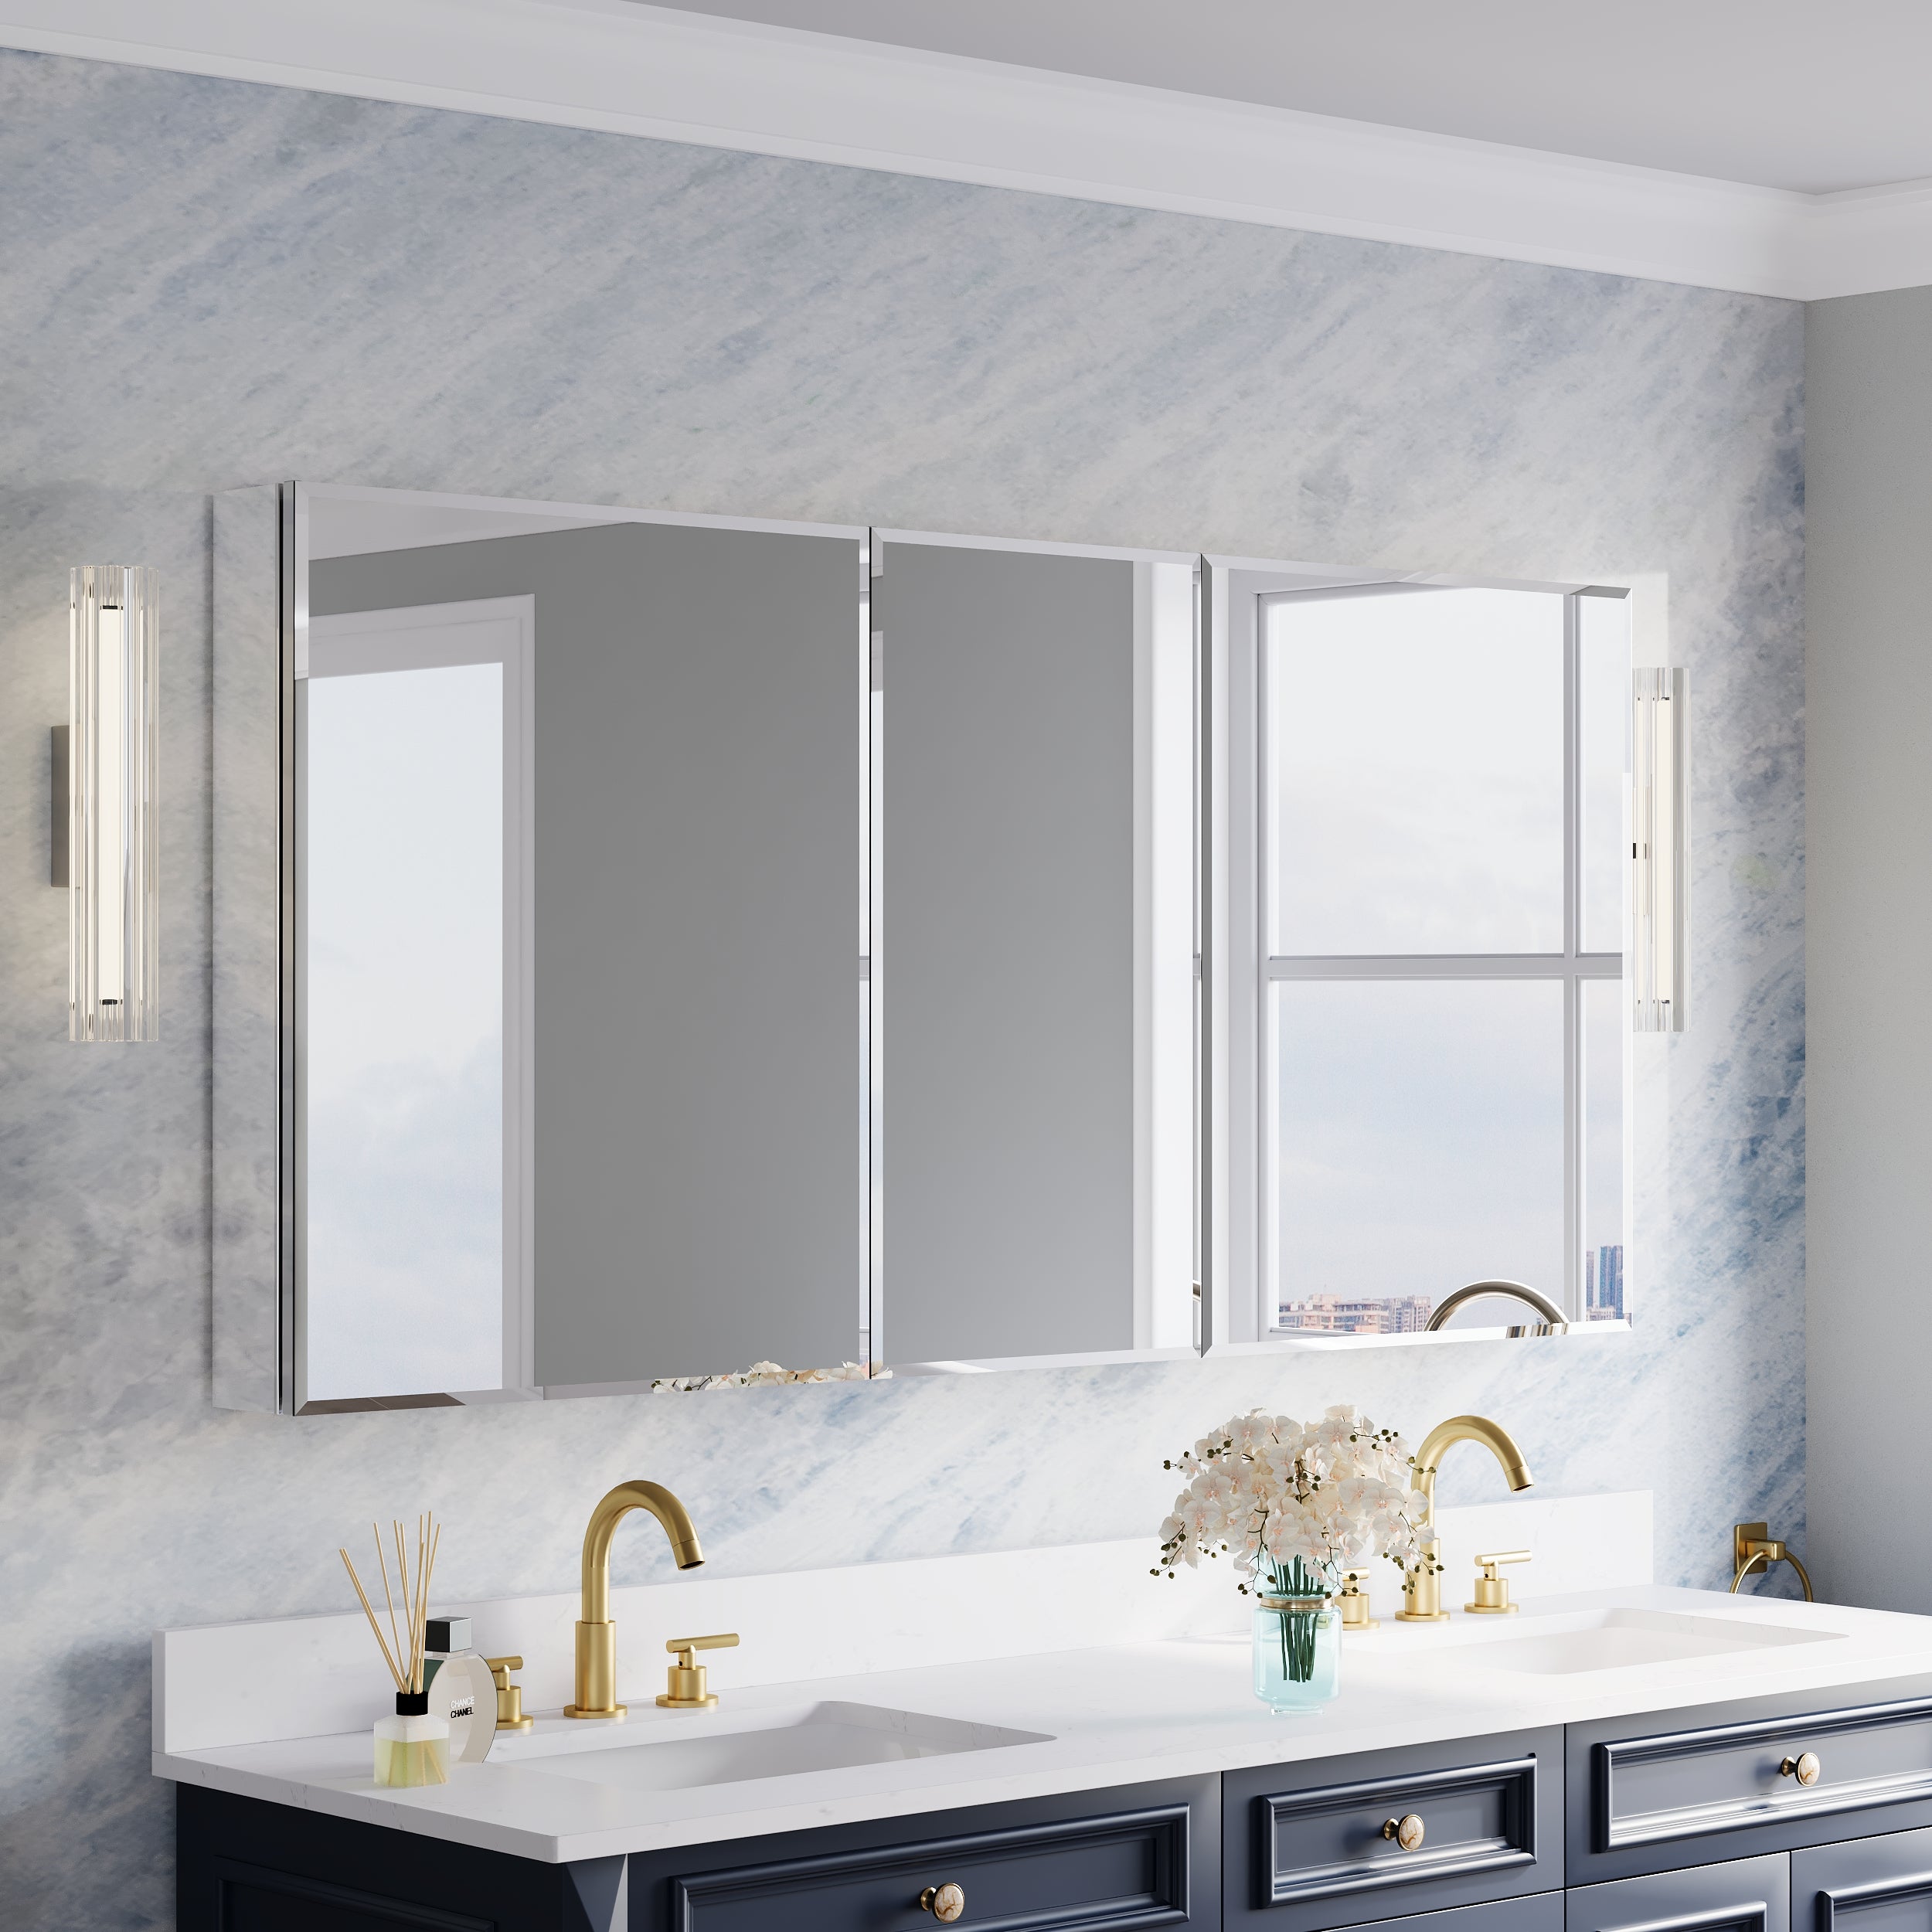
1) Multi-function in one
Mirror, storage, and lighting are integrated to save wall space. It is especially suitable for American families seeking bathroom functional integration and modern simplicity.
2) Energy-saving lighting
Most products utilise LED light strips with low power (such as 10-15 watts), providing soft yet bright enough light, which is ideal for delicate operations like beauty and shaving.
3) High storage efficiency
The internal space is suitable for storing toothbrushes, toothpaste, medicines, and skin care products, thereby avoiding clutter on windowsills and countertops, which aligns with the American "no clutter" storage concept.
2. Be prepared before you start
Measurement and model selection
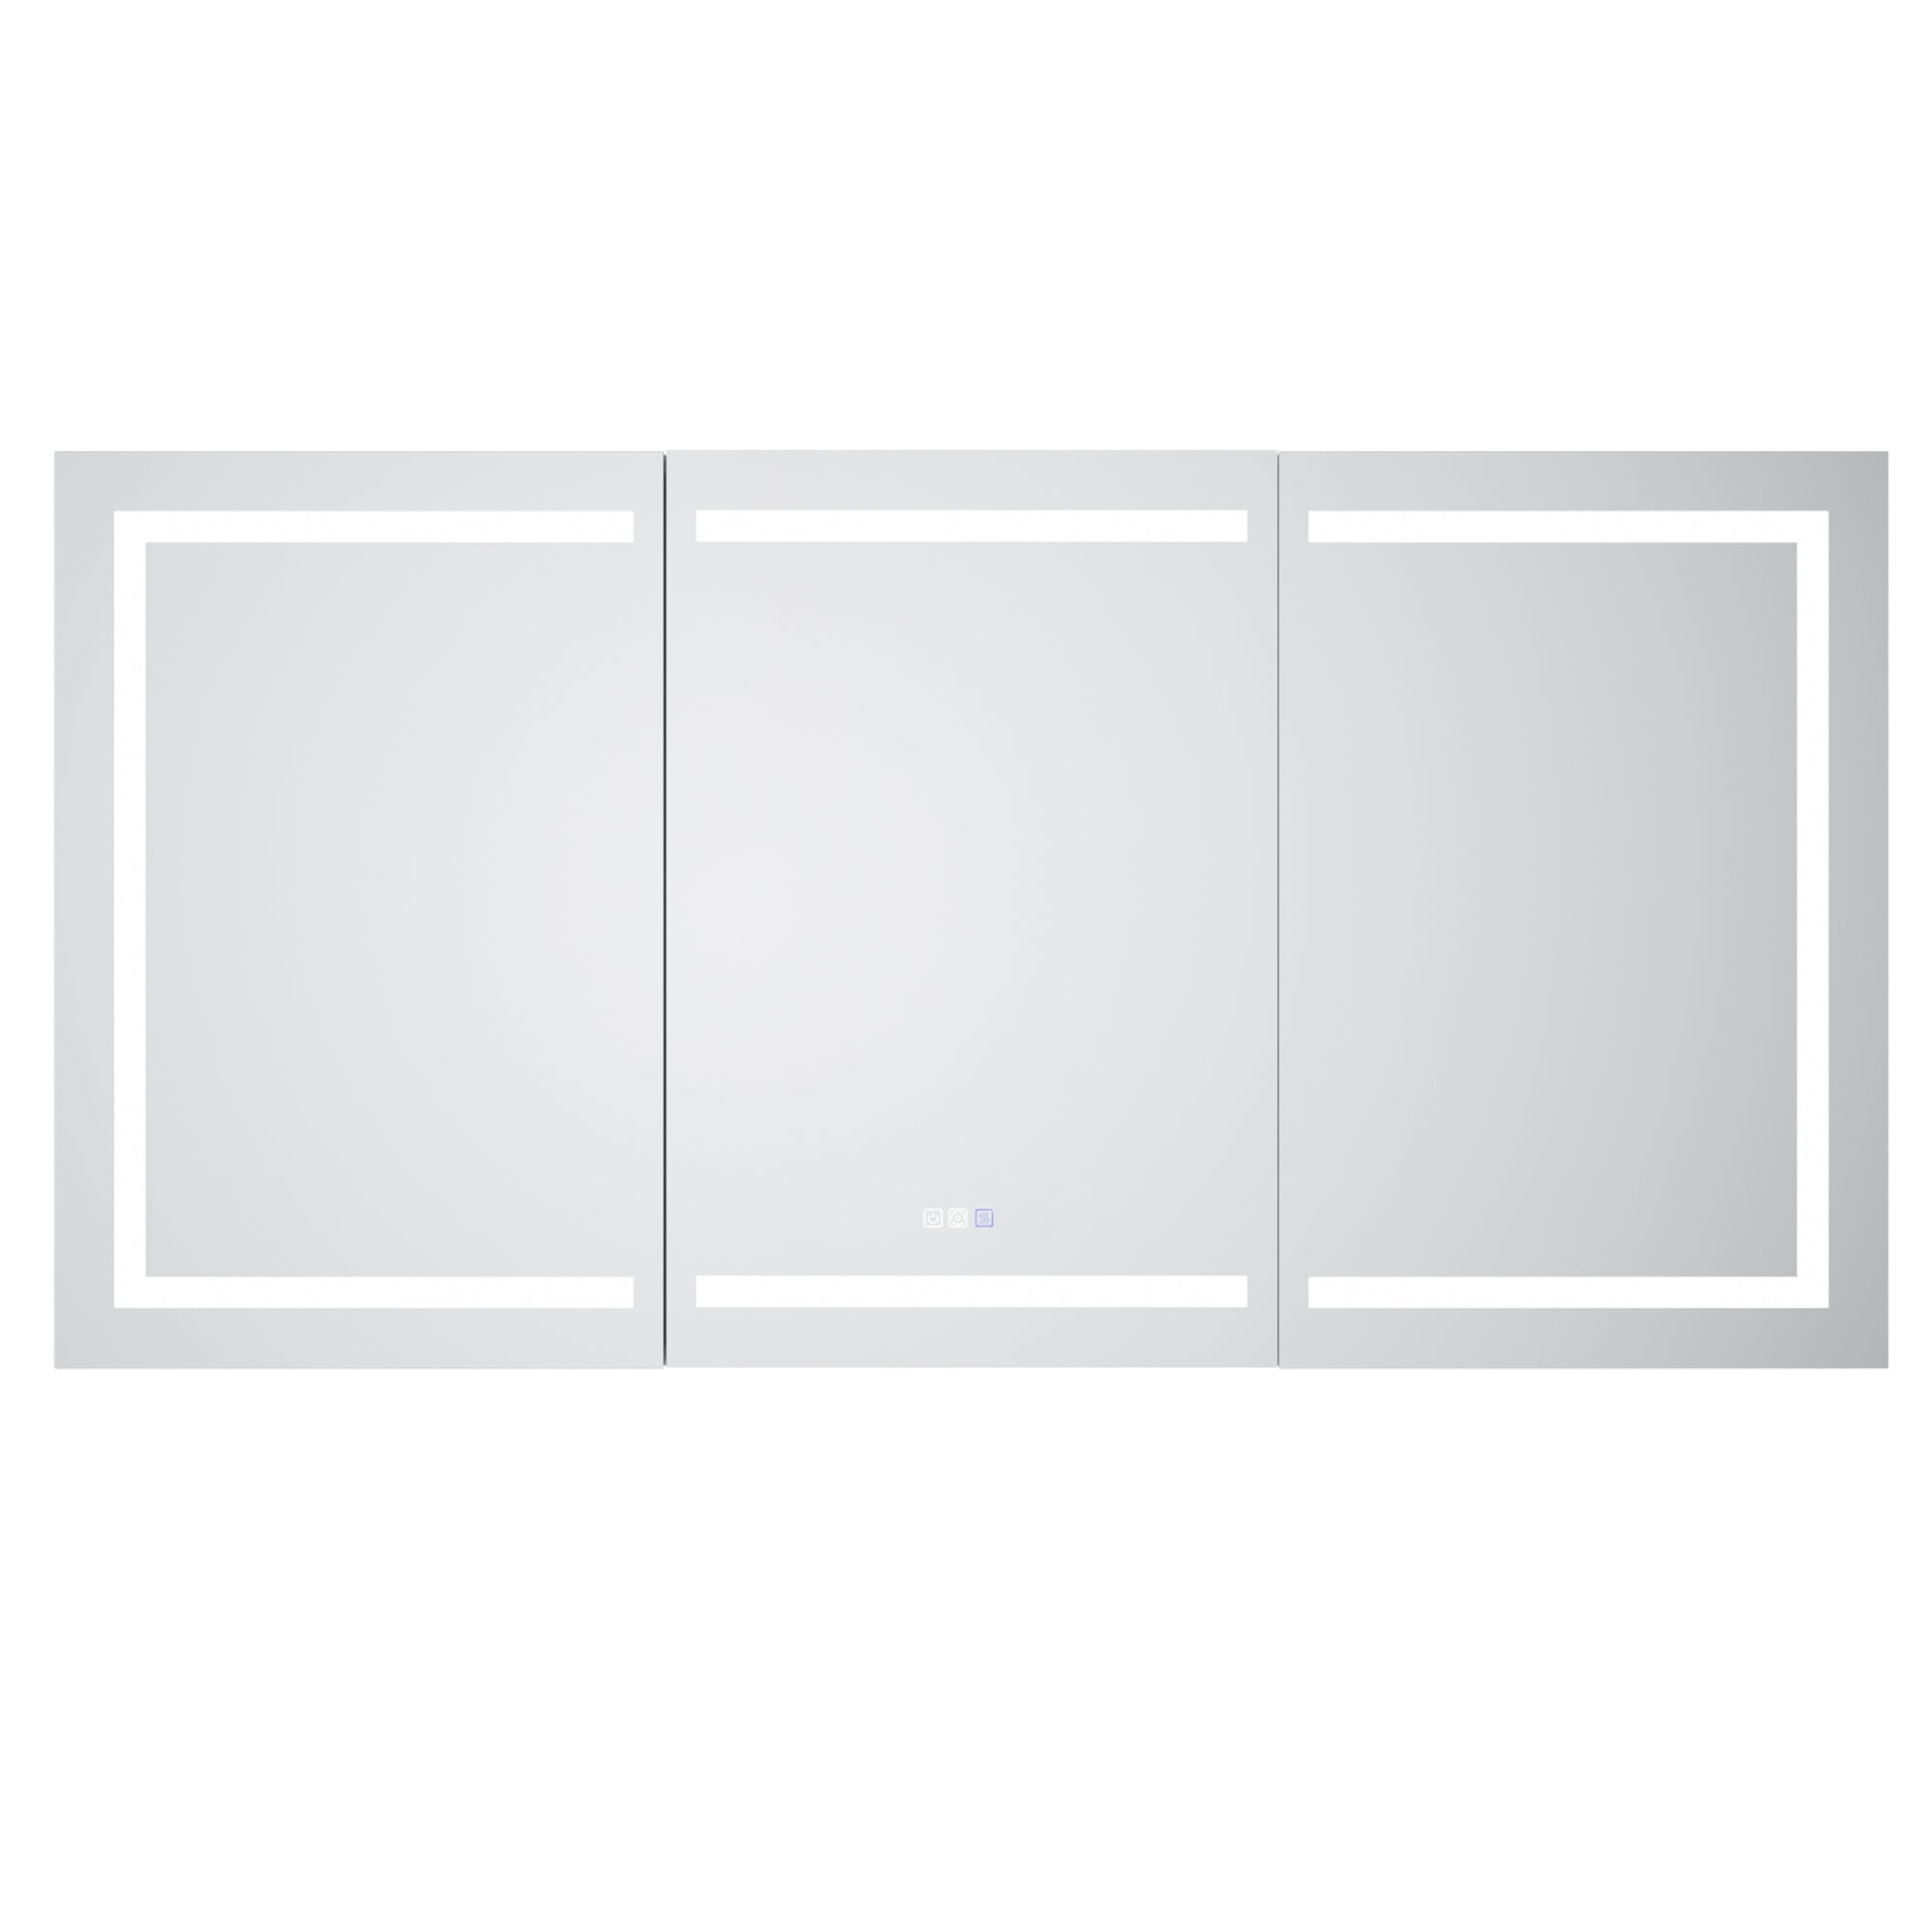
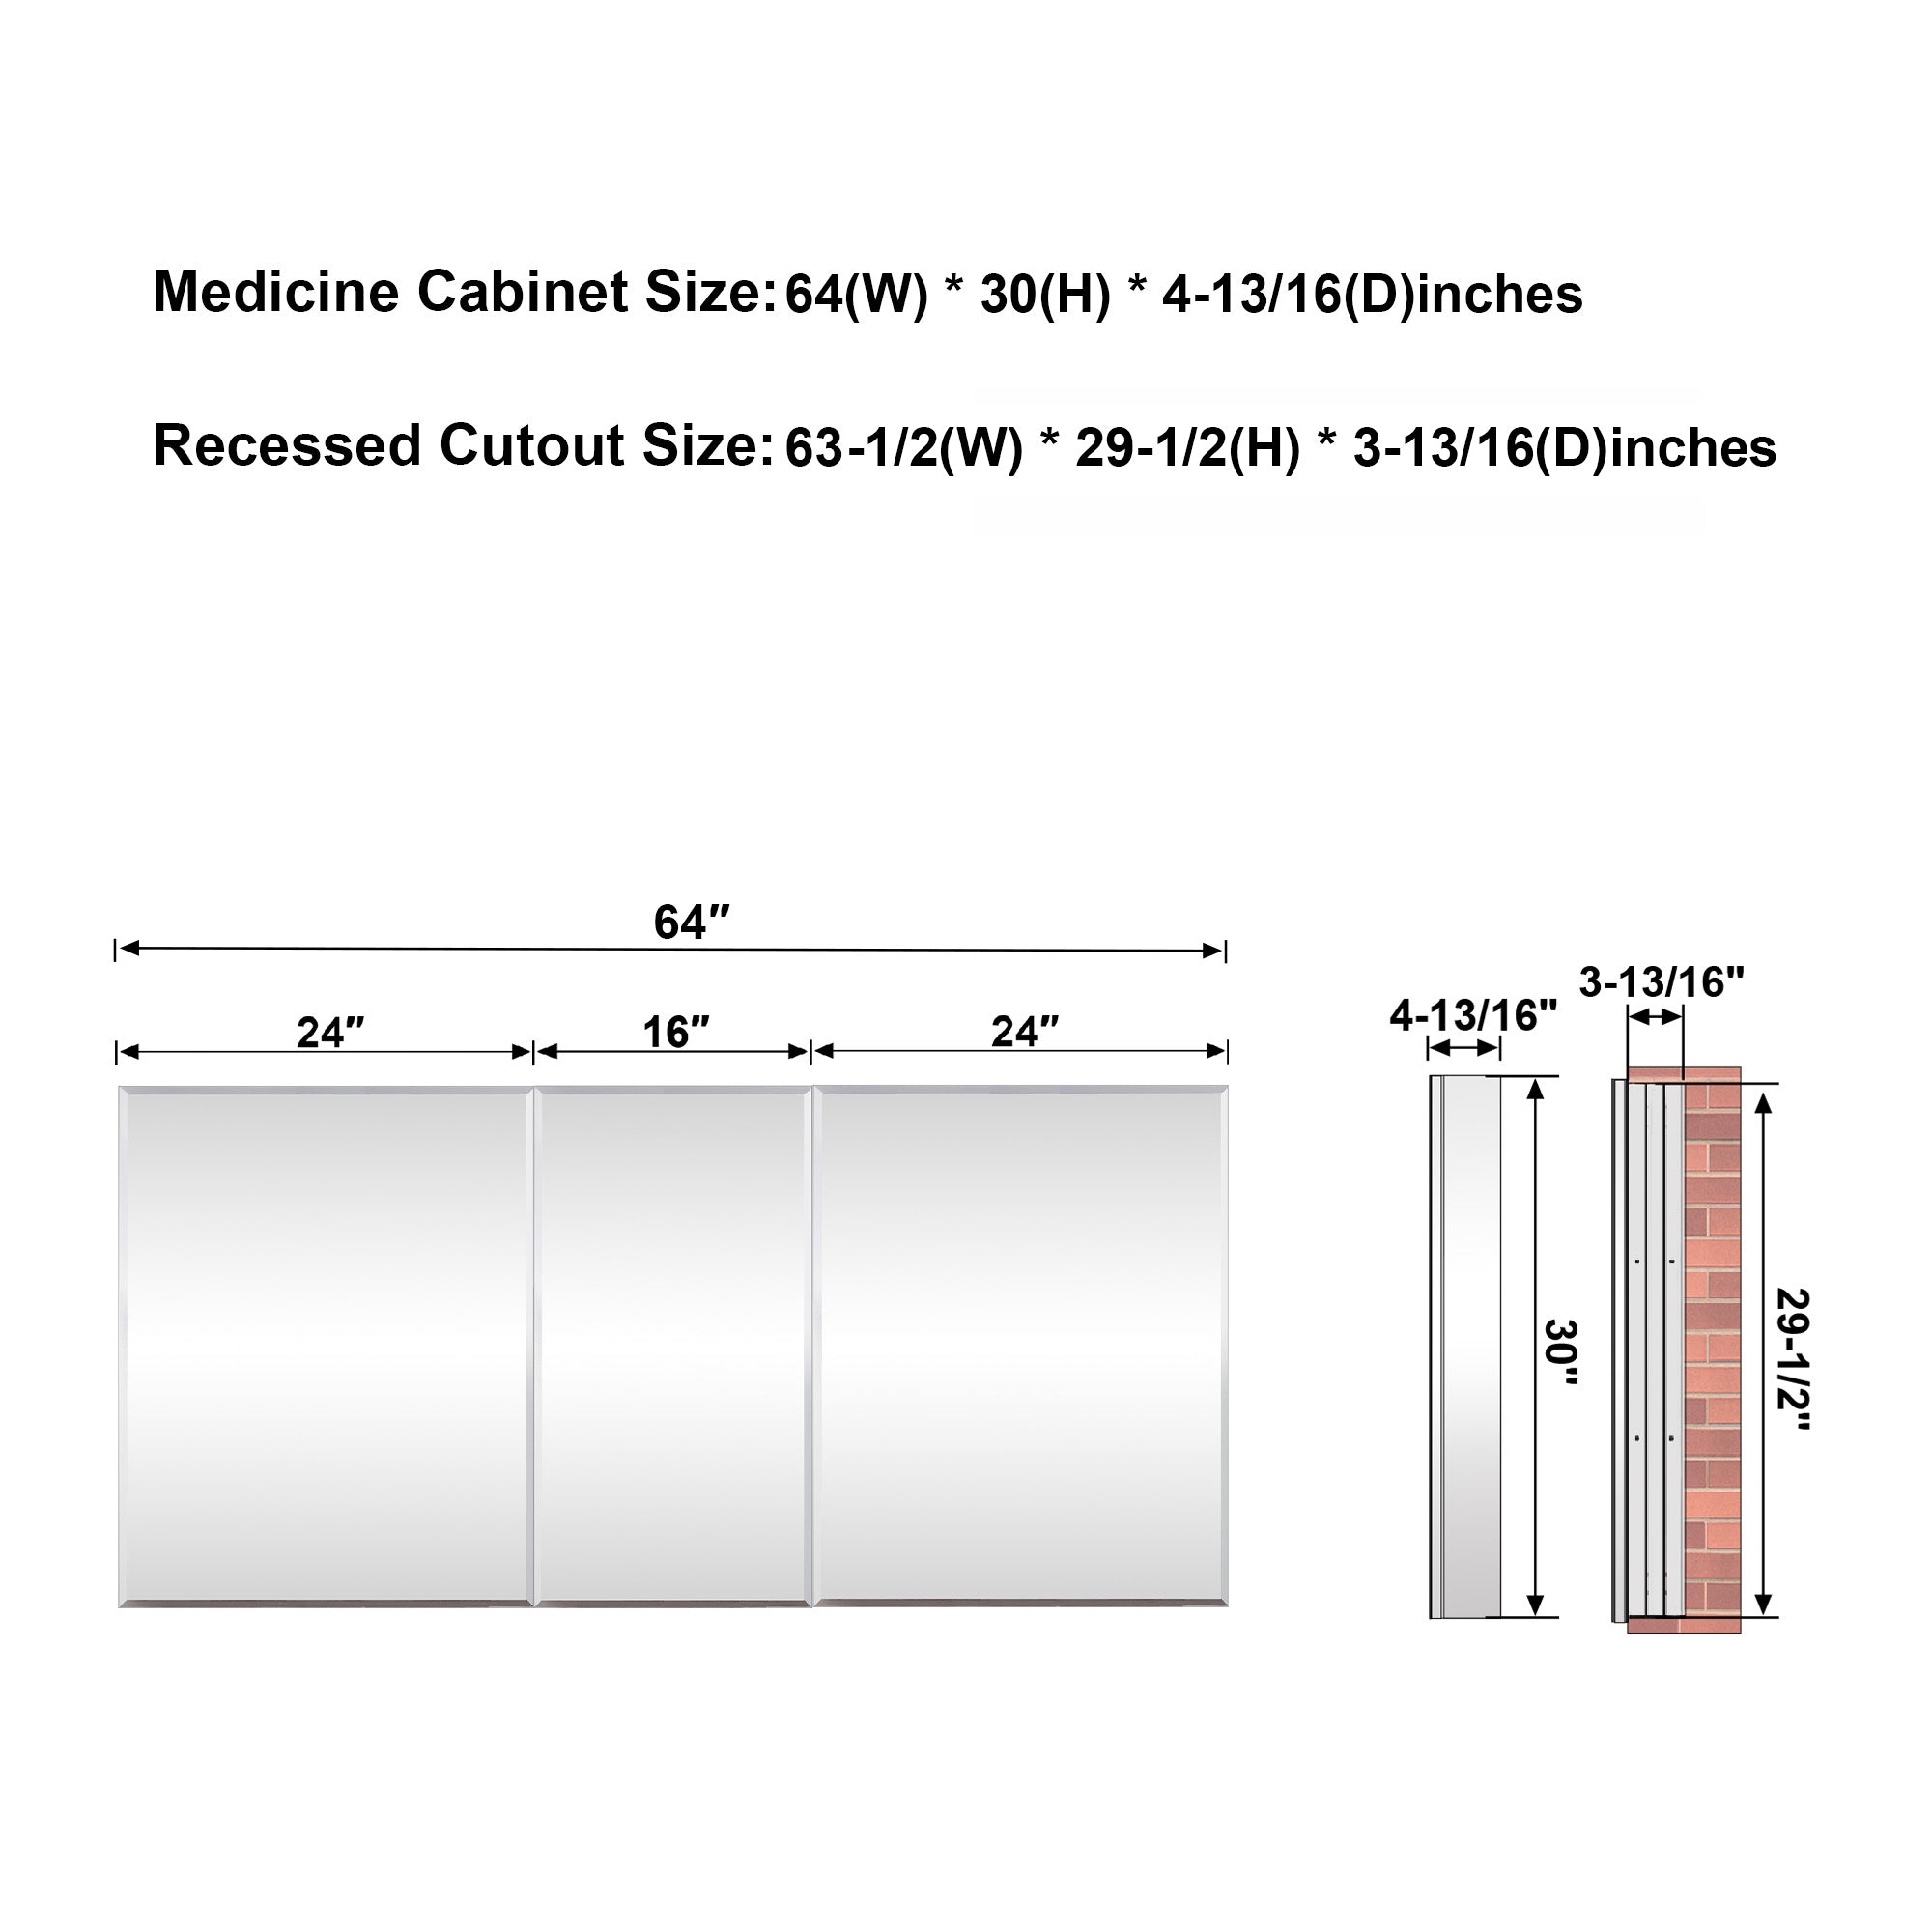
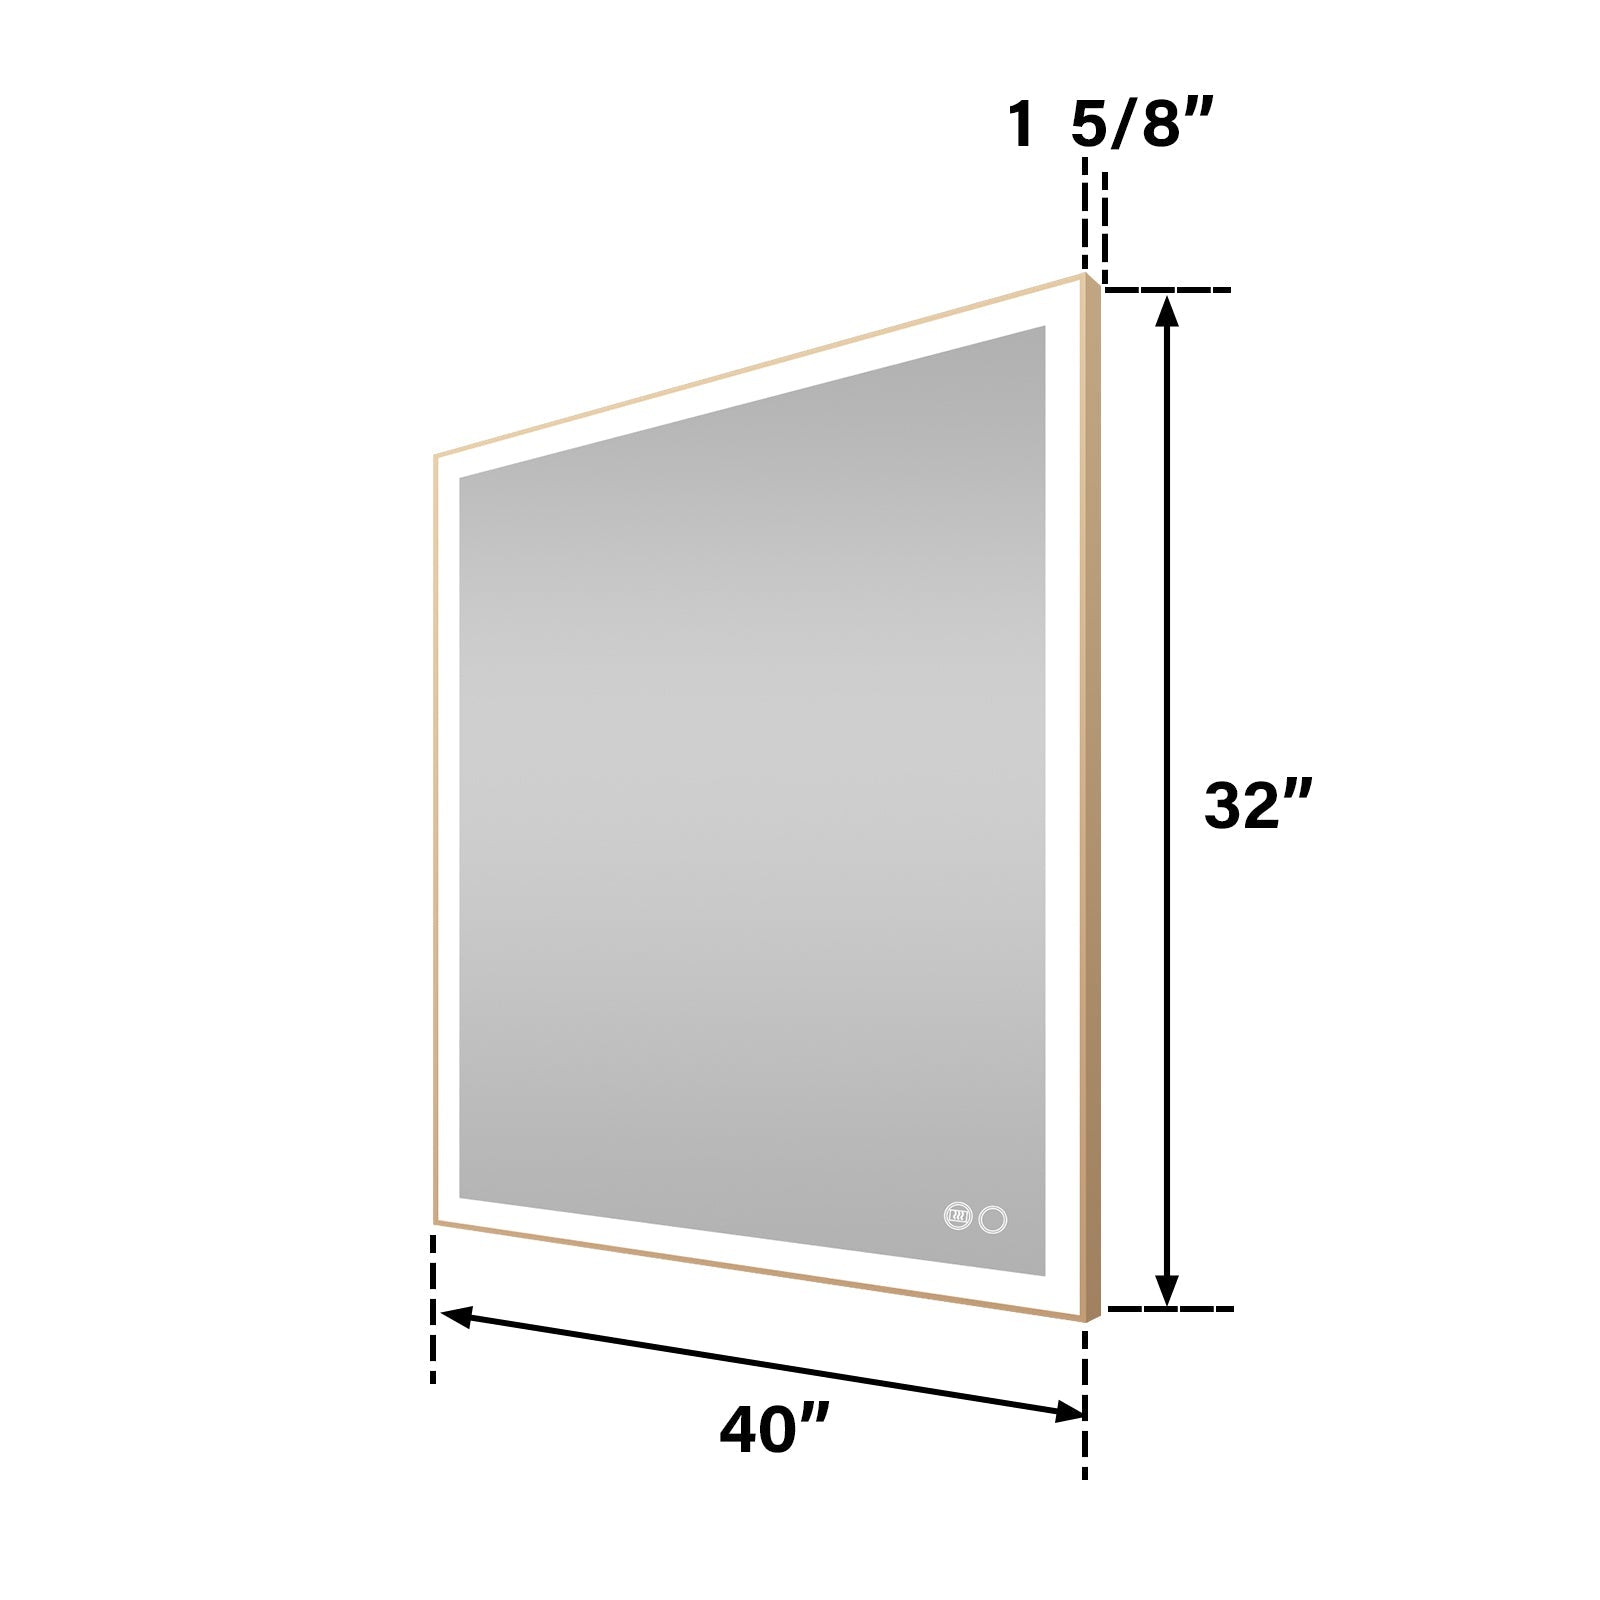
Before purchasing, ensure you measure the width and height of the wall where the installation will take place. Standard models include:
24″ (60cm, 2 feet) × 30″ (75cm) × 4″ (10cm)
30″ (75cm) × 30″ × 4″
36″ (90cm) × 30″ × 4″
Make sure that there is at least three-quarters of the wall height above the sink in the bathroom to avoid touching the faucet or pipes. Also, consider whether it is in a darker space (such as outside a window). It is safer to choose a model with a brightness adjustment function.
Tool list
The tools you prepare do not need to be too complicated:
Electric drill (including 3/16″ anchor drill bit)
Screwdriver (cross and flat)
Level (to align the mirror cabinet horizontally)
Wire strippers, pliers
Electrical tester (voltage tester, 90–110V band)
Wire cap (wire connector), insulating tape
Measuring tape and pencil
Power off to ensure safety
Before construction, ensure that the power supply to the relevant circuit is turned off to prevent any current from flowing during the entire installation process. You can use an electrical tester to confirm that there is no electricity in the wall before drilling, thereby avoiding an electric shock or a short circuit.

3. Unpacking inspection and pre-installation planning
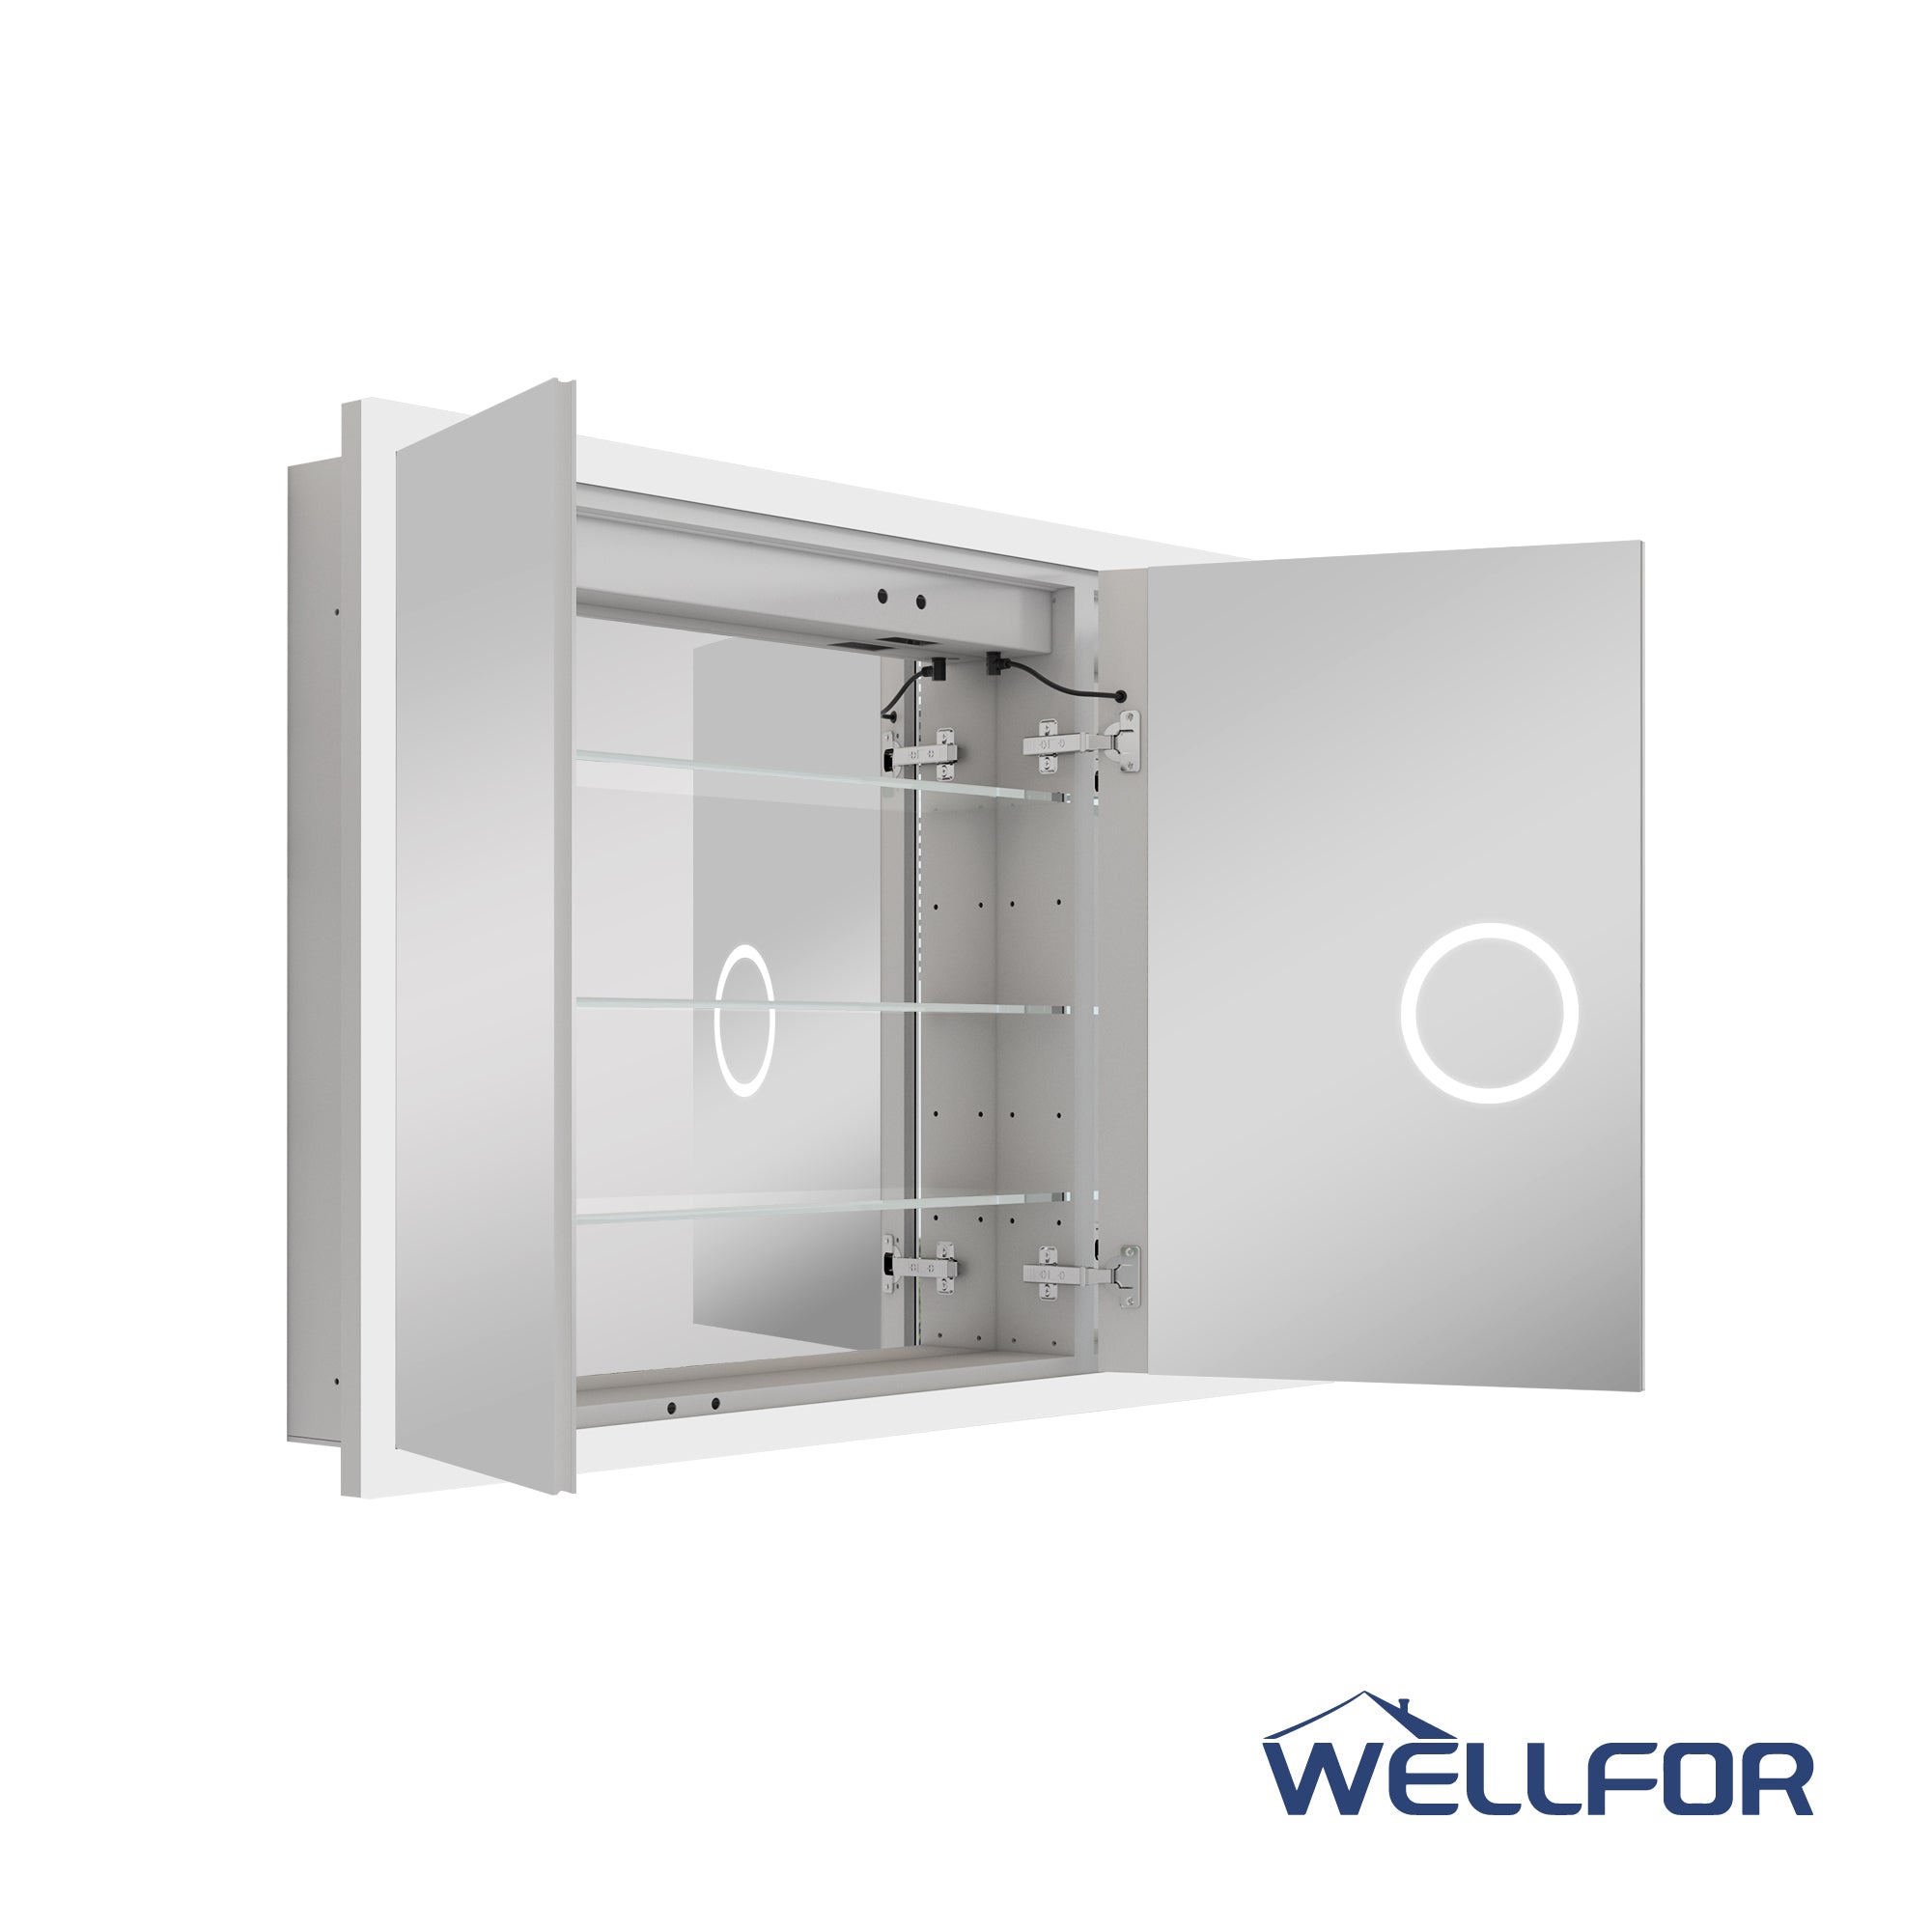
1) Parts inventory
Thoroughly inspect all components in the package, including the mirror cabinet body, mounting plate, LED lights, power cord, wall anchors, screws, spare fuses, and instructions.
2) Line planning
The model with lights is usually equipped with a 120V AC power cord. If you already have a place for the upper wall lamp in your home, give priority to connecting to the original line; if not, you can reserve a top or side opening inside the mirror cabinet, lay a flexible conduit to connect to the primary wire, and leave 1-2 inches of space for bending the wire.
3) Start the formal installation steps
Ø Step 1: Install the hanging board
According to the instructions, align the hanging board with the marking line, mark the anchor hole position with a level ruler, and drill into the wall. For gypsum board walls, using screw anchors (also known as toggle bolts) provides a more stable installation. Then hang the mirror cabinet and tighten the hanging board with screws.
Ø Step 2: Wiring work
Pull the power cord from the wall and peel off about 1/2 inch of the outer skin. After touching the wire core, connect it to the corresponding wire in the mirror cabinet: black to the live wire, white to the neutral wire, and green to the ground wire. After fixing it with a wire cap, wrap it with insulating tape to prevent it from loosening.
Ø Step 3: Hang the mirror cabinet
After confirming that the hanging board is stable, hang the mirror cabinet body on the hanging board and ensure that the two snaps "click" into place. Gently pull down to check whether it is secure, avoiding the risk of falling from a height and injuring people.
Ø Step 4: Power test
Return on the power. The plan recommends using an electrical tester to confirm that the line is powered, and then manually turn on the mirror cabinet light. Observe whether the bulb is stably lit, whether there is flickering or colour deviation, and test the dimming function or gear conversion.
4. Debugging and maintenance after installation
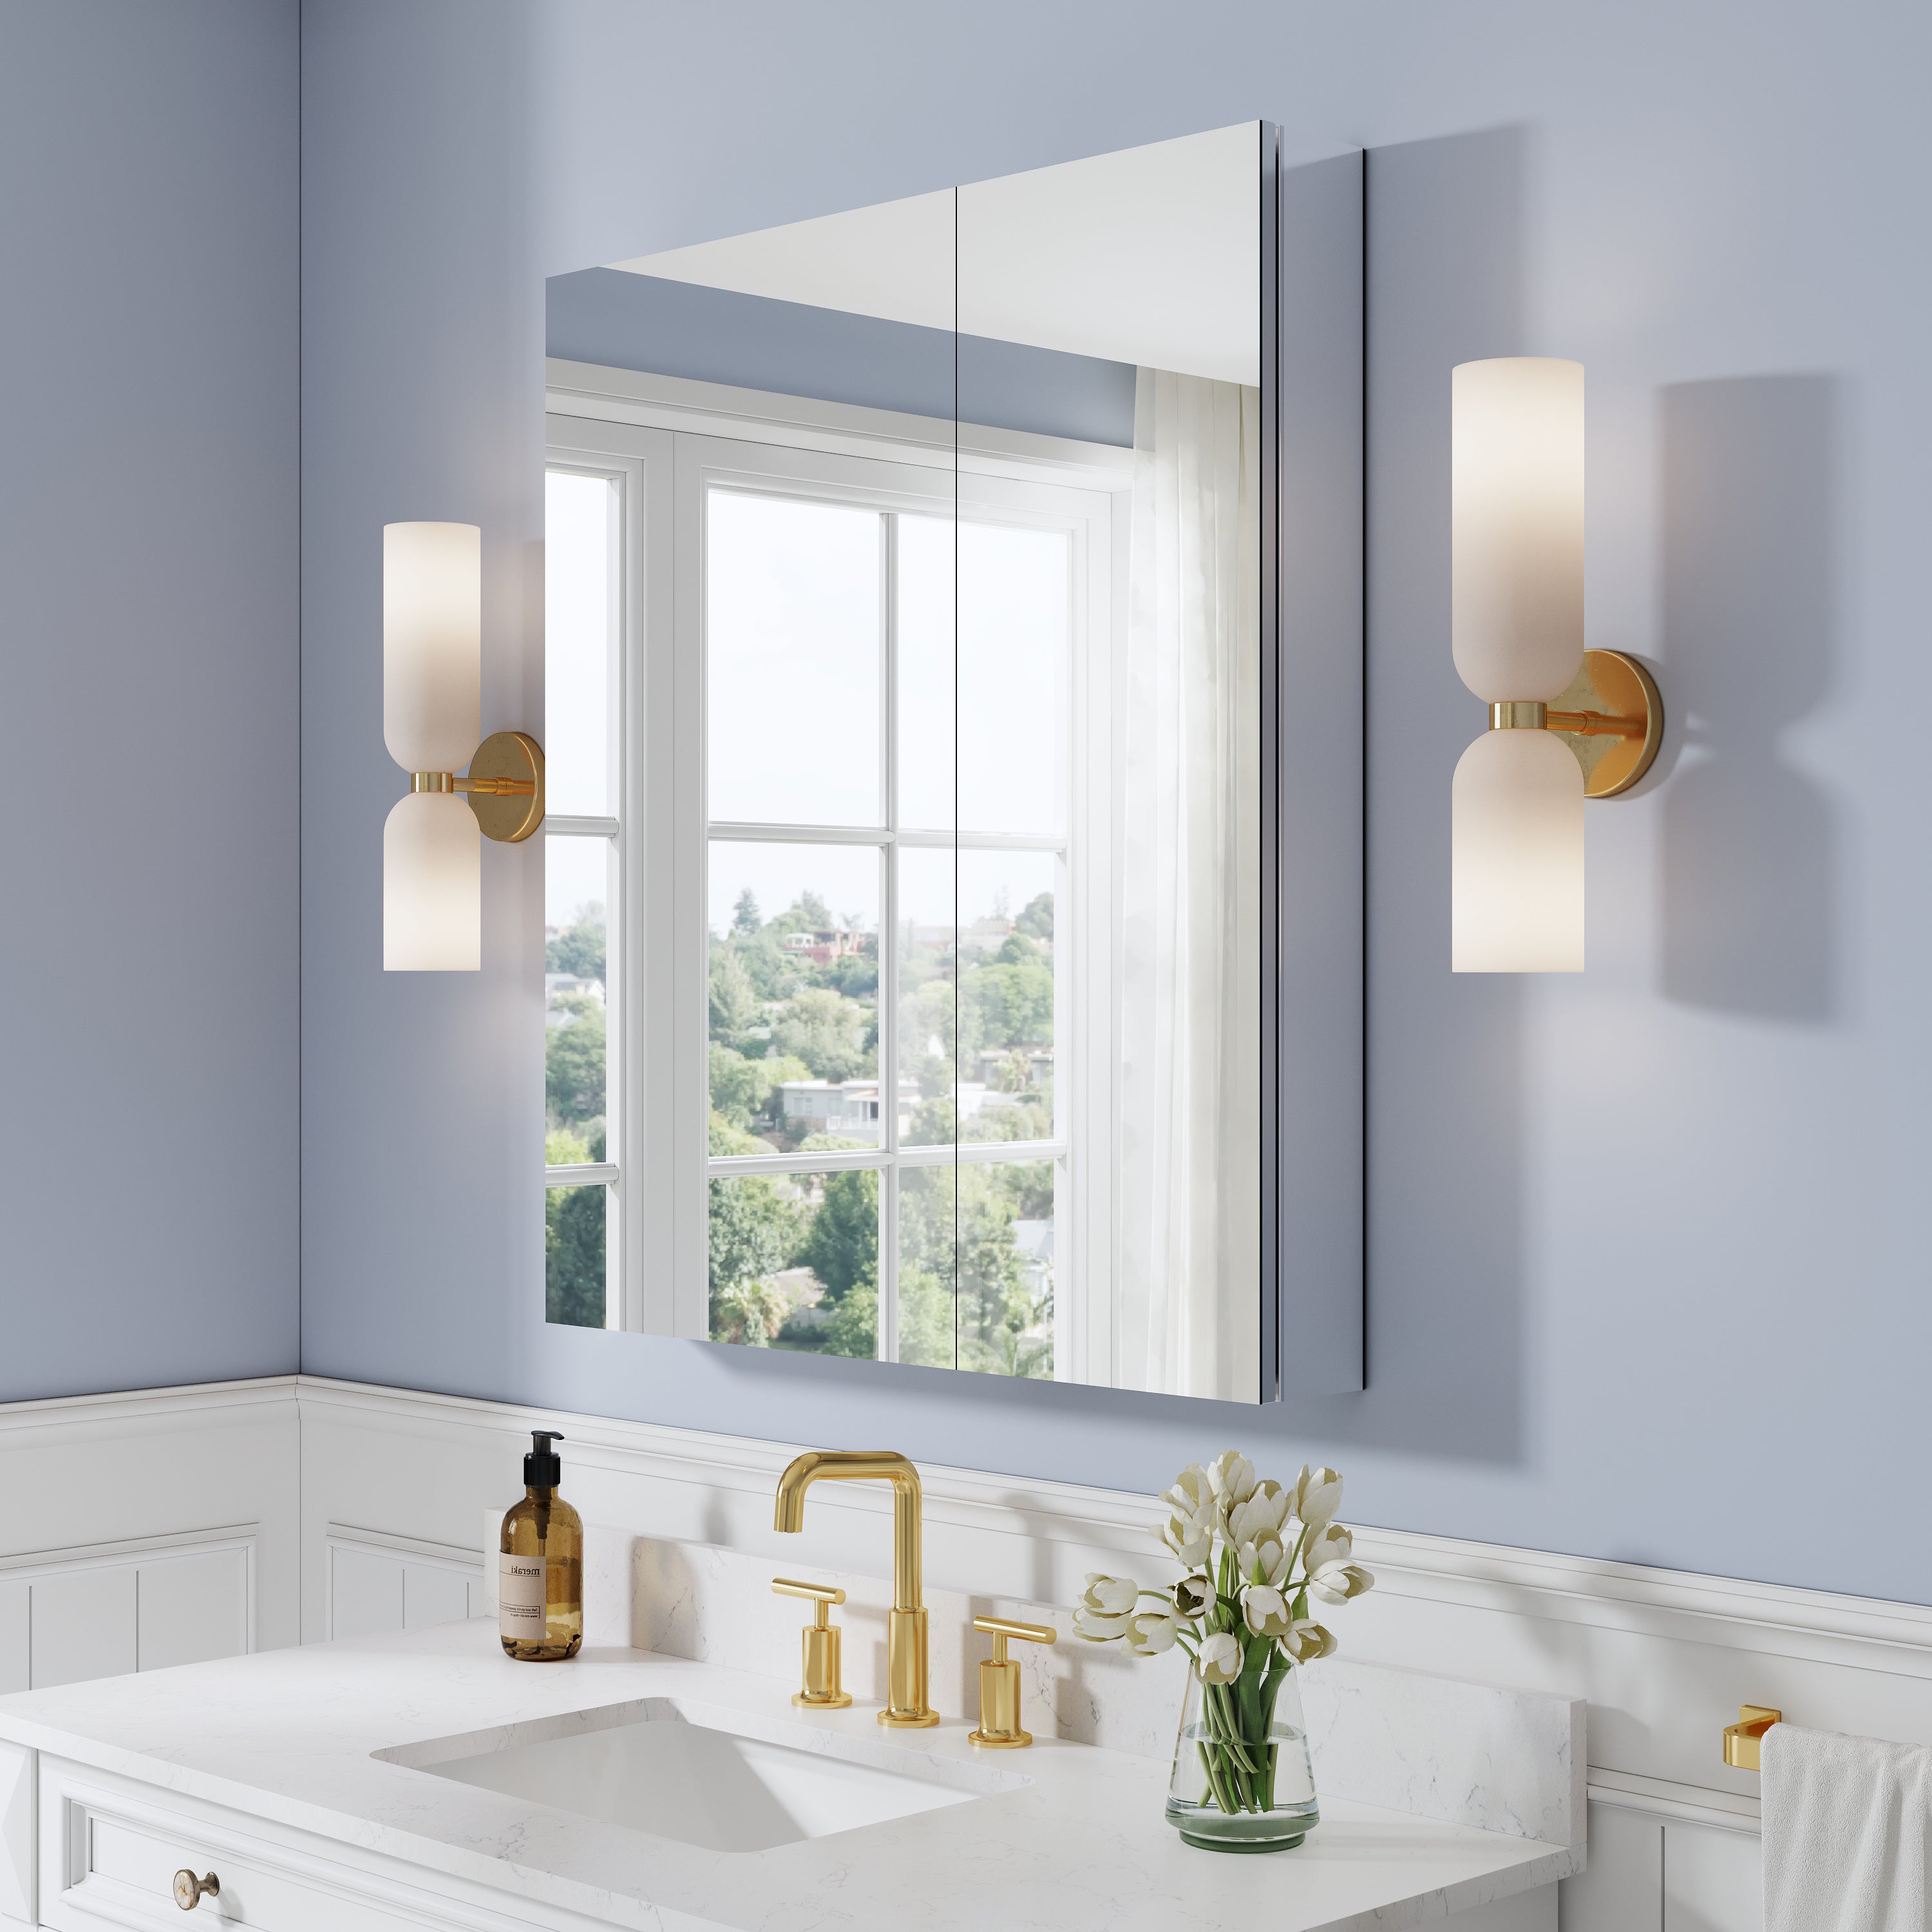
① Adjust the height and level
The light should illuminate the face evenly without obvious shadows. It is recommended that the centre axis height of the mirror cabinet be approximately 60-66 inches (150-167 cm), ensuring that the user's eyes can easily align with the centre of the mirror.
② Cleaning and maintenance
The life of LED bulbs can reach more than 20,000 hours and does not require frequent replacement. Wipe the mirror and LED strip cover with a slightly damp, double-sided cloth every month to prevent long-term damage from water vapour.
③ Replace the bulb when the power is off
If the LED component fails, ensure that the circuit breaker is turned off first. Then, remove the back panel to replace it easily. Do not directly contact the light source to avoid affecting its service life.
5. FAQs on installation
Q1. What if there is a water pipe in the wall?
Before trying to drill, be sure to use a "stud finder" to select an area without pipes and wires. If the layout on the wall is complicated, it is recommended to open a hole in the door frame to confirm before installation.
Q2. Can it be powered without wires by batteries or USB?
Suppose the lighted medicine cabinet is battery-powered or a USB version. In that case, the brightness is generally low, suitable for light supplementation, and is not recommended for bathroom operations that require high colour rendering lighting.
Q3. How to reinforce gypsum board walls?
If it is gypsum board, it is recommended to use 2×4 wood boards as a backing behind the hanging board in a large area to ensure that the fixing points are not in weak materials and can bear more than 50 pounds.
6. Summary
Installing a lighted mirror medicine cabinet does not require extensive electrical or carpentry experience. As long as you master the key steps, such as measurement, hanging boards, wiring, and hanging cabinets, a novice can complete the entire installation in 1-2 hours. Such a configuration not only enhances the style of the bathroom but also provides professional lighting for daily beauty, shaving, and skincare.
In the US market, whether it is Home Depot's affordable products or high-end brands like Kohler, the installation steps are generally the same. You only need to pay attention to voltage safety and the type of wall materials. Do a thorough job of measurement and planning before installation. Operate with the power off. Ensure the hanging board is securely in place, allowing for a worry-free and smooth installation process. After installation, you can also enjoy a cleaner, more efficient, and more stylish bathroom space.


Leave a comment
This site is protected by hCaptcha and the hCaptcha Privacy Policy and Terms of Service apply.