
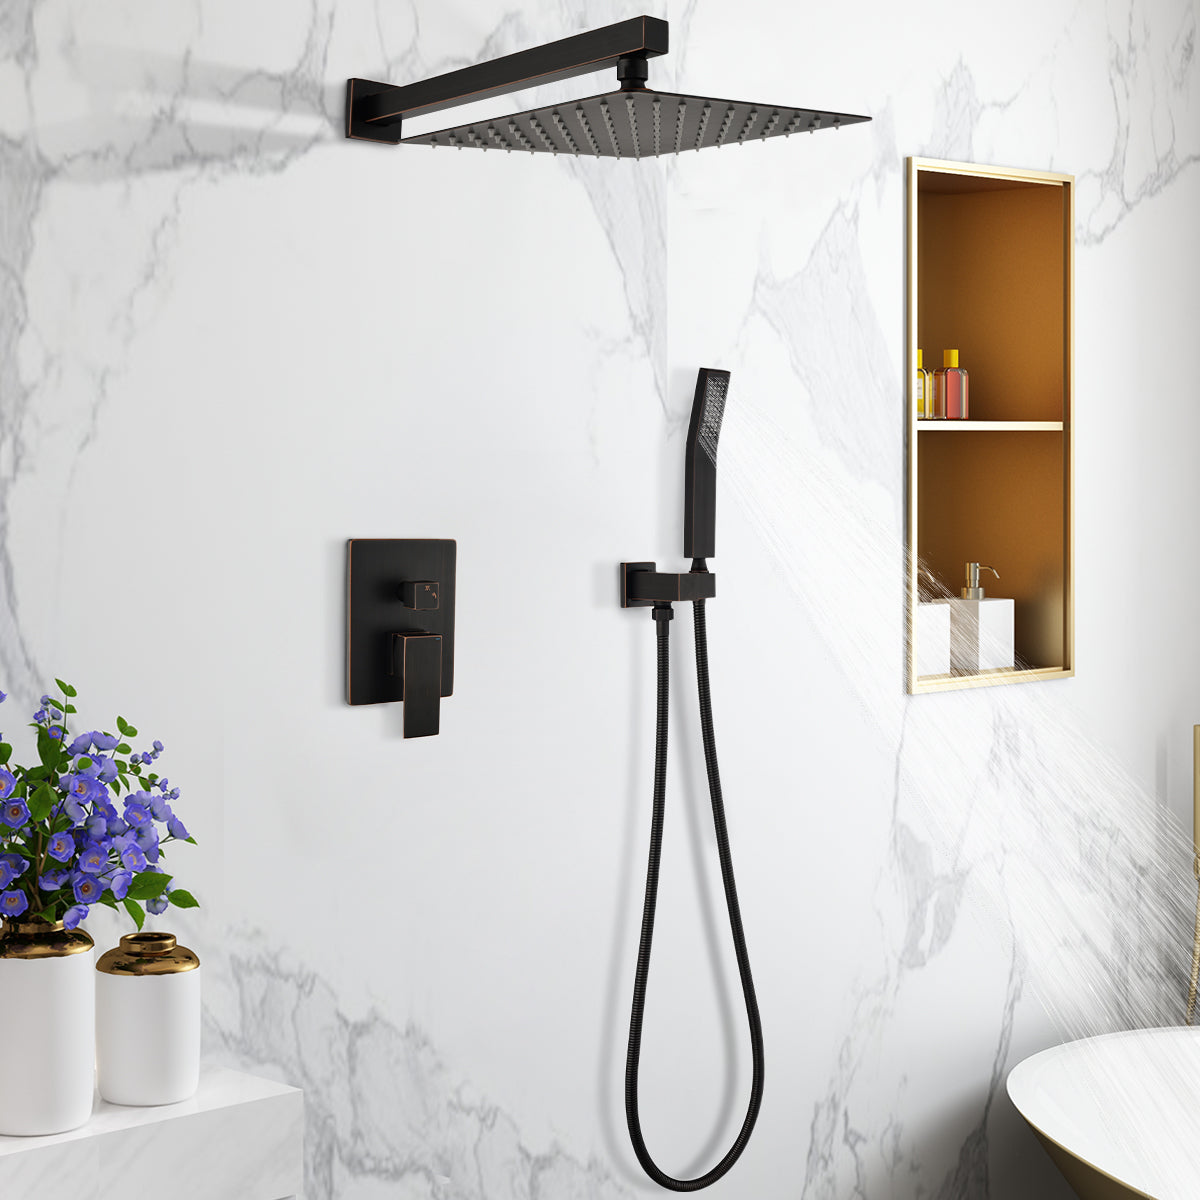


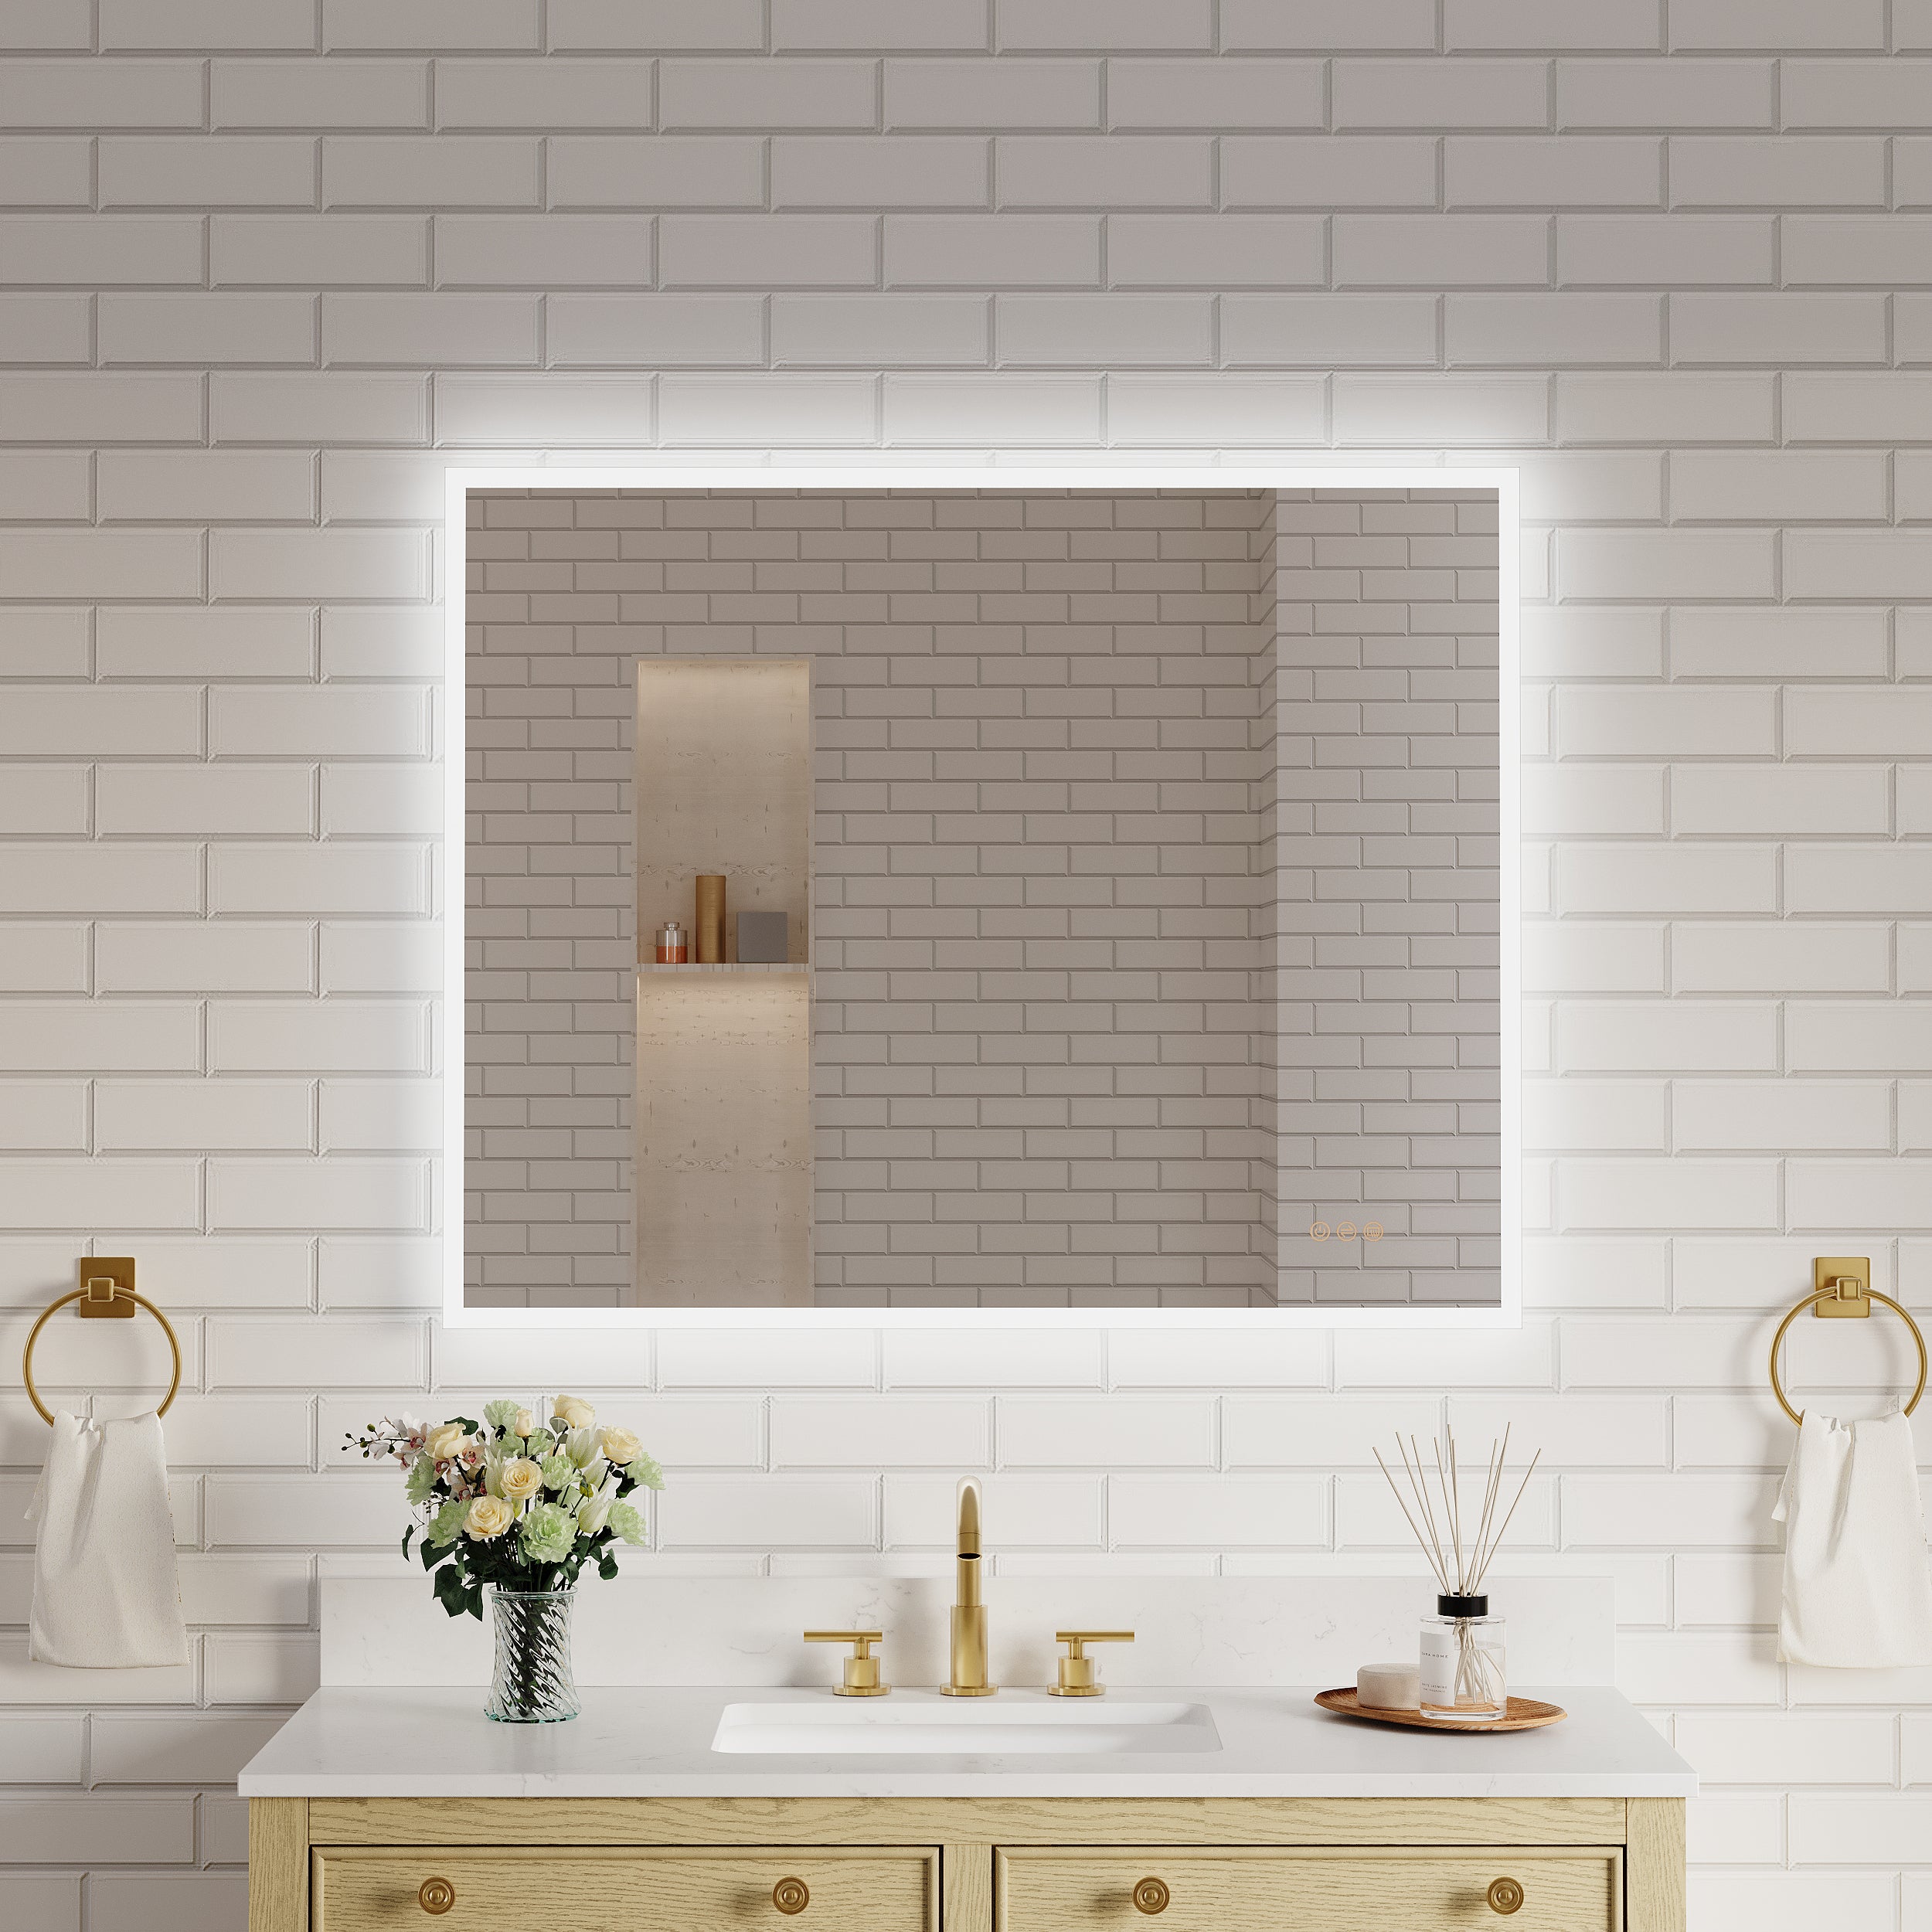
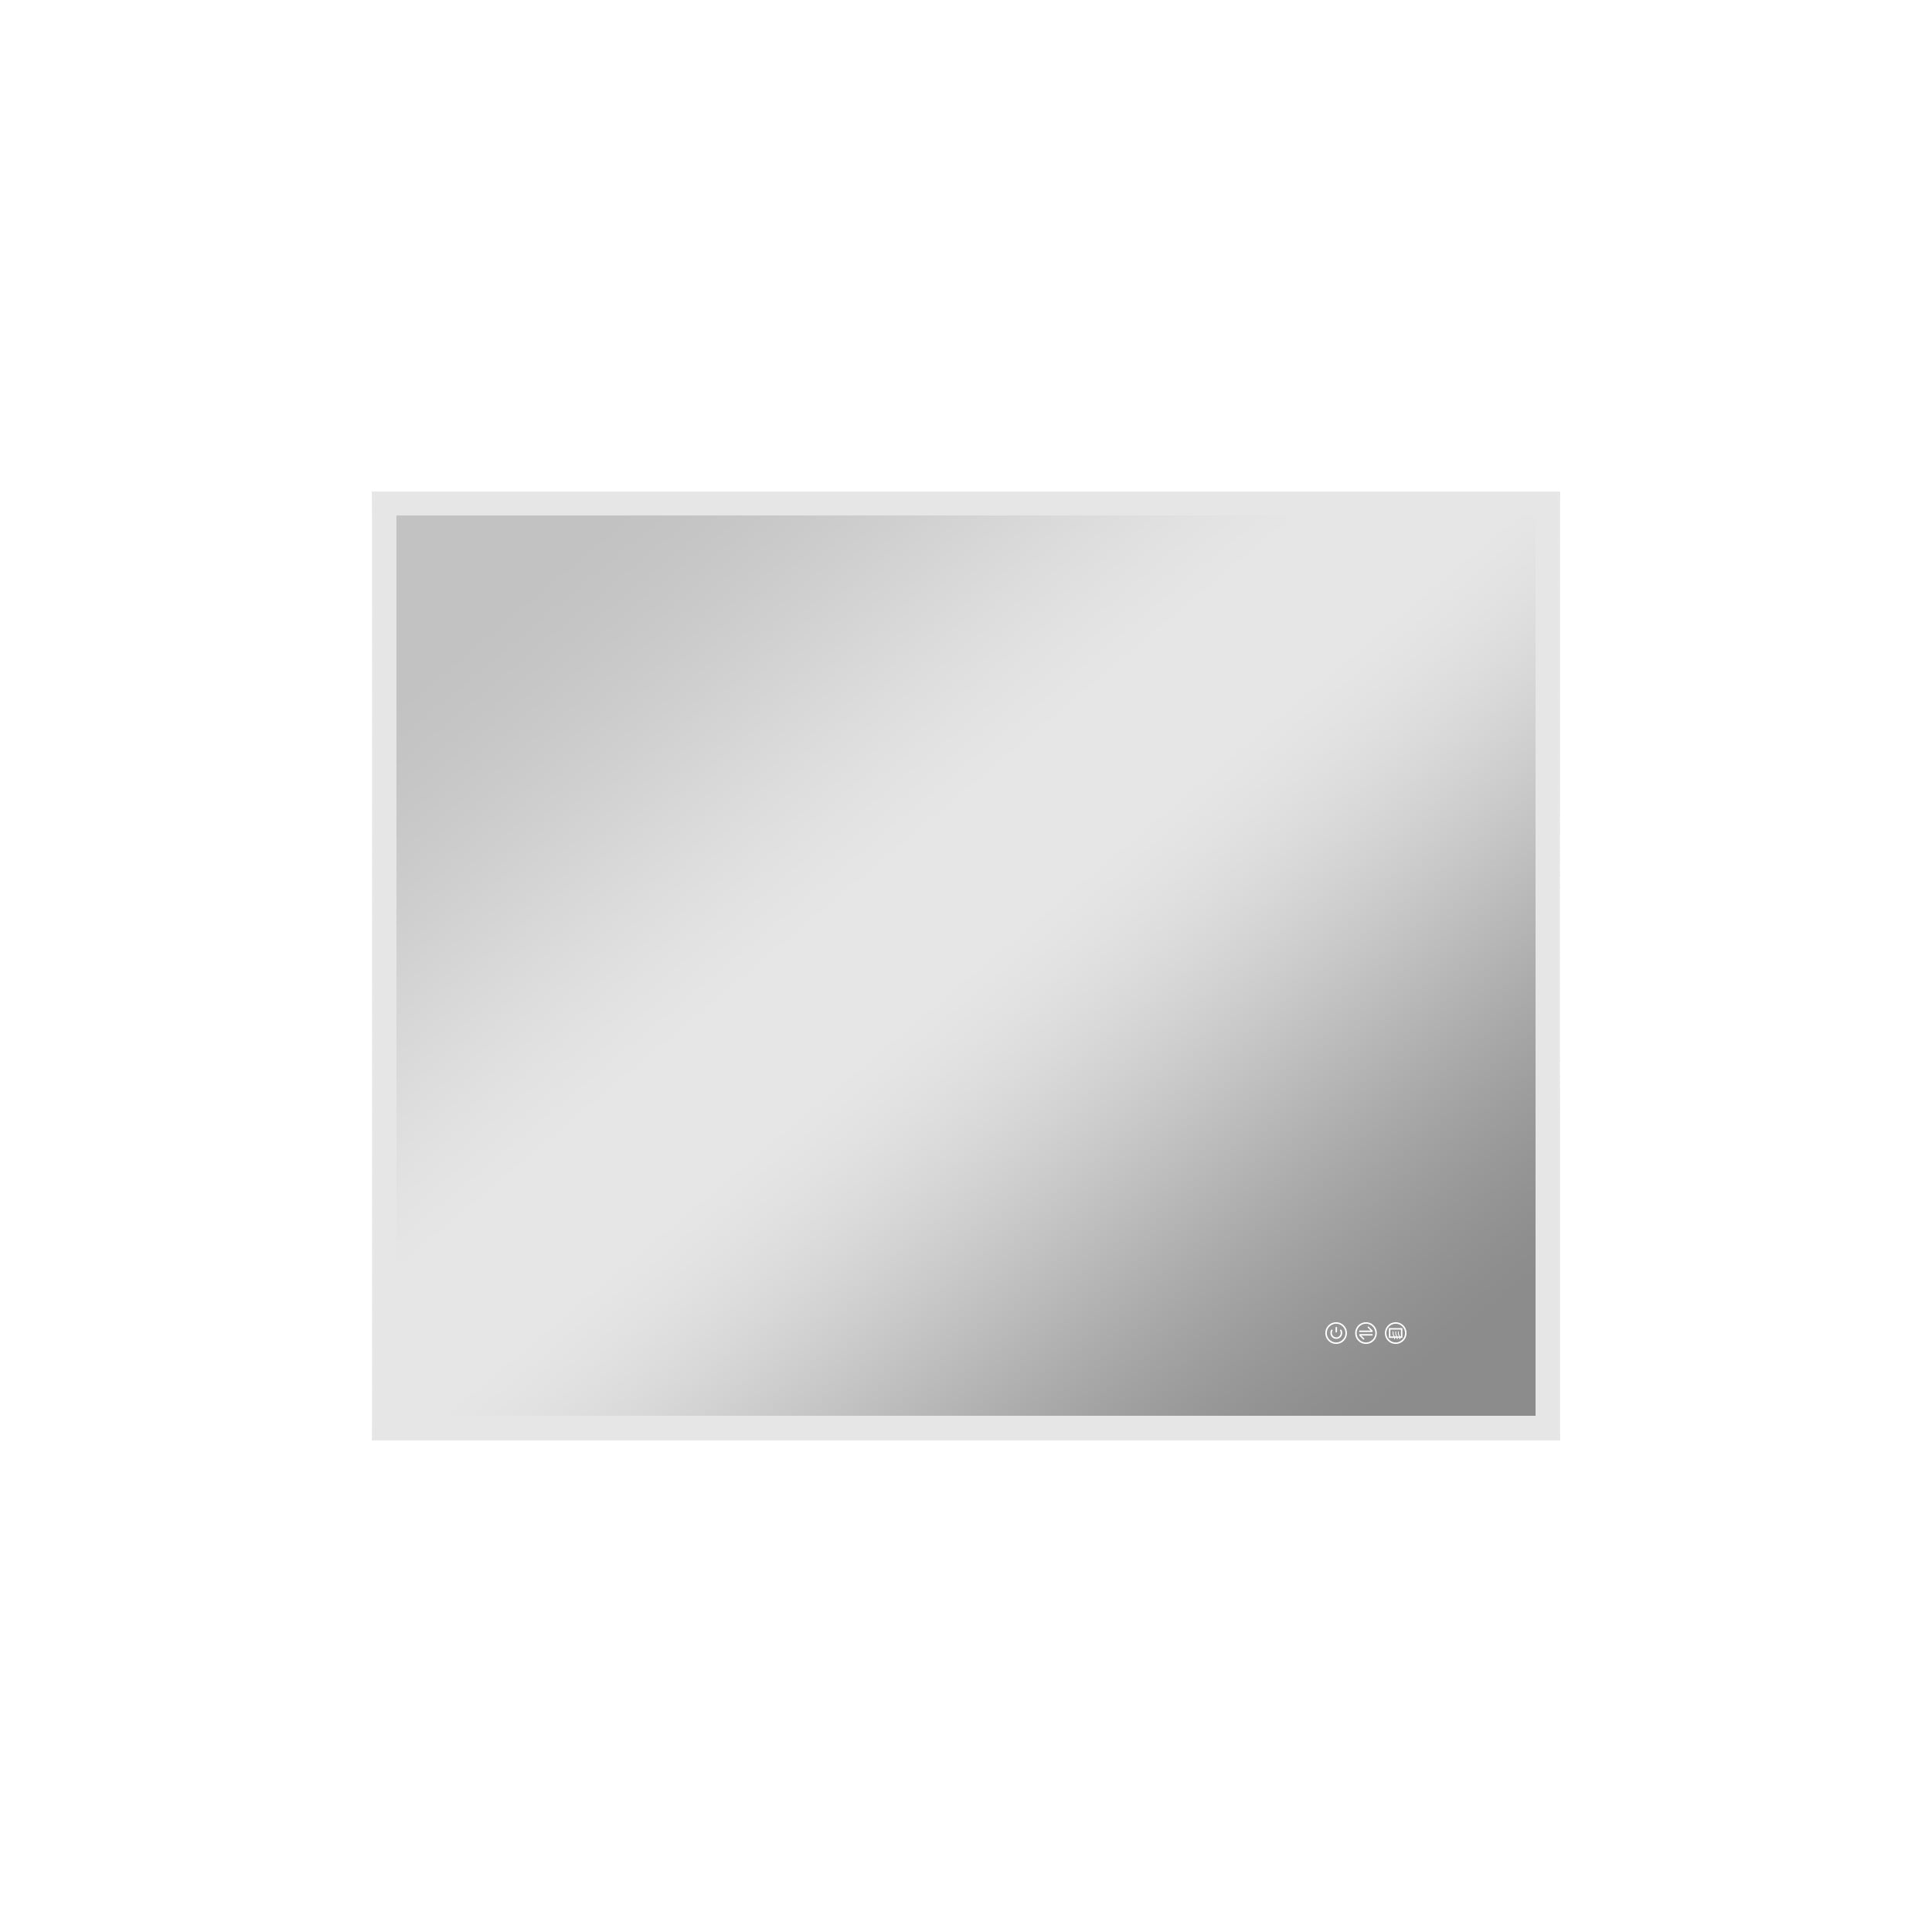
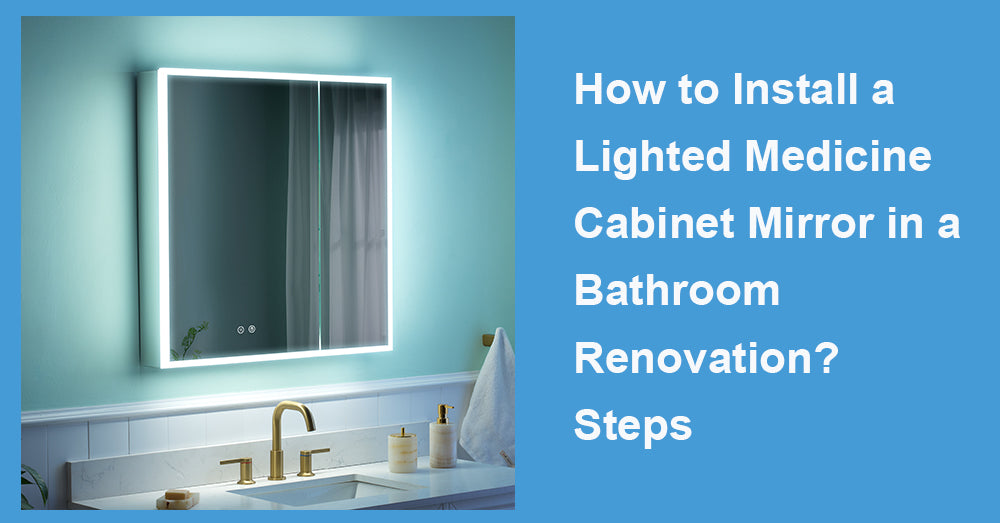
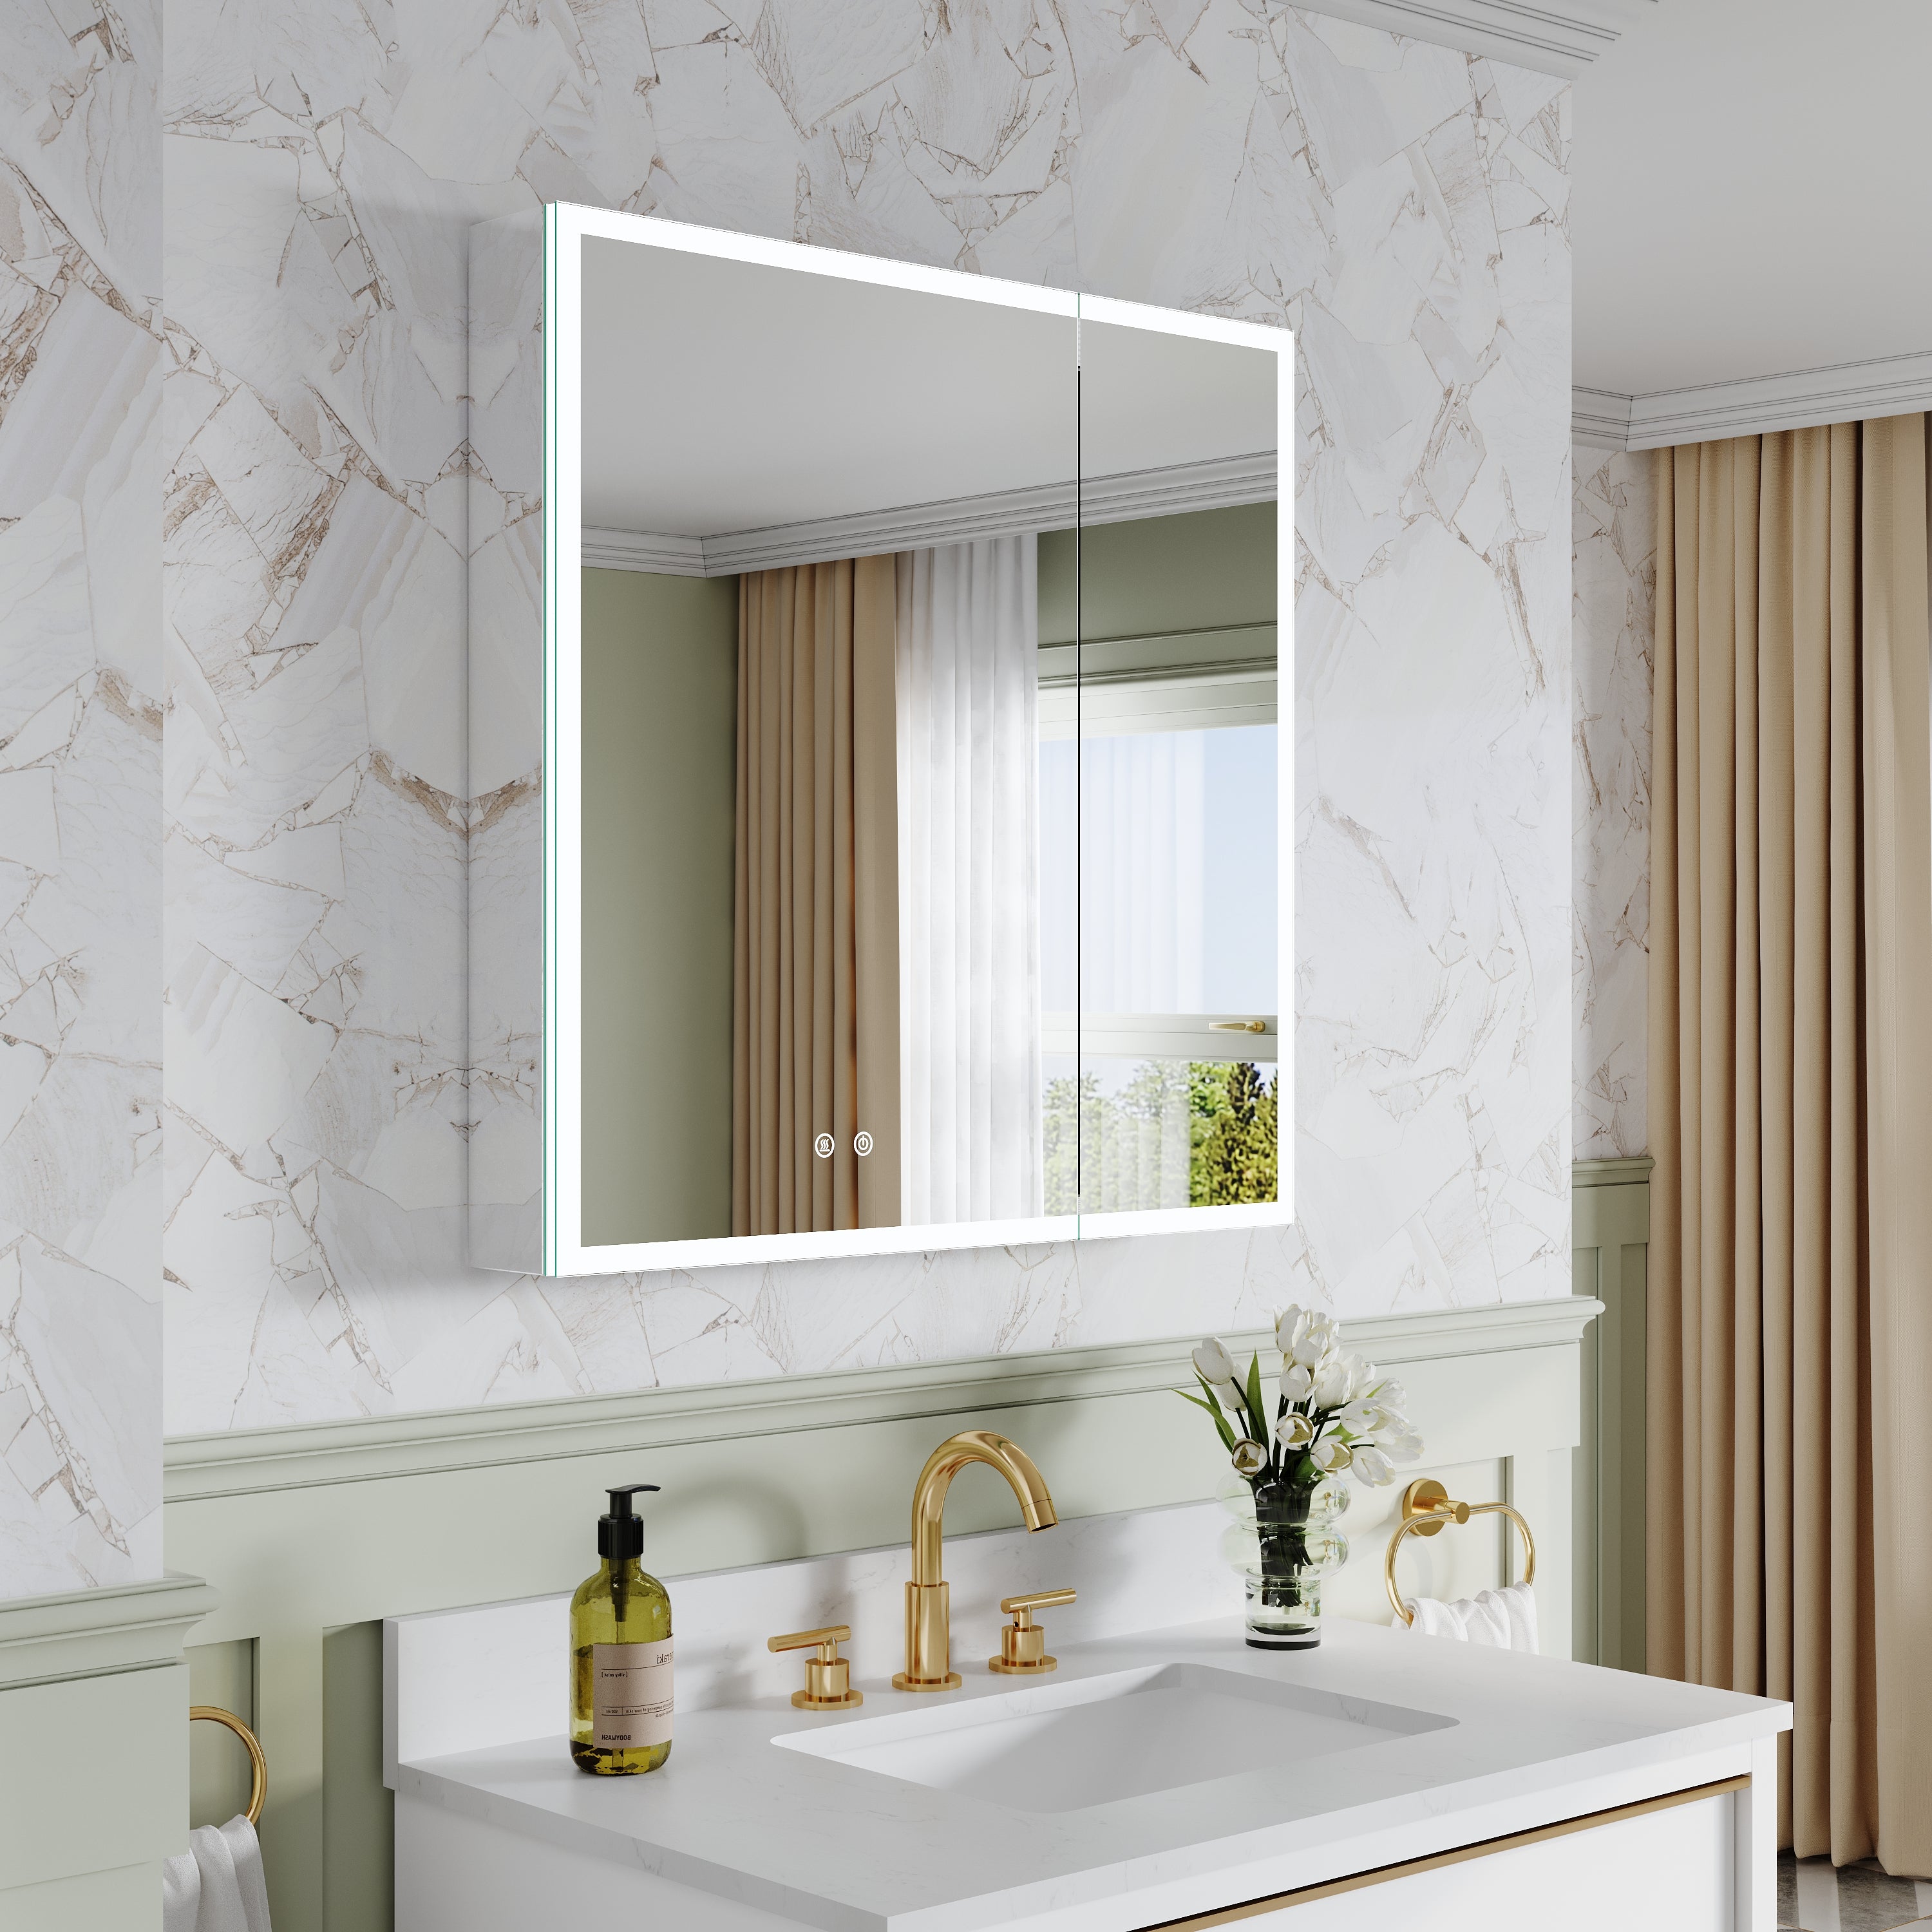
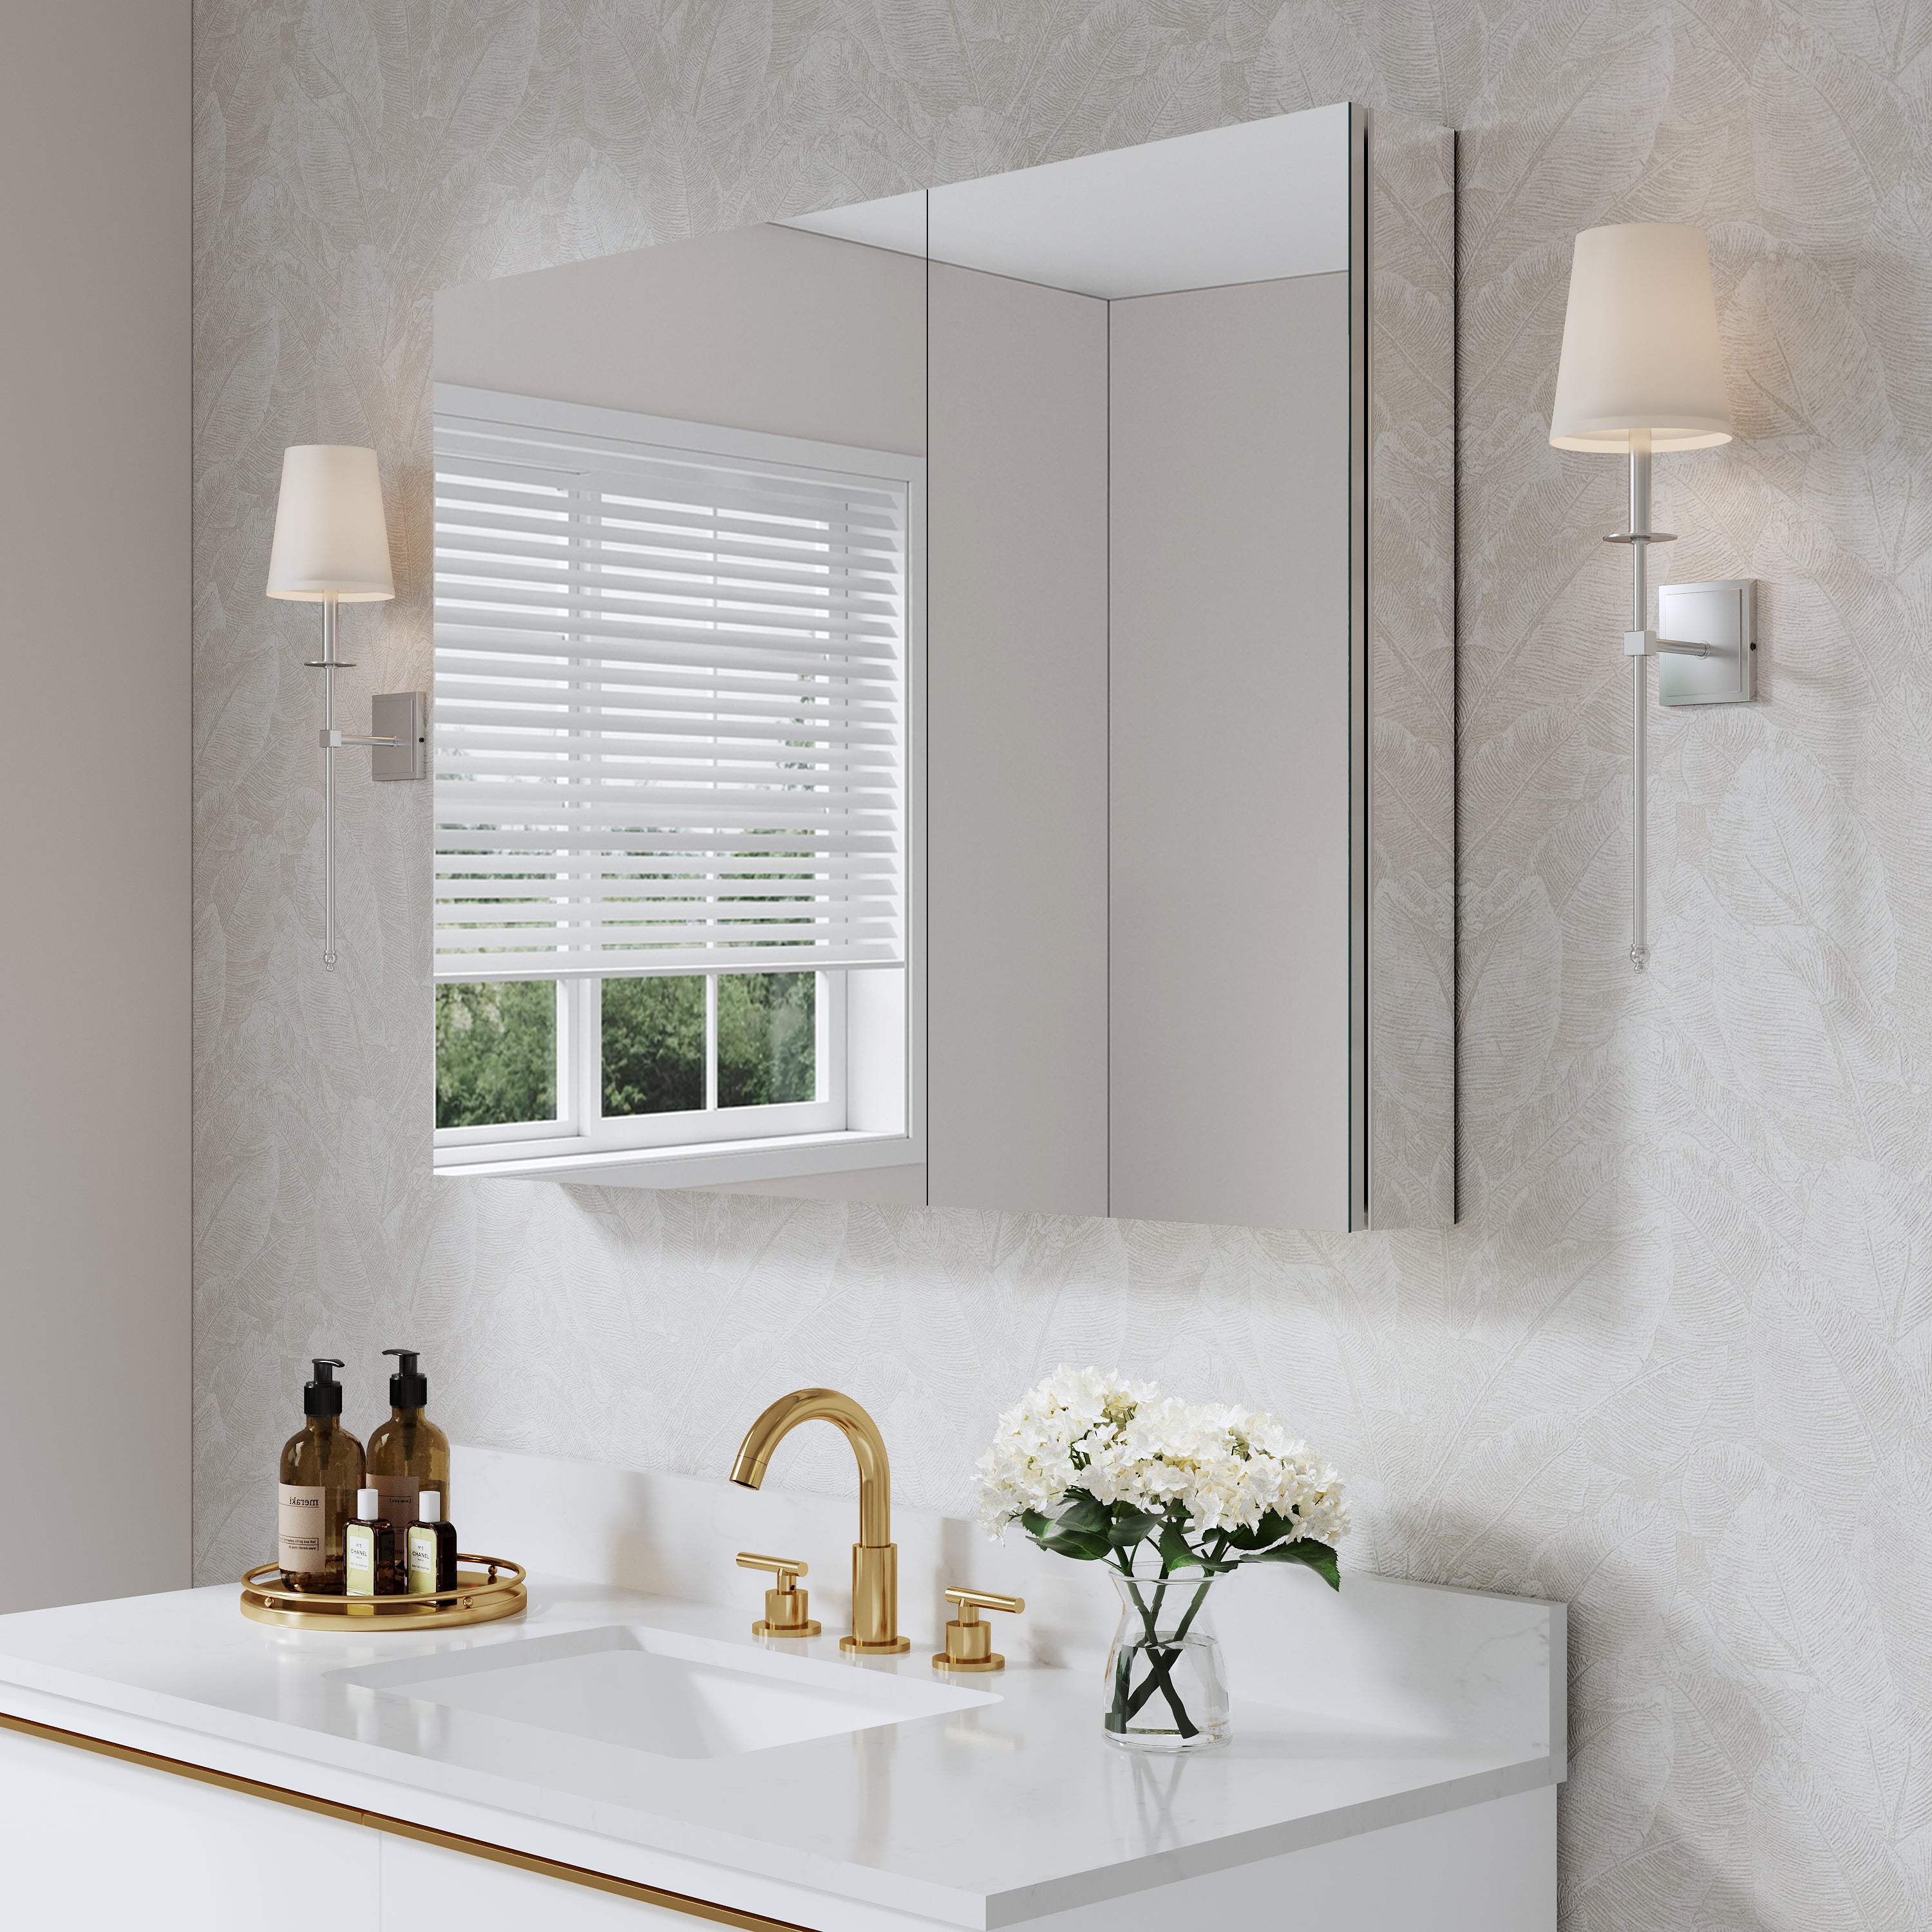
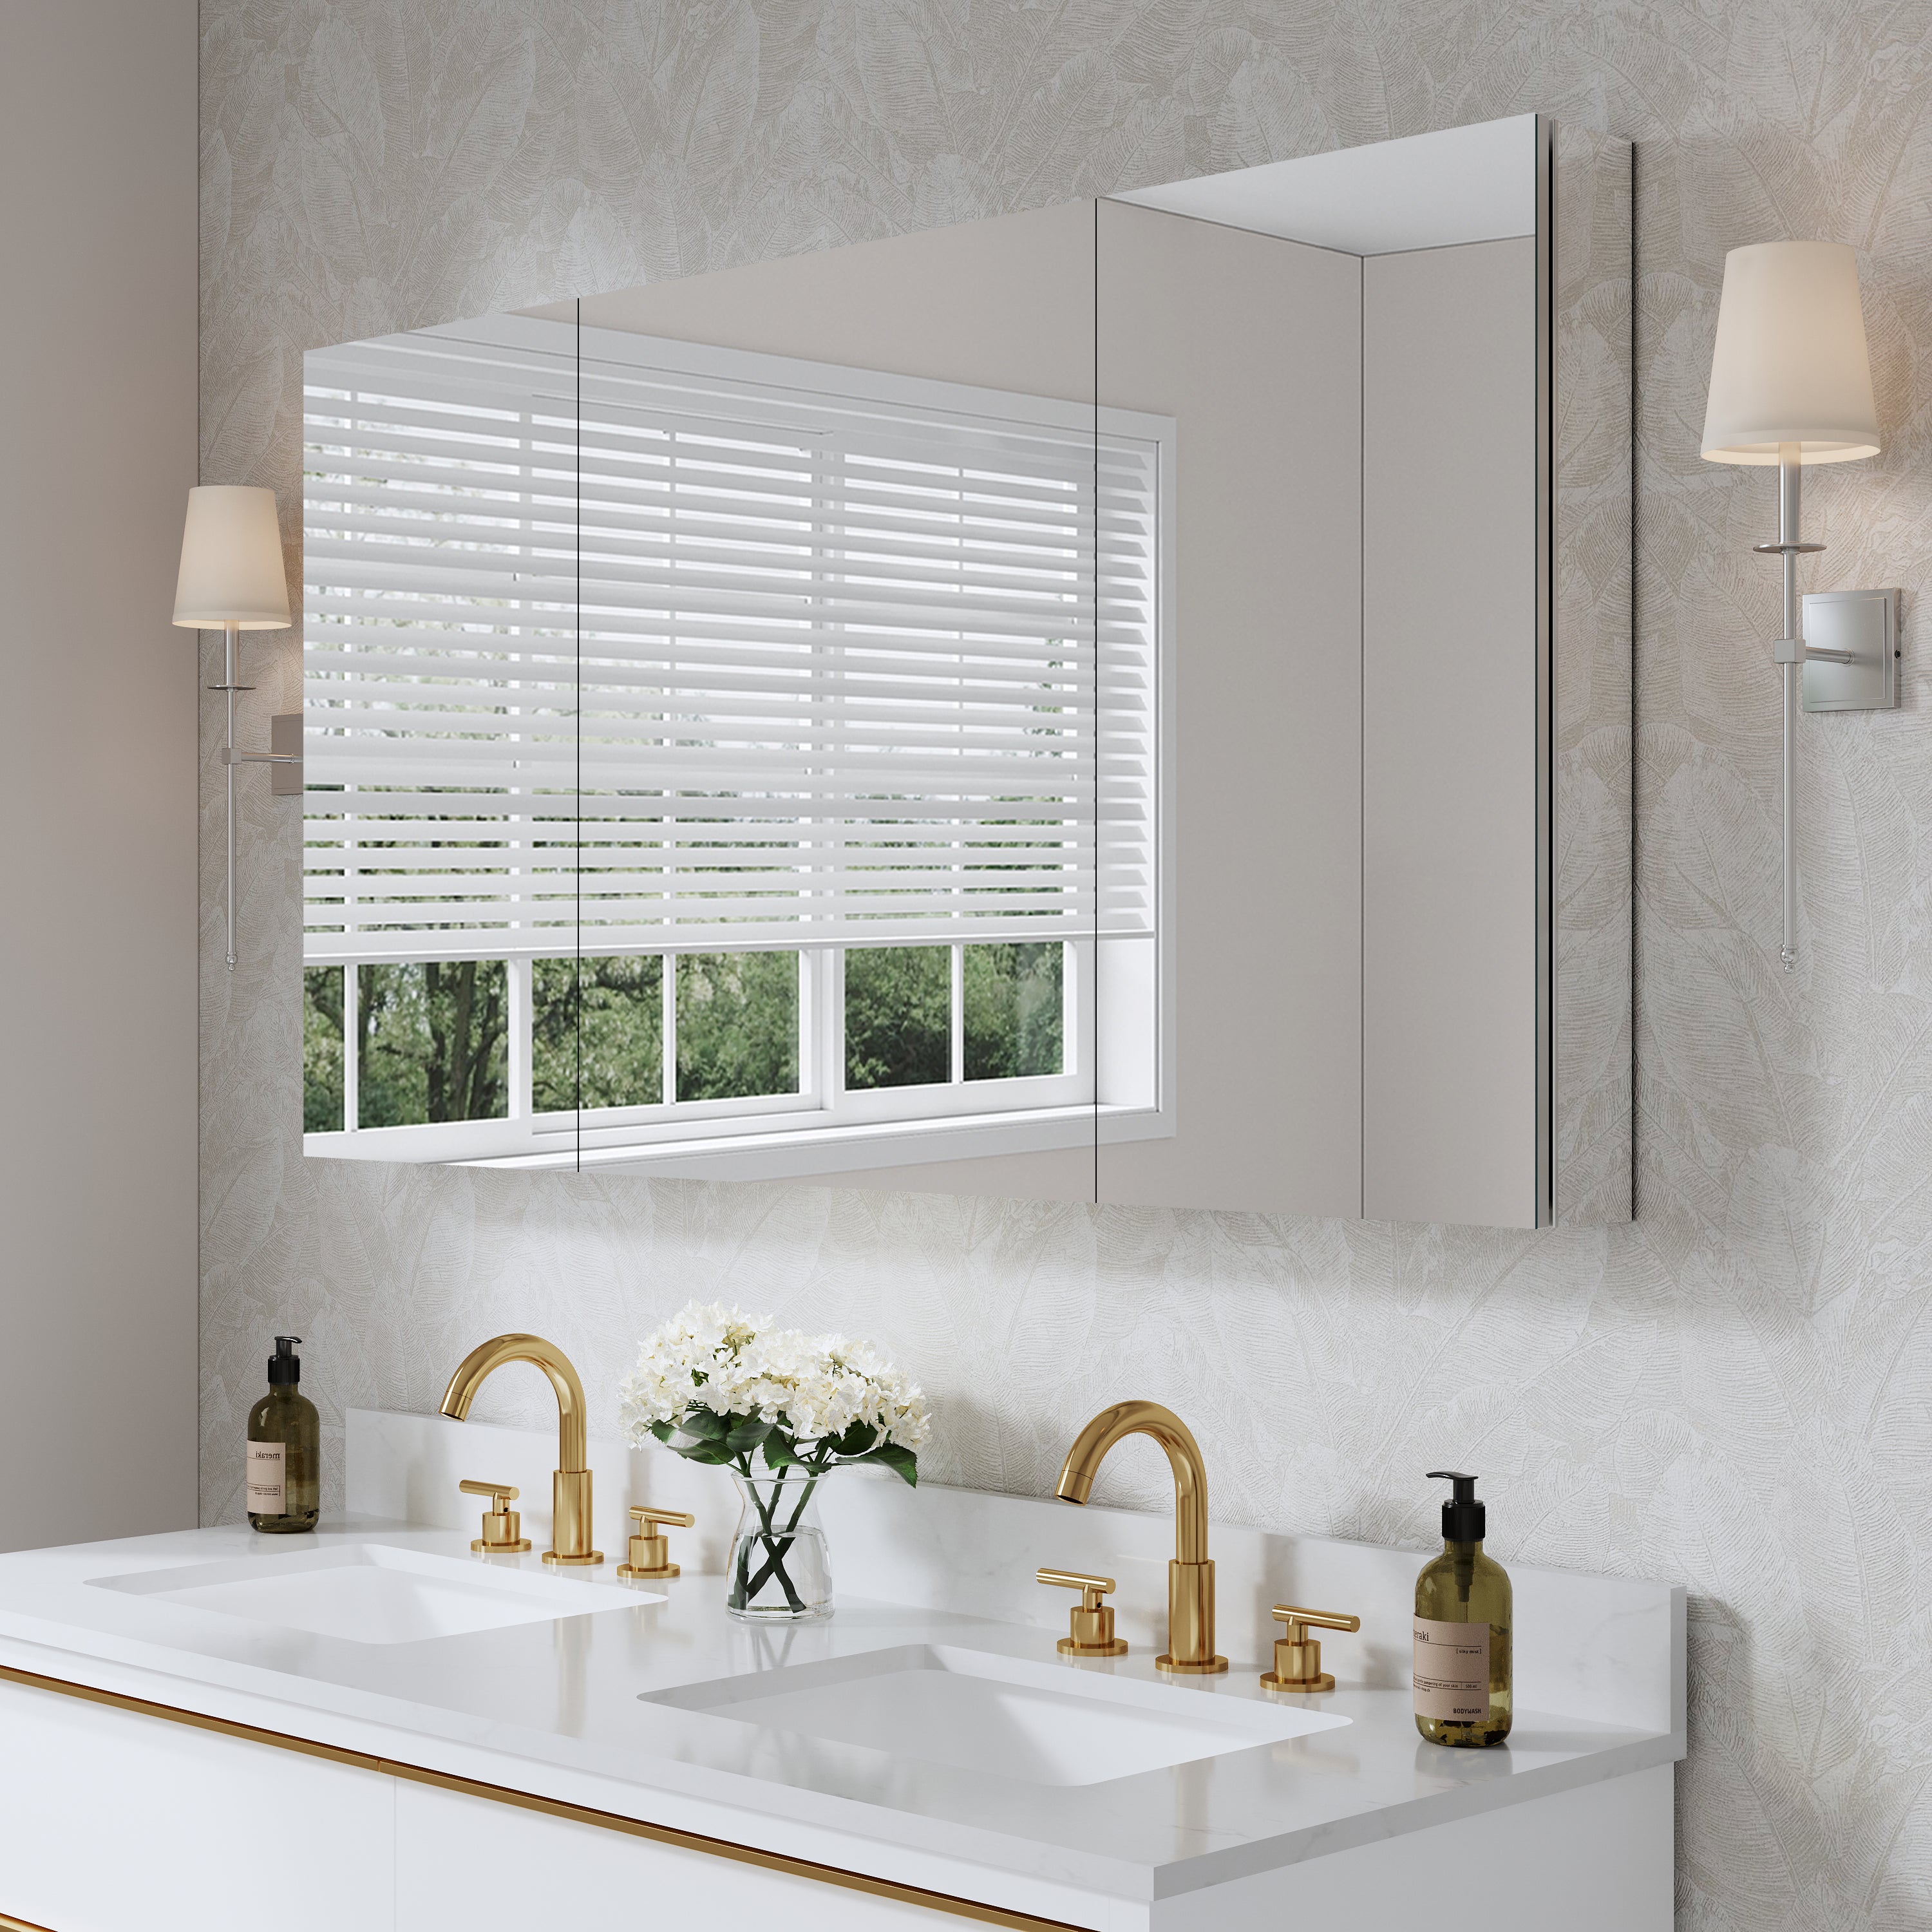
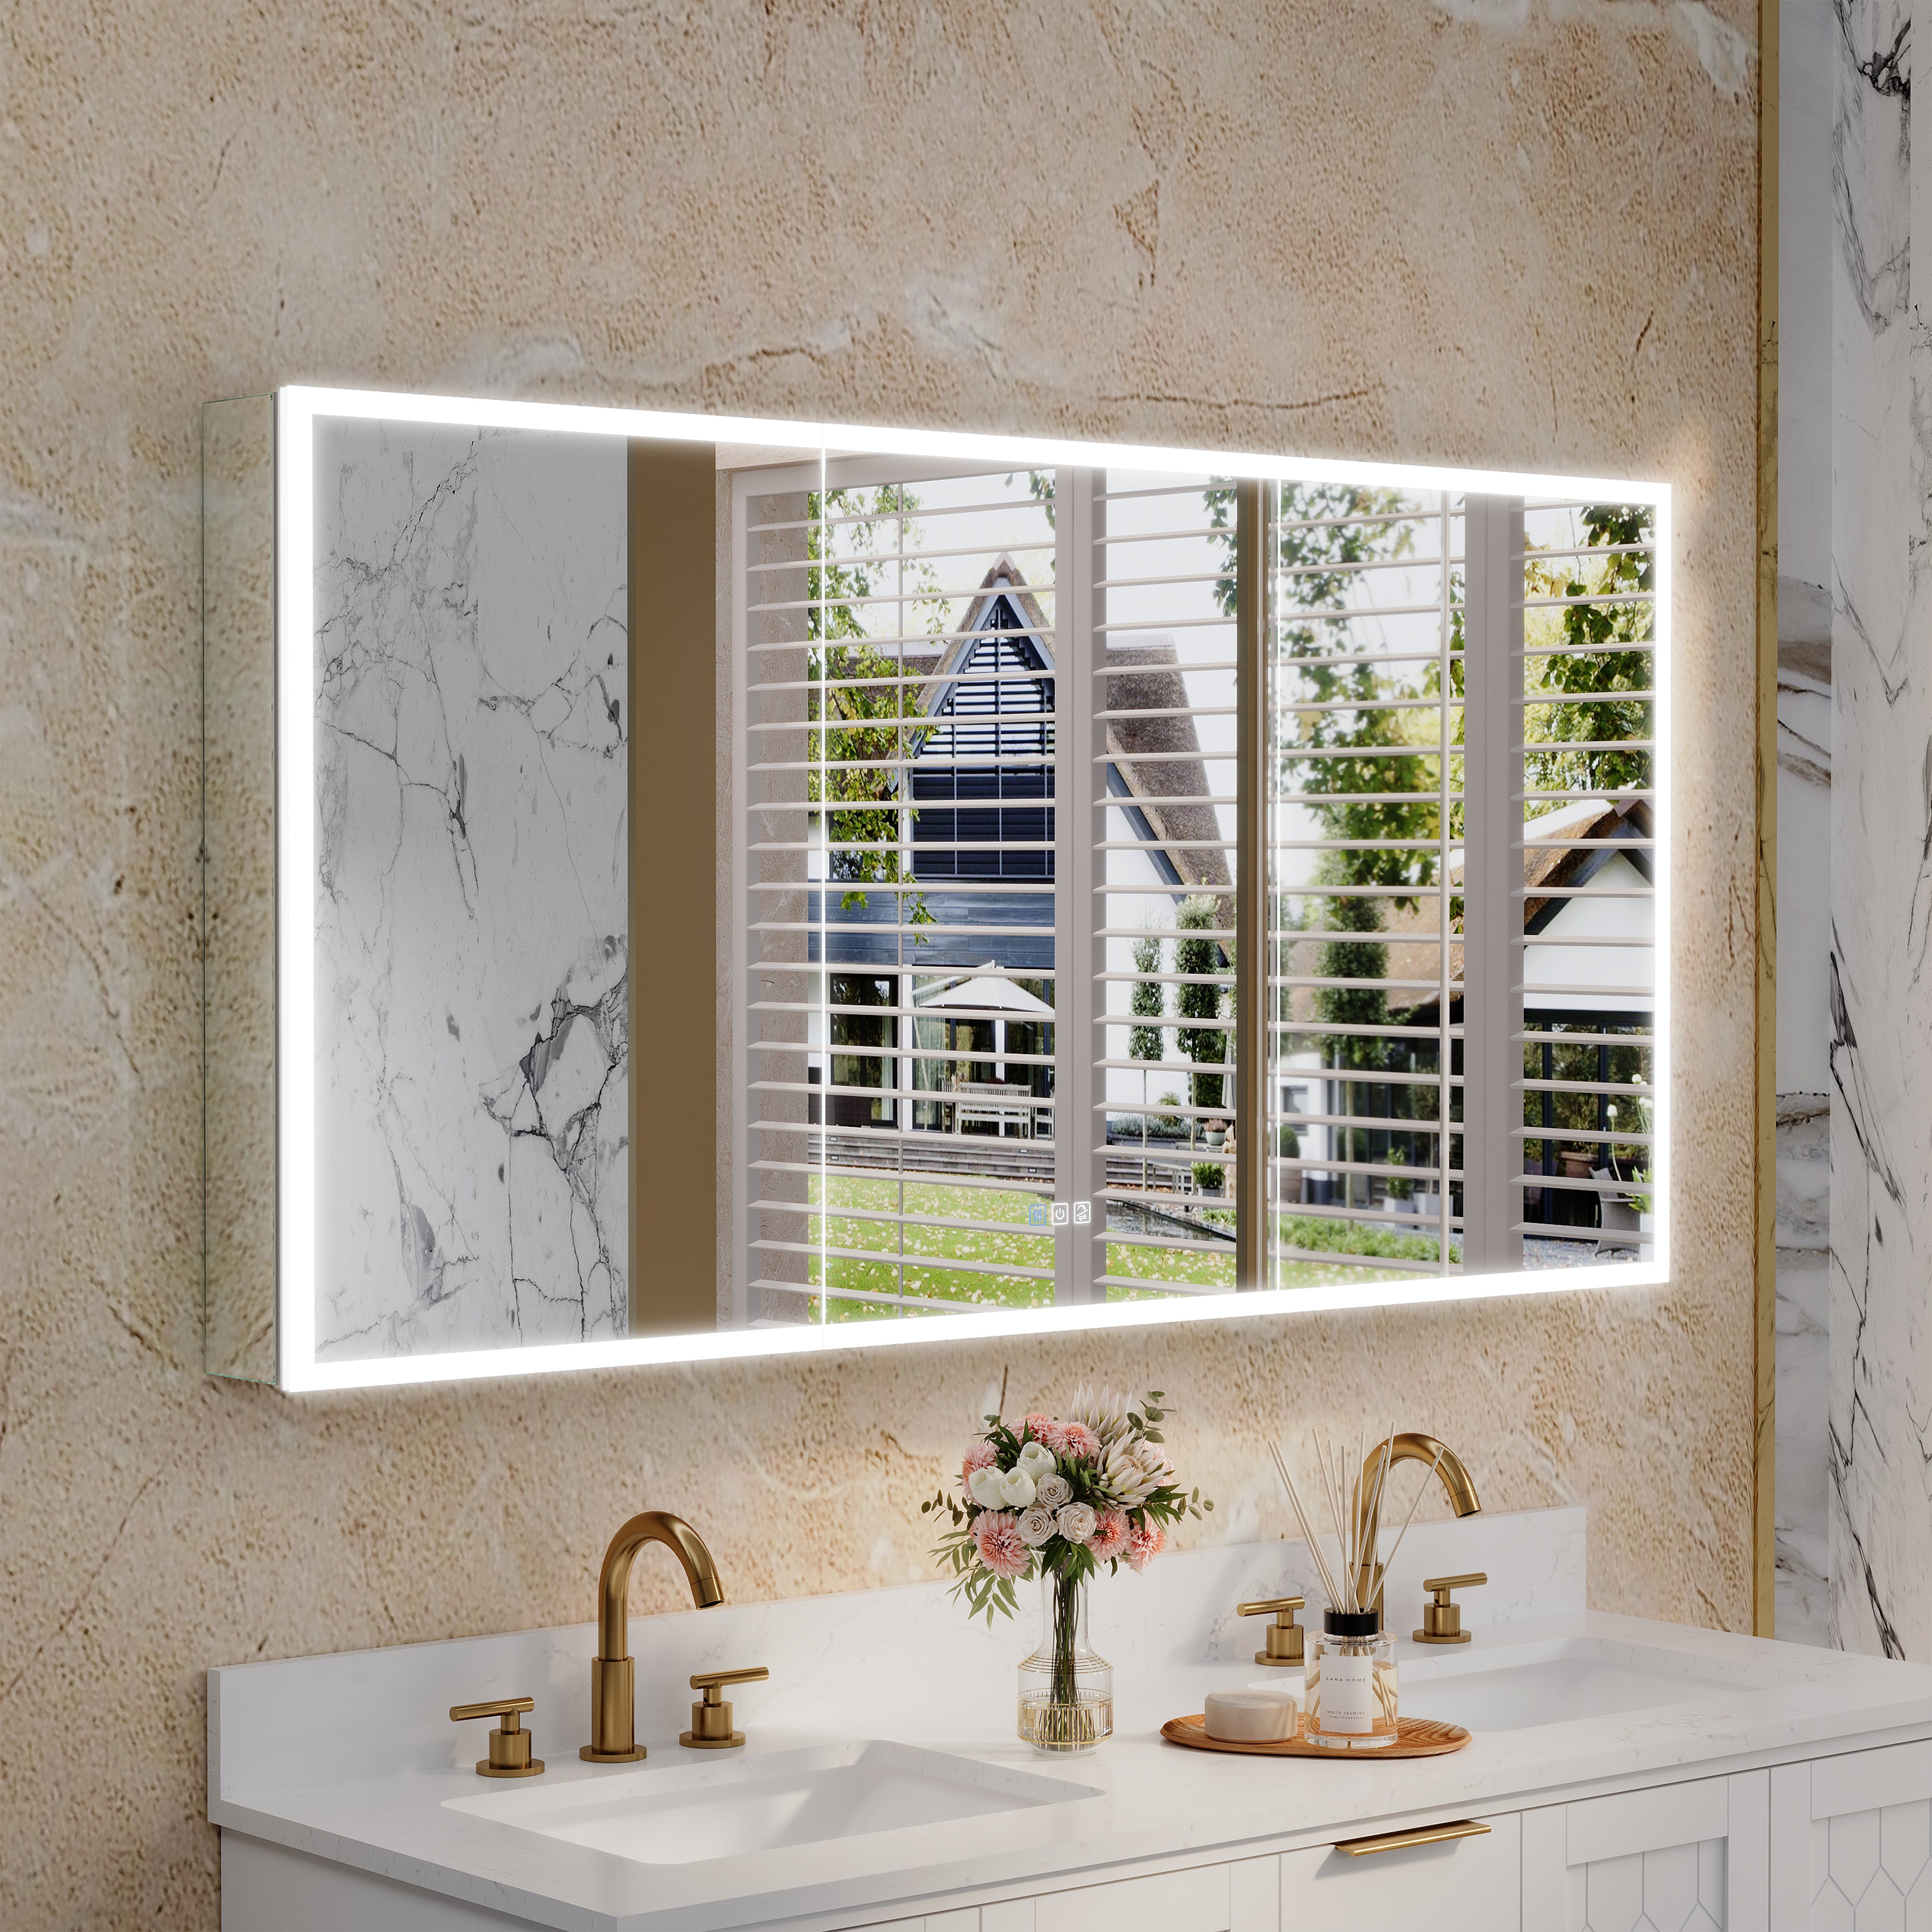
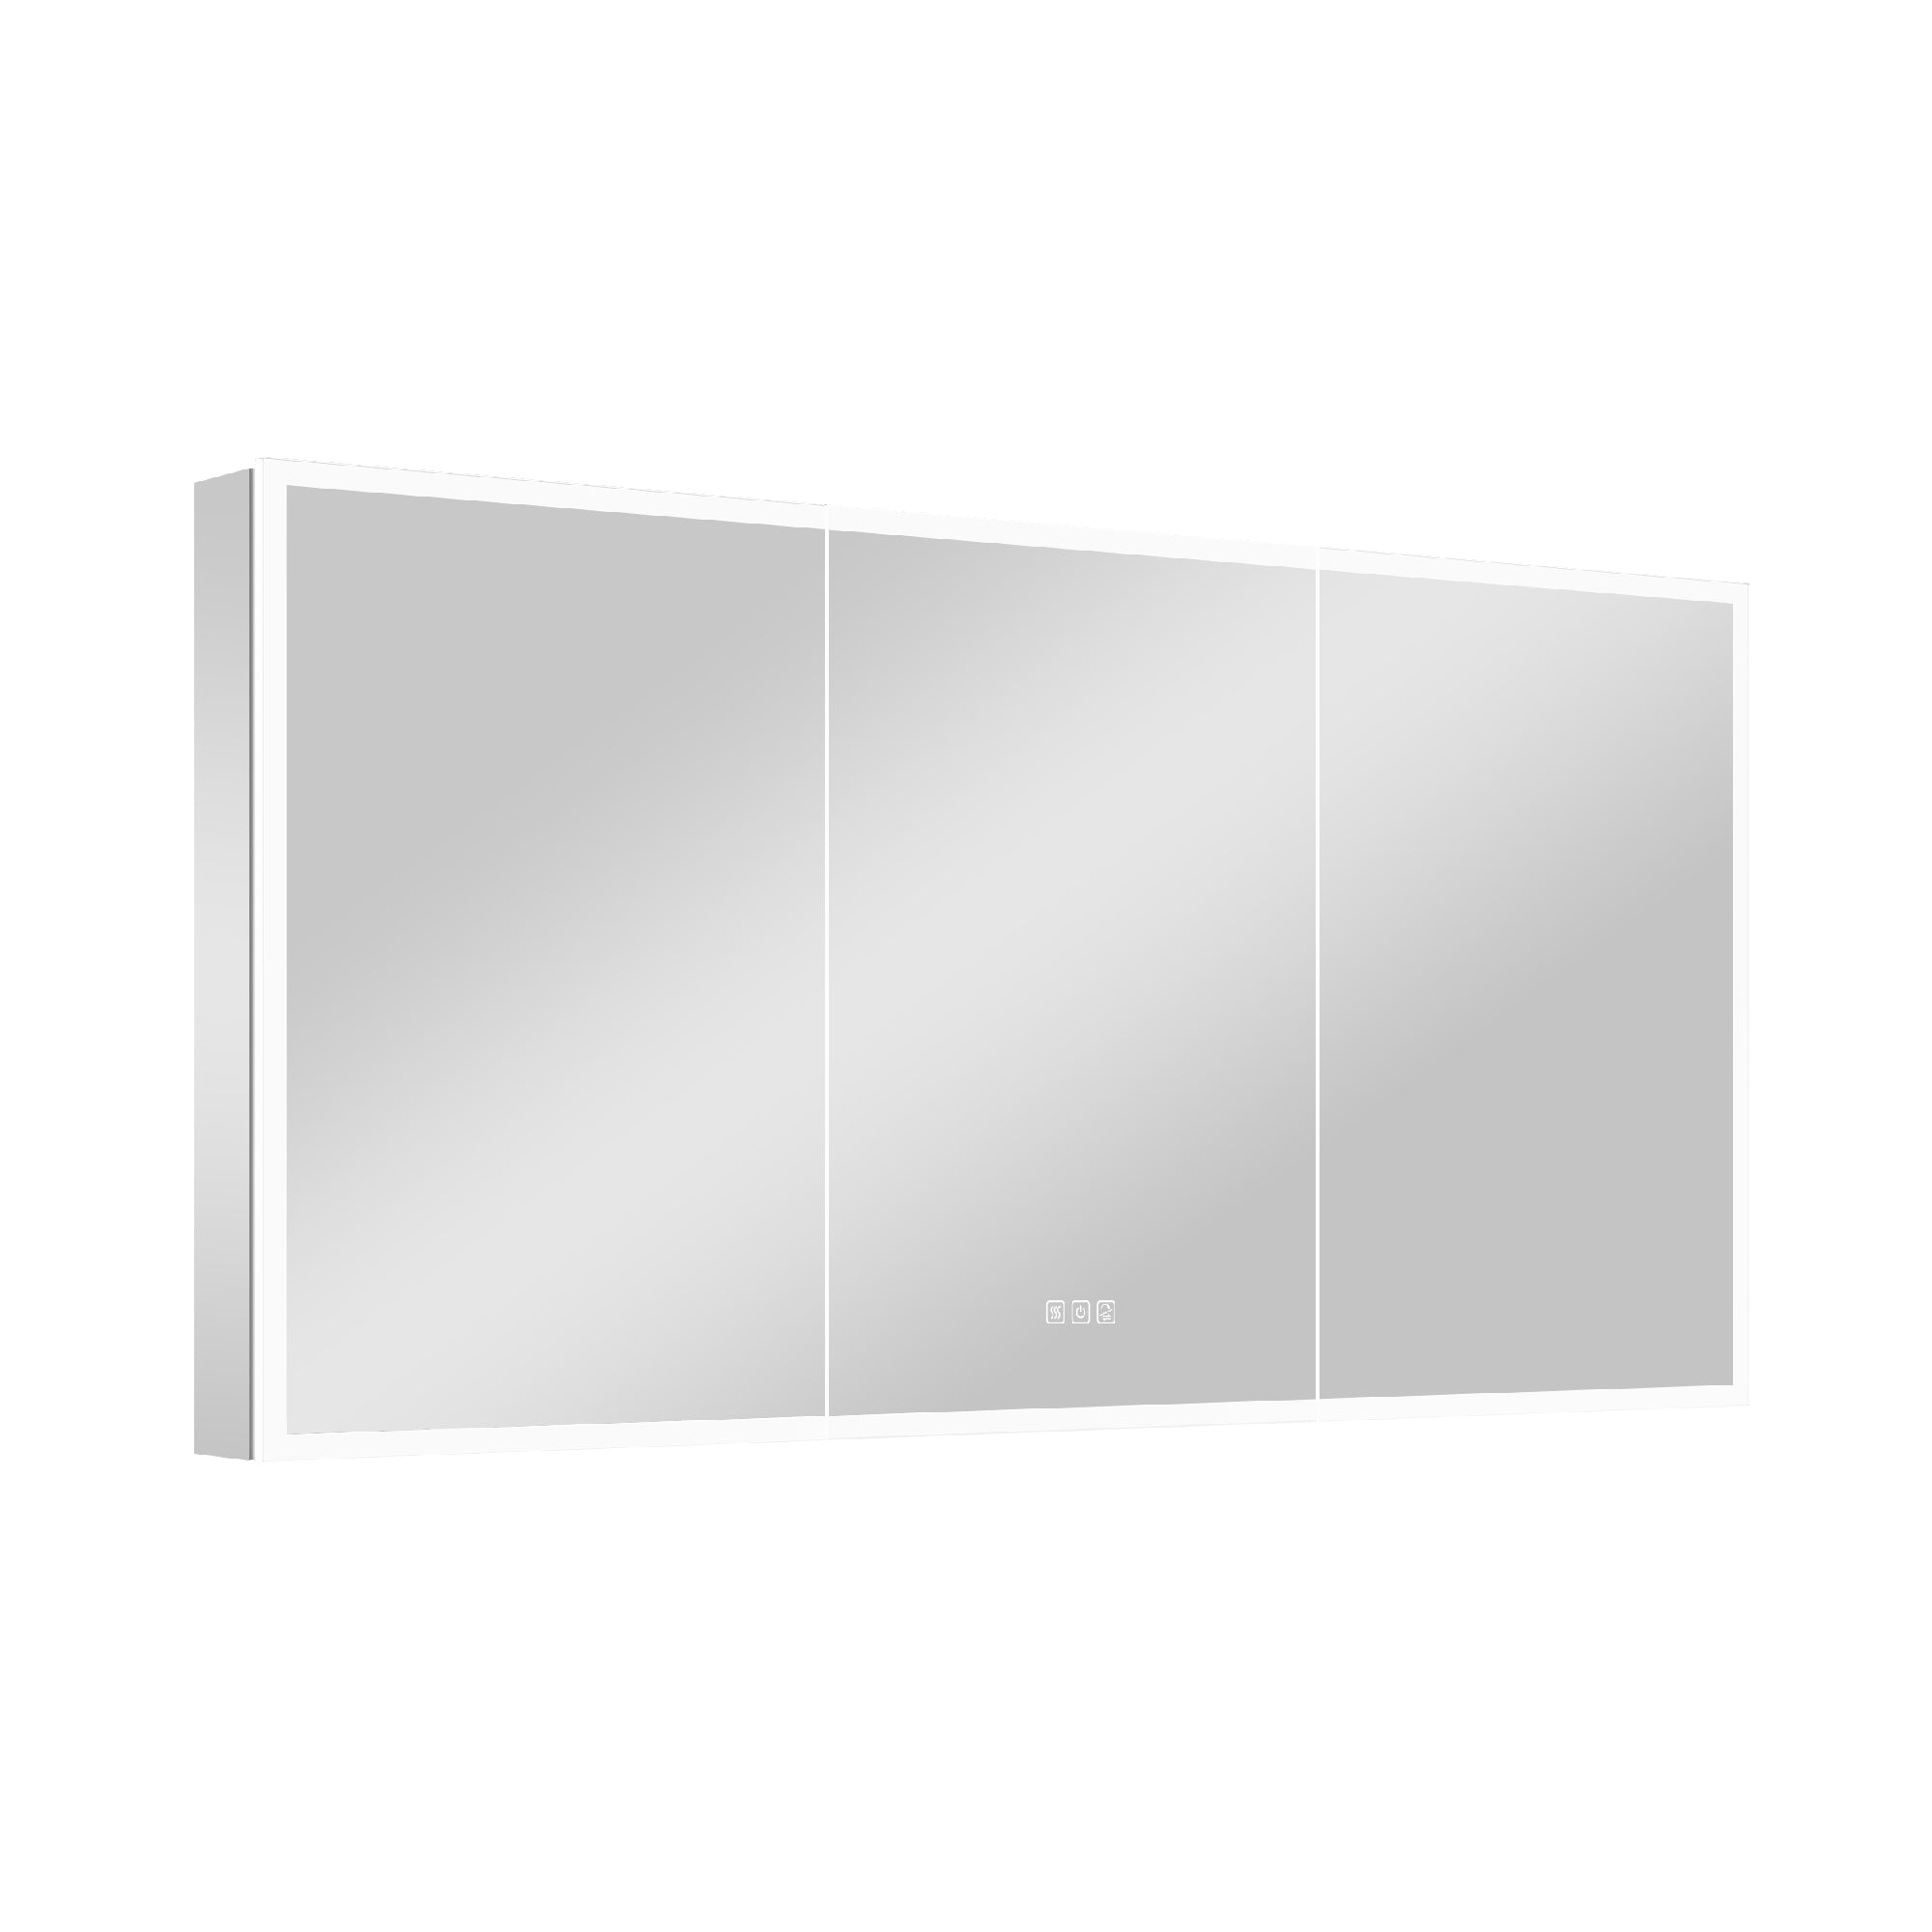
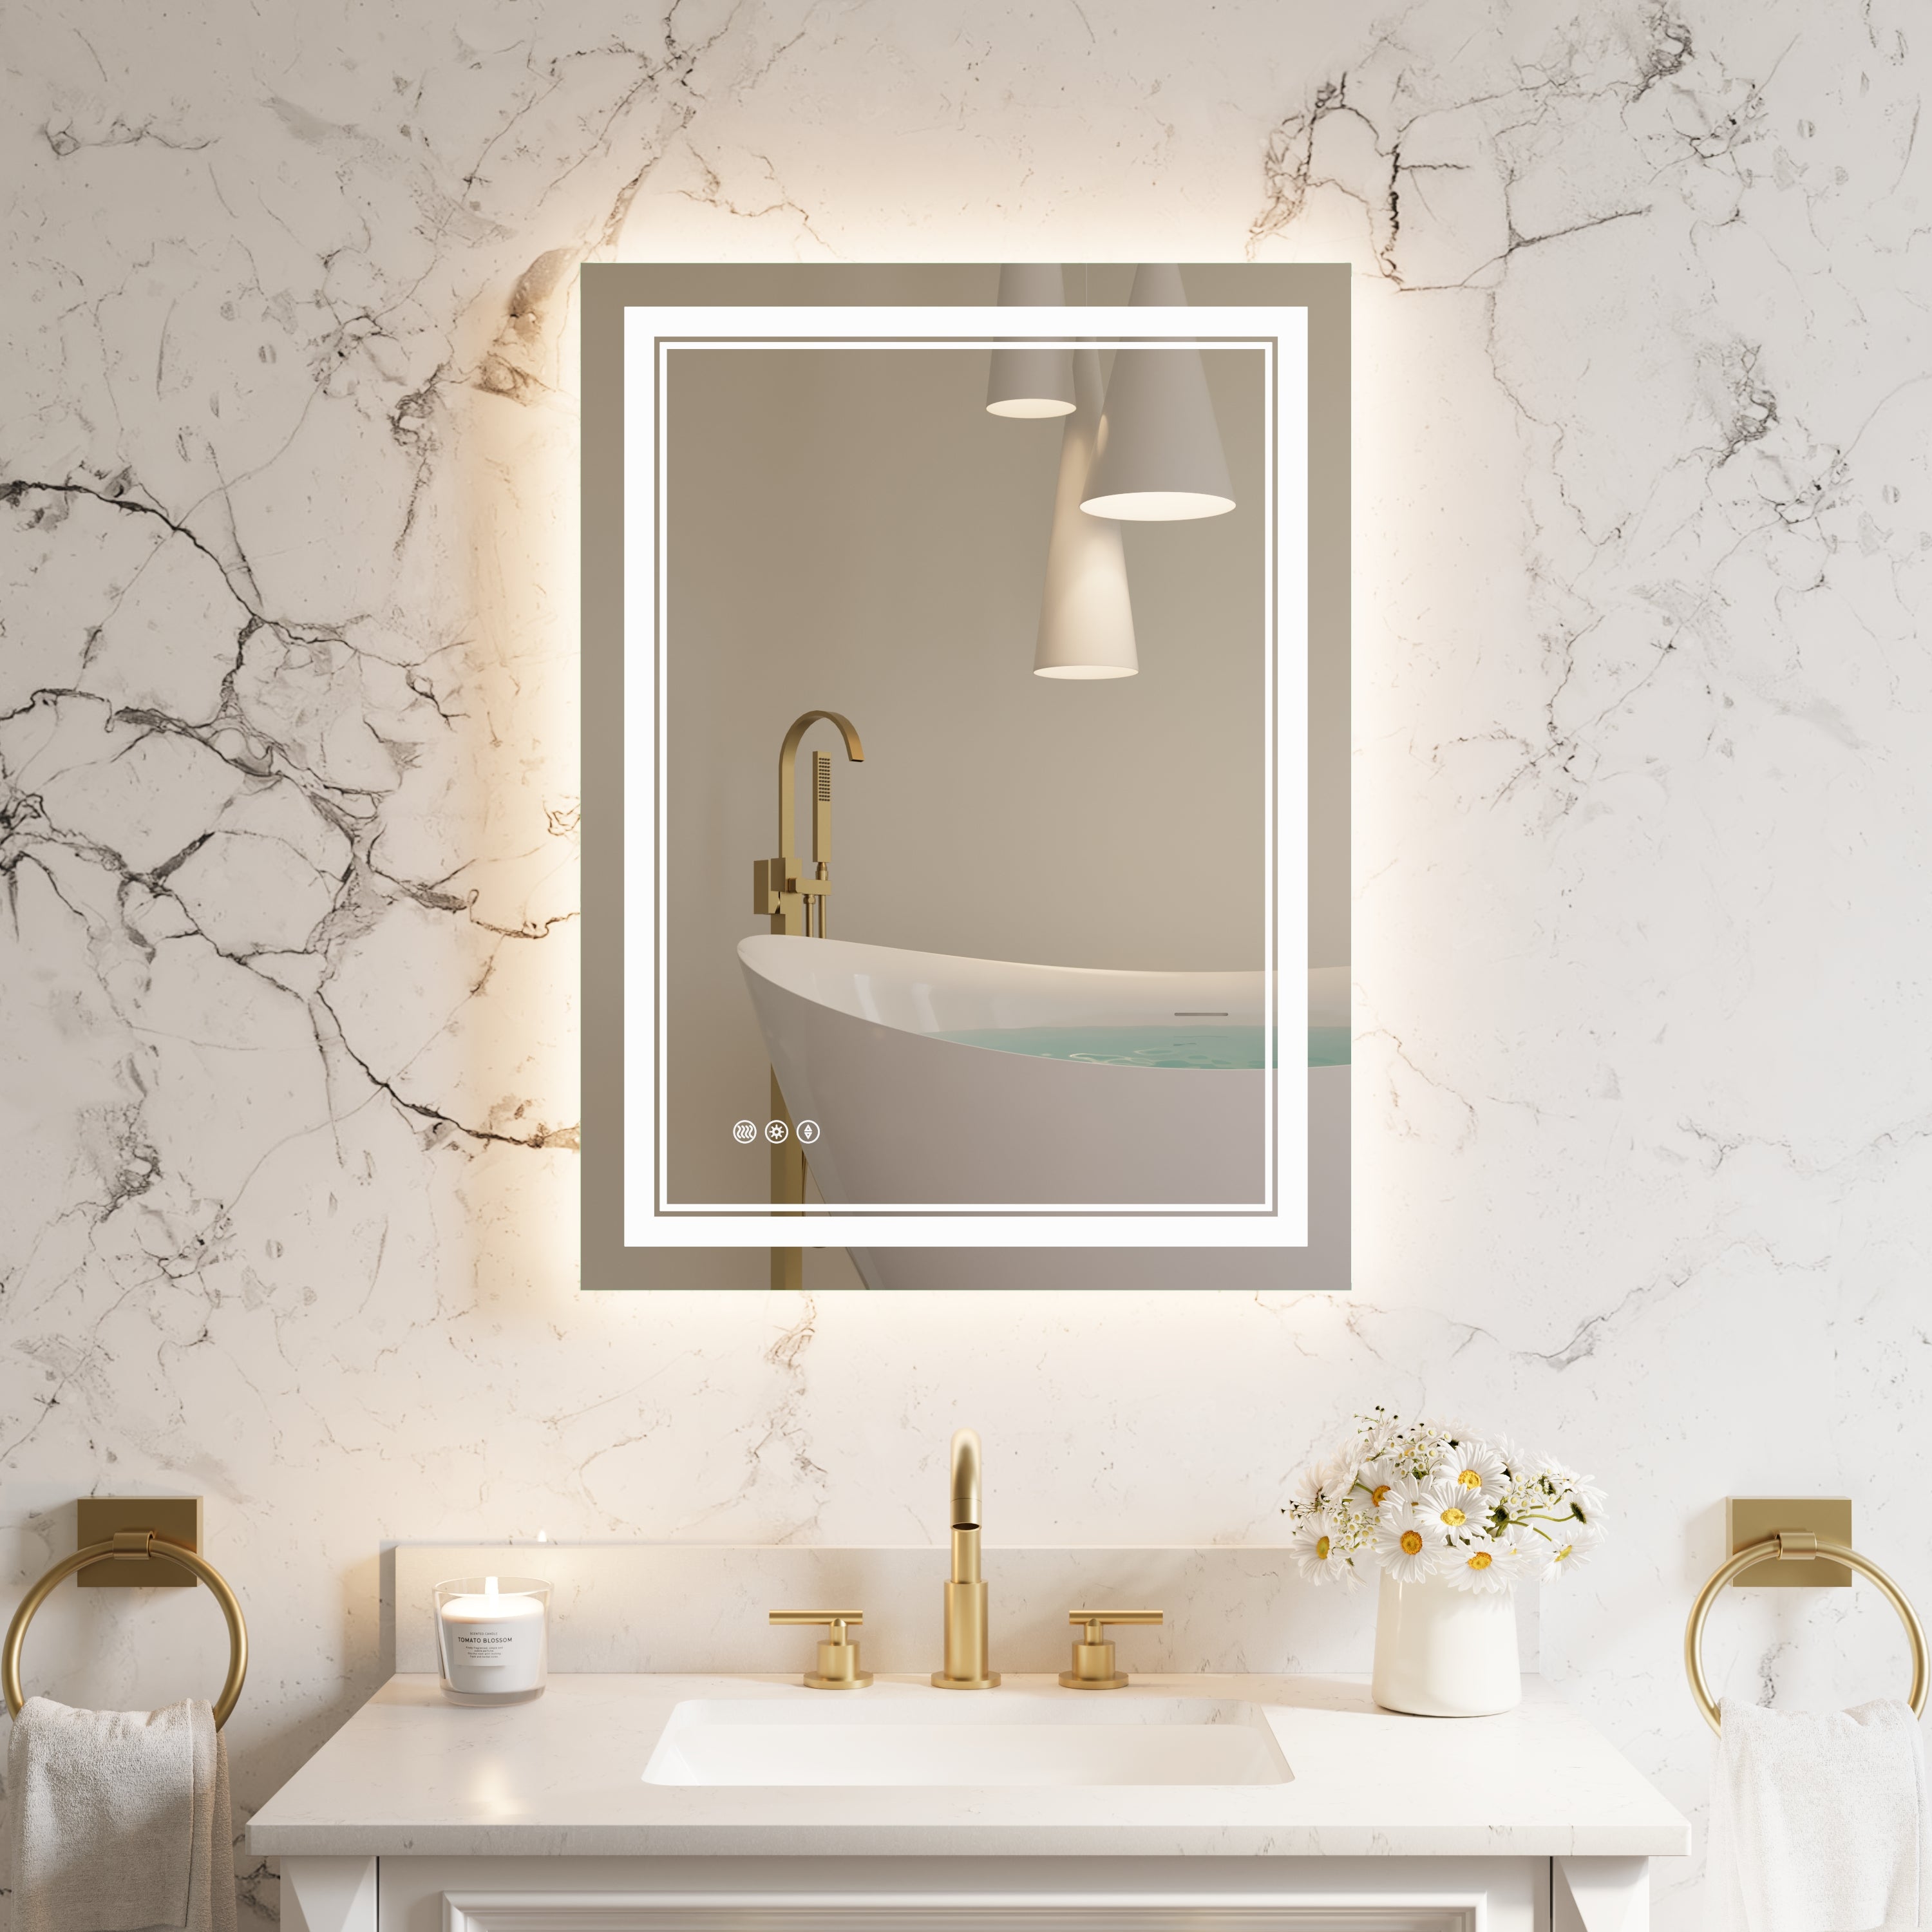
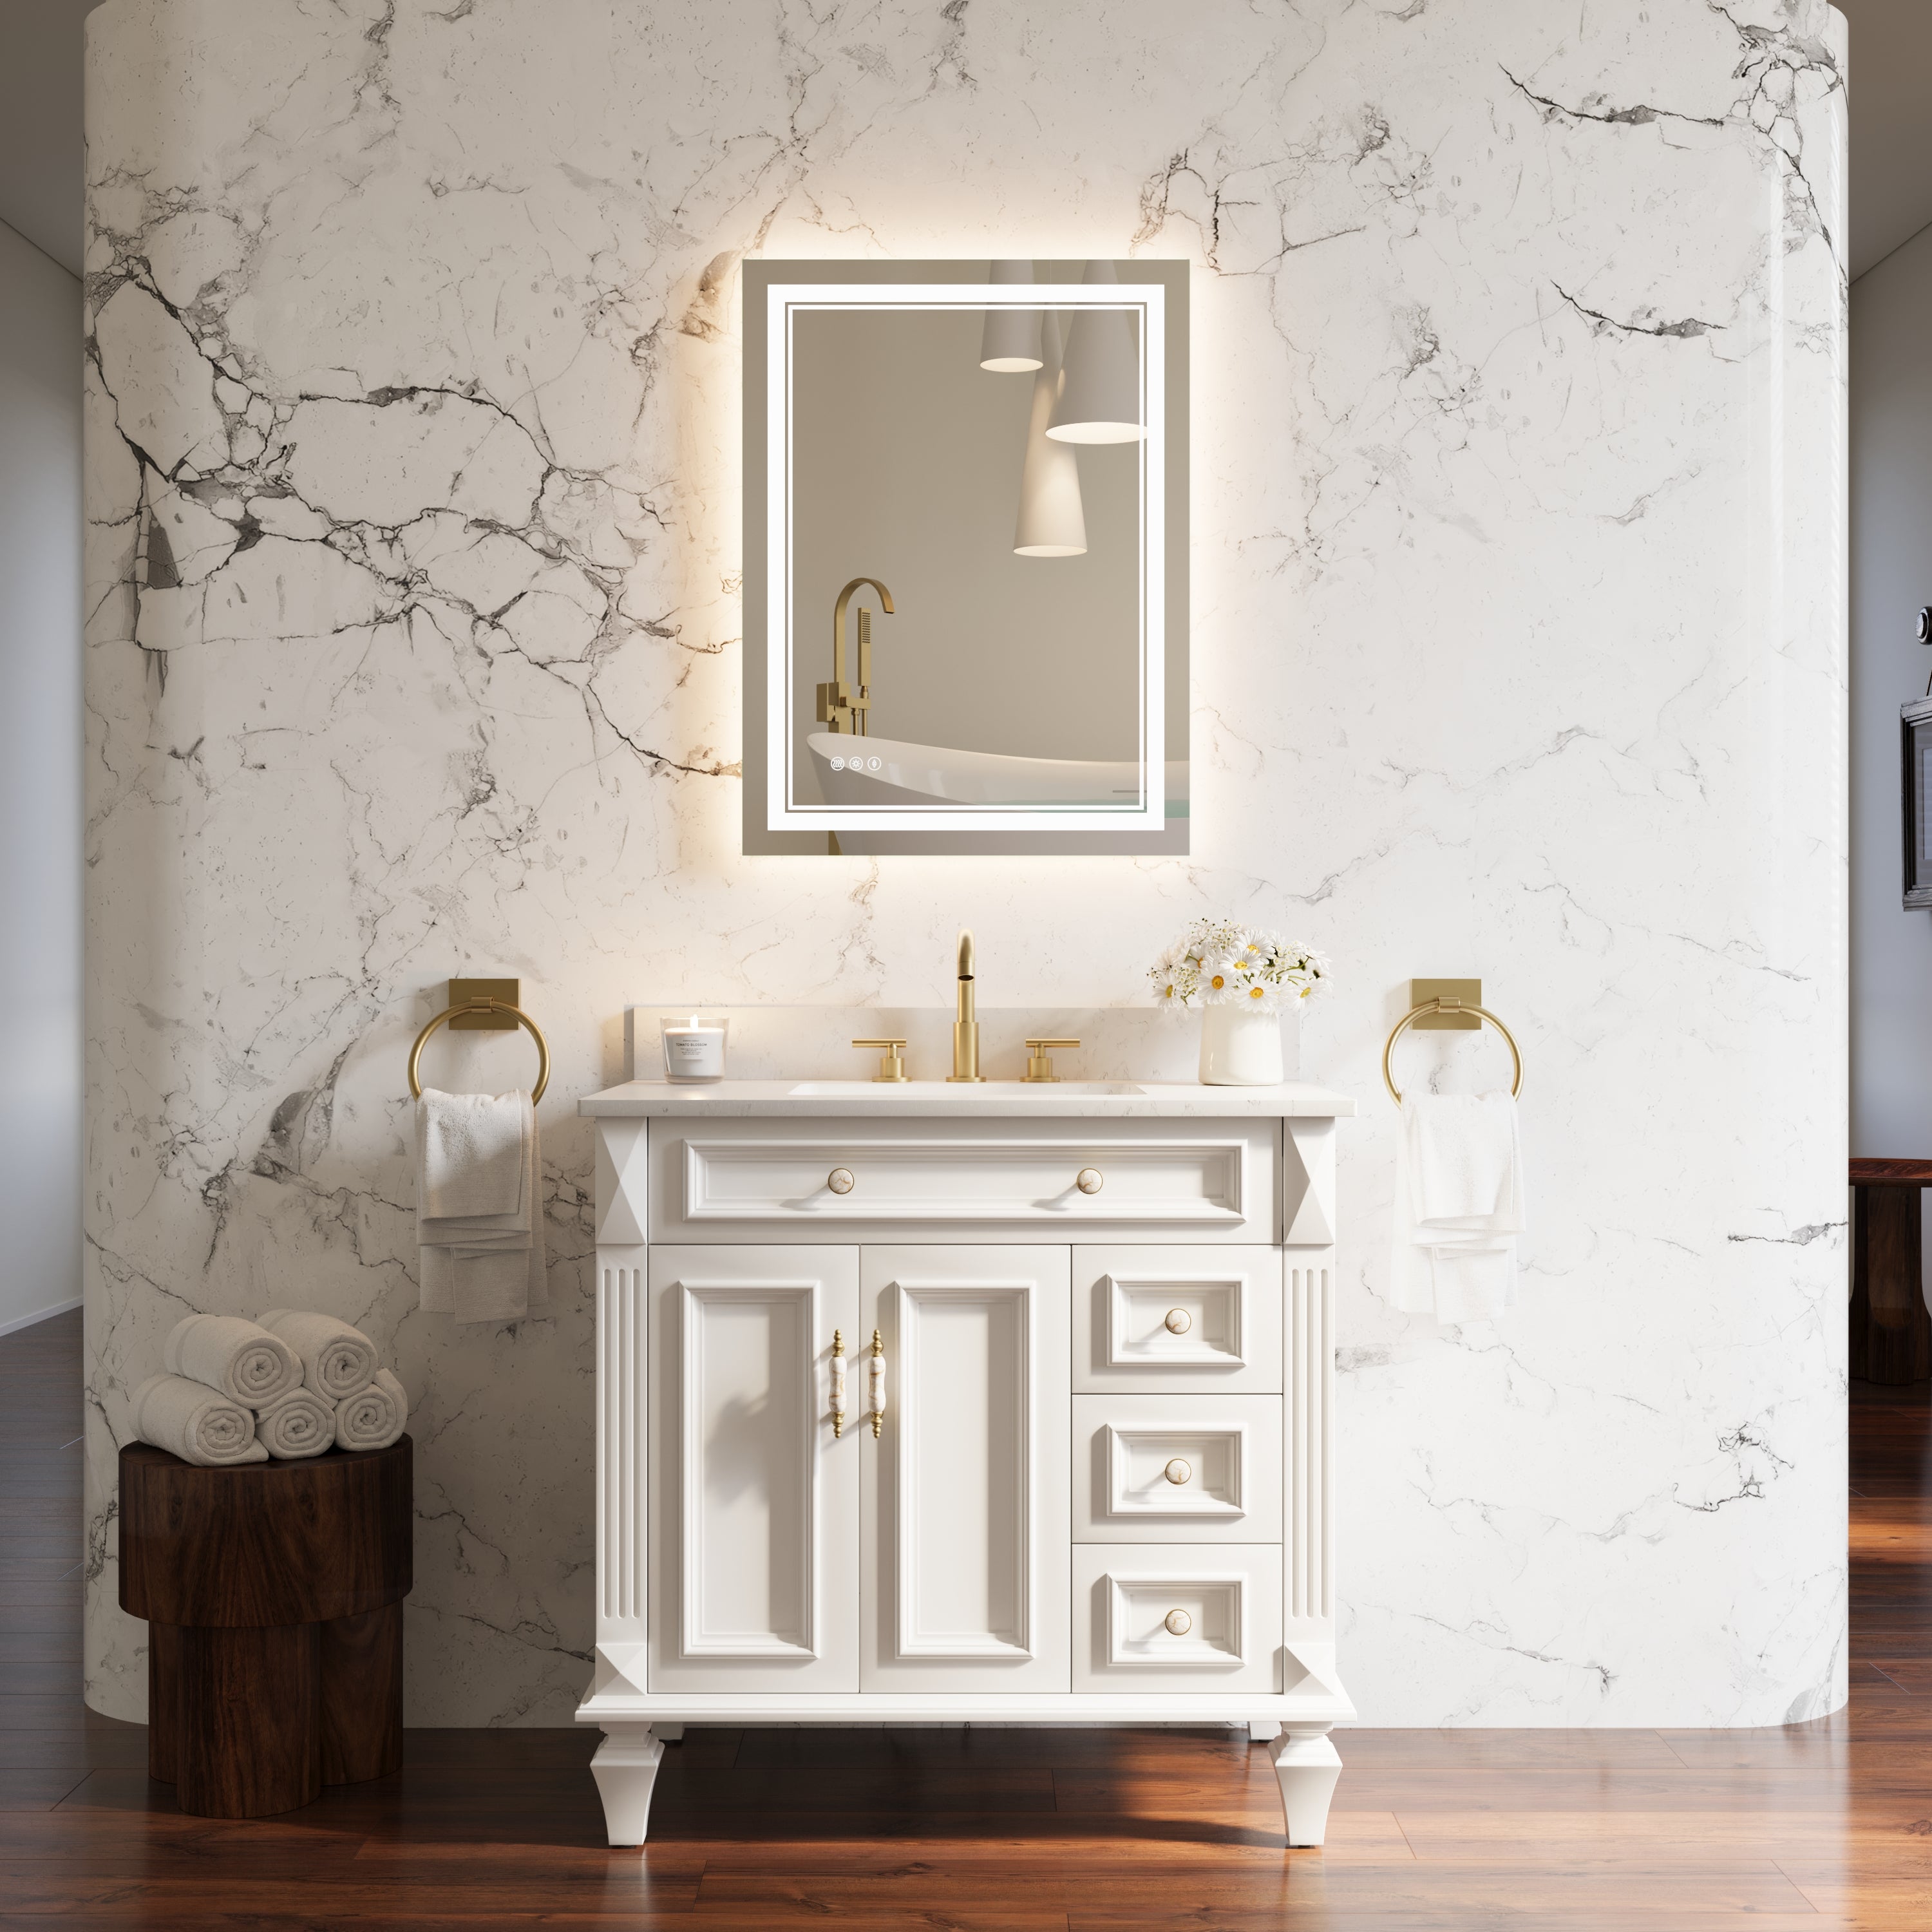
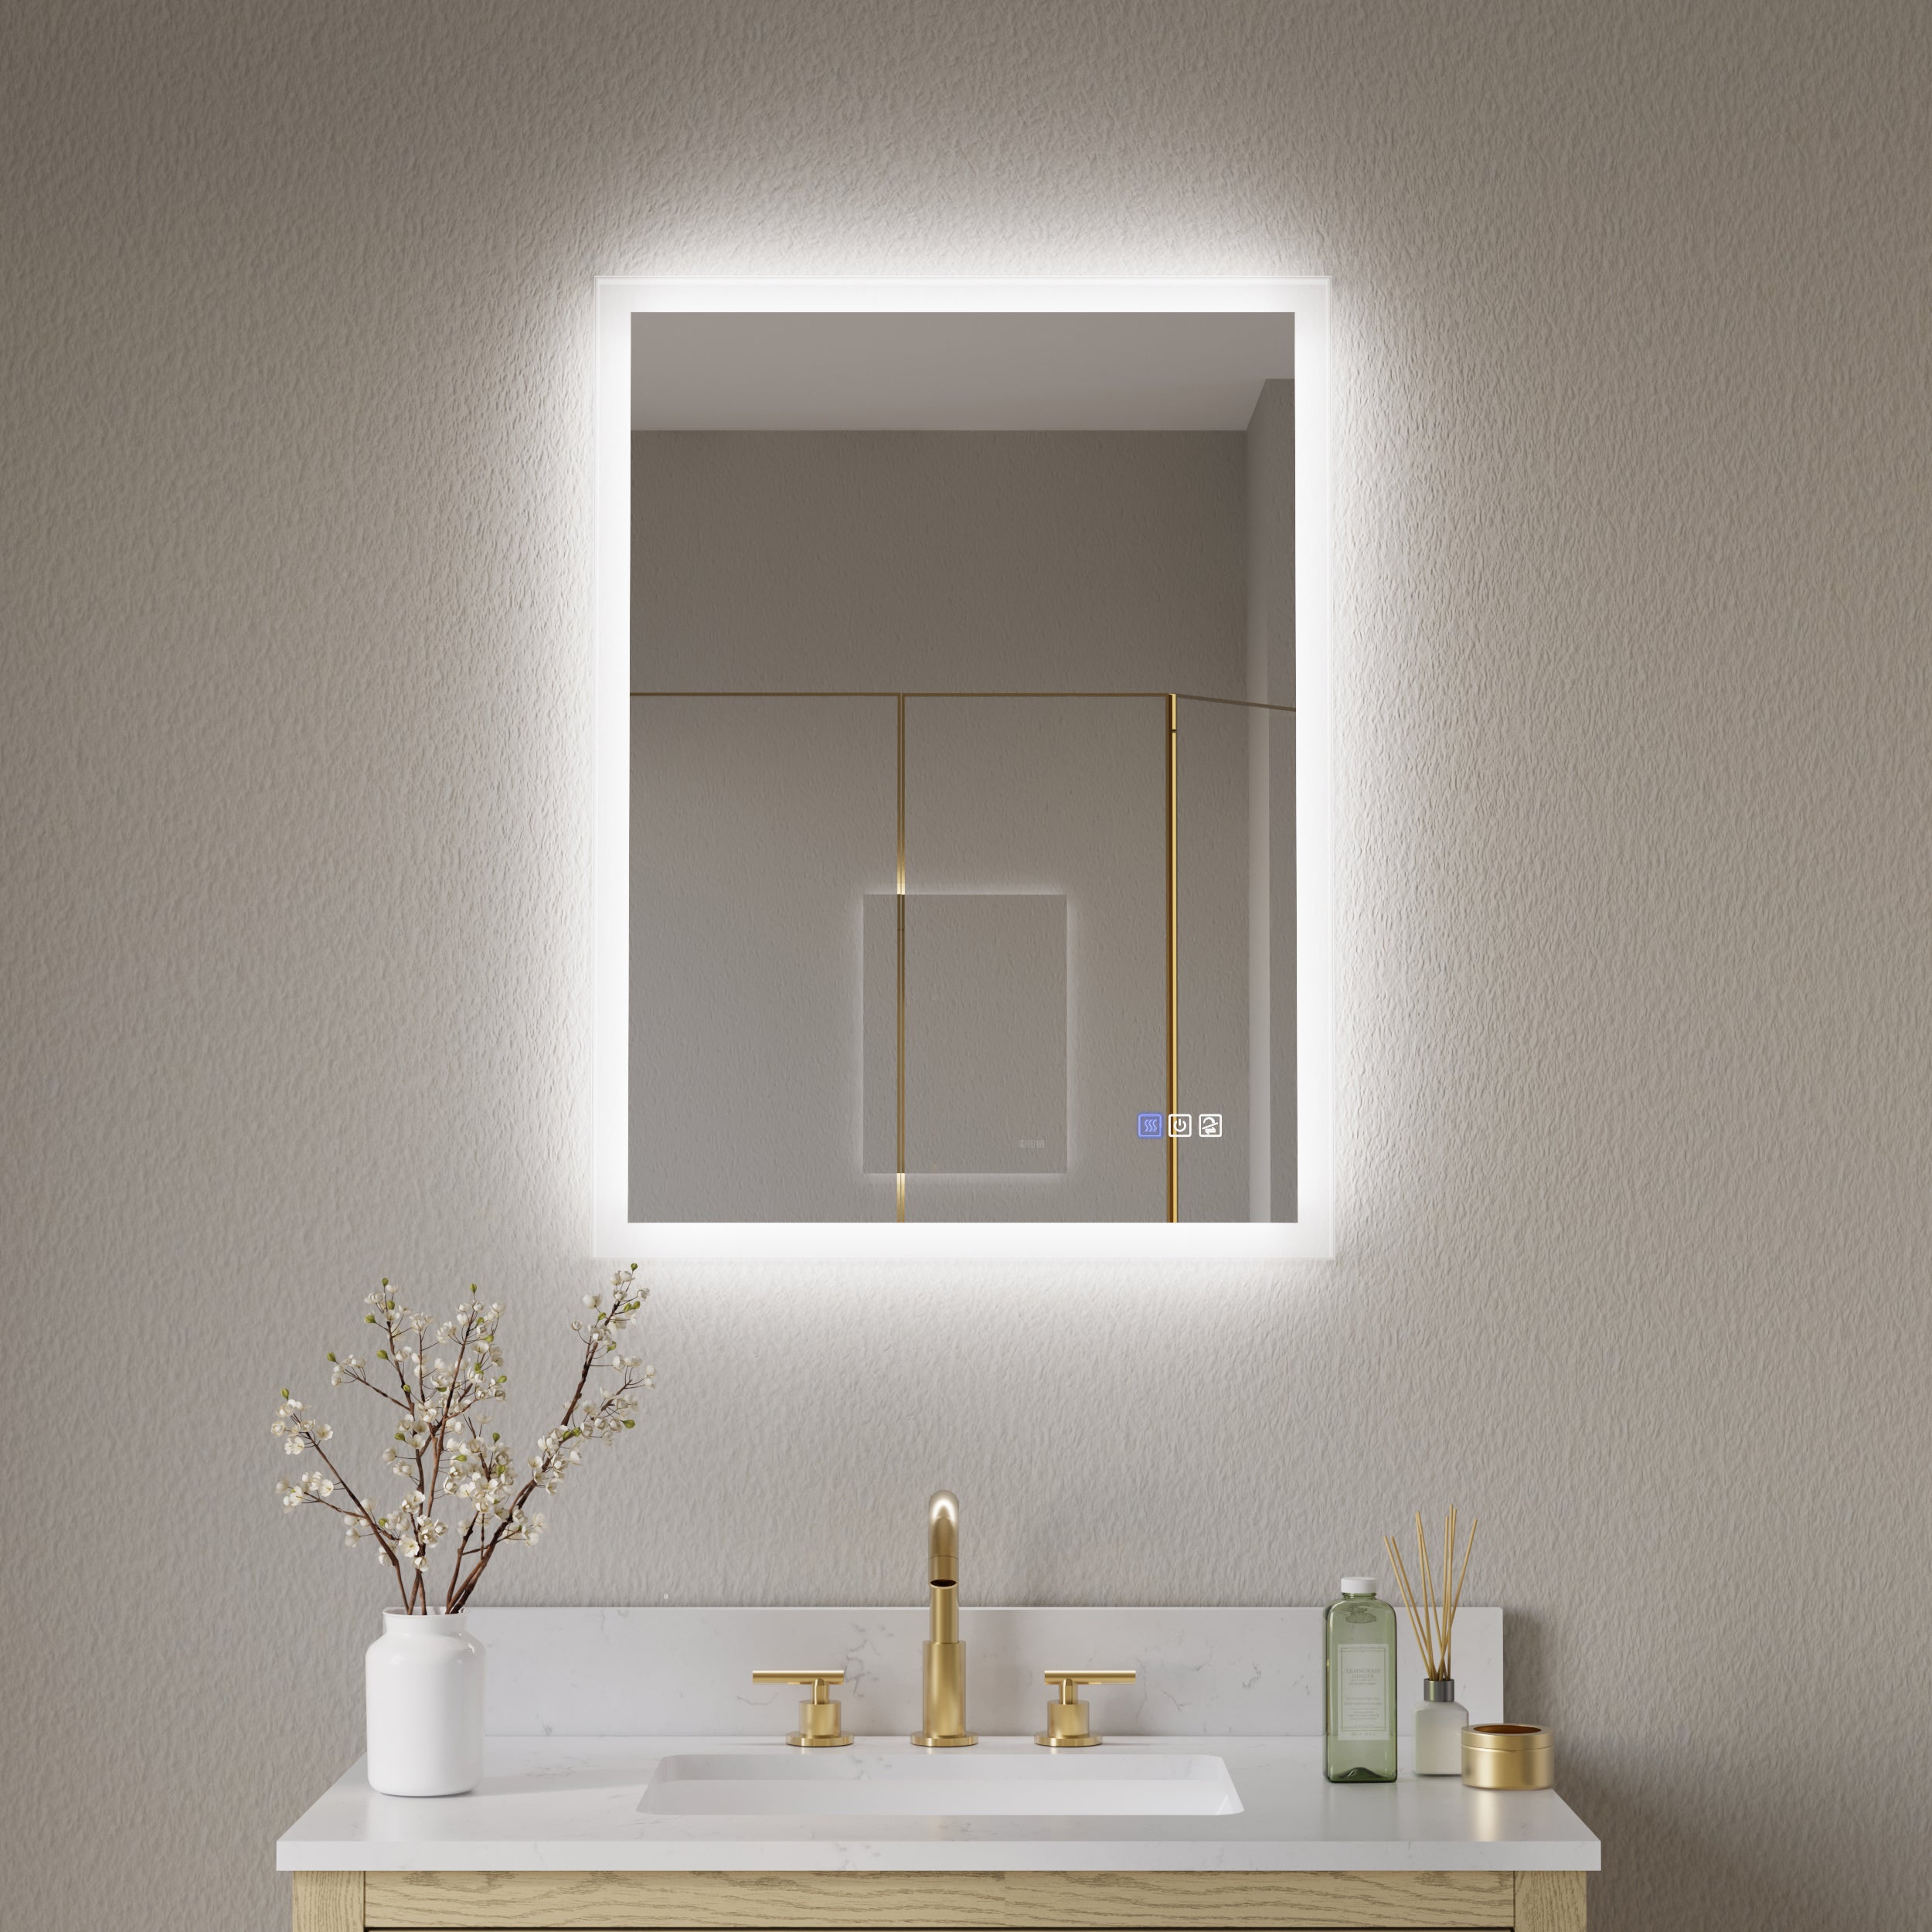
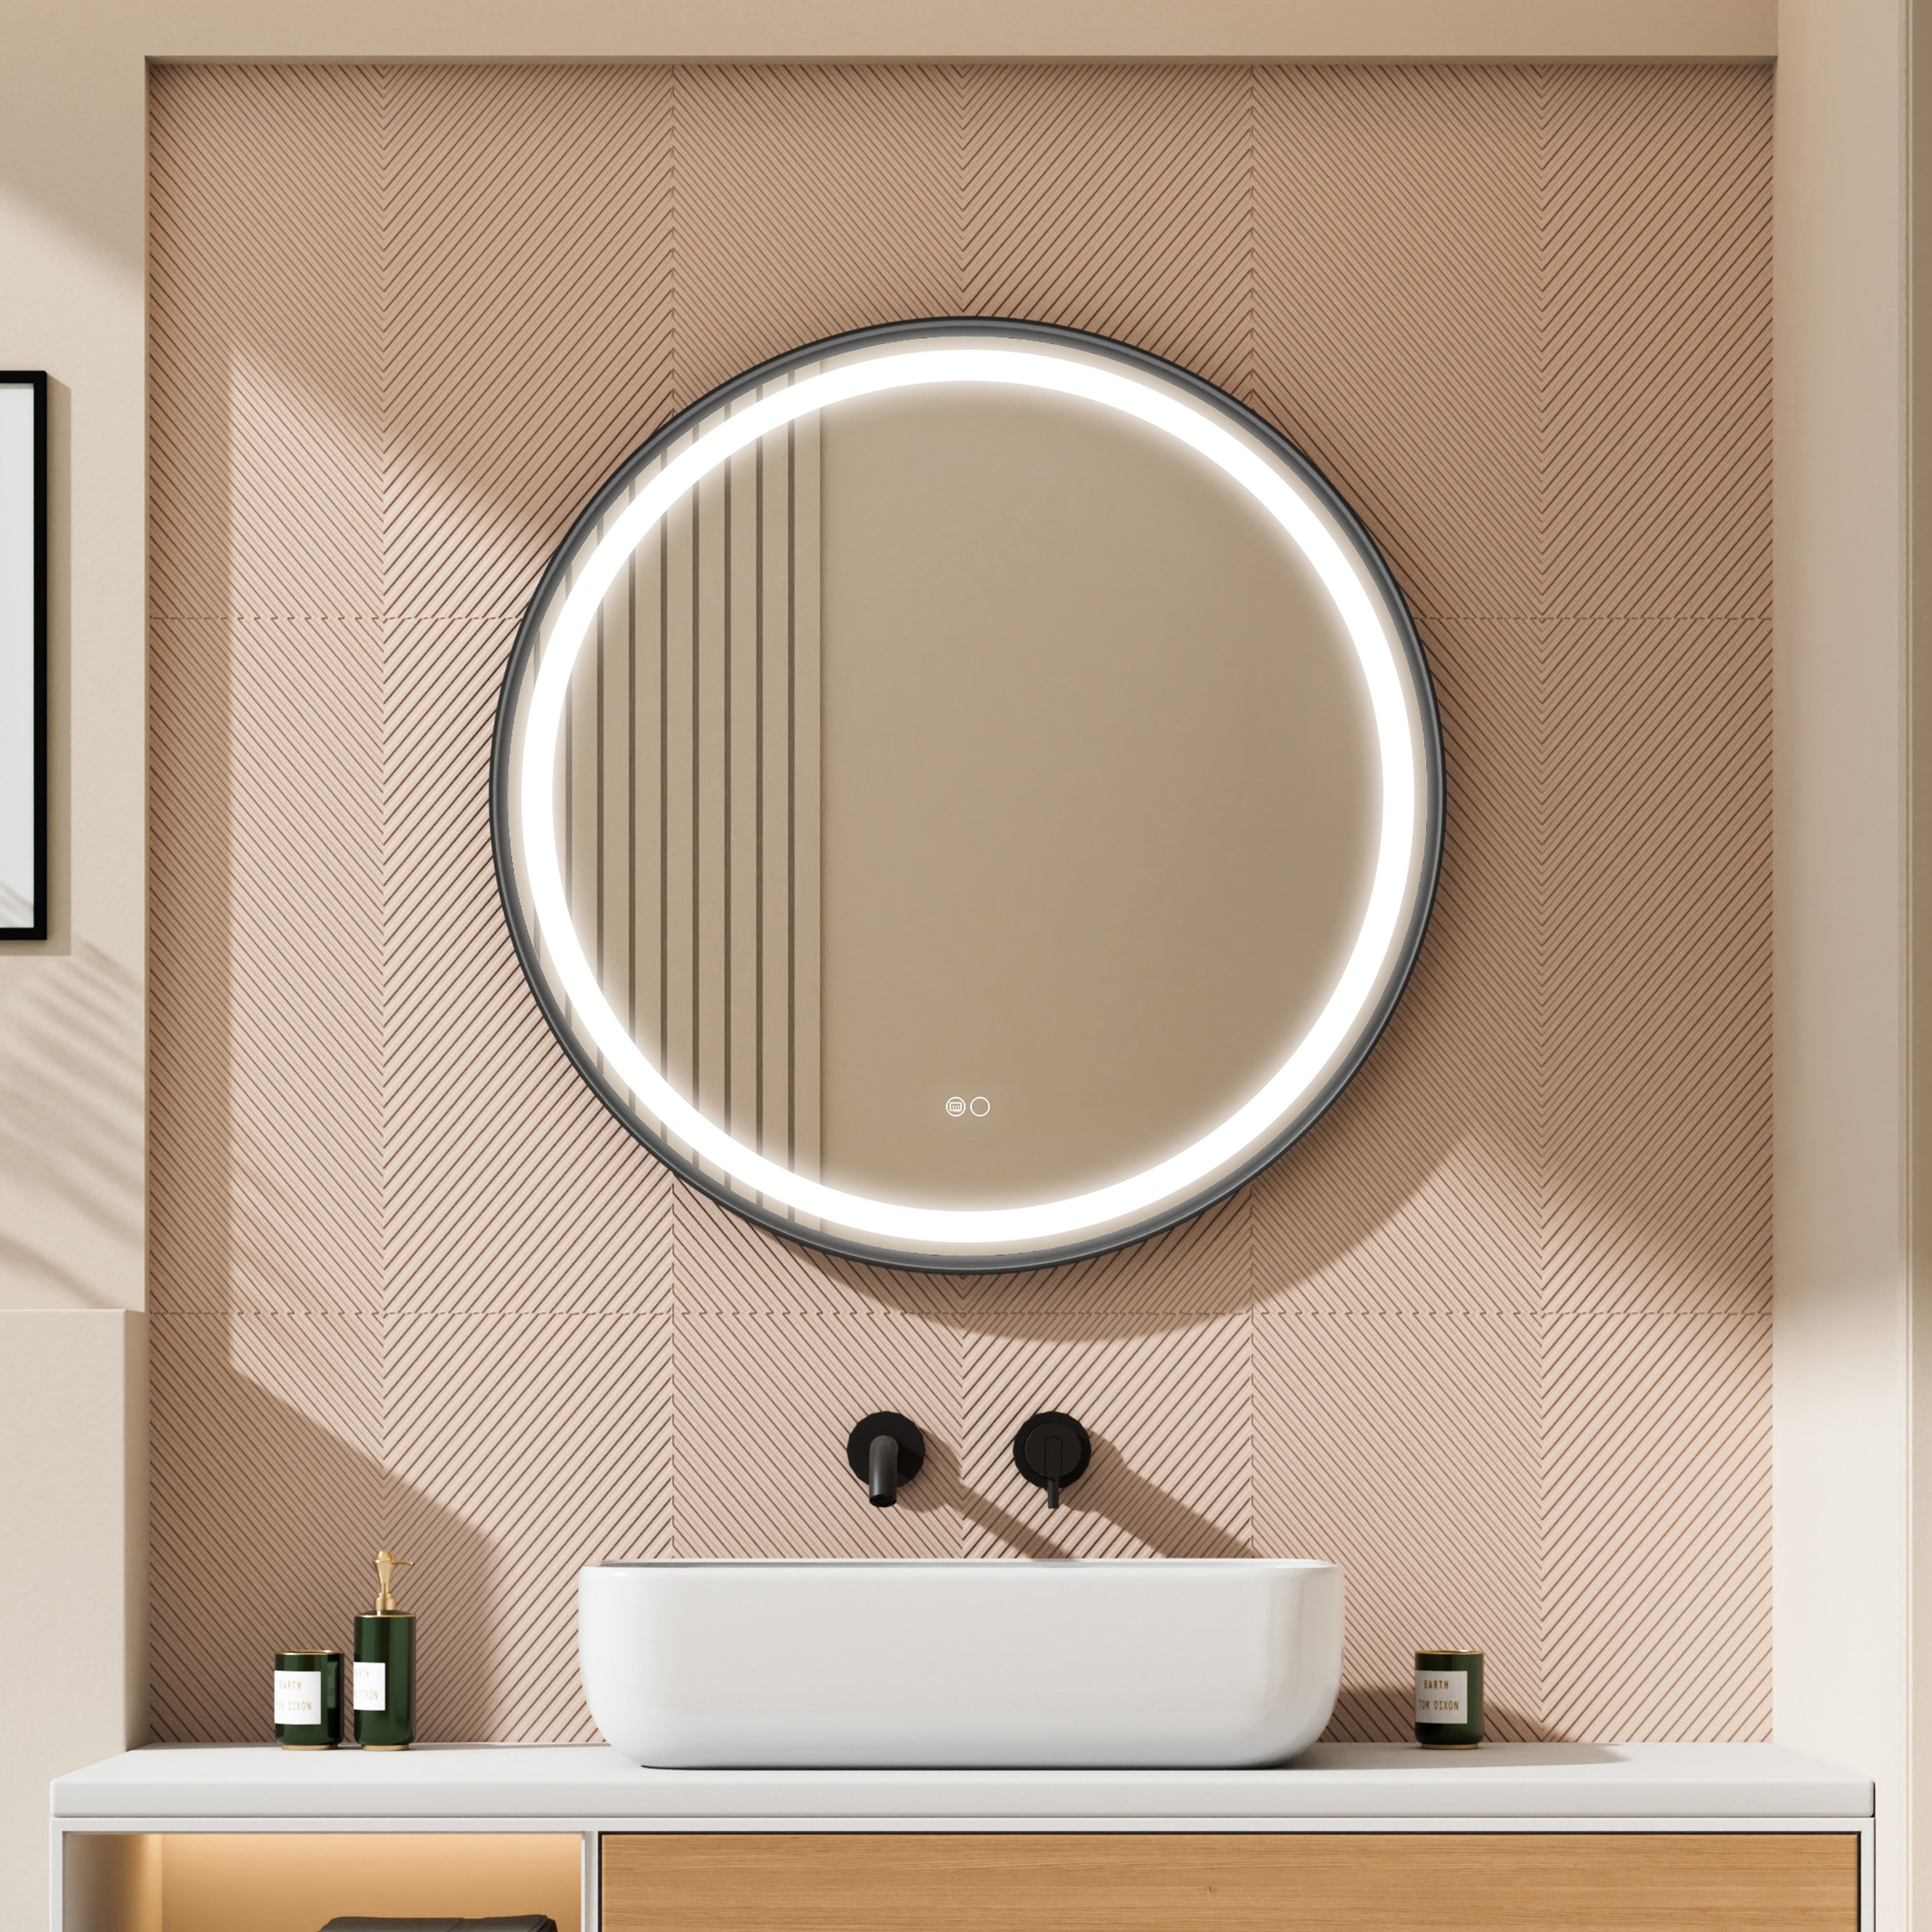
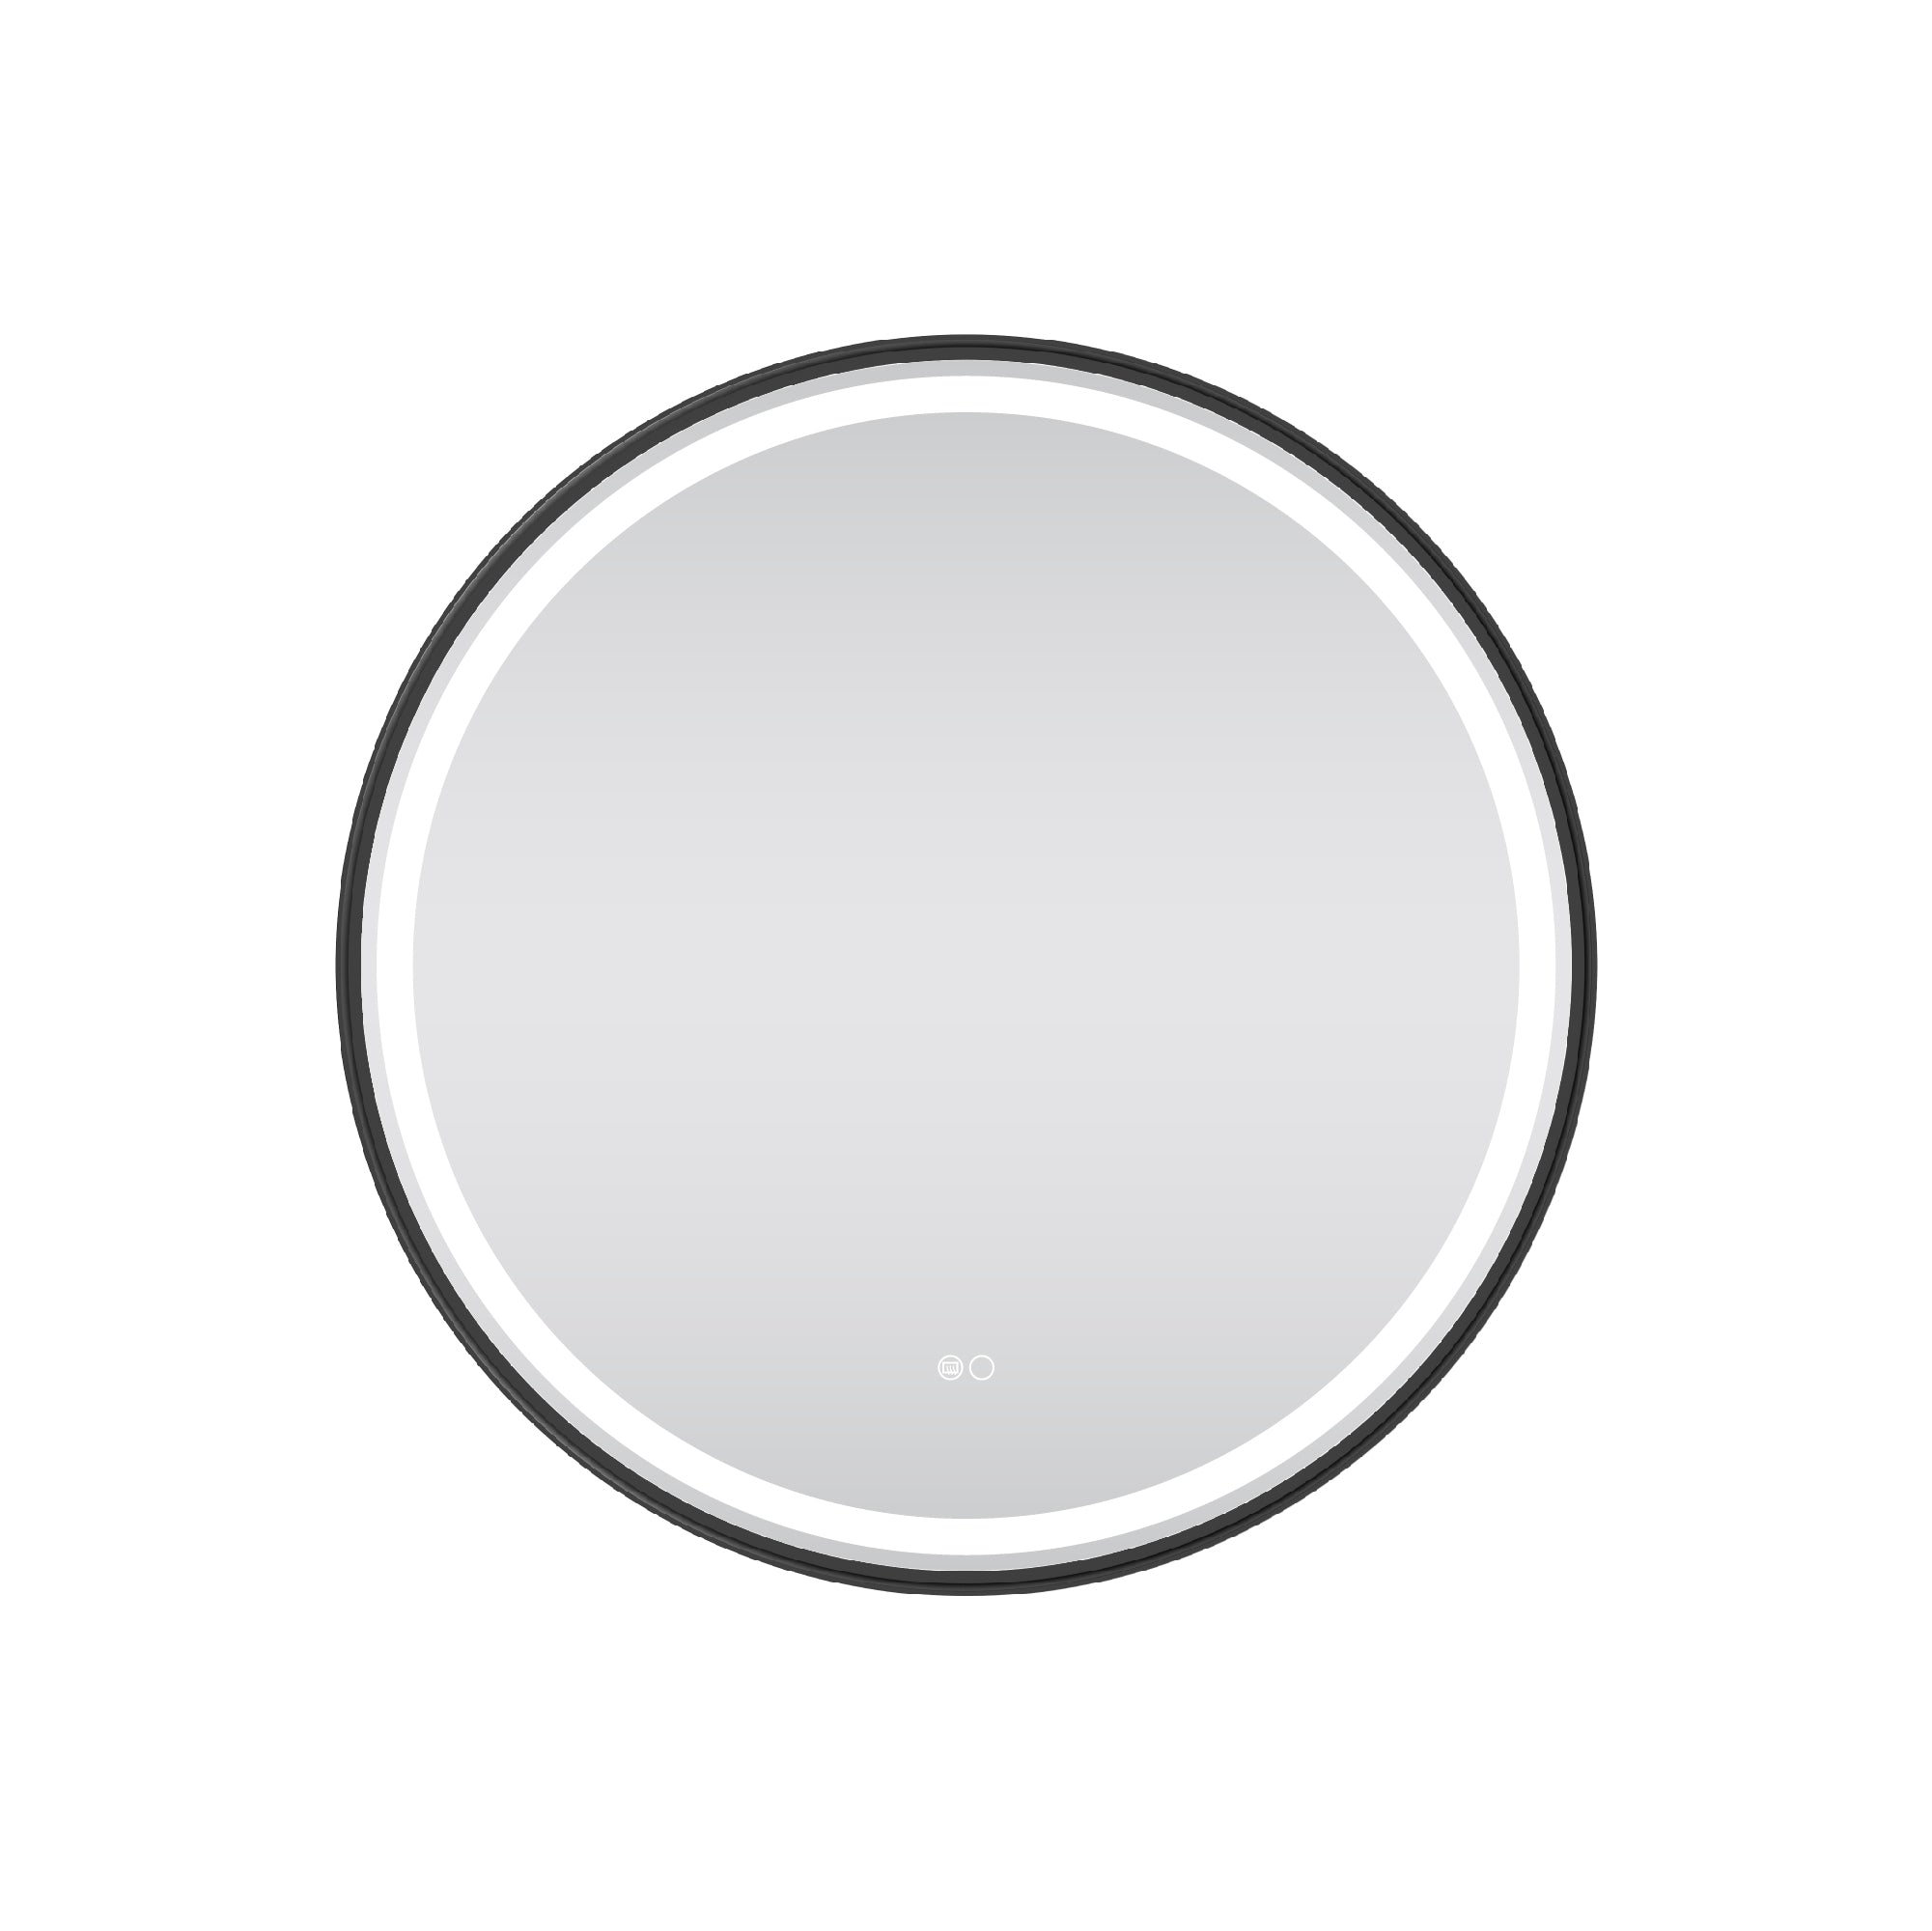
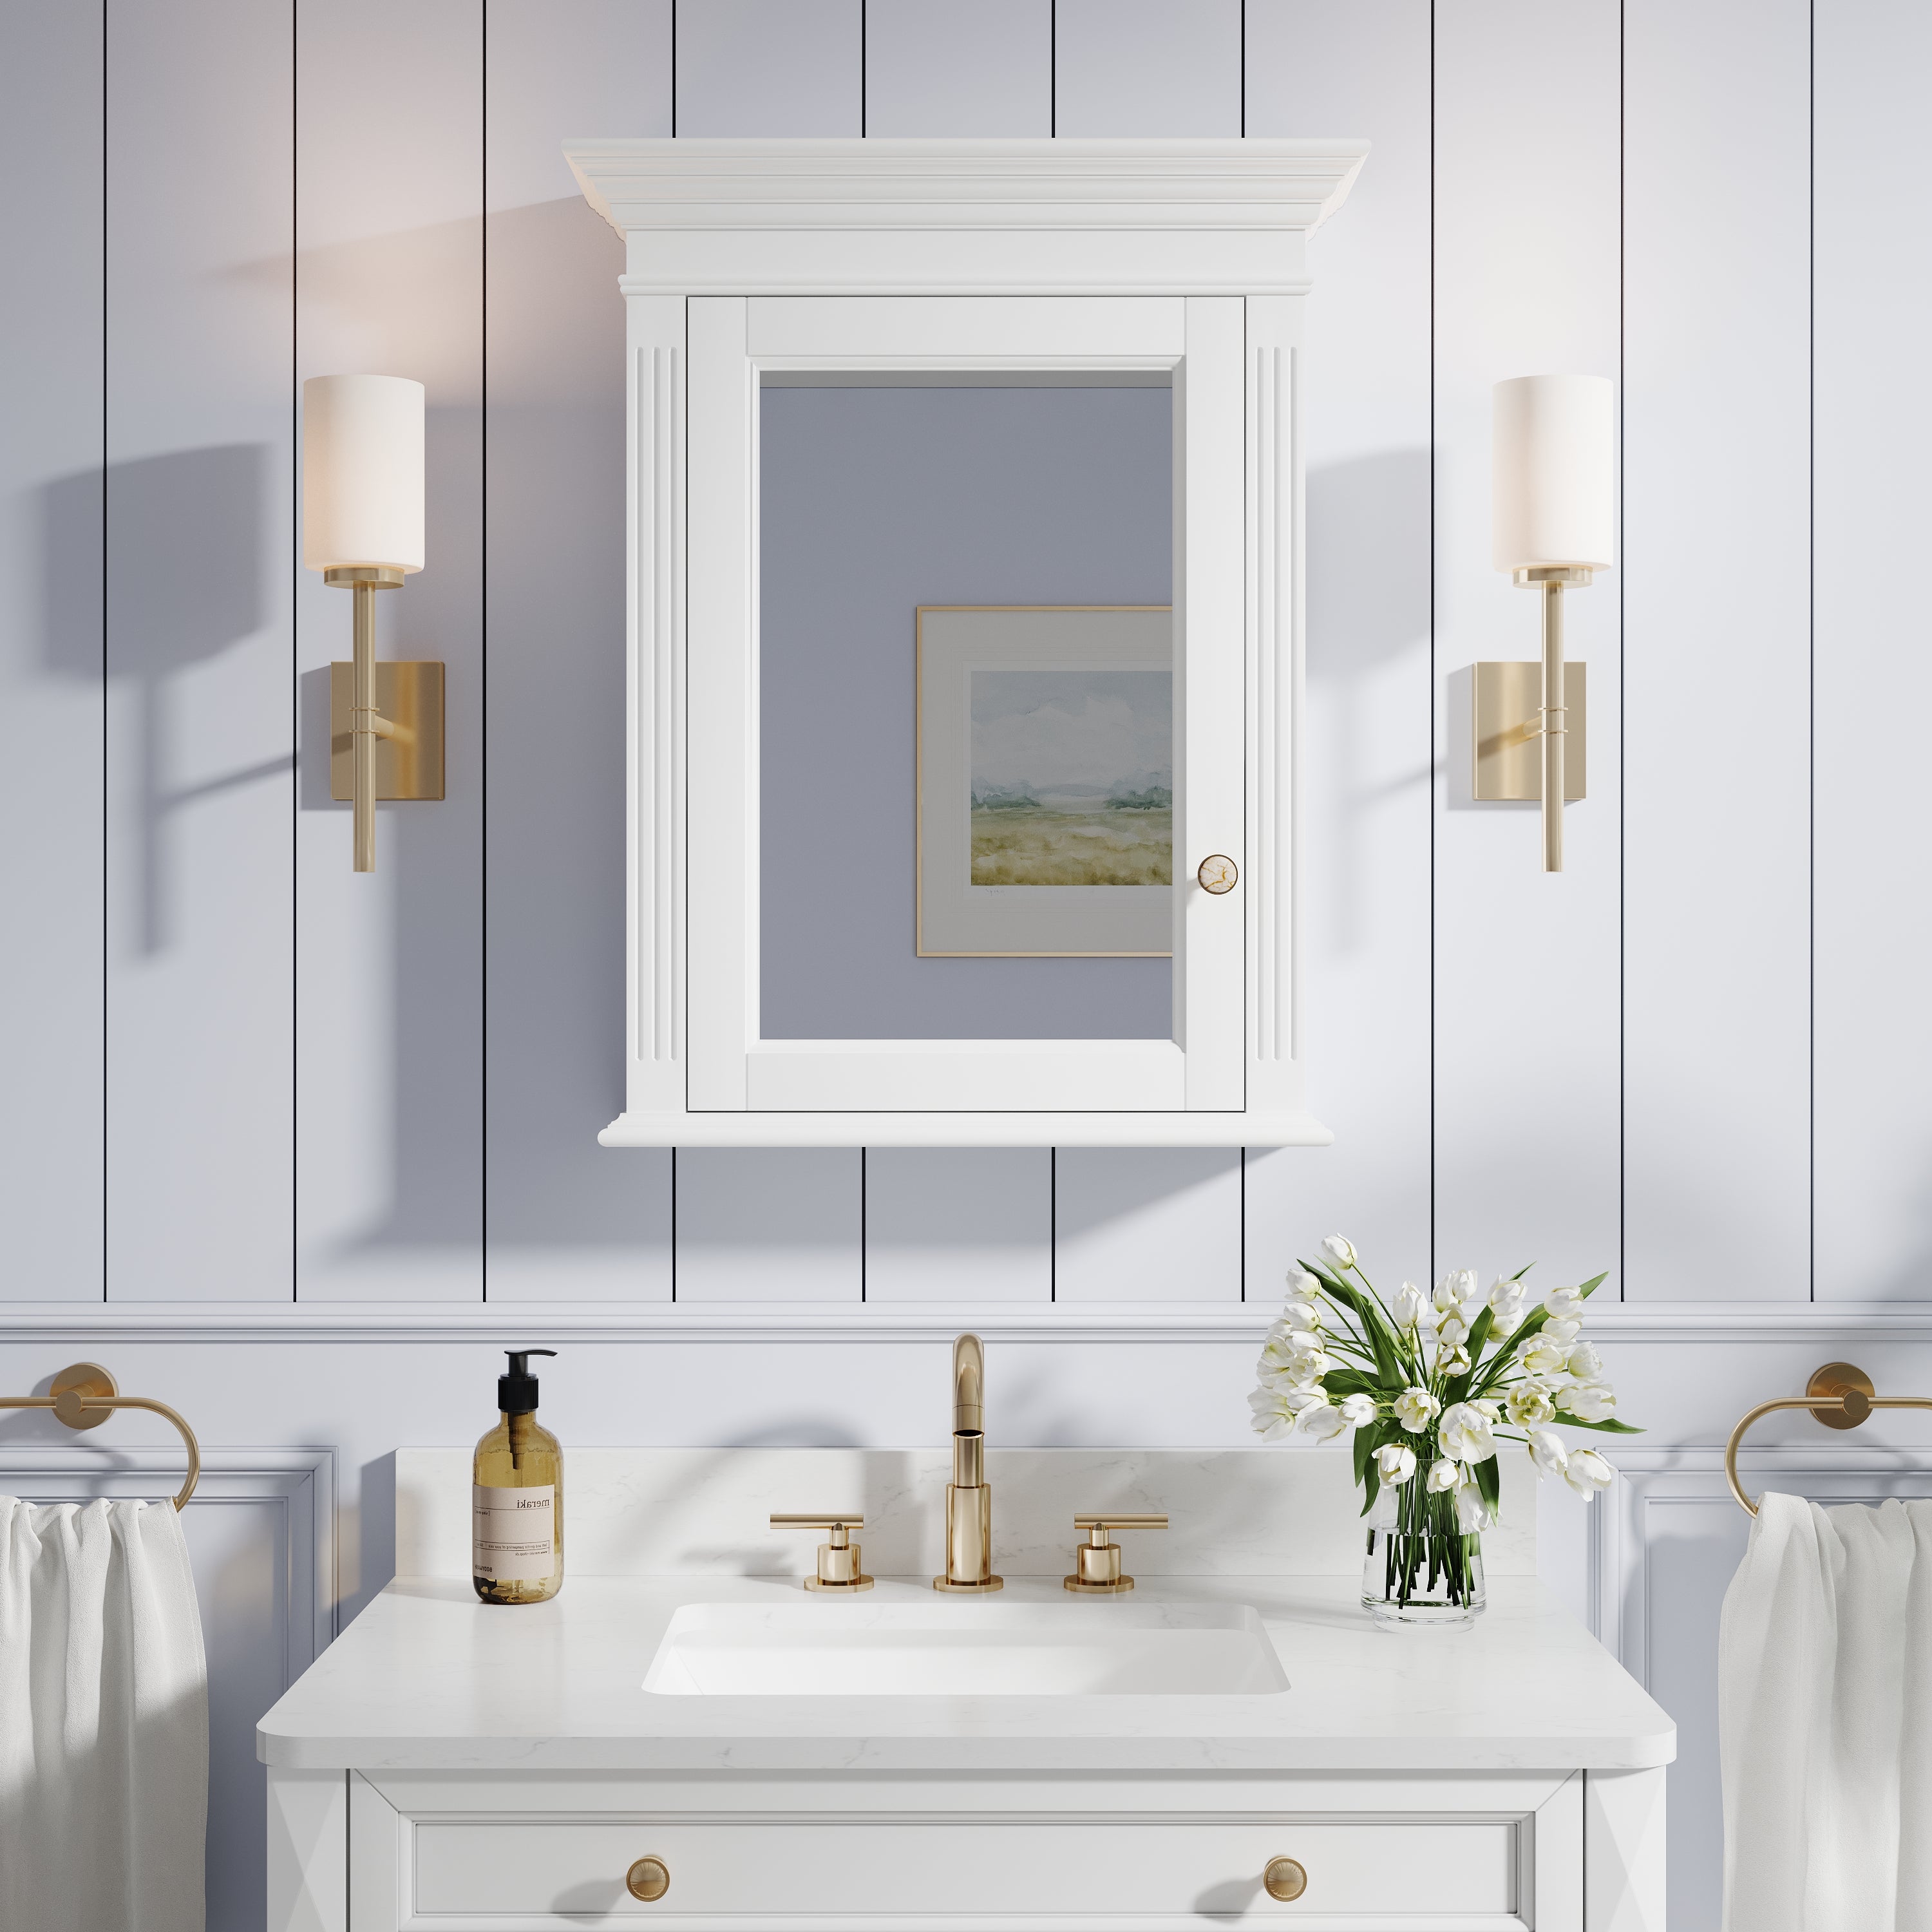
In modern bathroom design, the Lighted Medicine Cabinet Mirror has become a new favorite that combines aesthetics and functionality. It not only provides storage space and a makeup mirror function, but also enhances the overall brightness and spatial hierarchy of the bathroom through the built-in LED lighting system.
Whether it's apartments that pursue a modern and minimalist style, or family homes that value a comfortable experience, illuminated mirror cabinets can bring higher convenience and visual effects. However, many homeowners often face a key issue during the renovation process — how to install the Lighted Medicine Cabinet Mirror correctly?
This article provides a detailed analysis of the installation process from multiple aspects, including installation preparation, measurement and positioning, power wiring, fixing steps, safety testing, and maintenance points. Combined with expert advice, it will help you achieve a safe, beautiful, and practical bathroom lighting storage solution.
1. Why Have Mirror Cabinets with Lights Become a Trend in Bathroom Decoration?
Traditional mirror medicine cabinets often serve only storage functions, while modern life emphasizes lighting design and an intelligent experience.
The Lighted Medicine Cabinet Mirror integrates LED light strips along the edges or within the mirror to provide soft, uniform lighting, avoiding shadows and reflections caused by traditional ceiling lights, allowing users to enjoy a comfortable visual experience during washing, makeup, and shaving.
In addition, it can also:
Space-saving: Integrated design of the mirror and cabinet.
Optimize aesthetics: Enhance mirror reflections with lighting to brighten the bathroom.
Energy saving and environmental protection: LED lamps have a long lifespan and low energy consumption.
Intelligent control: Some models support touch dimming, defogging, and sensing switches.
According to the "2024 Bathroom Design Trends Report" released by Houzz.com, over 68% of newly renovated bathrooms choose mirror cabinets with lighting functions to enhance functionality and visual experience (source: Houzz.com).
2. Preparation Before Installation
Before formal installation, a series of preparation steps must be completed to ensure smooth, safe, and reliable construction.
(1) Determine Installation Method
There are usually two installation forms for mirror cabinets with lights:
Recessed Mount: Some cabinets are embedded in the wall, with only the mirror surface exposed, resulting in a smoother appearance.
Surface Mount: Directly fixed on the wall, easy to install, suitable for later renovation.
The choice of method depends on the wall structure, the location of the power supply, and the stage of decoration. For lightweight partition walls or areas containing pipelines, wall-mounted installation is recommended to reduce risks.
(2) Check the Position of the Power Supply
The Lighted Medicine Cabinet Mirror typically requires 110V or 120V power input. Before installation, confirm:
Is the power interface close to the mirror cabinet?
Are the wires reserved inside the wall?
Does it have a moisture-proof socket (GFCI standard)?
If the bathroom initially lacked a corresponding power supply, a certified electrician must wire it in advance to ensure compliance with local regulations.
(3) Prepare Tools and Materials
Standard tools include:
Tape measure and level ruler (for accurate measurement and alignment)
Electric drill and expansion screws
Insulated gloves and screwdrivers
Wire connectors, cable buckles, and sealants
Installation manual and pendant accessory kit
Checking the completeness of accessories in advance prevents construction interruptions and ensures a smooth installation.

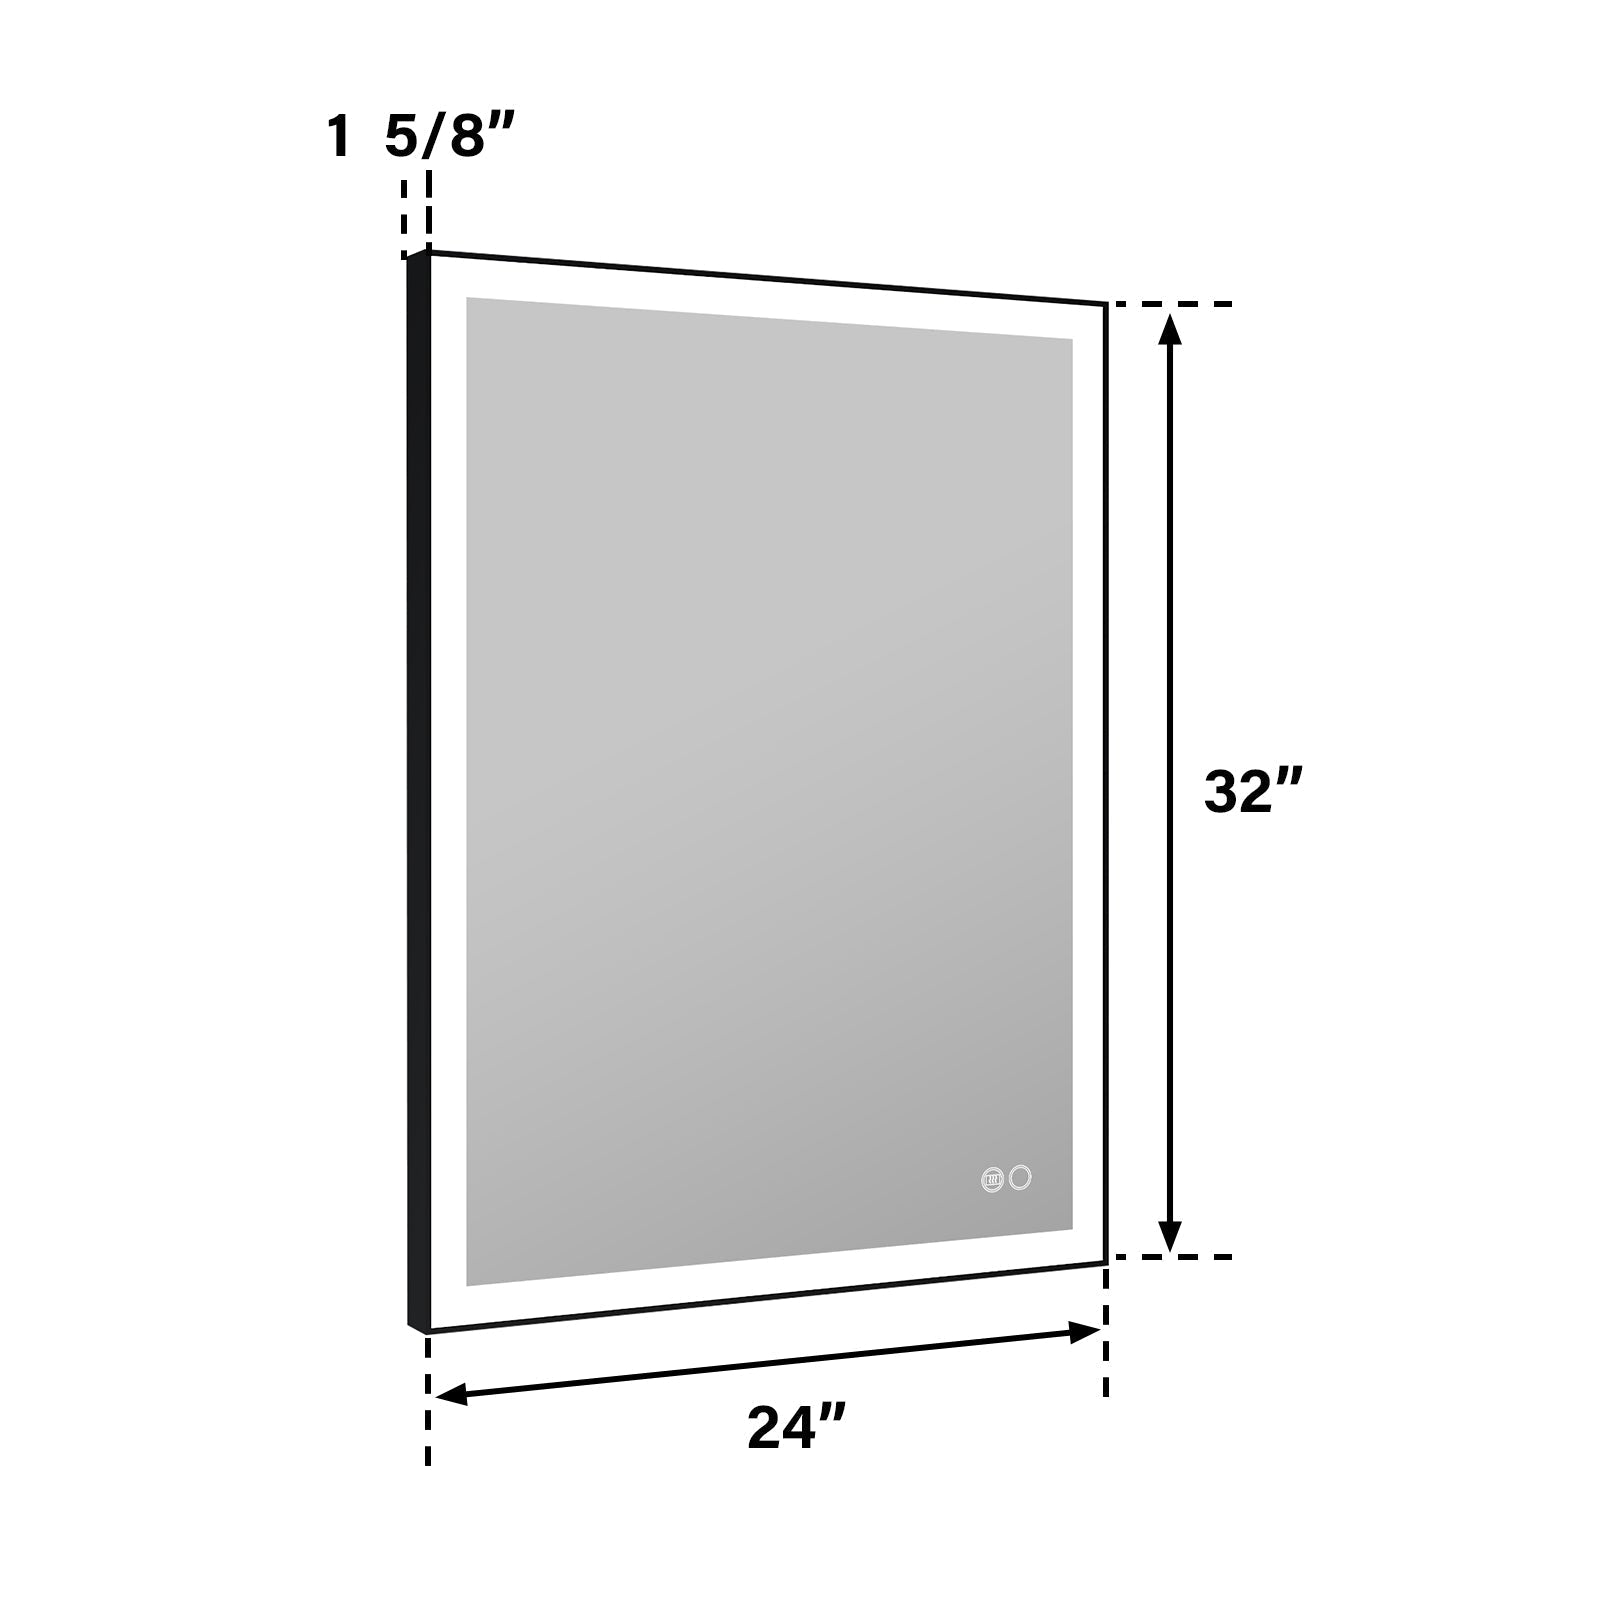
3. Accurate Measurement and Positioning
(1) Determine Installation Height
The bottom of the mirror cabinet should be 12 to 18 inches (approx. 30-45 cm) above the washbasin countertop.
The center of the mirror should be level with the user's average line of sight, about 60 inches (152 cm) off the ground.
Adjust slightly if there is significant height variation among family members.
(2) Mark Positioning Line
Use a level ruler to mark the upper and lower boundaries of the cabinet on the wall, and to determine the positions of the installation holes.
Maintain horizontal and vertical alignment to prevent tilting.
For embedded installations, reserve an opening size according to the product manual (cabinet size plus 1/8 inch tolerance).
4. Power Connection and Safety Wiring
(1) Power Off Operation
Turn off the bathroom circuit switch and confirm no power using an electric pen before any wiring.
(2) Connect the Wires
The junction box on the back of the cabinet usually has three wires:
Black (Live): Fire line
Neutral: Zero line
Green/Copper (Ground): Grounding wire
Connect the corresponding wire color to the wall wire, then seal it with a wiring cap or insulating tape. For anti-fog or dimming functions, connect the control cable as per the manual.
(3) Fix the Wires
Use cable clamps or plastic clips to secure wires.
For embedded installation, ensure cables are safely hidden inside the wall and away from water pipes.
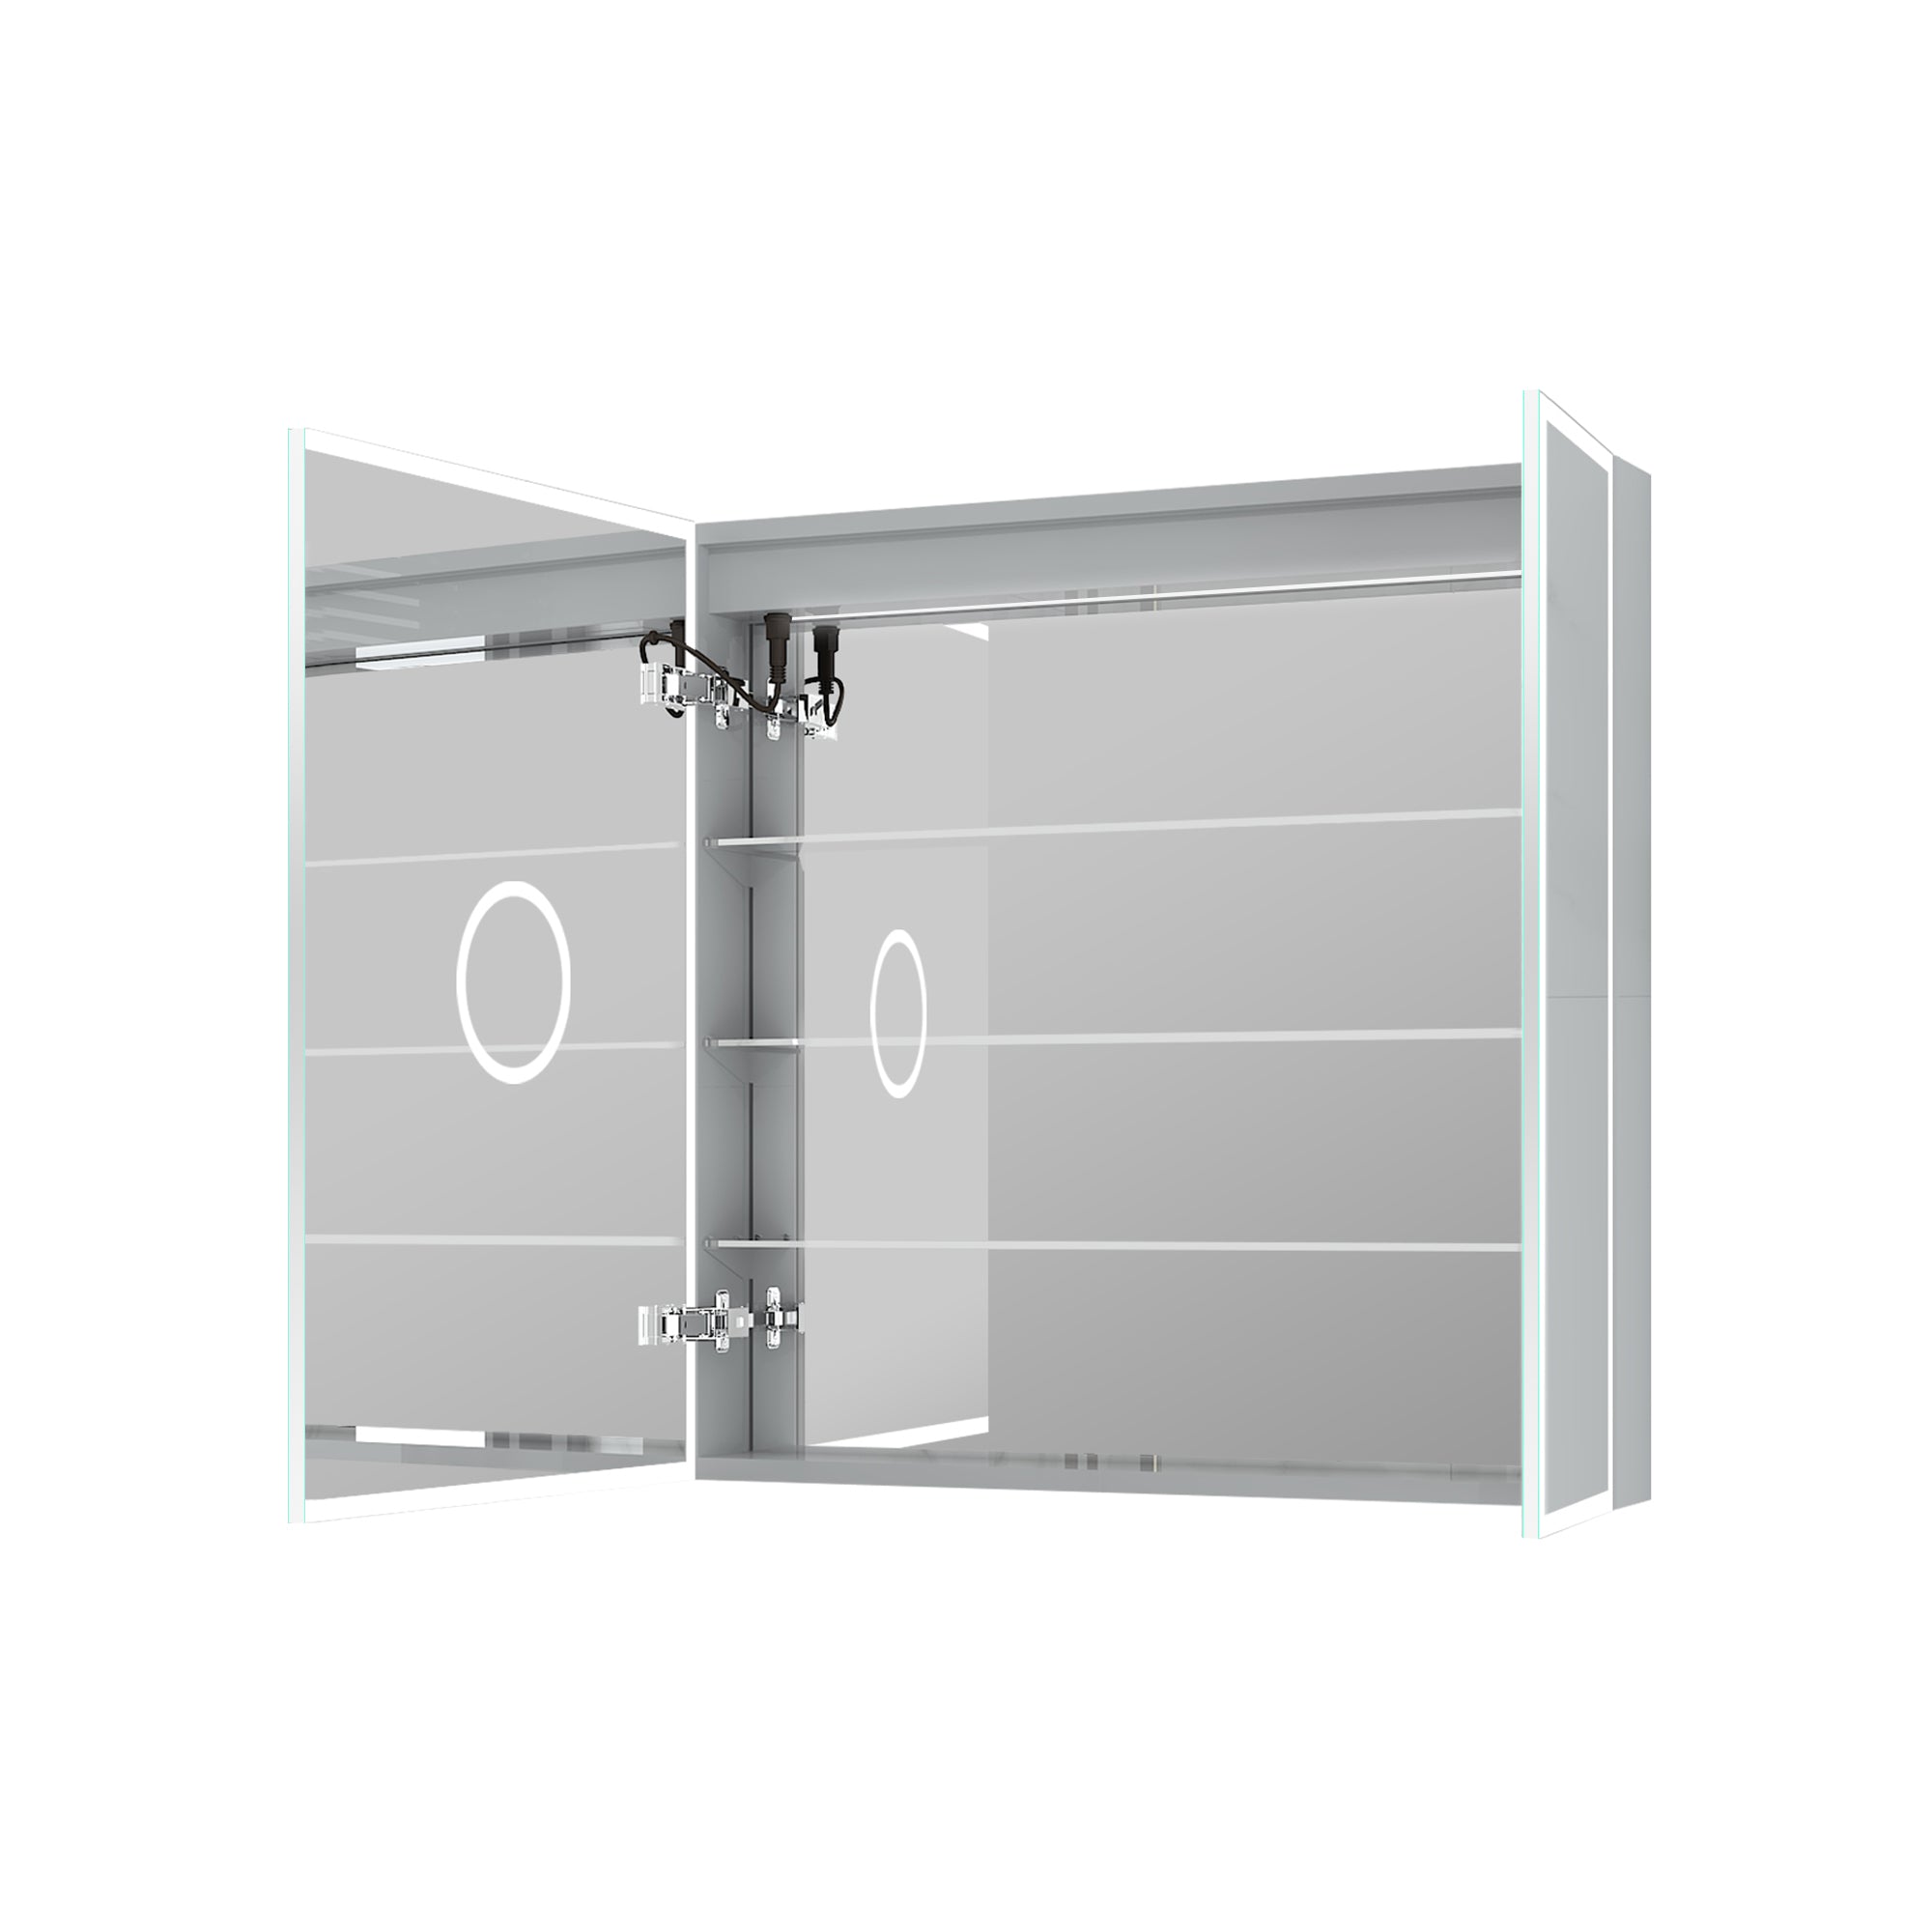
5. Install the Cabinet and Mirror Surface
(1) Fixed Installation Plate
Secure metal mounting plates to the wall first.
Drill holes, insert expansion screws, and fix the plate with screws for stable load-bearing.
(2) Install the Main Body of the Mirror Cabinet
Hang the main body onto the mounting plate or align with the fixing holes.
Check the level and reinforce corners with screws.
For embedded products, apply silicone gel in reserved openings for stability and moisture resistance.
(3) Install Mirror Doors
Install mirror doors after cabinet fixing if packaged separately.
Adjust hinges for smooth opening and alignment with light strips.
Remove protective film and check flatness.
6. Power-On Testing and Safety Inspection
Adjust light brightness and color temperature
Verify defogging function (if available)
Test sensing or touch switches
Check the smooth opening/closing of doors
Additional checks:
Wire connectors are not exposed
The socket is dry and waterproof
The cabinet is securely attached to the wall
Immediately cut power if flickering, short circuits, or abnormal noises occur.
7. Maintenance and Upkeep Suggestions After Installation
Regularly clean the mirror surface: Use a soft, fiber-free cloth; avoid alcohol or acidic cleaners.
Maintain a dry environment: Prevent water vapor from entering the power interface.
Check wires and light strips: Contact a professional if issues arise.
Reasonable use of defogging: Use briefly after showering to save energy.
High-quality brands typically offer a 3-5 year LED light warranty and a 1-year overall warranty (source: Wayfair.com).
8. Expert Tip: Synchronized Planning for Selection and Installation is More Efficient
Plan installation during the initial circuit layout phase.
Pre-determine power supply location and height to avoid repeated wall work and optimize lighting.
Recommended: UL-certified electrical products, IP44 anti-fog rating, and replaceable light strip design.
Summary: The Lighted Medicine Cabinet Mirror Allows Functionality and Aesthetics to Coexist
From lighting design to storage functionality, the Lighted Medicine Cabinet Mirror represents a comprehensive upgrade for modern bathrooms.
It integrates light sources, mirrors, and storage, achieving space saving, aesthetic enhancement, and convenience.
Correct installation and planning make it not just furniture, but an investment that improves the quality of life and visual enjoyment.
As stated by Interior Design Weekly:
"A mirror cabinet with a light on one side can make the small bathroom brighter and the large bathroom more exquisite. Design is not just about appearance, but an extension of daily experience."
Mastering installation steps, electrical safety, and detailed planning will help you fully realize the value of the Lighted Medicine Cabinet Mirror and make your bathroom shine.


Leave a comment
This site is protected by hCaptcha and the hCaptcha Privacy Policy and Terms of Service apply.