


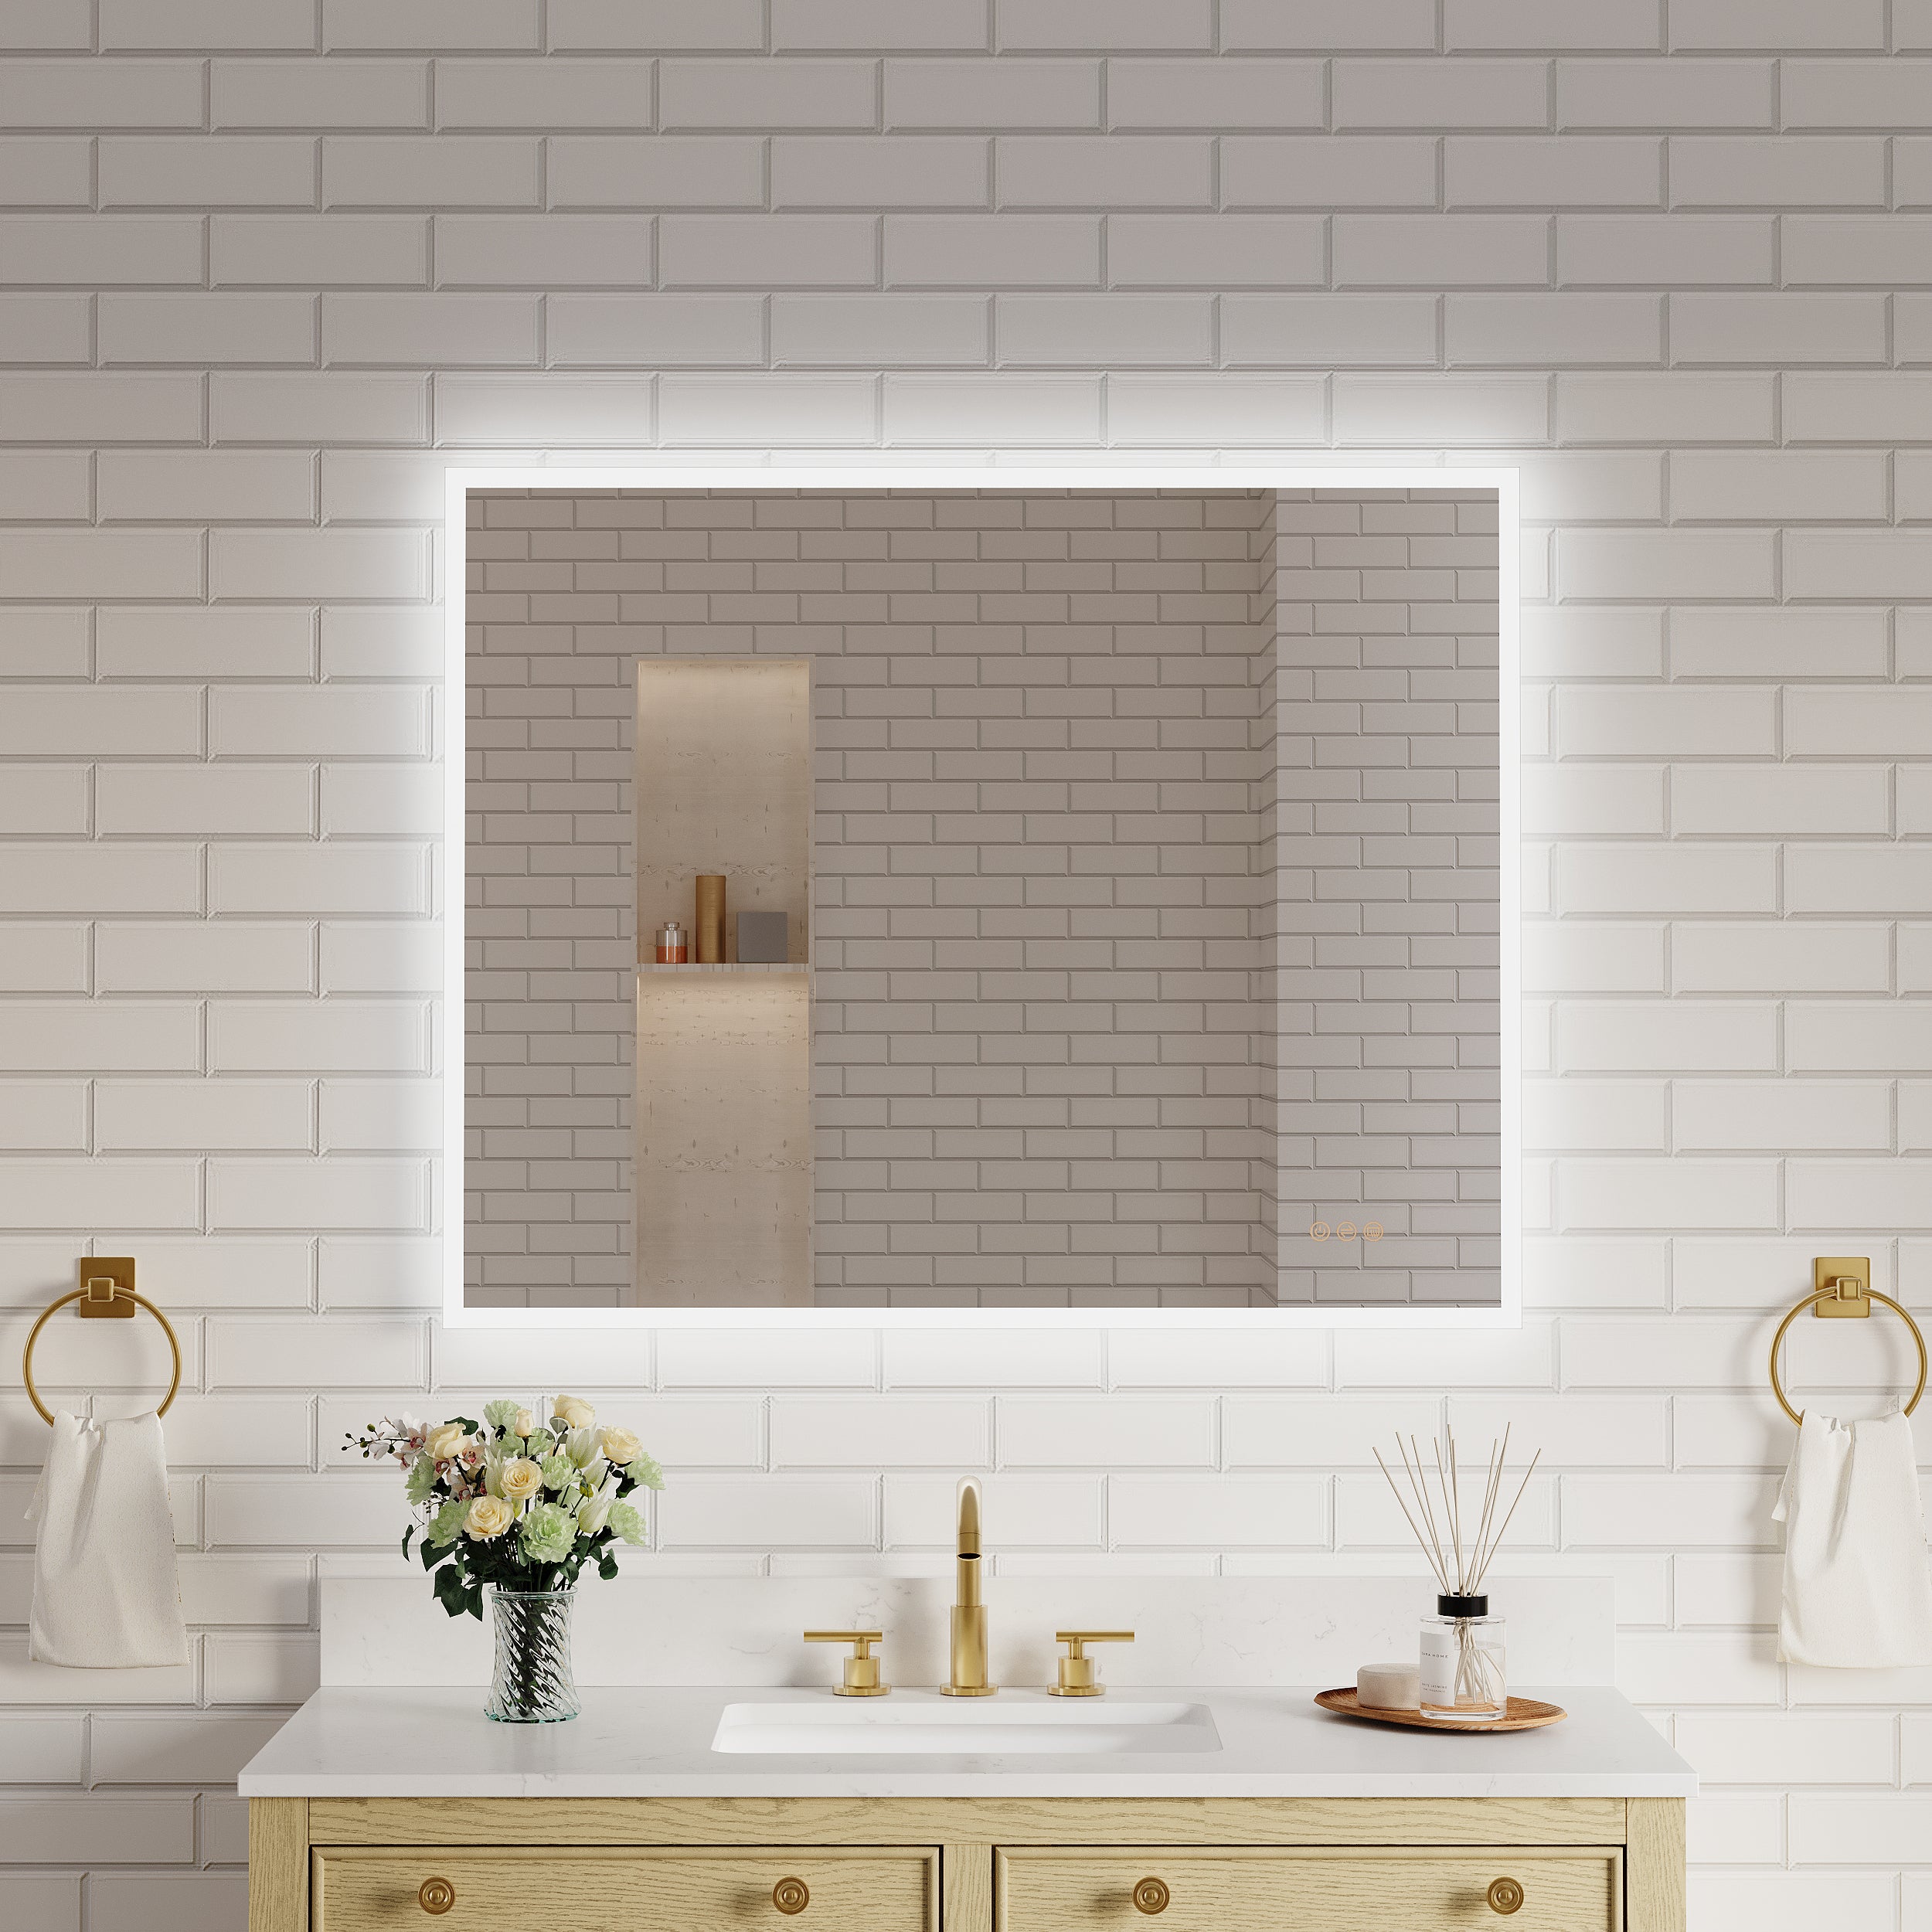
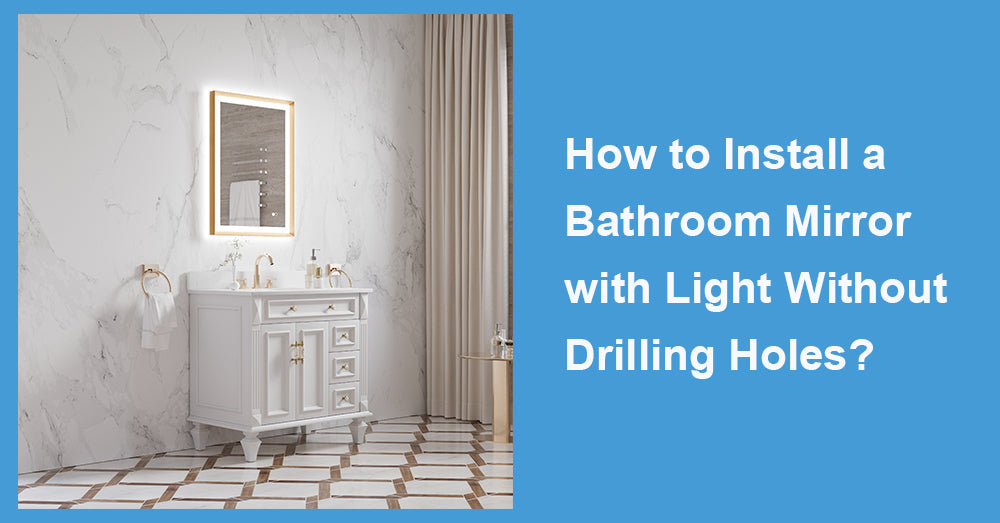
Updating your bathroom can be quick, easy, and clean. If you want to add a touch of modern elegance, a bathroom mirror with light is a fantastic, functional upgrade. However, drilling into your walls isn't always an option, especially if you're renting or want to avoid the hassle and mess. The good news? You can install a bathroom mirror with light without drilling holes. This guide breaks down everything you'll need to know to get it done like a pro.
Keep reading to explore step-by-step instructions, clever tips, and recommended tools, all tailored to make your bathroom glow (literally) without damaging your walls!
Why Skip Drilling?
First, consider why avoiding drilling might be the best route for your home. Here are some common reasons:
· For renters: Landlords often frown upon holes in the walls, sometimes leading to lost security deposits.
· Ease of installation: No need for heavy power tools or dust flying around your carefully designed space.
· Avoid damage: If you're dealing with fragile tiles, pipes inside the walls, or delicate painted drywall, keeping drilling tools in the toolbox might save you a headache.
By skipping the drill, you can achieve the same sleek and sophisticated look while keeping installation fuss-free.
What You'll Need for a Drill-Free Installation
Before jumping into the installation process, gathering the right tools and materials is essential. Here's a quick checklist to get you started:
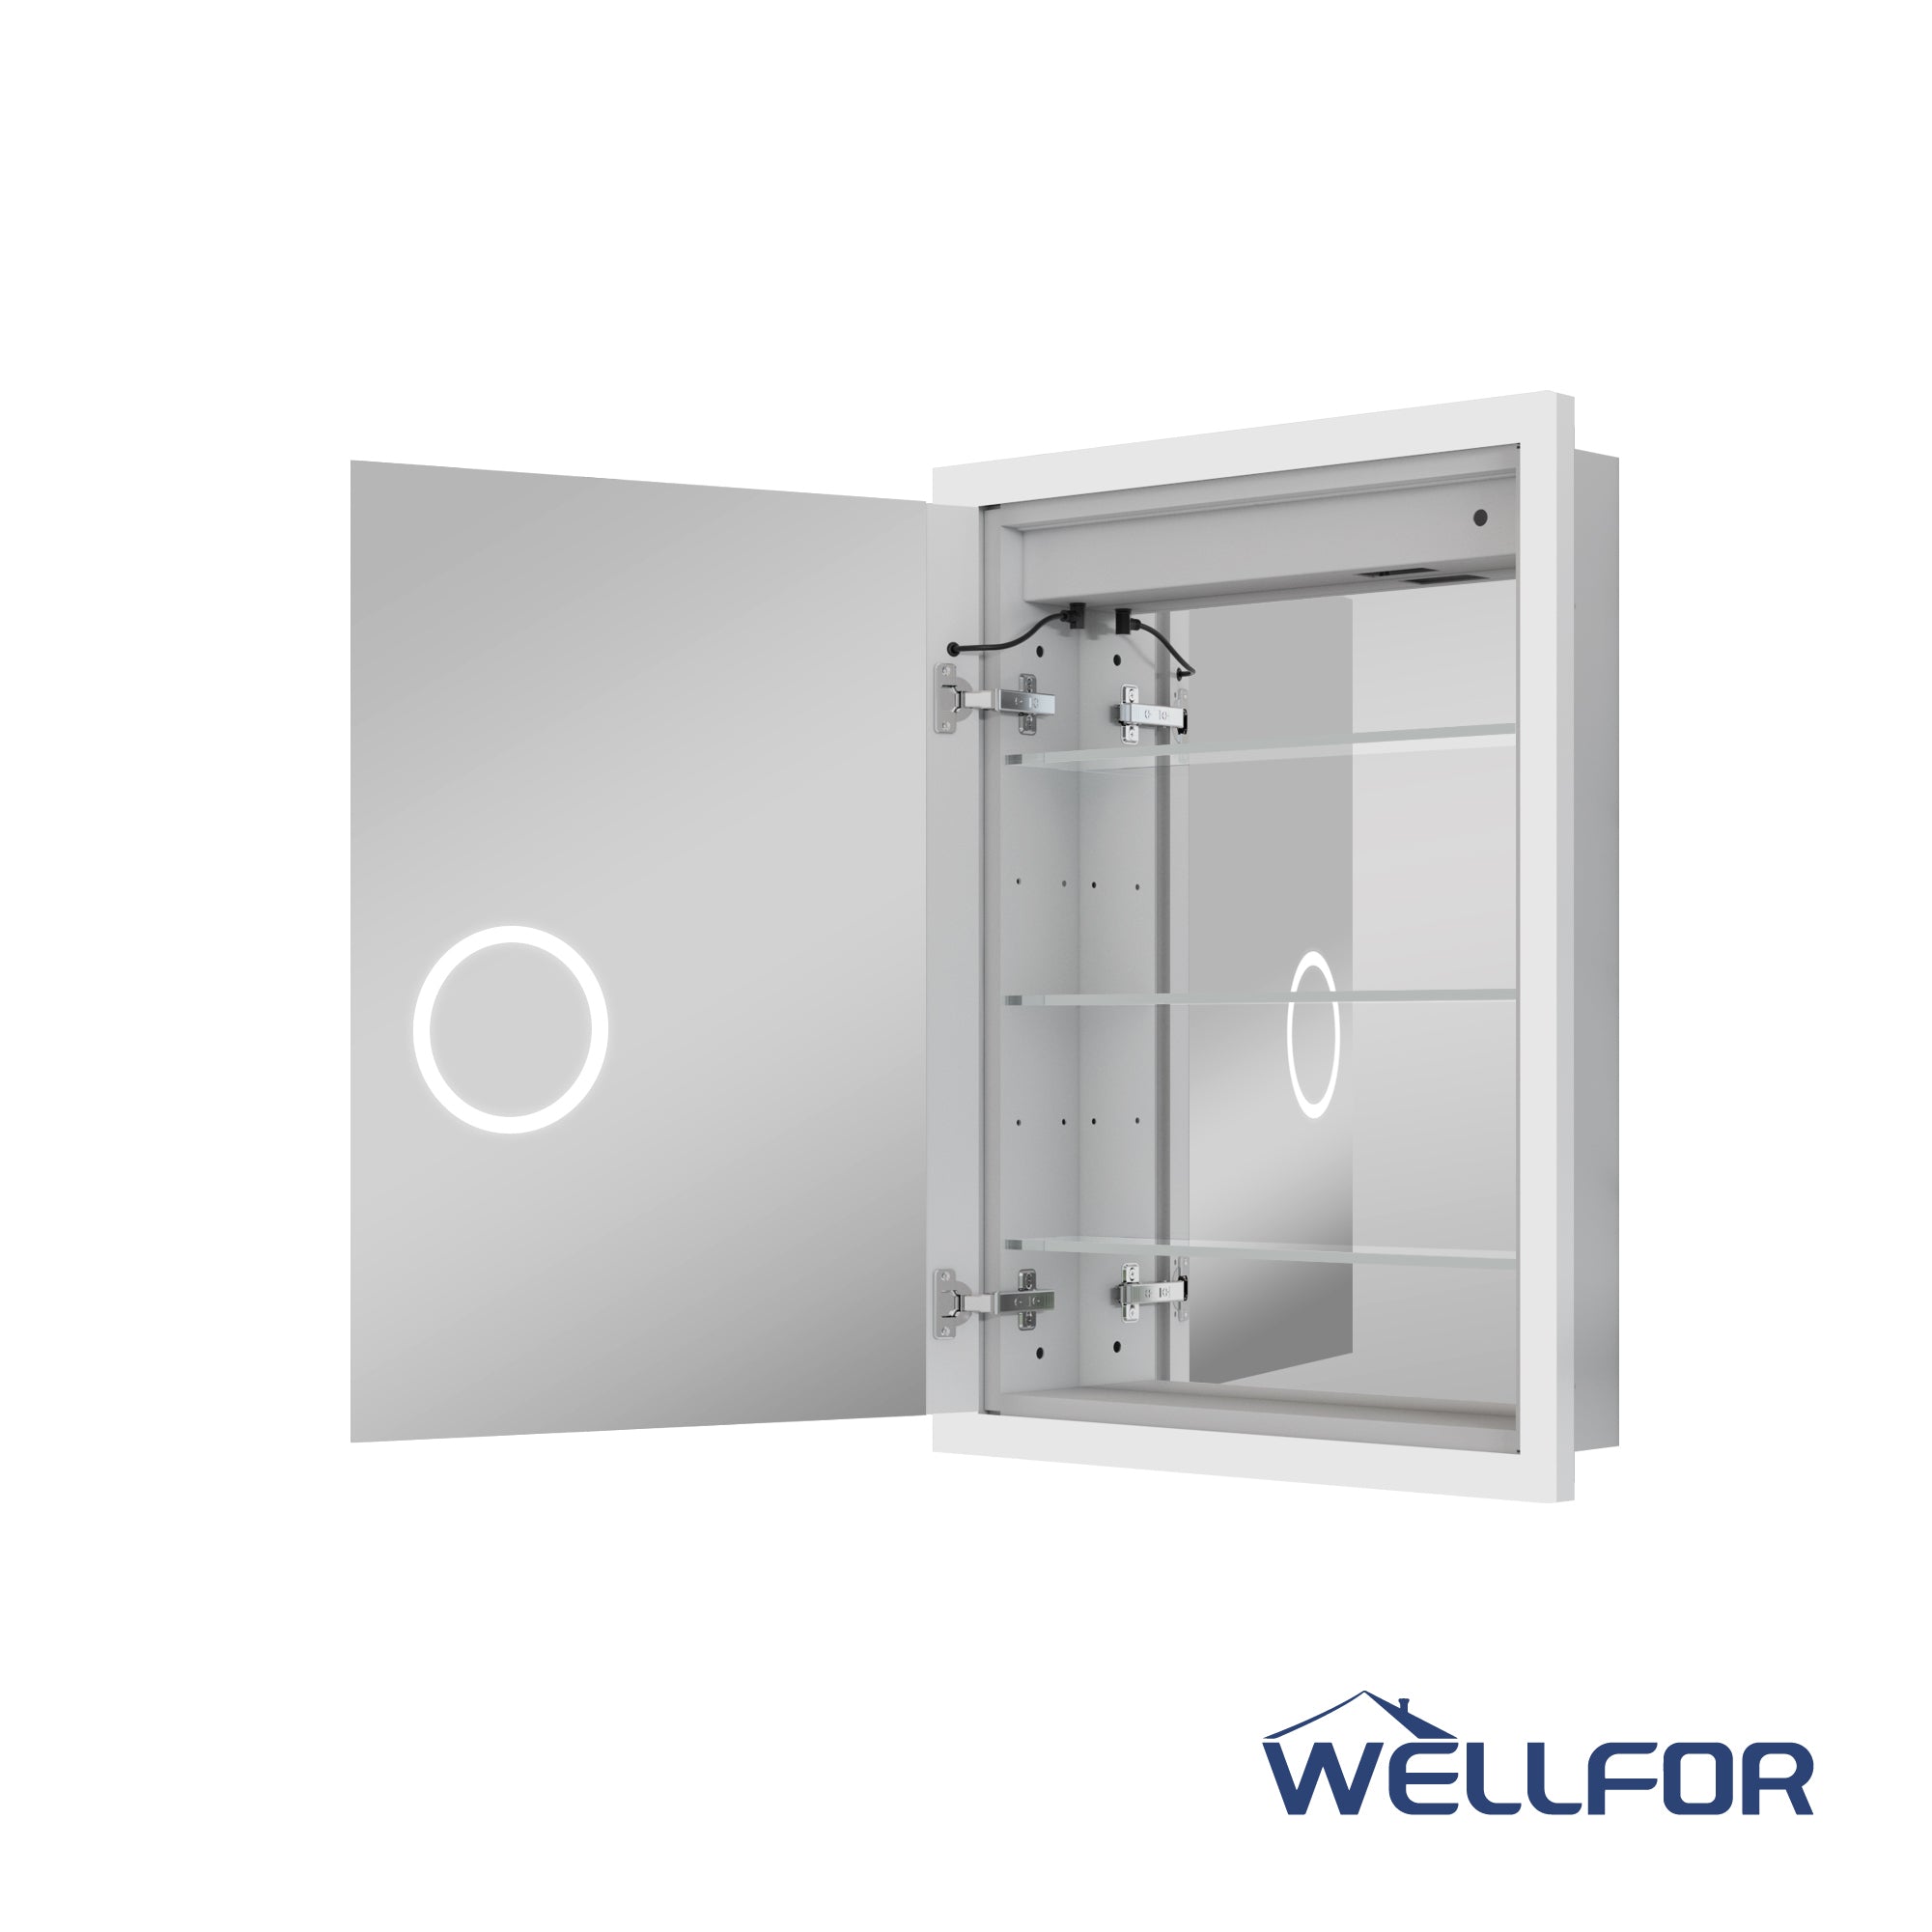
· A lightweight or medium-weight bathroom mirror with light
· Industrial-strength adhesive (such as double-sided mounting tape or heavy-duty adhesive strips)
· A level to make sure your mirror is perfectly straight
· Alcohol wipes or a clean cloth
· Measuring tape
· Optional wall hooks with adhesive backing (if needed for extra support)
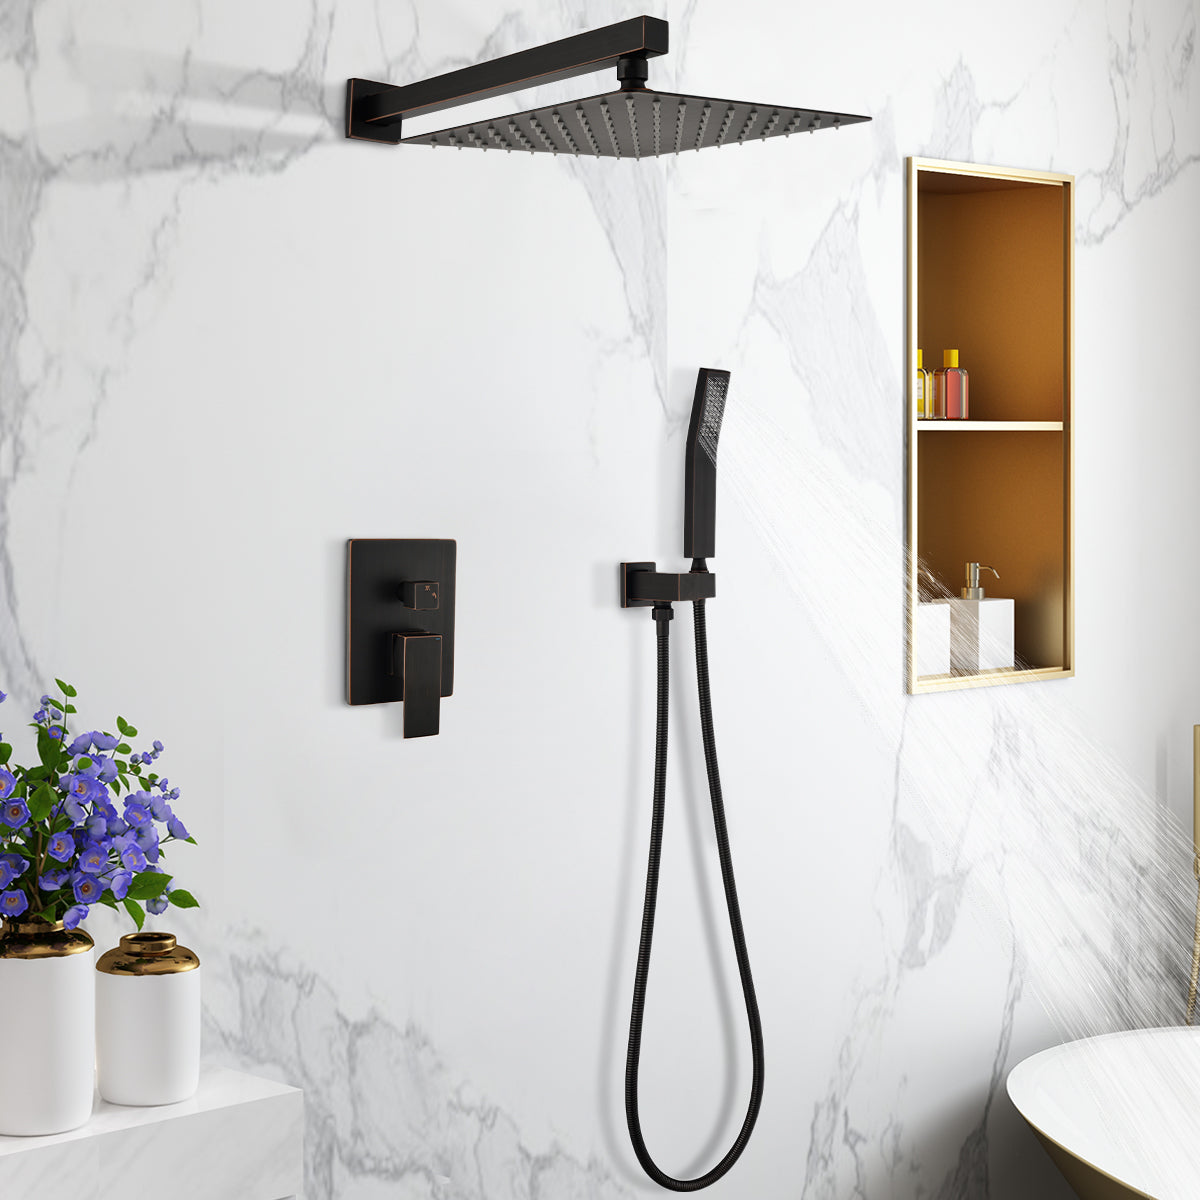
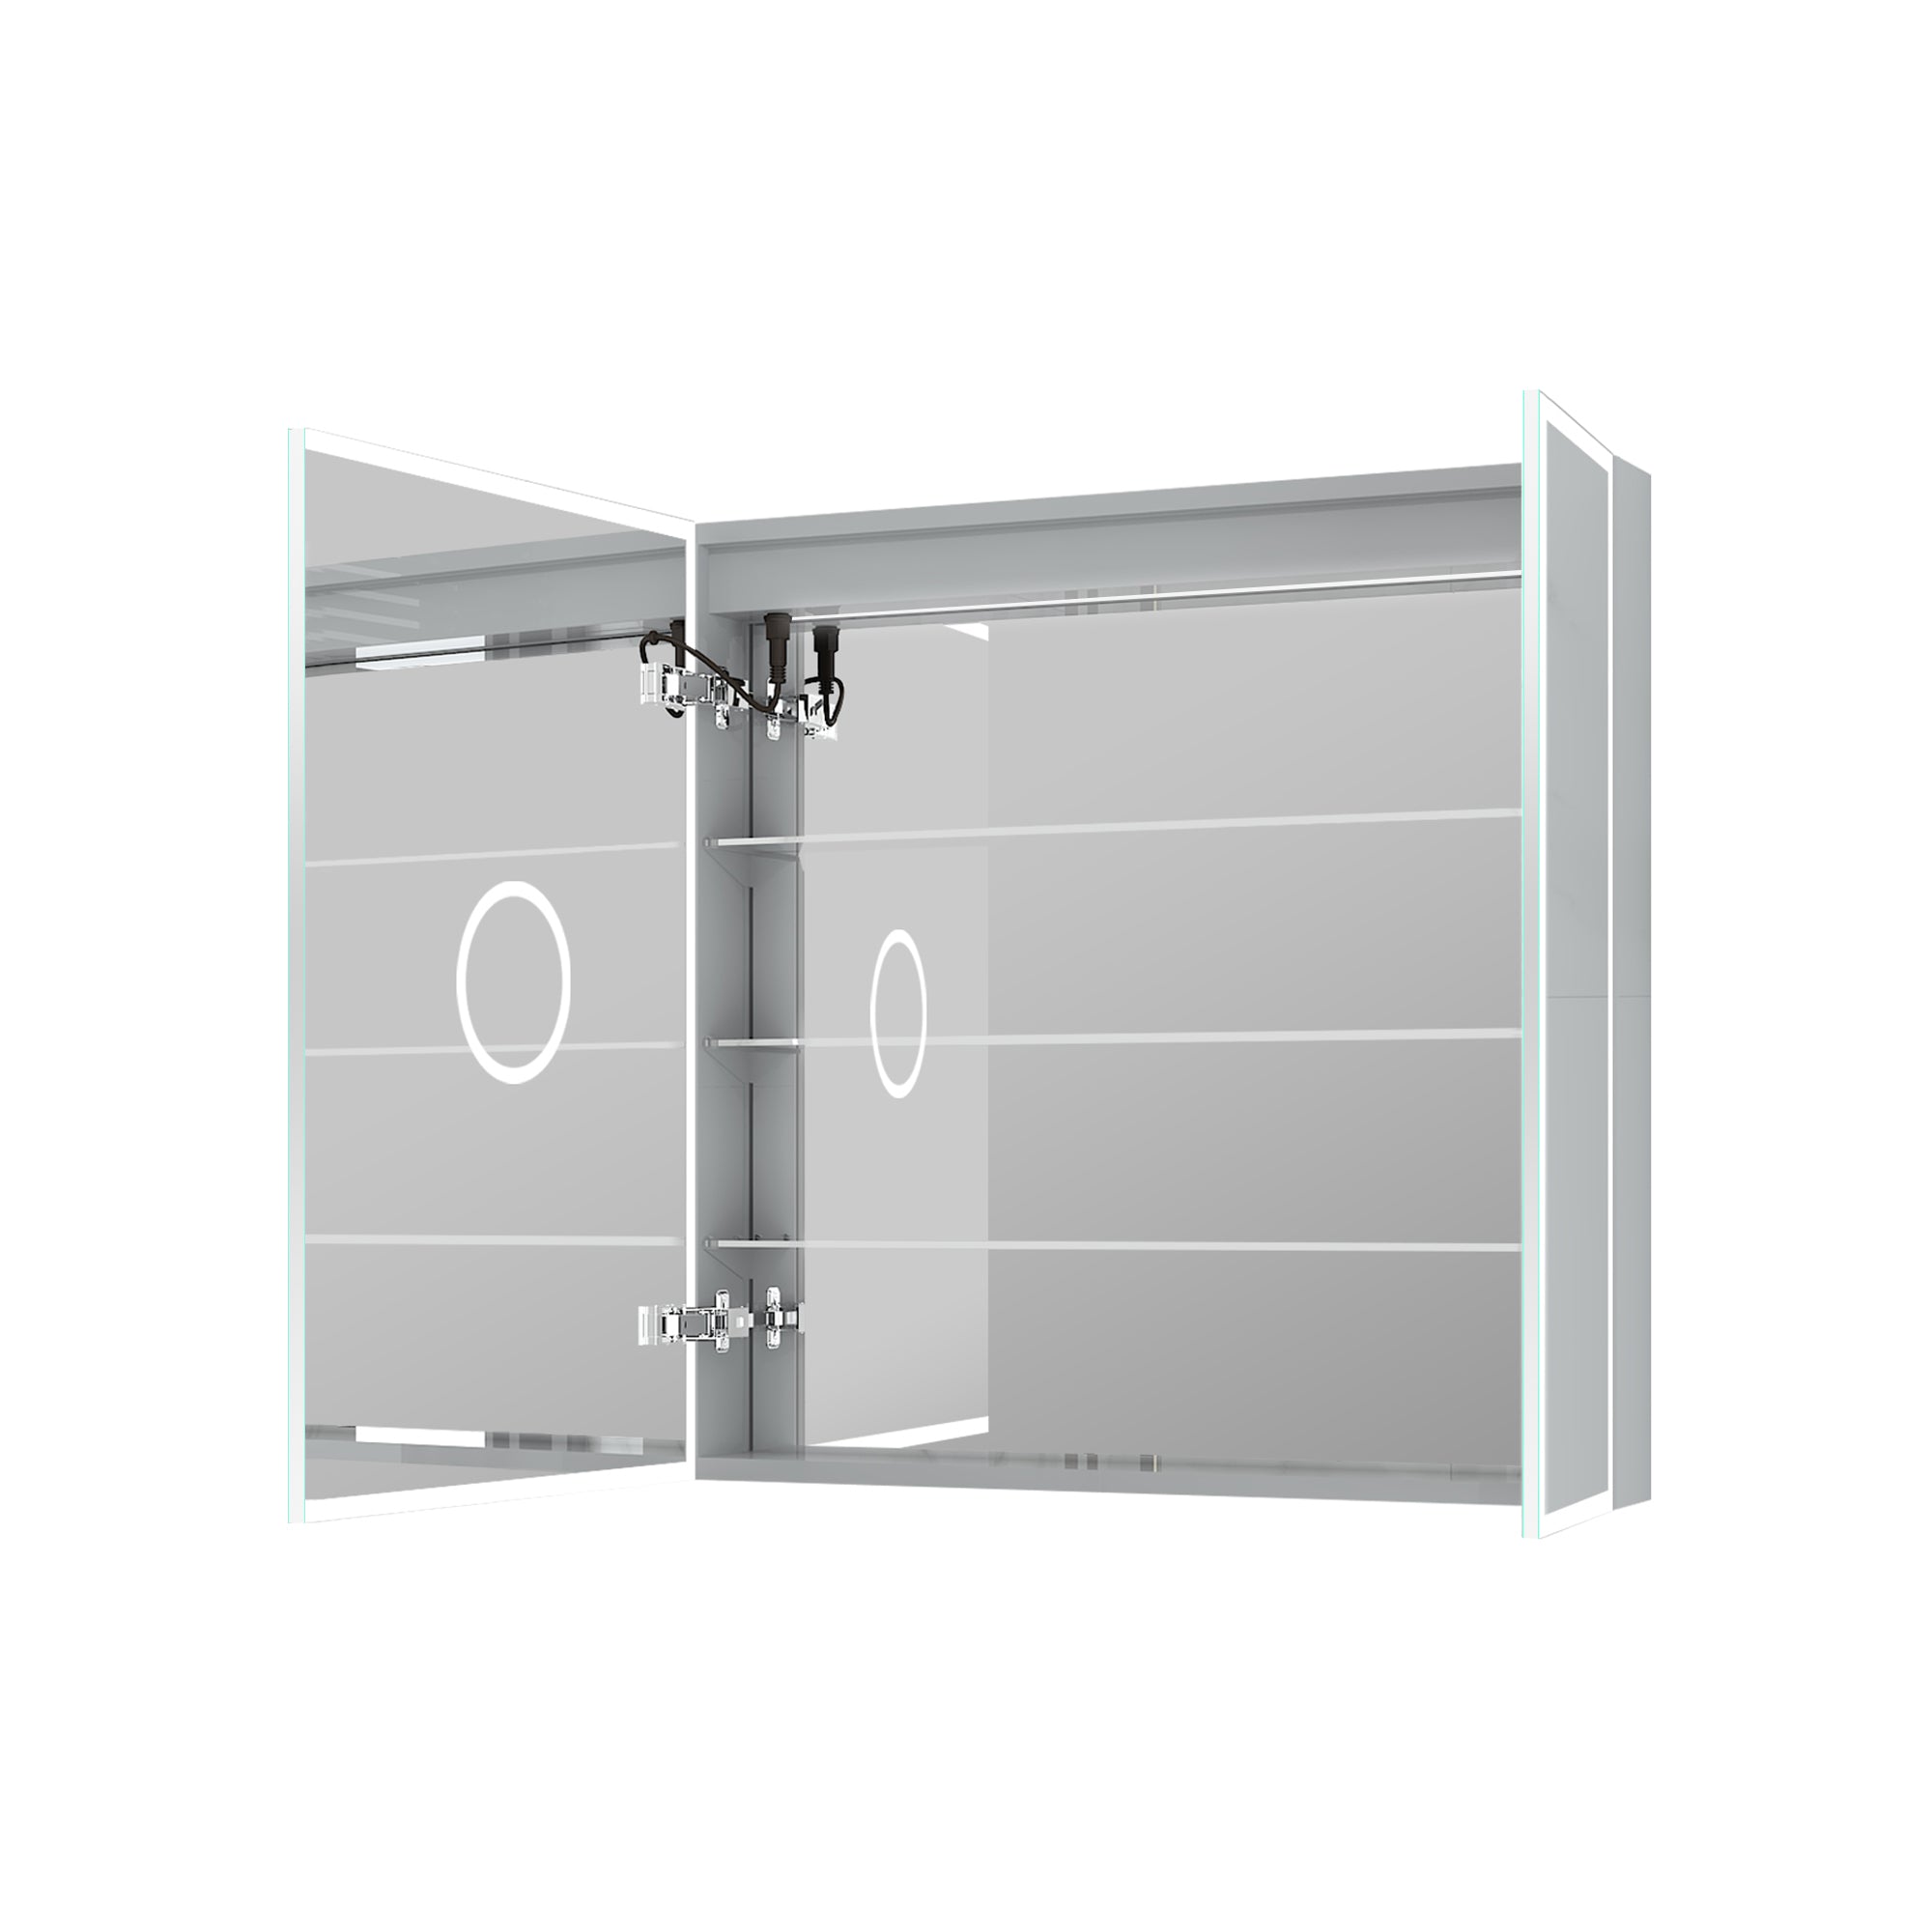
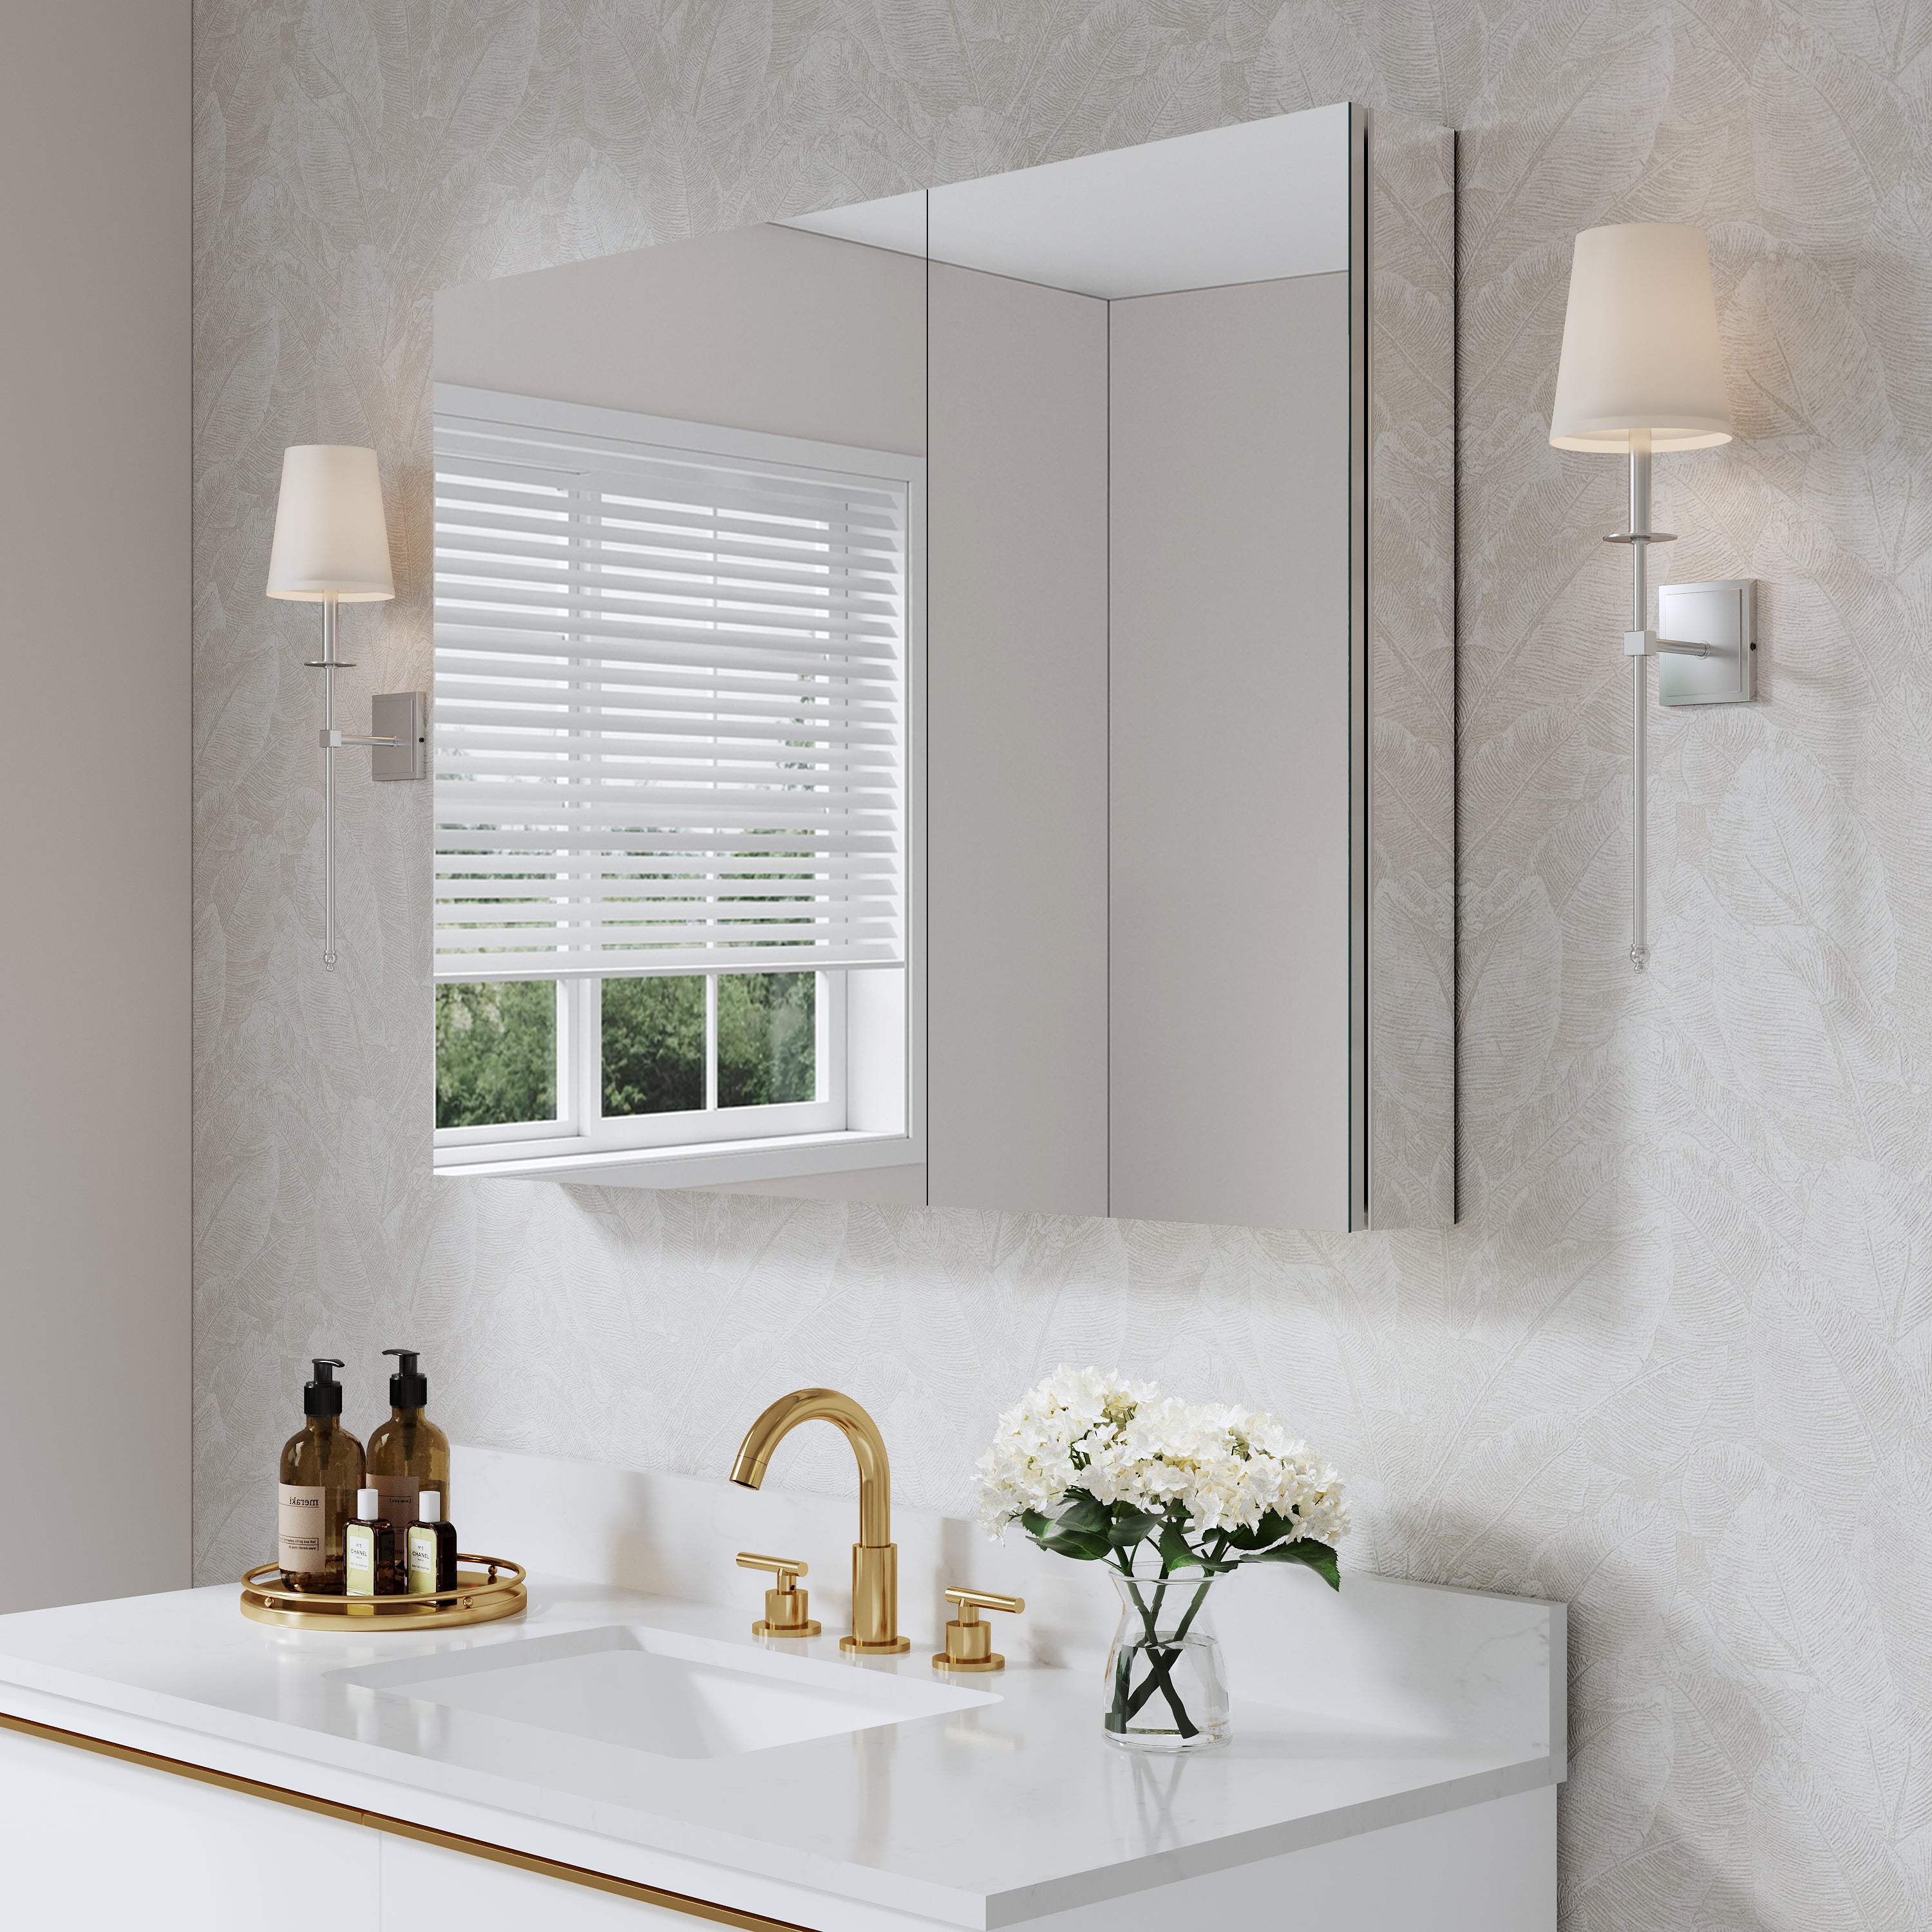
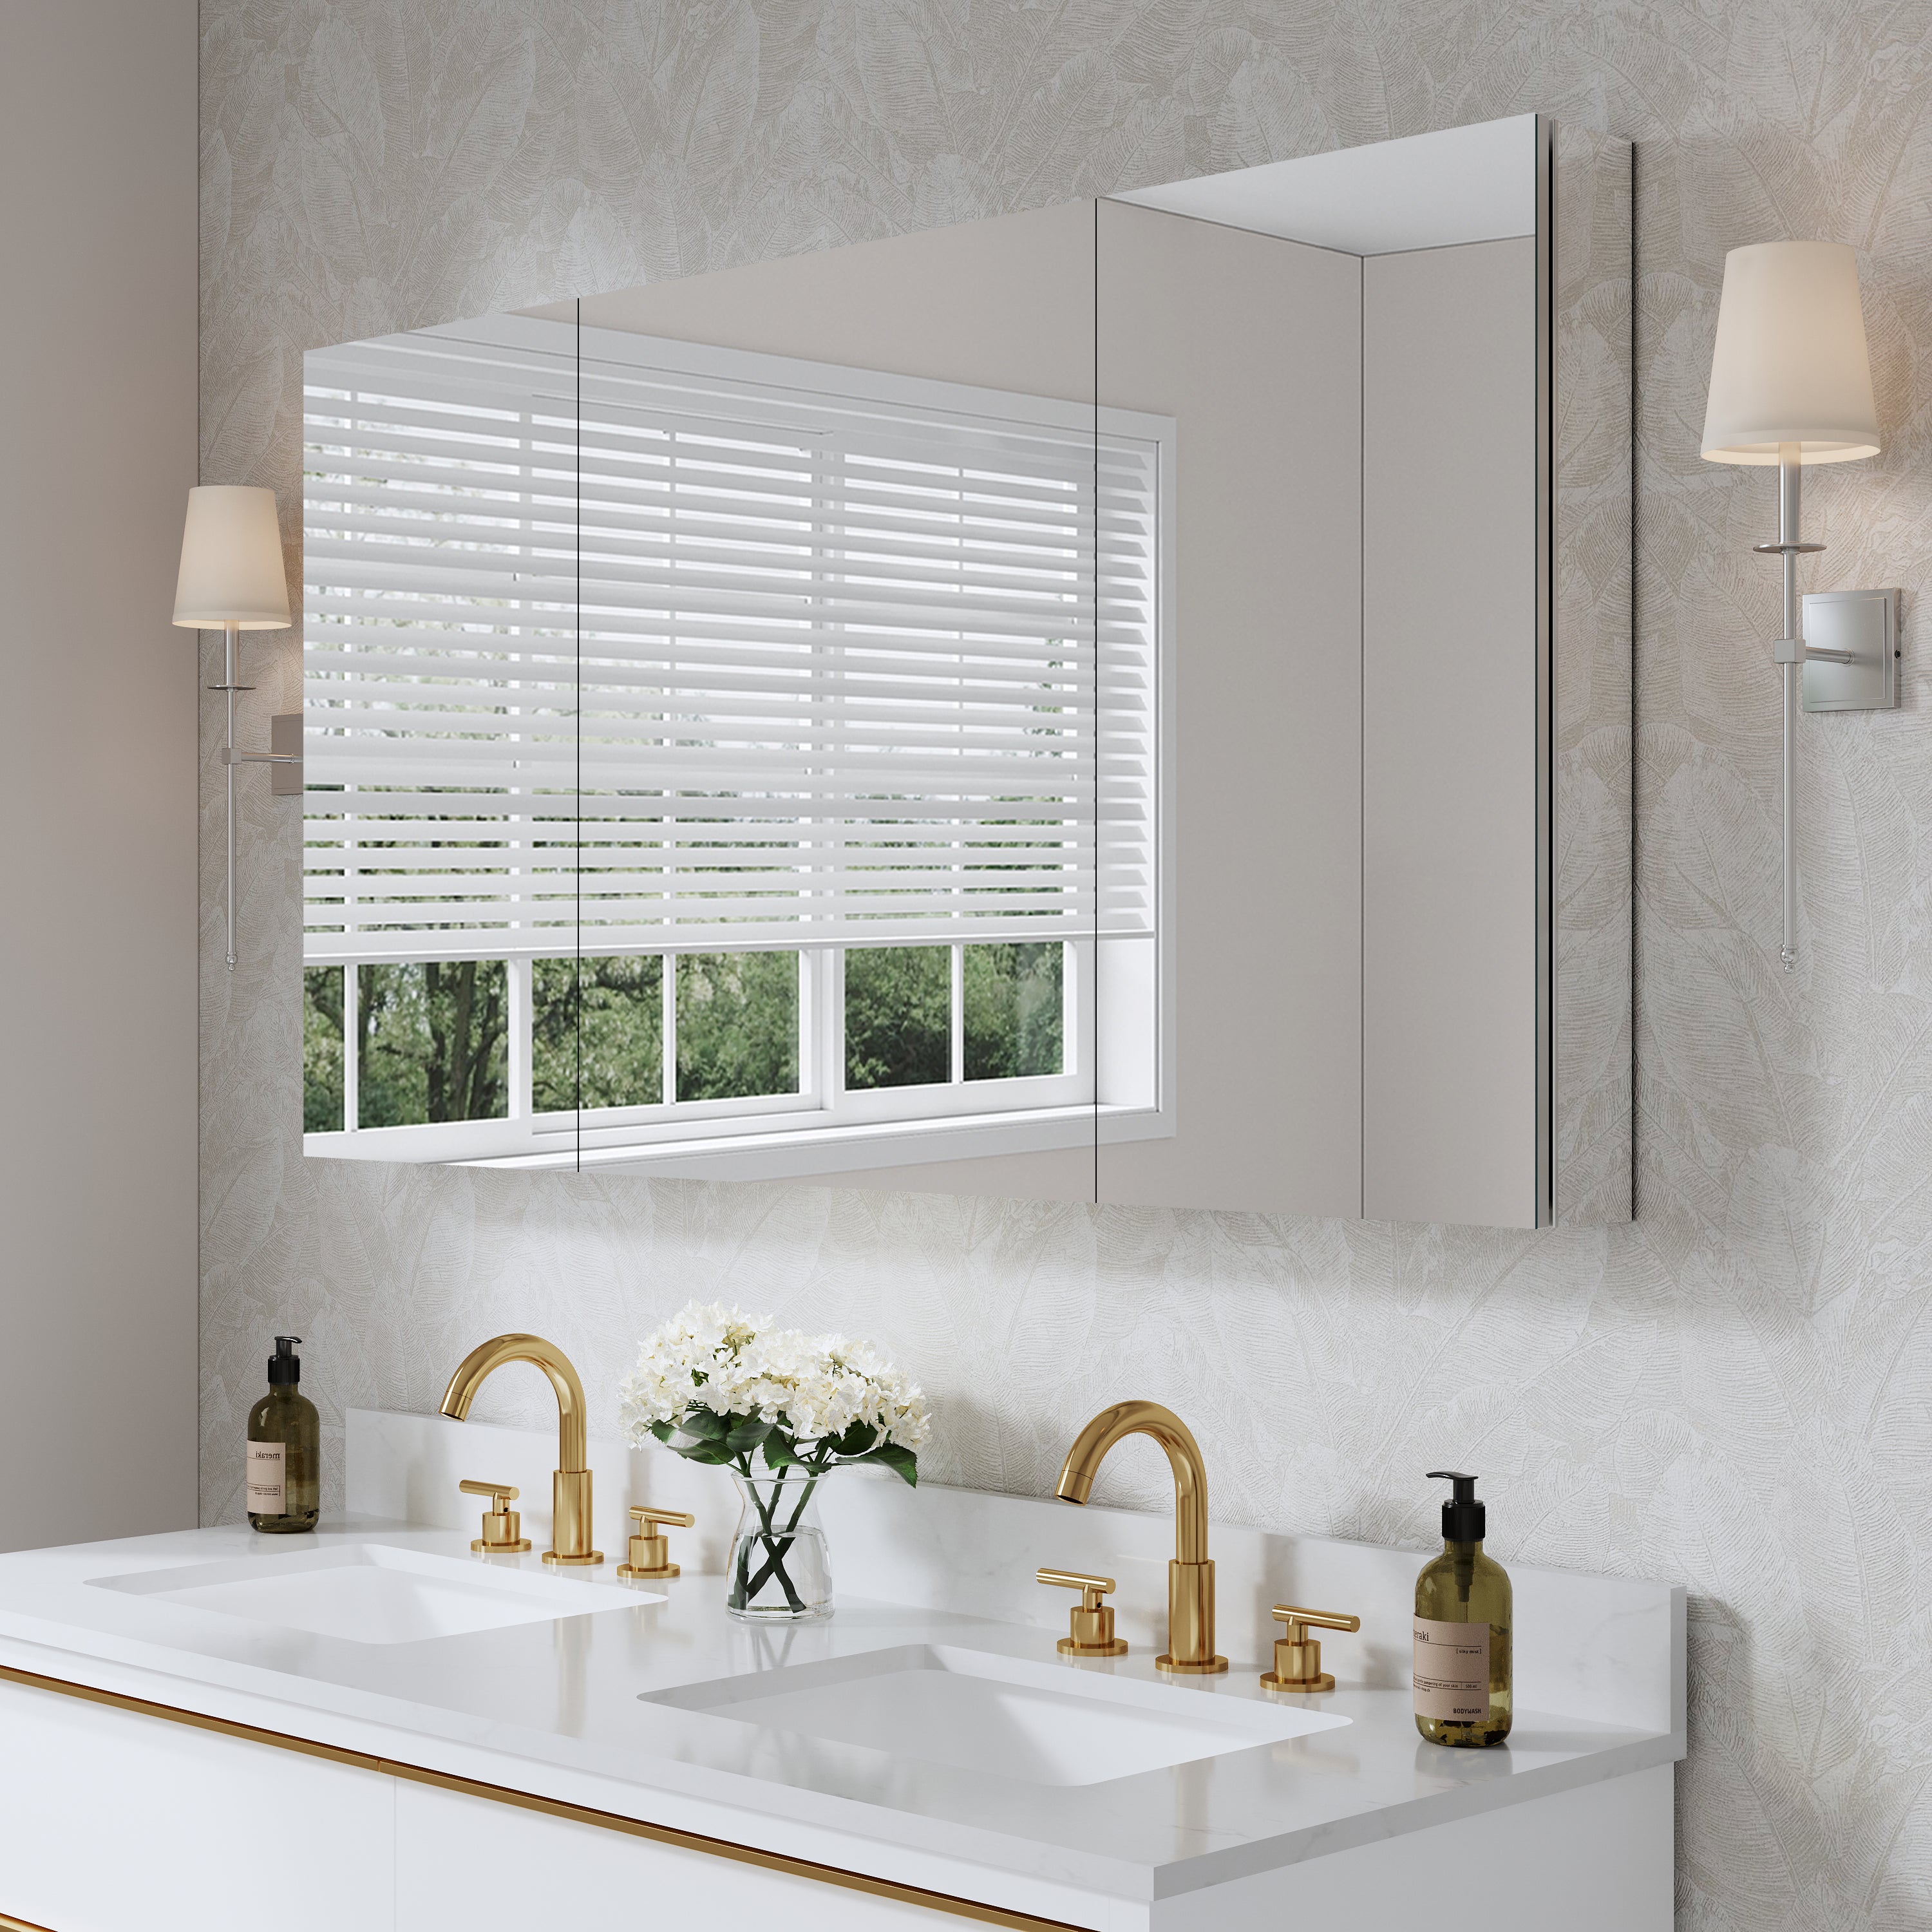
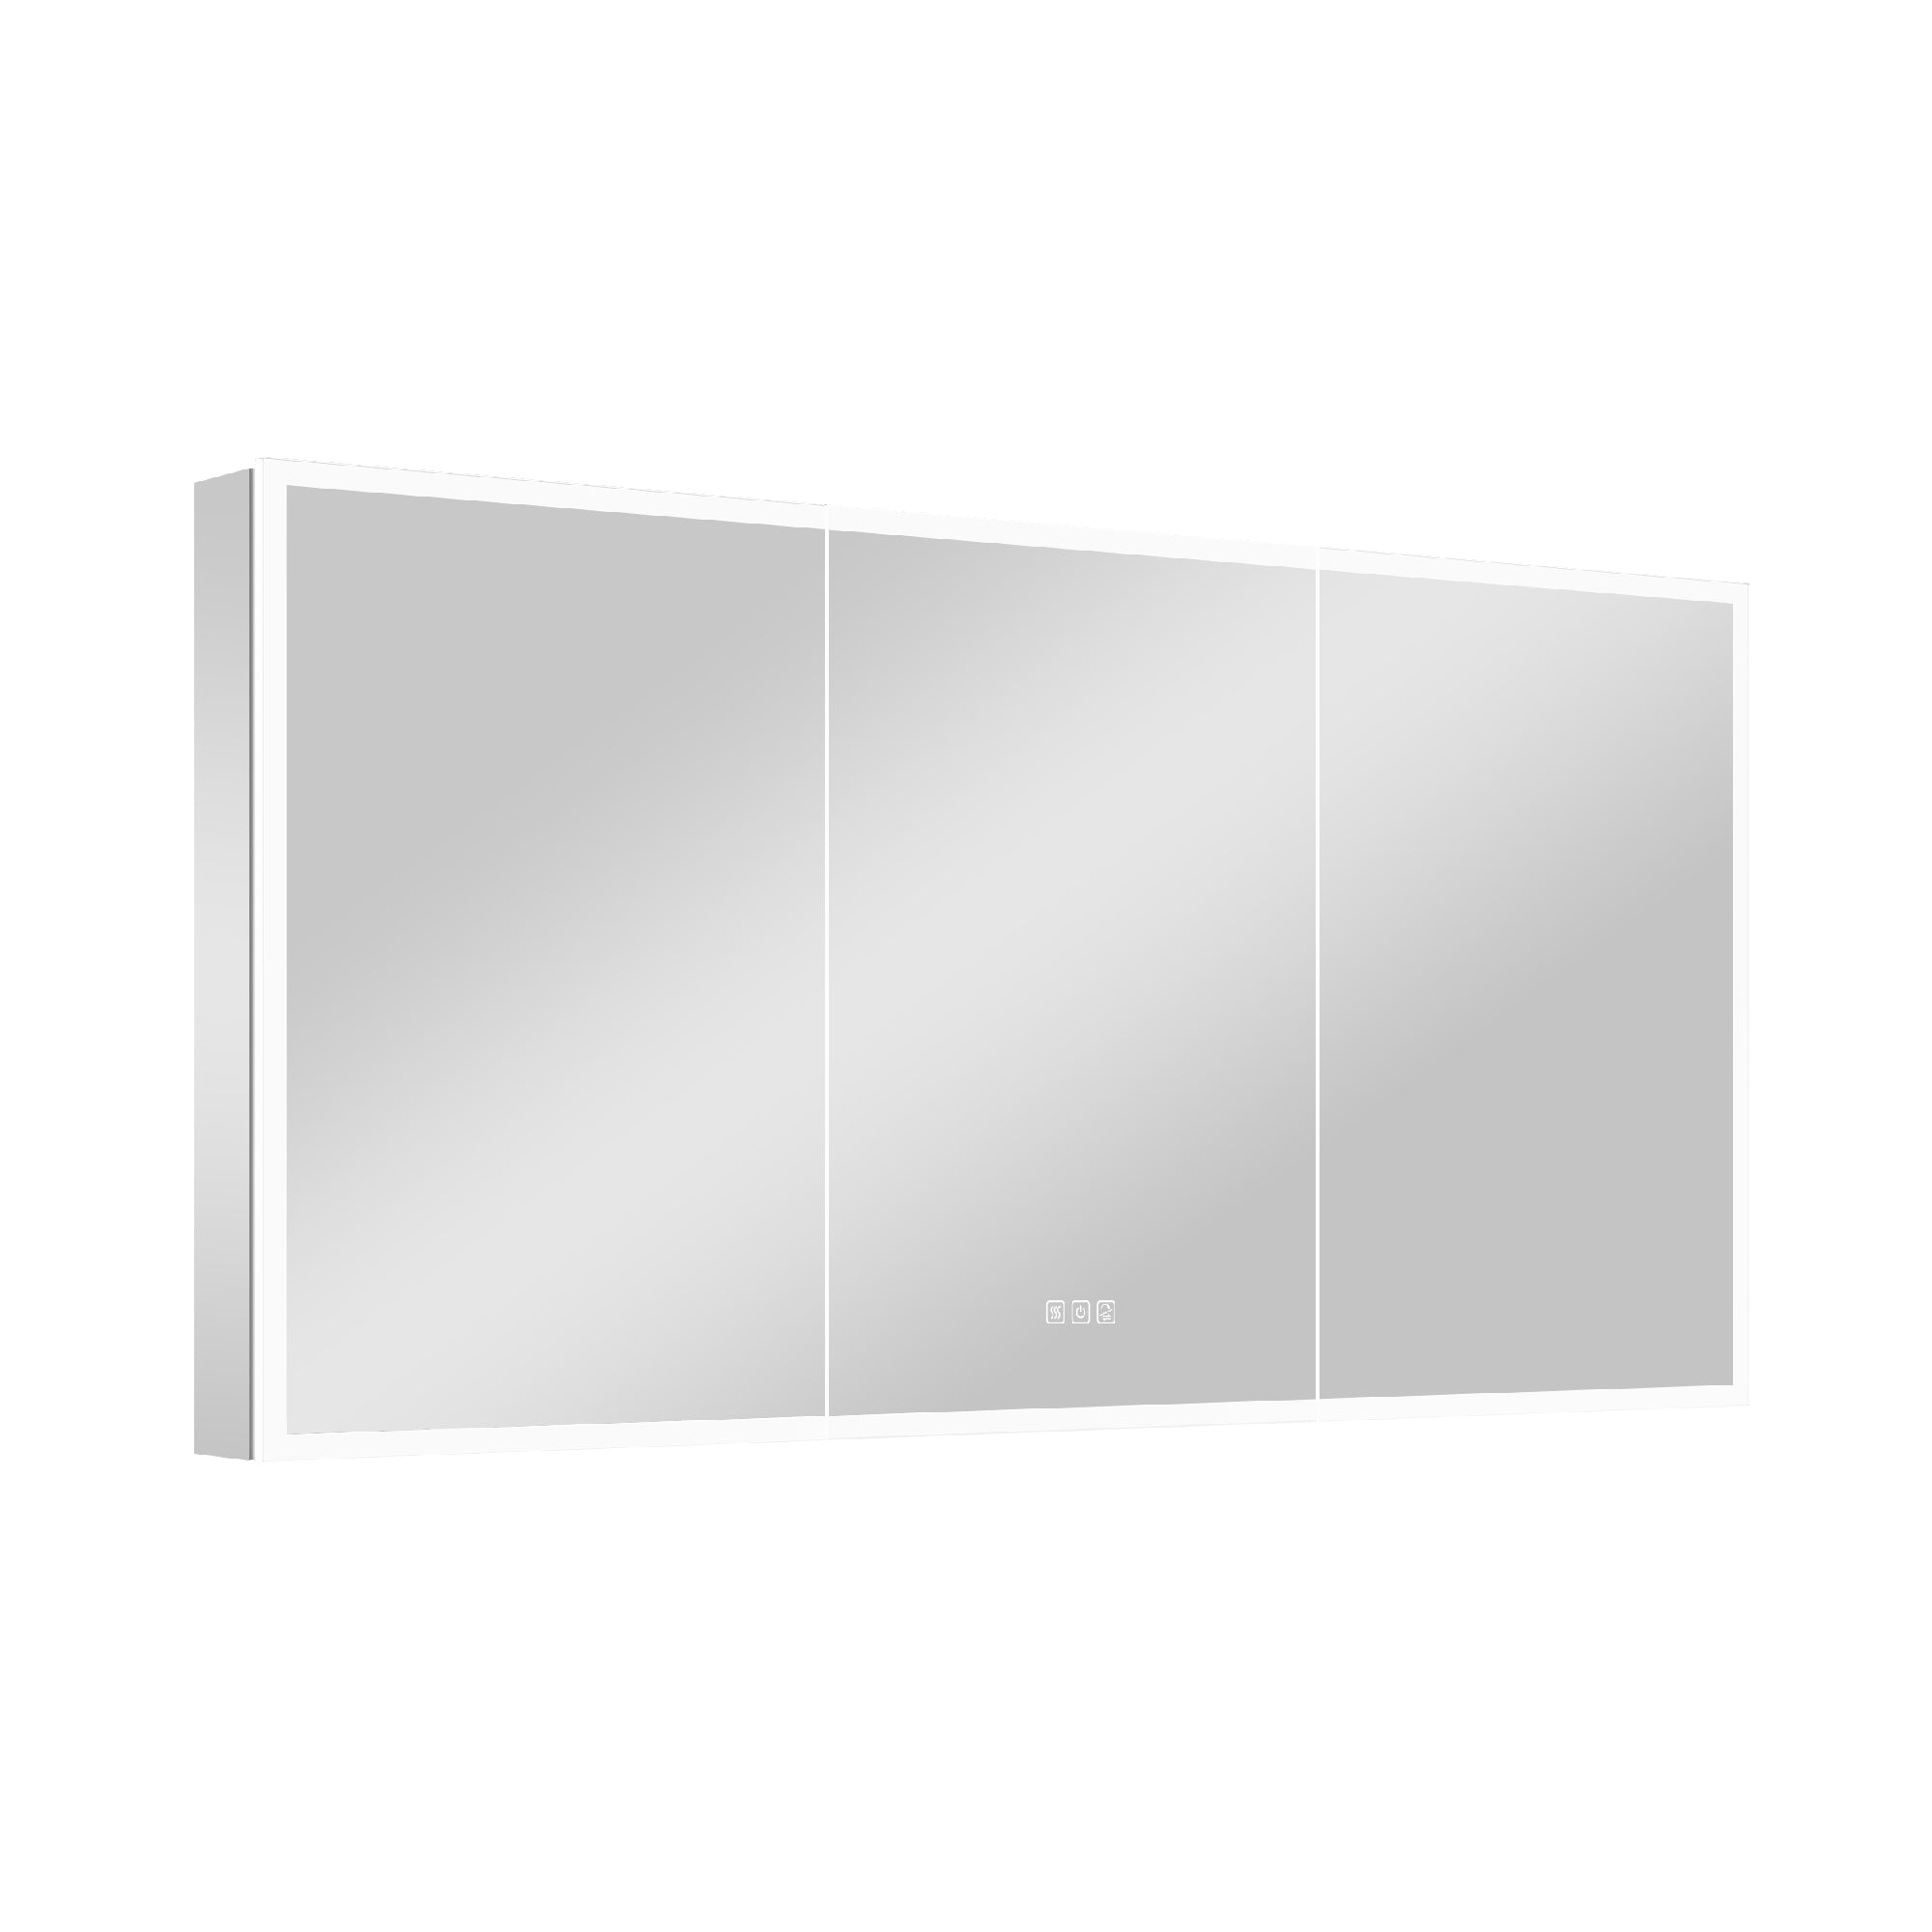
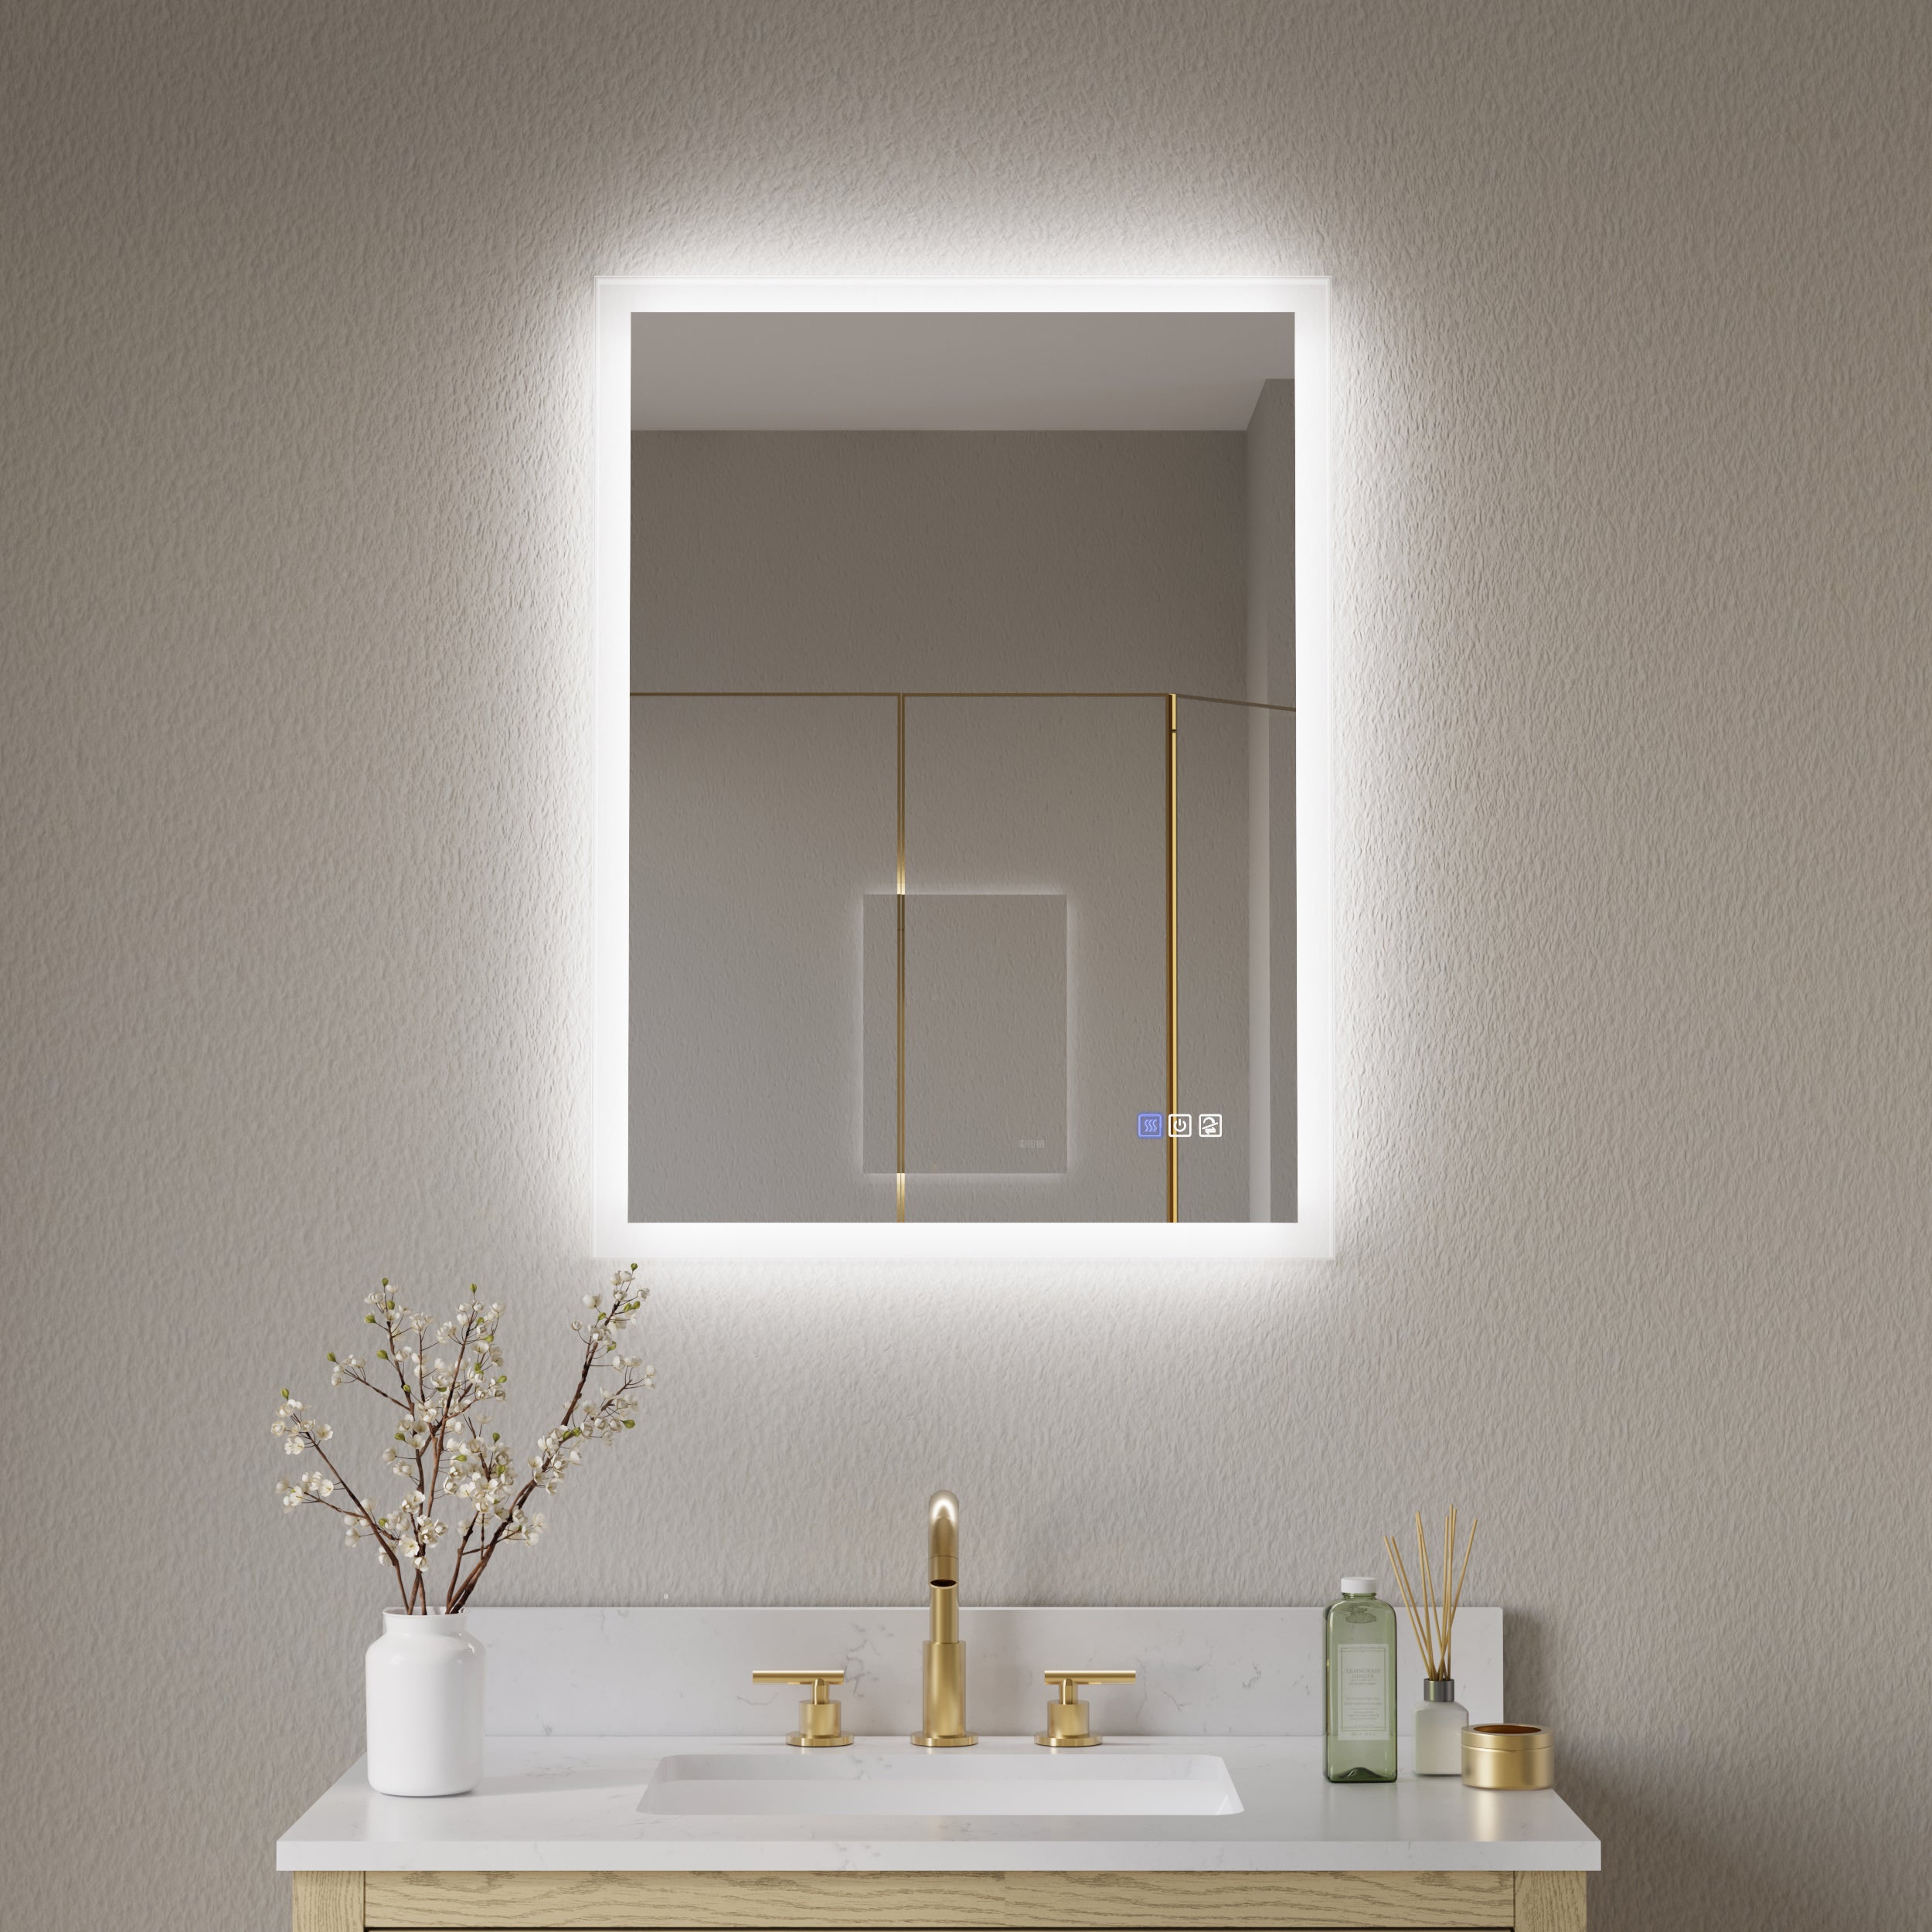
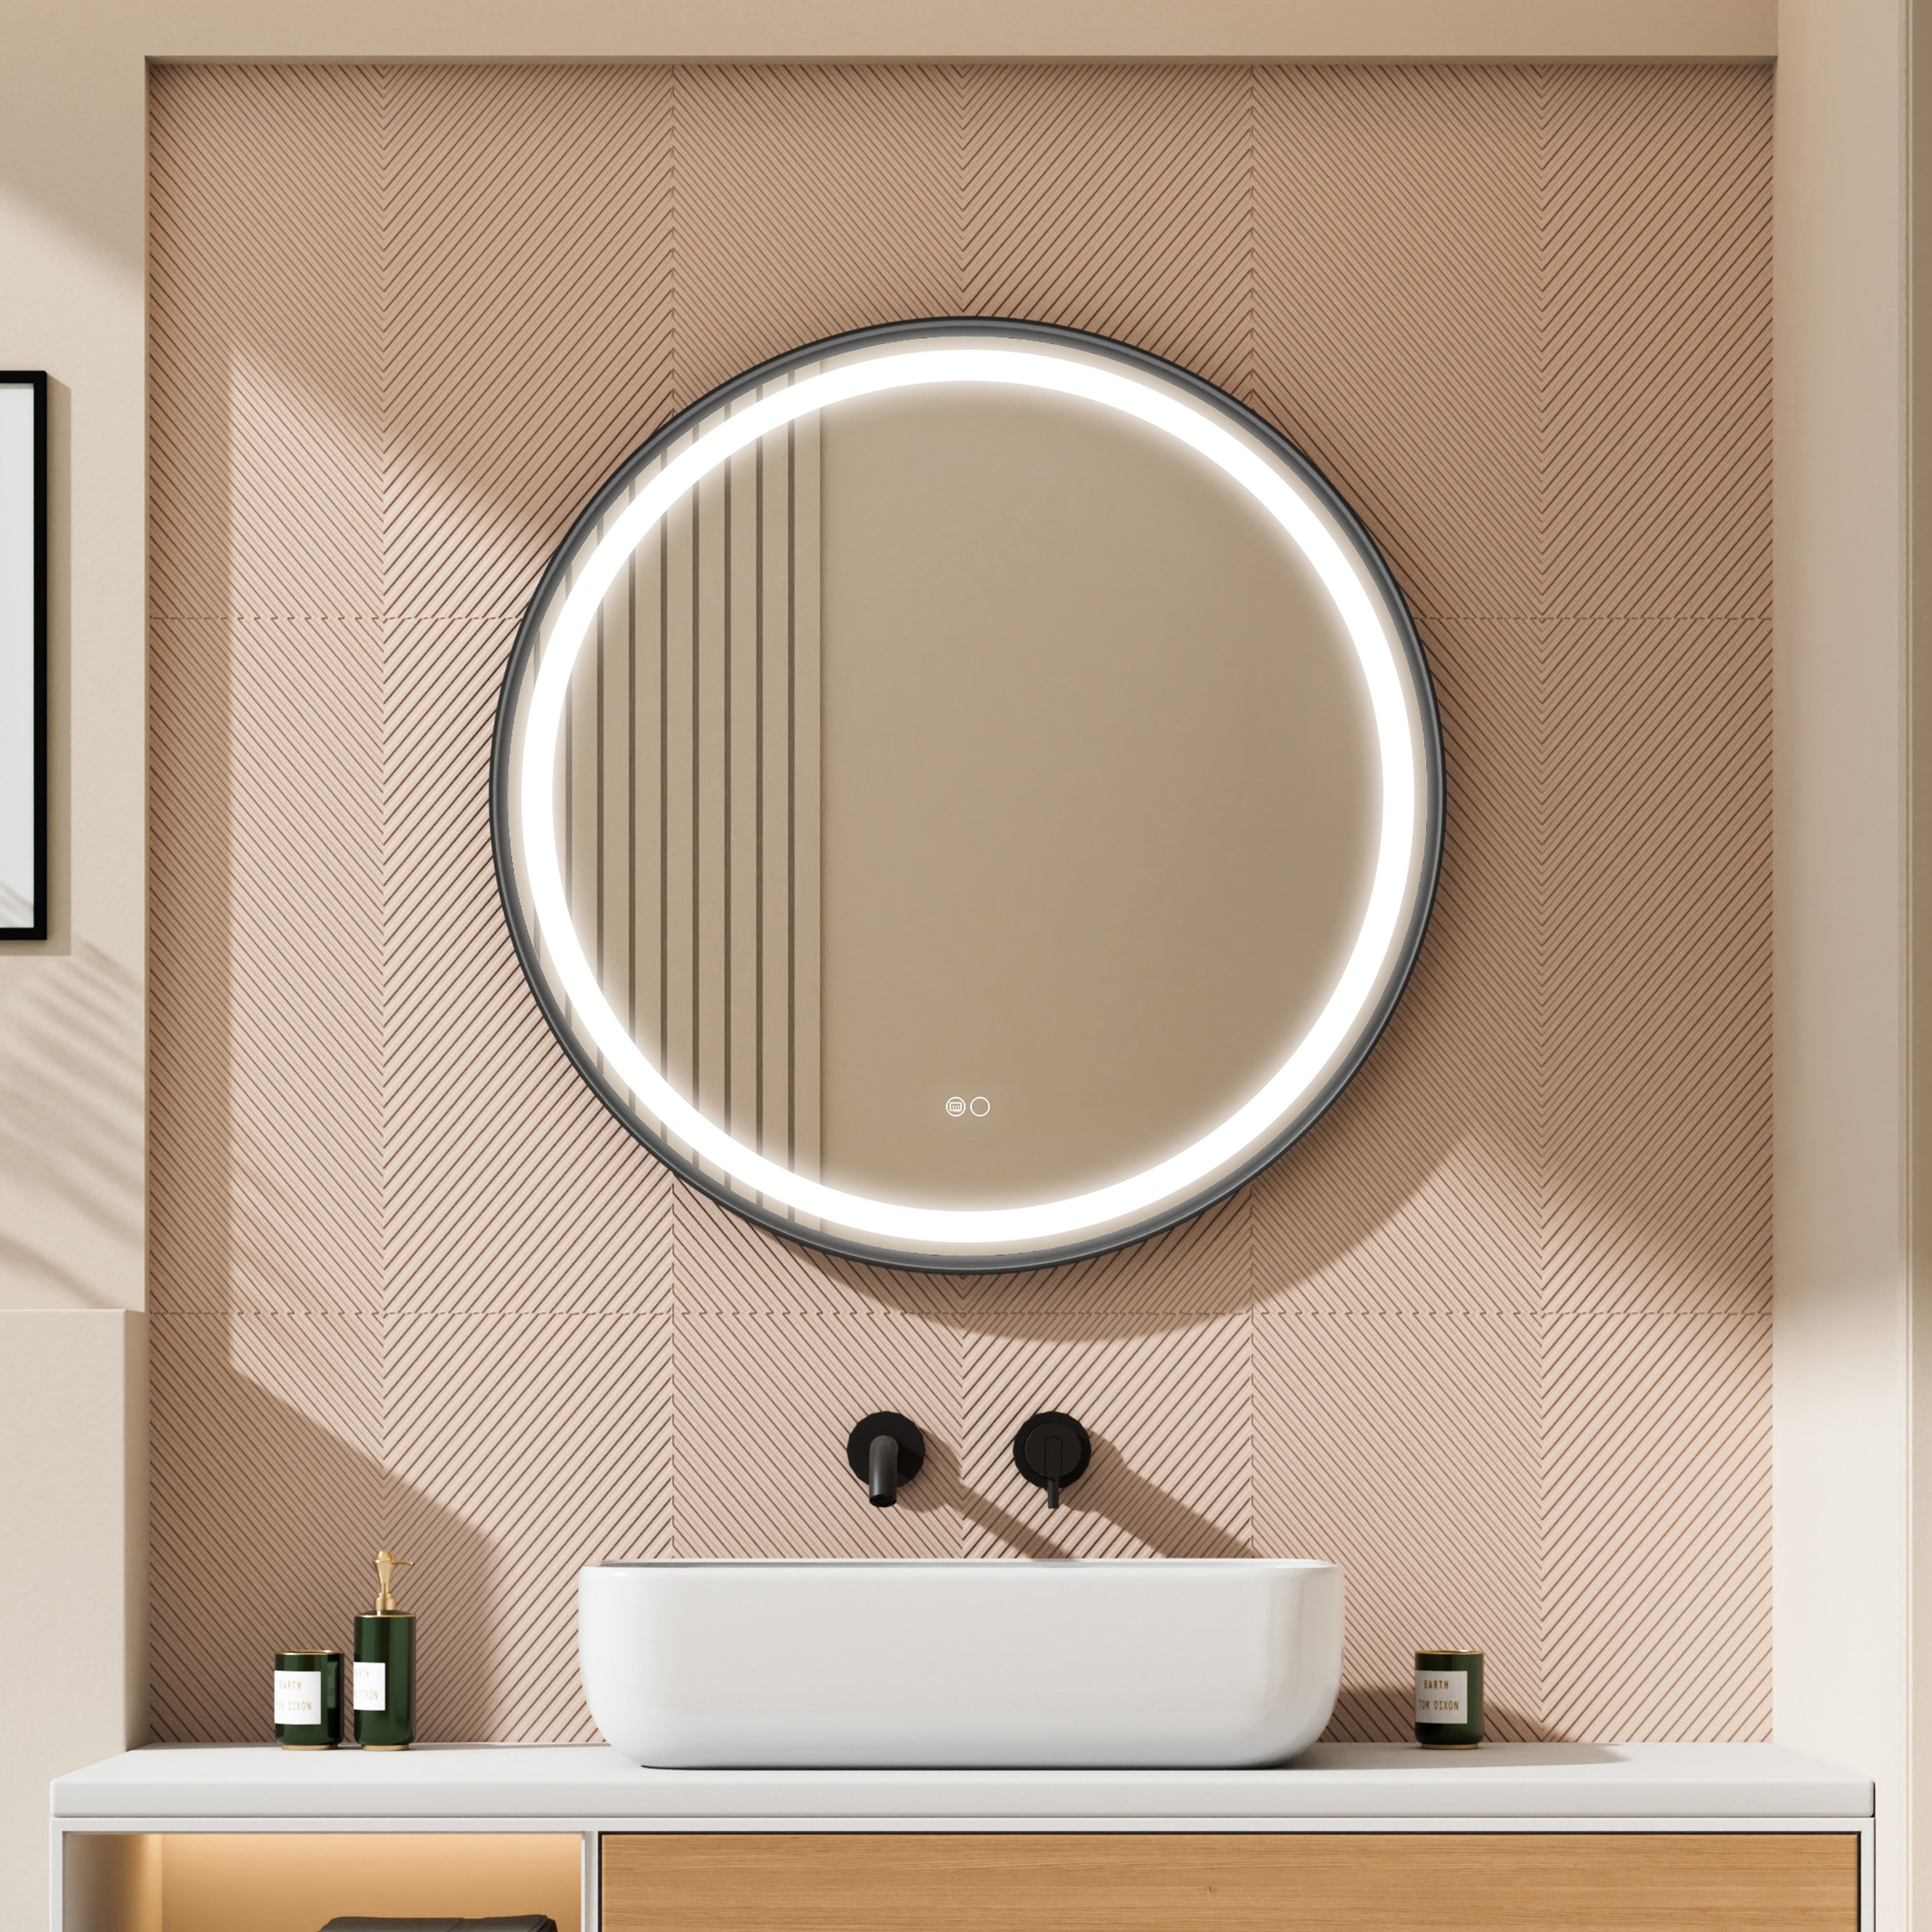
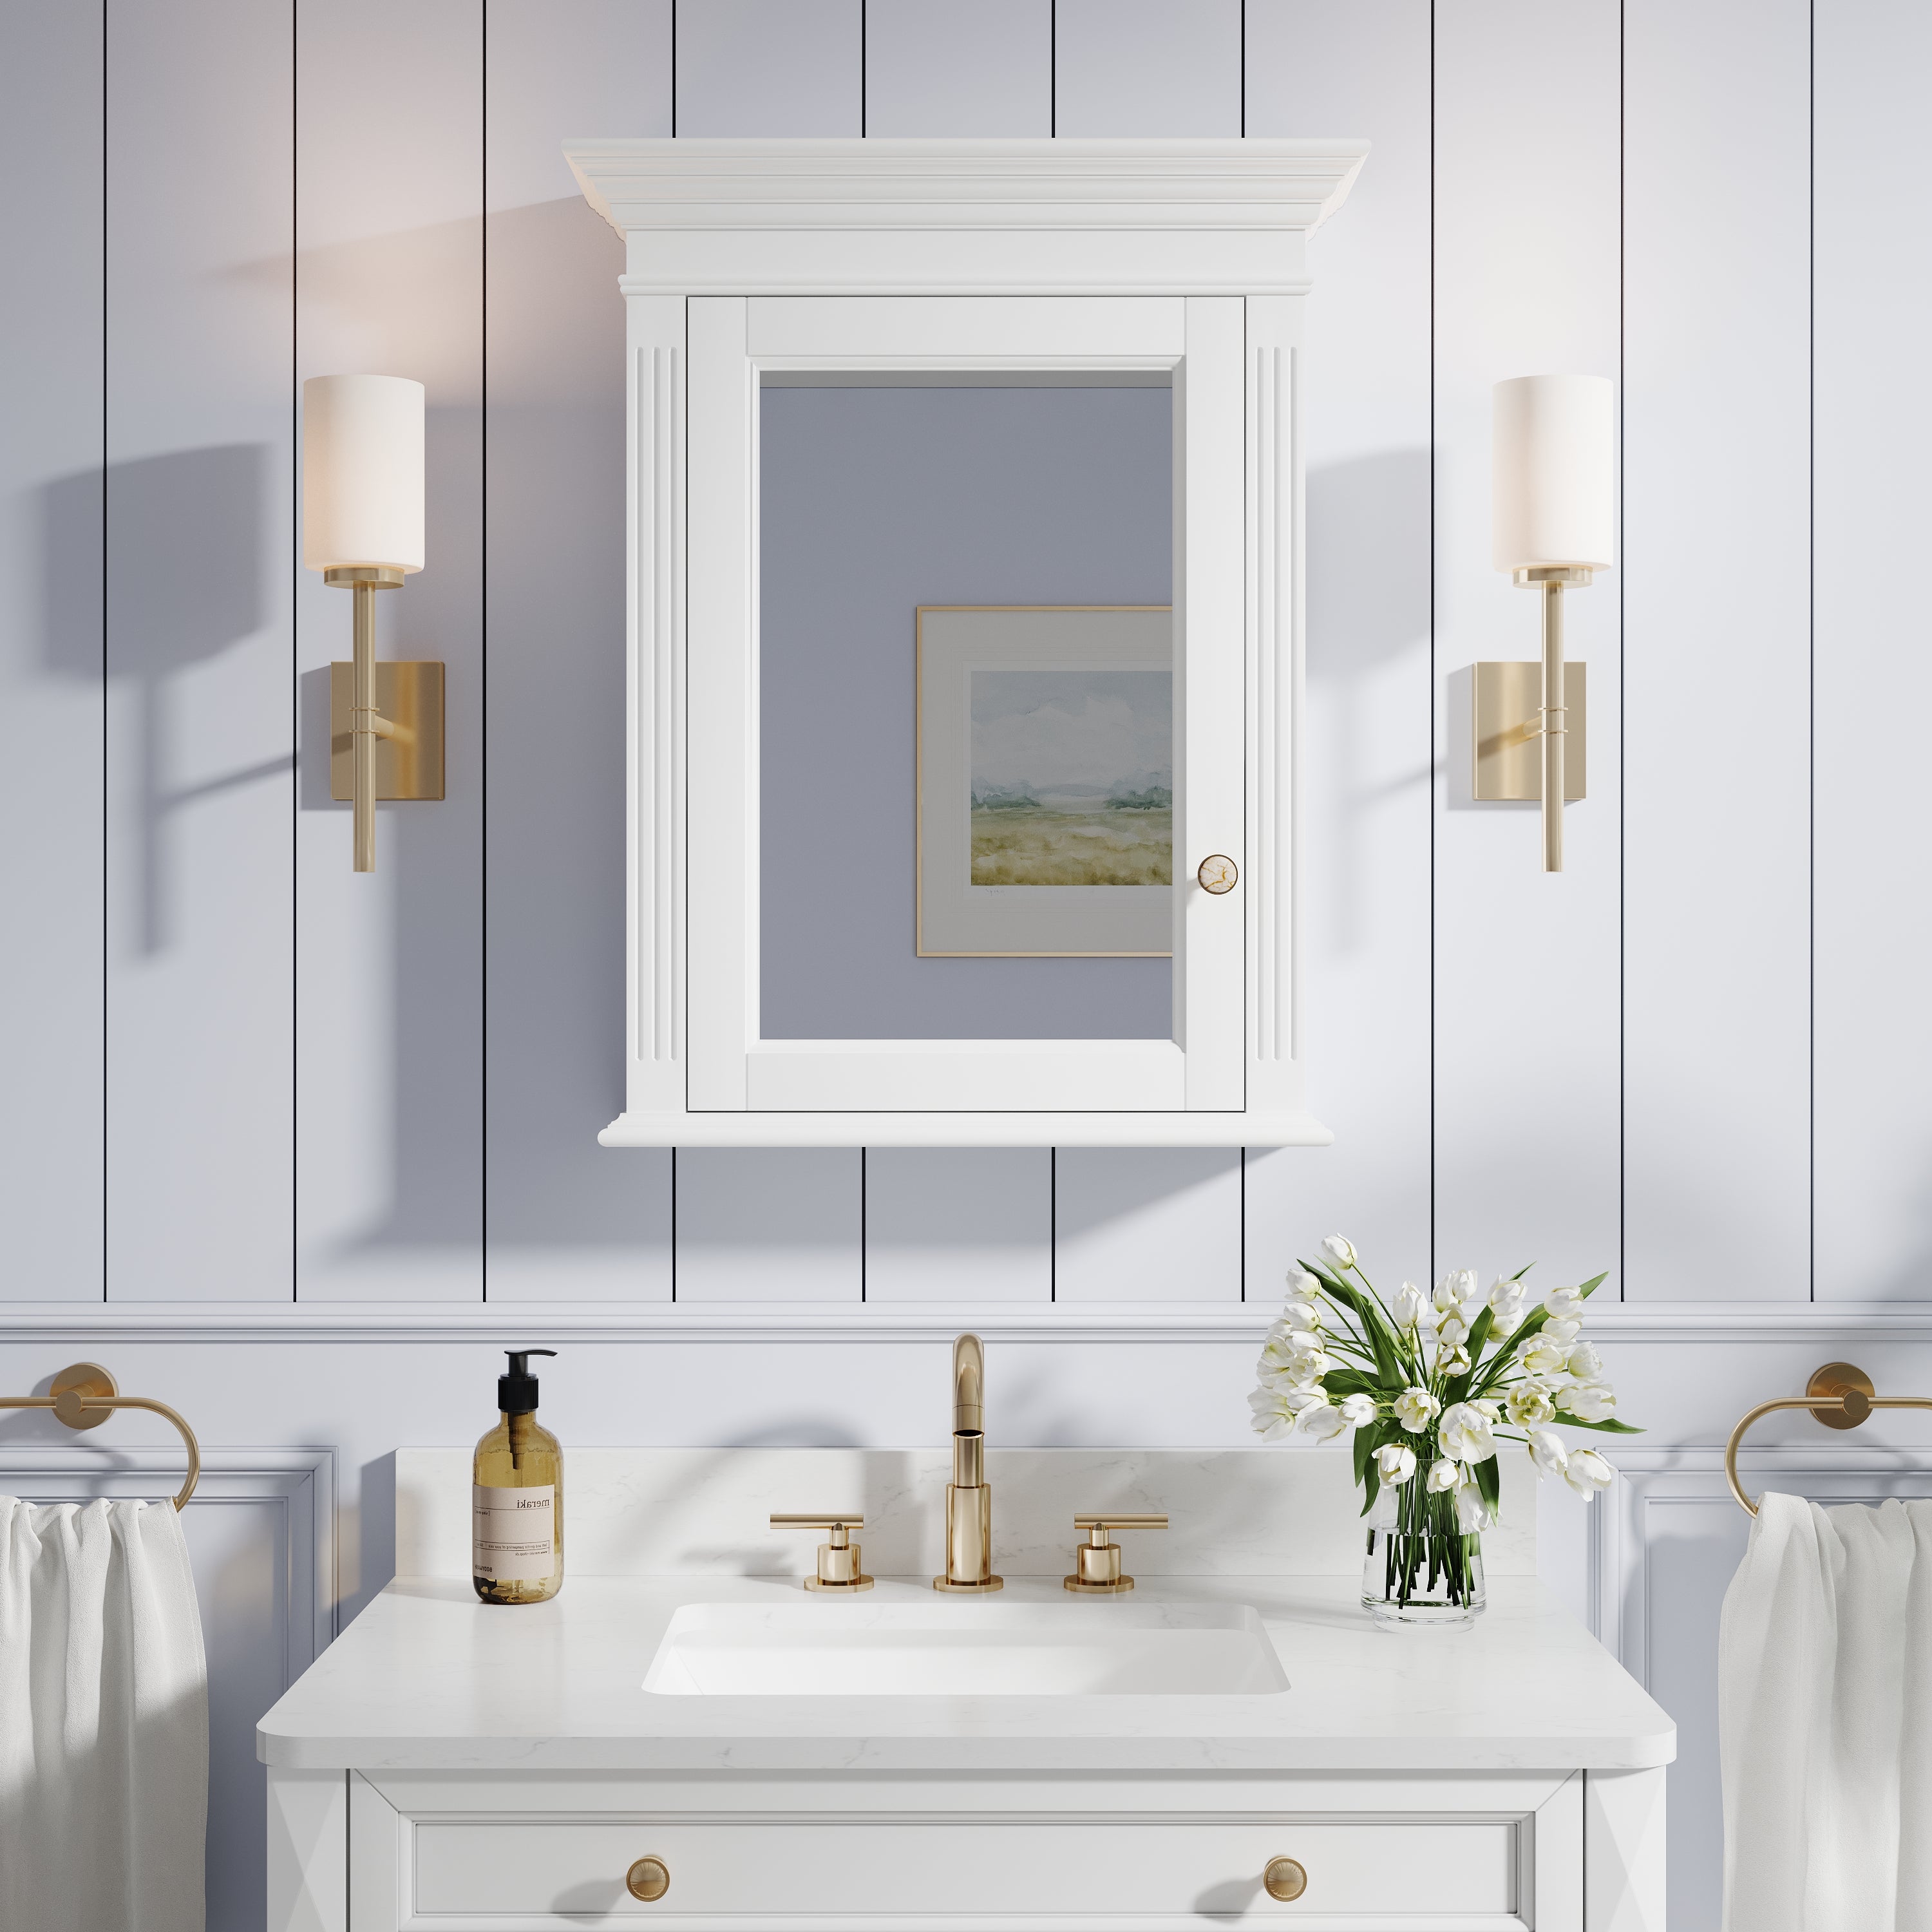
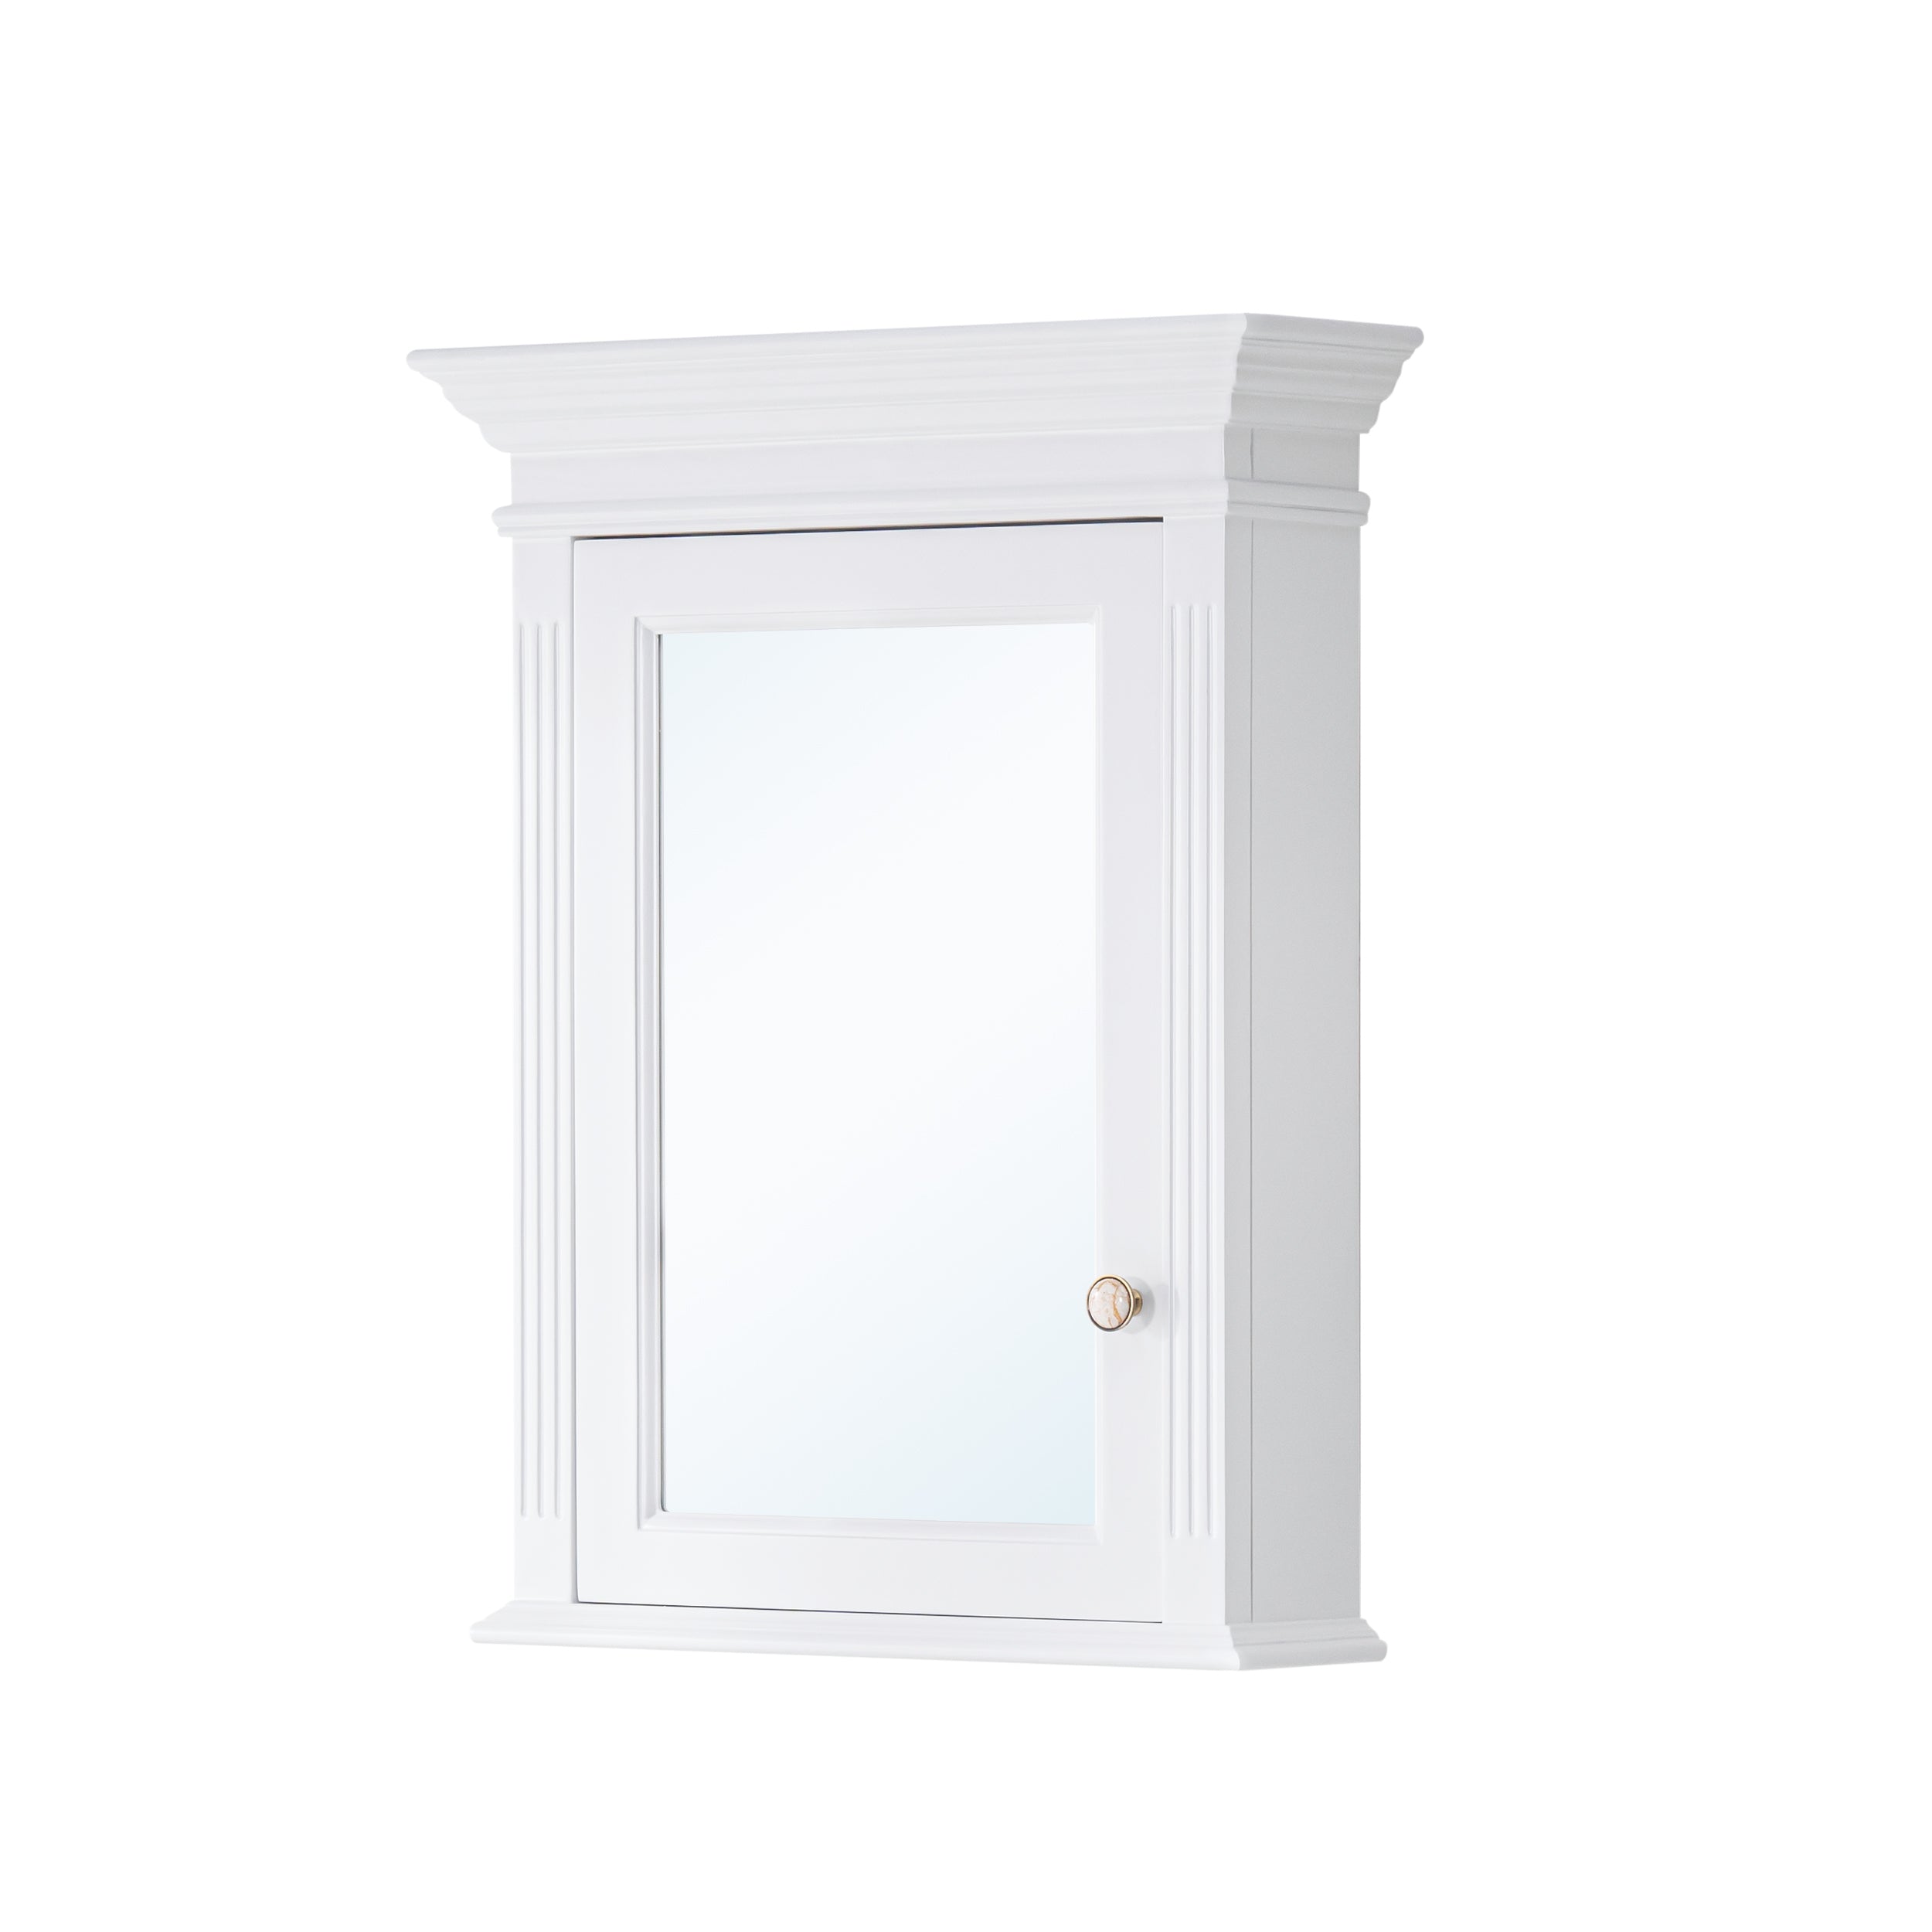
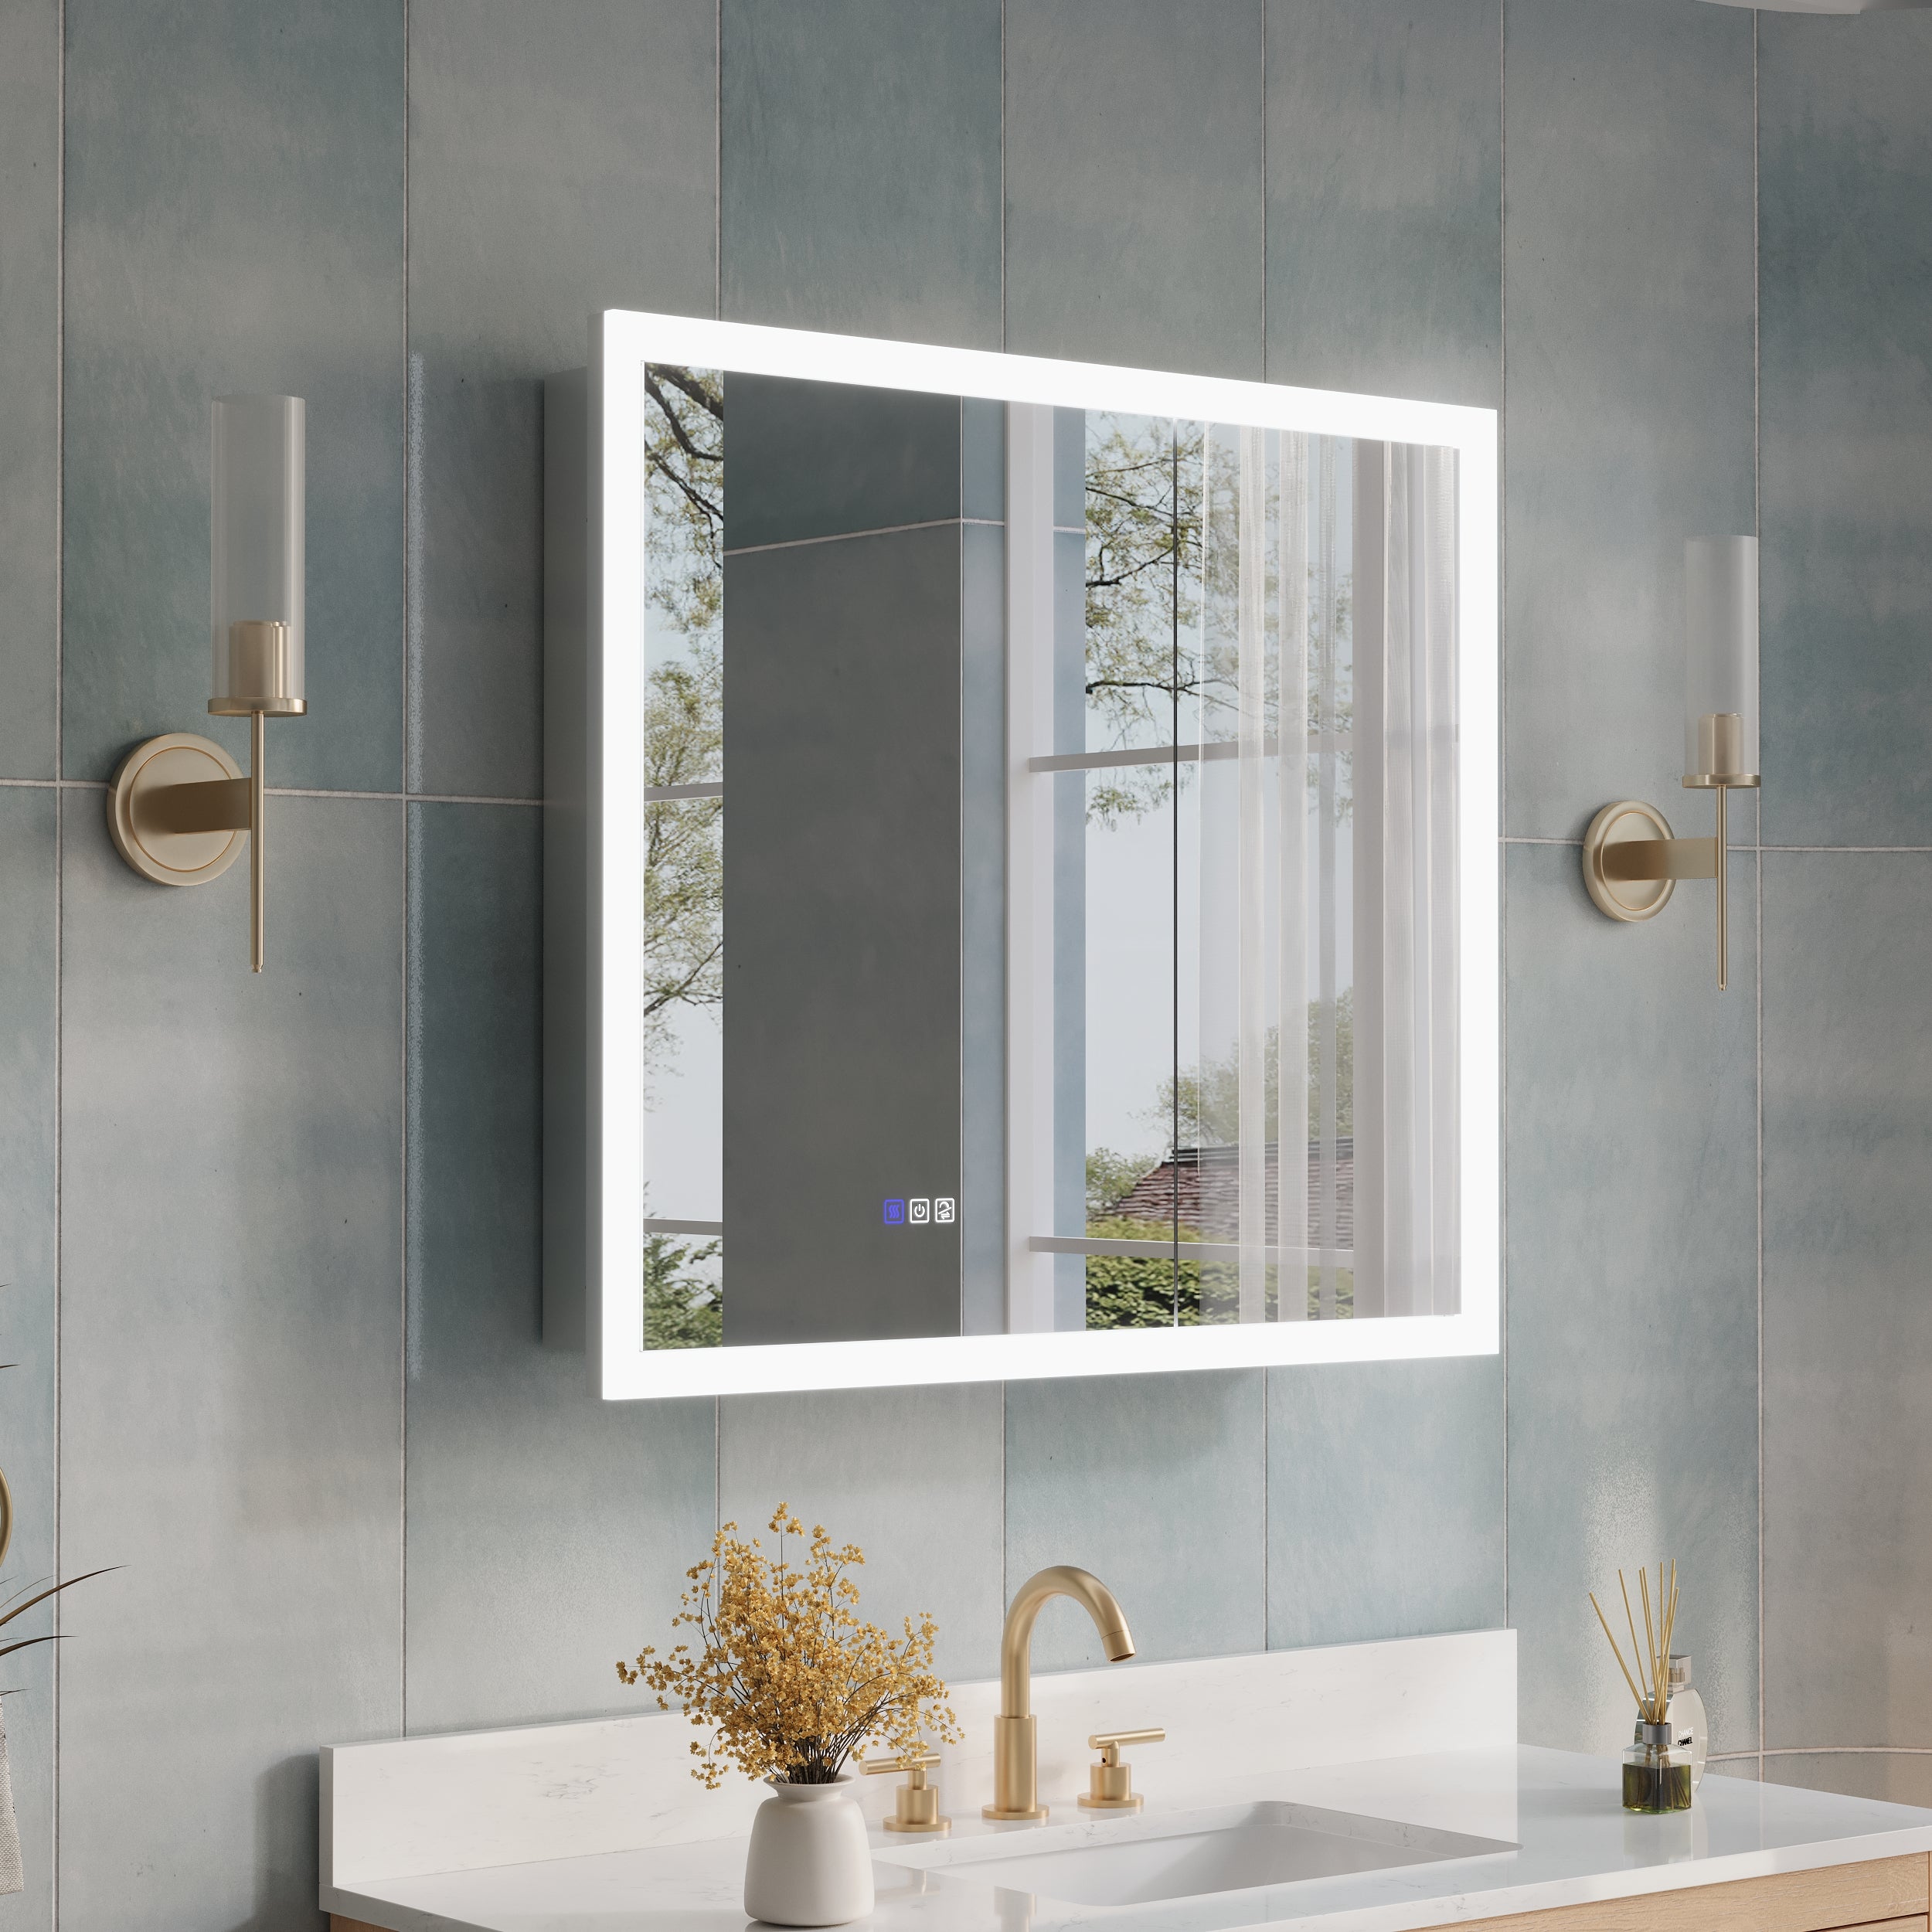
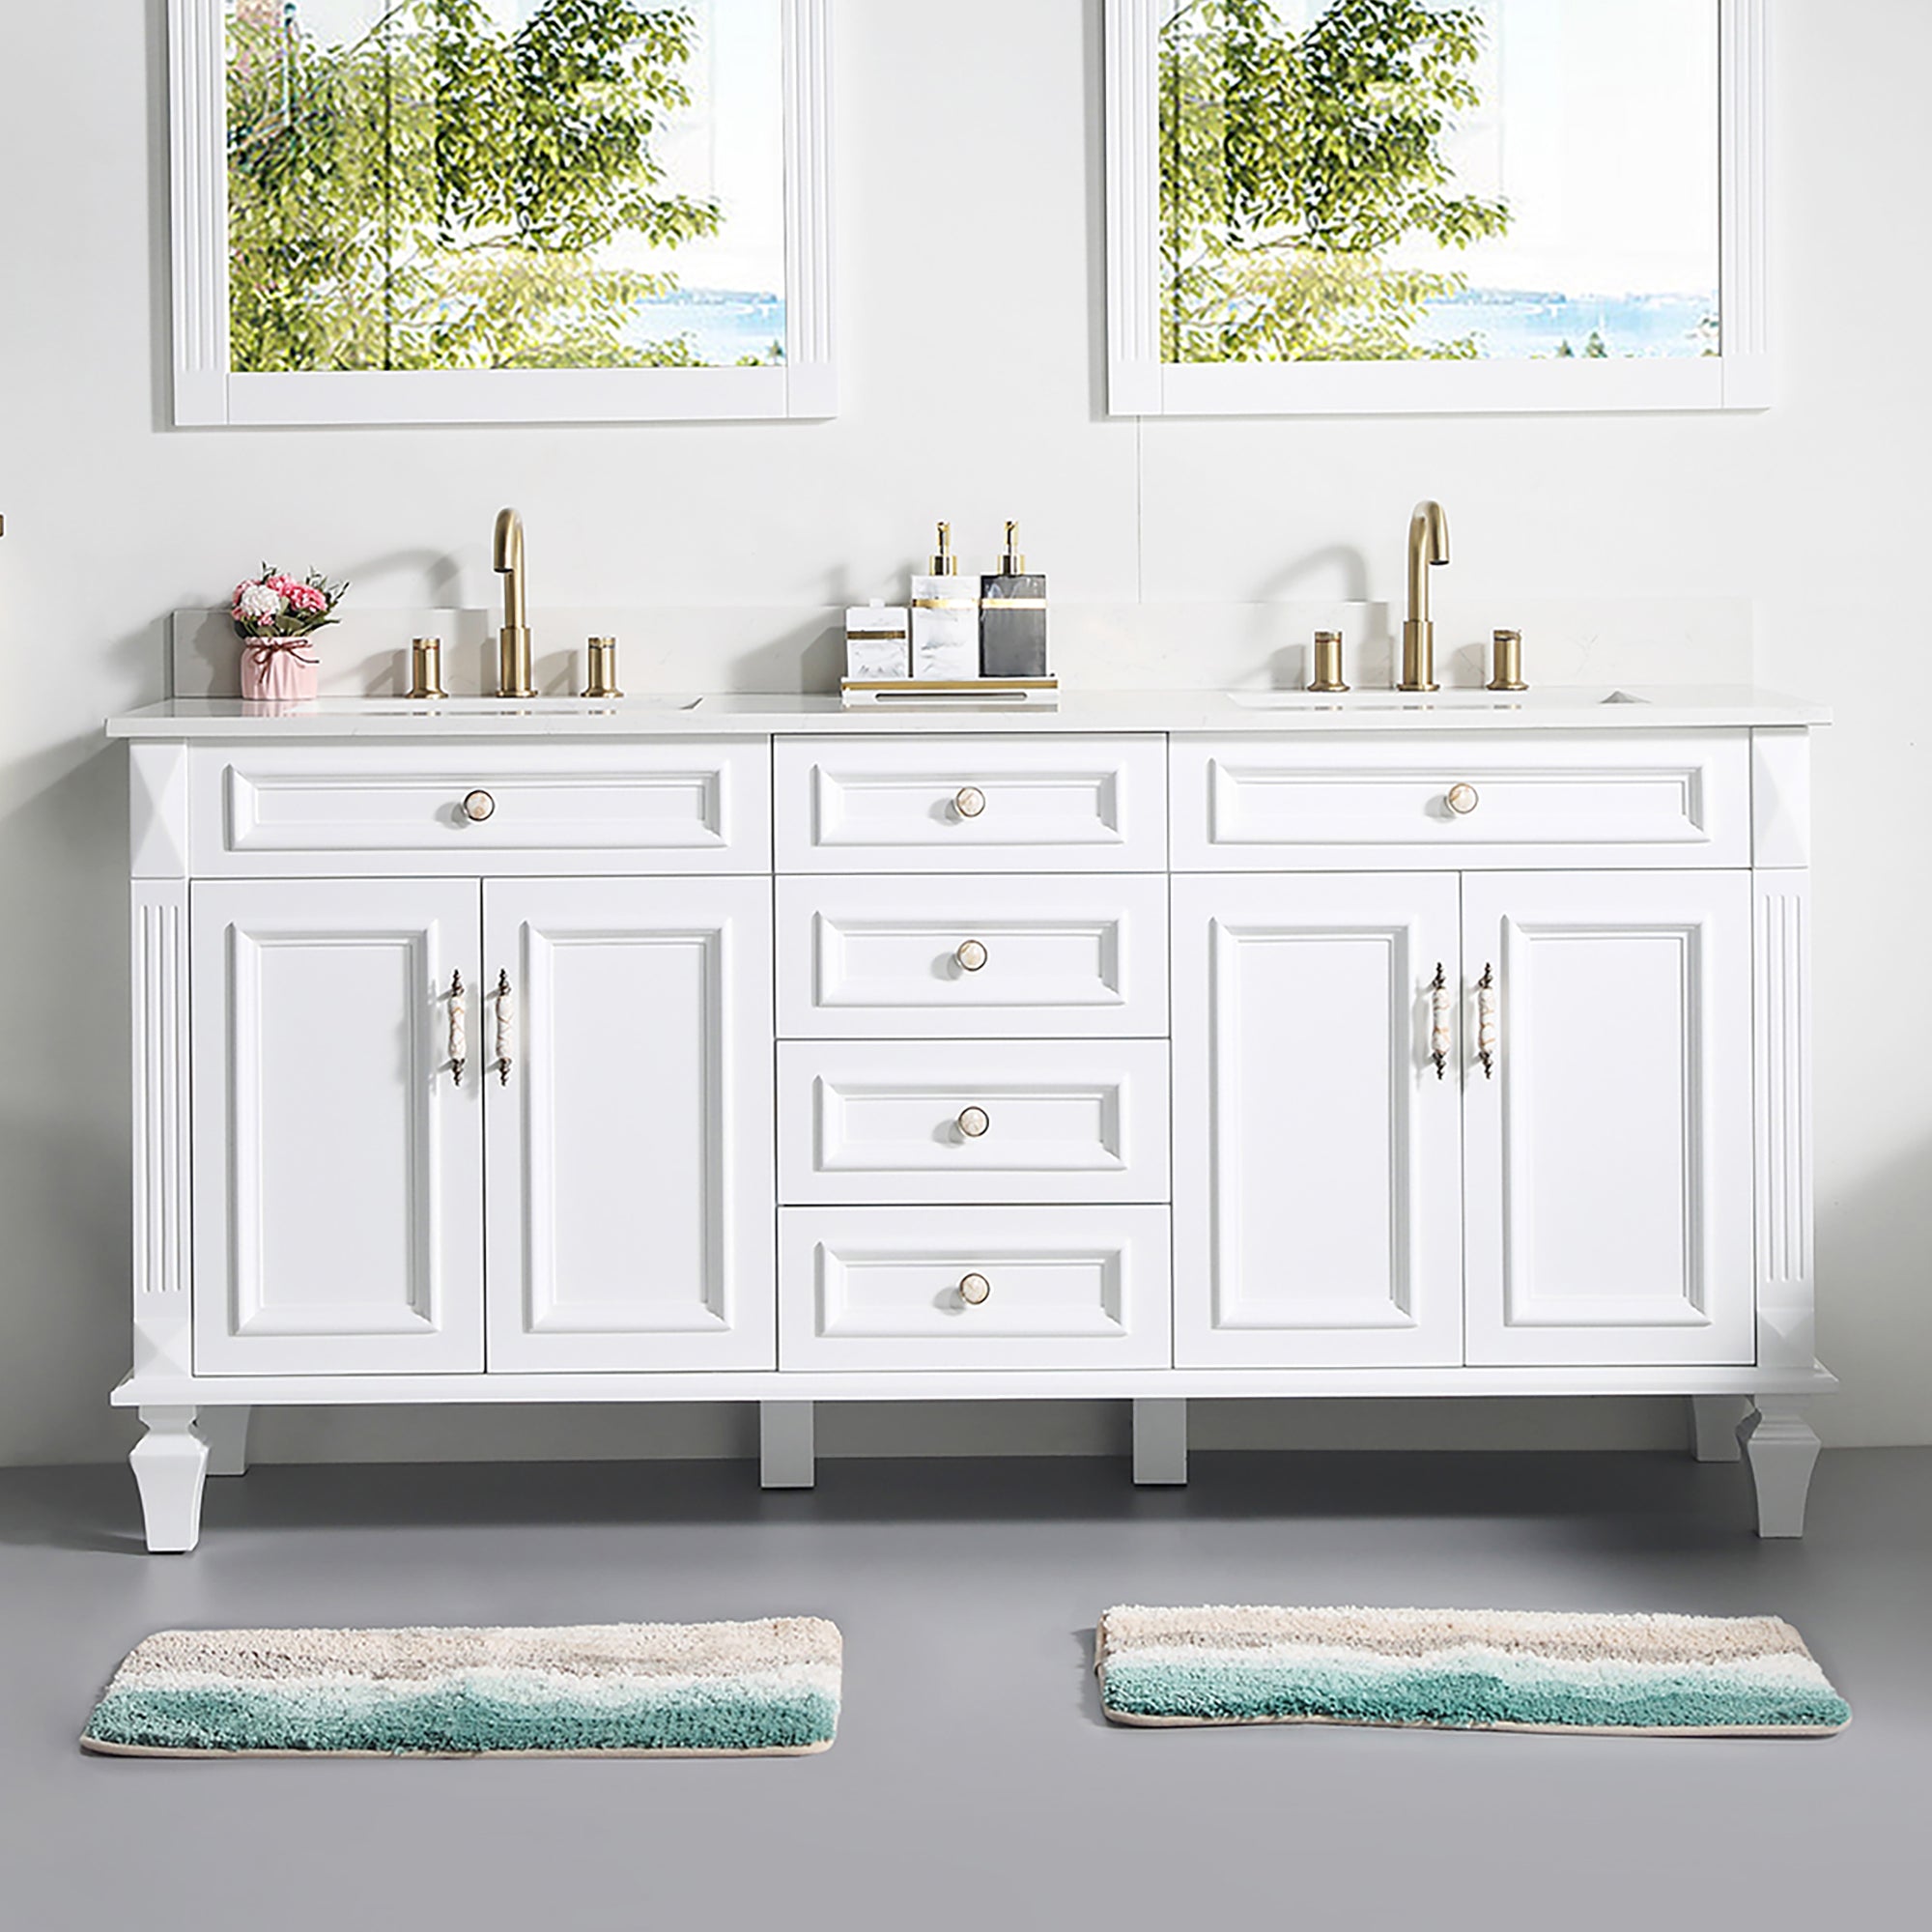
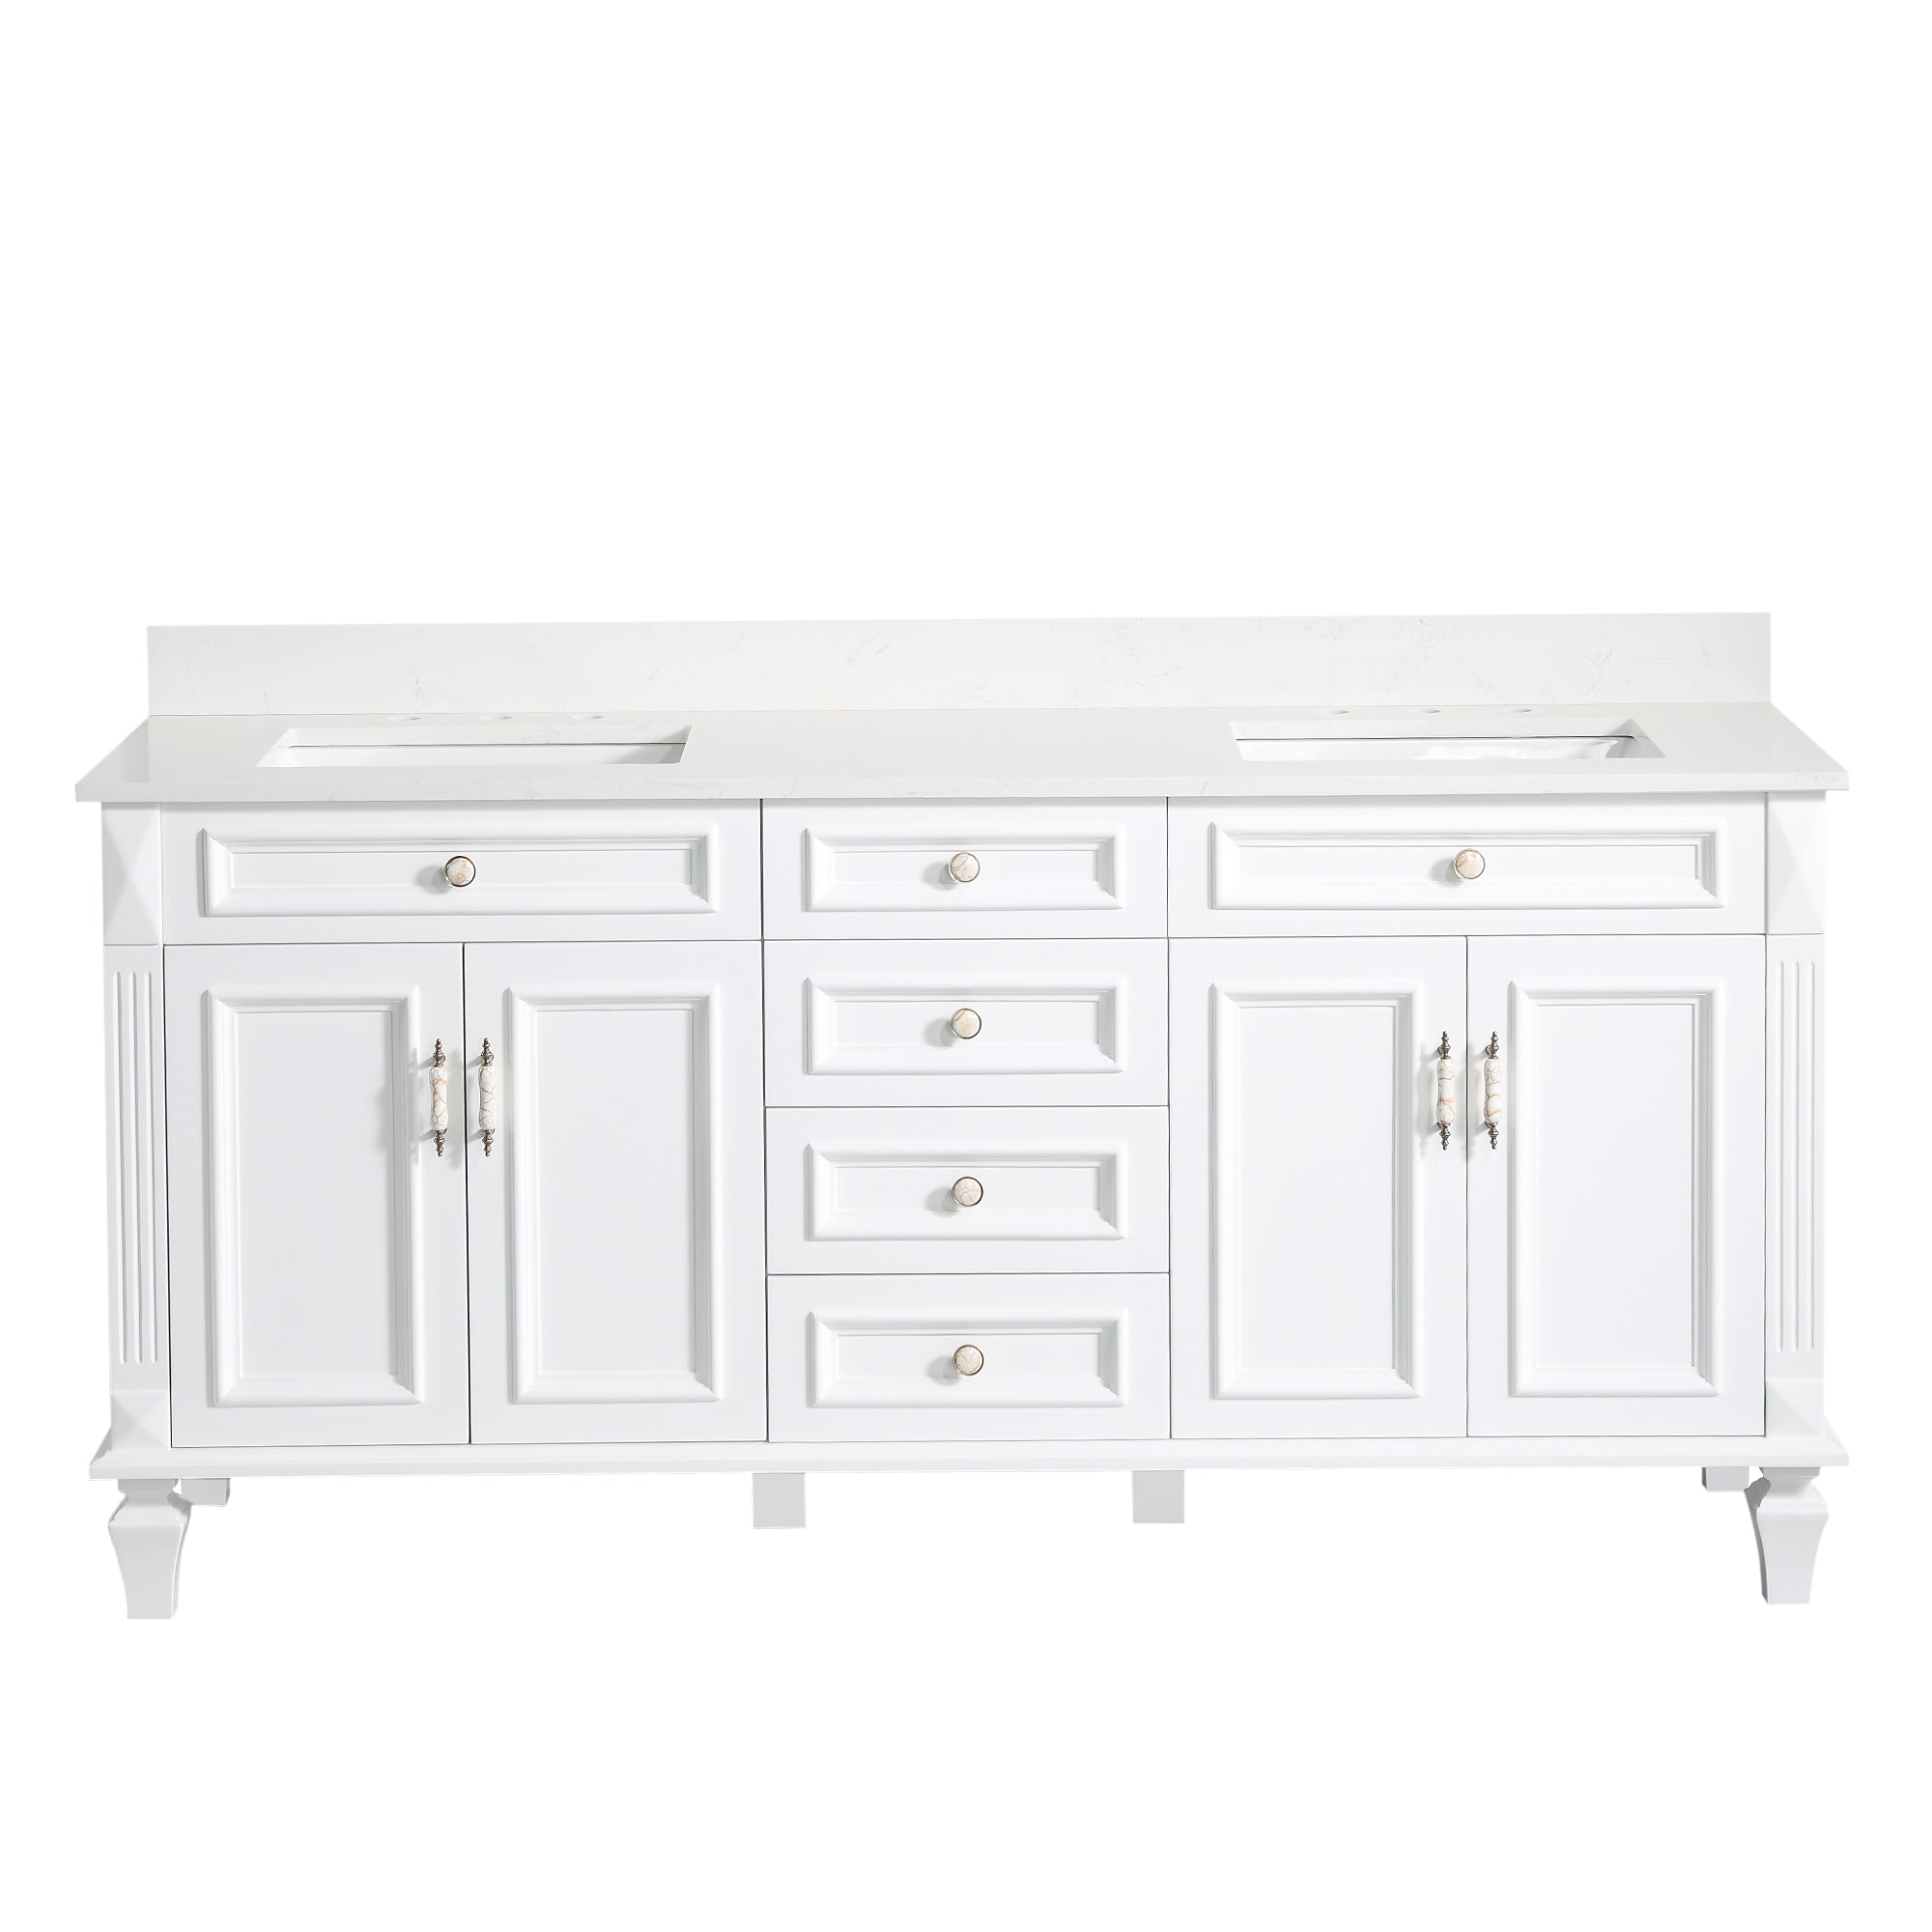
Pro Tip: If you're looking for pre-designed options, Wellfor offers exceptional lighted bathroom mirrors that are lightweight and renter-friendly, making them ideal for this type of setup.
Step-by-Step Guide to Installing a Bathroom Mirror with Light Without Drilling
Now that you have what you need, it's time to work on the installation. Follow these easy steps:
1. Choose the Right Spot
The placement of your bathroom mirror with light is crucial. Here are a few tips for selecting the perfect location:
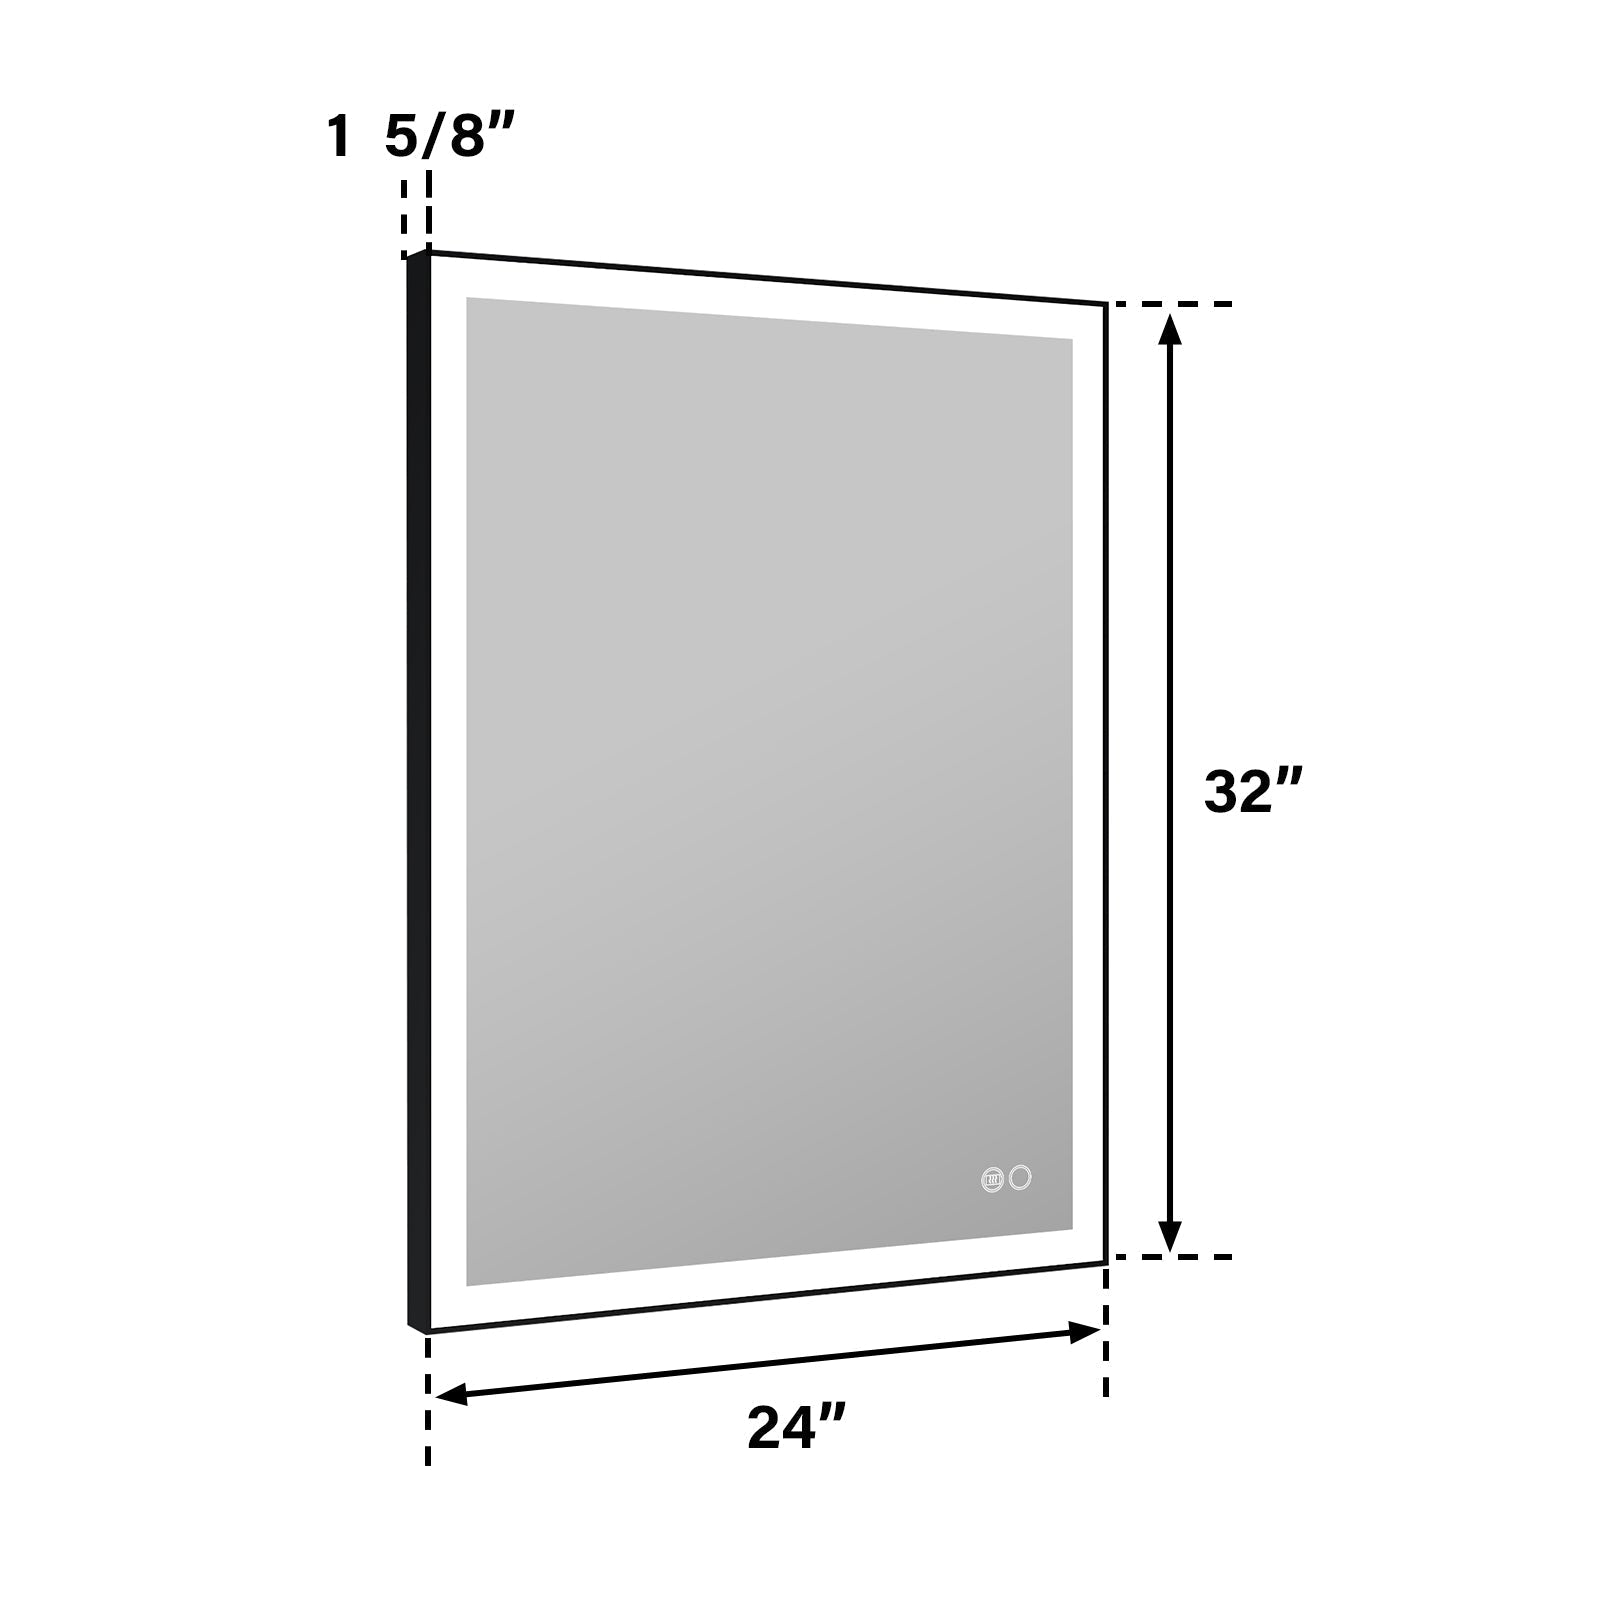
· Height: Make sure the mirror is positioned at eye level or slightly higher for optimal reflection. A height of around 57–60 inches from the floor is ideal for shared bathrooms.
· Lighting proximity: Place the mirror near an electrical outlet if the light on the mirror needs a power source. Consider the cord length and the need for extension cords.

2. Prep the Wall
A clean surface is key to ensuring the adhesive sticks properly. Here's how to prep:
· Use alcohol wipes or a damp cloth to clean the area where the mirror will be installed. This removes dust, oils, or grime that might weaken the adhesive.
· Wait for the surface to dry thoroughly before moving forward.
3. Apply Adhesive Strips or Mounting Tape
Now comes the fun part! Use high-quality, heavy-duty adhesive strips or double-sided mounting tape. Here's how to do it:
· Cut the adhesive to fit the length of the mirror's back edges. Apply multiple strips for even support.
· Press the adhesive firmly onto the back of the mirror, focusing on corners and edges for extra strength.
· Check the weight-rating capacity of your adhesive strips. Ensure they can handle the weight of your bathroom mirror with light.
4. Position and Attach the Mirror
Here's where precision comes into play. Follow these steps for a clean installation:
· Use a level to ensure your mirror will hang straight. Mark the spot lightly with a pencil.
· With the adhesive in place, carefully press the mirror against the wall. Start from the bottom and push upwards to prevent any air bubbles.
· Hold the mirror for 30–60 seconds, applying consistent pressure to help the adhesive bond properly.
5. Secure the Mirror (Optional)
If your bathroom mirror with light is on the heavier side, consider adding adhesive-backed hooks for additional support:
· Place hooks either beneath or on the sides of the mirror for an even distribution of weight.
· Most adhesive hooks can hold several pounds and make an excellent backup for peace of mind.
6. Add Final Touches
Once the mirror is set, plug it in (if applicable) and test the light feature. Adjust the brightness to your preferred level, and voila! You now have a sleek, professional-looking bathroom mirror with light, no power tools needed.
Mistakes to Avoid During Installation
To ensure your mirror stays securely in place, steer clear of these common mistakes:
· Skipping cleaning: Adhesives won't stick well to dirty or damp surfaces. Prepping the wall is non-negotiable!
· Underestimating mirror weight: Some adhesive products are designed only for lightweight items. Always double-check the weight capacity.
· Hasty placement: Once your mirror is attached, it's tough to reposition without damaging the adhesive. Measure twice, stick once!
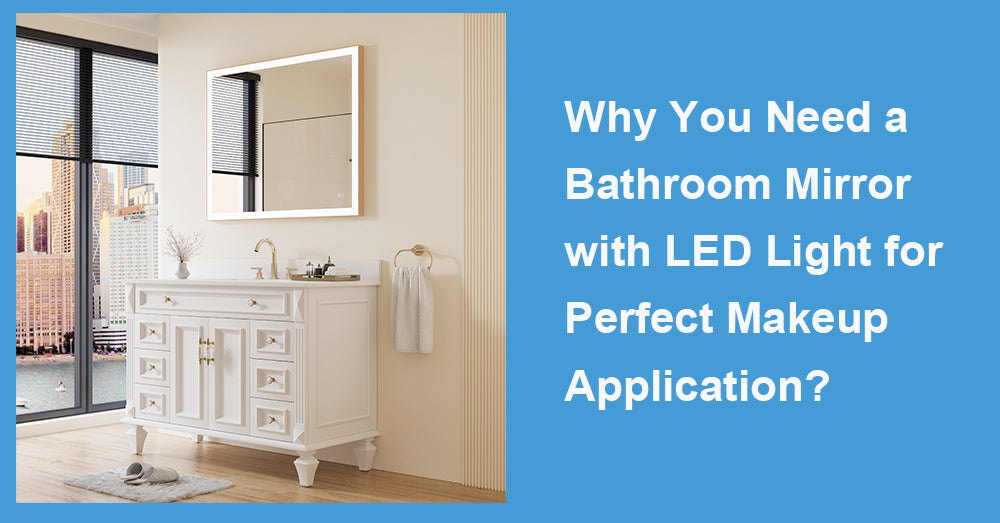
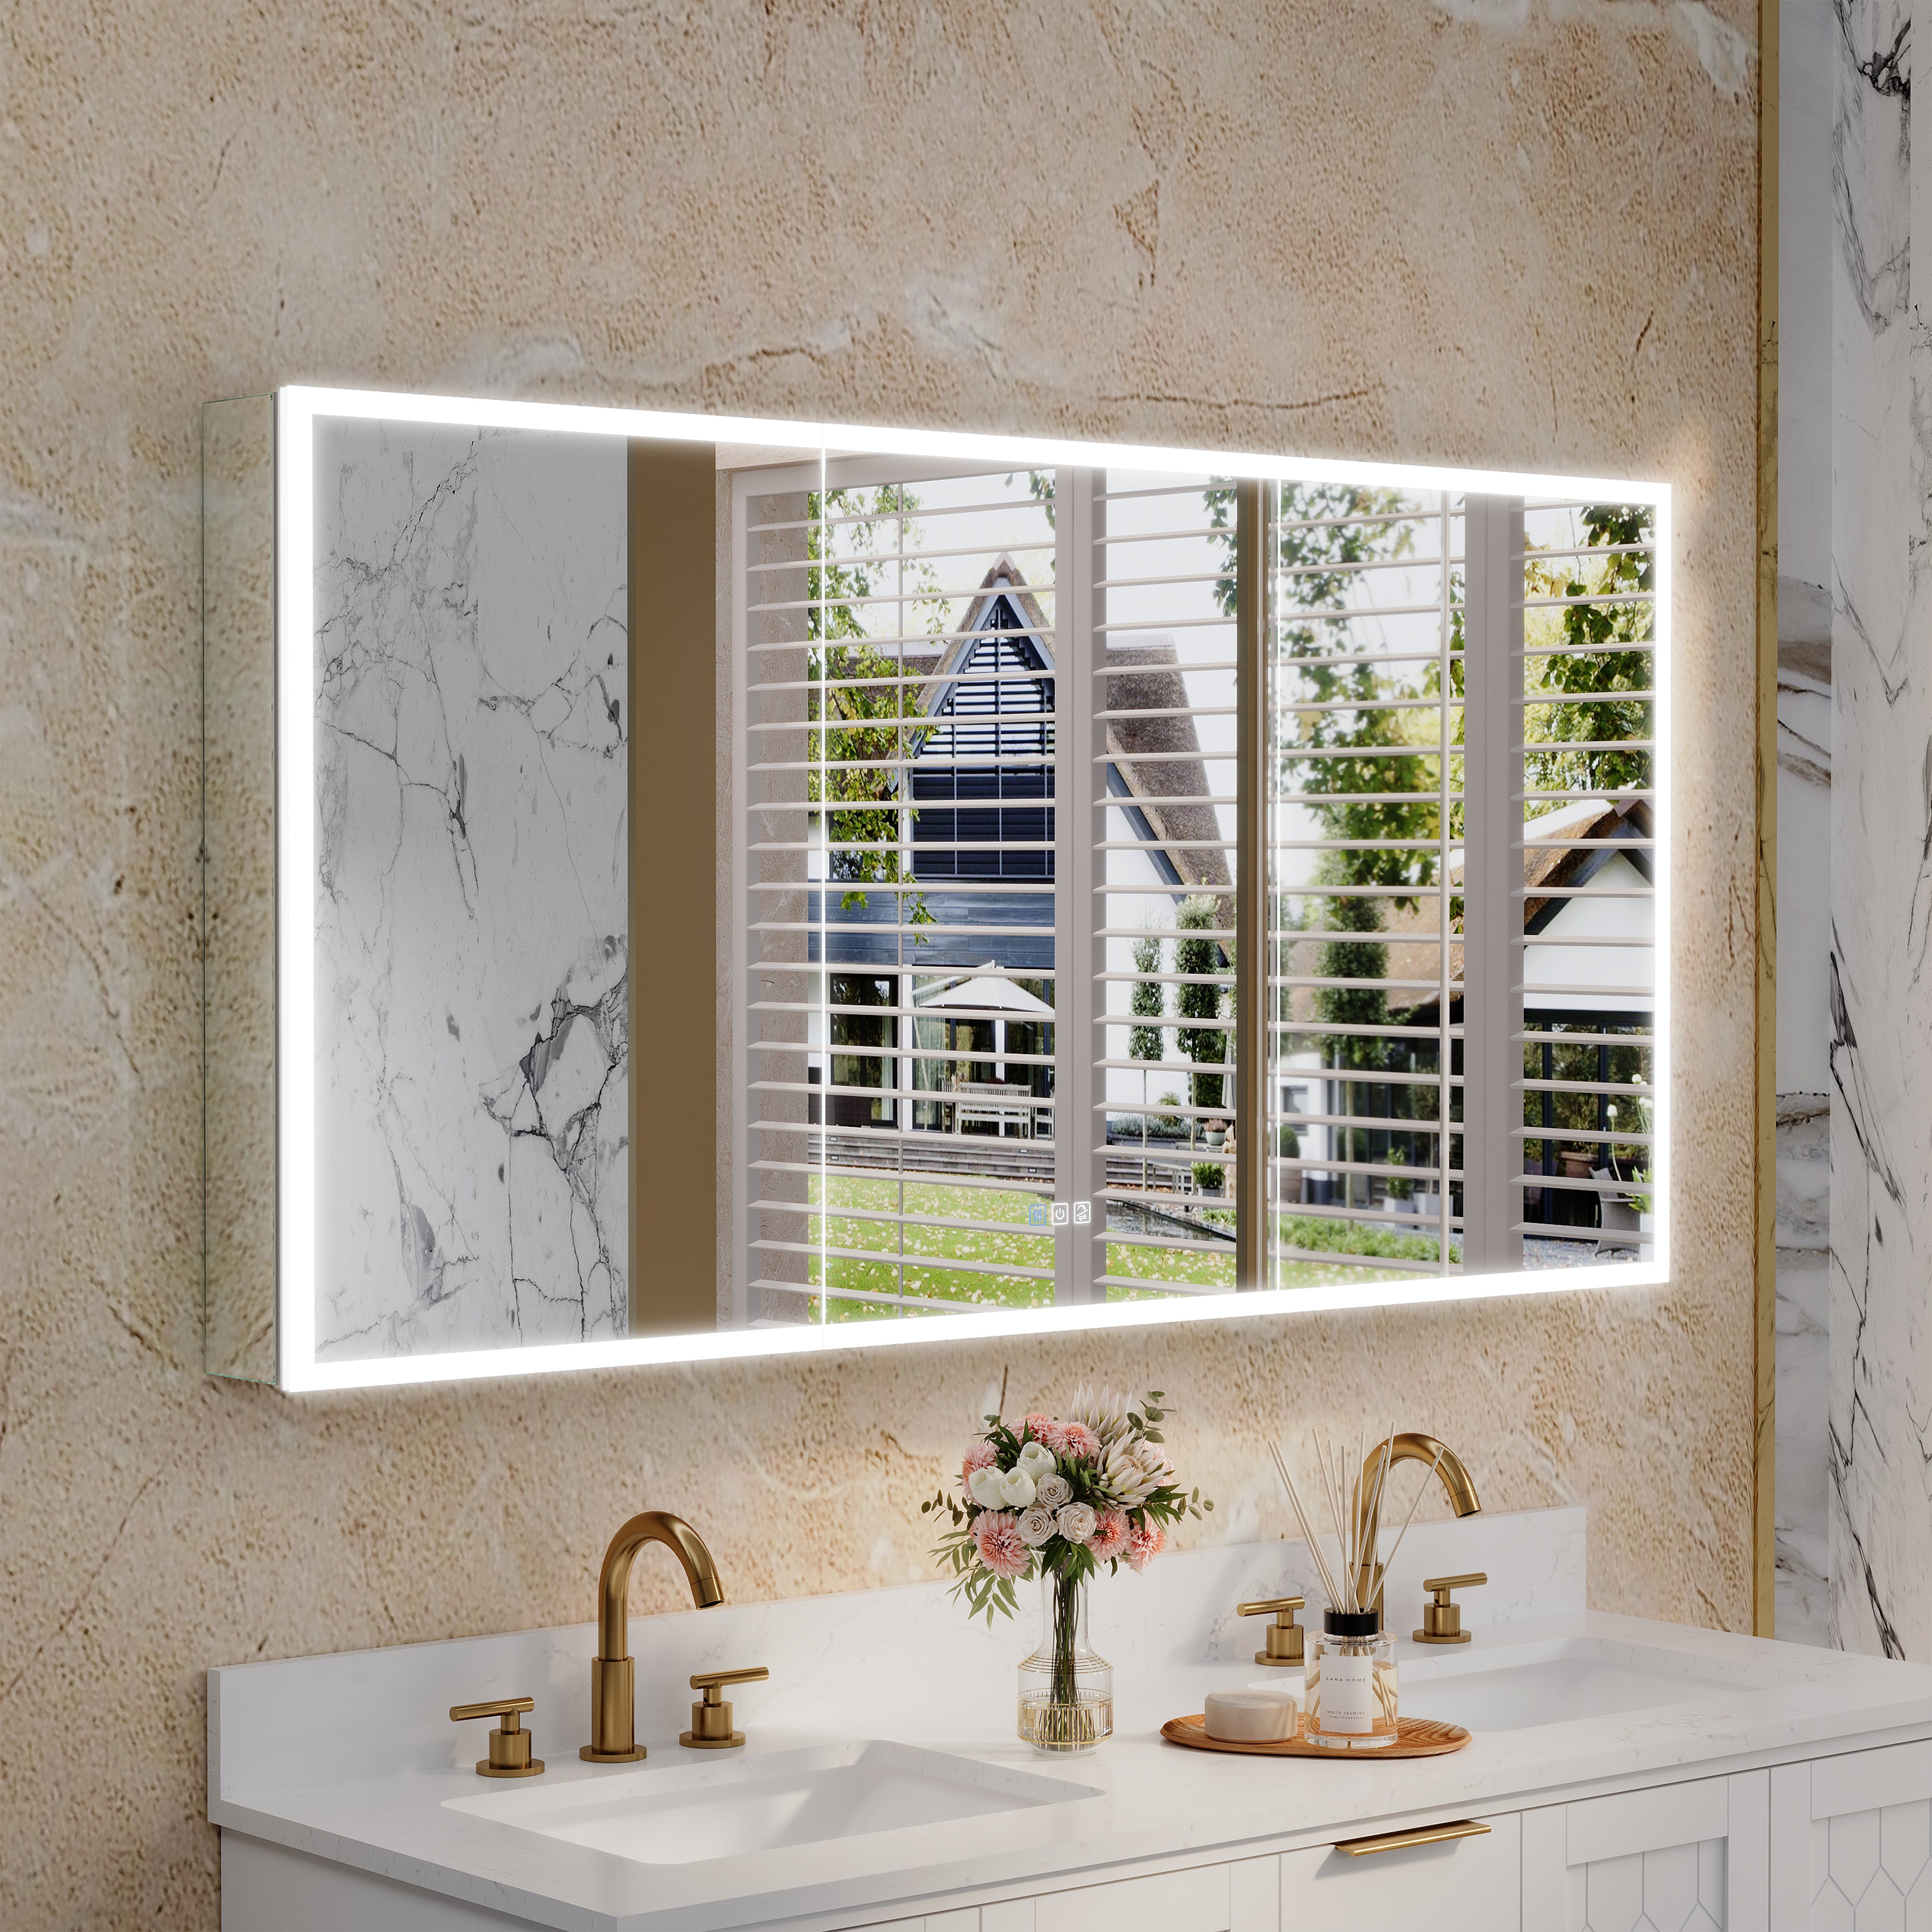
Why a Bathroom Mirror with Light is Worth the Upgrade
If you're still on the fence about investing in a lighted mirror, here's why it's a great addition to your home:
· Enhanced lighting: These mirrors offer superior illumination, perfect for detailed tasks like makeup application or shaving.
· Energy-efficient options: Brands like Wellfor often provide LED mirrors, which consume less electricity than traditional light bulbs.
· Style boost: Lighted mirrors come in sleek designs that elevate your bathroom's overall look and feel.
Whether creating a serene spa vibe or upgrading an everyday space, a bathroom mirror with light delivers both form and function.
Maintenance Tips for Your Bathroom Mirror with Light
Once installed, proper care is essential to keep your mirror looking and functioning at its best. Here’s how to maintain it:
· Regular cleaning: Wipe the mirror with a microfiber cloth to remove streaks. For tough spots, use a mixture of vinegar and water.
· Dust the lights: Dust tends to settle on LED strips and frames. A gentle weekly cleaning will keep the light shining bright.
· Check adhesive integrity: Occasionally inspect the adhesive to ensure it’s still secure, especially in humid environments.
Final Thoughts
Installing a bathroom mirror with light without drilling holes is a game-changer for those seeking a stylish upgrade without permanent alterations. By following the steps outlined here, you’ll achieve a modern, illuminated look while keeping your walls intact. Whether you’re renting, renovating, or simply exploring DIY projects, this method lets you create a polished bathroom aesthetic in no time.
Looking for a stunning and functional mirror? Wellfor’s lighted bathroom mirrors combine cutting-edge design with ease of installation, making them perfect for this drill-free process. Give it a try and elevate your space today!


Leave a comment
This site is protected by hCaptcha and the hCaptcha Privacy Policy and Terms of Service apply.