


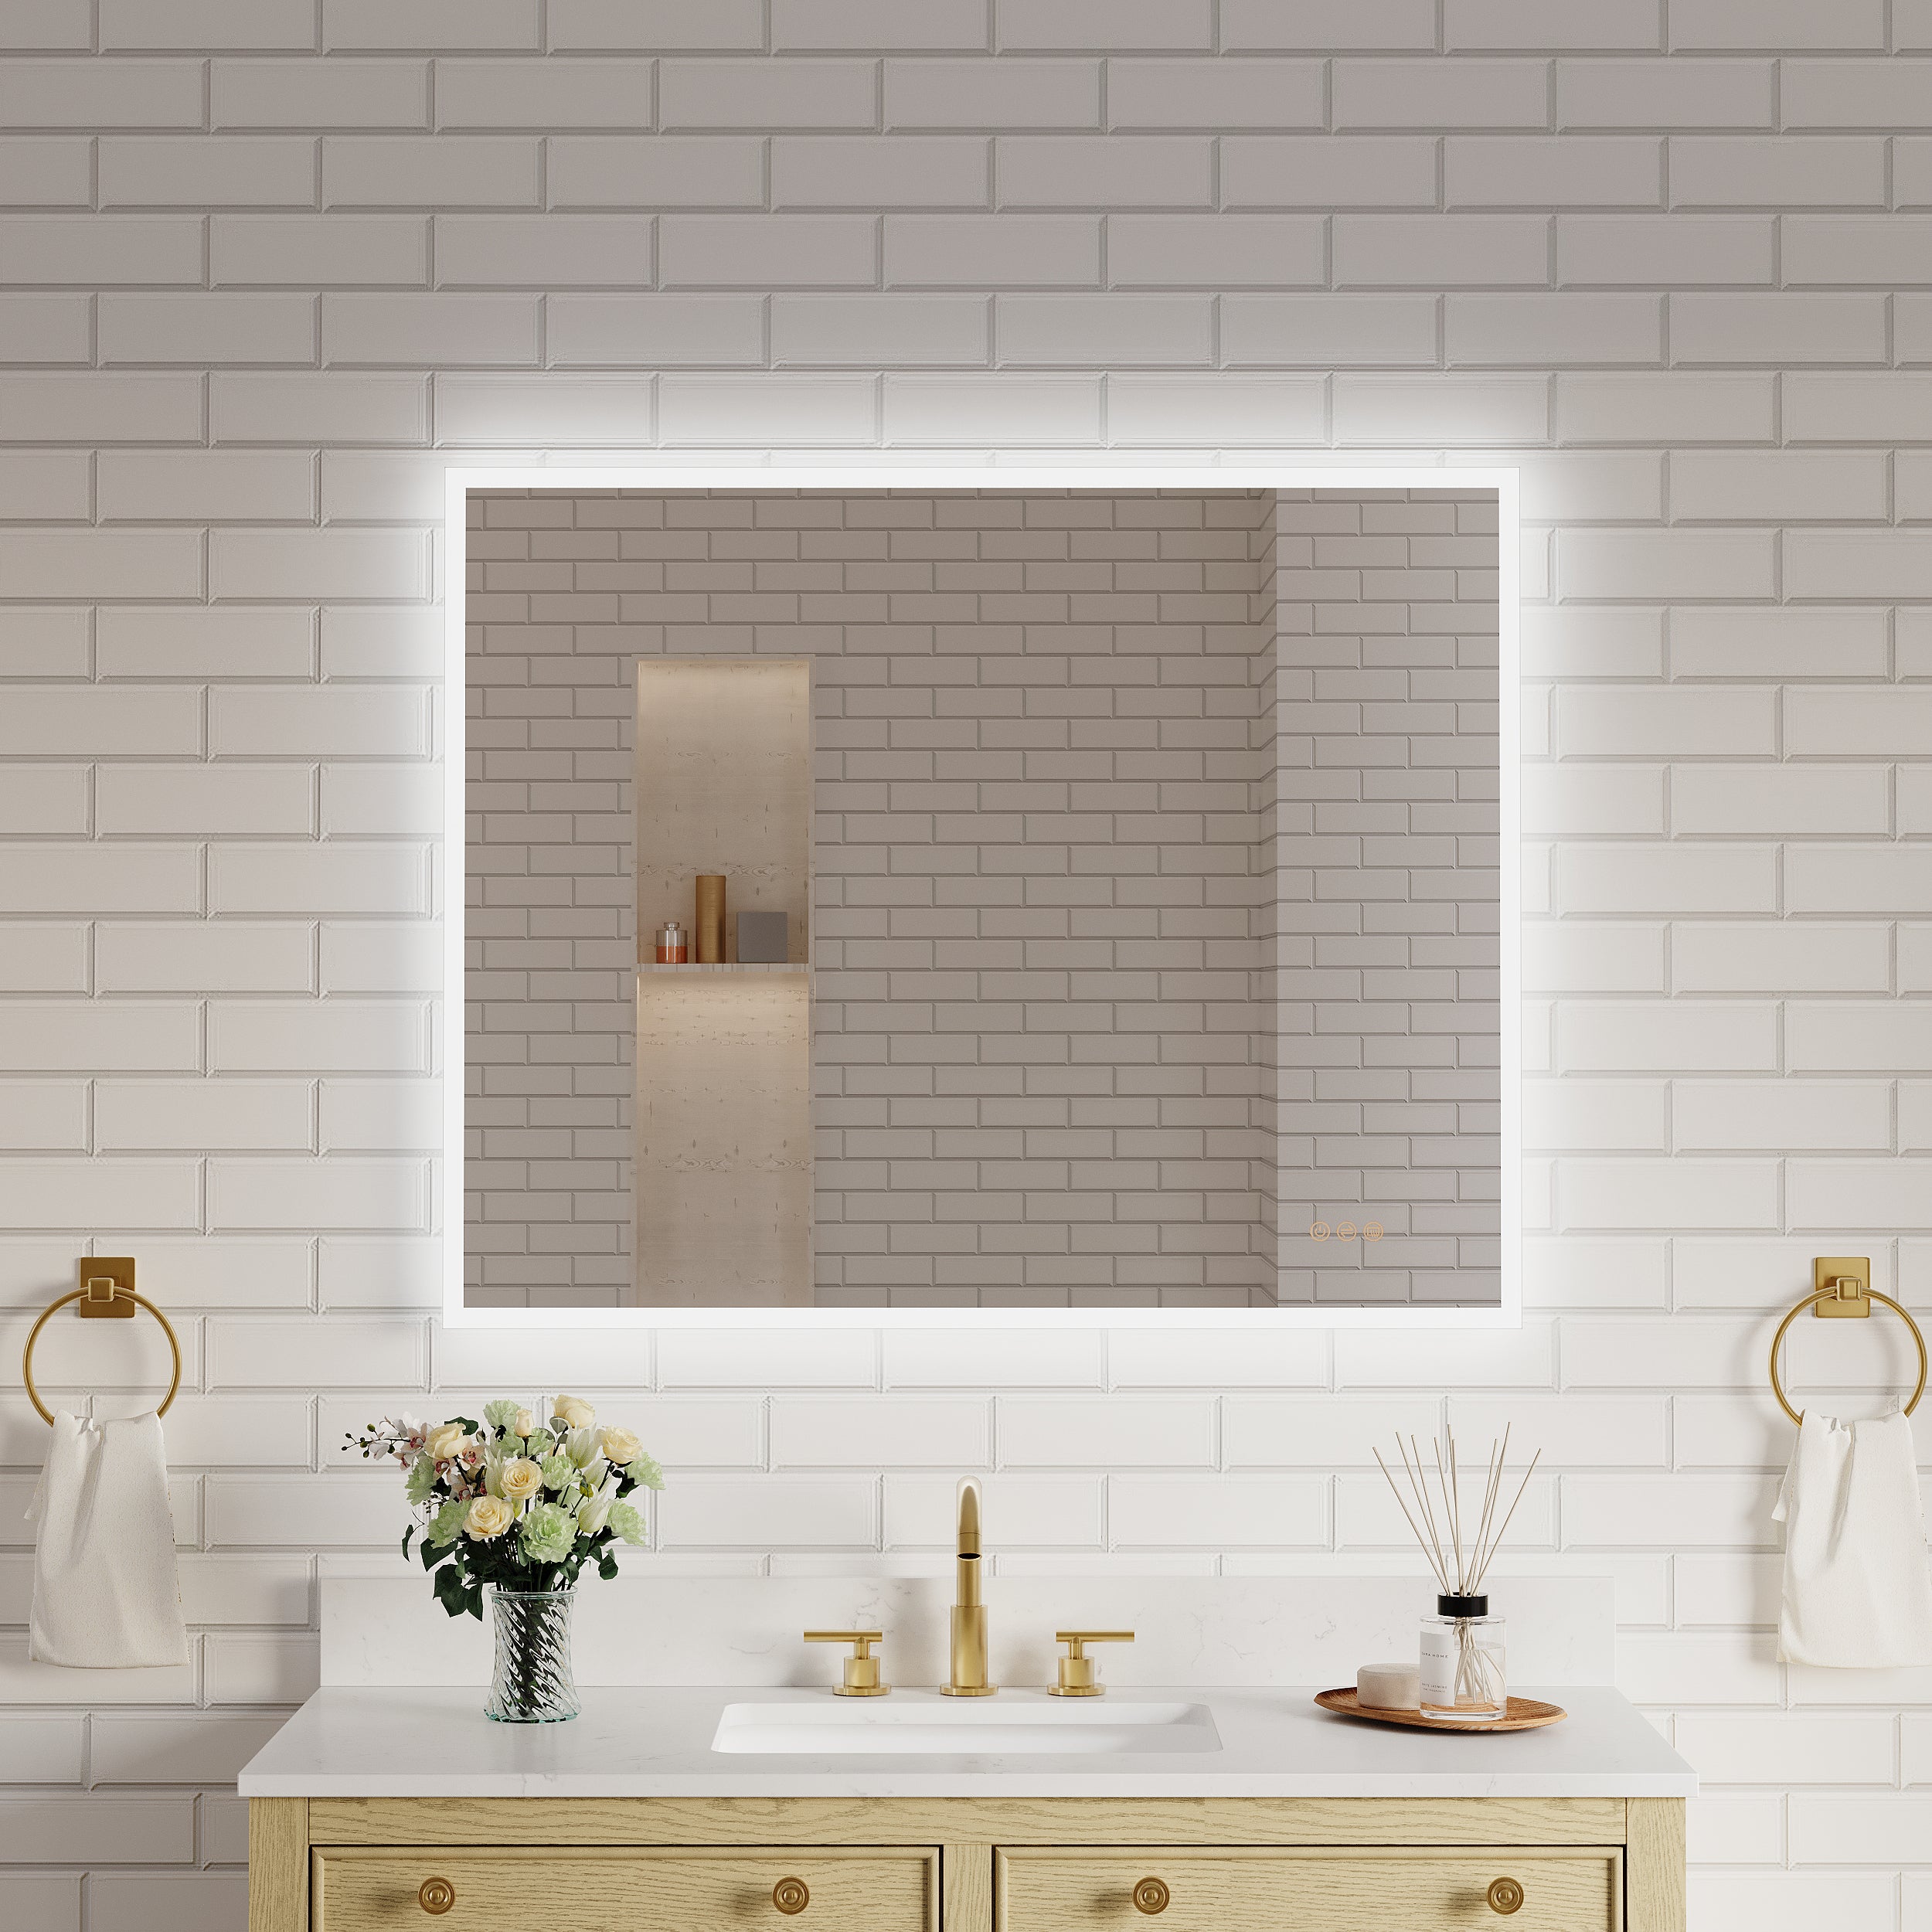
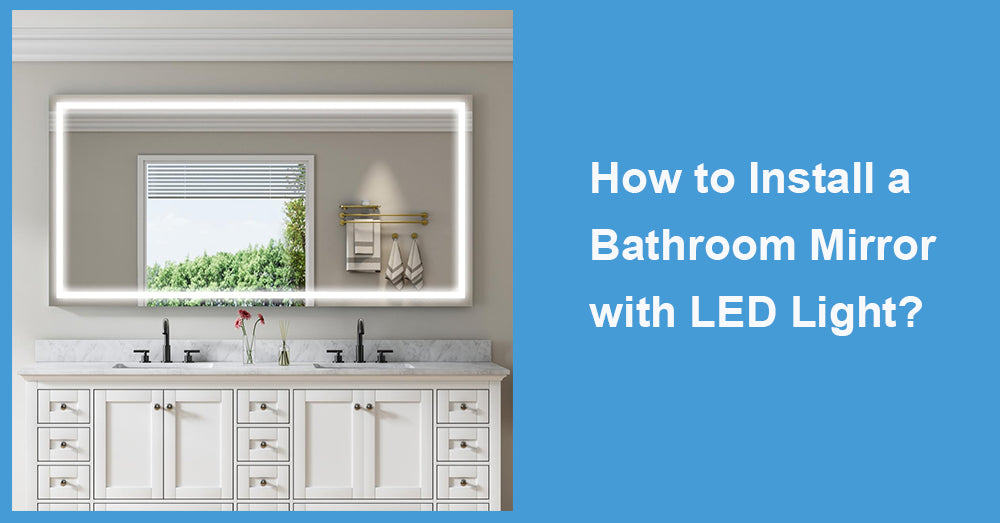
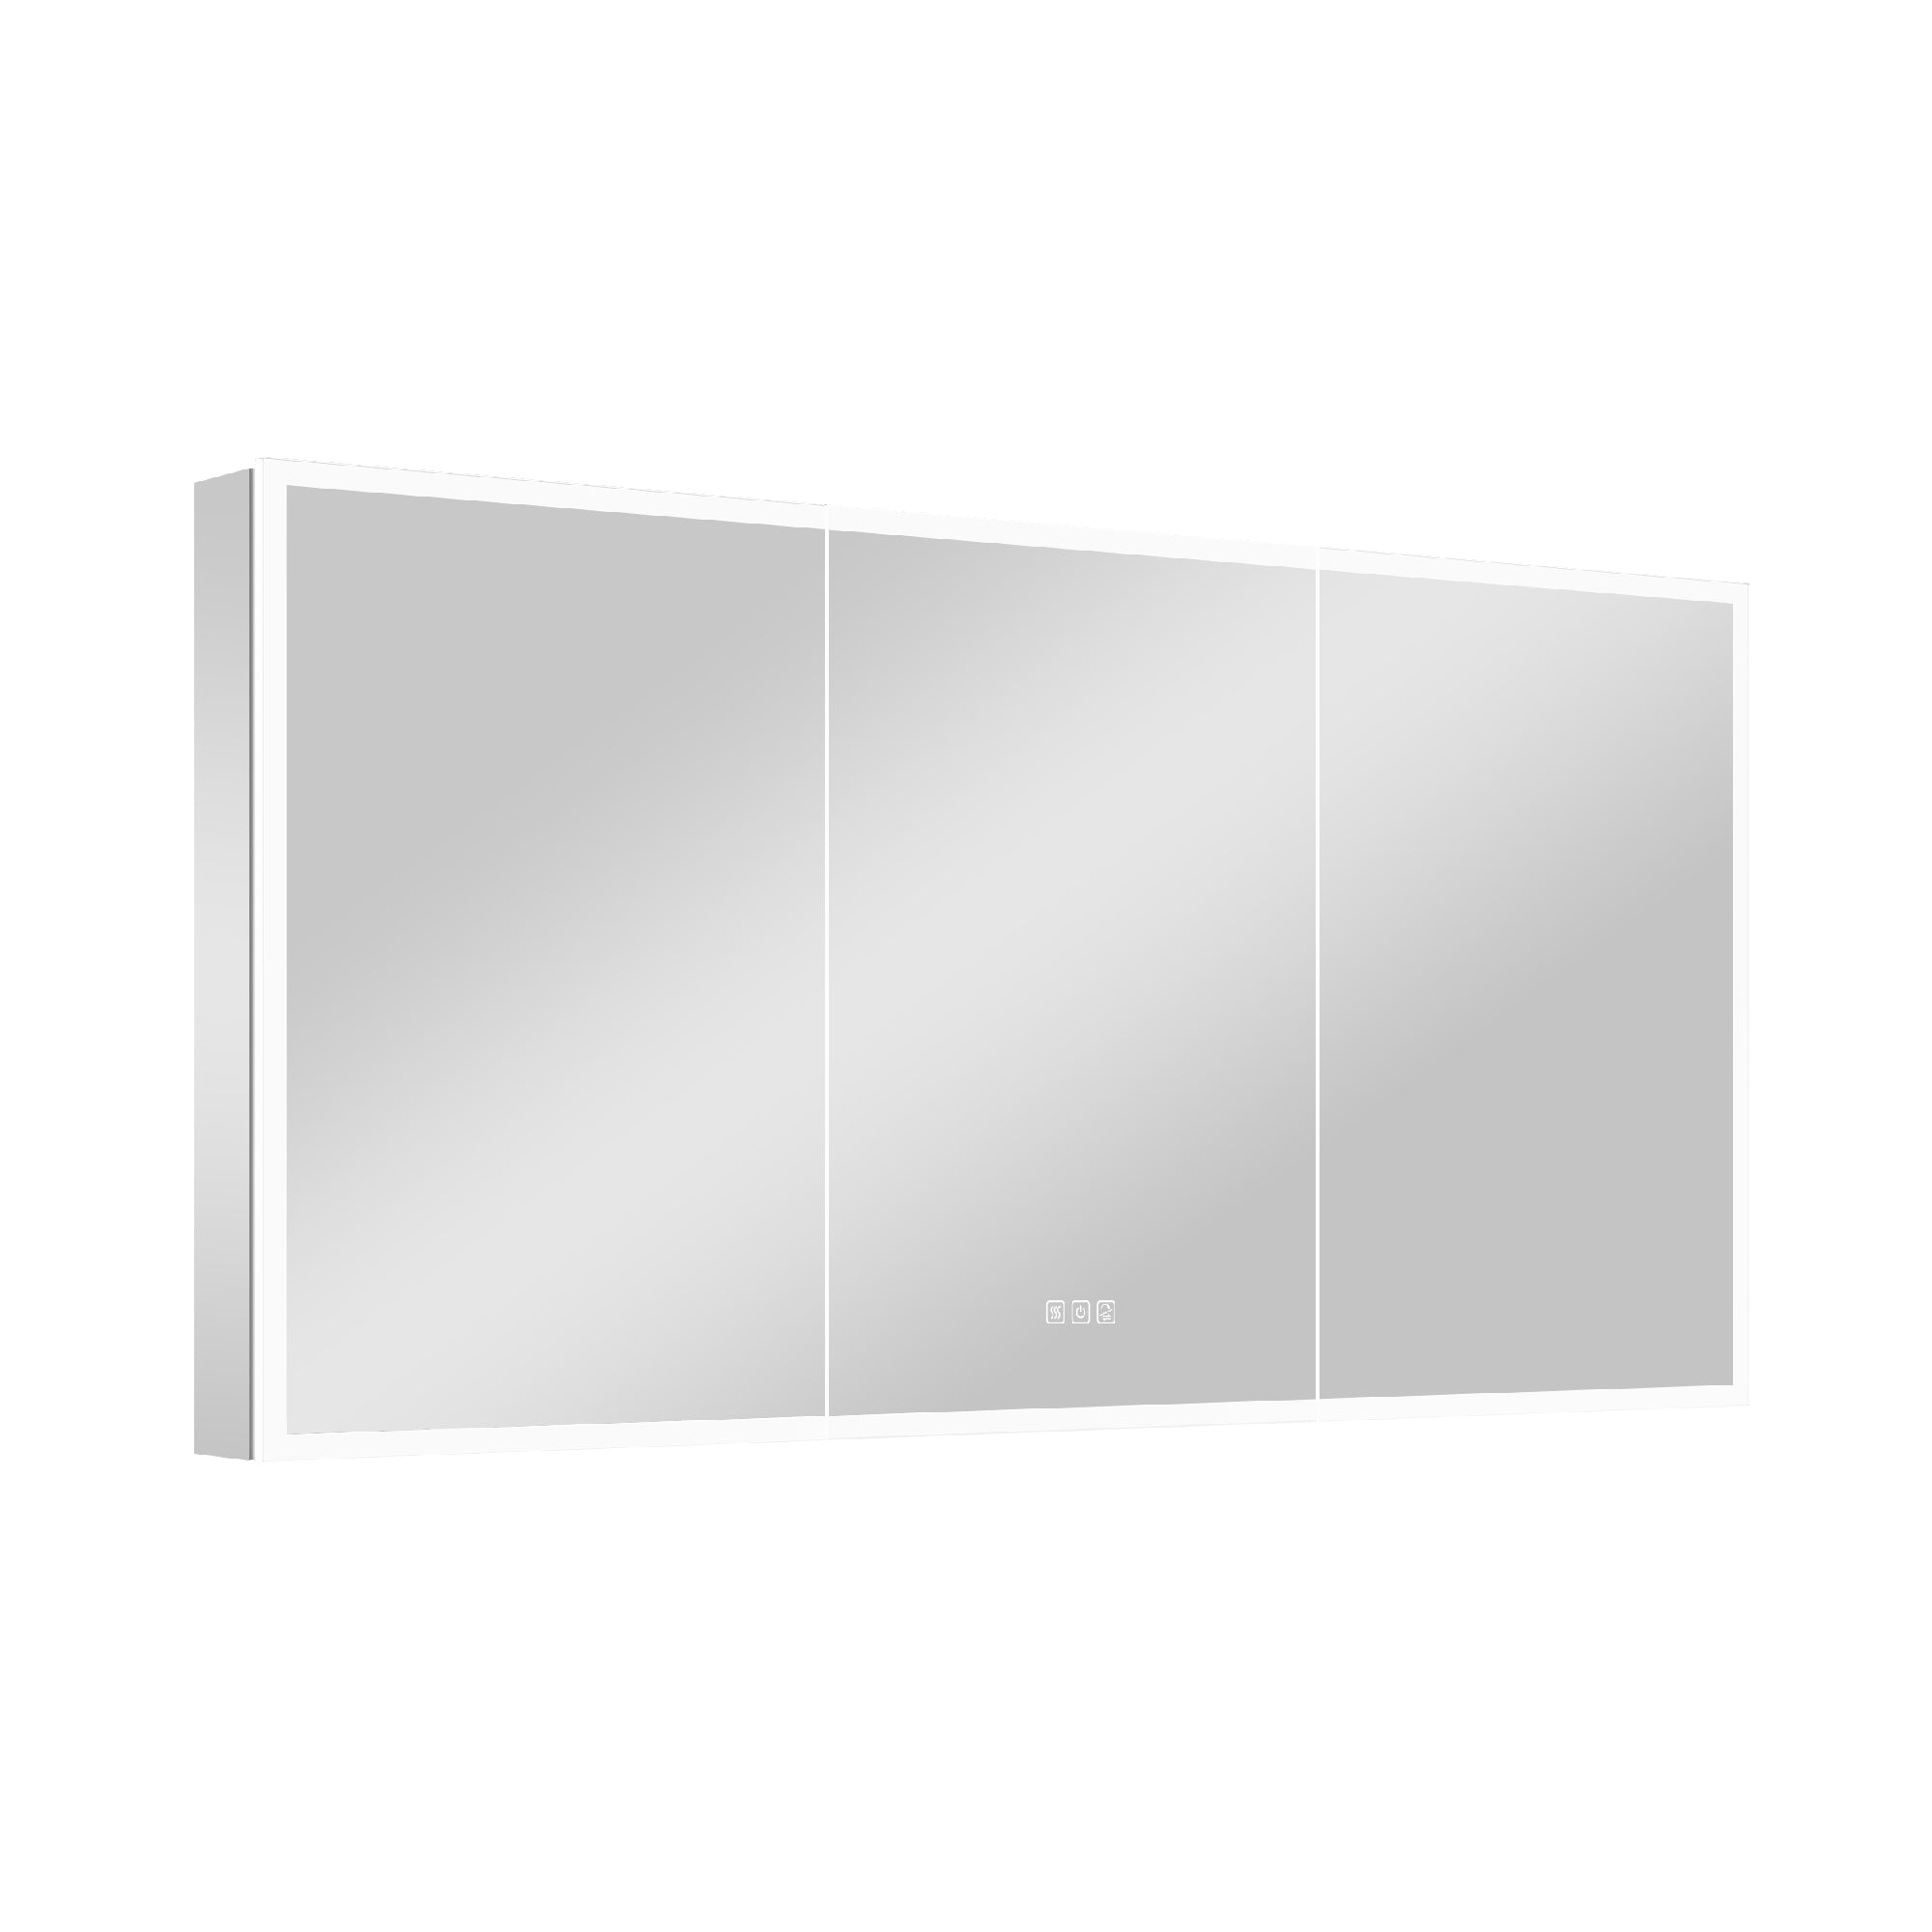
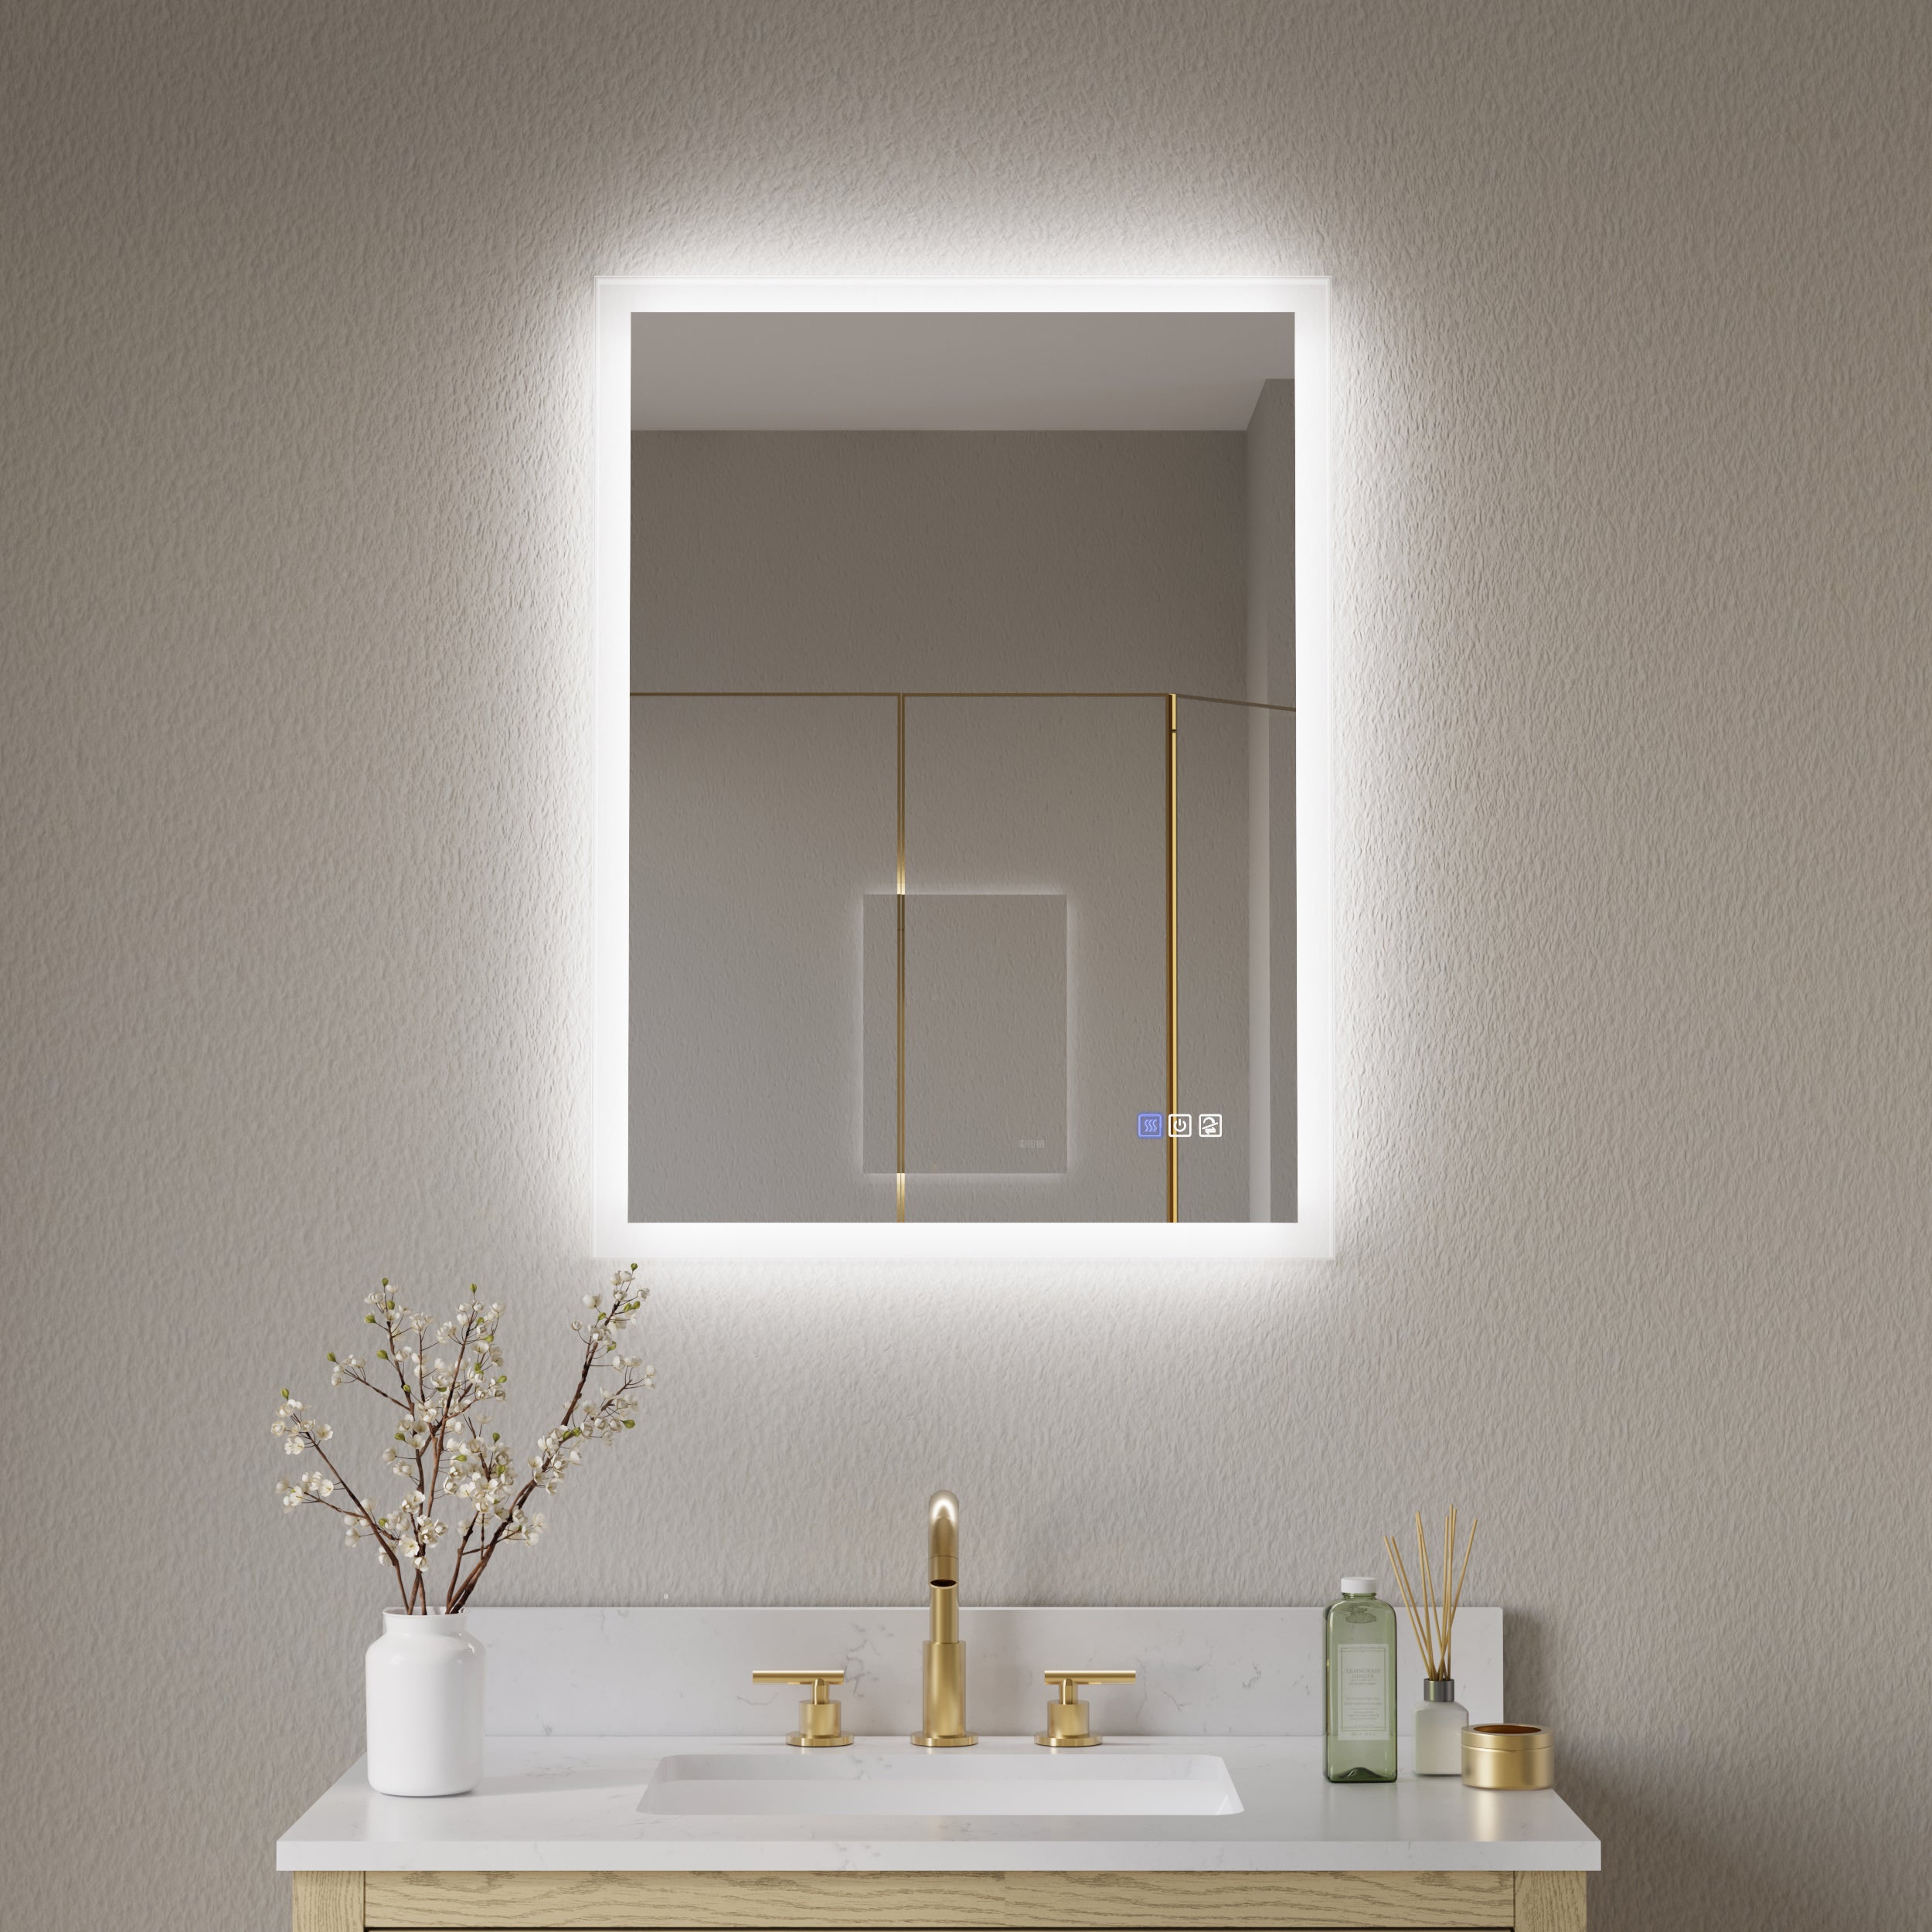
With the improvement of home intelligence and design sense, the bathroom mirror with led light is no longer just a simple lighting tool.
It combines lighting, decoration, and technological features, making it one of the most popular elements in modern bathrooms.
However, many consumers encounter difficulties in the installation process after purchasing LED mirrors:
Is it DIY? Or should we hire a professional electrician? What safety and details should be paid attention to during installation?
This article will cover various aspects such as pre-installation preparation, installation steps, safety points, maintenance techniques, and design recommendations.
We will provide a detailed analysis on how to correctly install an LED bathroom mirror, allowing light and aesthetics to blend into your bathroom space perfectly.
1. Preparation before installation: Planning is key
Before installing LED mirrors, it is necessary first to clarify the installation location, wall structure, power interface, and size ratio.
A precise plan can avoid rework or electrical hazards in the later stages.
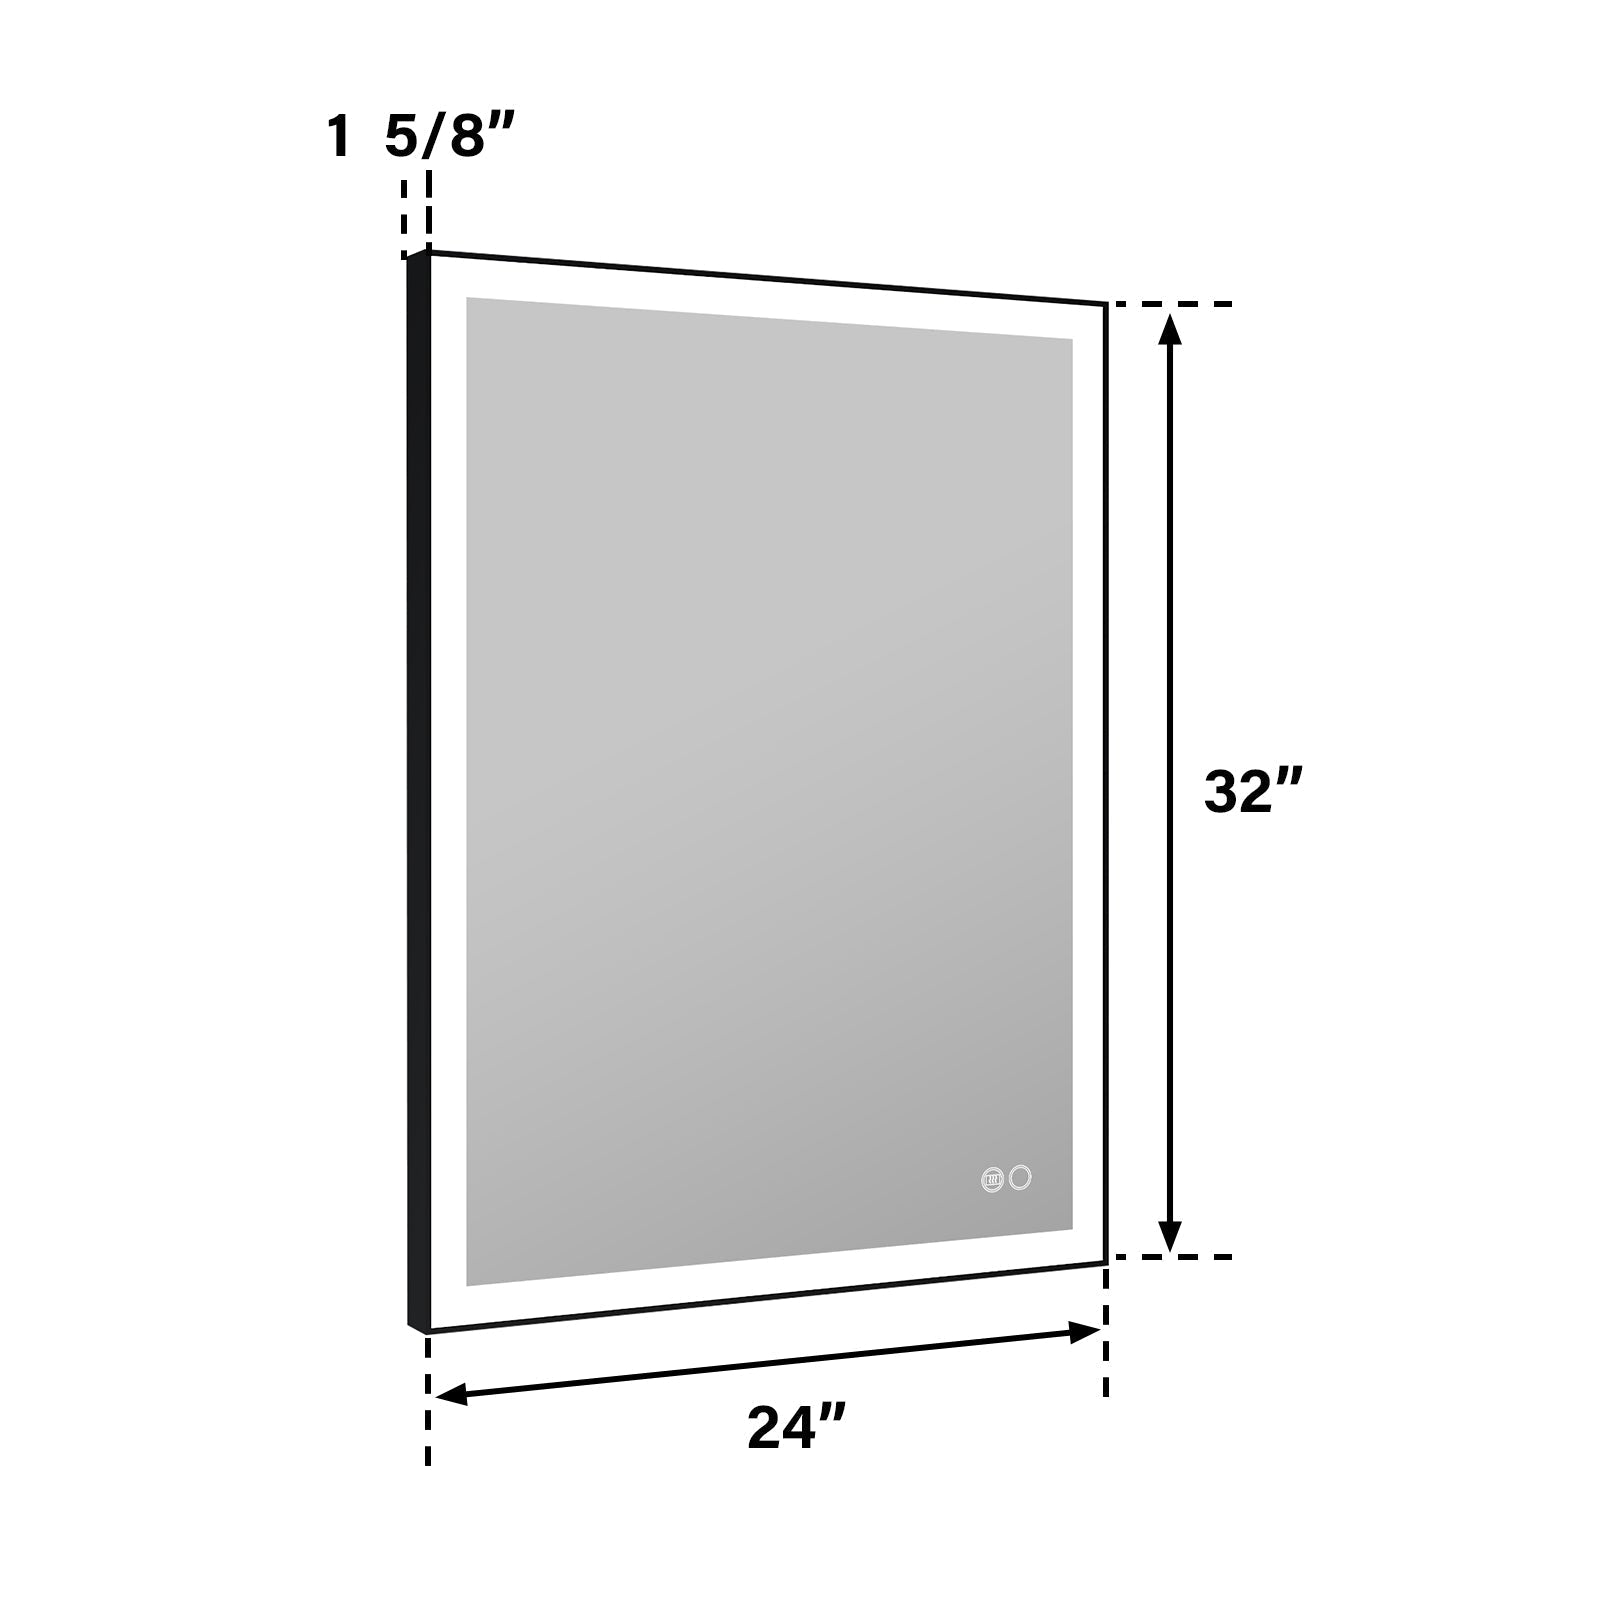
1. Measure spatial dimensions
Measure the width and height of the wall where the mirror will be installed.
Generally speaking, the width of the mirror should be slightly smaller than the width of the bathroom cabinet (Vanity) to maintain symmetry and balance.
It is recommended that the upper edge of the mirror be level with the eyes or slightly above the line of sight (about 47-60 inch above the ground).
2. Check the position of the power supply
LED mirrors require power support, and sockets should usually be reserved behind or above the mirror.
Confirm whether the length, load capacity, and waterproof level of the wire meet the requirements.
If the bathroom does not have a reserved power supply, it is recommended to have a certified electrician install a dedicated circuit.
3. Wall type evaluation
Gypsum boards or lightweight walls require reinforcement and support;
Ceramic tile walls or concrete walls require the use of electric drills and expansion screws.
The installation preparation stage may seem simple, but it determines the safety and stability of subsequent construction.
2. Confirm installation tools and accessories
Preparing the necessary tools and accessories before starting the installation can make the process smoother.
Standard installation tools include:
Electric drill, level ruler, tape measure;
Screwdrivers, expansion screws, and brackets;
Waterproof adhesive or sealant;
Insulation tape and wire joints;
Protective gloves and goggles.
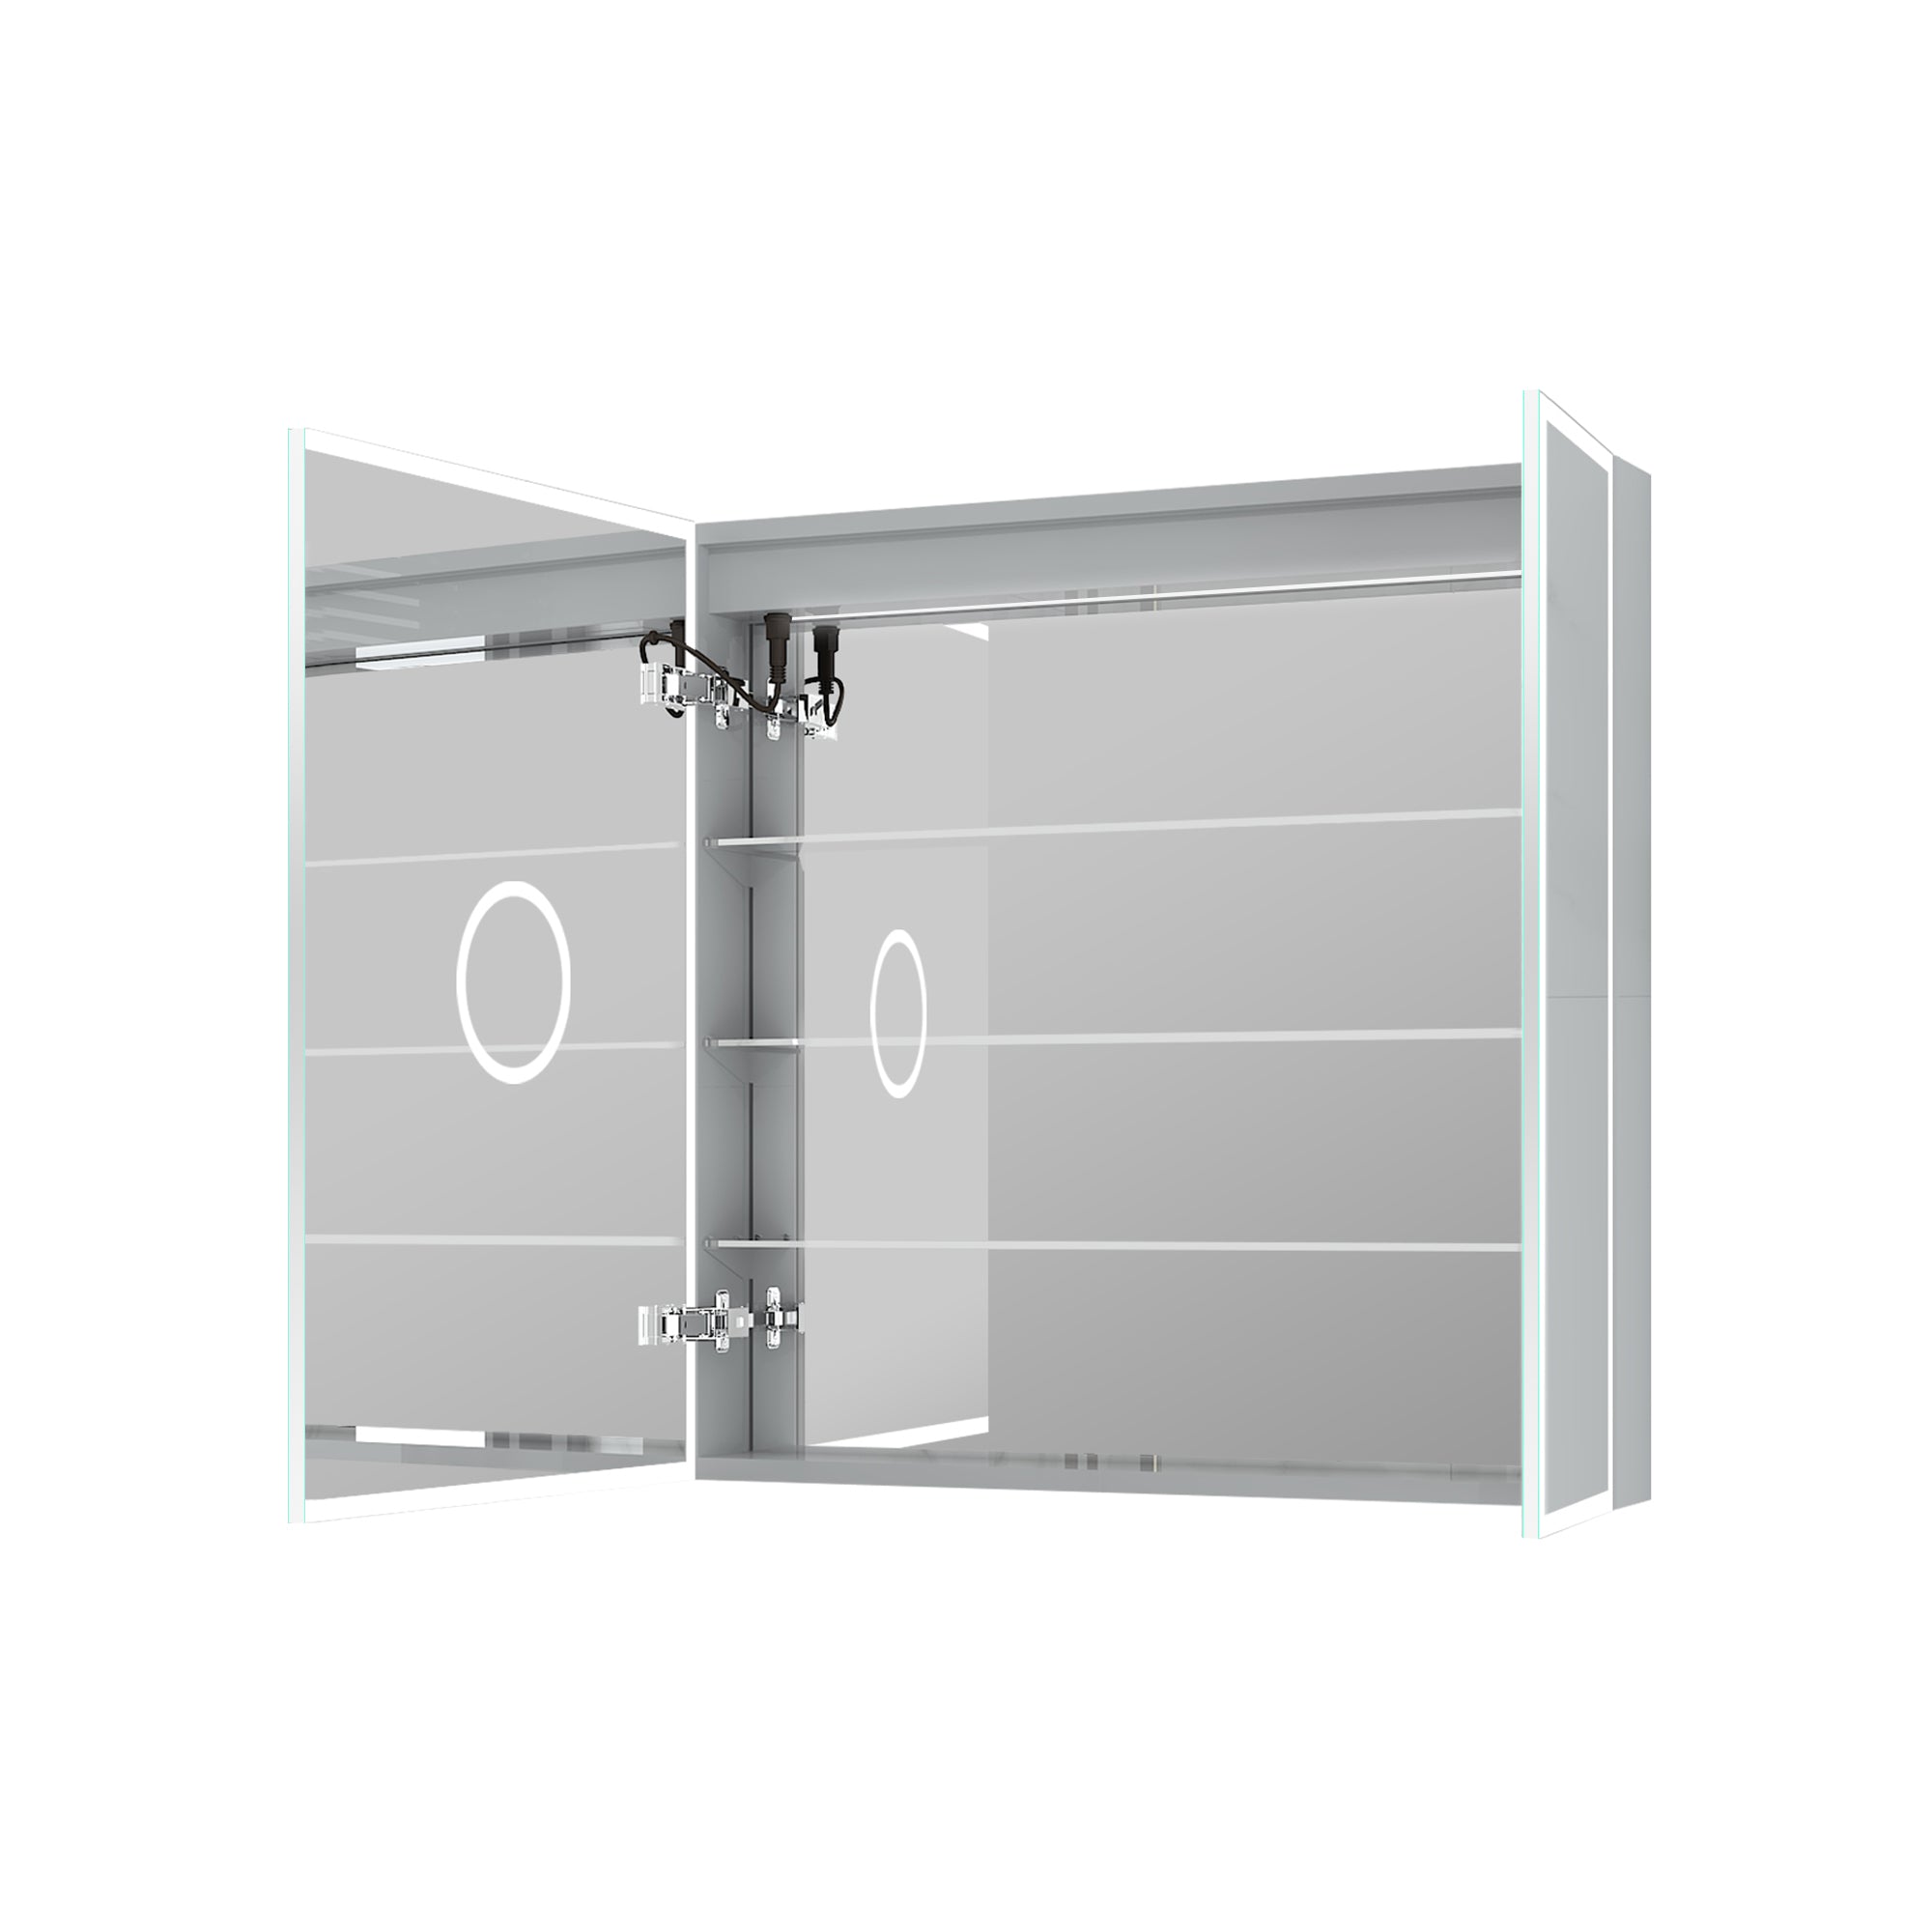
Mirror comes with accessories.
Most LED mirrors come with installation instructions, hook brackets, screw packages, and power cords.
Before installation, be sure to carefully read the instruction manual and confirm the wiring method of the mirror (some models are plug-type, some are hard-wired).
3. Standard installation steps: step-by-step operation is safer
The installation methods of LED mirrors from different brands may vary slightly, but the overall process is generally similar.
The following are general installation steps applicable to most Bath Mirrors with LED Light products.
Step 1: Positioning and Marking
Measure the installation height using a tape measure and level, and mark the hook hole position on the wall.
Ensure that the center of the mirror is aligned with the center of the bathroom cabinet or sink.
Step 2: Drill holes and install hangers
Drill holes at the marked positions with an electric drill, insert expansion screws, and secure the bracket or hook.
Ensure that the hanger is firm and level; otherwise, the mirror may tilt easily after installation.
Step 3: Power Connection
LED mirrors usually require a power cord. This step should be taken with extra caution:
Plug-in mirror: Simply plug it into the reserved socket.
Hardwired mirror: After turning off the power switch, connect the live wire, neutral wire, and ground wire correspondingly, and wrap and fix them with insulating tape.
If you are not familiar with electrical operation, please be sure to entrust professional personnel to complete it.
Step 4: Hang the mirror
Gently hang the mirror on the hook and check if it is stable. Some mirrors require additional screw support at the bottom.
Confirm that the mirror surface is flat and the lighting direction is correct.
Step 5: Test Function
After connecting the power, test whether the LED lights, touch switches, anti-fog function, and brightness adjustment are working correctly.
If flashing or no response is found, the wiring should be rechecked.
4. Safety precautions: Ensure electrical and structural reliability
The high humidity in the bathroom environment makes the safety of LED mirror installations particularly critical.
1. Electrical safety
Waterproof sockets (IP44 or above) must be used.
Insulated sleeves should be used to seal the wire connections to prevent water vapor from seeping in;
Do not expose the power cord to the outside to avoid moisture and short circuits.
2. Structural safety
Ensure that the hanger has sufficient load-bearing capacity, generally supporting twice the weight of the mirror.
If the wall is hollow or a gypsum board structure, wooden supports should be installed.
Gently shake the mirror after installation to confirm that there is no looseness.
3. Safety of lighting and temperature
LED light sources generate little heat, but good ventilation is still necessary to prevent heat accumulation.
An anti-fog mirror type with built-in heating film should also avoid long-term power on.
5. DIY or professional installation: which method is more suitable for you?
Consumers often struggle with whether they can install it themselves.
The answer depends on personal experience and bathroom conditions.
Suitable for DIY situations:
Mirror with plug, the installation method is hook type.
The wall has reserved sockets, and the power layout is clear.
The user has basic electrician and installation experience.
Suggestions for professional installation:
A hardwired connection is required.
The wall is made of ceramic tiles or stone, making it difficult to drill holes.
There is a need for an embedded installation or linkage with lighting systems.
Although the cost of professional installation is slightly higher, it can ensure standardized wiring, secure fixation, and safe use.
For high-end intelligent LED mirrors, professional construction is almost a must-have.
6. Maintenance and cleaning after installation
After installation, proper maintenance and upkeep can extend the lifespan of LED mirrors and maintain stable brightness.
1. Regularly clean the mirror surface
Use a soft dry cloth or non-alcoholic cleaner;
Avoid using potent cleaning agents containing ammonia, acid, or alkali to prevent damage to the mirror coating.
2. Check the power supply and light strip
Regularly check whether the sockets and wires are loose or damp.
If the LED light flashes or dims, contact the brand's after-sales service in a timely manner.
3. Maintenance of anti-fog function
Avoid prolonged continuous use of anti-fog heating.
If the anti-fog film accumulates dust, gently wipe it to maintain thermal conductivity.
Good maintenance not only ensures safety but also keeps the mirror shining like new, extending its service life.
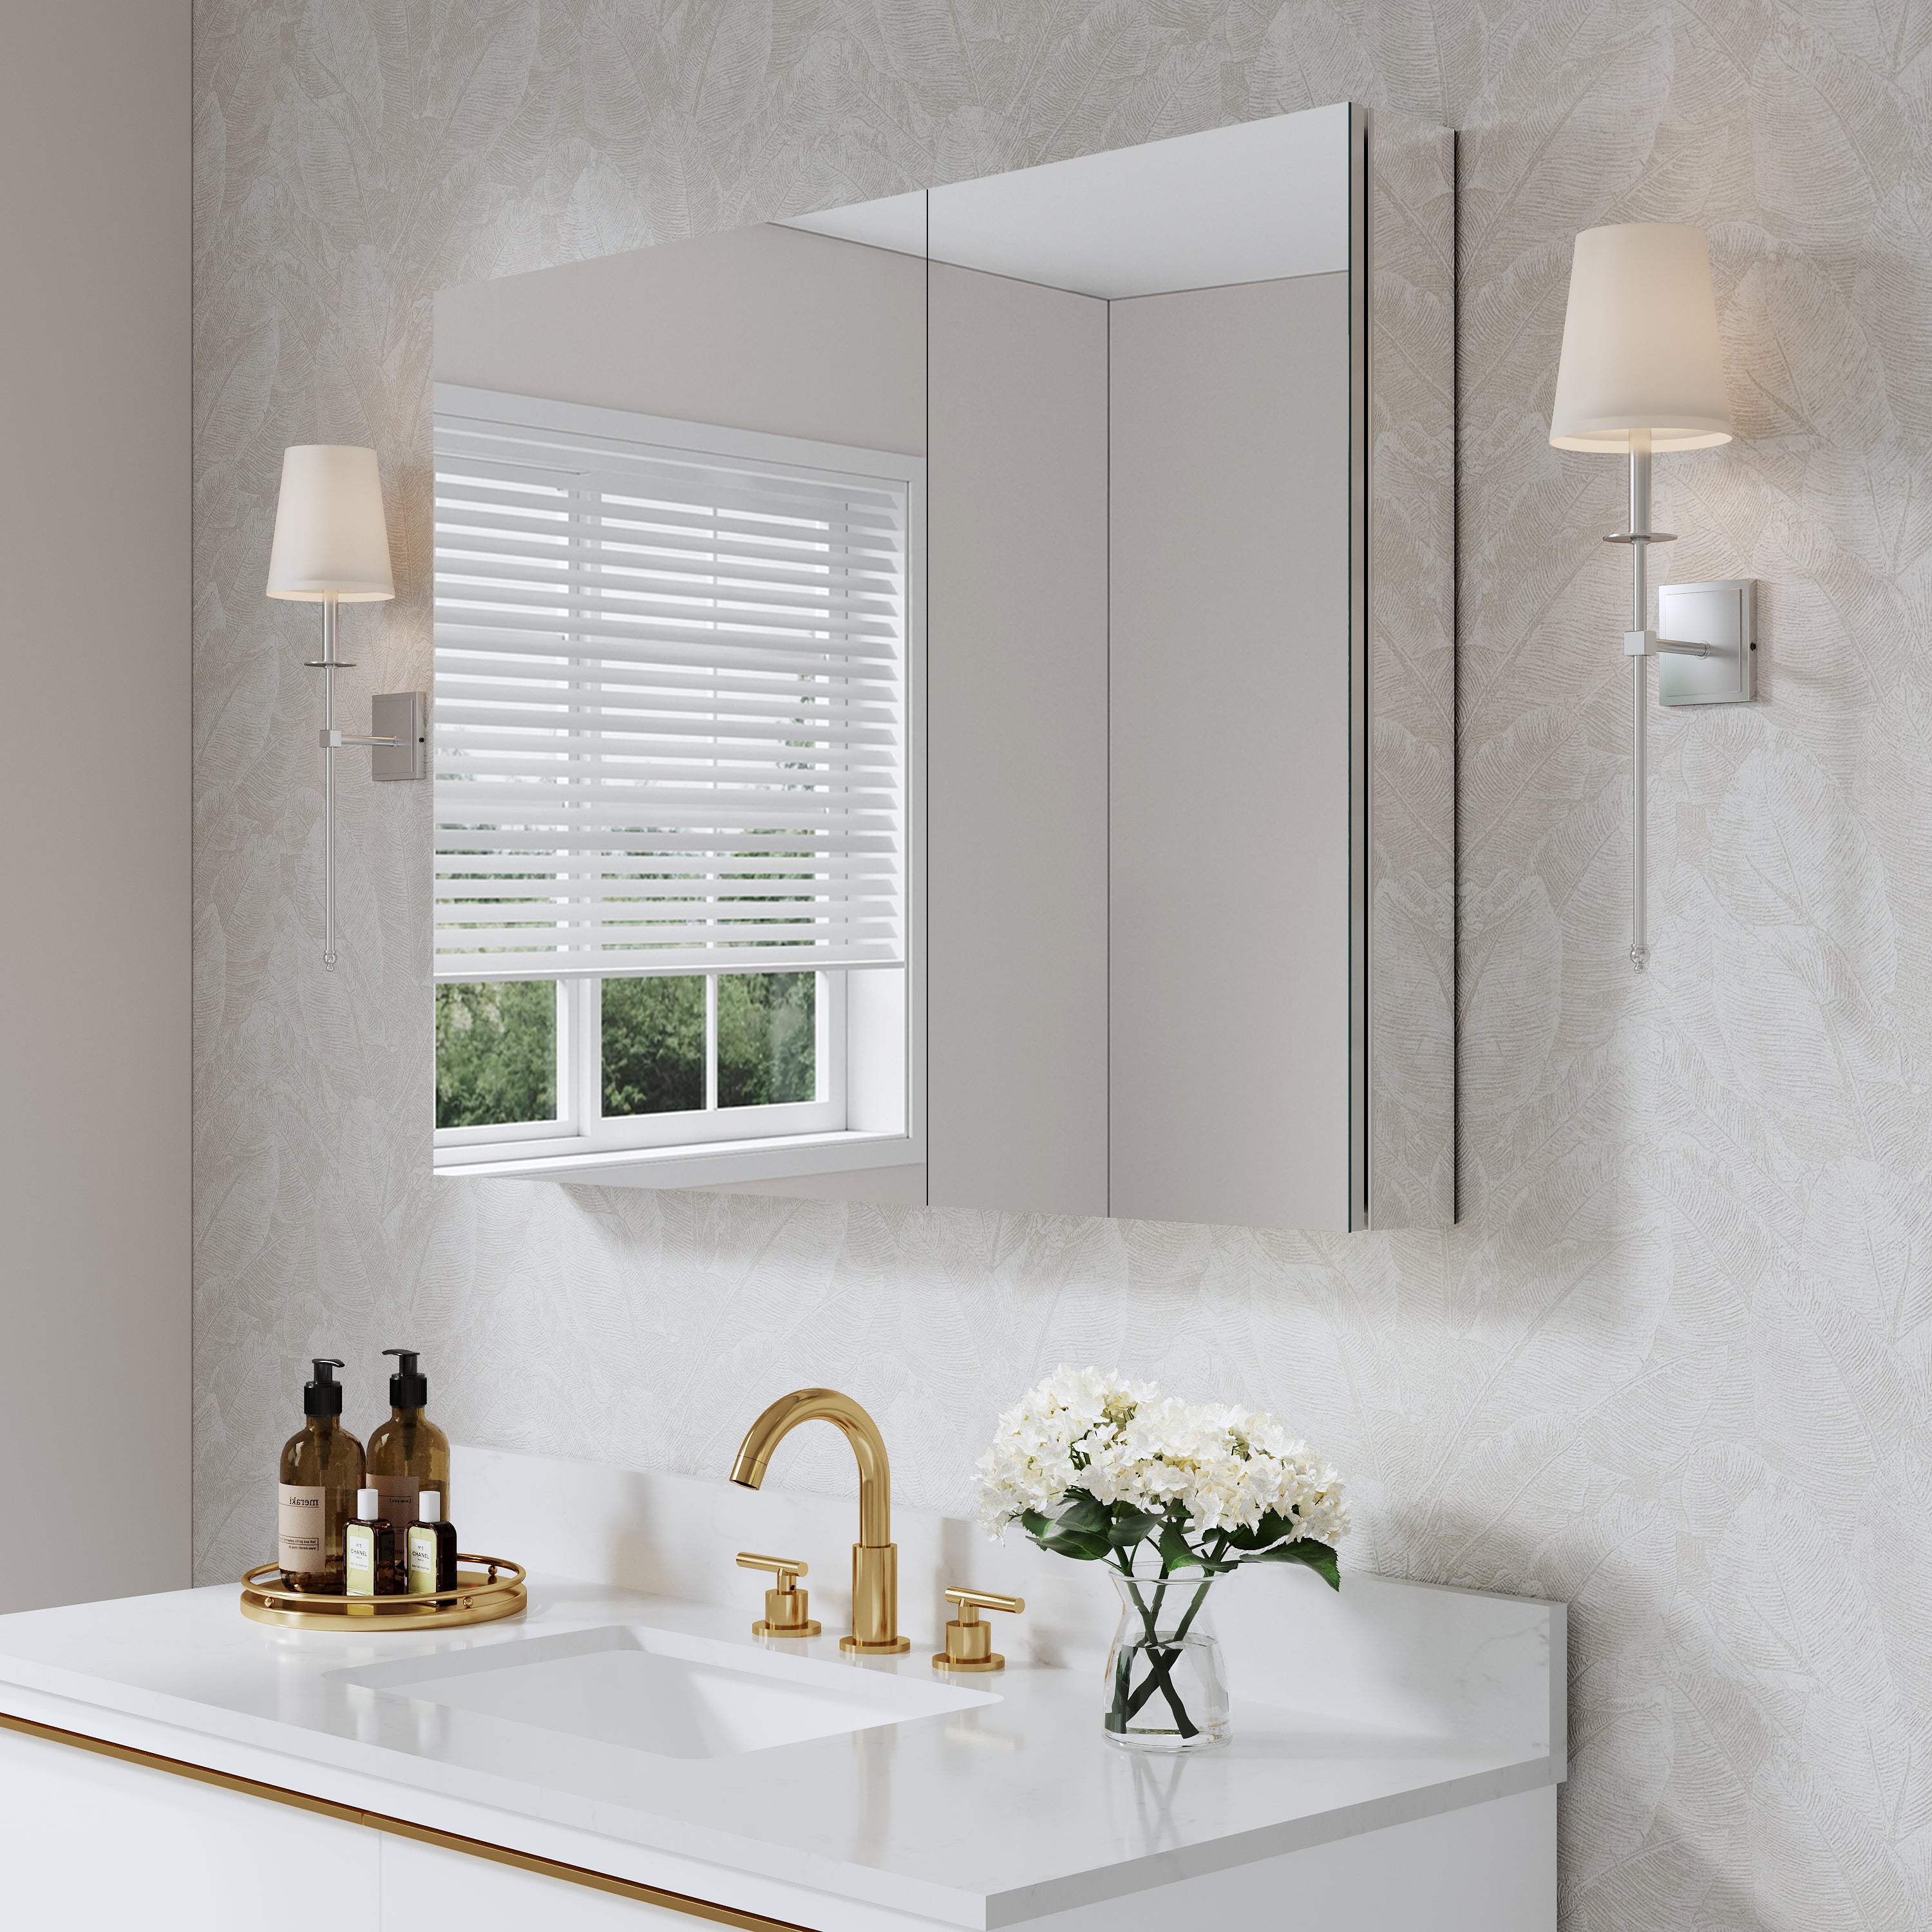
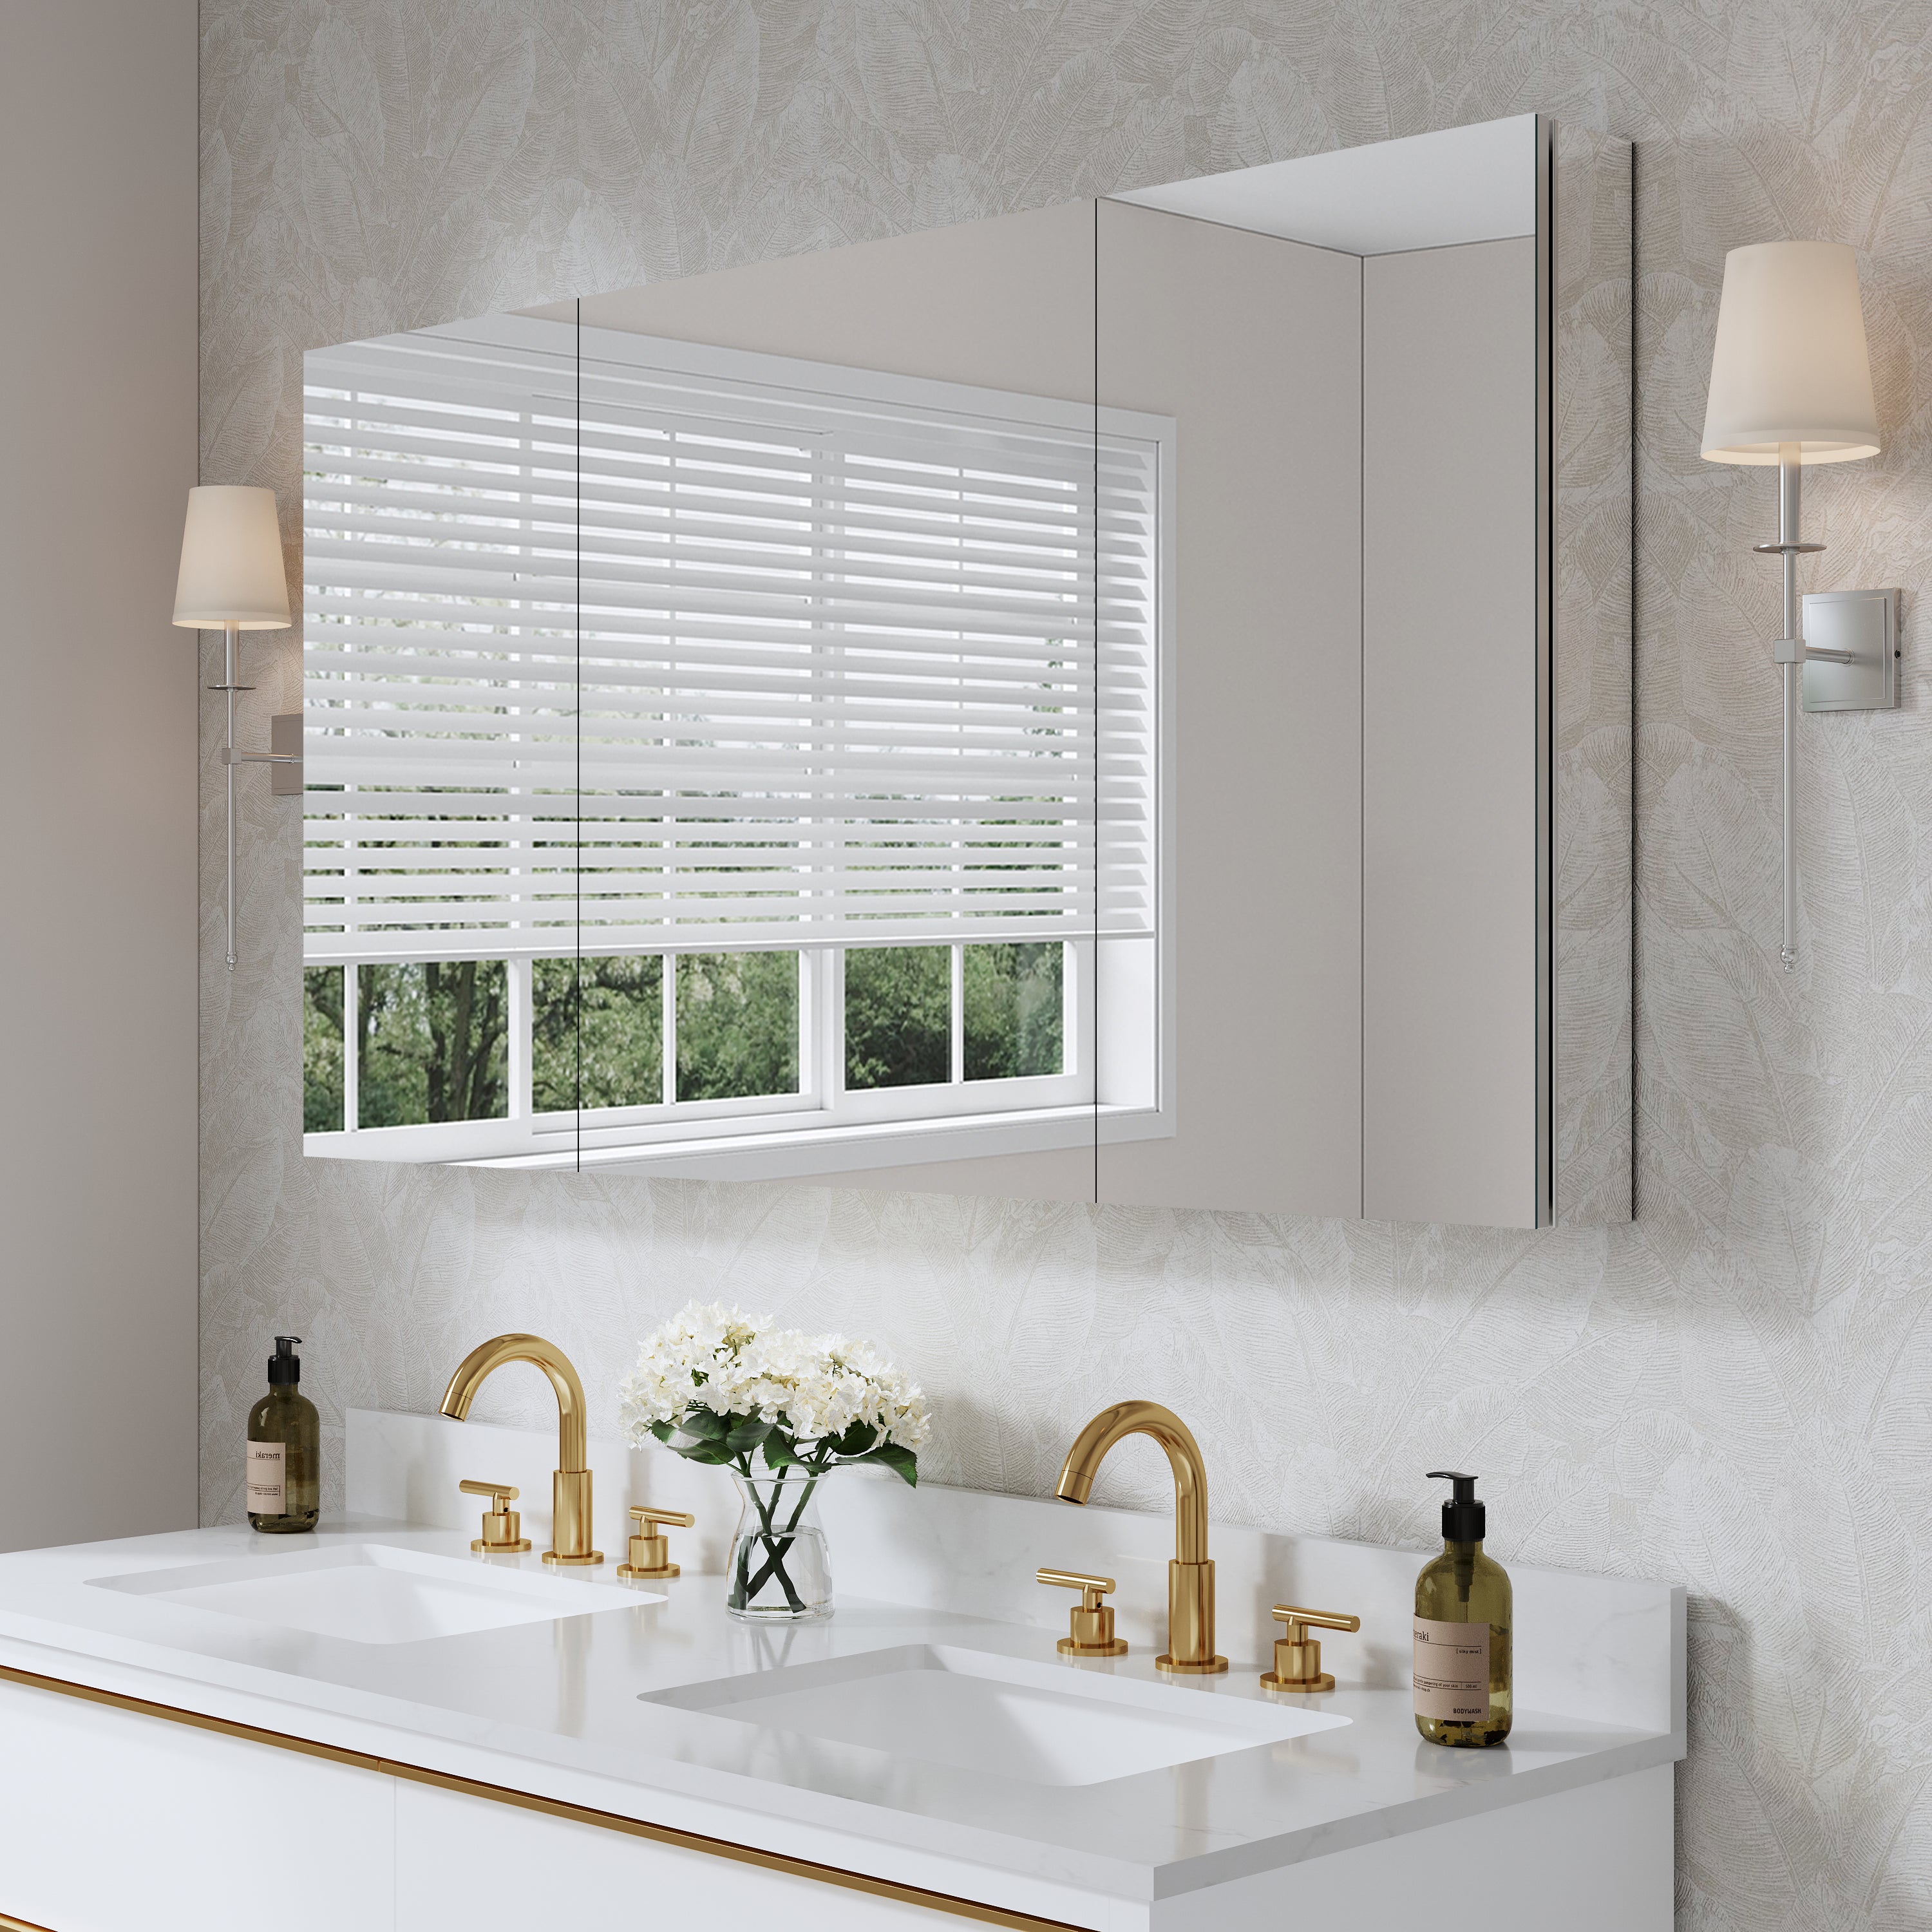
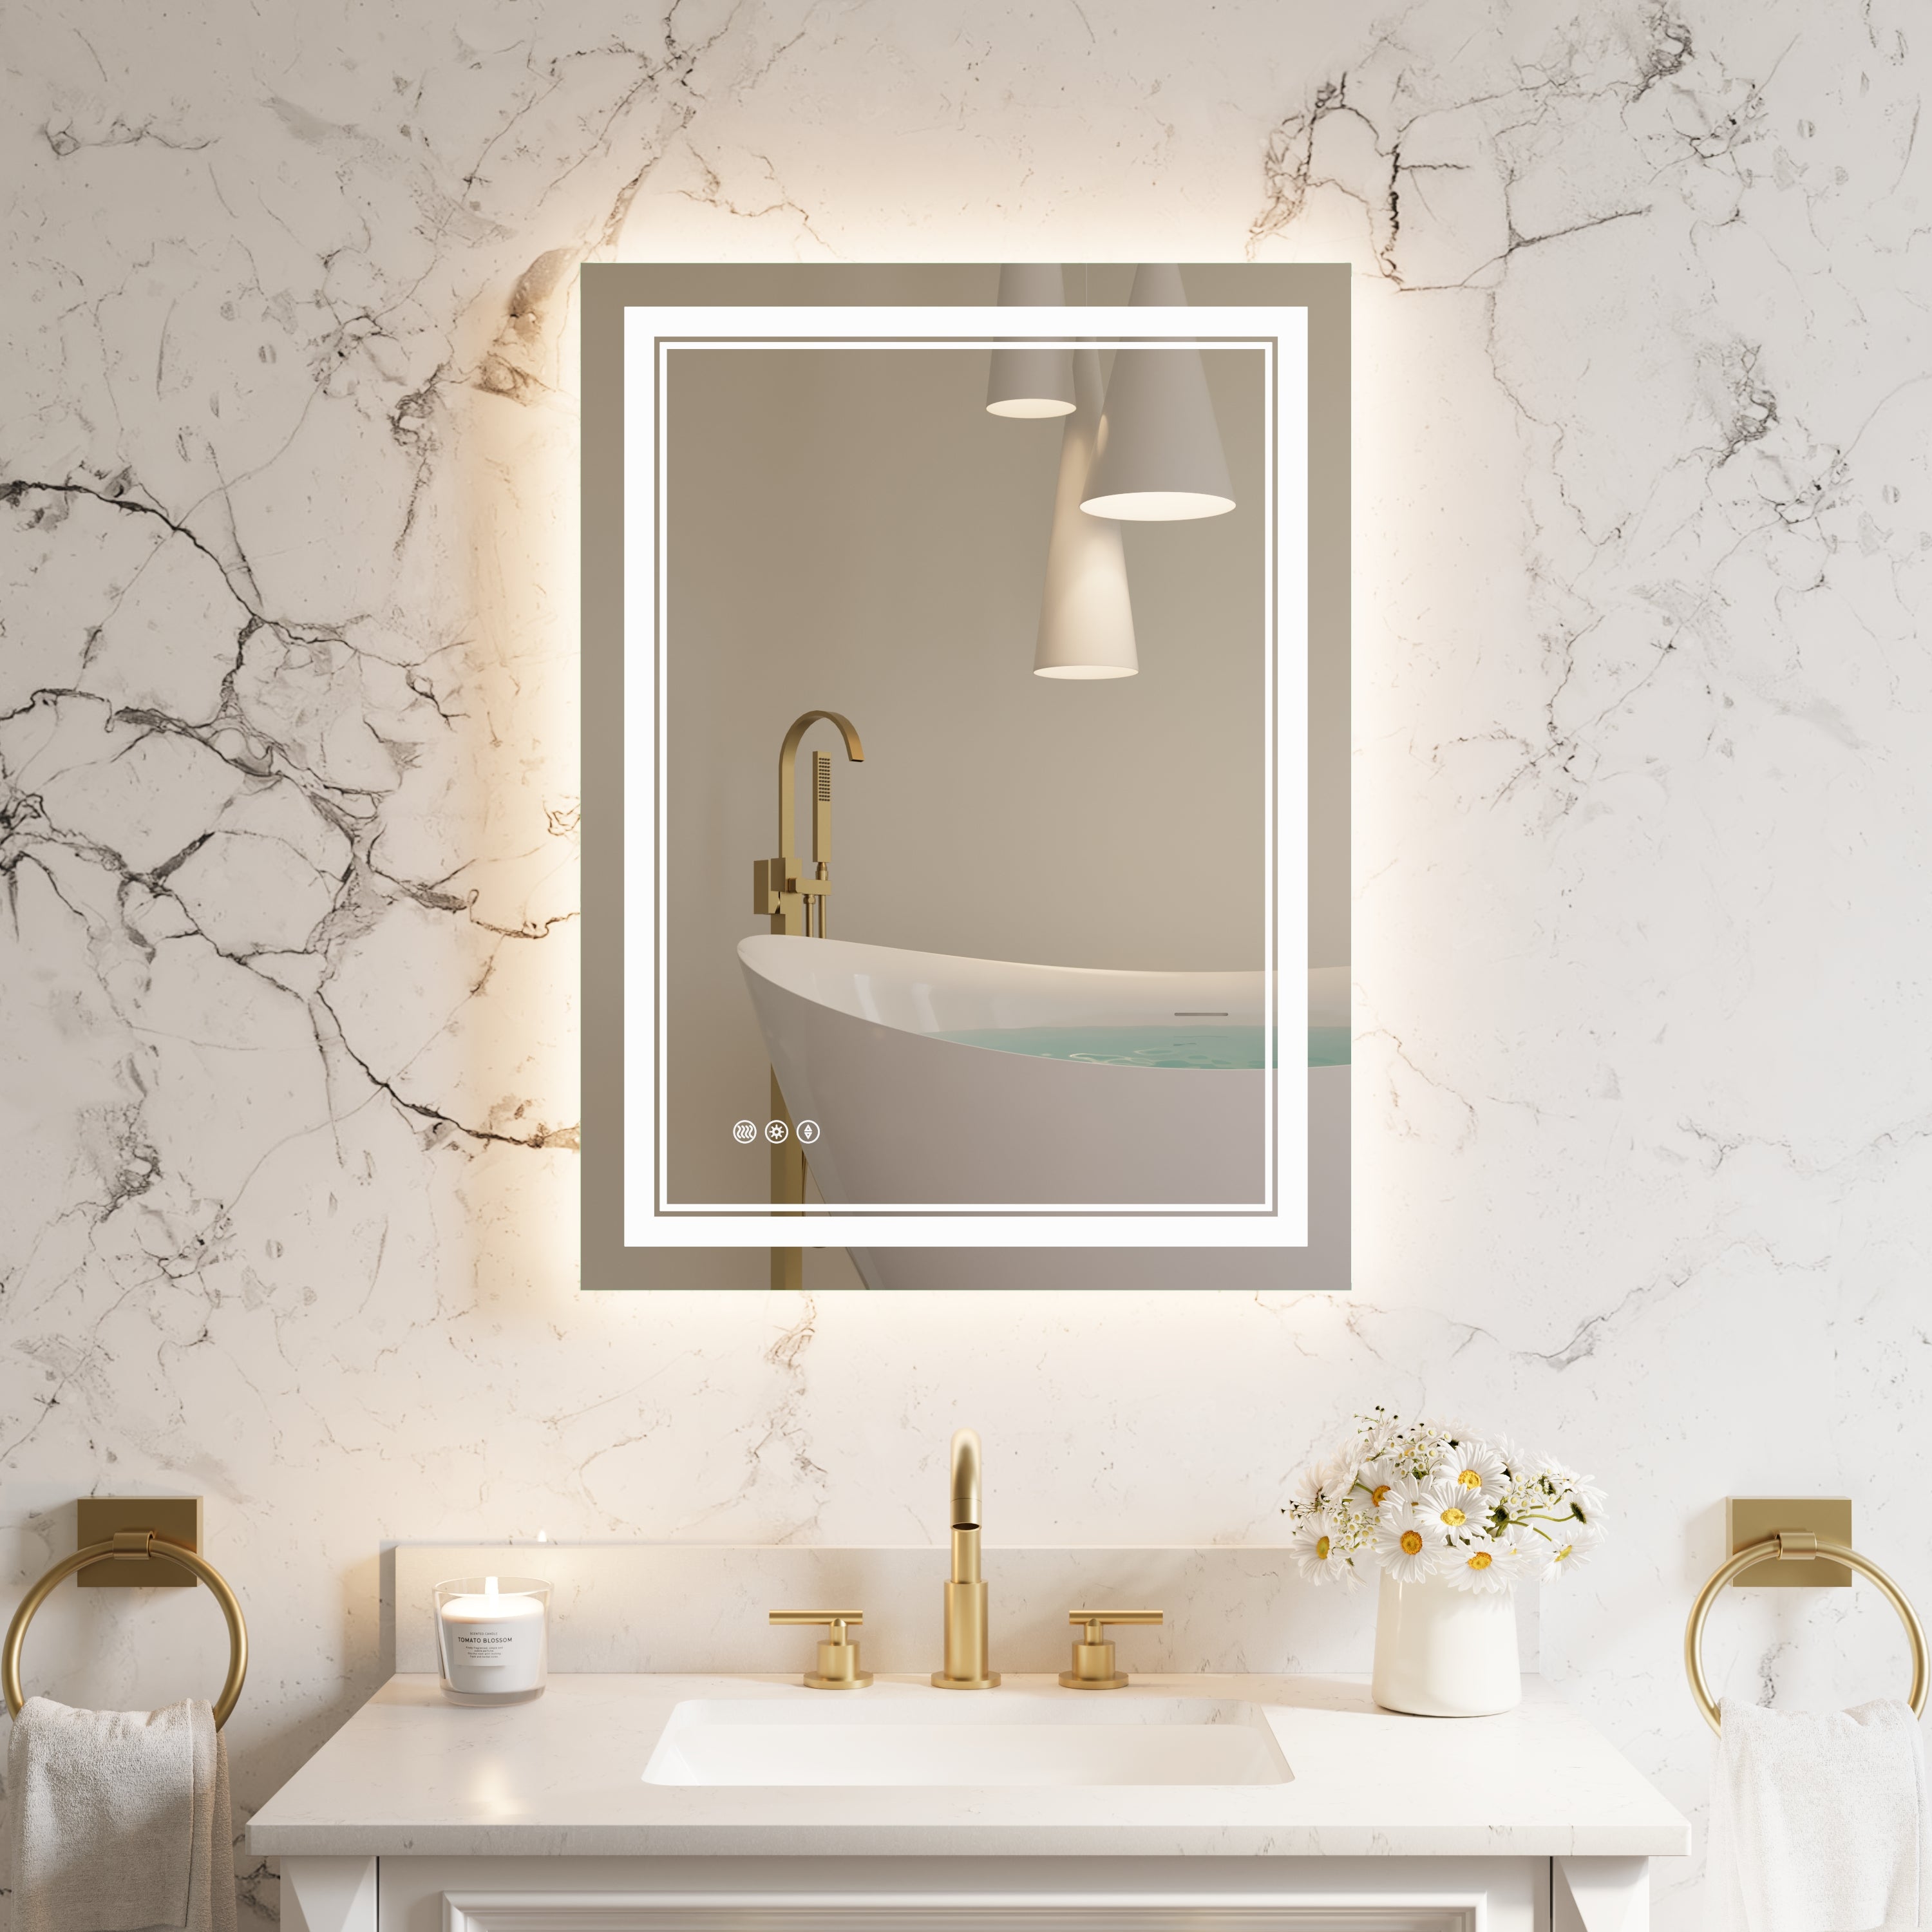
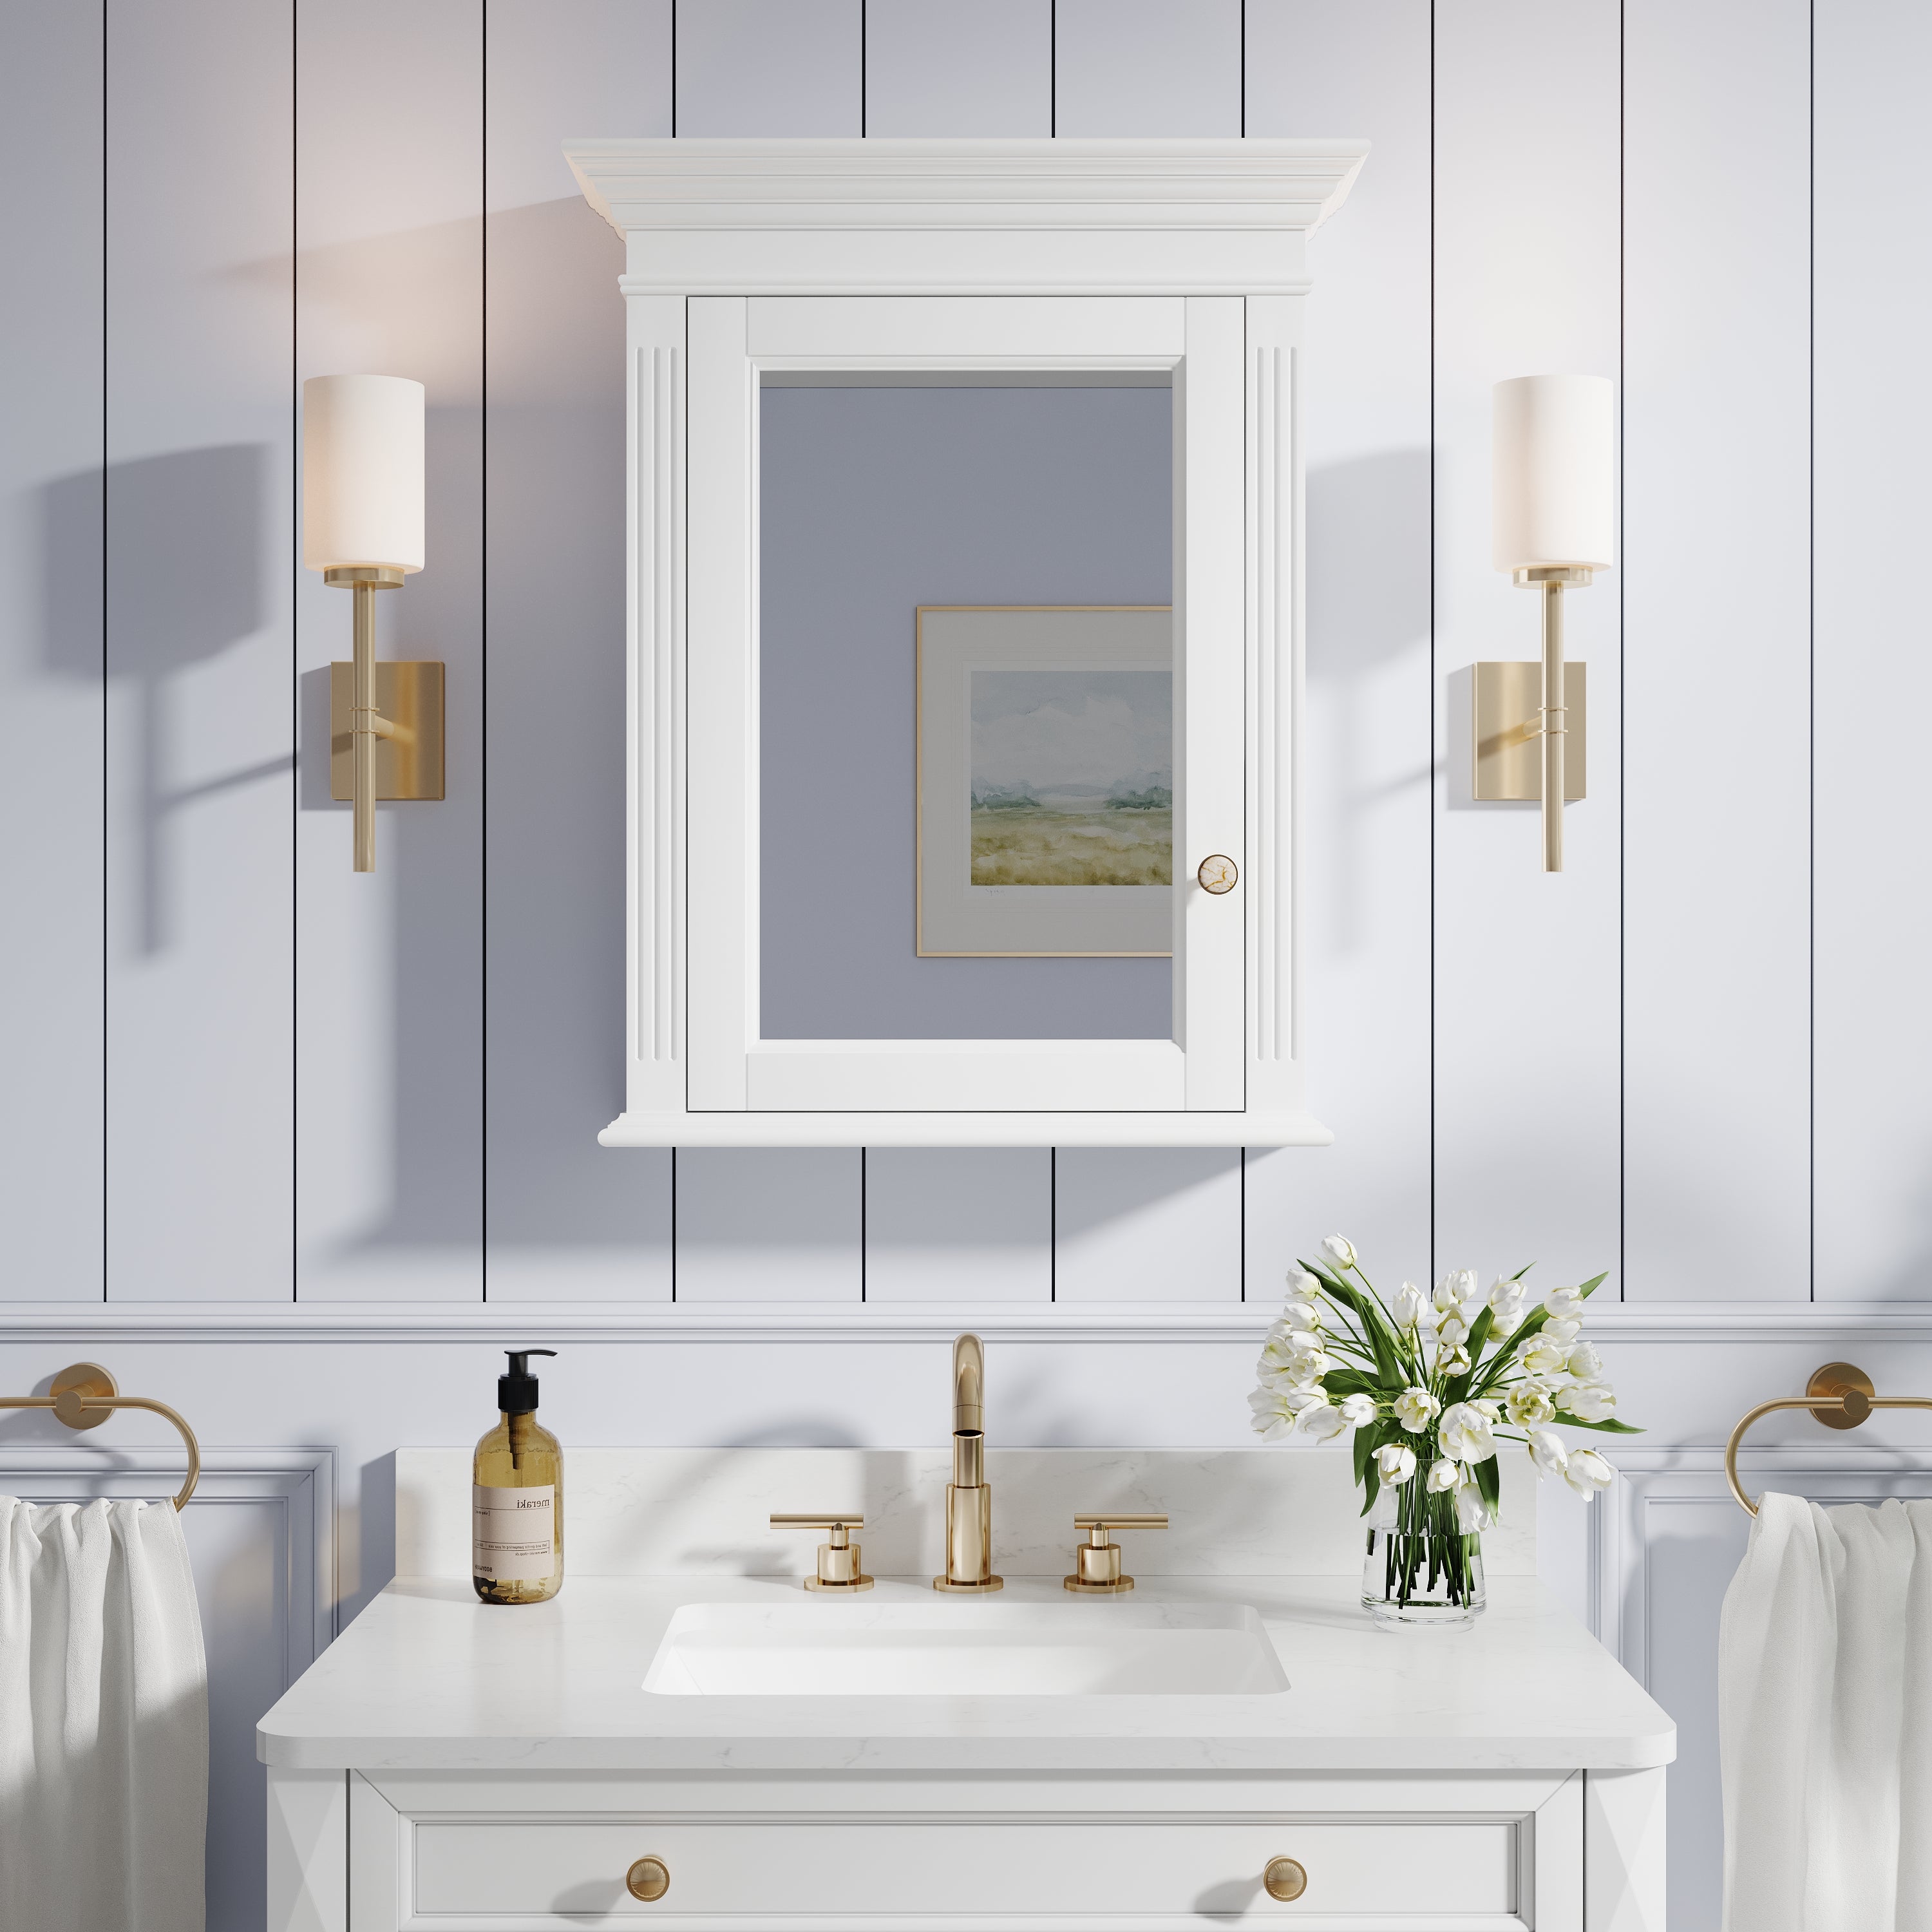
7. Design suggestion: Balancing functionality and aesthetics
Installing LED mirrors is not only a technical task, but also involves the overall aesthetic design of the bathroom.
1. Style matching
Minimalist style with optional borderless or backlit design;
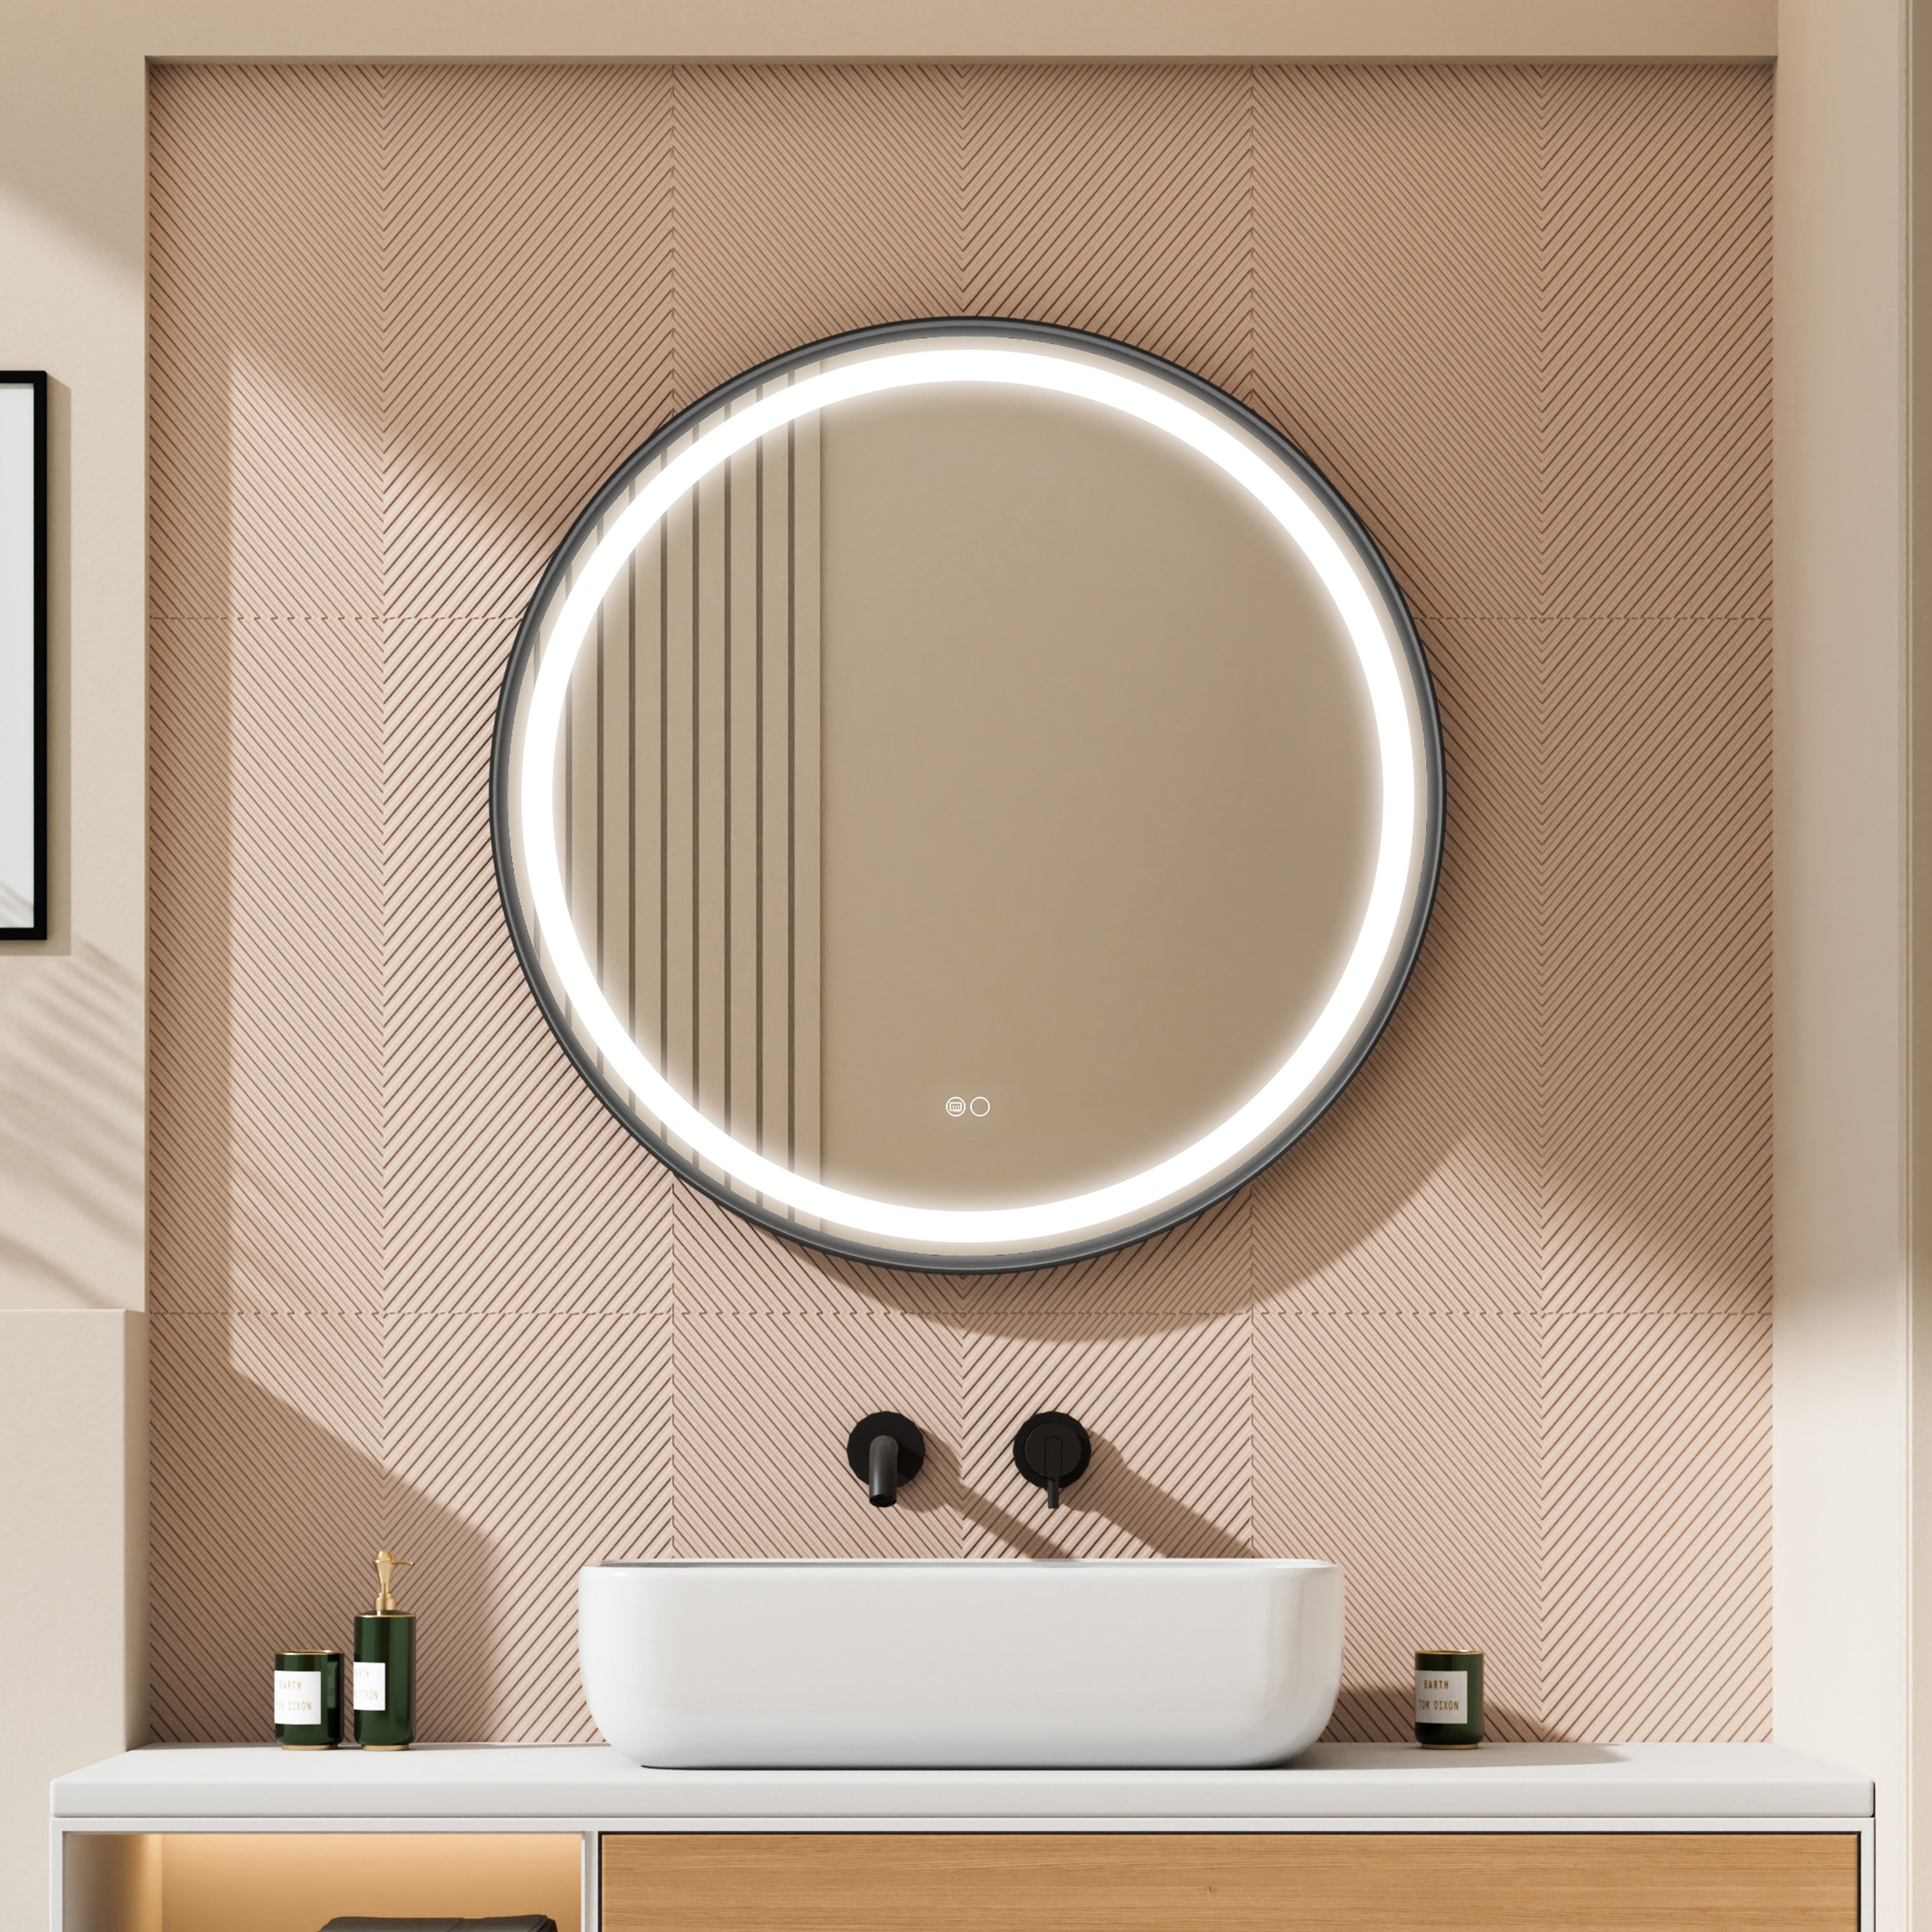
Classic style can be paired with metal borders or warm light sources.
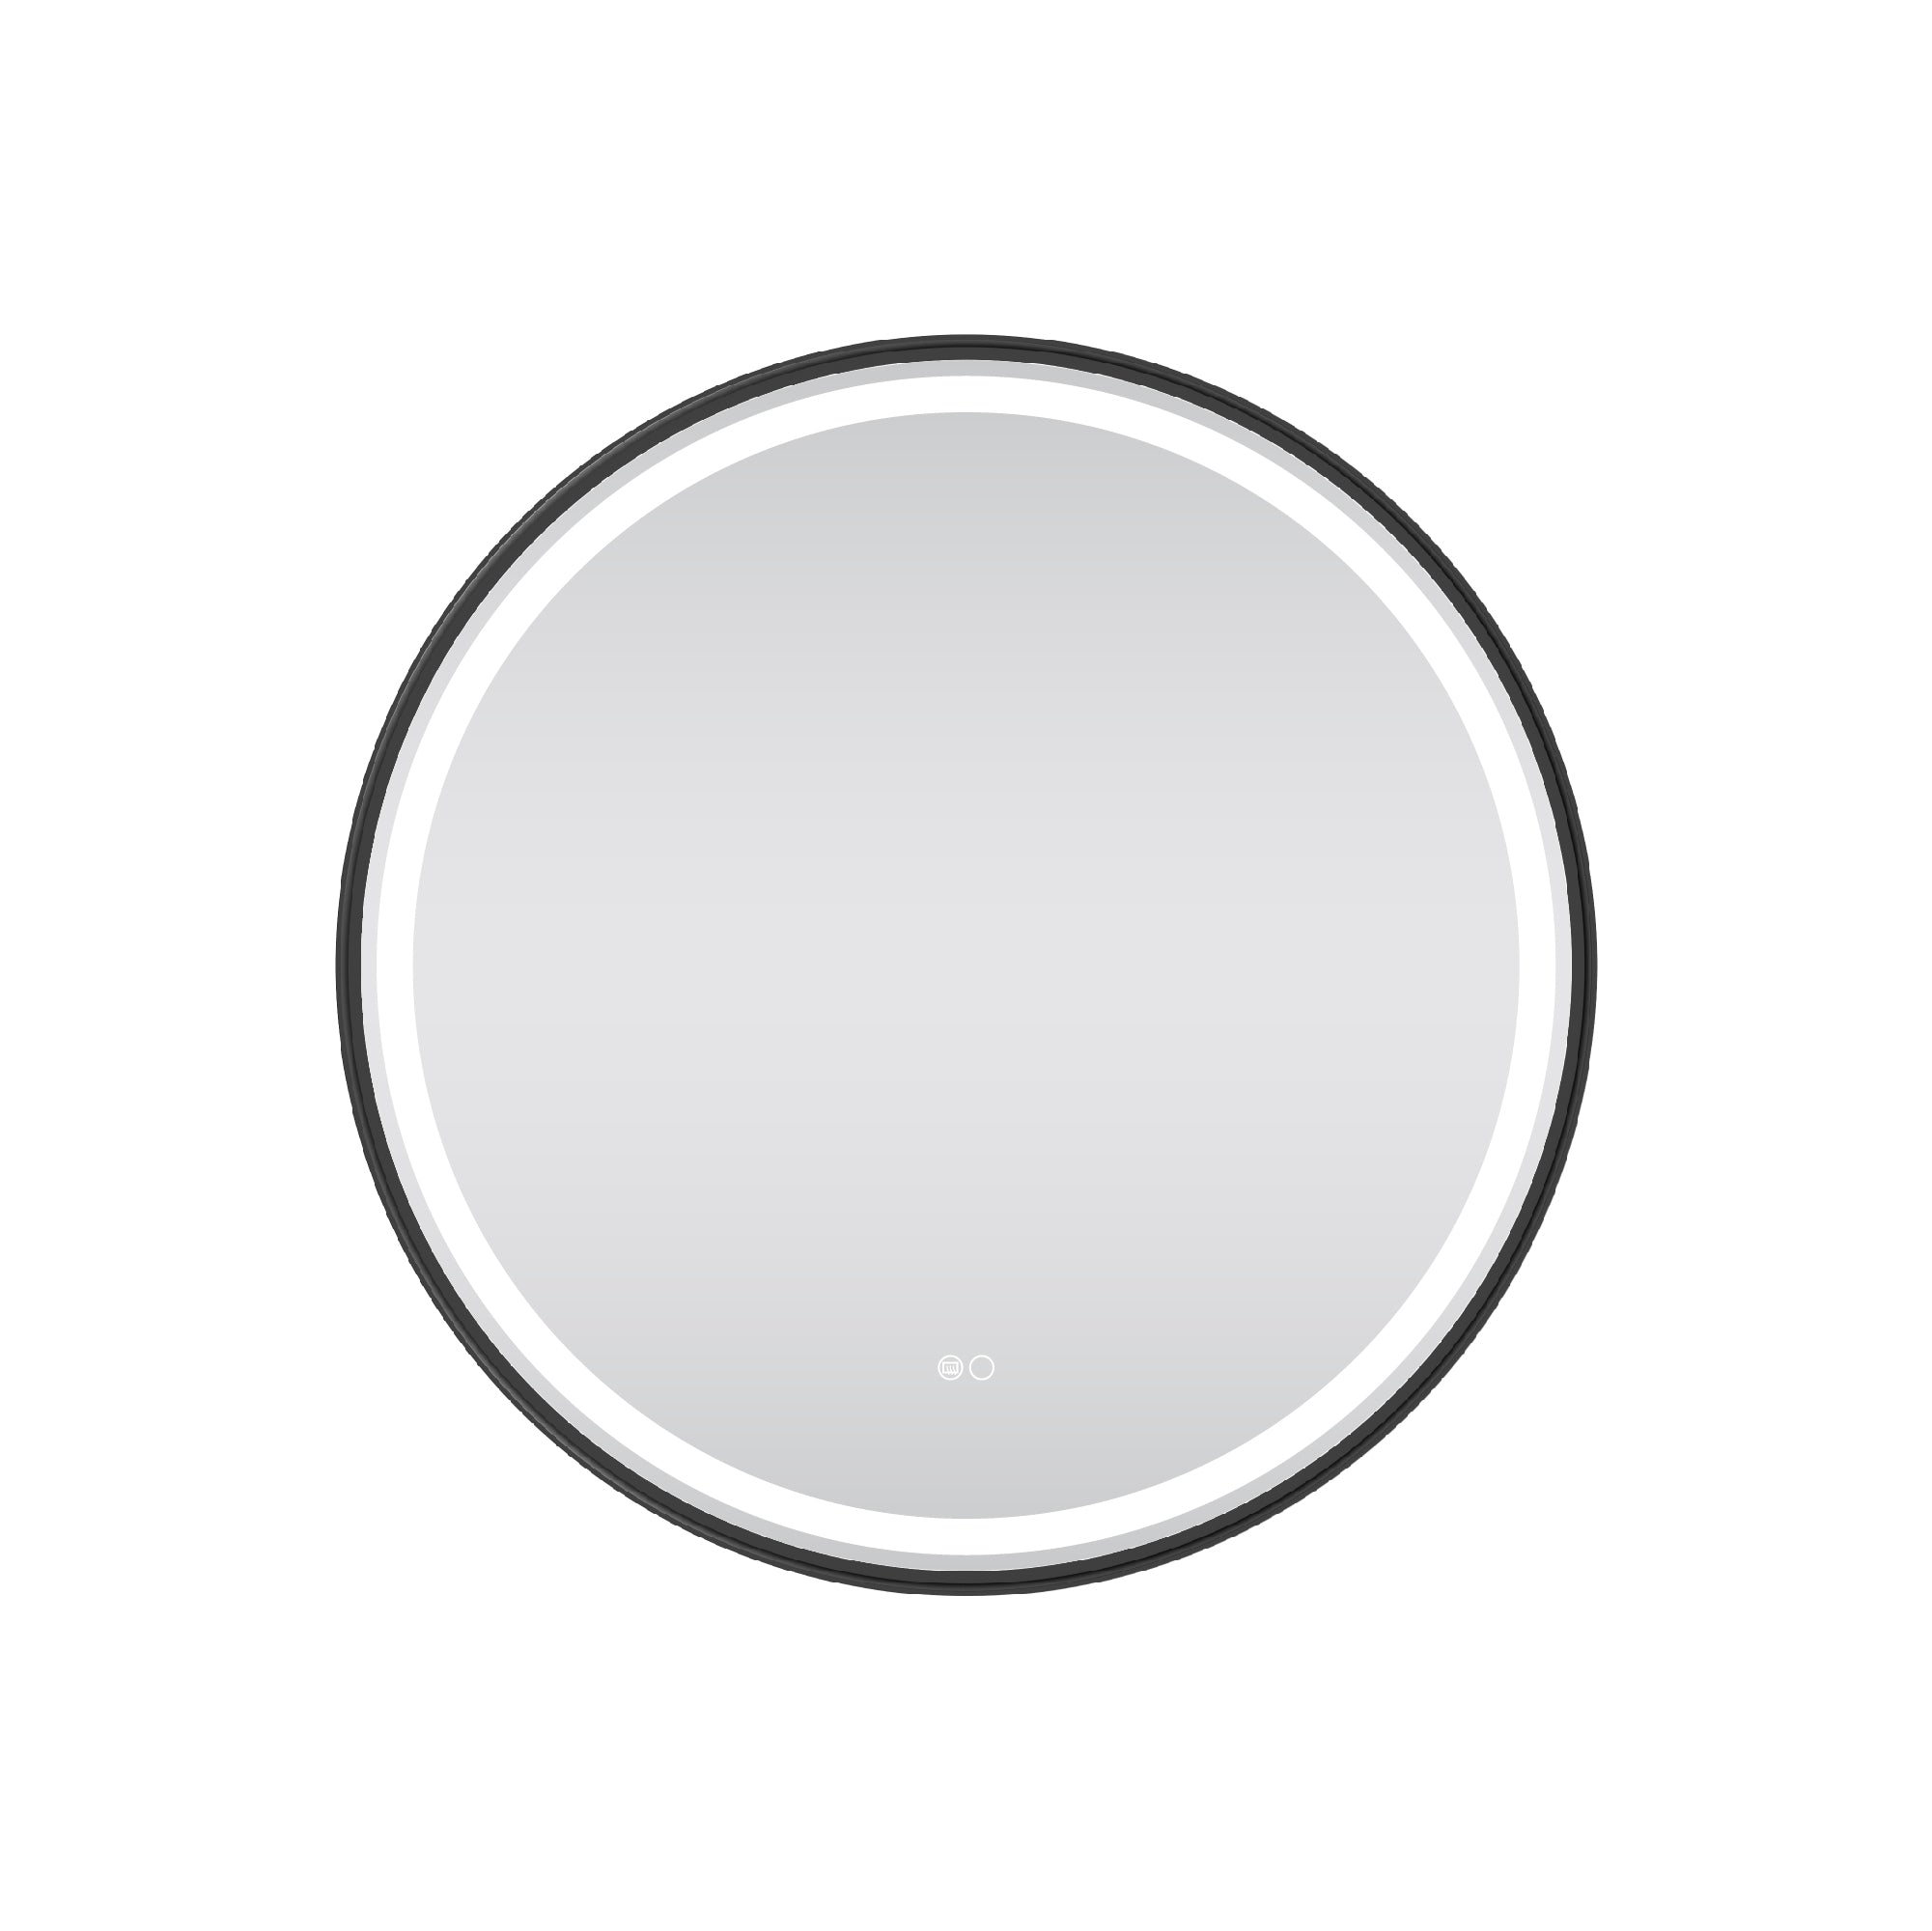
Small bathrooms can choose round or oval mirrors, with soft spatial lines.
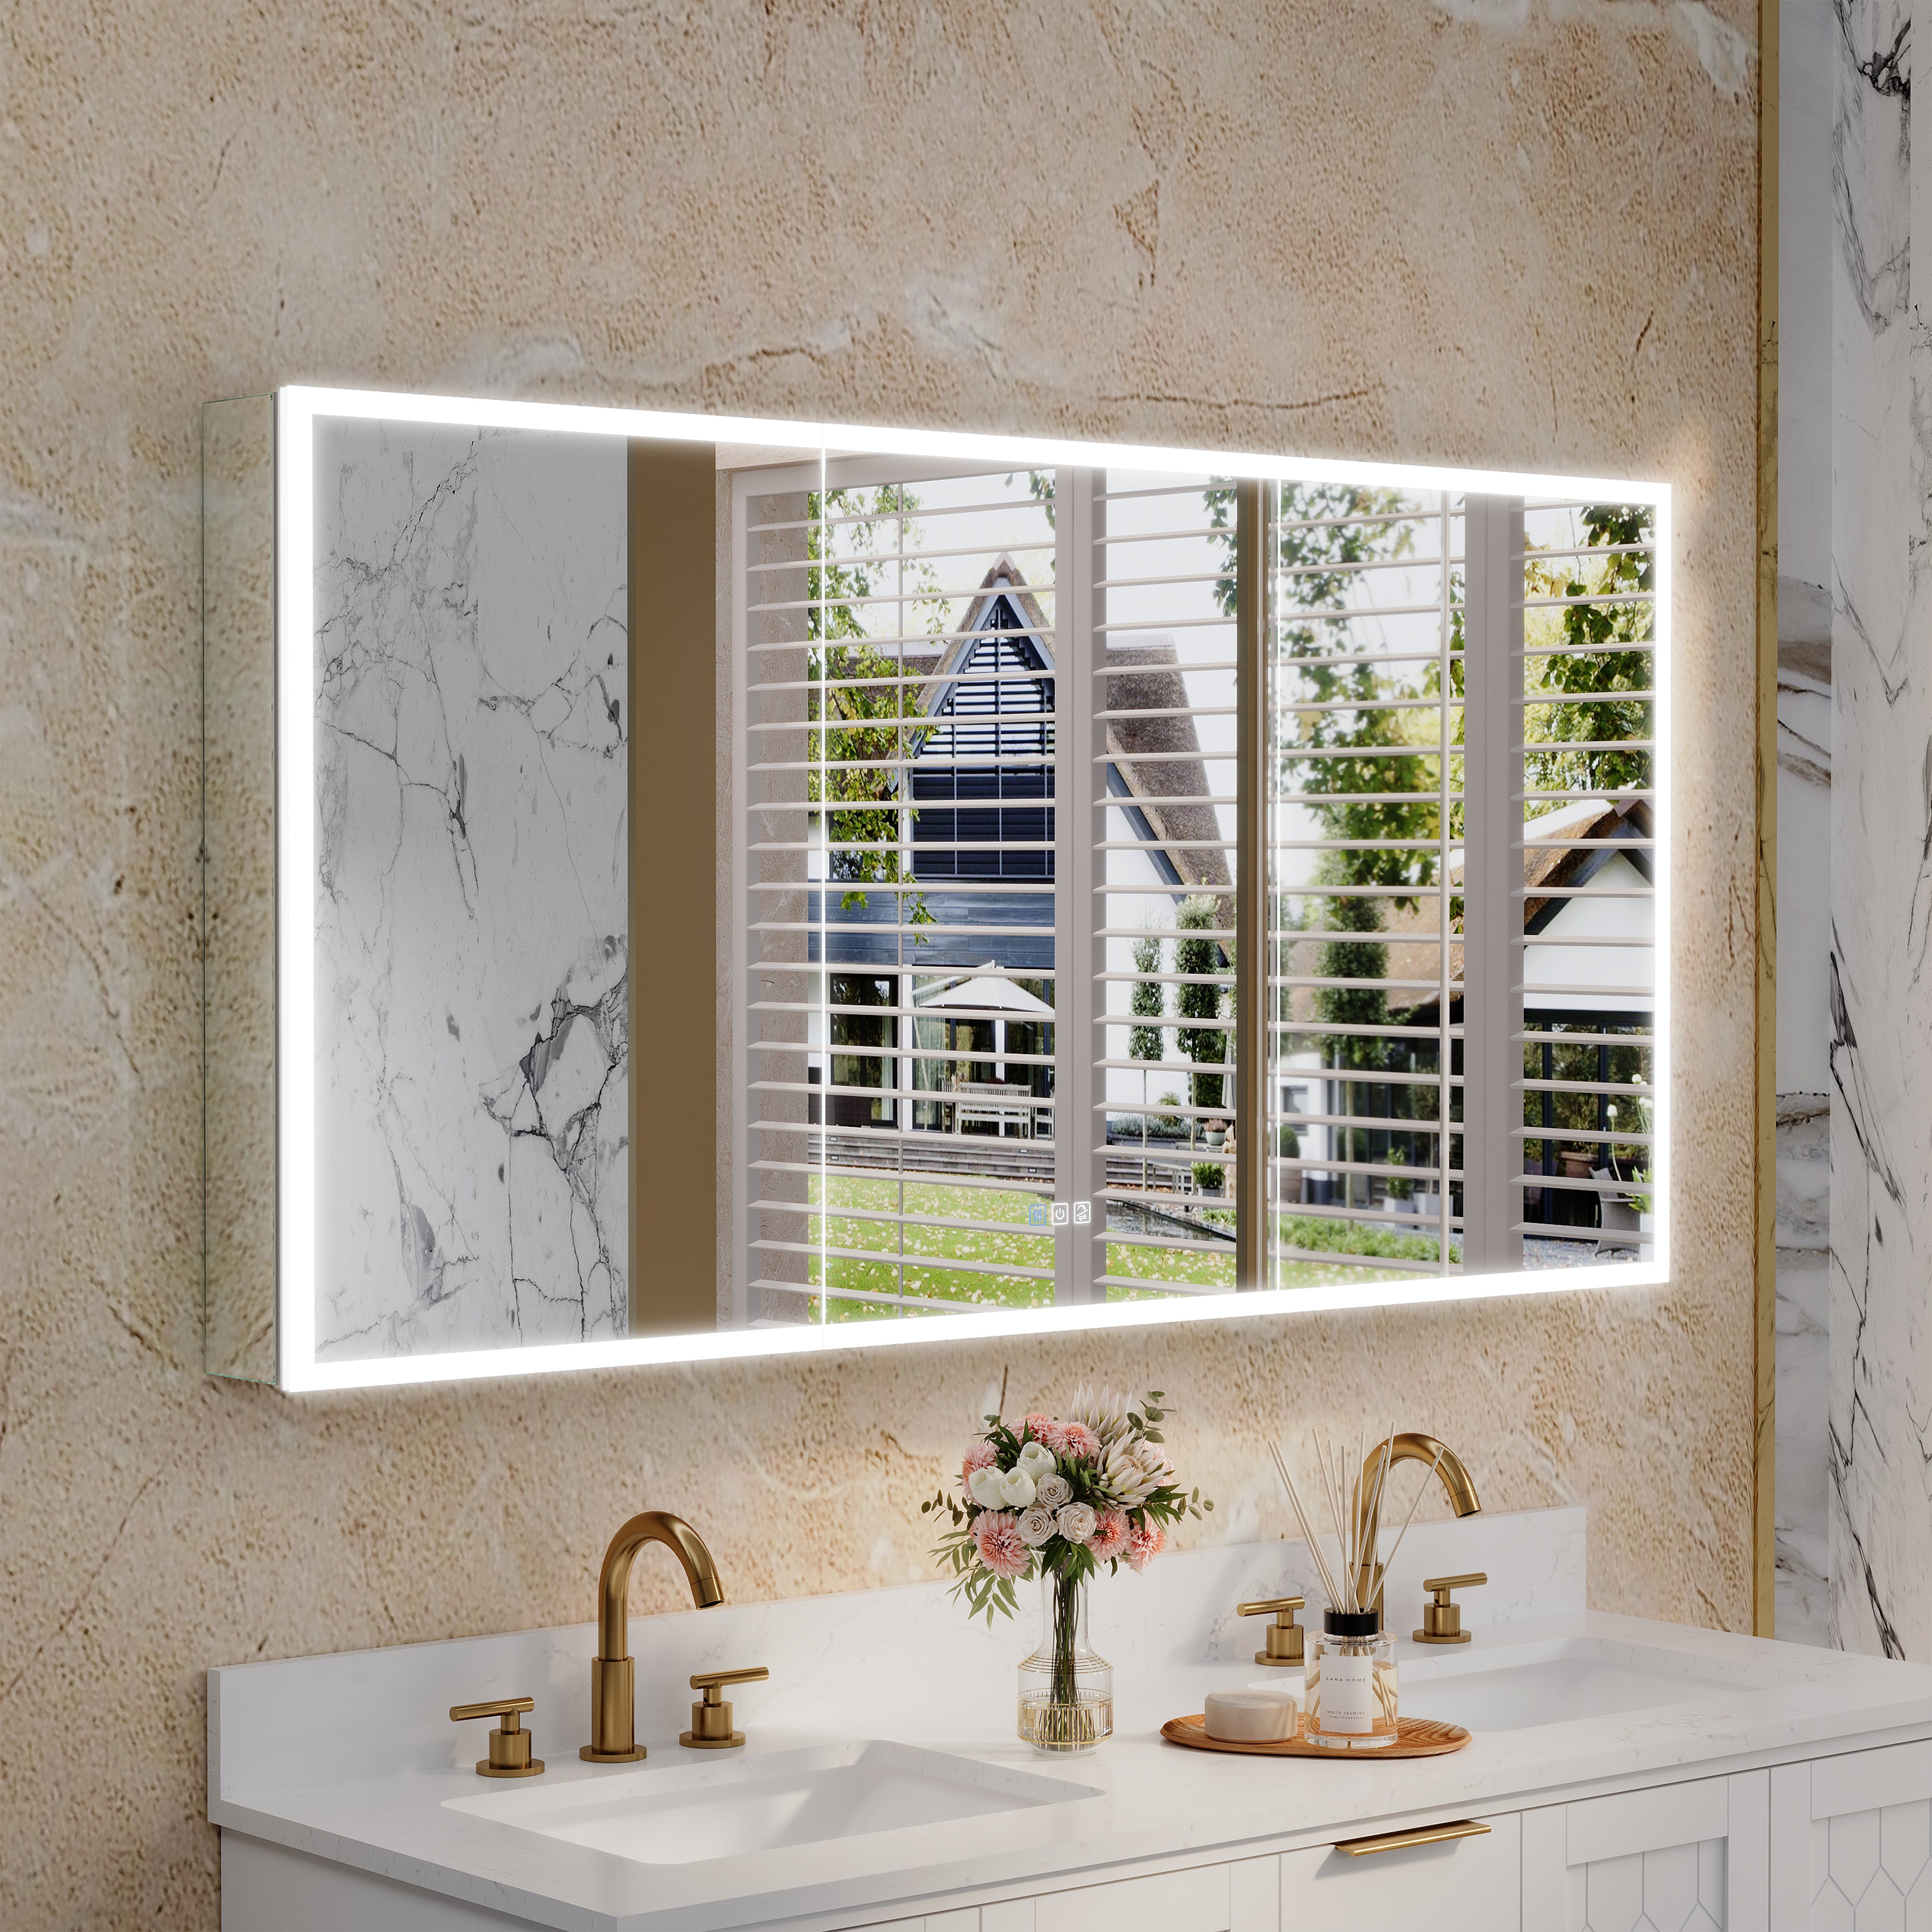
2. Lighting color matching
Warm white light (3000K-4000K) creates a warm atmosphere.
Cold white light (5000K-6500K) is more suitable for functional lighting.
The adjustable color temperature model can switch the light sensitivity according to time and emotion.
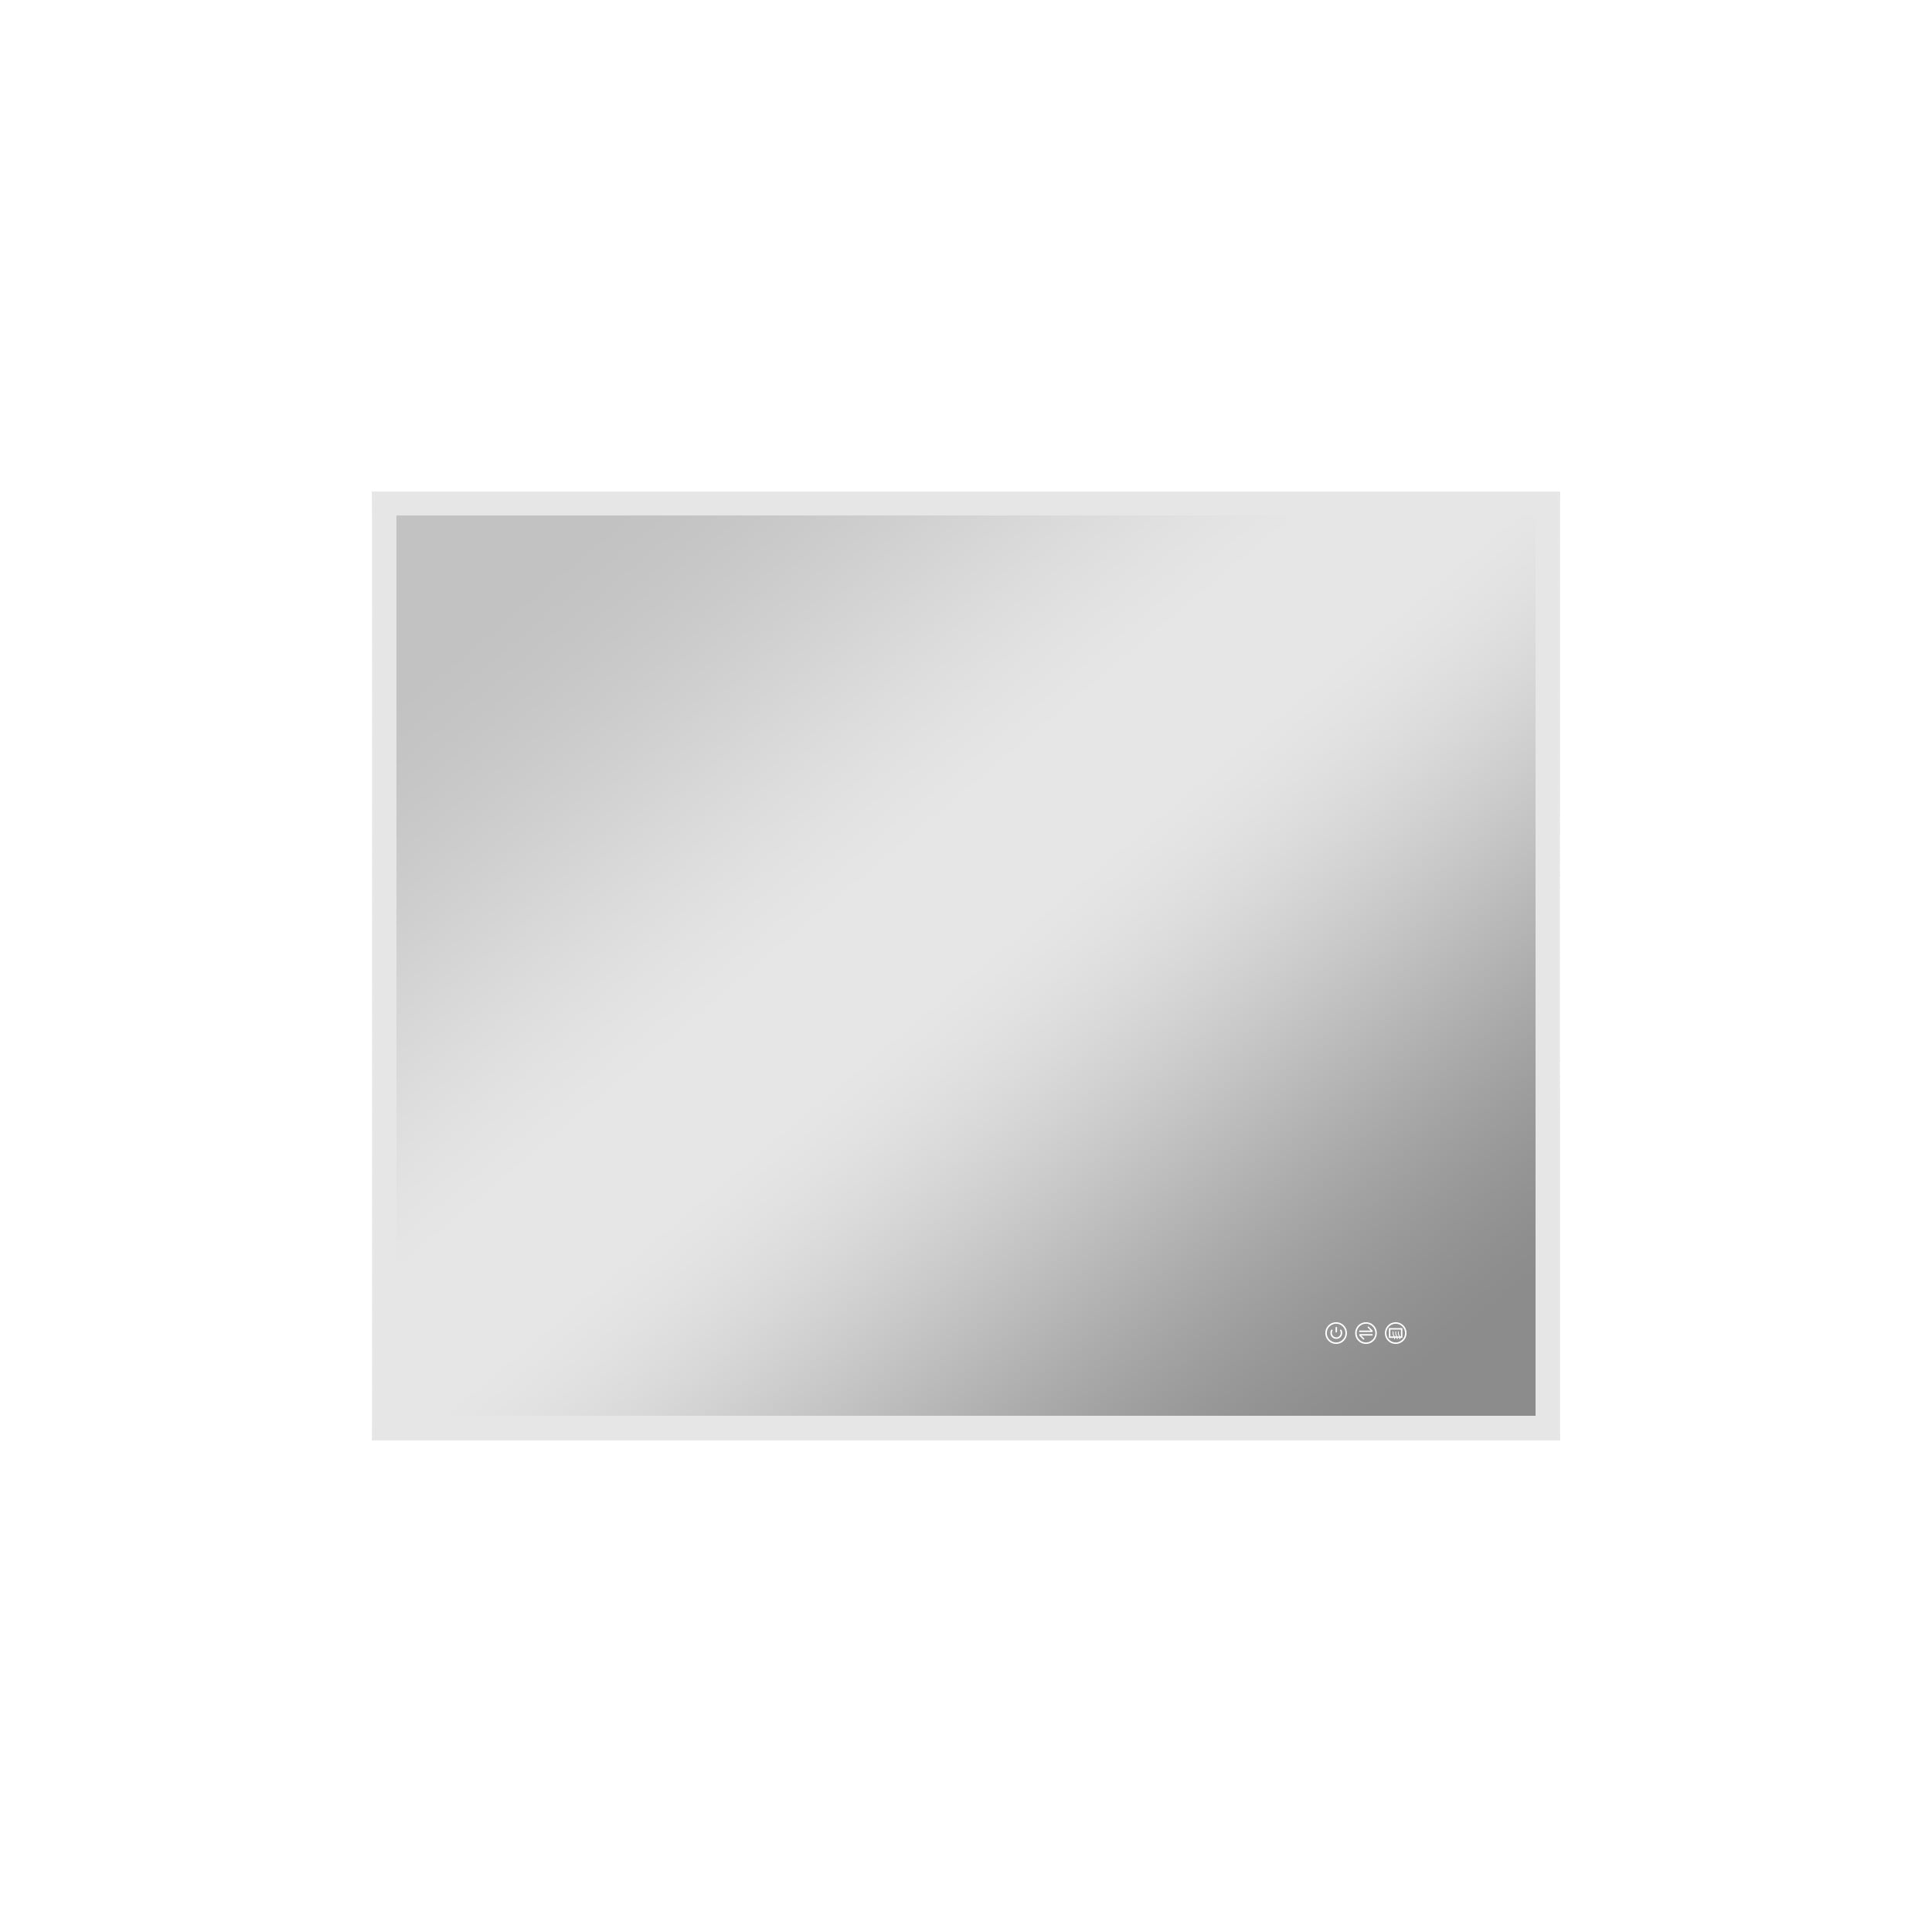
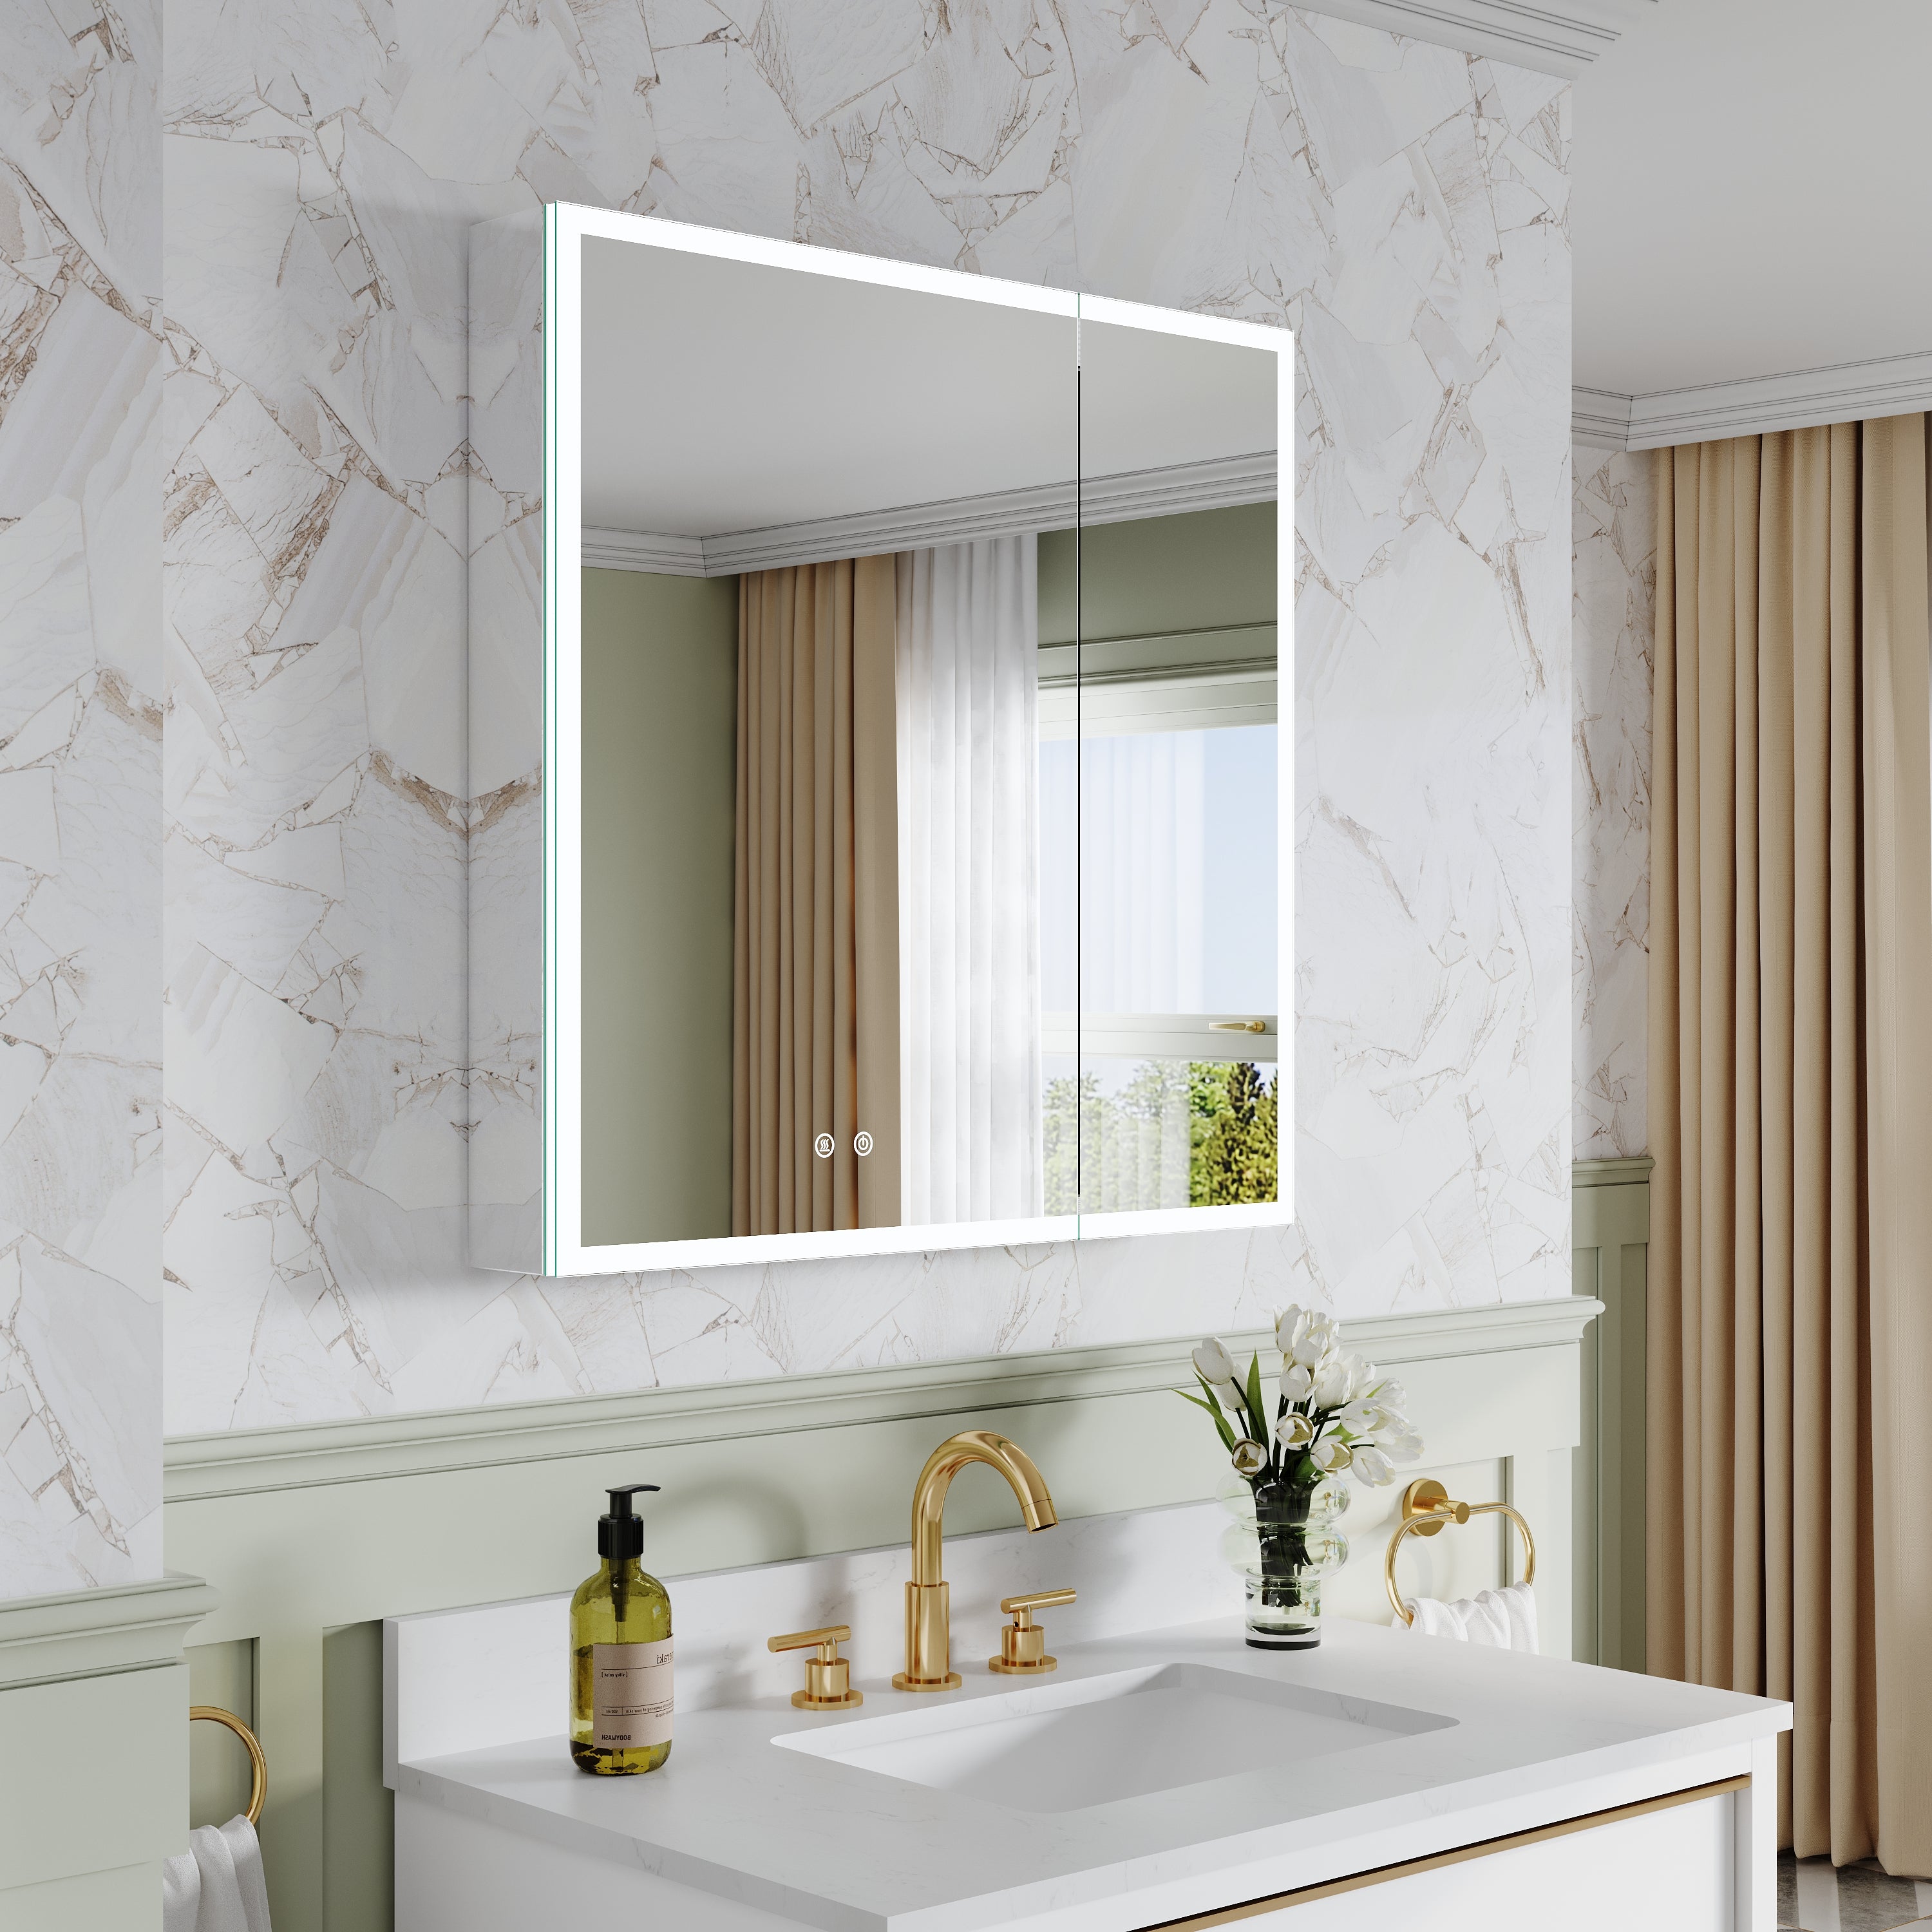
3. Intelligent improvement
Modern LED mirrors generally support touch dimming, anti-fog, time display, and can even be linked with Bluetooth speakers.
Choosing these features is not only practical, but also gives the bathroom a more technological feel.

Conclusion: Under the light and shadow, there is an upgrade in the quality of life
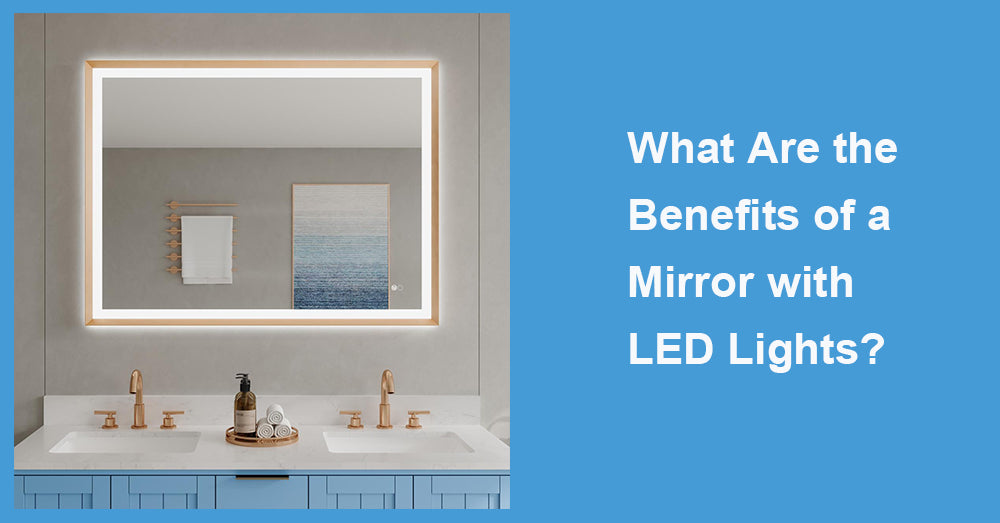
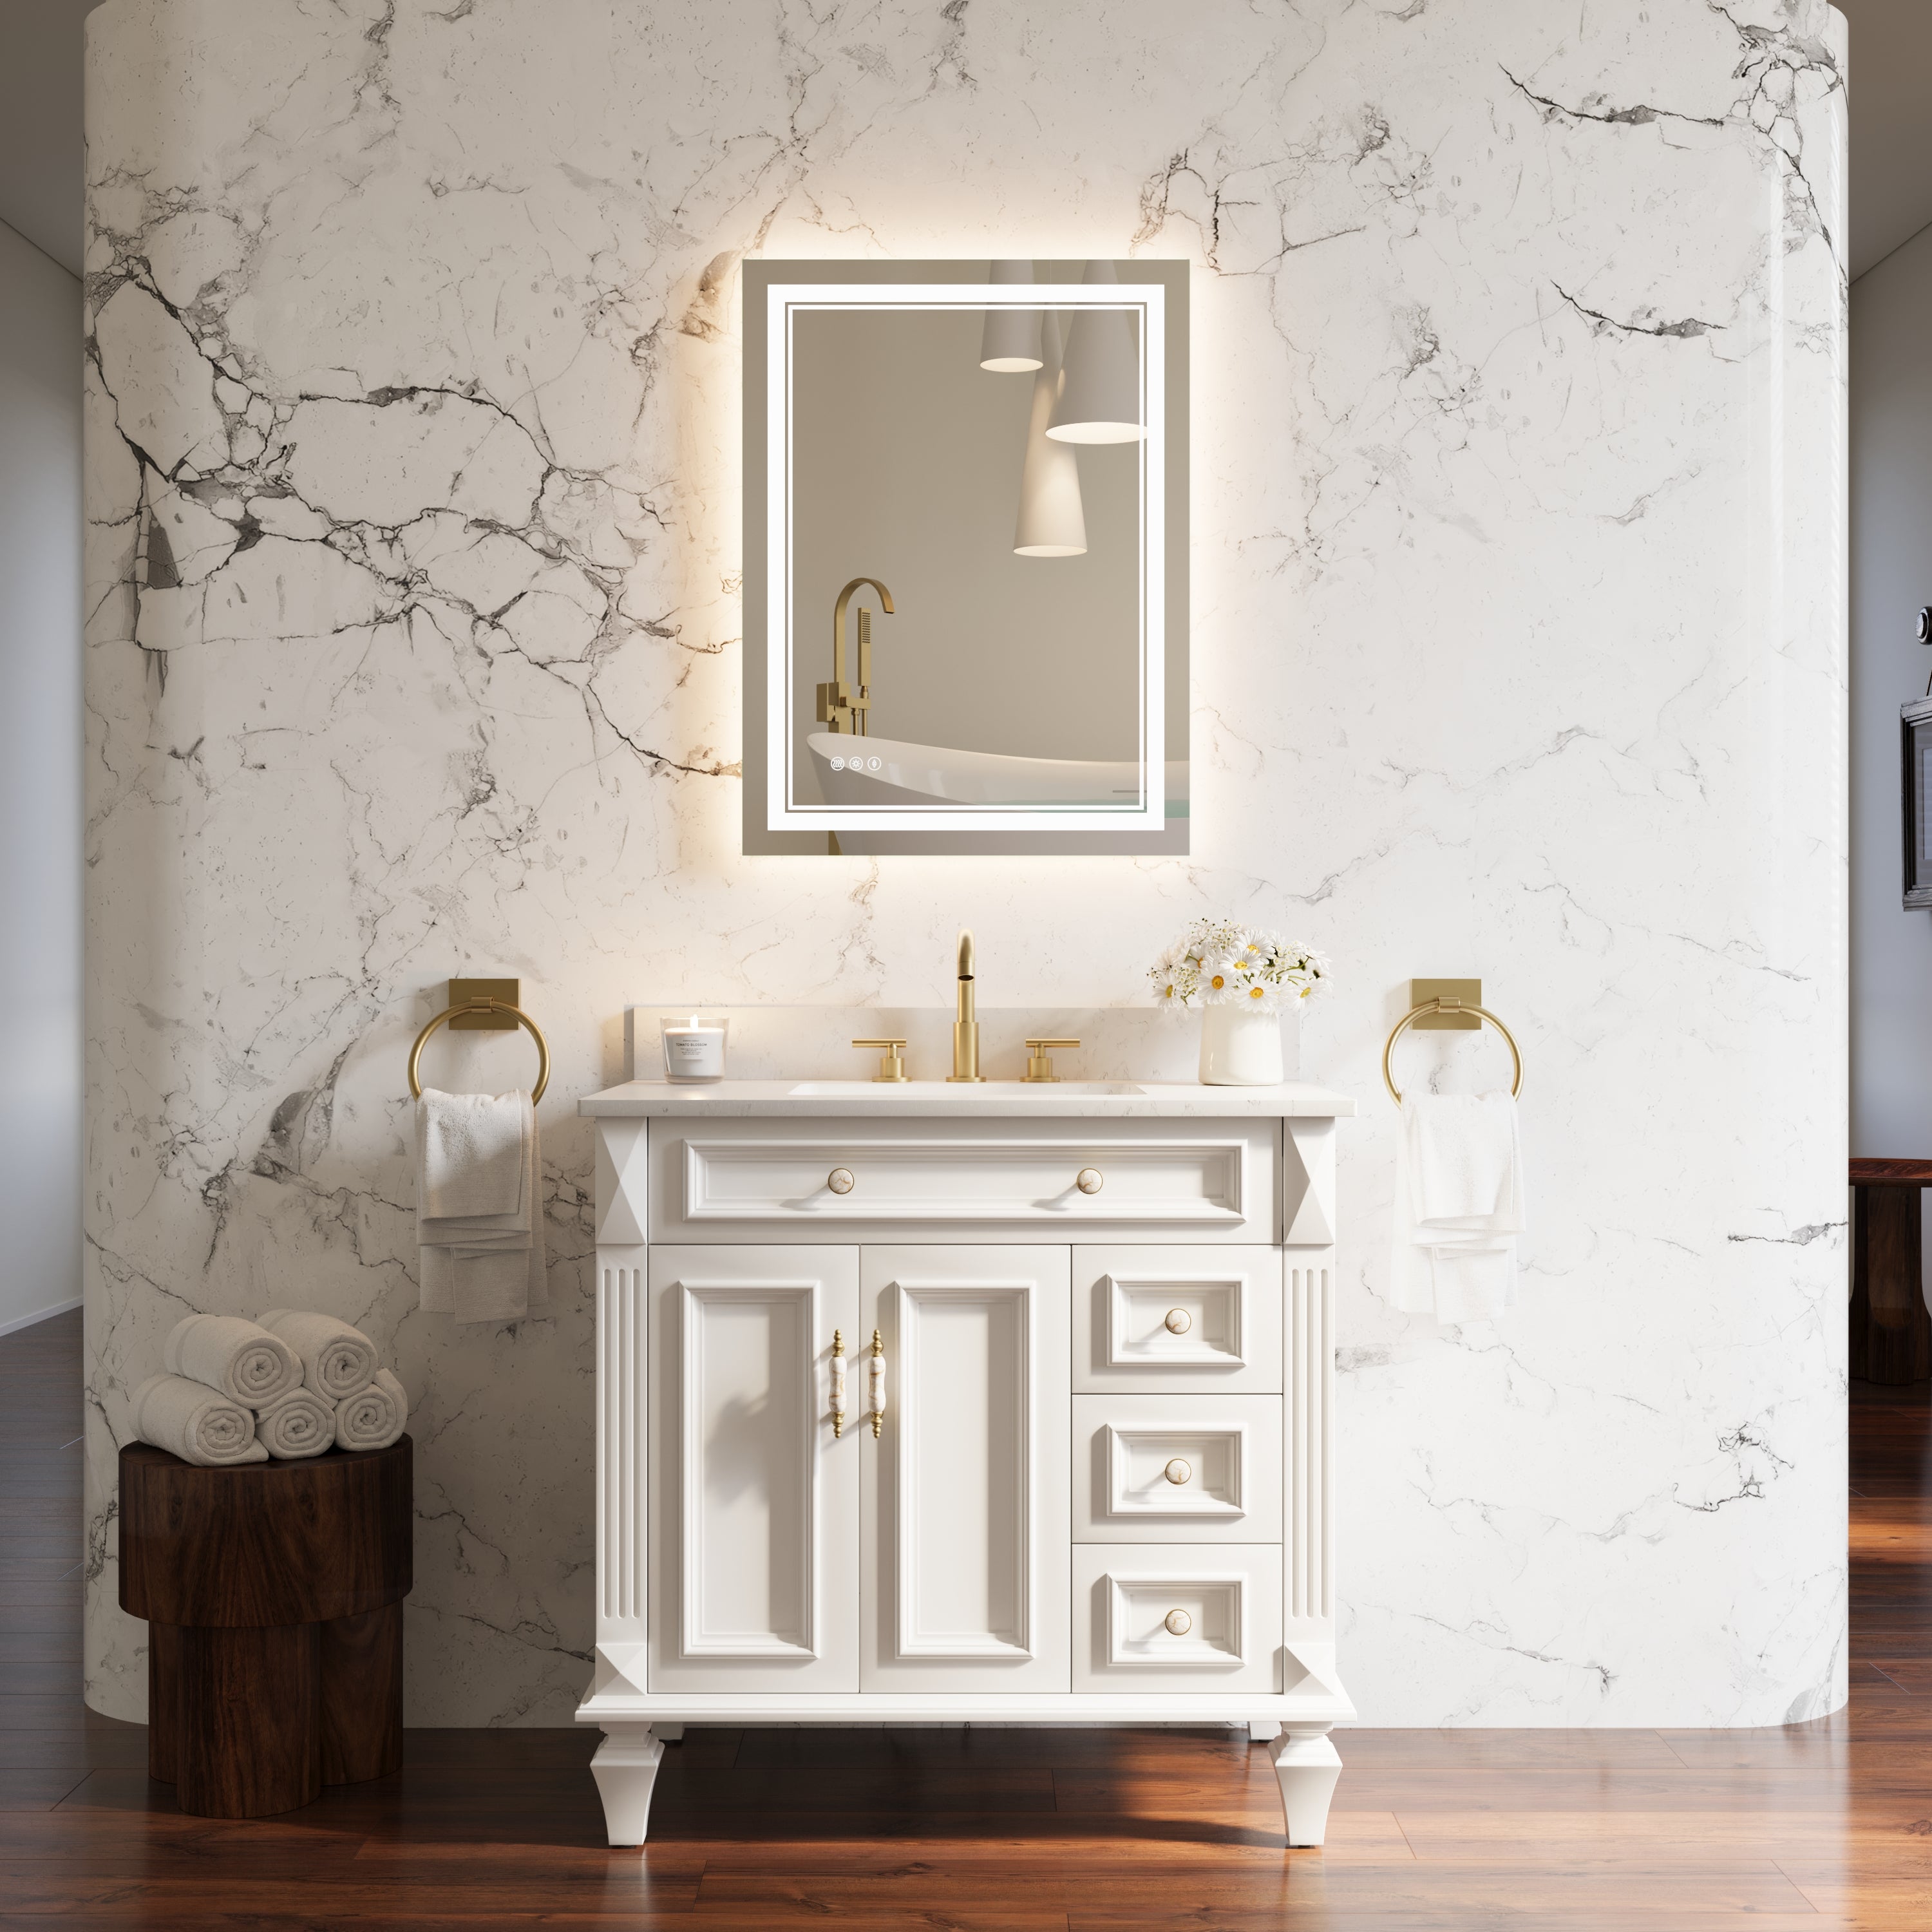
From the initial practical lighting to today's intelligent aesthetics, the Bathroom Mirror with LED Light has become a representative work of modern bathroom design.
It integrates multiple functions such as lighting, anti-fog, energy saving, and intelligent control, which not only bring convenience but also enhance the atmosphere and value of the entire space.
Whether you choose to install it yourself or hire professionals for construction,
As long as the planning, wiring, and safety details are standardized,
A high-quality LED mirror can become the focal point in the bathroom, making daily care experience more comfortable and elegant.
In the home era where beauty and practicality coexist, LED bathroom mirrors not only illuminate the face, but also illuminate the quality of life.


Leave a comment
This site is protected by hCaptcha and the hCaptcha Privacy Policy and Terms of Service apply.