












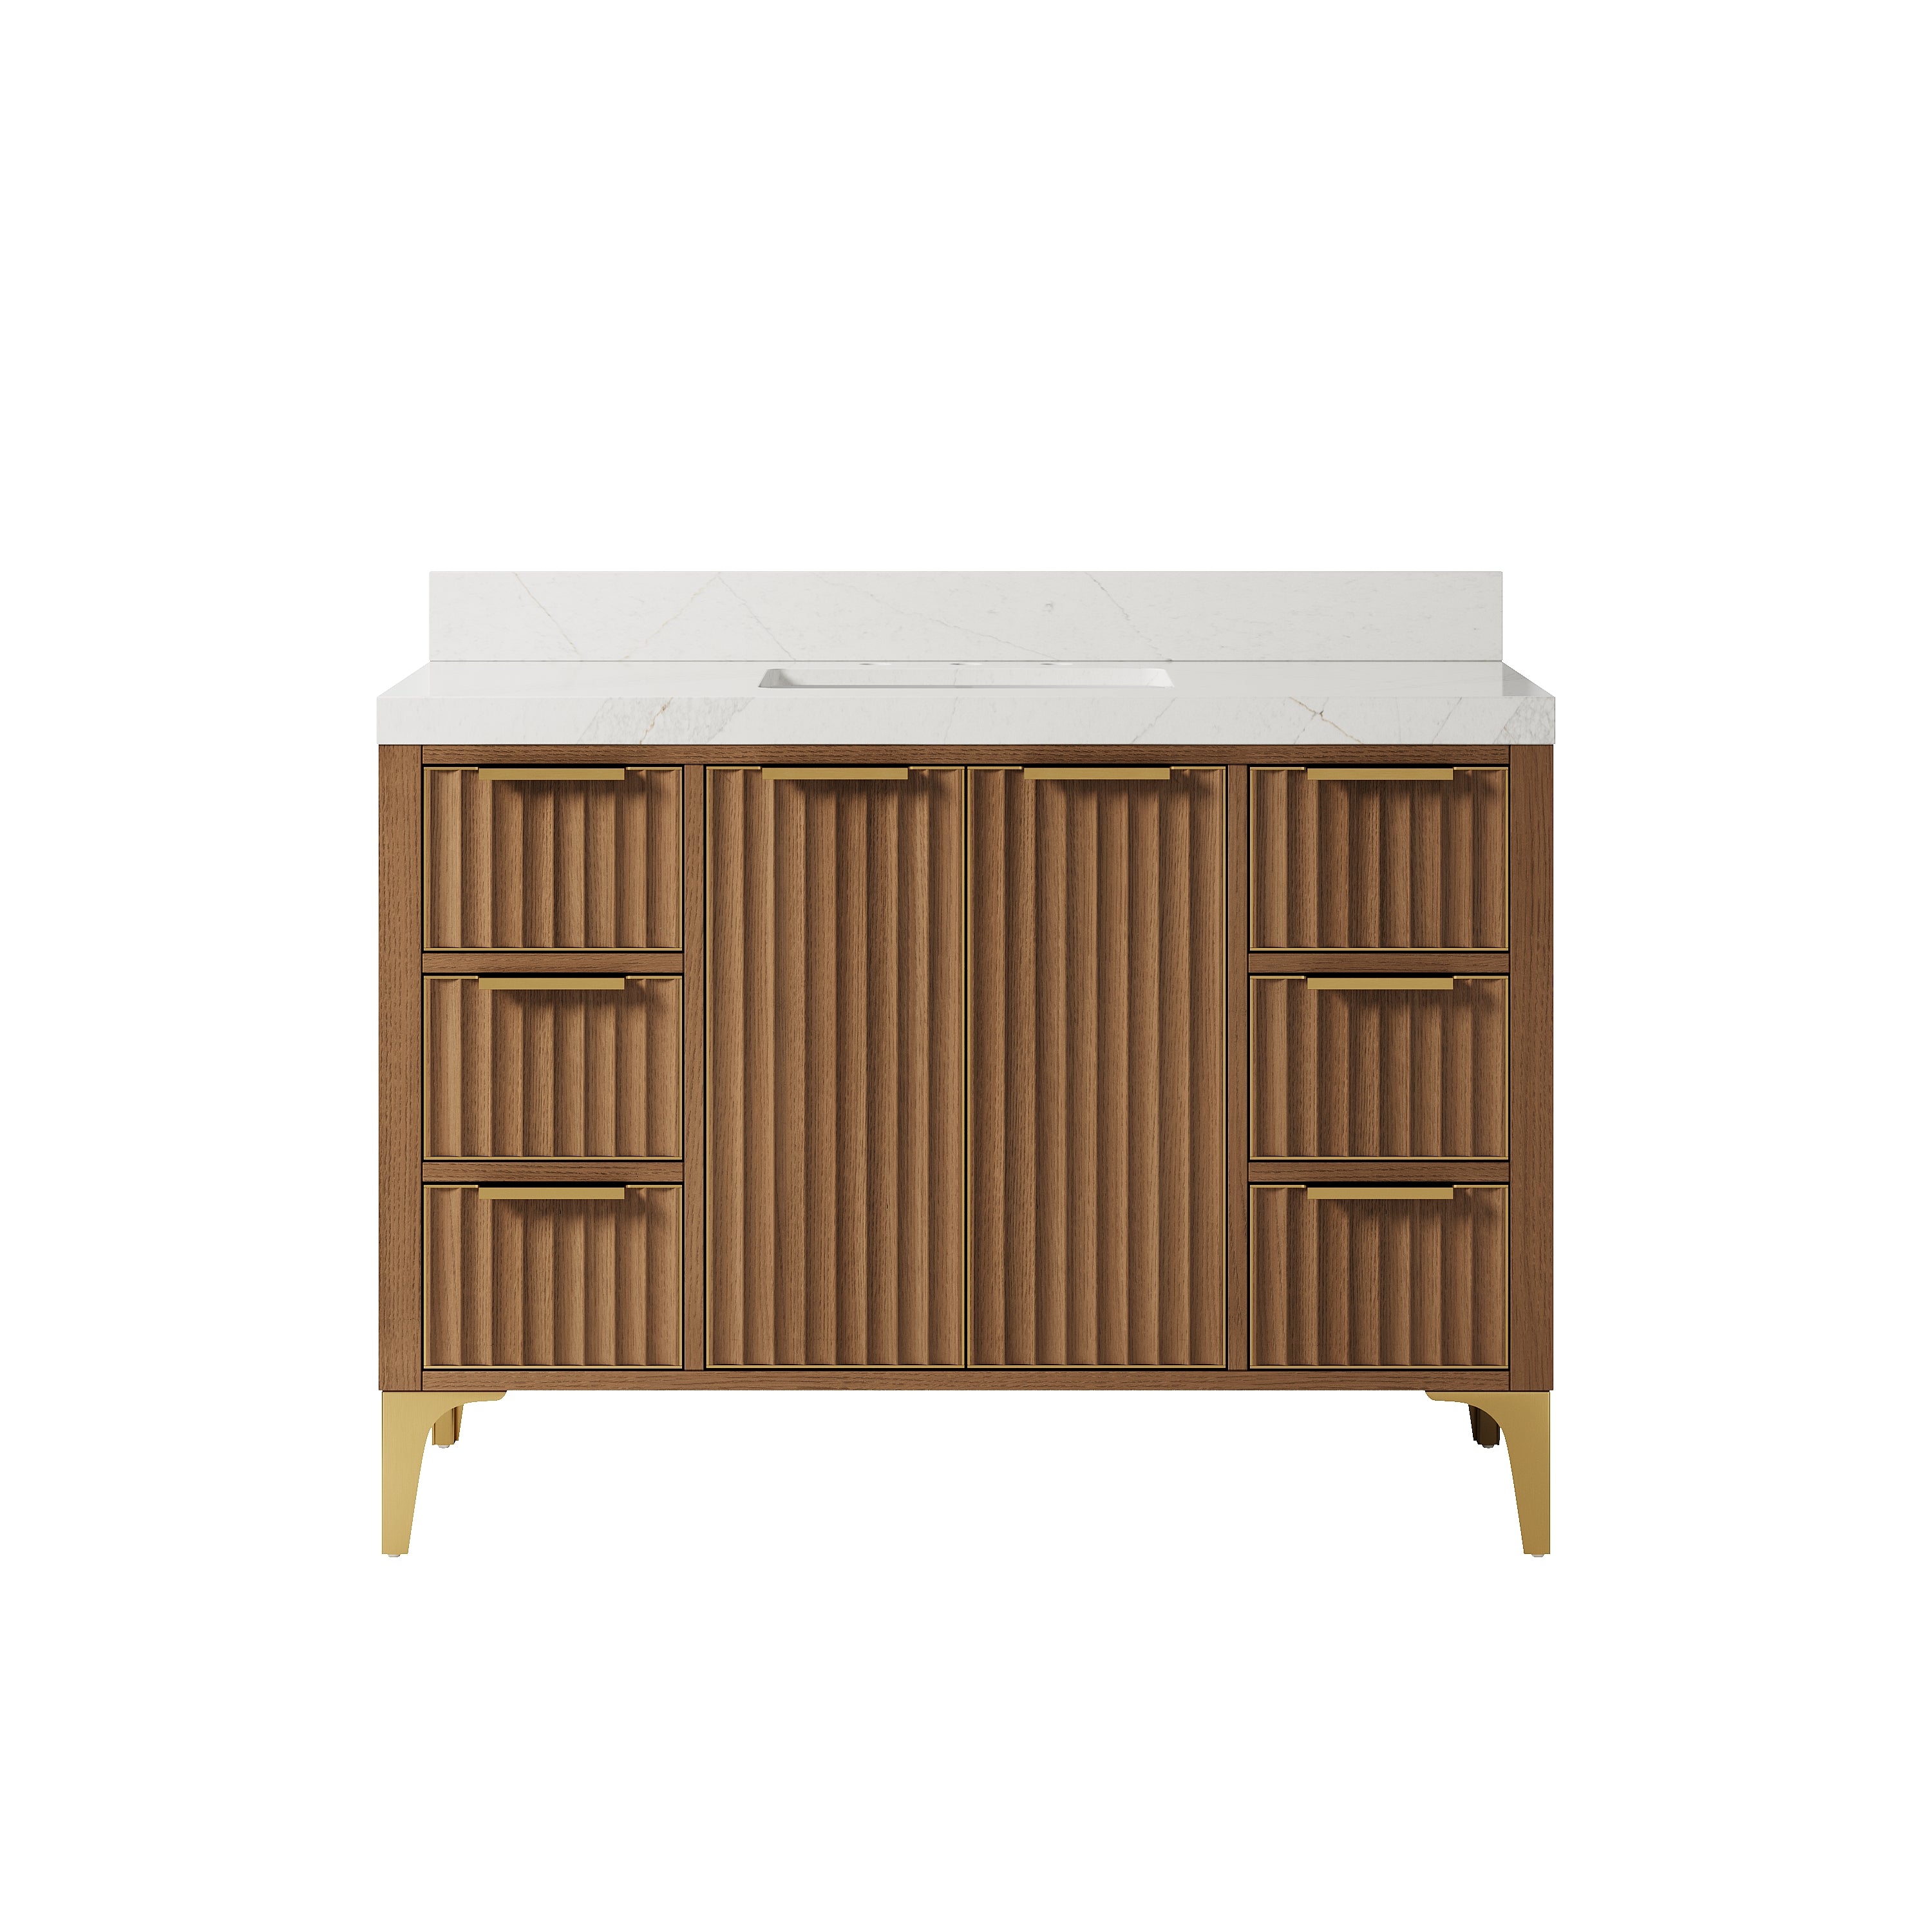

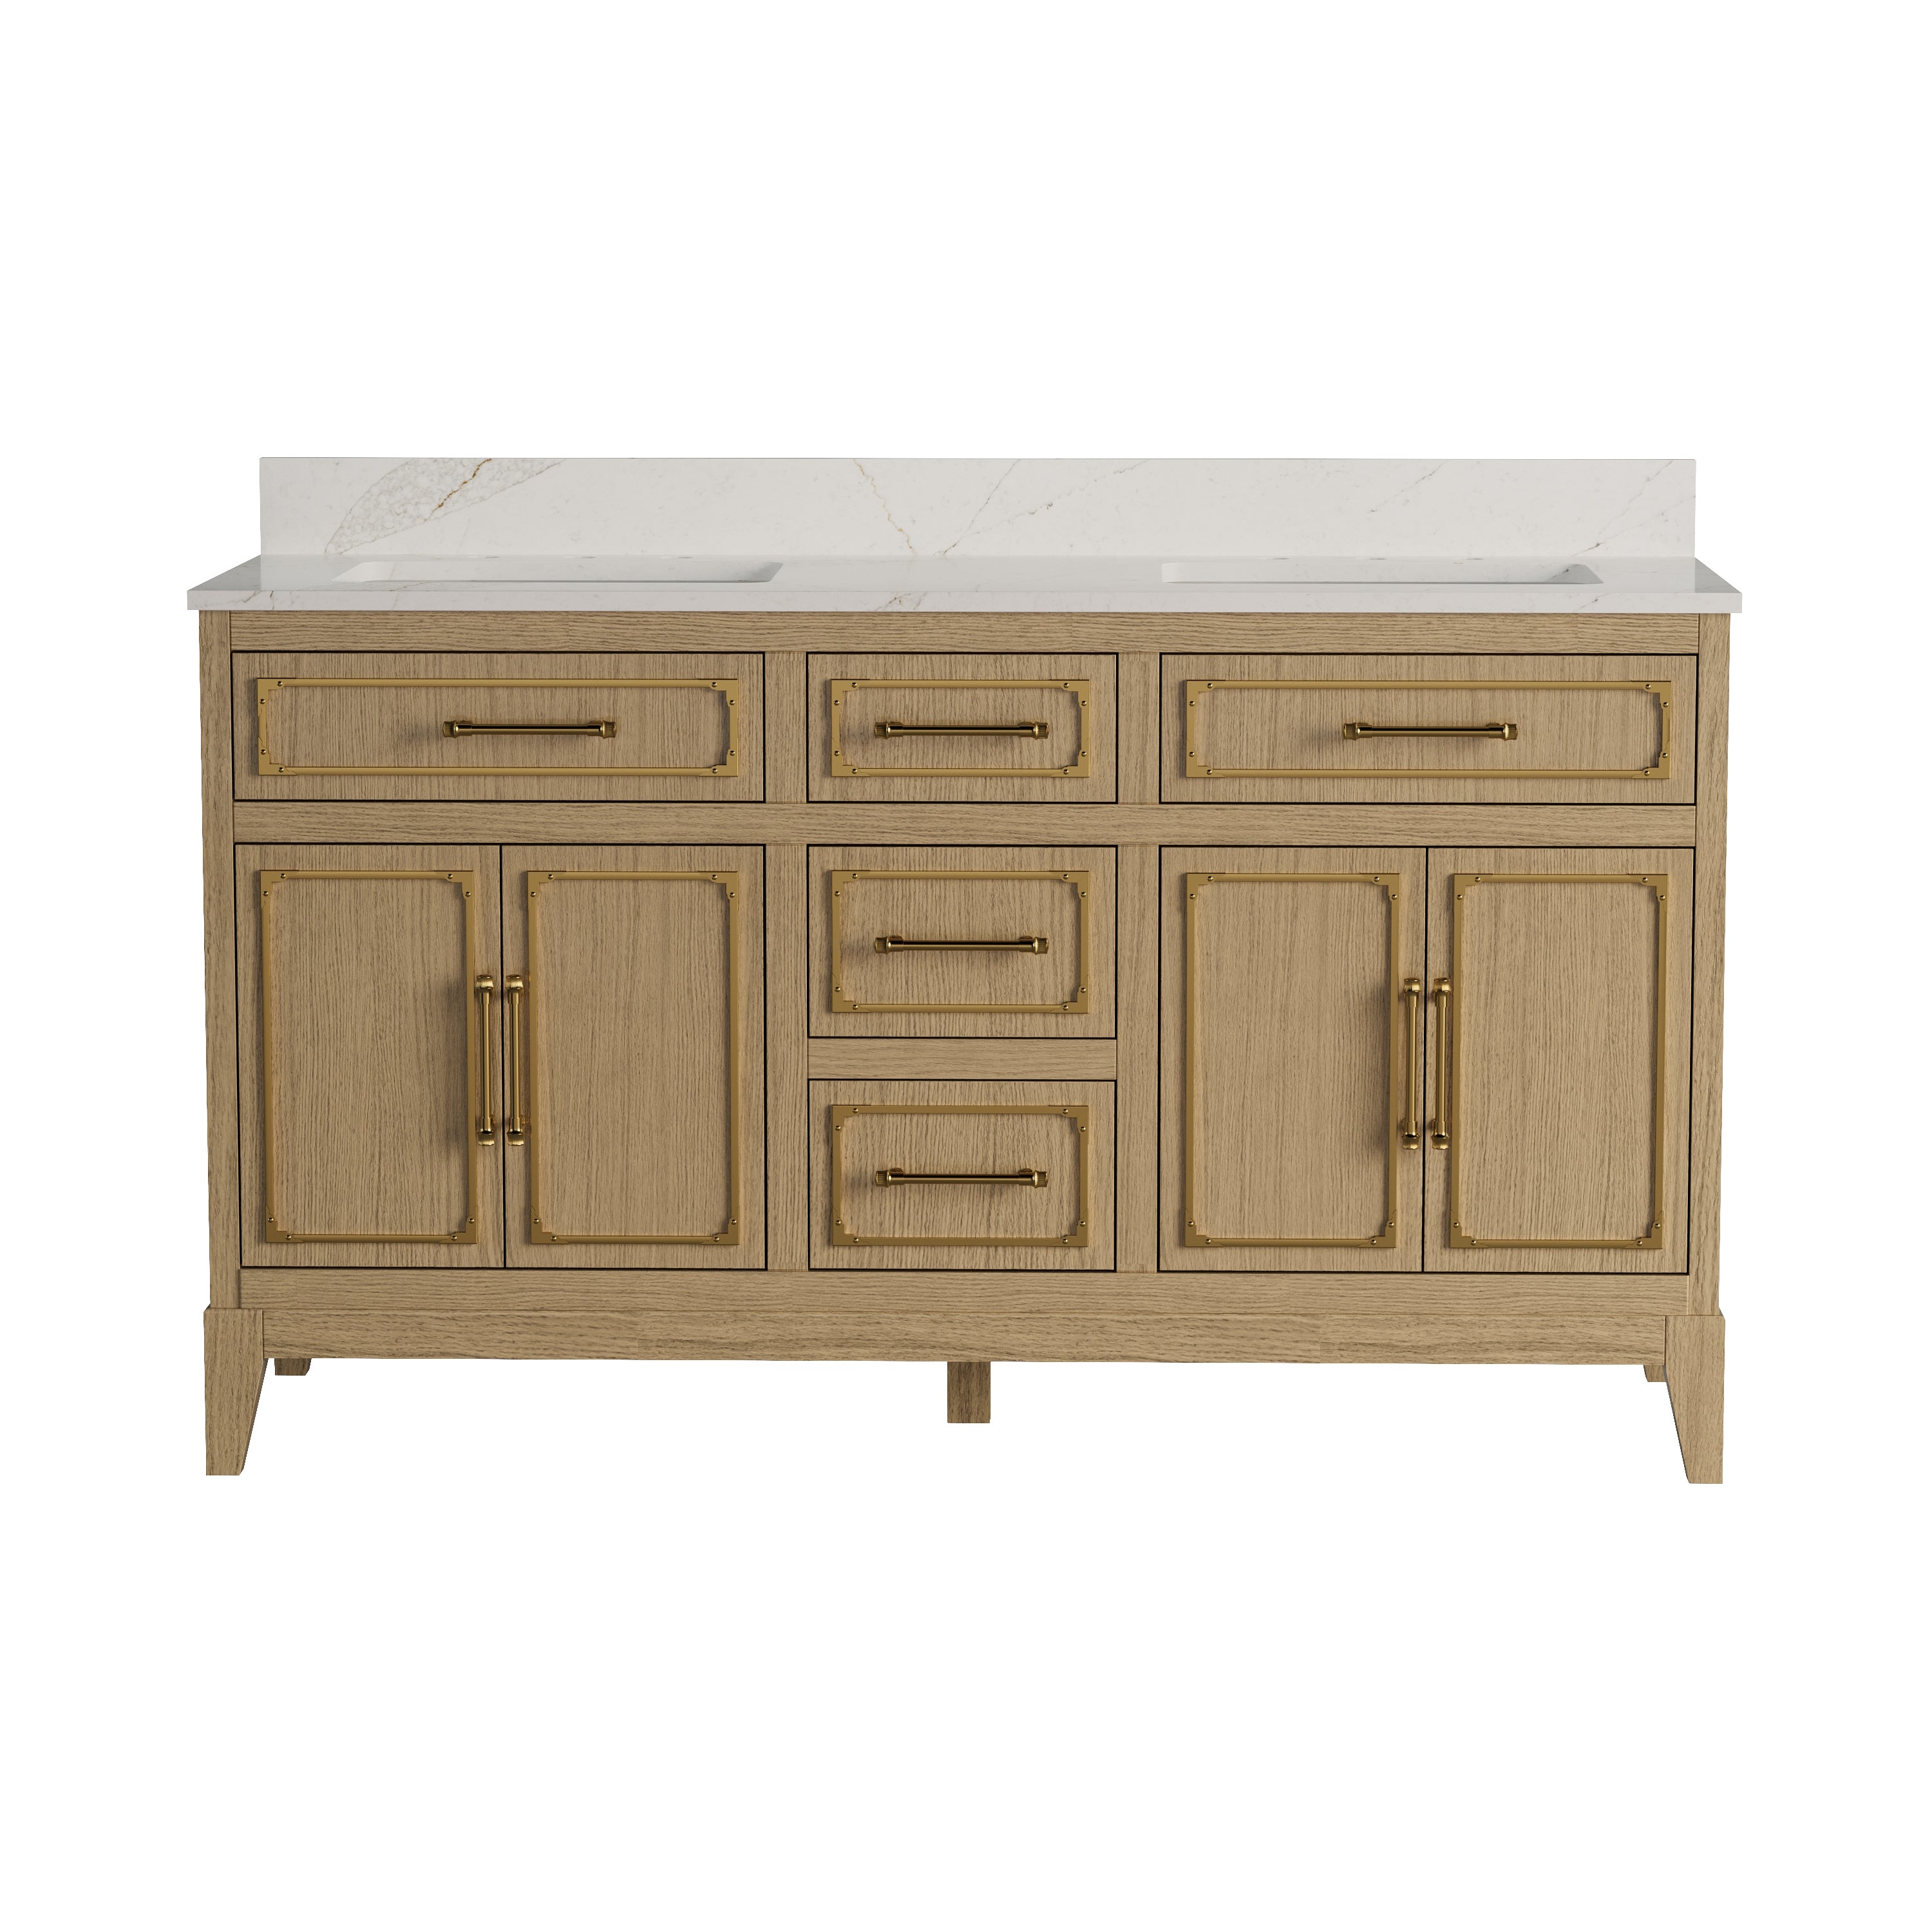

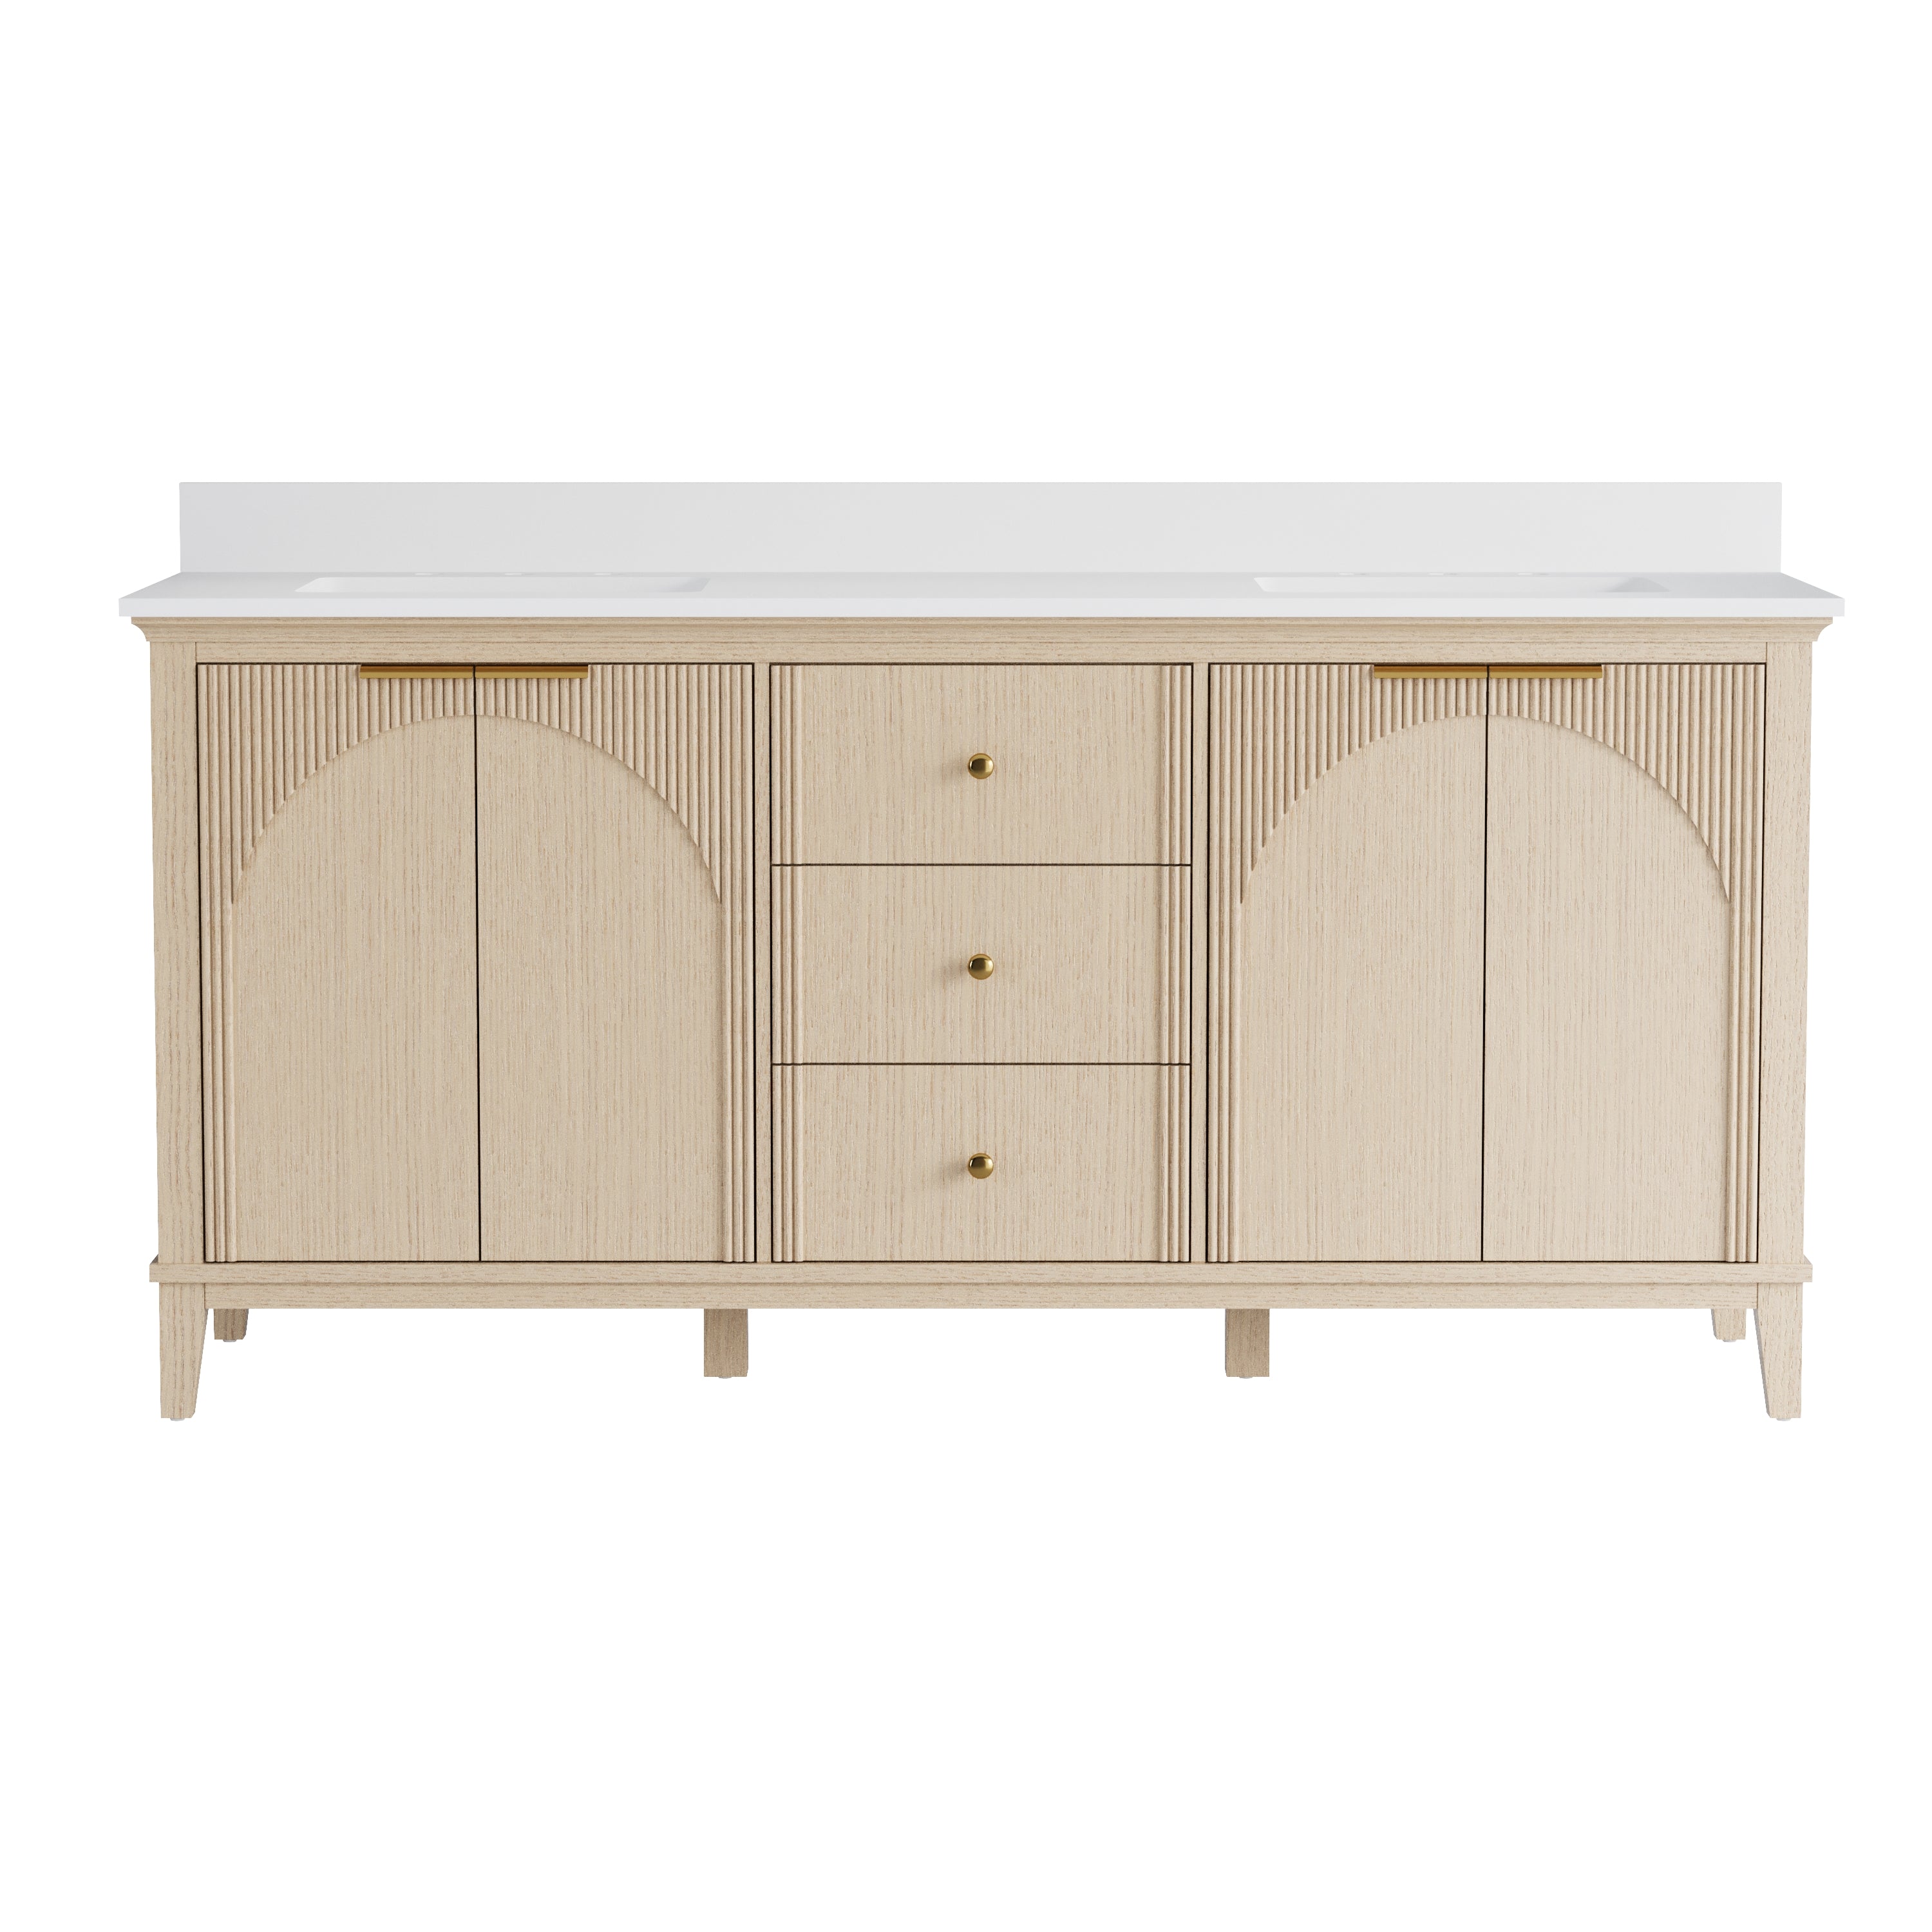
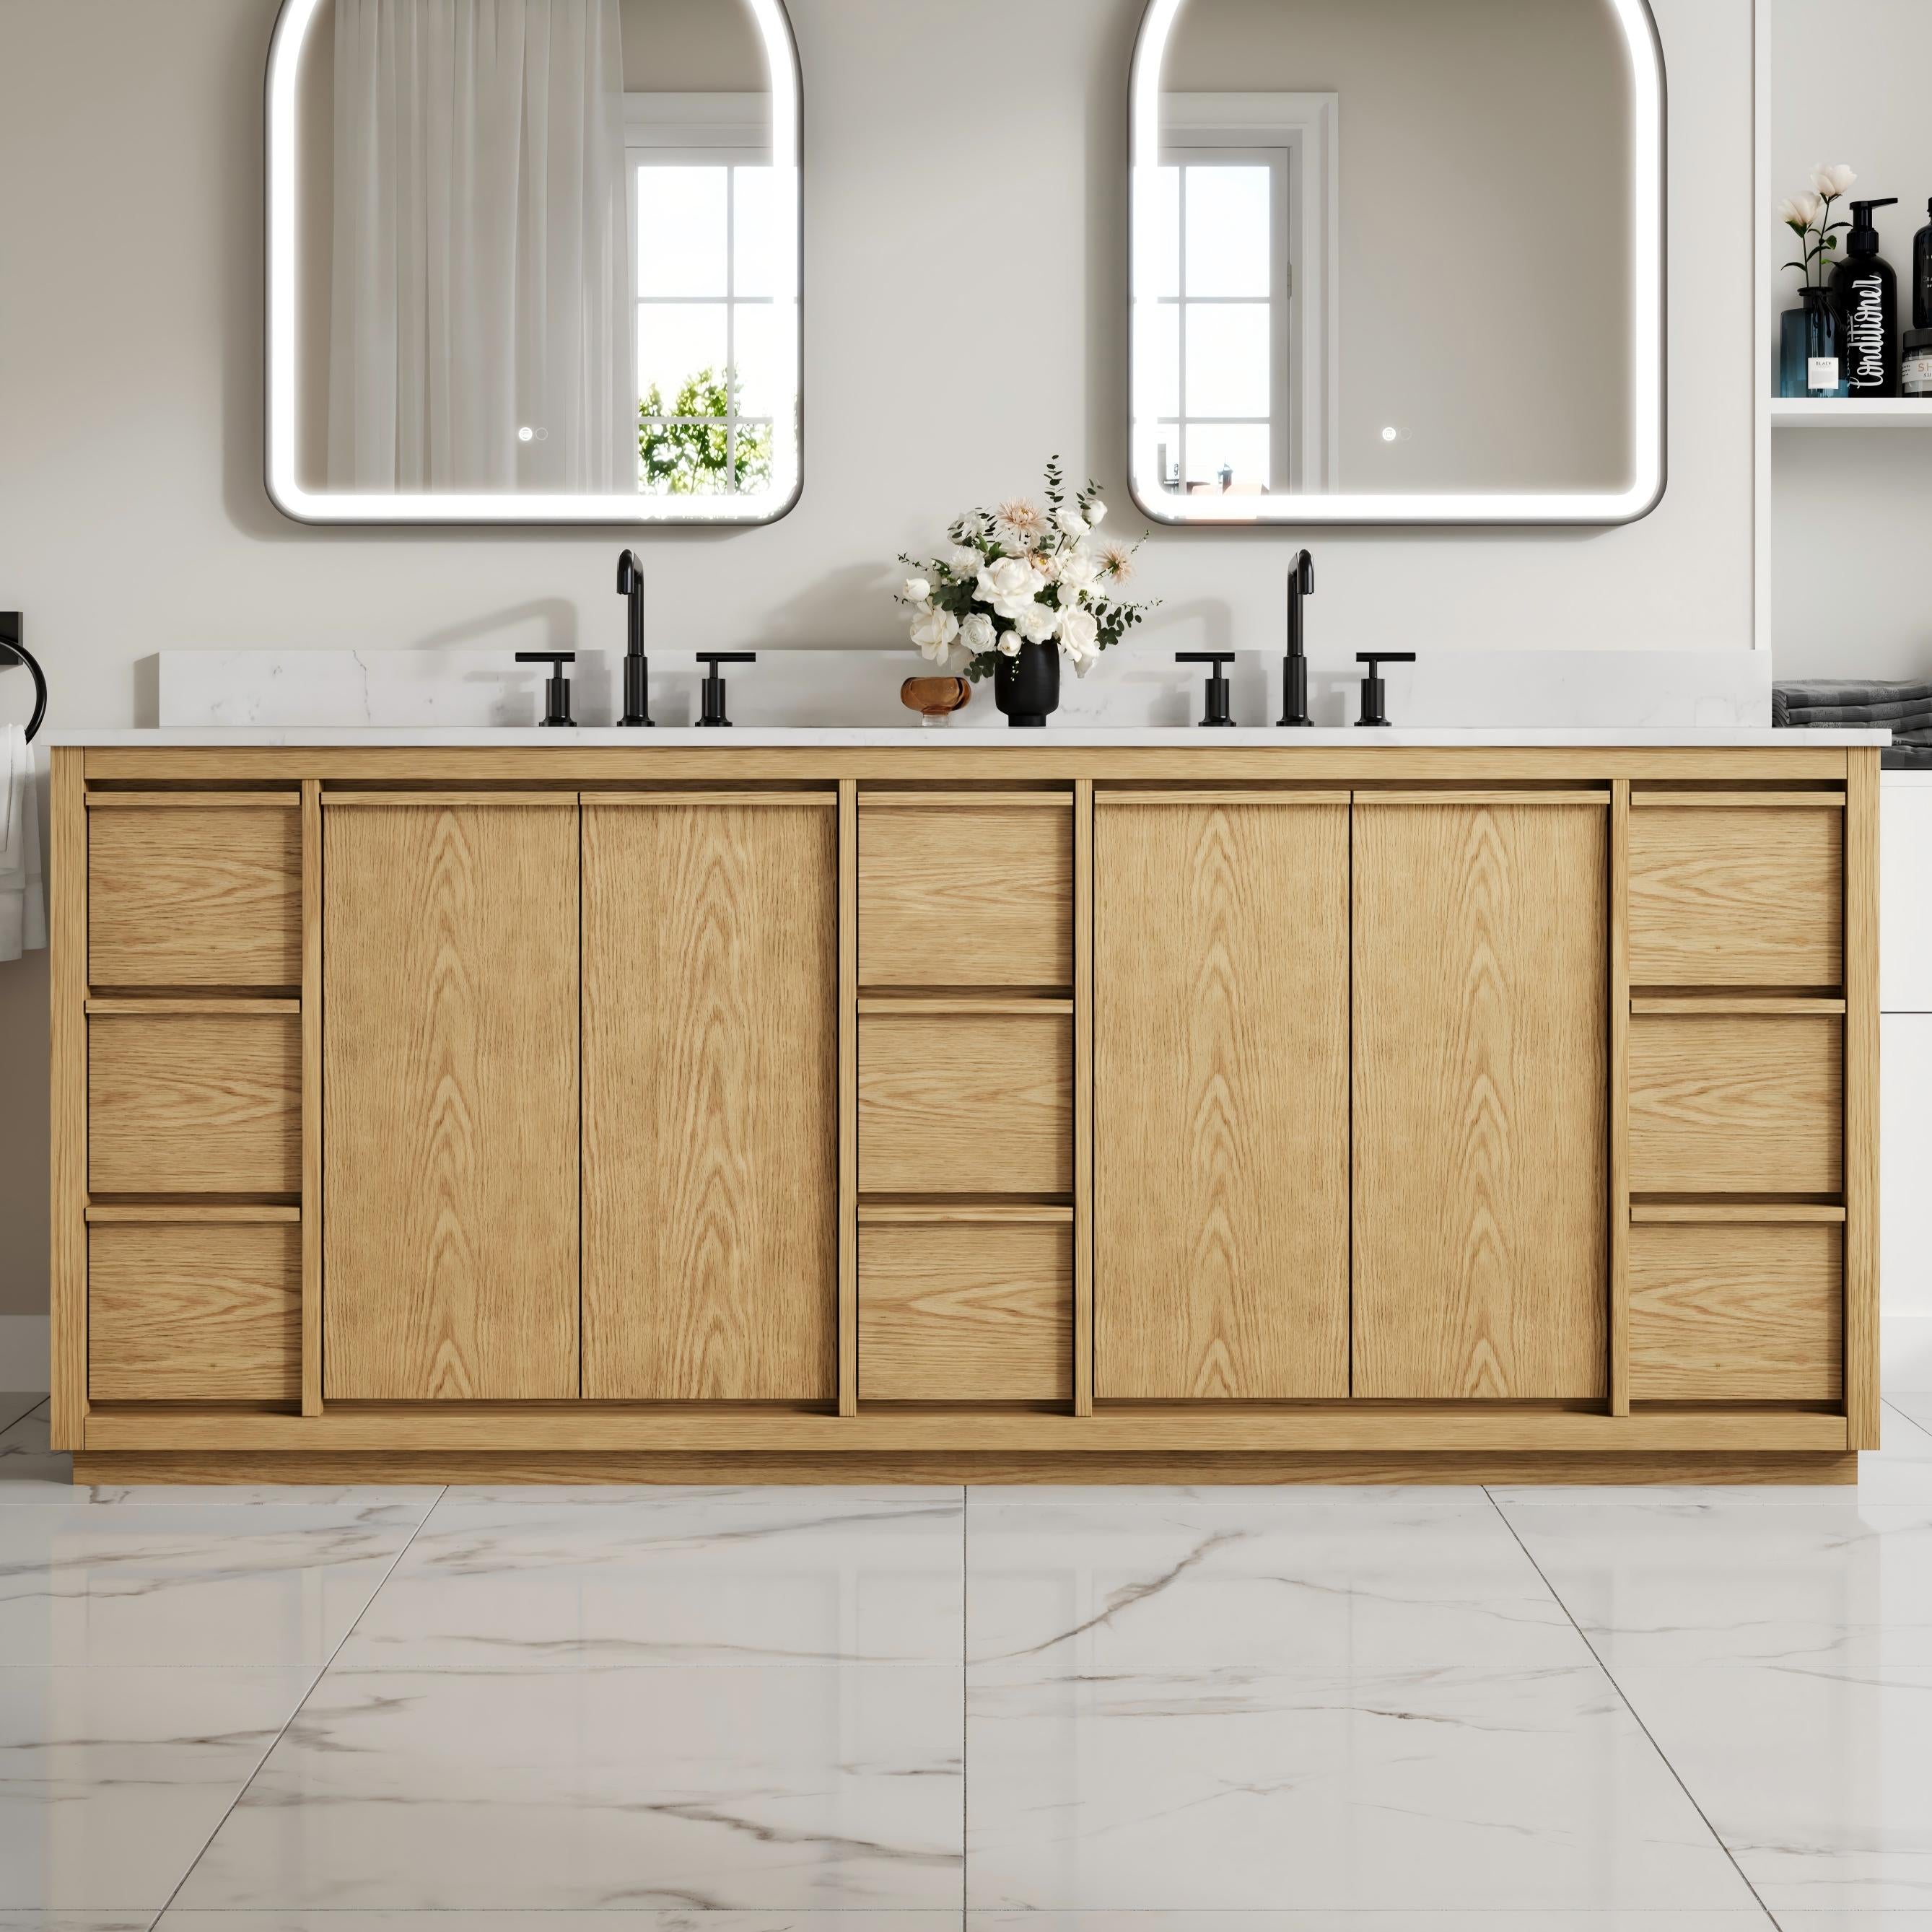
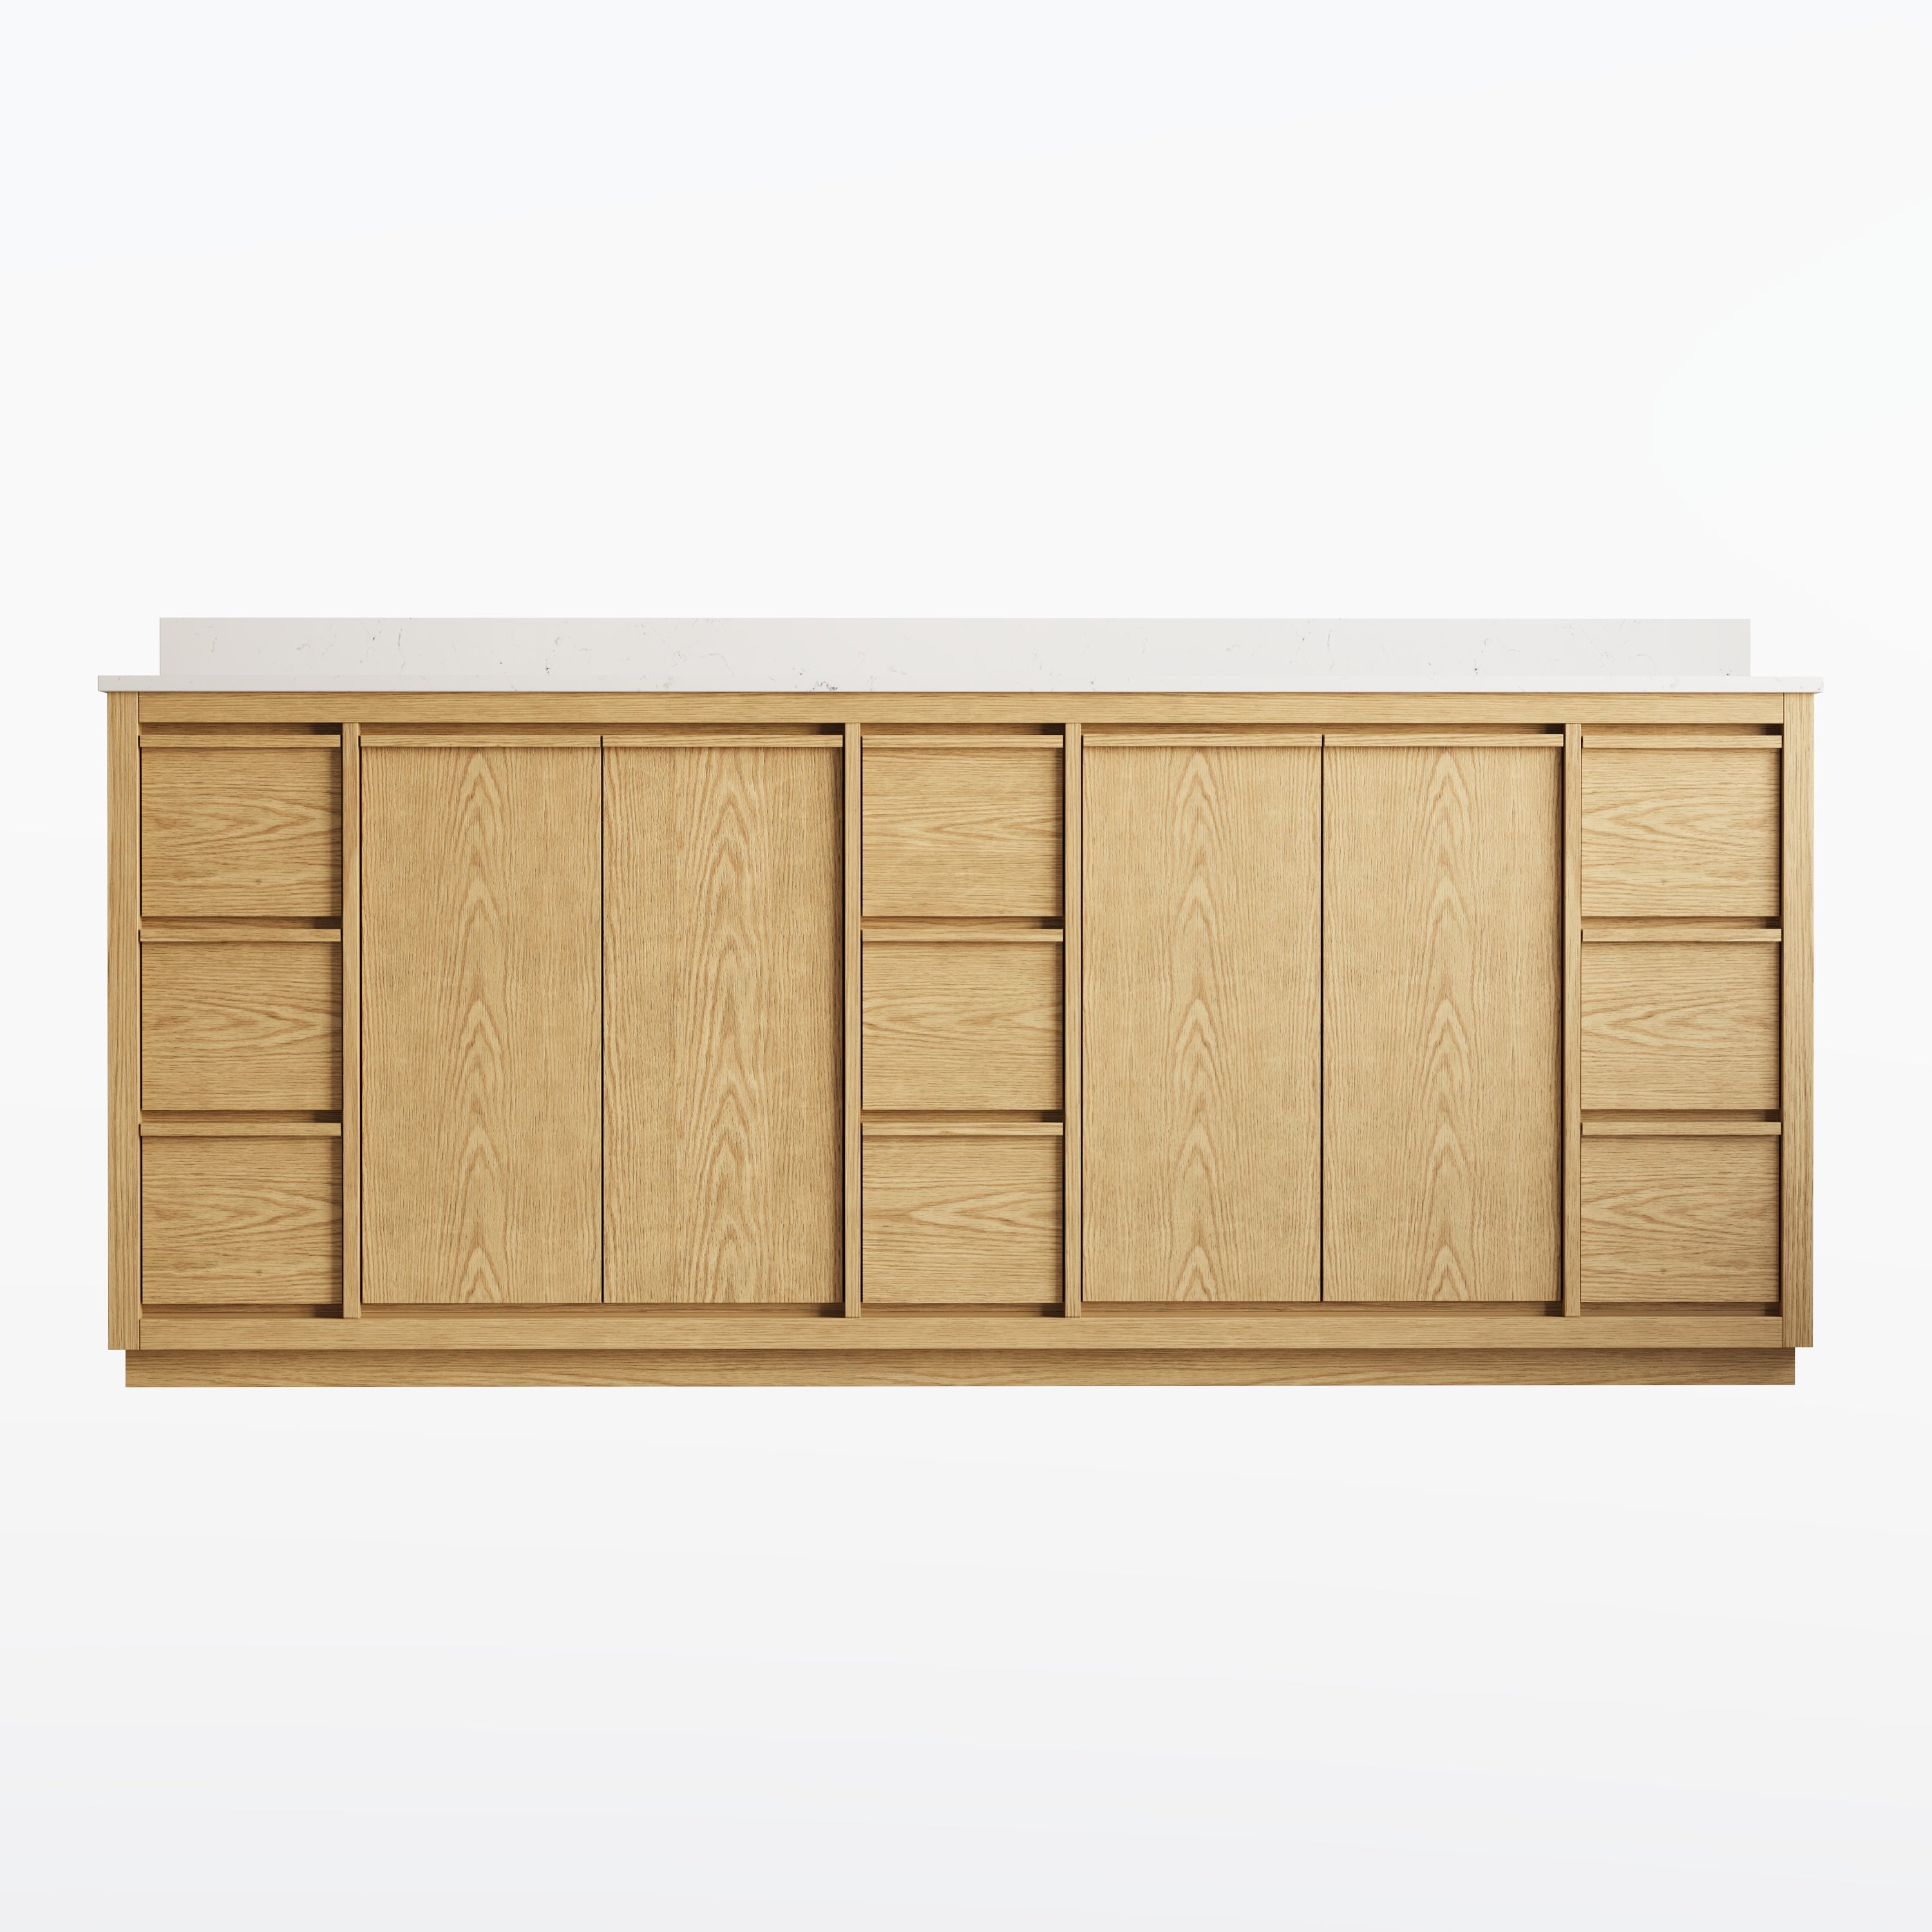

A 36 inch bathroom cabinet is a practical size for many guest baths, hallway bathrooms, and compact primary suites, but good installation matters just as much as the cabinet itself. After more than 20 years of working with bathroom cabinetry, I have seen attractive vanities end up with uneven drawers, awkward plumbing cuts, or water damage because installation was rushed. Careful measuring, proper leveling, secure fastening, and reliable sealing make the difference between a cabinet that simply fits and one that performs well for years.
1. Confirm the Space Before Installing a 36 Inch Bathroom Cabinet
Start by checking the actual cabinet and countertop dimensions against the available wall.
Do not assume a cabinet sold as 36 inches wide measures exactly 36 inches at every point. Countertops may extend beyond the cabinet box, while decorative trim or filler panels can affect the finished width.
Measure the wall at floor level and countertop height. Check the distance to the toilet, shower door, and bathroom entrance.
If you are still uncertain about clearance, mark the cabinet footprint with painter's tape. Open nearby doors and stand where you will use the sink.
A cabinet that fits the wall can still make the bathroom uncomfortable.
2. Check the Plumbing Before Moving the Cabinet Into Place
Plumbing conflicts are one of the most common installation problems I see.
Measure the drain and hot and cold supply-line locations, then compare them with the cabinet's interior layout. Drawer-heavy designs often leave less open space around the plumbing than traditional door cabinets.
Avoid Cutting More Than Necessary
Some installers immediately enlarge the back opening when pipes do not align perfectly. That may solve the immediate problem, but excessive cutting can weaken the cabinet or remove useful storage.
Mark each plumbing location carefully before making any opening. Keep cuts as small and clean as possible.
If the drain runs directly through a functional drawer, relocating the plumbing may produce a better long-term result than heavily modifying the cabinet.
3. Prepare the Wall and Floor
The vanity should sit against a clean, stable surface.
Remove leftover adhesive, damaged caulk, and debris from the previous cabinet. Check the floor with a level. Older bathrooms frequently have slight slopes or uneven tile that can cause the new vanity to rock.
A freestanding cabinet may need shims to sit correctly. Use durable, moisture-resistant shims and trim them neatly after the cabinet is secured.
For a wall-mounted model, identify studs or structural blocking before installation begins. Do not rely on drywall alone to support a heavy vanity, countertop, sink, and stored products.
4. Level the Cabinet Before Fastening It
This is one step worth taking slowly.
Place the cabinet in position and check it from side to side and front to back. If the cabinet is not level, doors may swing incorrectly, drawer gaps can appear uneven, and the countertop may not sit properly.
Check the Reveal Around Doors and Drawers
Once the cabinet is level, look at the spacing around every door and drawer front.
Small adjustments are easier before the vanity is fully secured. If the cabinet appears twisted, check the floor and shims before adjusting the hinges.
A level, square cabinet gives every later installation step a better starting point.
5. Secure the Cabinet Correctly
Freestanding does not necessarily mean unsecured.
A vanity should usually be fastened to suitable wall framing according to the manufacturer's installation instructions. This prevents movement and keeps the cabinet aligned with the countertop and plumbing.
Use appropriate fasteners for the wall construction. Stud framing, masonry, and reinforced walls require different hardware.
Do not overtighten screws. Excessive force can pull the cabinet out of square or damage the back panel.
For floating vanities, structural attachment is even more critical. If there is any doubt about wall capacity, bring in an experienced installer.
6. Install the Countertop and Sink With Care
Dry-fit the countertop before applying adhesive or sealant. Check that the overhang looks even on both sides and that the top sits flat.
If the sink is already attached, make sure its plumbing connections align with the cabinet opening.
Apply the recommended adhesive or silicone carefully. Seal the areas where water is most likely to enter: around the sink, backsplash, faucet openings, and wall joints.
Do not use excessive caulk. Thick, uneven beads can look unfinished and may collect dirt.
For a guest or family bathroom, I prefer a clean, continuous seal that can be inspected easily later.
7. Connect the Plumbing and Test for Leaks
Install the faucet, drain assembly, supply lines, and trap according to their instructions.
Then test everything before filling the cabinet with toiletries.
Run the faucet for several minutes. Fill and drain the sink. Use a dry paper towel around connections because it can reveal small amounts of water that fingers may miss.
Do Not Ignore a Minor Drip
A slow leak can damage a cabinet far more seriously than ordinary bathroom humidity.
If a connection is damp, fix it immediately. Do not place a container beneath the leak and plan to deal with it later.
After the first few days of use, check the plumbing again. New connections can occasionally need minor adjustment.
8. Think About Storage Before Finishing the Job
Once installation is complete, check how the doors, drawers, and plumbing work together.
Make sure the trap does not interfere with shelves. Confirm that drawers open fully and that shutoff valves remain accessible.
Avoid filling the space beneath the sink so tightly that plumbing becomes impossible to inspect.
A 36-inch cabinet can provide useful storage, but it should remain serviceable. Good organization leaves room for maintenance.
9. Understand Where This Size Works Best
A 36-inch vanity is often ideal for guest bathrooms, hallway baths, condos, and medium-sized spaces used primarily by one person at a time.
It may be too large for a narrow powder room, especially when the cabinet has standard depth. It may also feel too small in a large primary suite where two users need significant counter space.
The advantage is balance. Thirty-six inches usually provides enough room for a comfortable sink and useful storage without dominating the floor plan.

10. Maintain the Installation Afterward
Use a mild, non-abrasive cleaner on the cabinet and countertop. Wipe standing water around the sink and faucet instead of allowing it to sit.
Run the exhaust fan after showers and inspect the plumbing several times each year. Check caulk joints for separation and repair them before water reaches the cabinet.
Also watch door and drawer alignment. Hinges may need occasional adjustment after months of use.
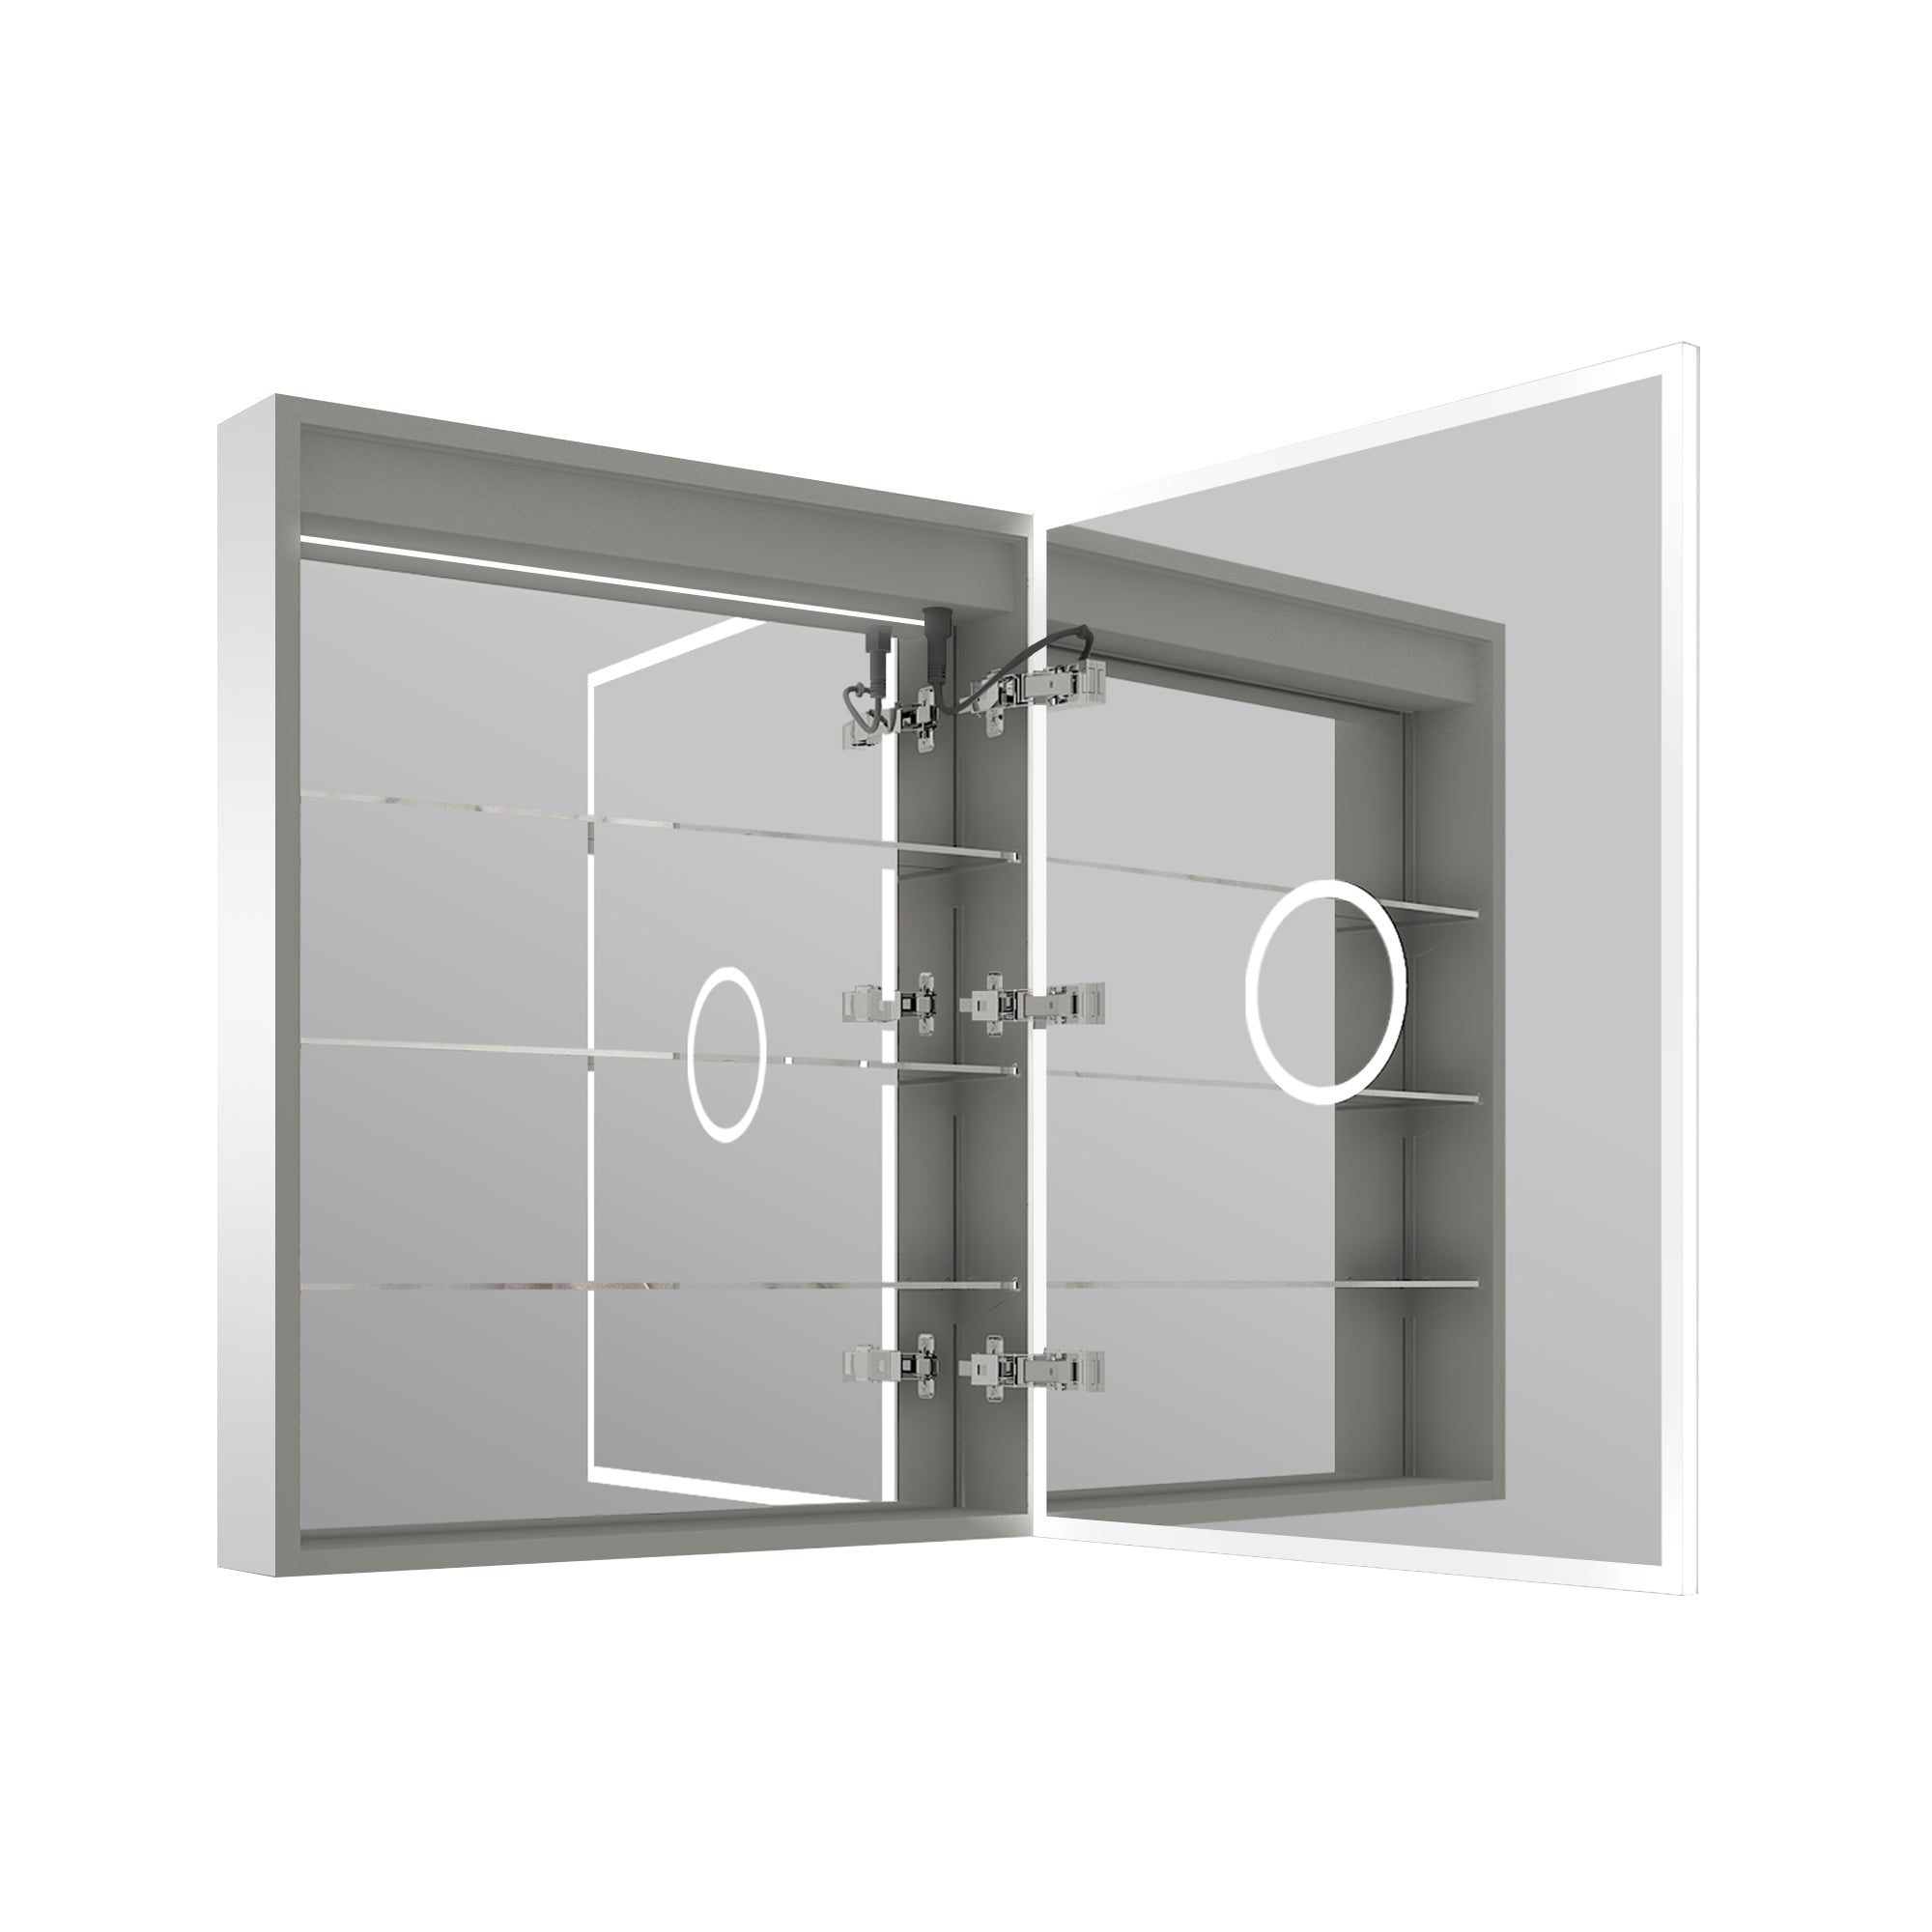
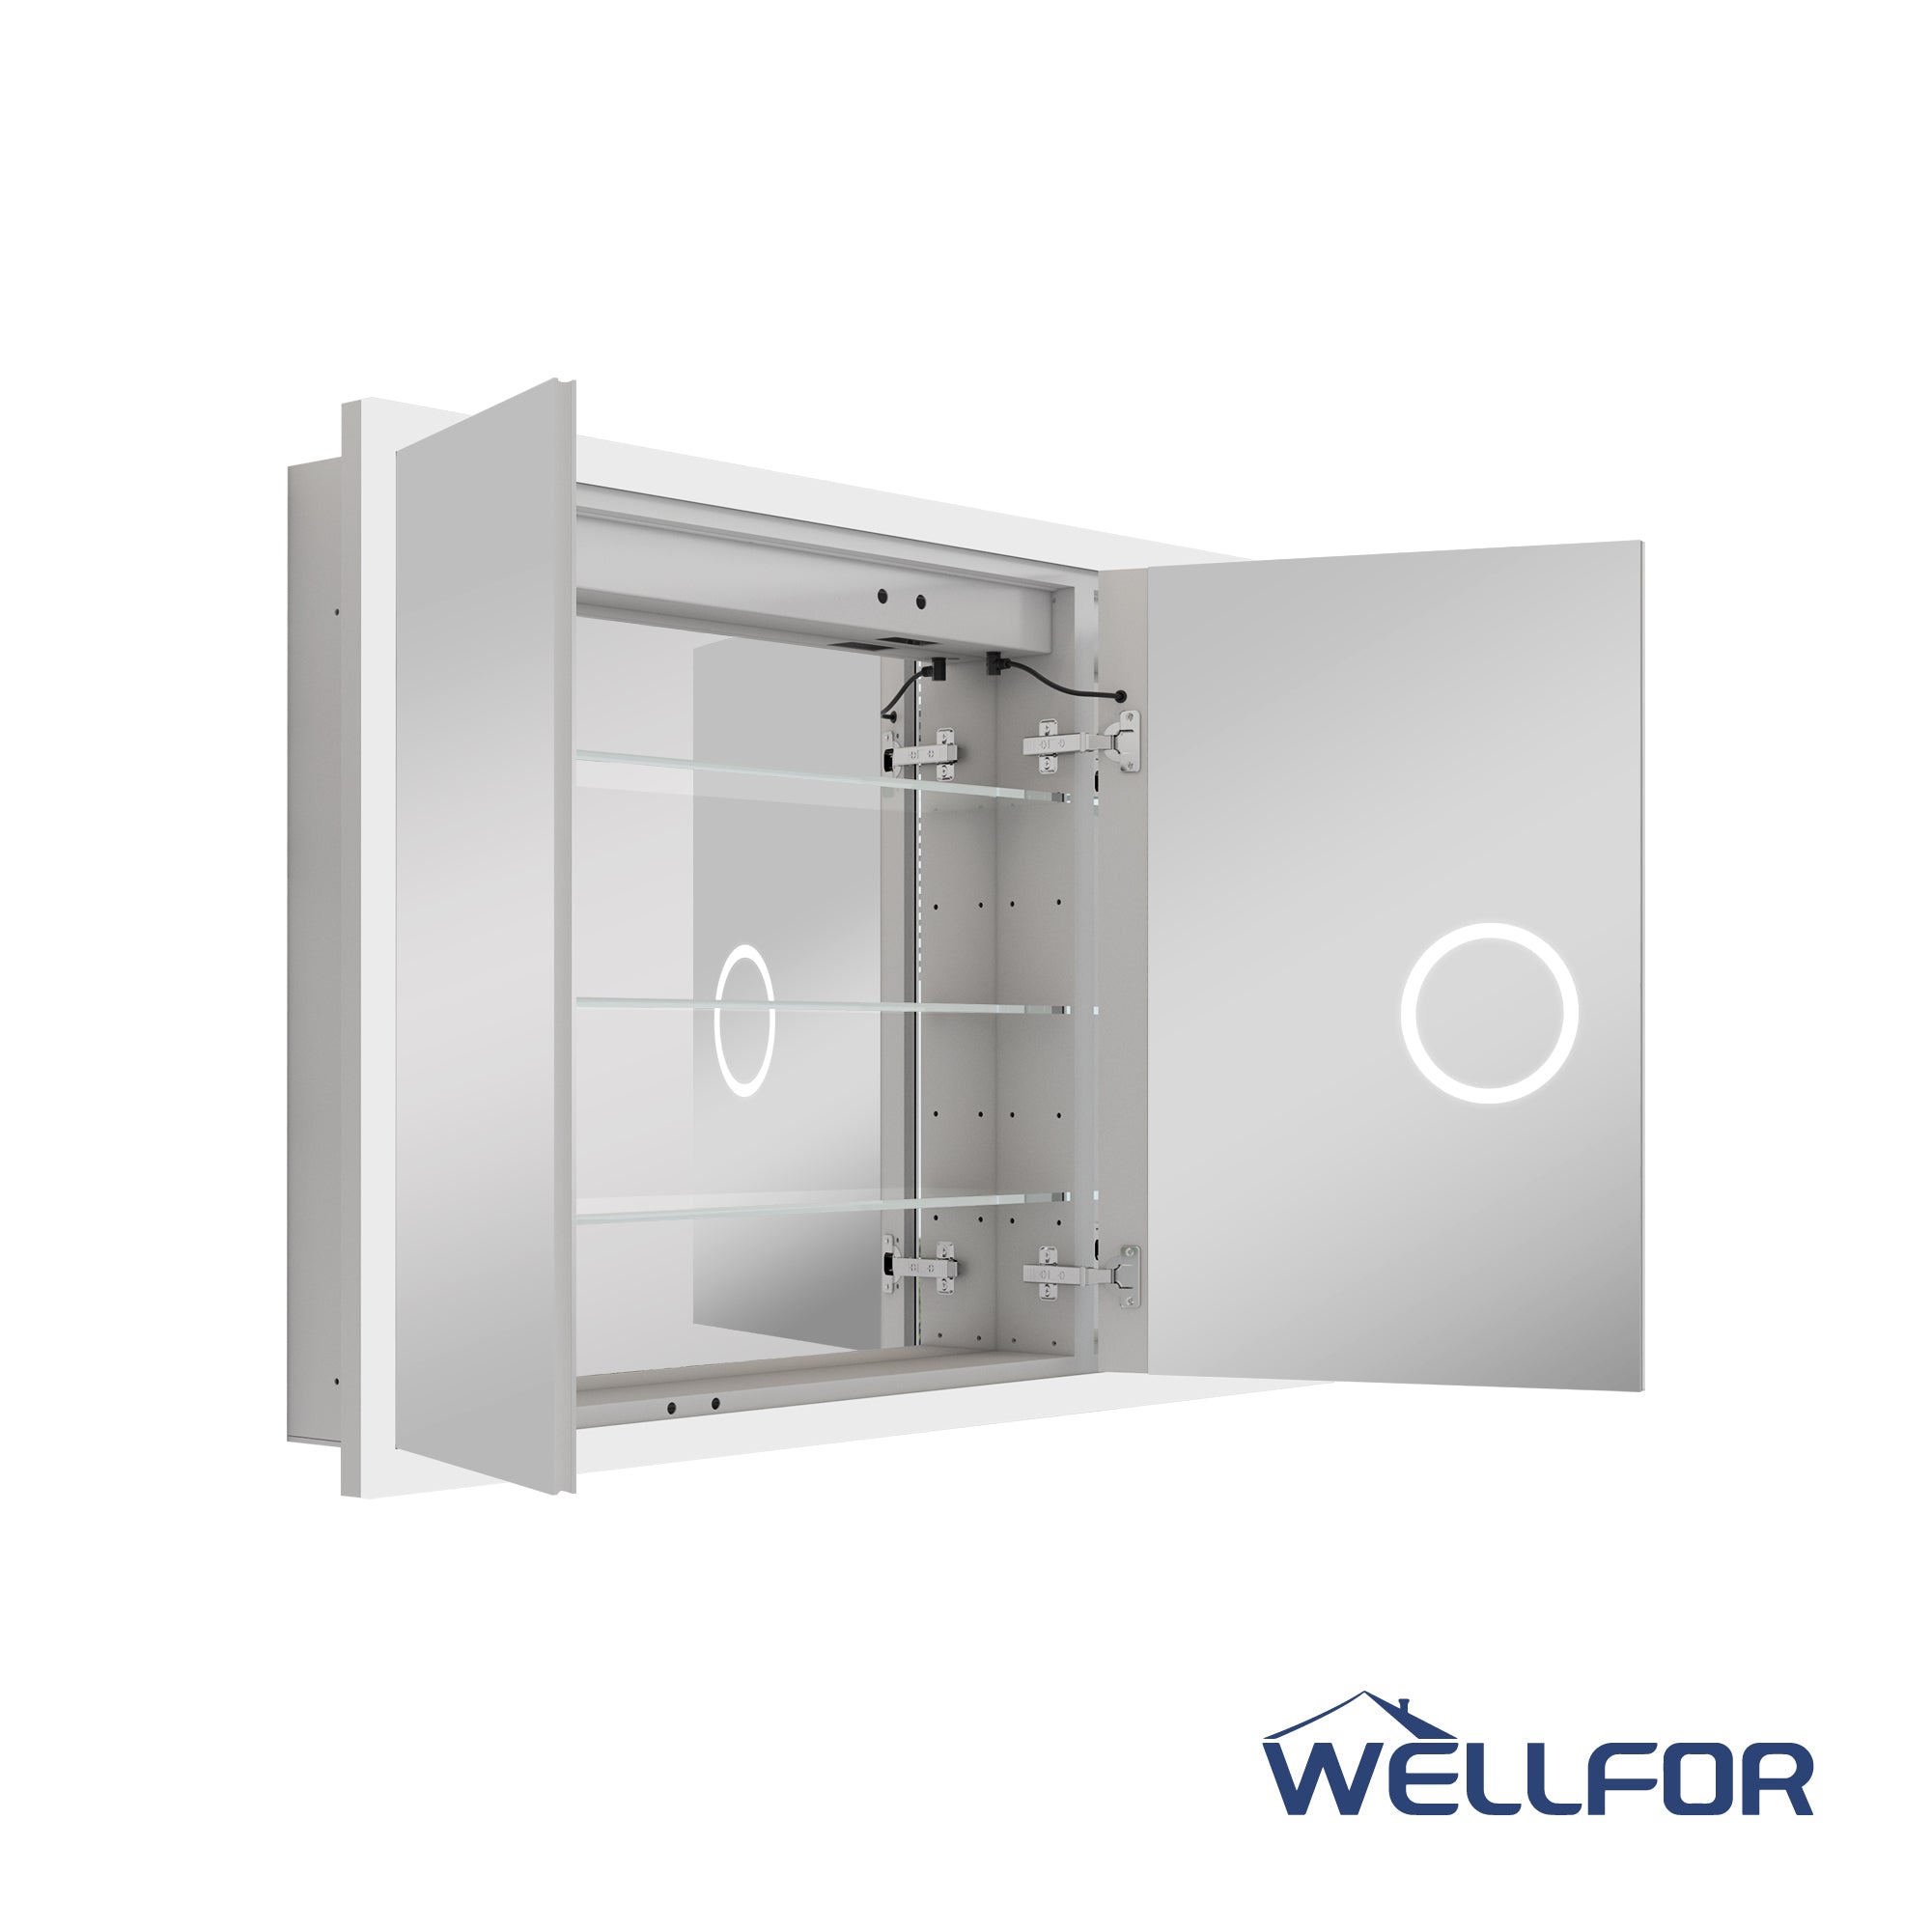
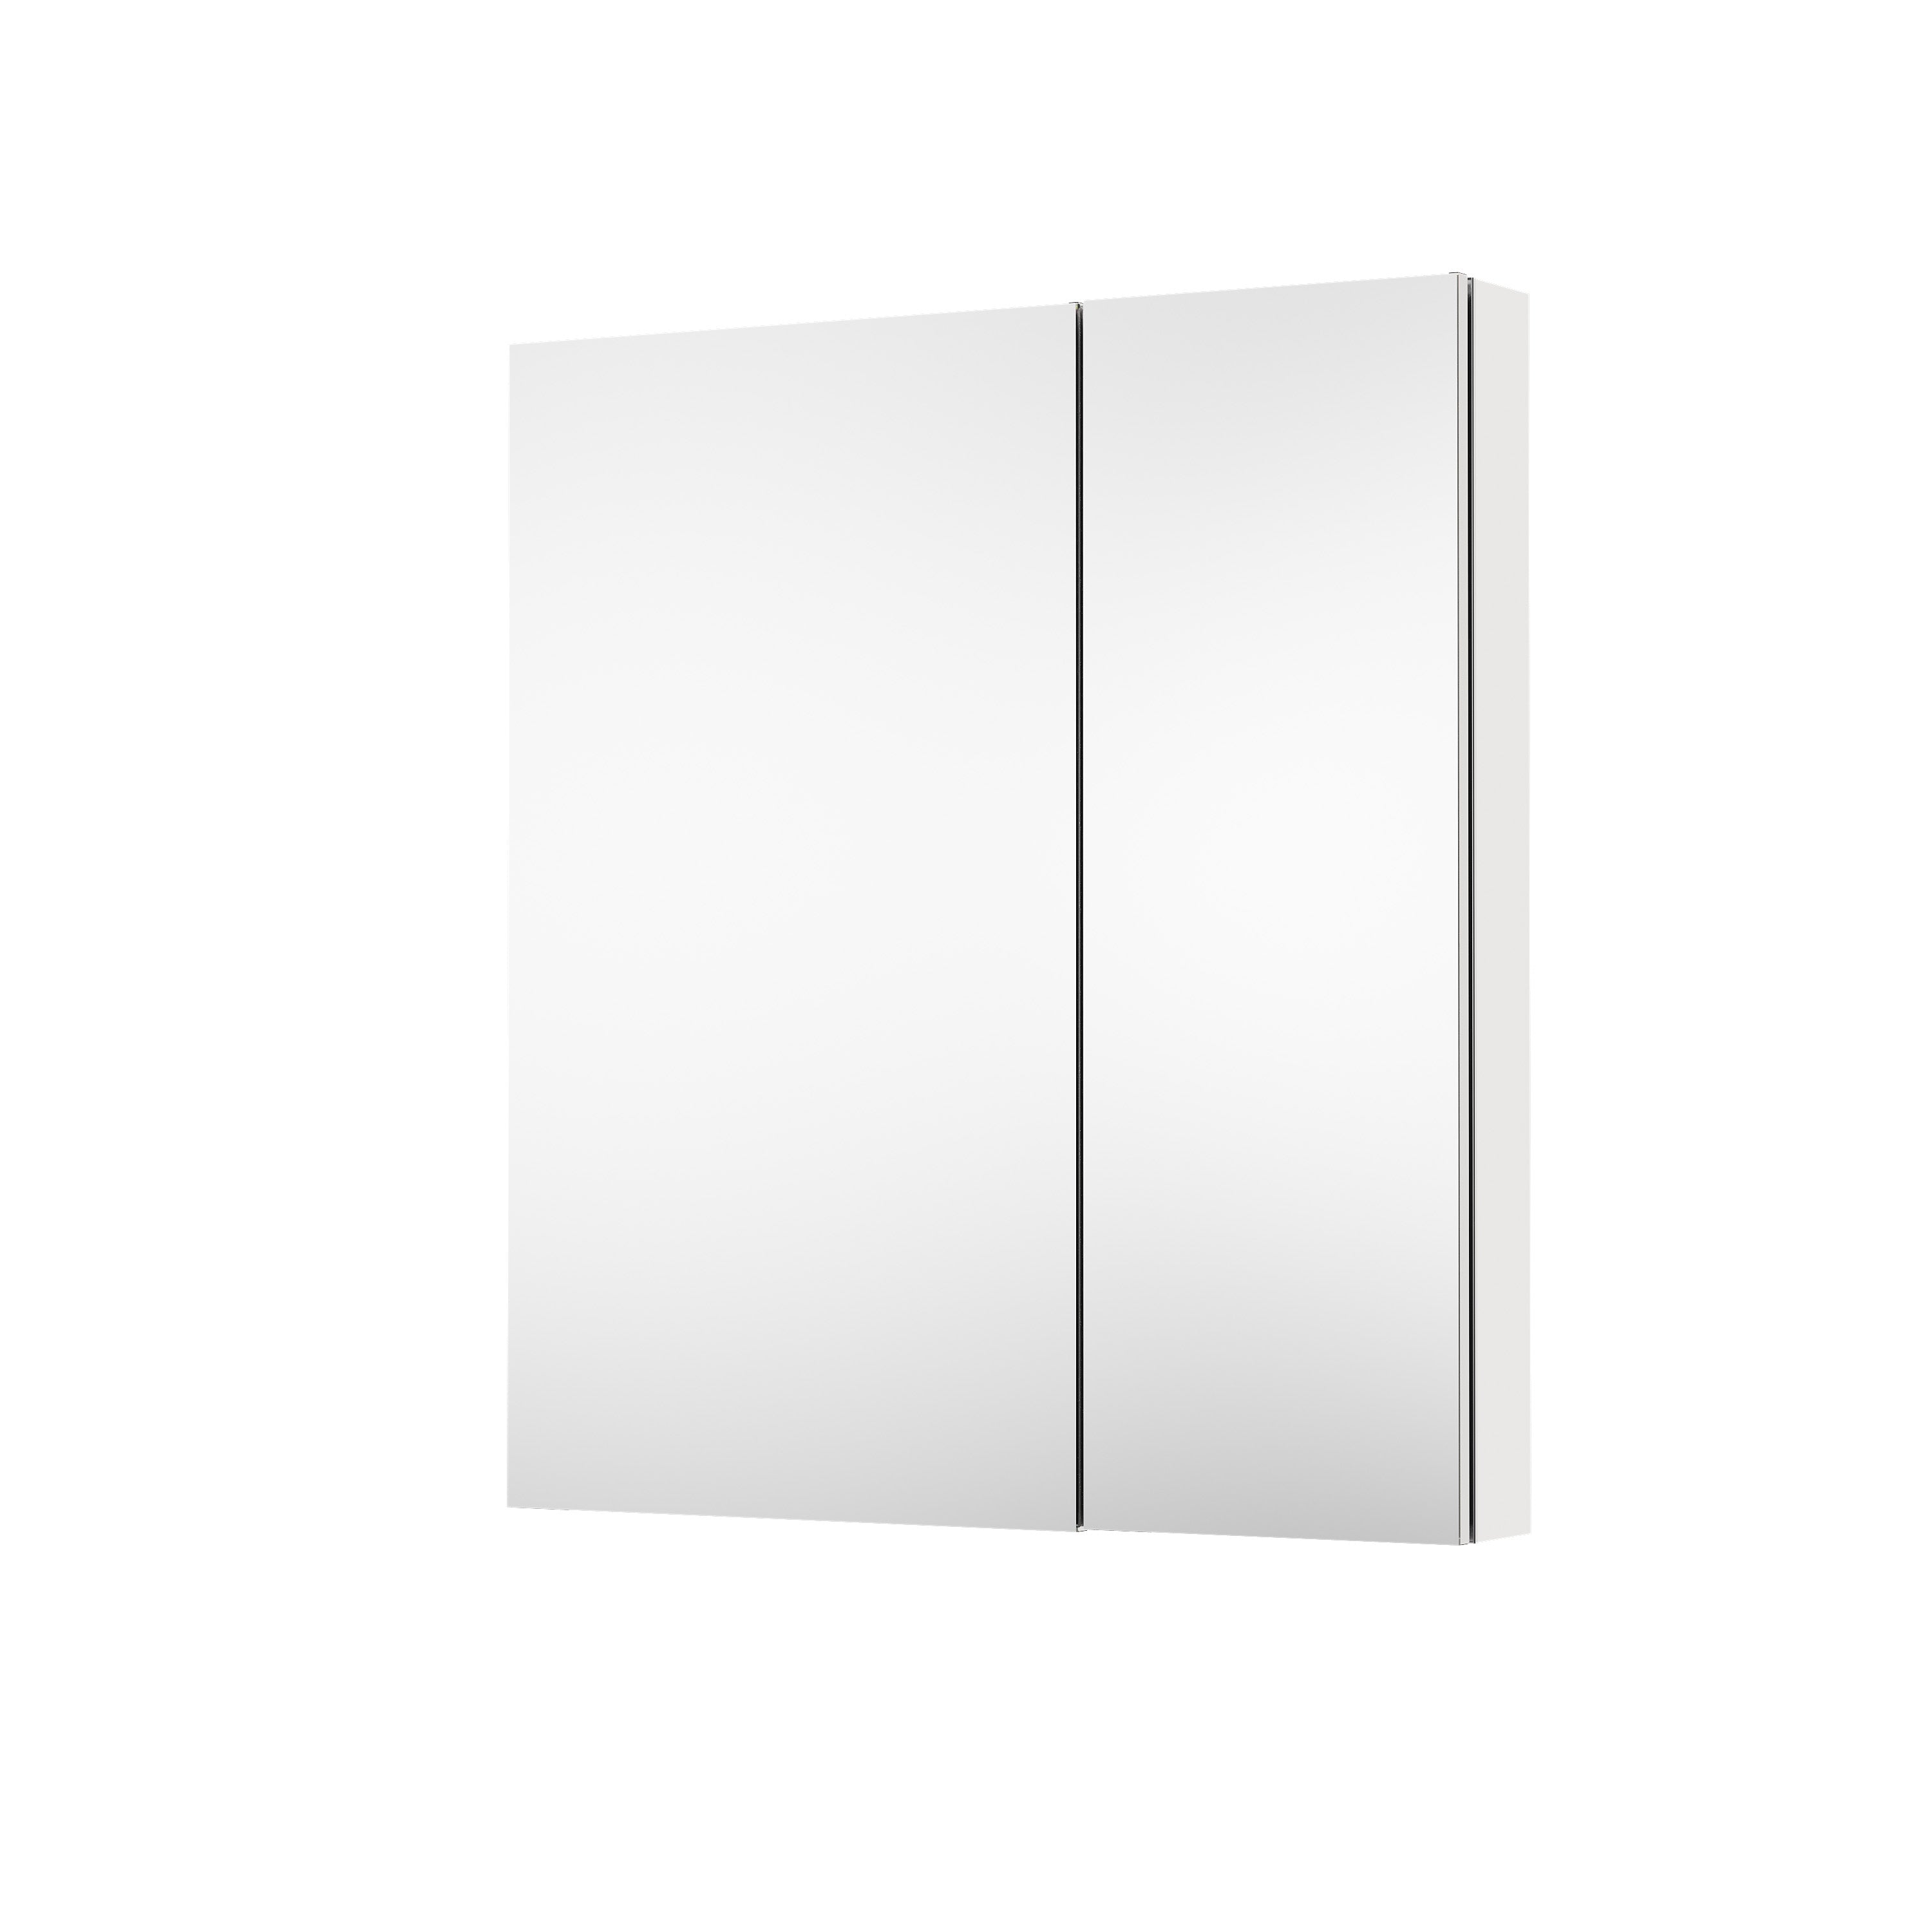
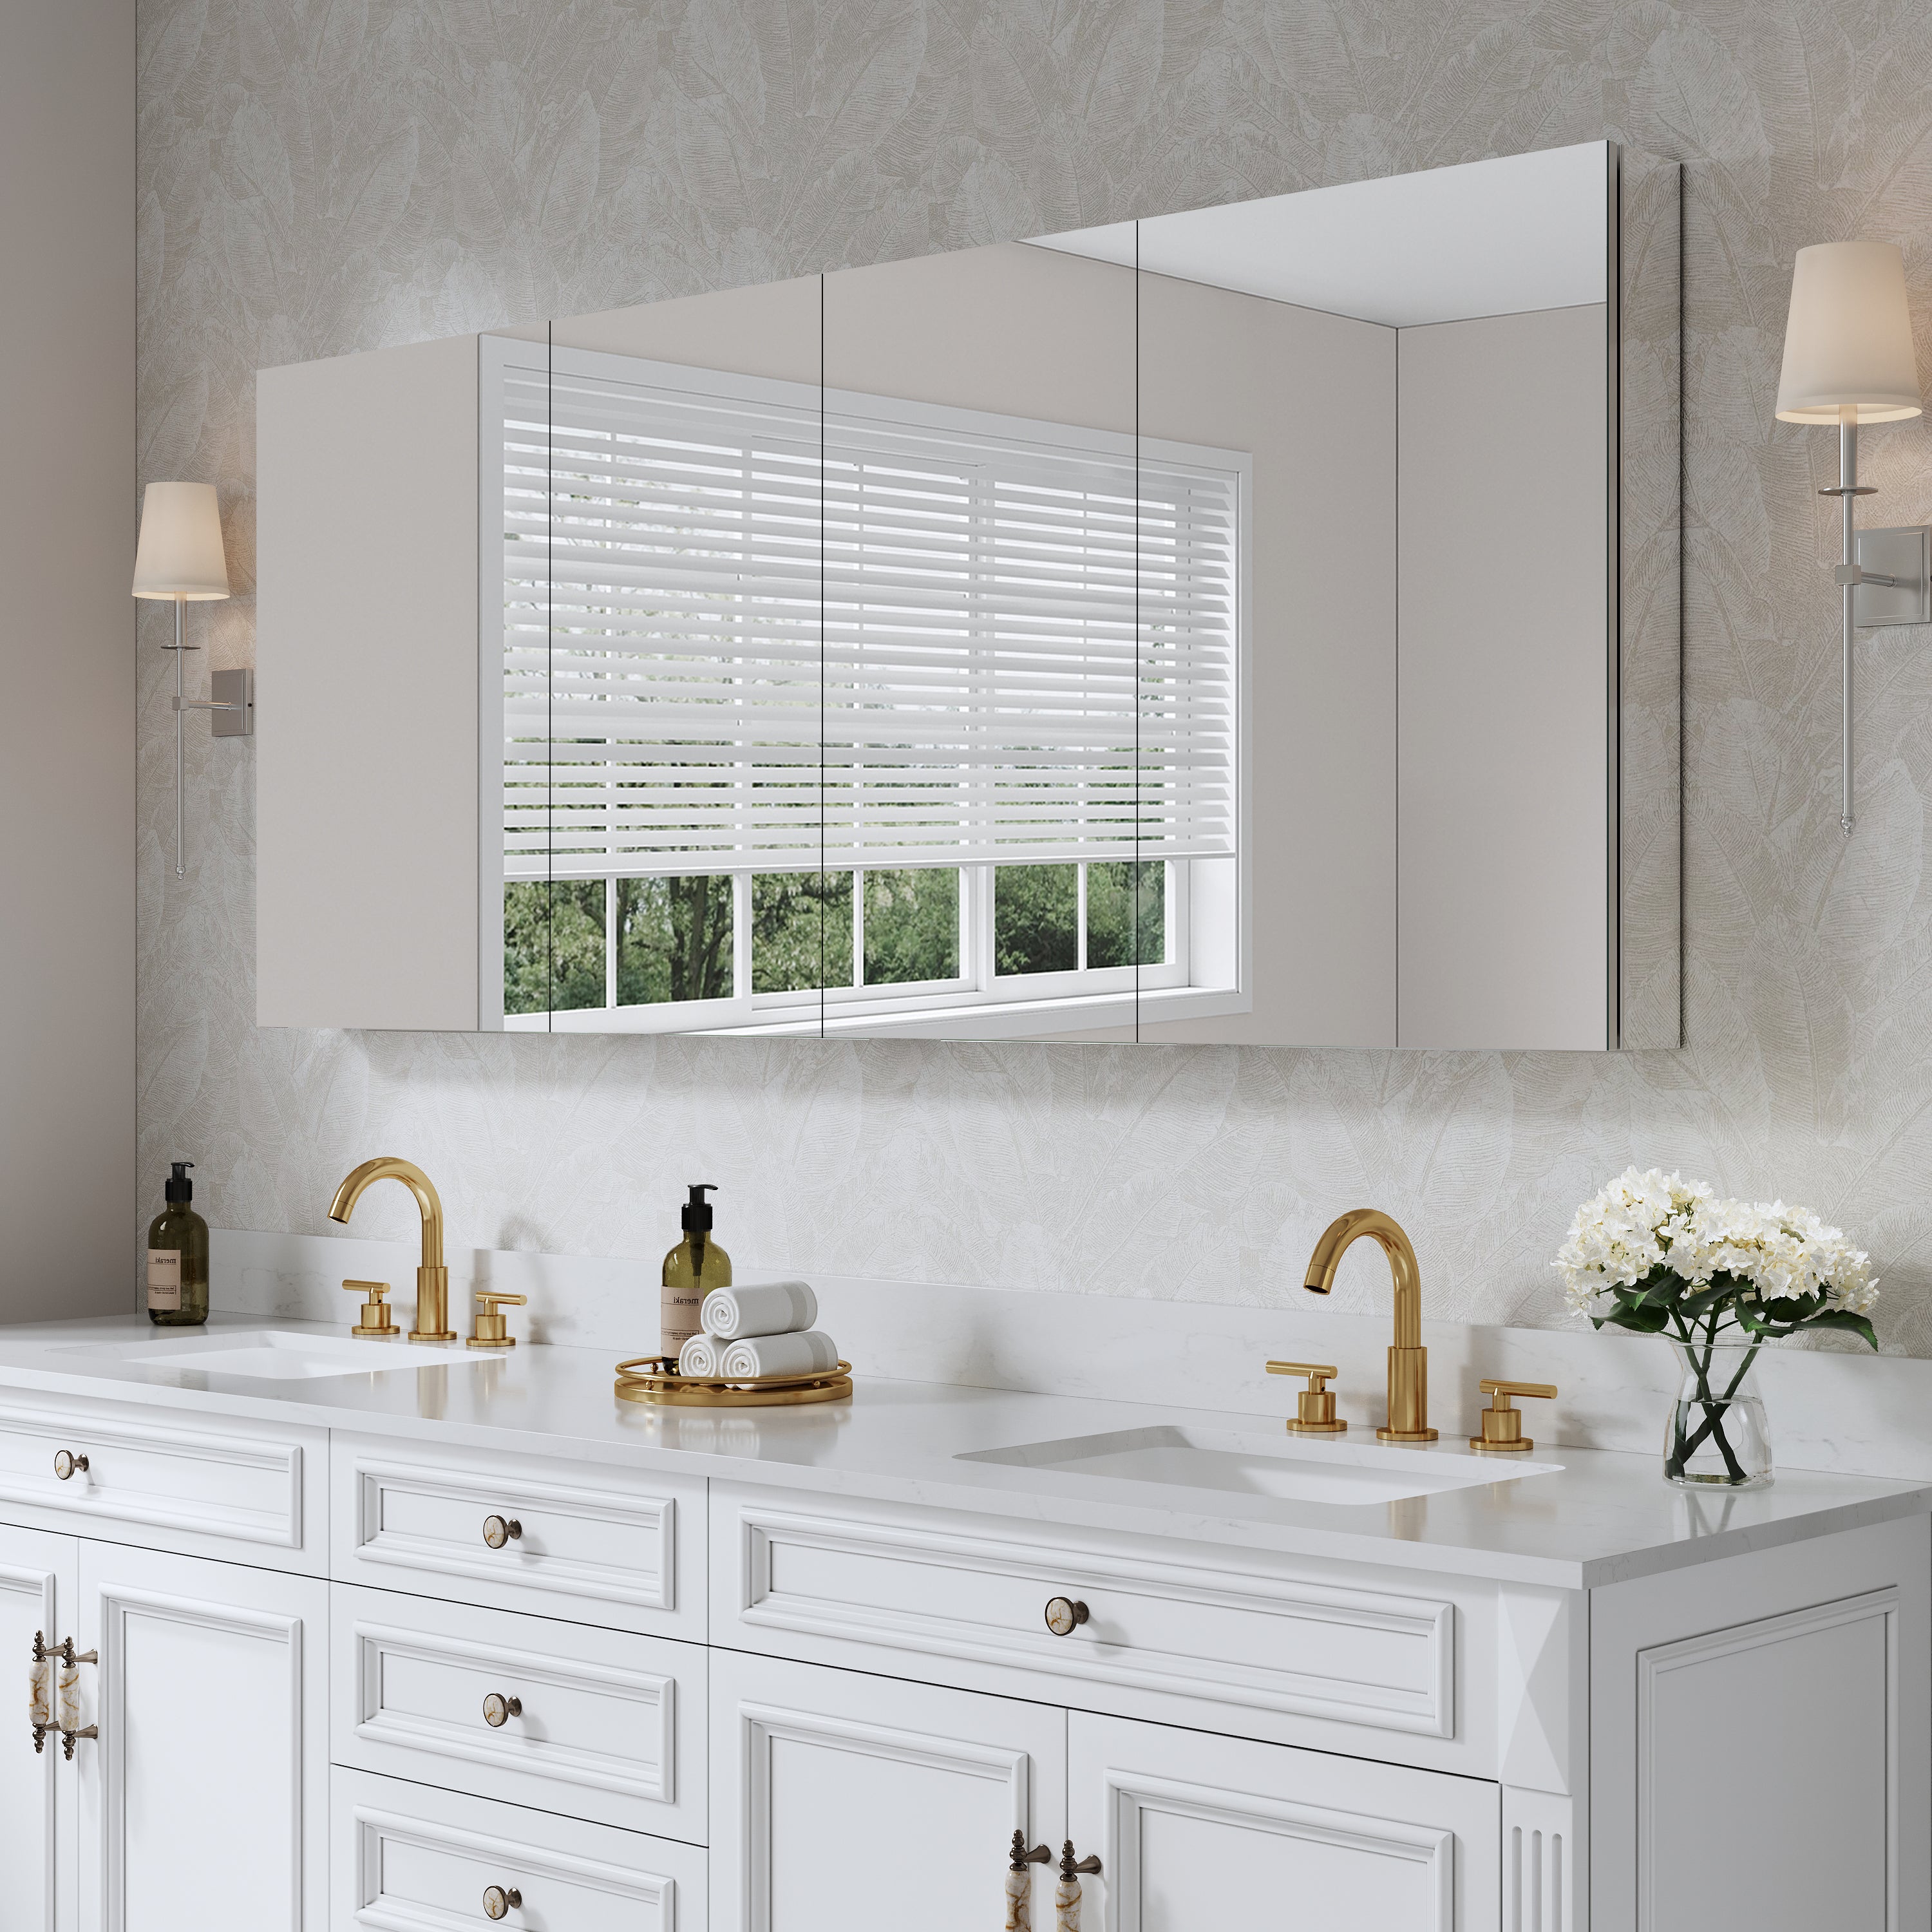
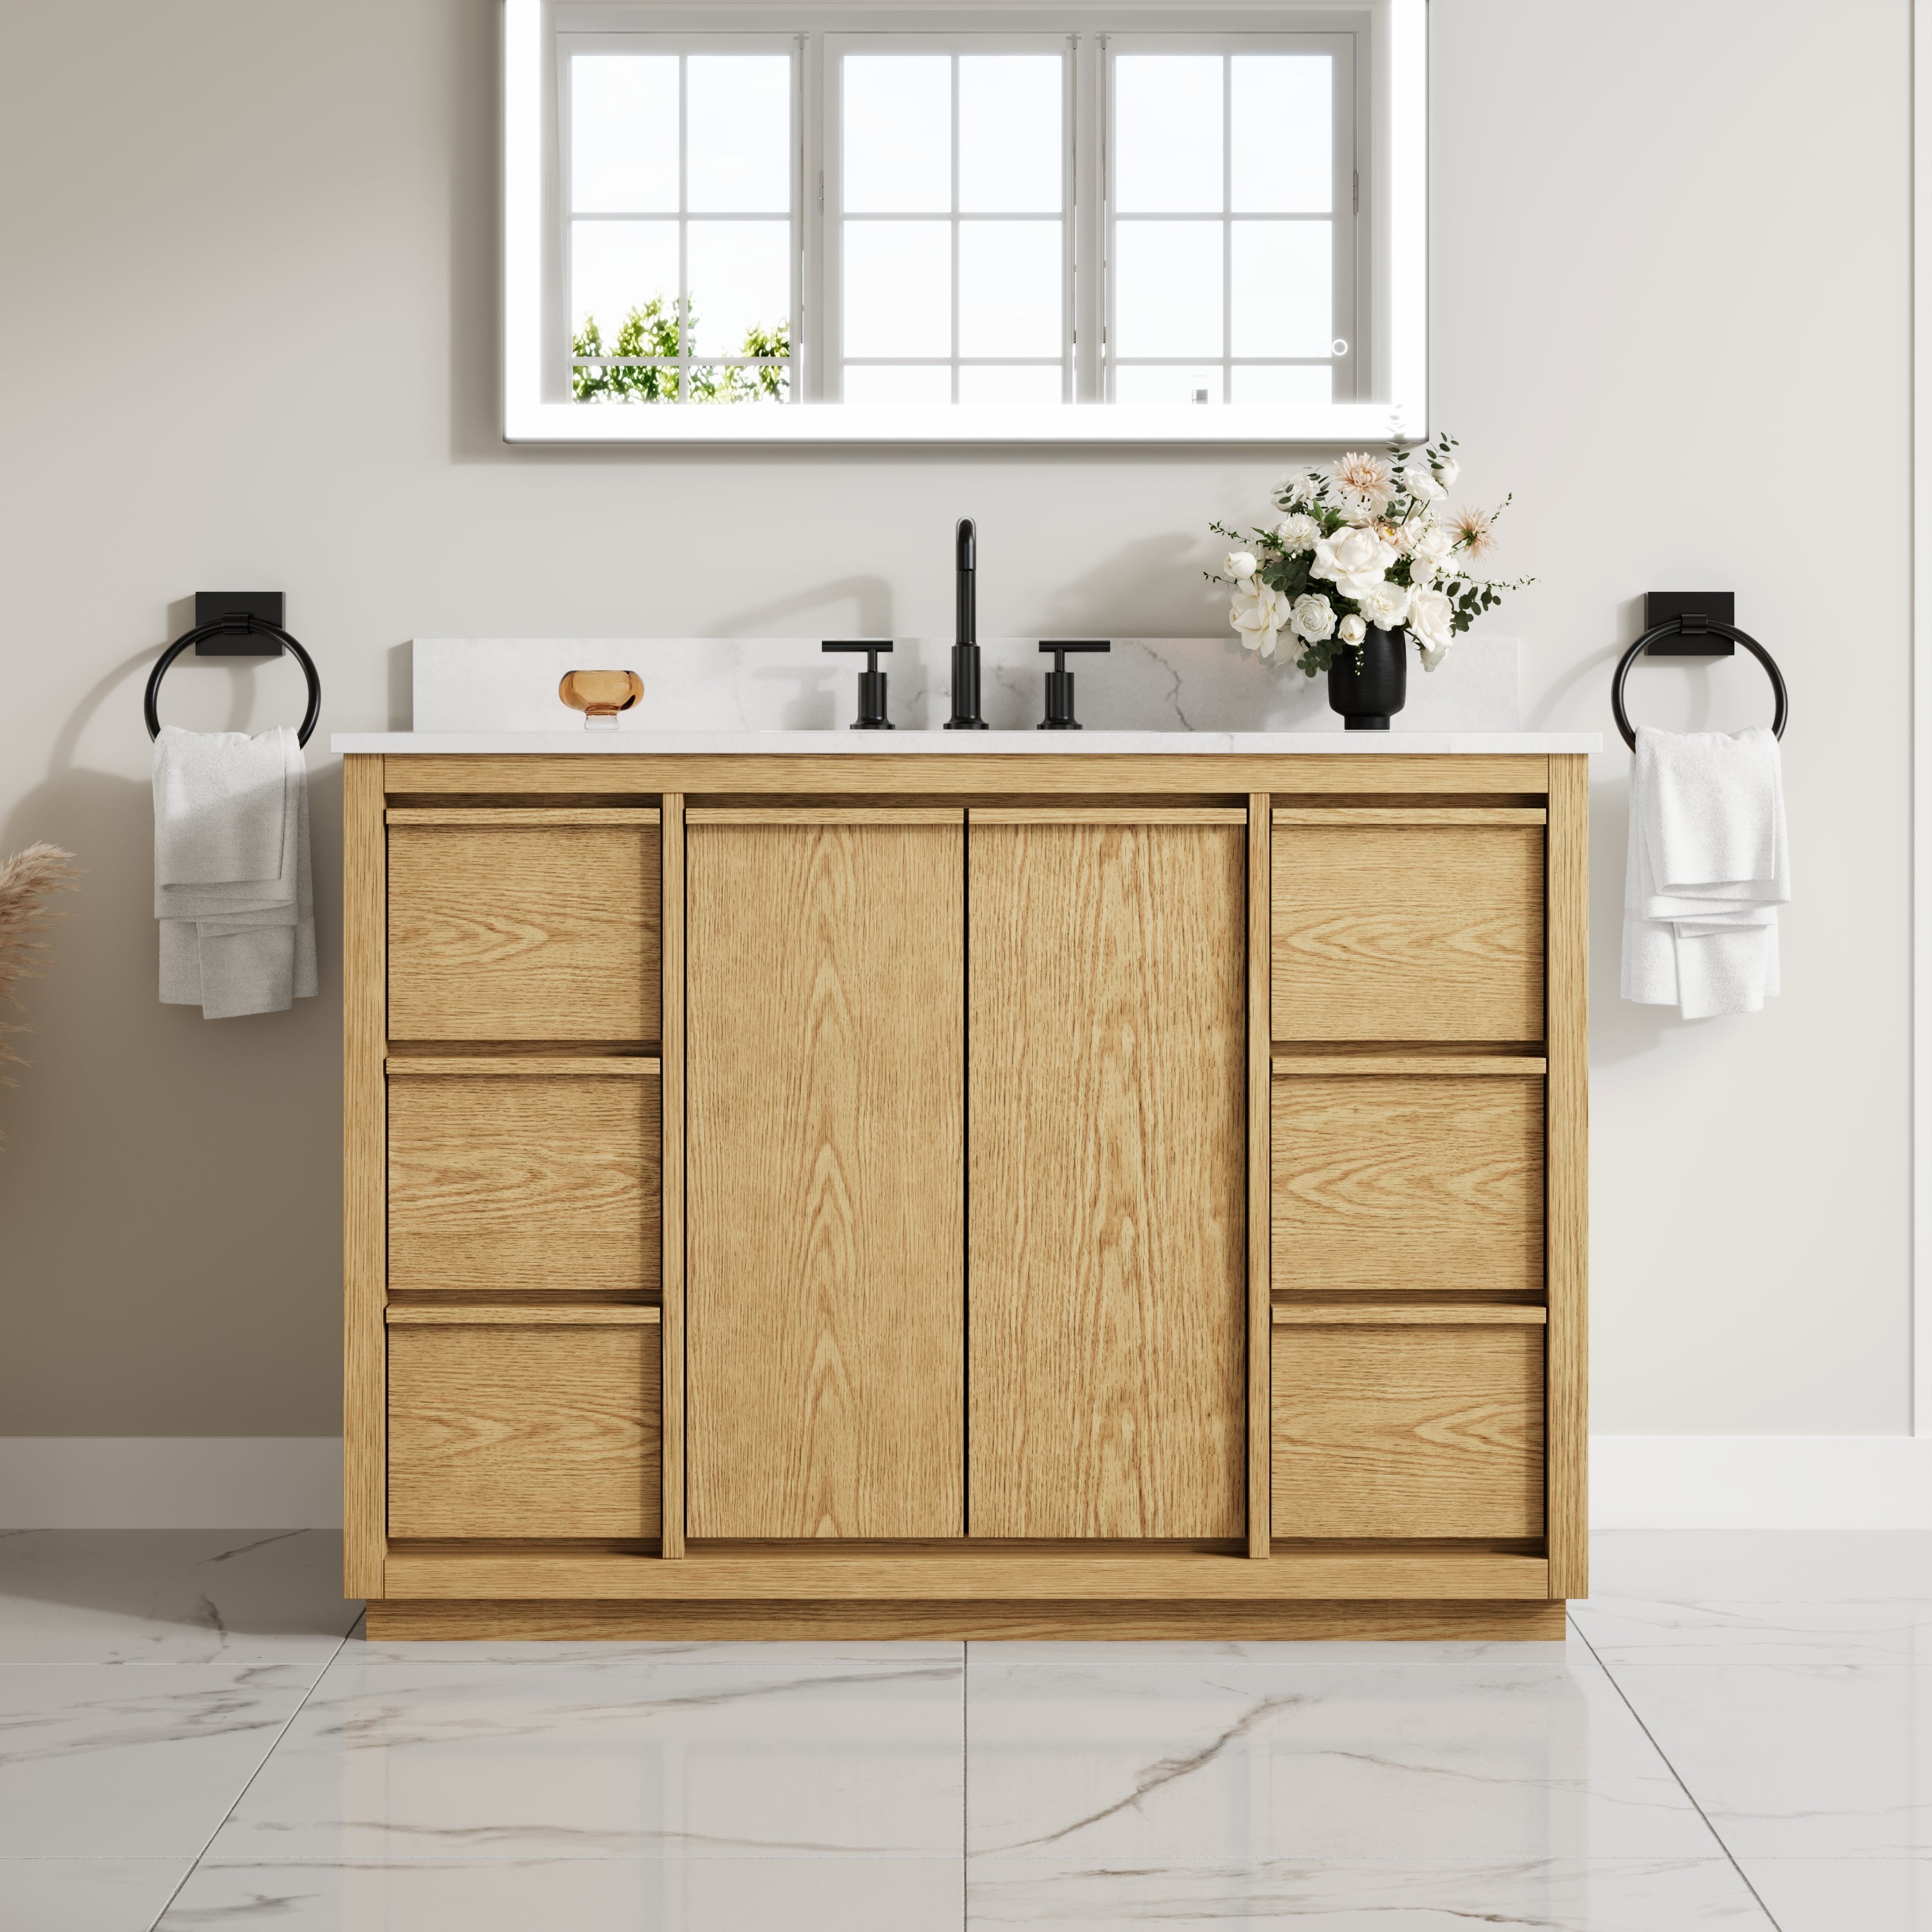
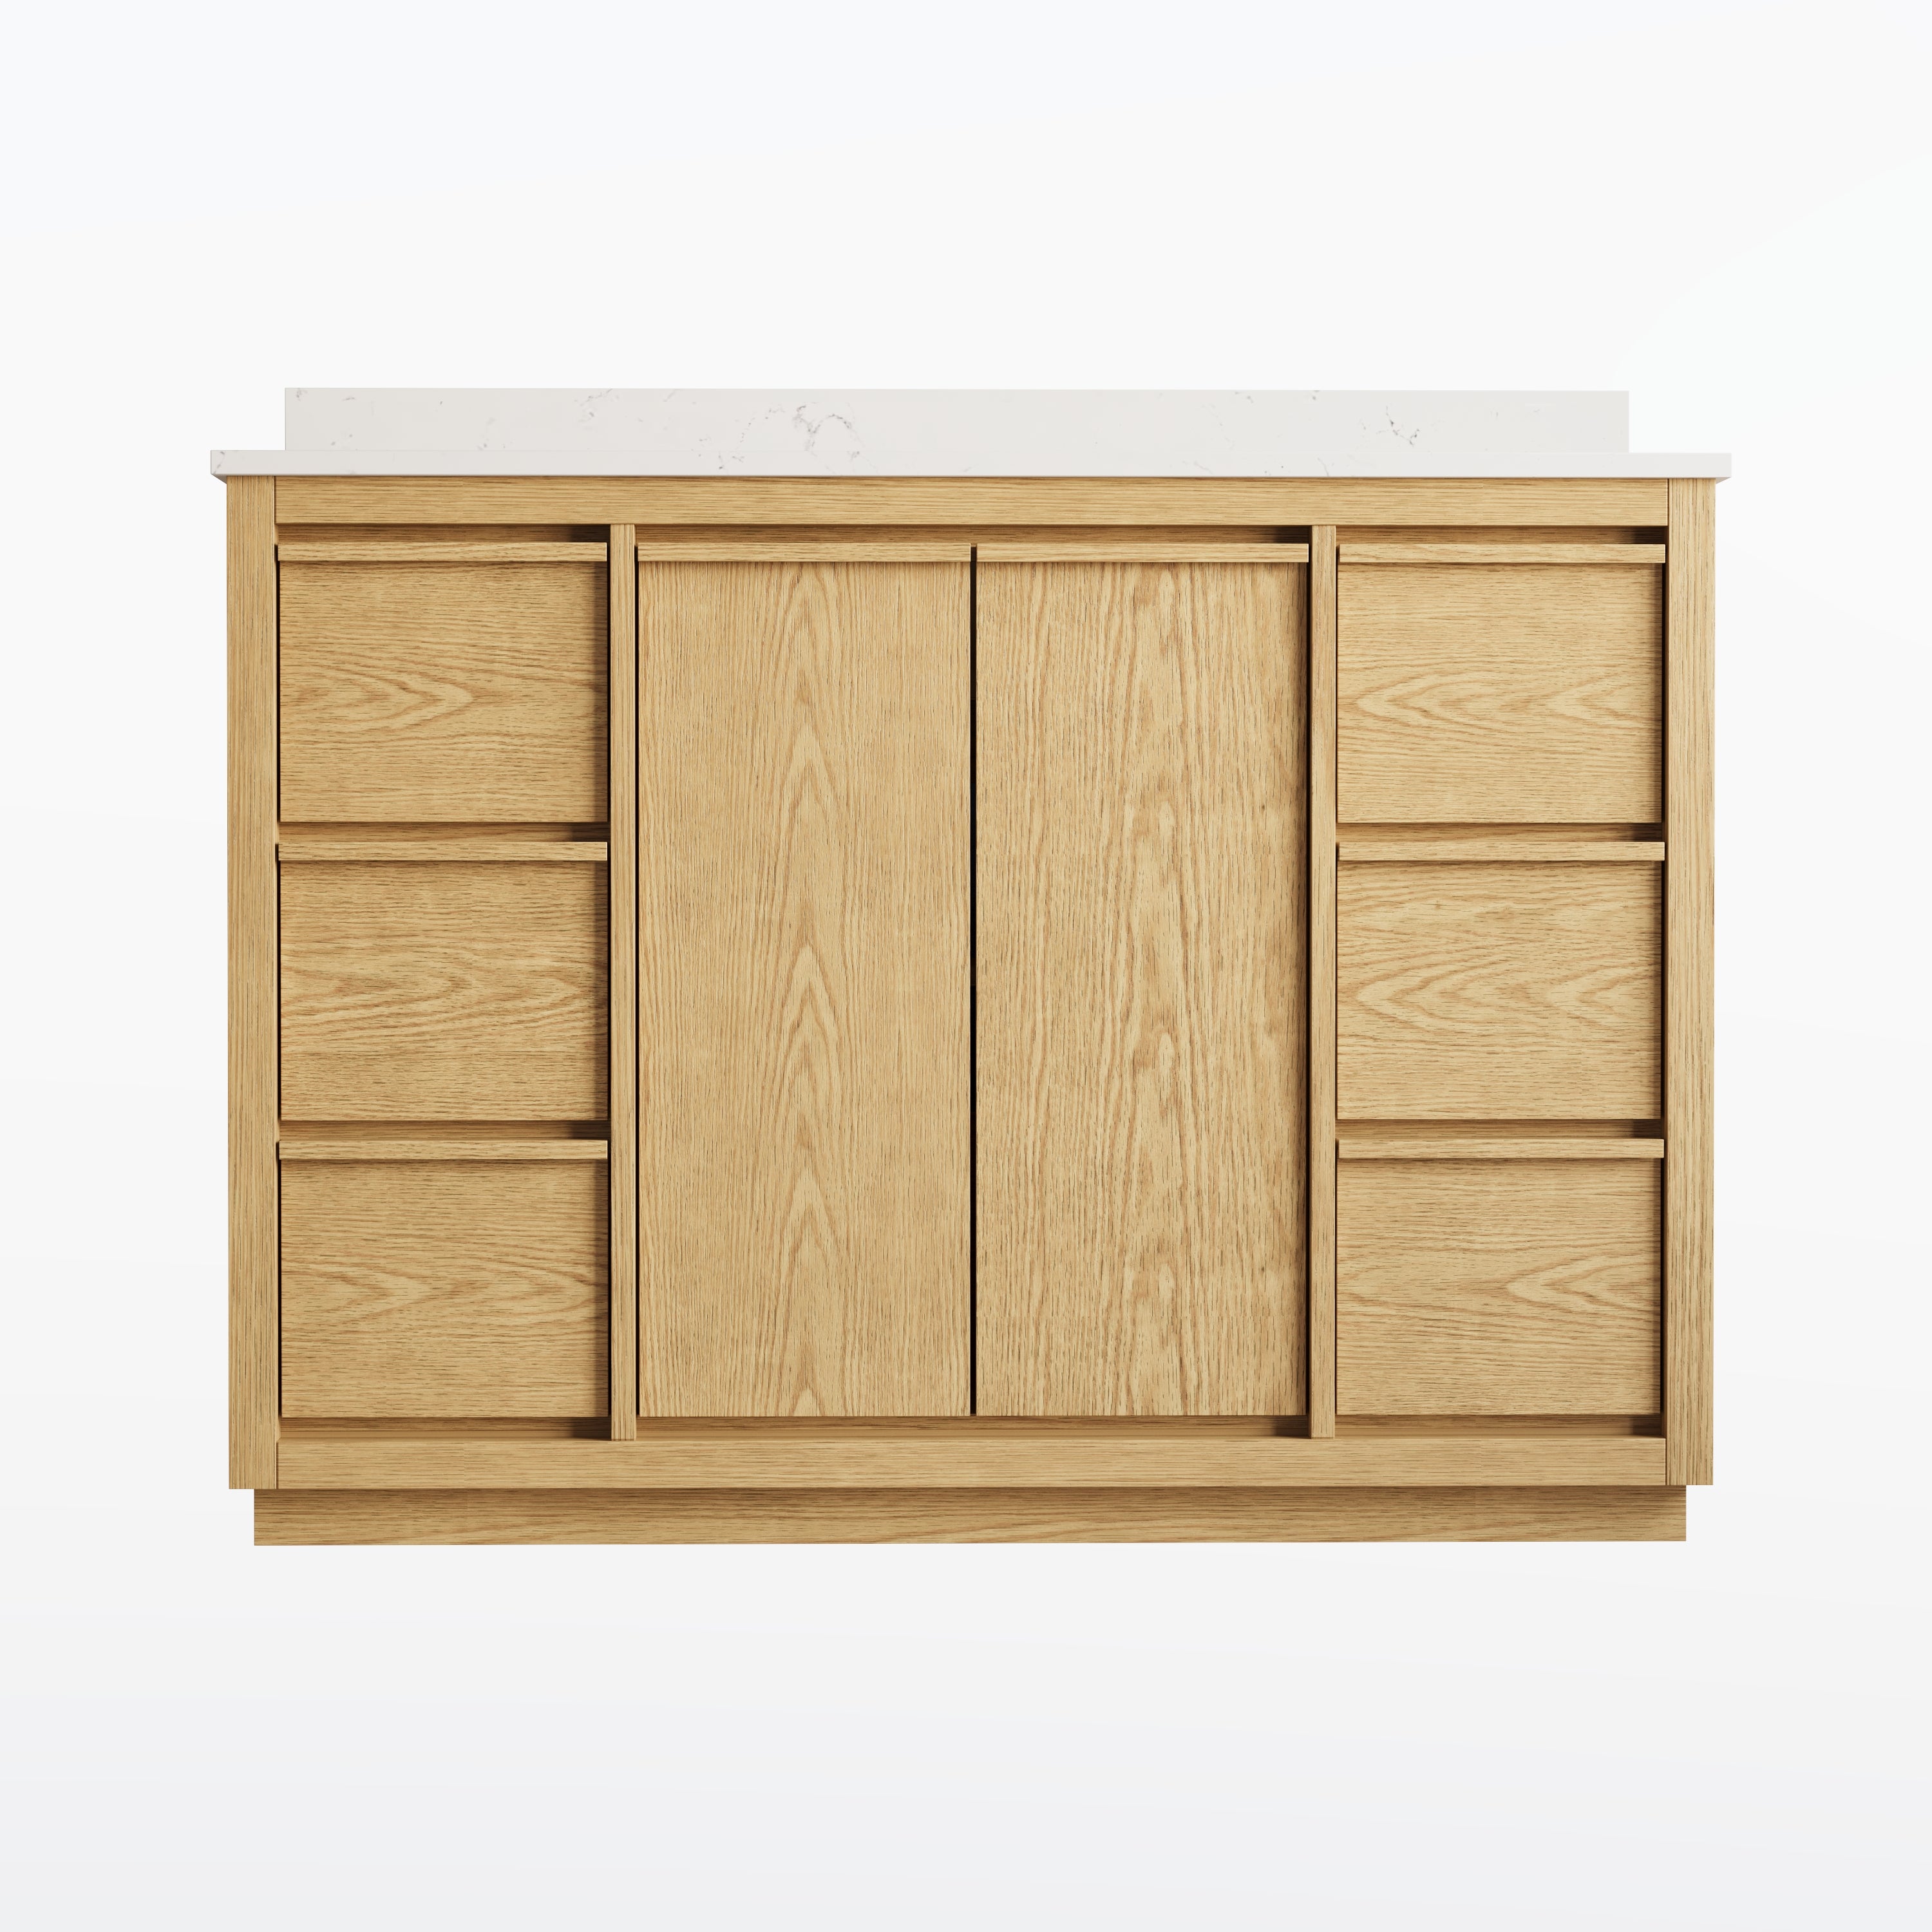
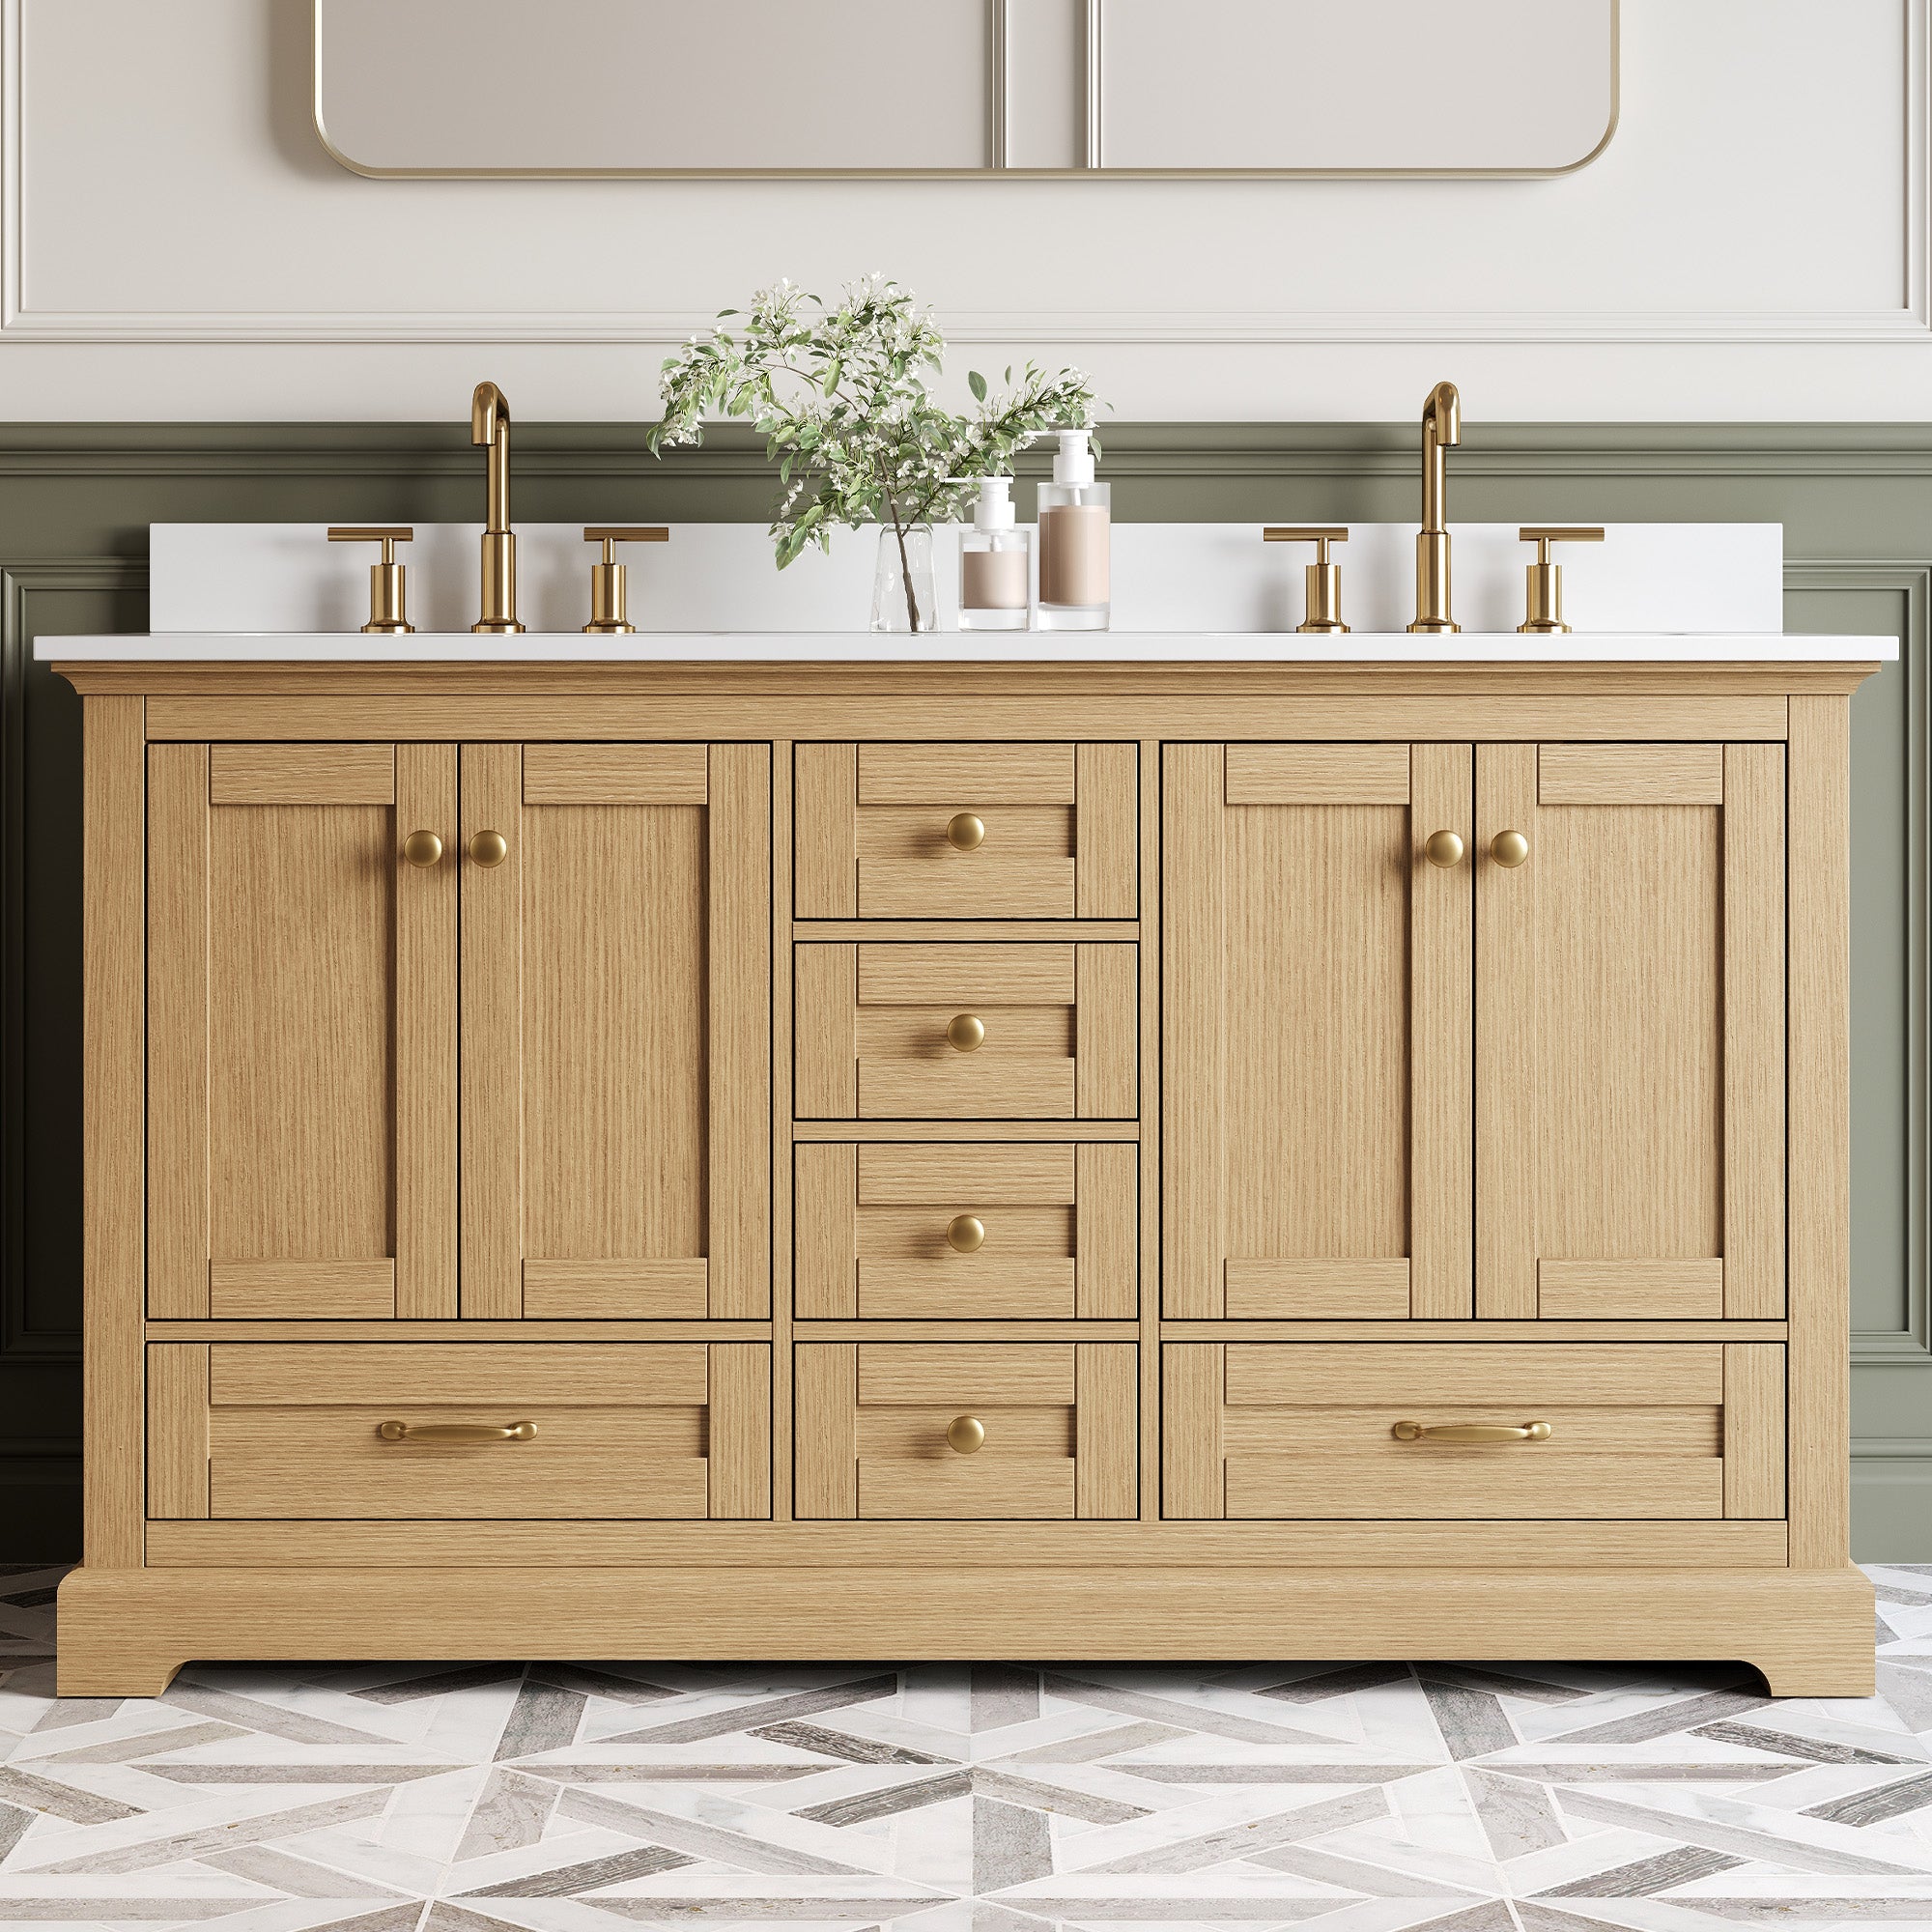
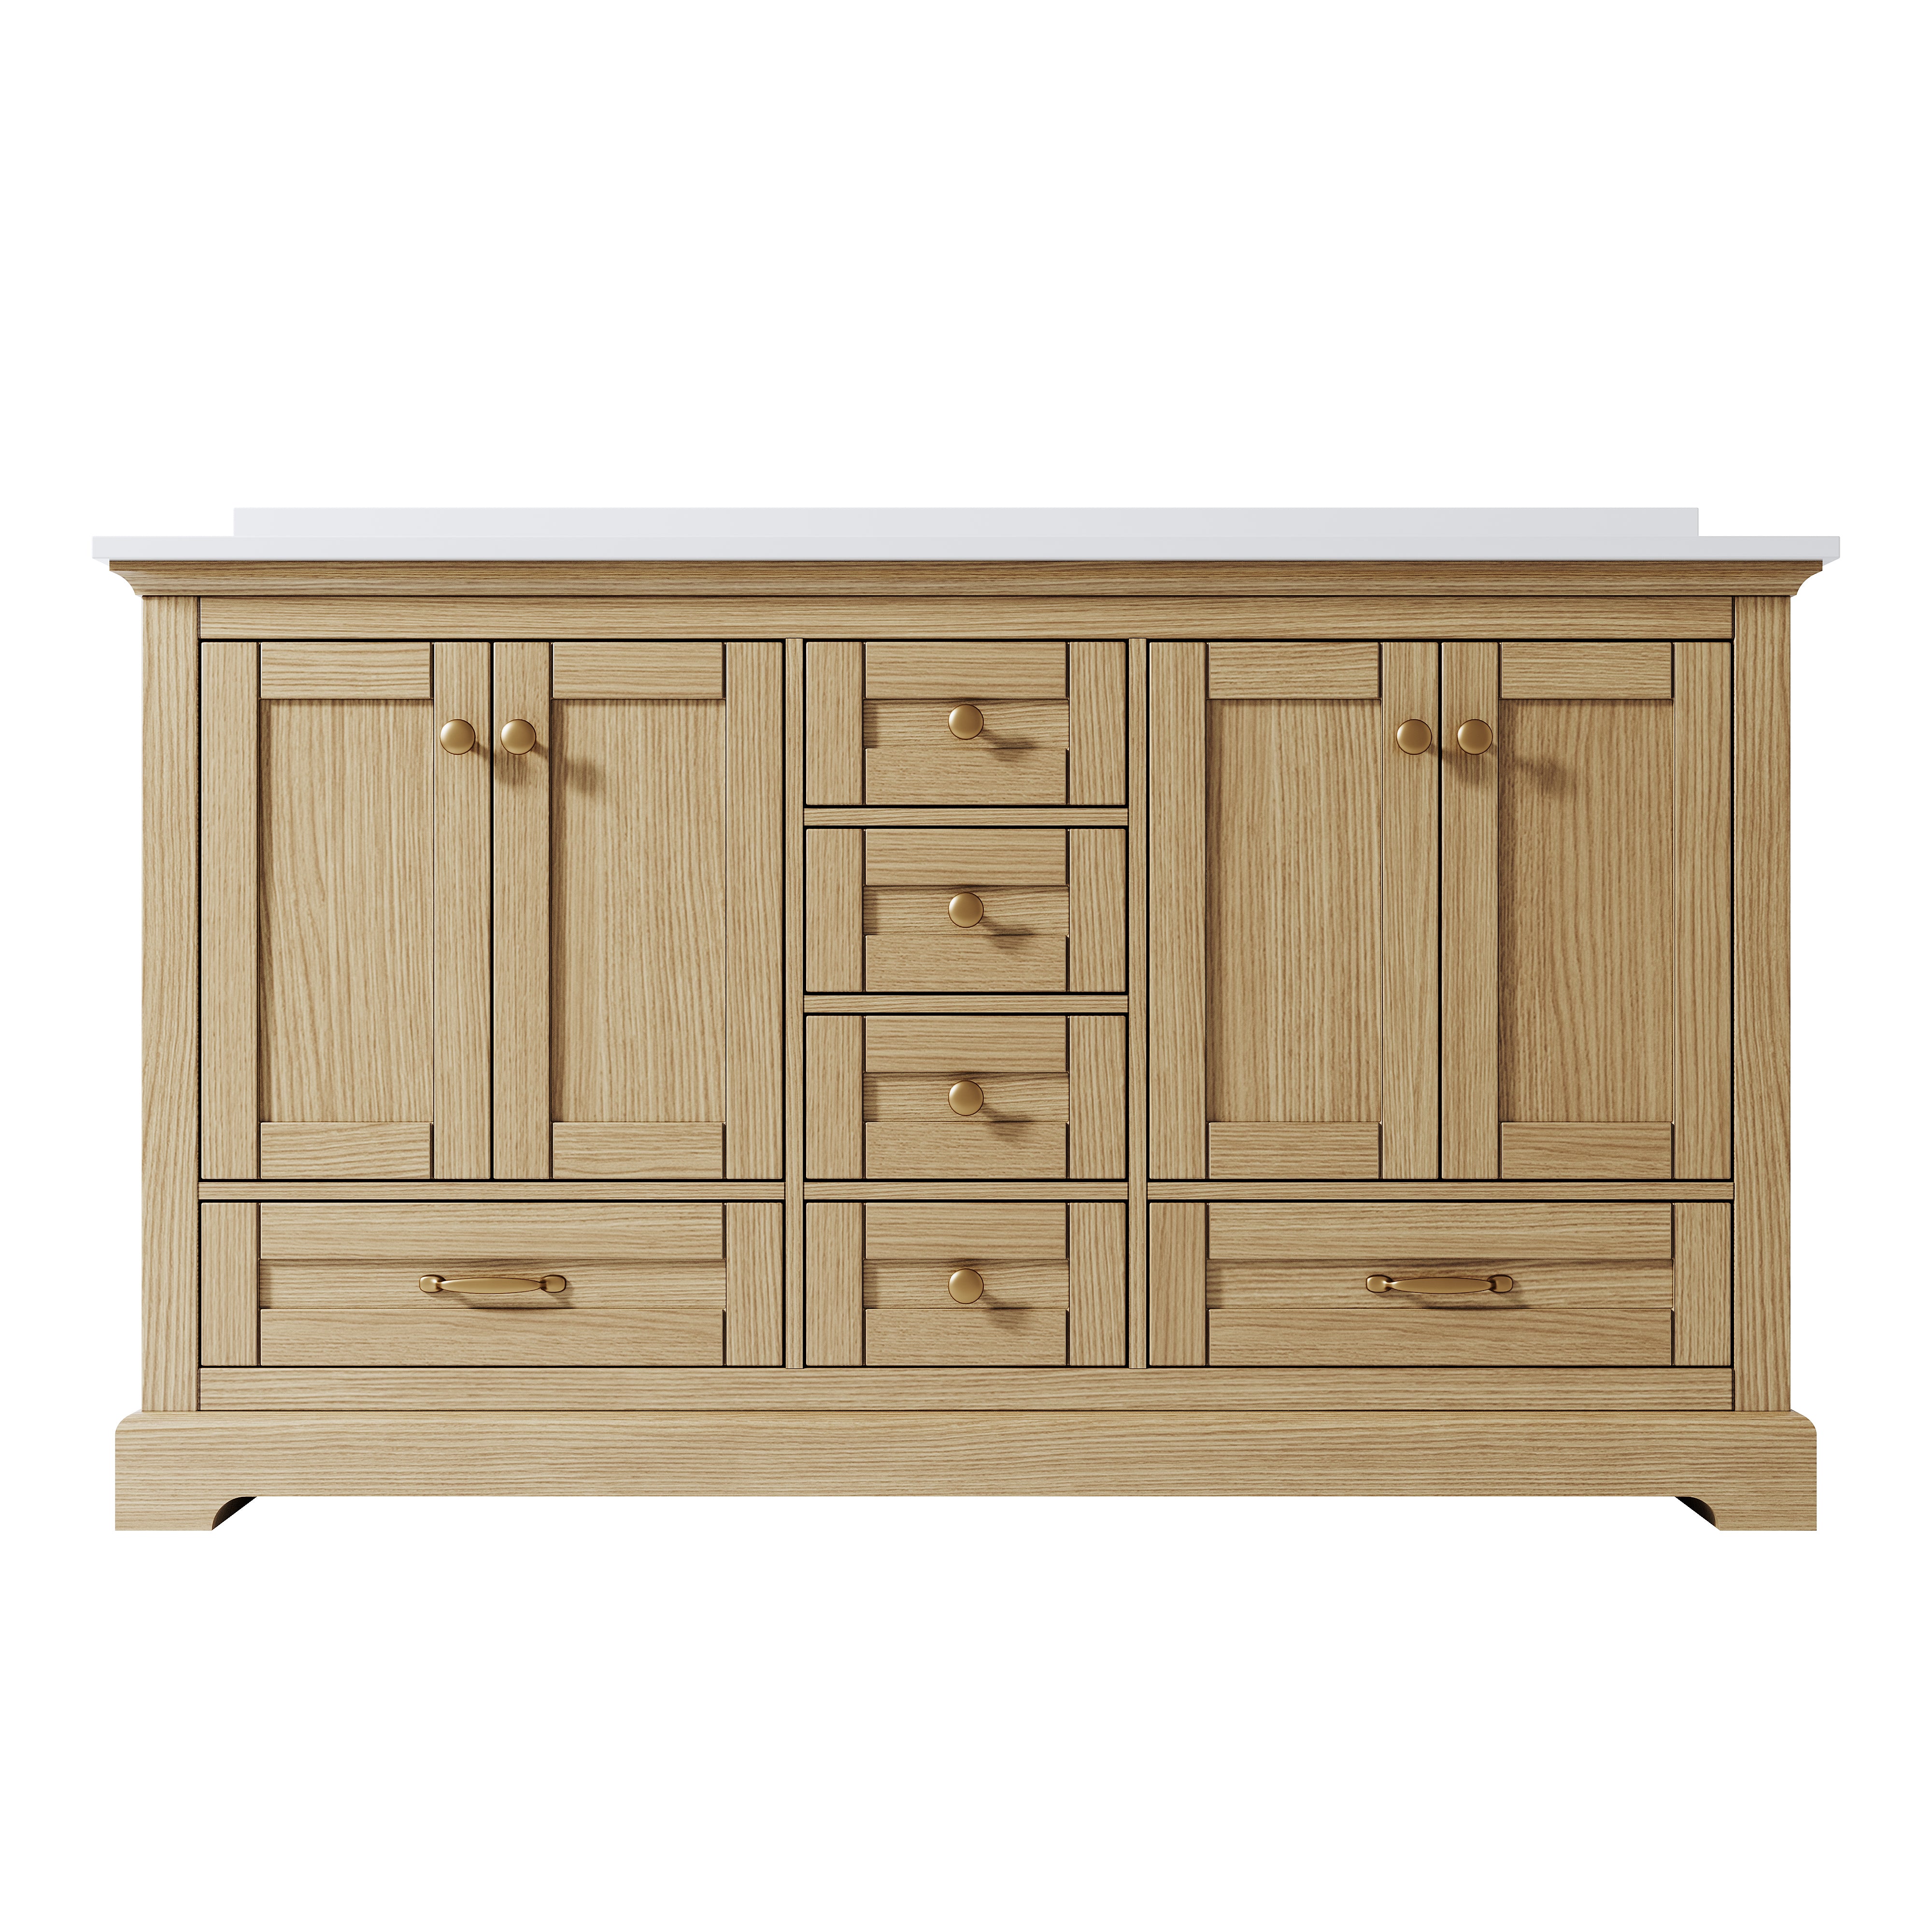
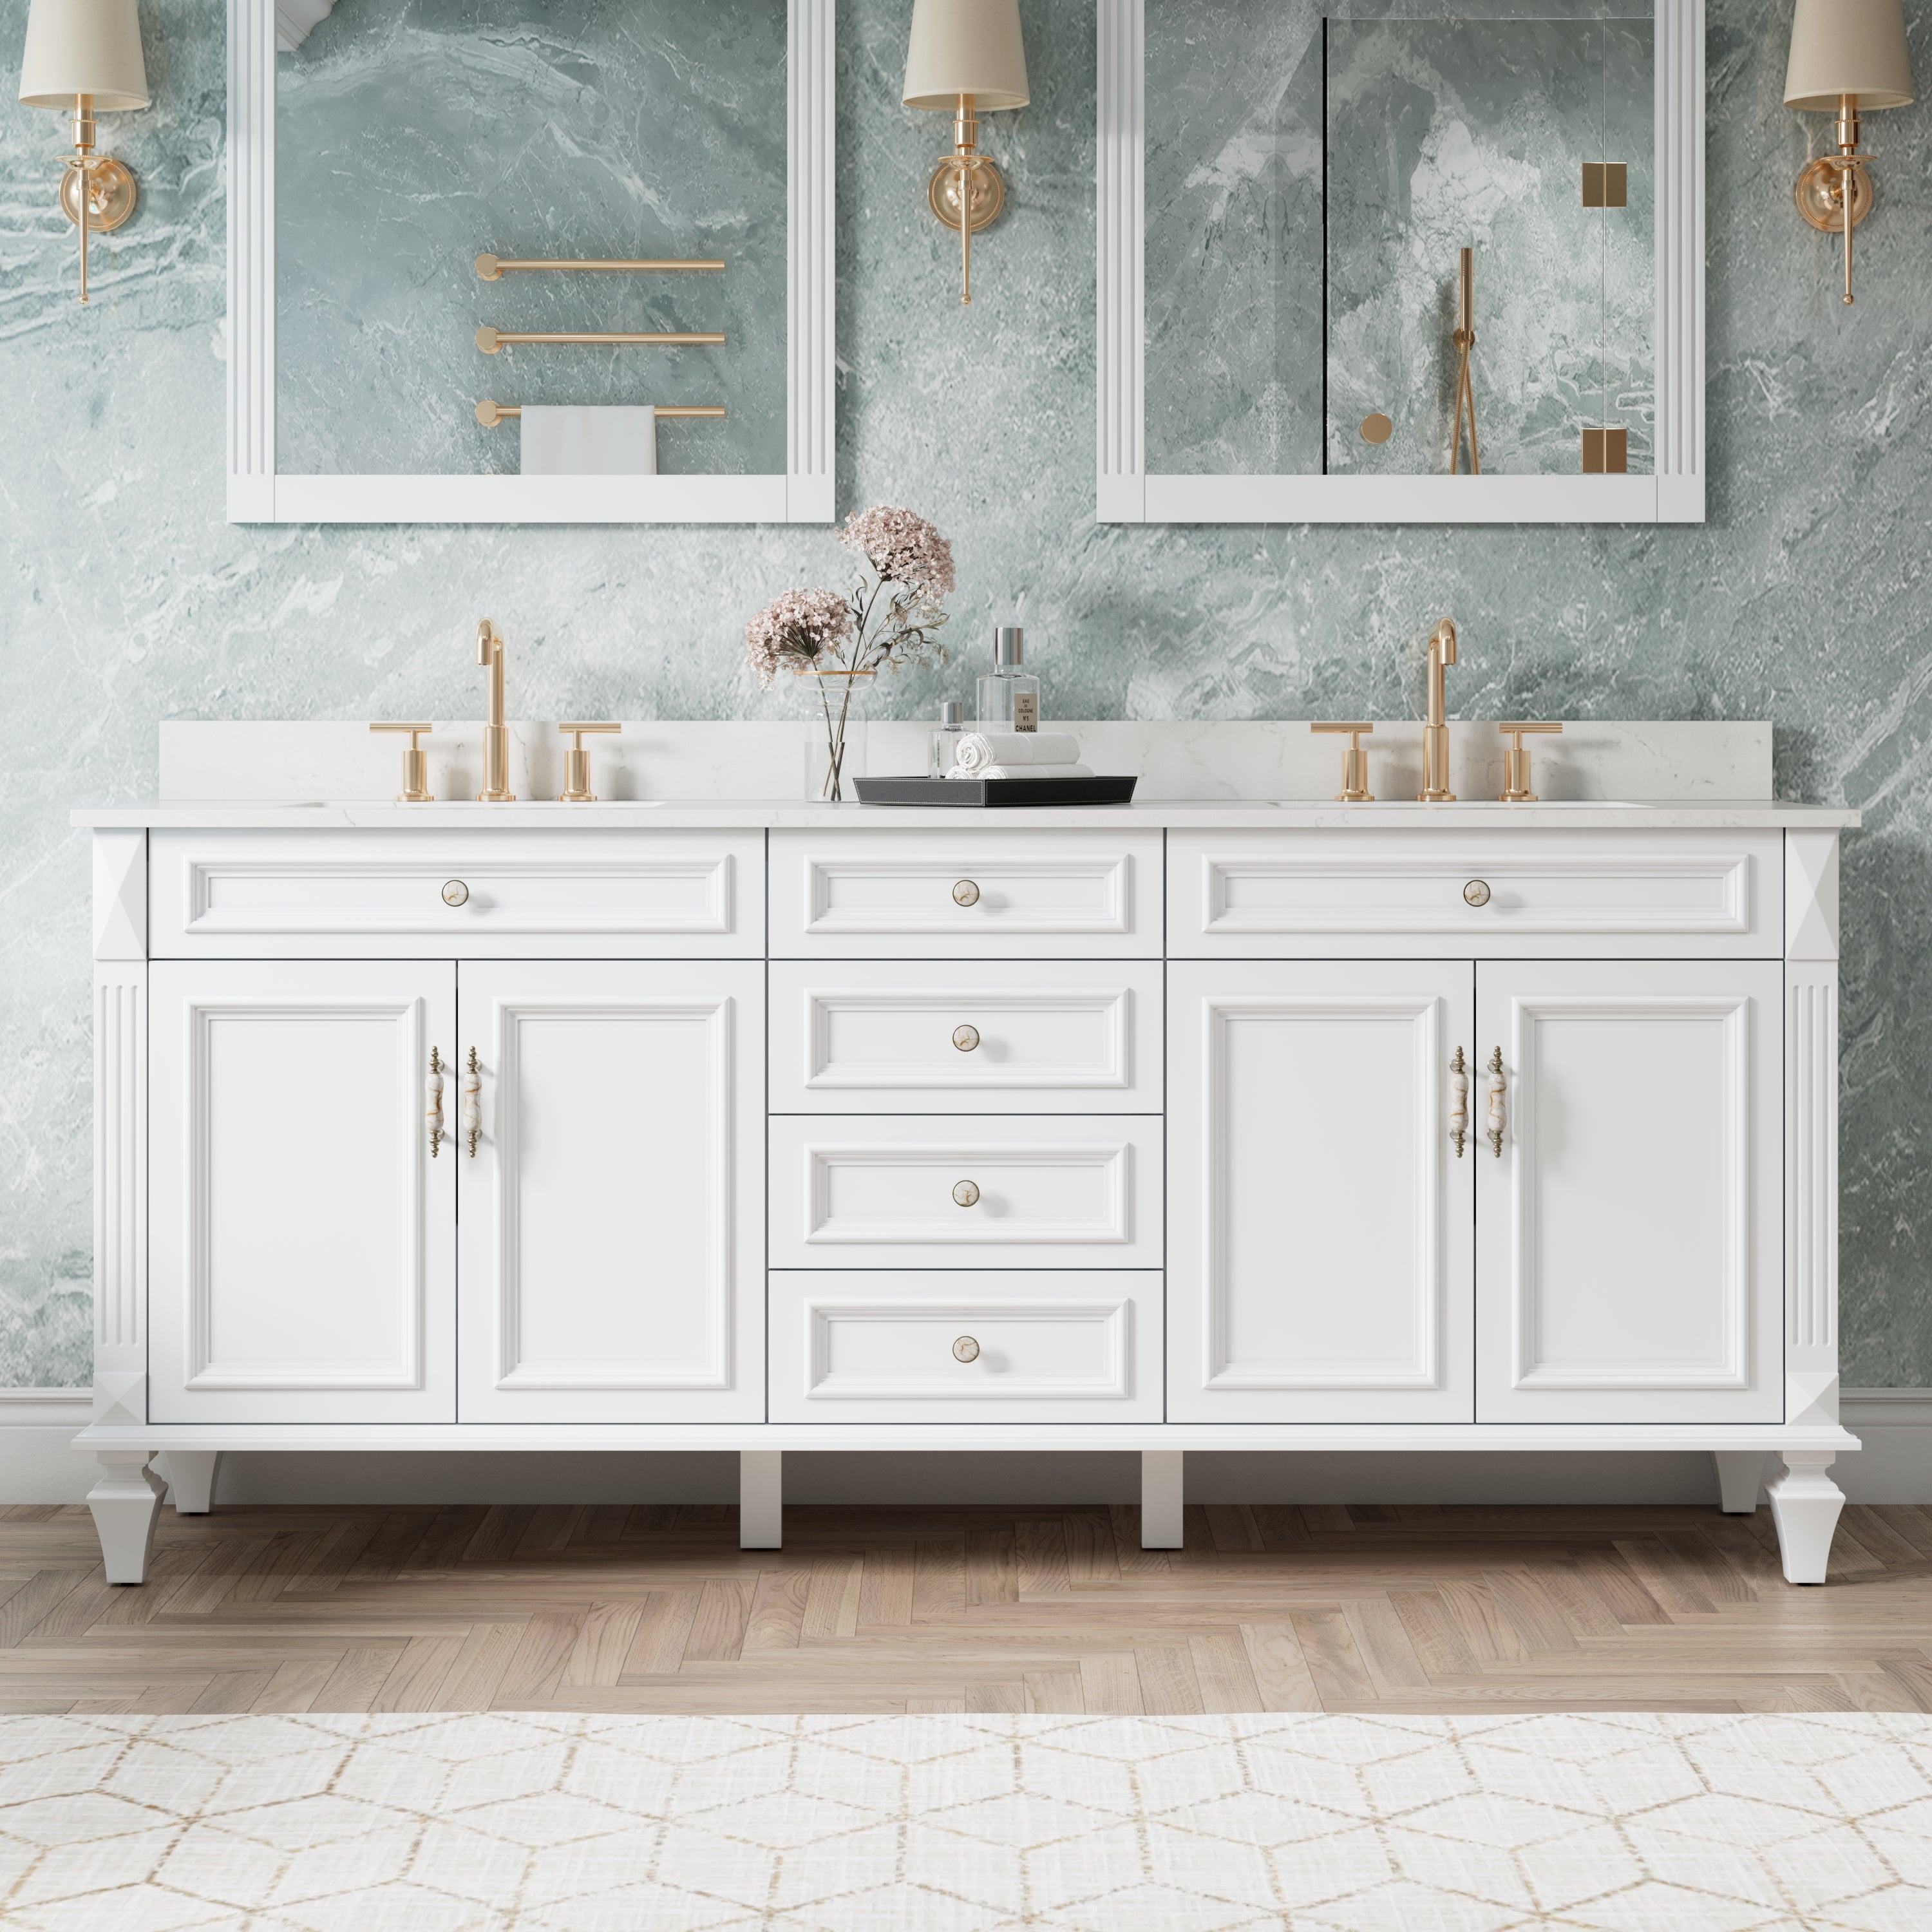
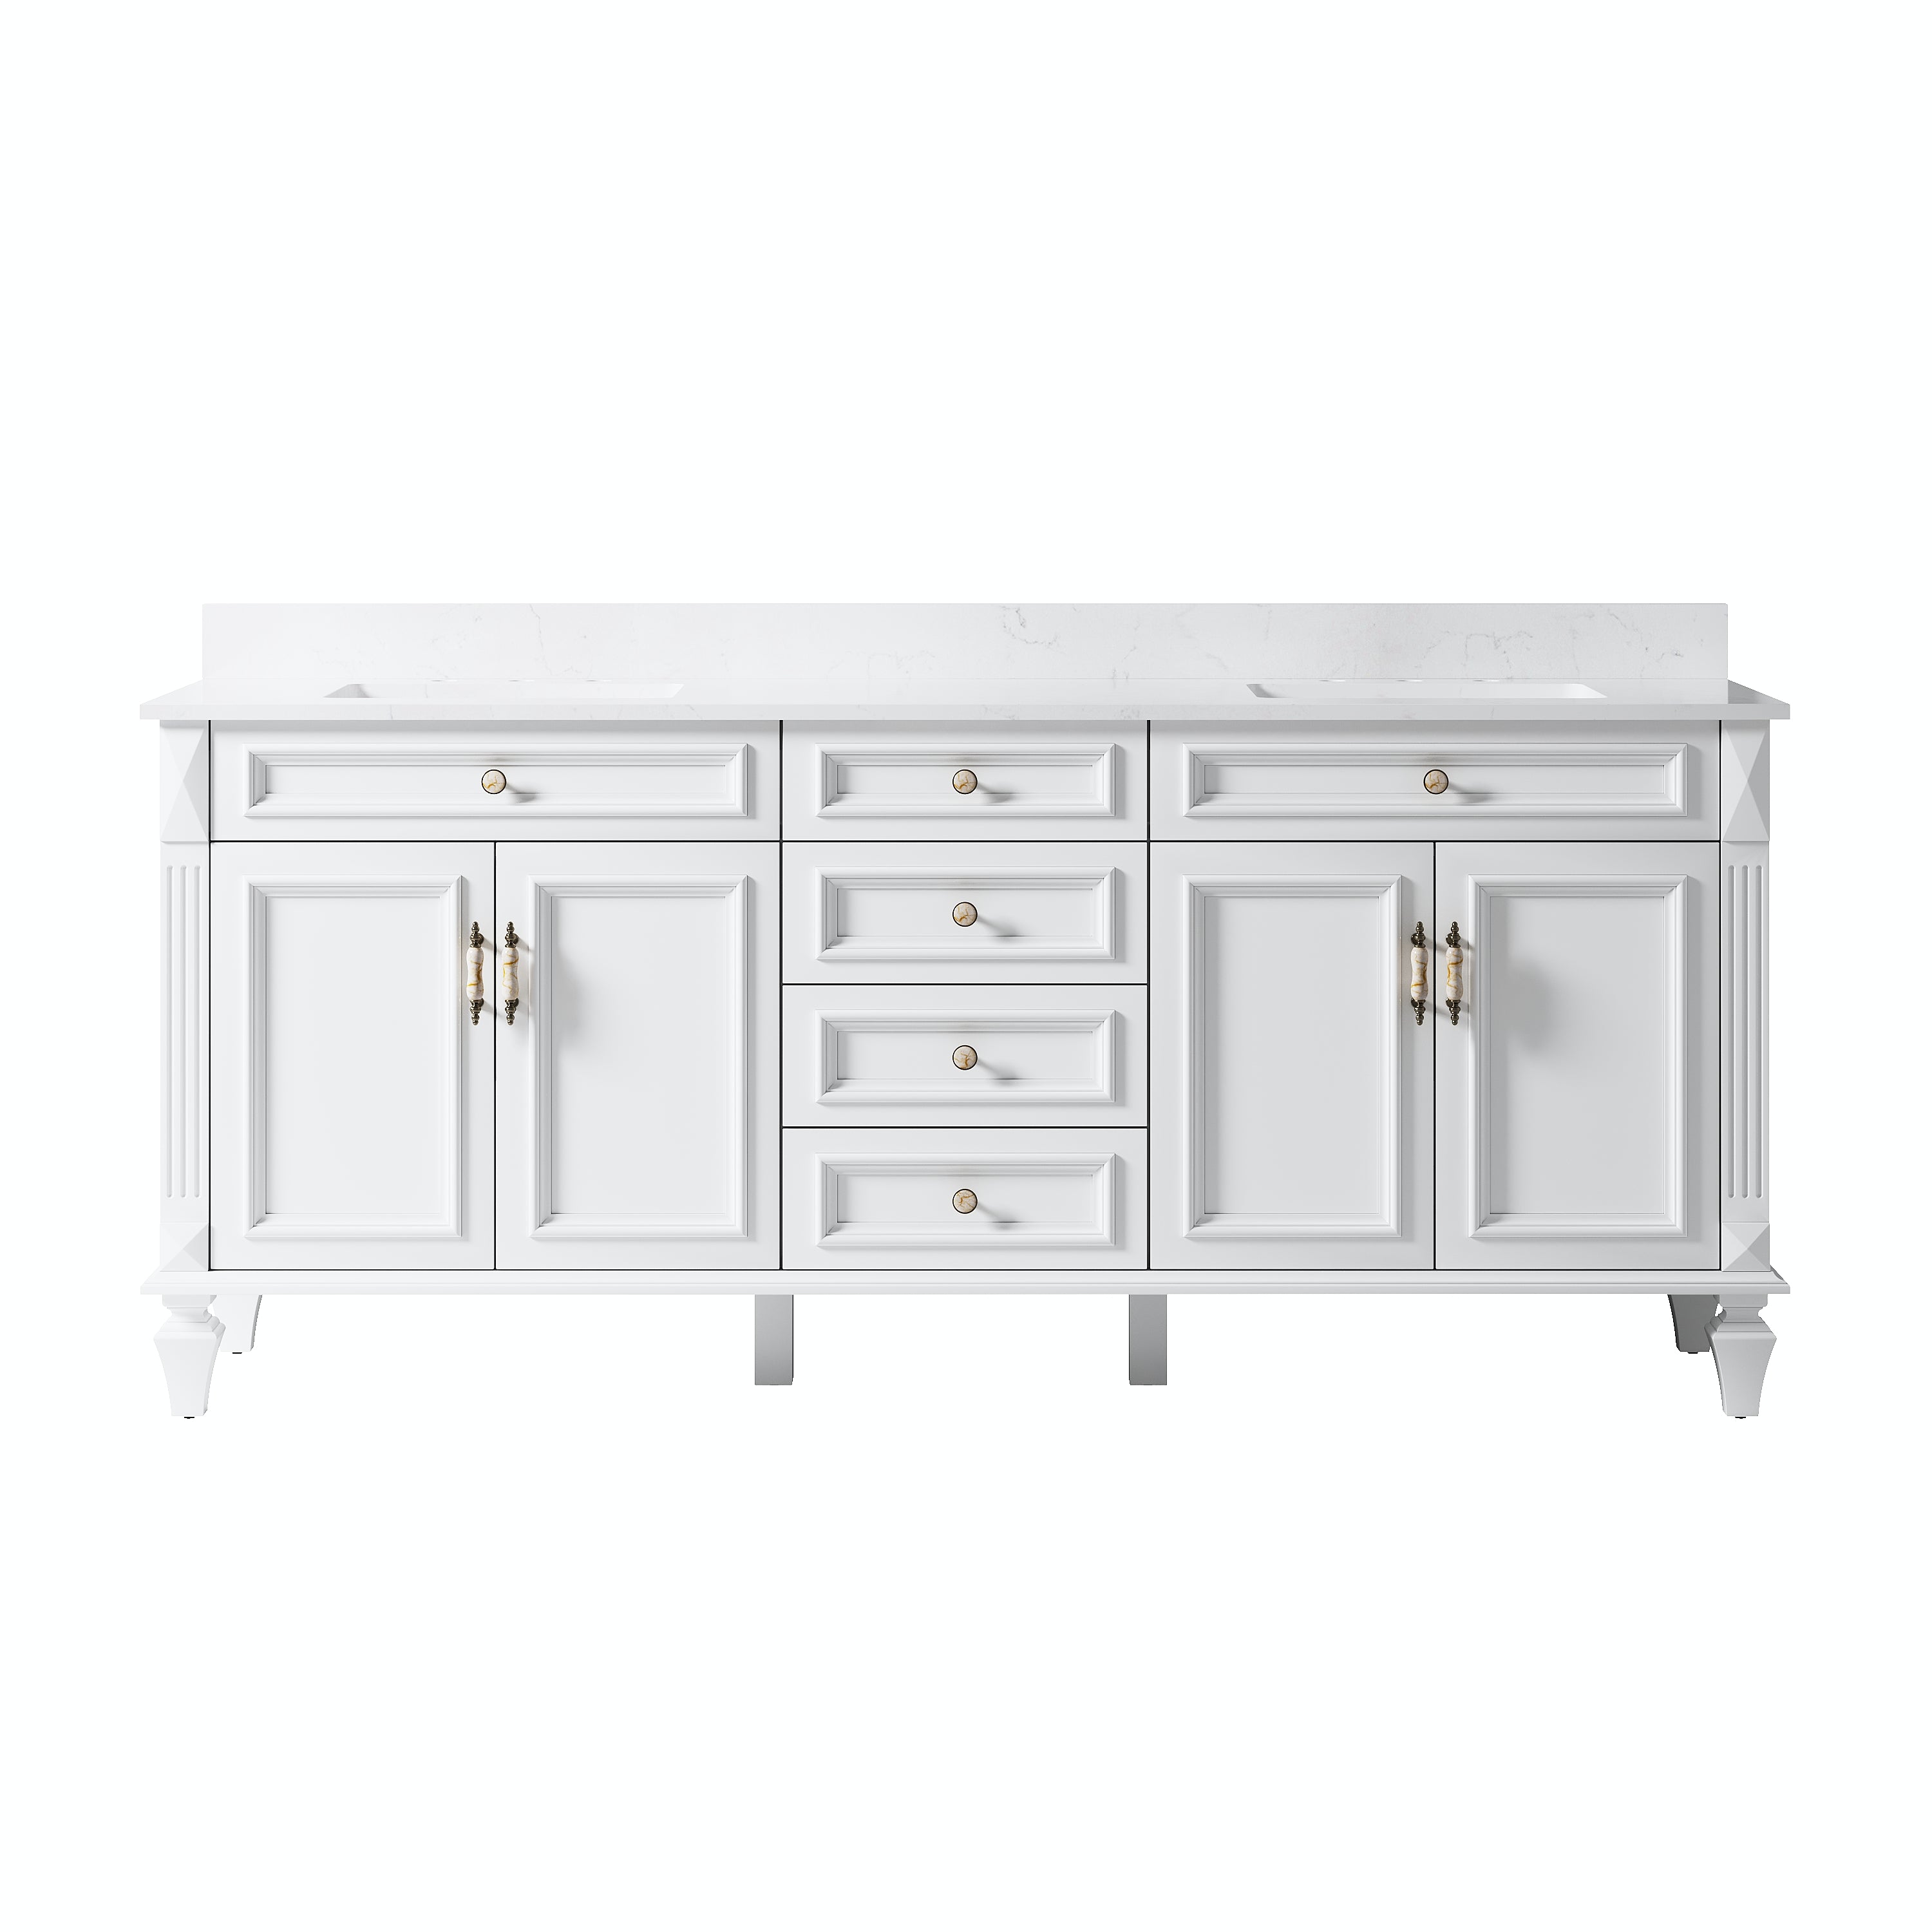
When installing a Wellfor 36 inch bathroom cabinet, spend more time on preparation than on rushing the final placement. Check measurements, plumbing, wall support, cabinet level, and sealing before considering the job finished. A carefully installed vanity should sit square, open smoothly, stay dry inside, and provide useful storage without creating unnecessary maintenance problems later.




























Leave a comment
This site is protected by hCaptcha and the hCaptcha Privacy Policy and Terms of Service apply.