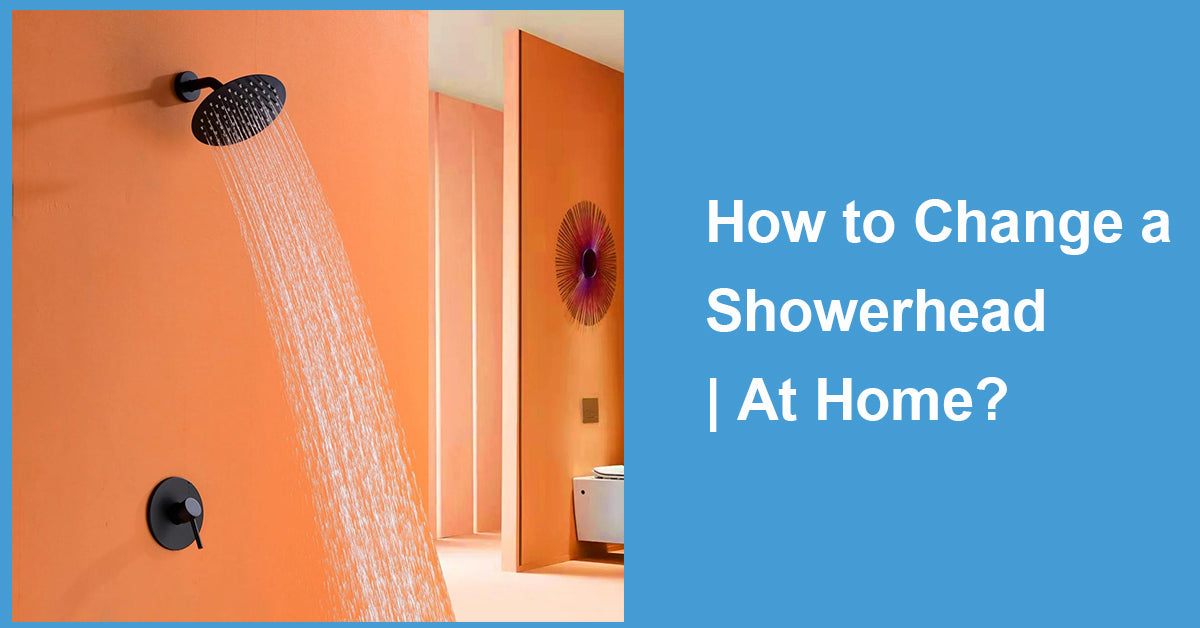
markdown A showerhead replacement can transform your daily routine into a spa-like experience.
Choosing the right shower head can enhance comfort and efficiency in your bathroom.
Whether you're dealing with an old, malfunctioning showerhead or simply want to upgrade your bathroom fixtures, this guide is for you.
We'll walk you through the process of changing a showerhead at home. From selecting the right showerhead for large showers to installing luxury showers with multiple heads, we've got you covered.
By the end of this article, you'll be equipped with the knowledge to replace your showerhead like a pro.
Why Replace Your Showerhead?
Replacing your showerhead can offer numerous benefits. An old or malfunctioning showerhead can lead to water wastage, reduced water pressure, and an unsatisfactory shower experience.
Upgrading to a new showerhead can improve water efficiency, provide better water pressure, and enhance your overall shower experience. Plus, it can add a touch of luxury to your bathroom decor. Whether you're looking for shower heads for large showers or luxury showers with multiple shower heads, there's a perfect fit for every bathroom.
Tools and Materials You'll Need
Before you start the showerhead replacement process, gather all the necessary tools and materials. This will make the process smoother and more efficient.
You will need a wrench or pliers, Teflon tape, and a new showerhead. Some showerheads may come with specific tools for installation, so check the product packaging.
Here's a quick list of what you'll need:
- Wrench or pliers
- Teflon tape
- New showerhead
- Optional: Specific tools included with the showerhead
Remember, using the right tools can prevent damage to your new showerhead and your bathroom's plumbing.
Preparing for Showerhead Replacement
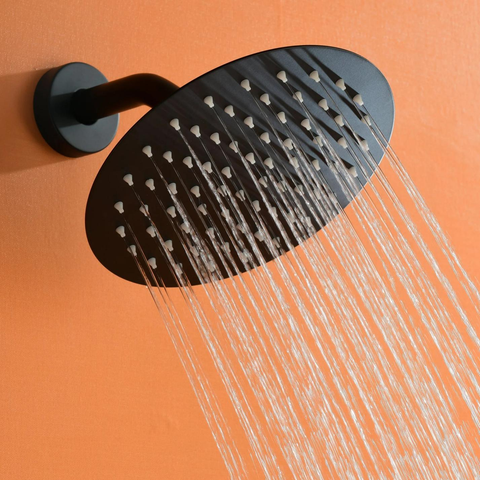
Before you start, ensure the water supply to the shower is turned off. This will prevent any unwanted water flow during the replacement process.
Next, lay down a towel or cloth in the shower or tub. This will catch any falling parts and protect your surfaces from potential scratches.
It's also a good idea to have a bucket or bowl handy. This can be used to catch any residual water that may come out when you remove the old showerhead.
Lastly, remember to wear protective gloves. This will protect your hands from any sharp edges or rough surfaces.
Step 1: Removing the Old Showerhead
Start by loosening the old showerhead. You can usually do this by hand, turning it counterclockwise.
If it's too tight, use a wrench or pliers. Be sure to wrap the showerhead with a cloth first to prevent scratching.
Once loosened, continue to unscrew the showerhead by hand until it comes off. Be careful not to drop it.
Step 2: Cleaning and Preparing the Shower Arm
After removing the old showerhead, you'll see the shower arm. This is where the new showerhead will be attached.
Inspect the shower arm for any mineral deposits or old Teflon tape. These need to be cleaned off before installing the new showerhead.
You can use a toothbrush or a small wire brush to gently scrub away any debris. Be careful not to scratch the shower arm.
Once clean, dry the shower arm thoroughly before proceeding to the next step.
Step 3: Selecting the Right Showerhead
Choosing the right showerhead is crucial for your shower experience. It's not just about the look, but also about functionality and comfort.
Consider the size of your shower. For large showers, you might want to consider shower heads for large showers. They provide a wider spray pattern and can cover a larger area.
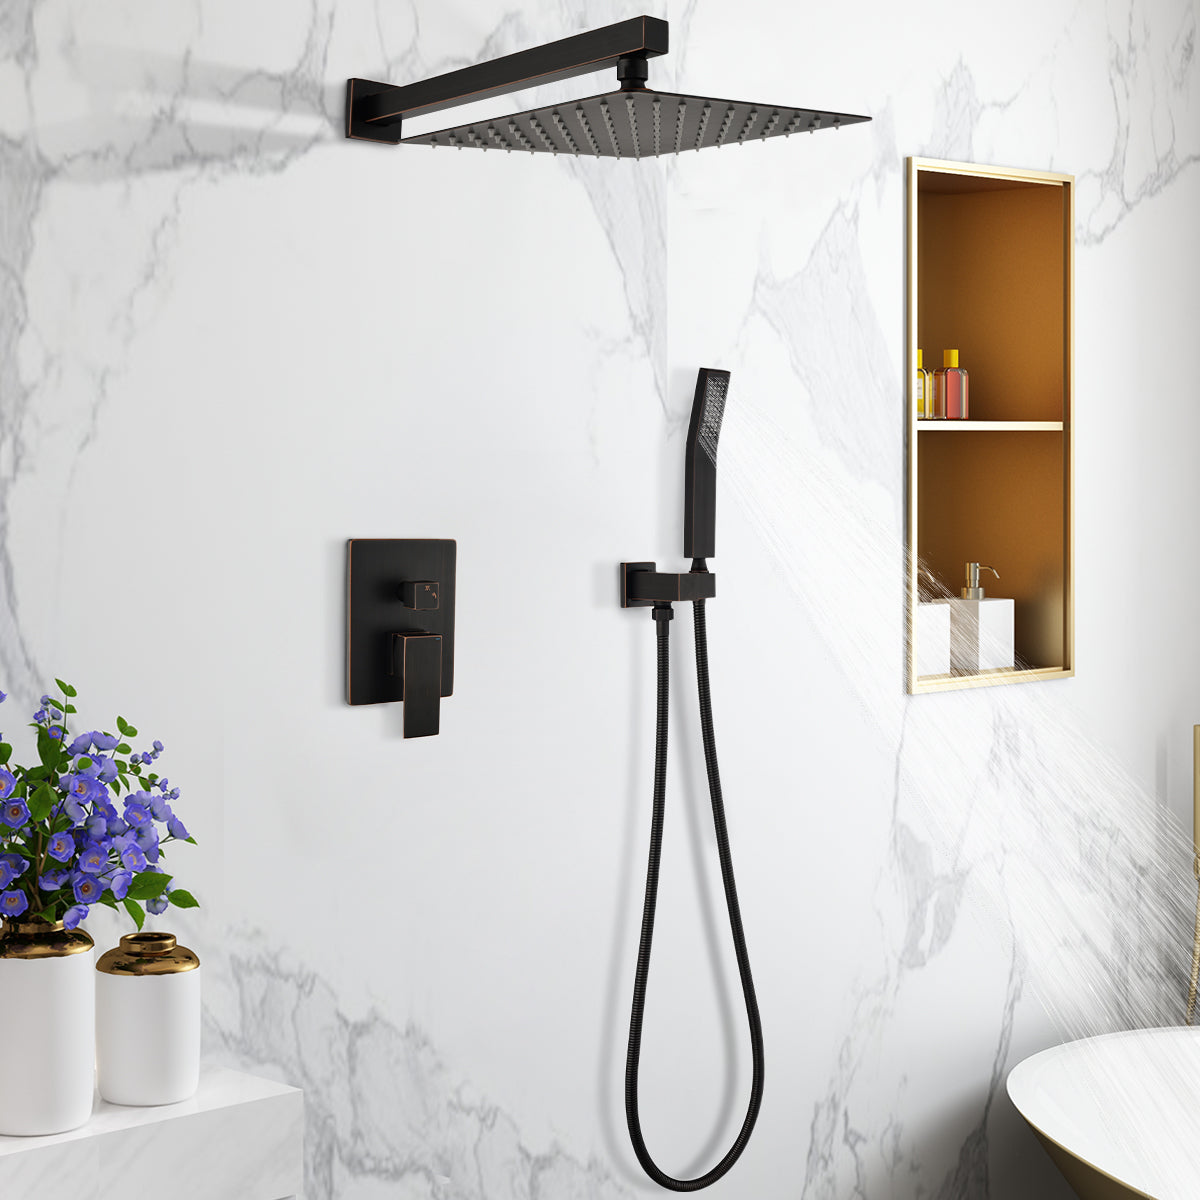
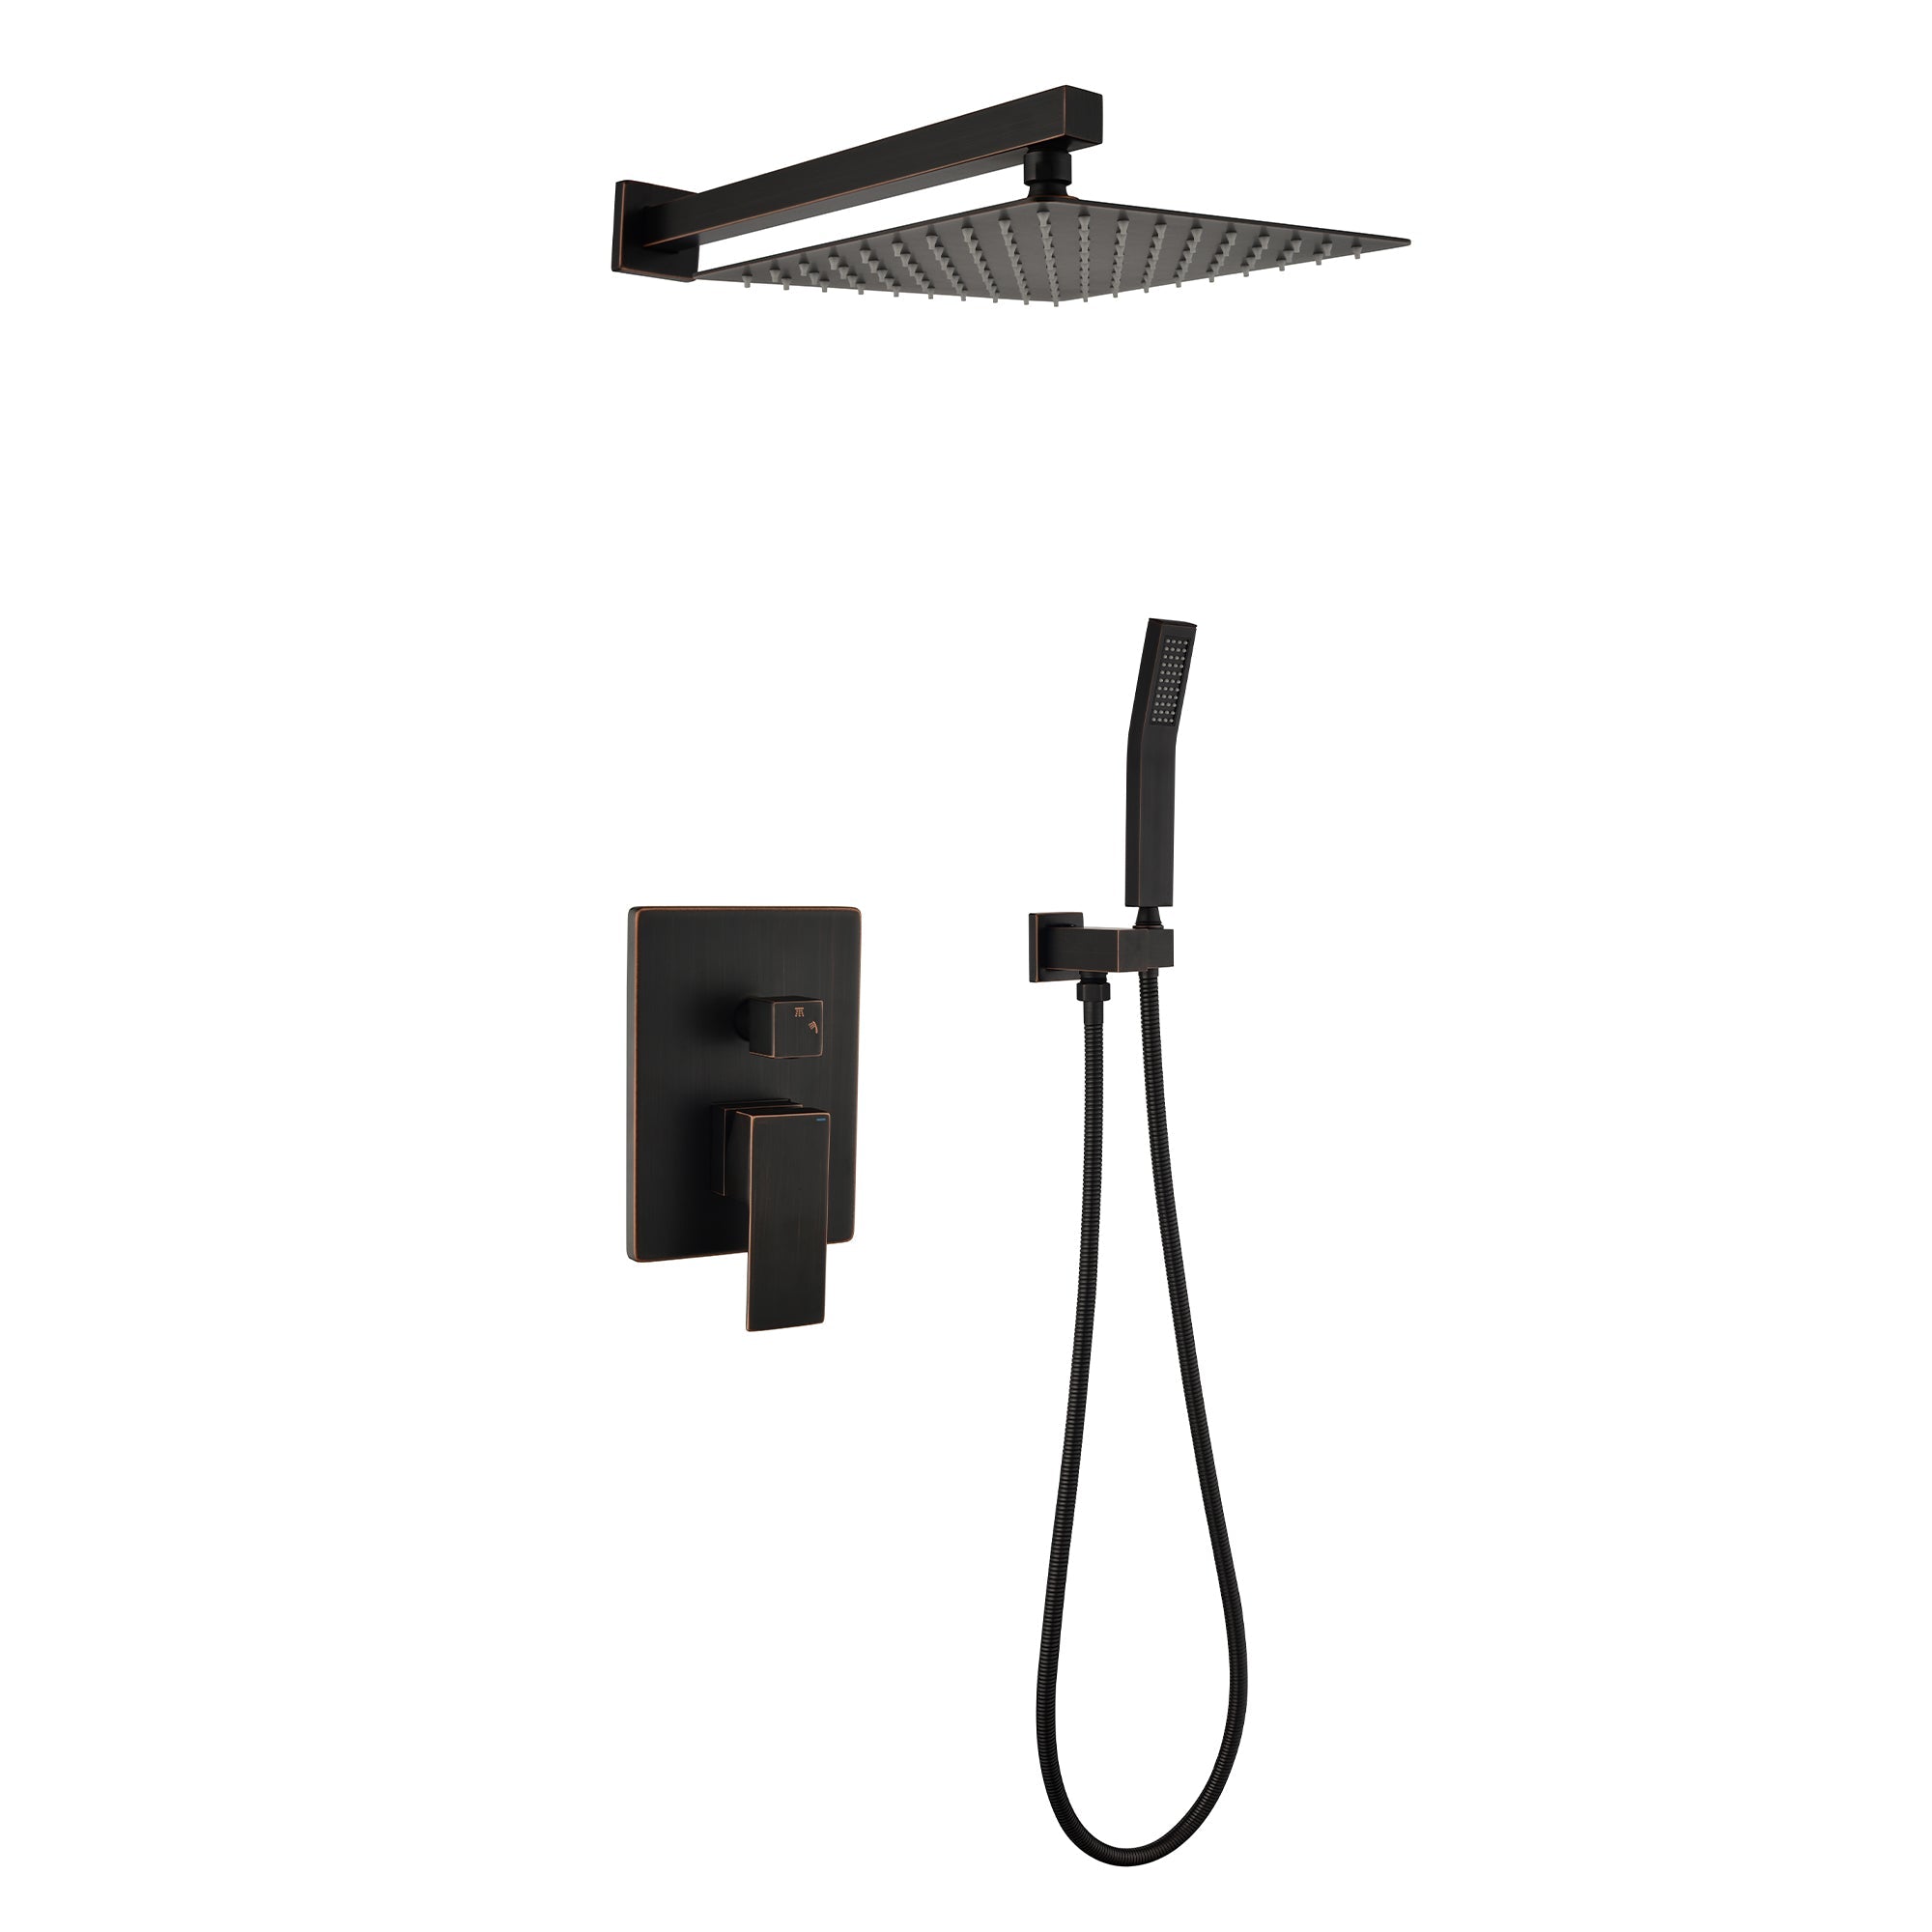
If you're looking for a luxury experience, consider luxury showers with multiple shower heads. These can provide a spa-like experience right at home.
Here are some features to consider when selecting a showerhead:
- Spray patterns: Some showerheads offer multiple spray patterns for a customized shower experience.
- Water efficiency: Look for showerheads with a WaterSense label. They use less water without compromising performance.
- Easy cleaning: Some showerheads have silicone nozzles that can be easily wiped clean.
"
Step 4: Installing the New Showerhead
Now that you've chosen your new showerhead, it's time to install it. Start by wrapping the threads of the shower arm with Teflon tape. This helps prevent leaks.
Next, attach the new showerhead to the shower arm. Most showerheads can be hand-tightened. Make sure it's secure, but don't over-tighten as this can damage the threads.
If your showerhead has a swivel ball joint, make sure it's facing the right direction. This allows you to adjust the angle of the showerhead.
Some showerheads come with special features like built-in filters or LED lights. Make sure to follow the manufacturer's instructions for these.
Finally, if your showerhead comes with a warranty or guarantee, keep the receipt and any relevant paperwork. This can be useful if you encounter any issues with the showerhead in the future.
Step 5: Testing for Leaks and Functionality
Once the new showerhead is installed, it's time to test it. Turn on the water and check for any leaks around the connection.
If you notice any water dripping, turn off the water and tighten the showerhead a bit more. Be careful not to over-tighten as this can damage the threads.
Finally, test the functionality of the showerhead. Make sure all the settings work as expected. If your showerhead has special features like multiple spray patterns or LED lights, check these too.
Maintenance and Care for Your New Showerhead
Now that your new showerhead is installed and working properly, it's important to maintain it. Regular cleaning can extend its lifespan and keep it performing at its best.
Mineral buildup can affect the water flow and spray pattern. To prevent this, clean your showerhead every few months. You can use a simple solution of vinegar and water for this task.
If your showerhead has a built-in filter, remember to replace it as recommended by the manufacturer. This will ensure optimal water quality and pressure.
Lastly, handle your showerhead with care during use. Avoid unnecessary force when adjusting the settings or angle.
Final Thought: Enjoying Your New Shower Experience
With your new showerhead installed and maintained, you can now enjoy a personalized shower experience. Whether it's a refreshing morning wake-up or a relaxing evening wind-down, your shower can be a highlight of your day.
Remember, a well-chosen and well-maintained showerhead can offer years of comfort and efficiency. Enjoy your new shower experience!











Leave a comment
This site is protected by hCaptcha and the hCaptcha Privacy Policy and Terms of Service apply.