



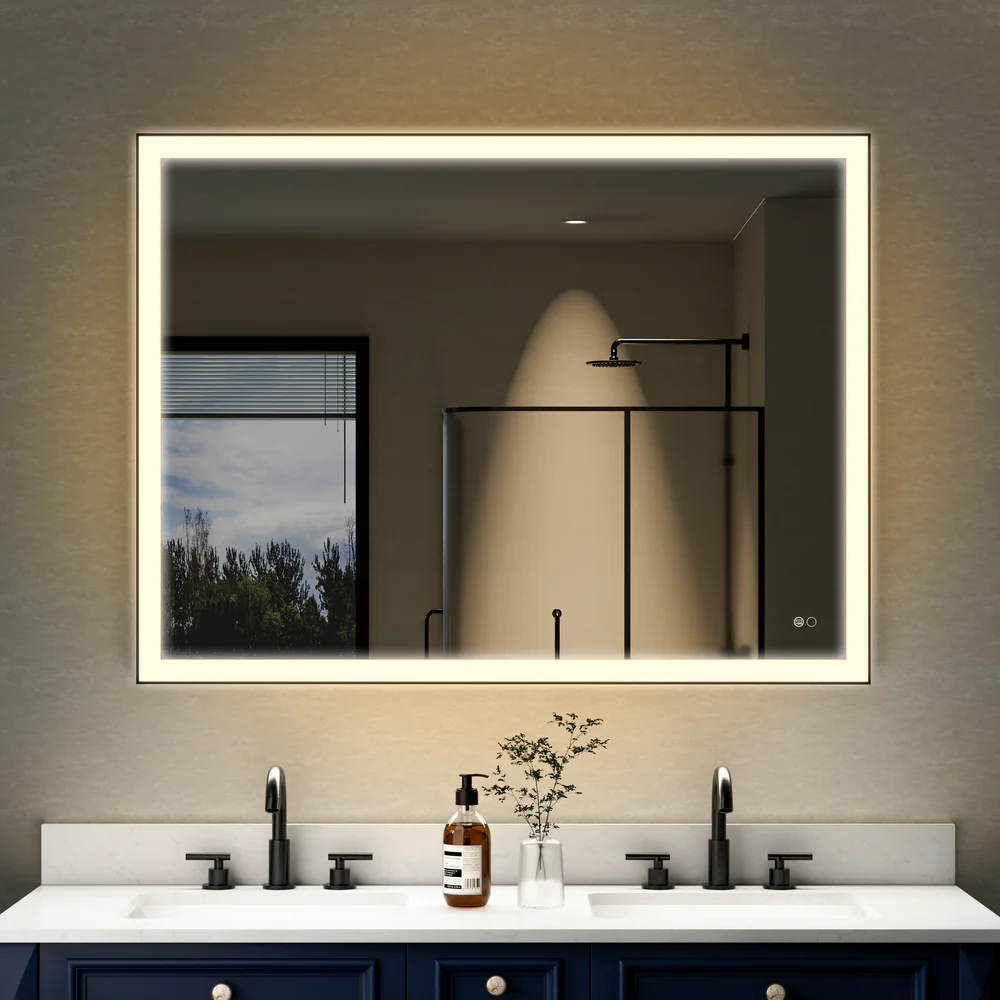







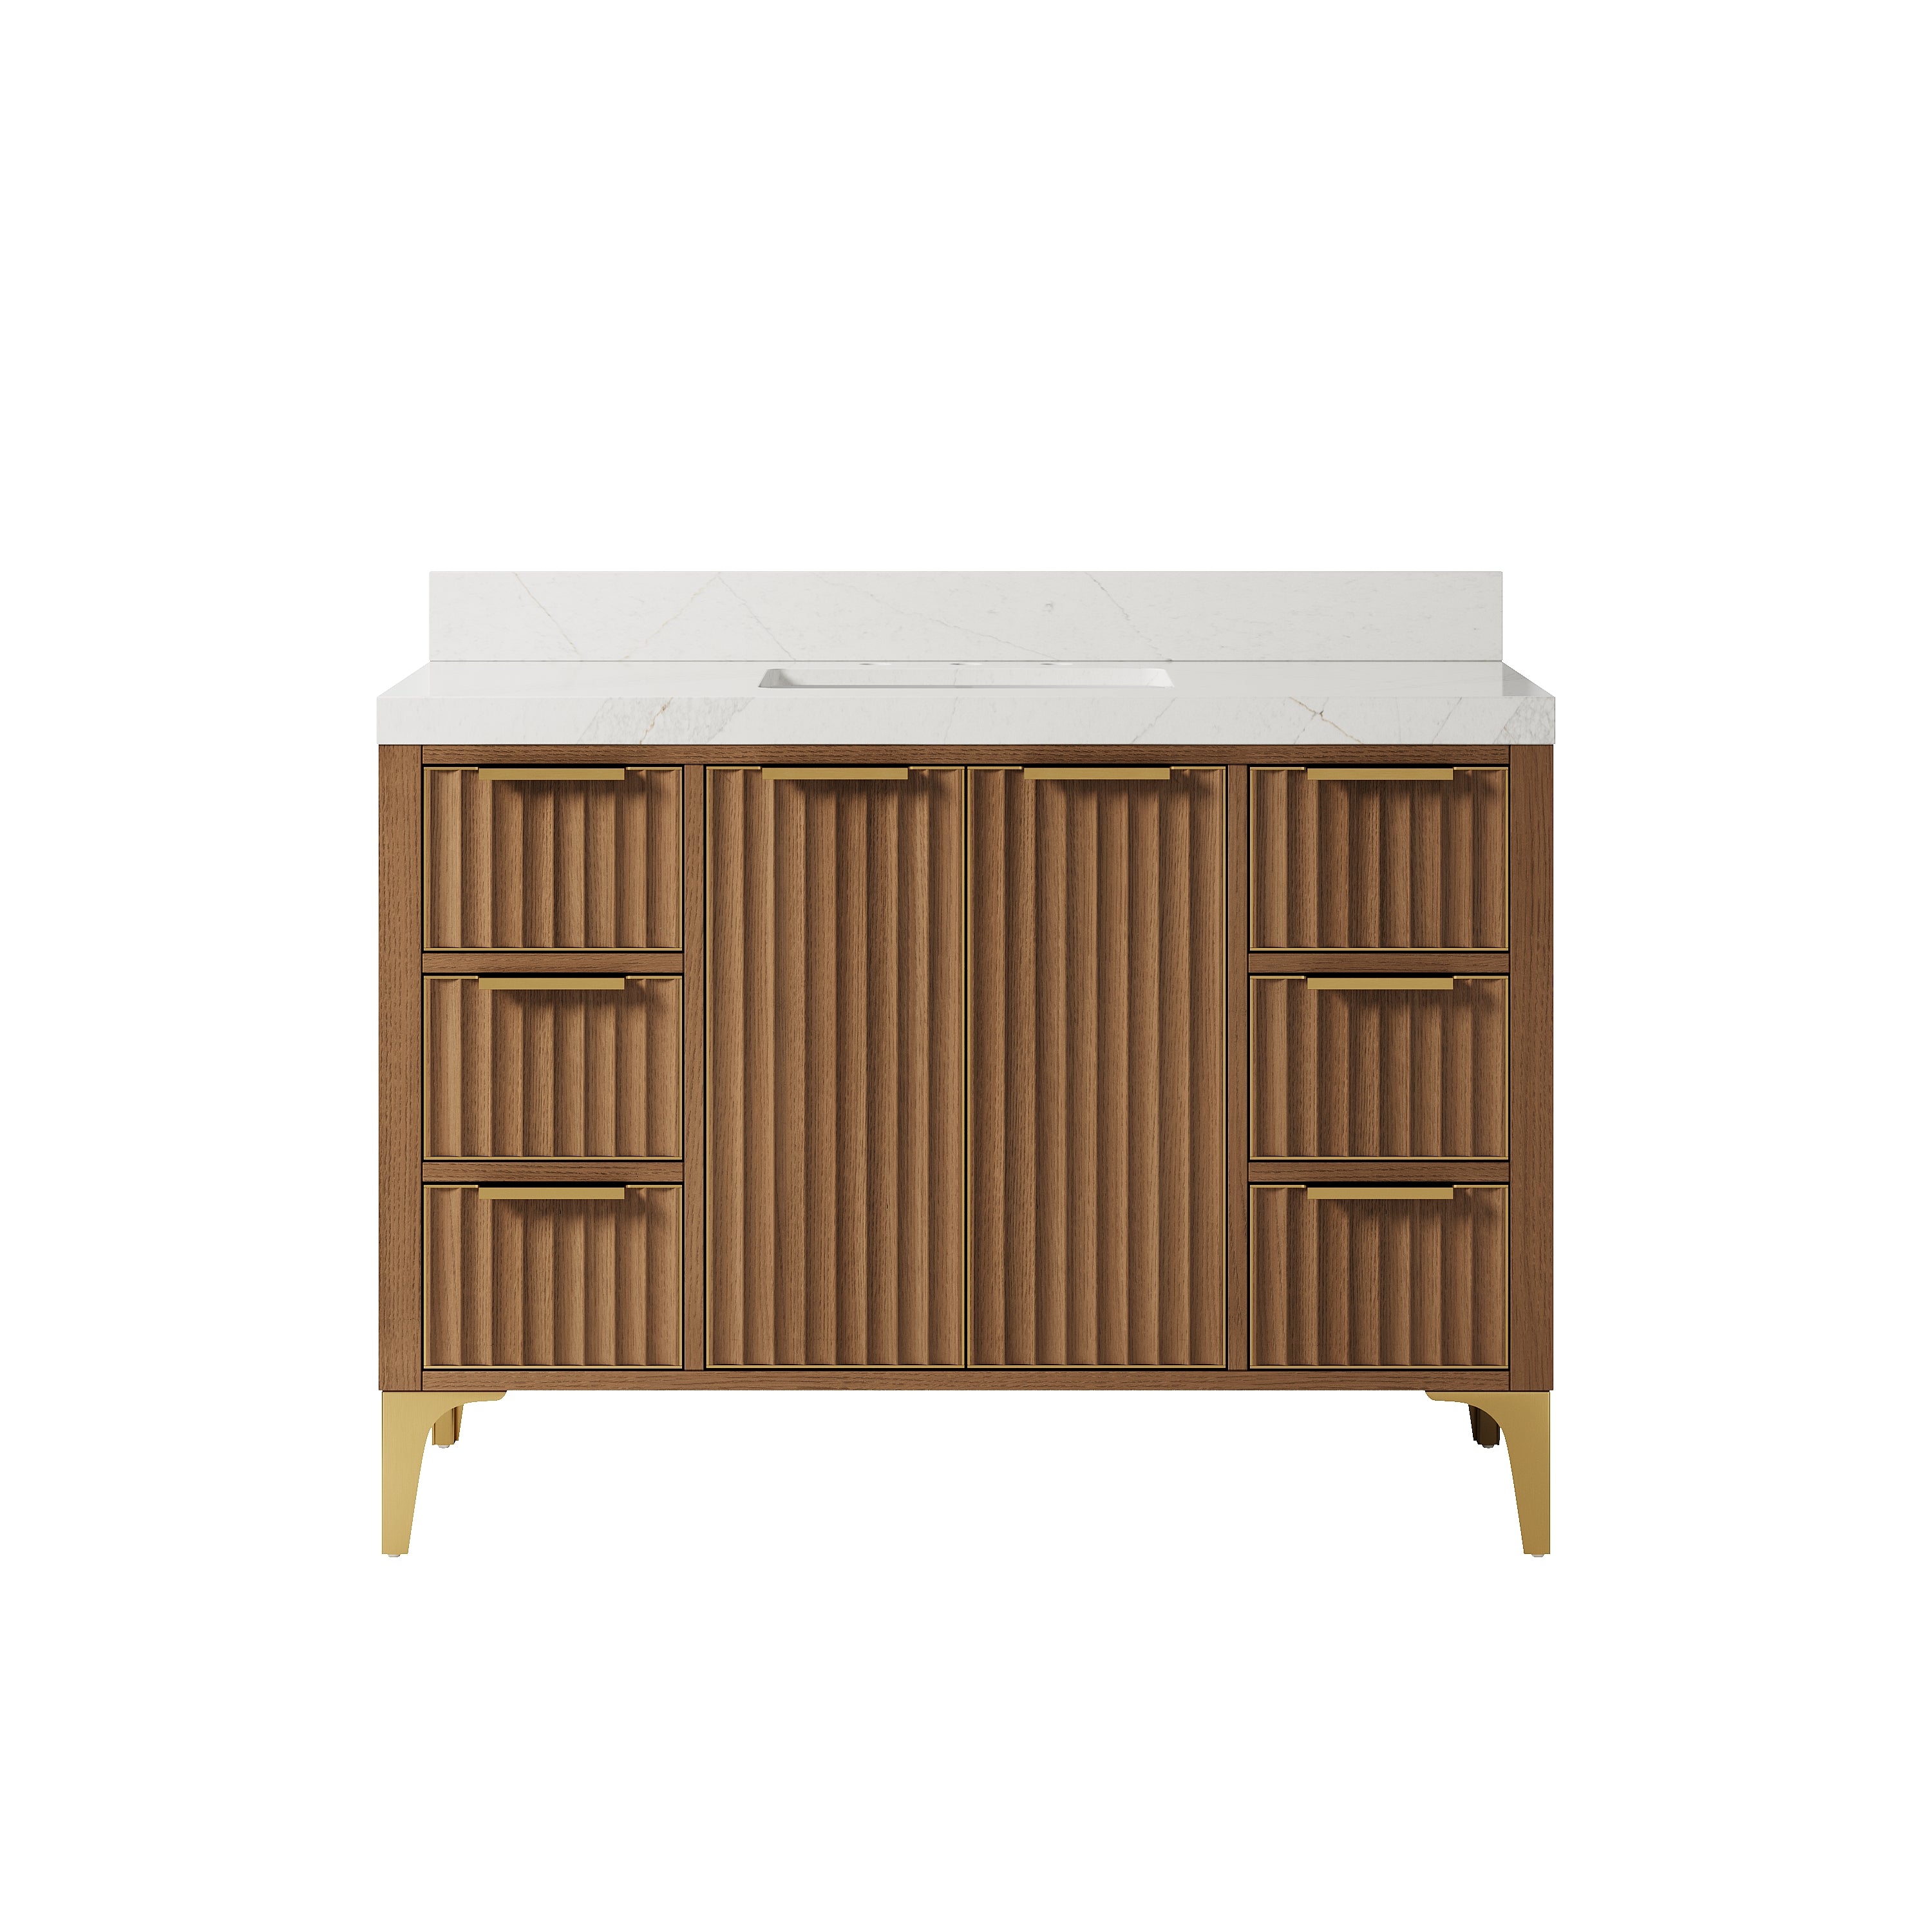
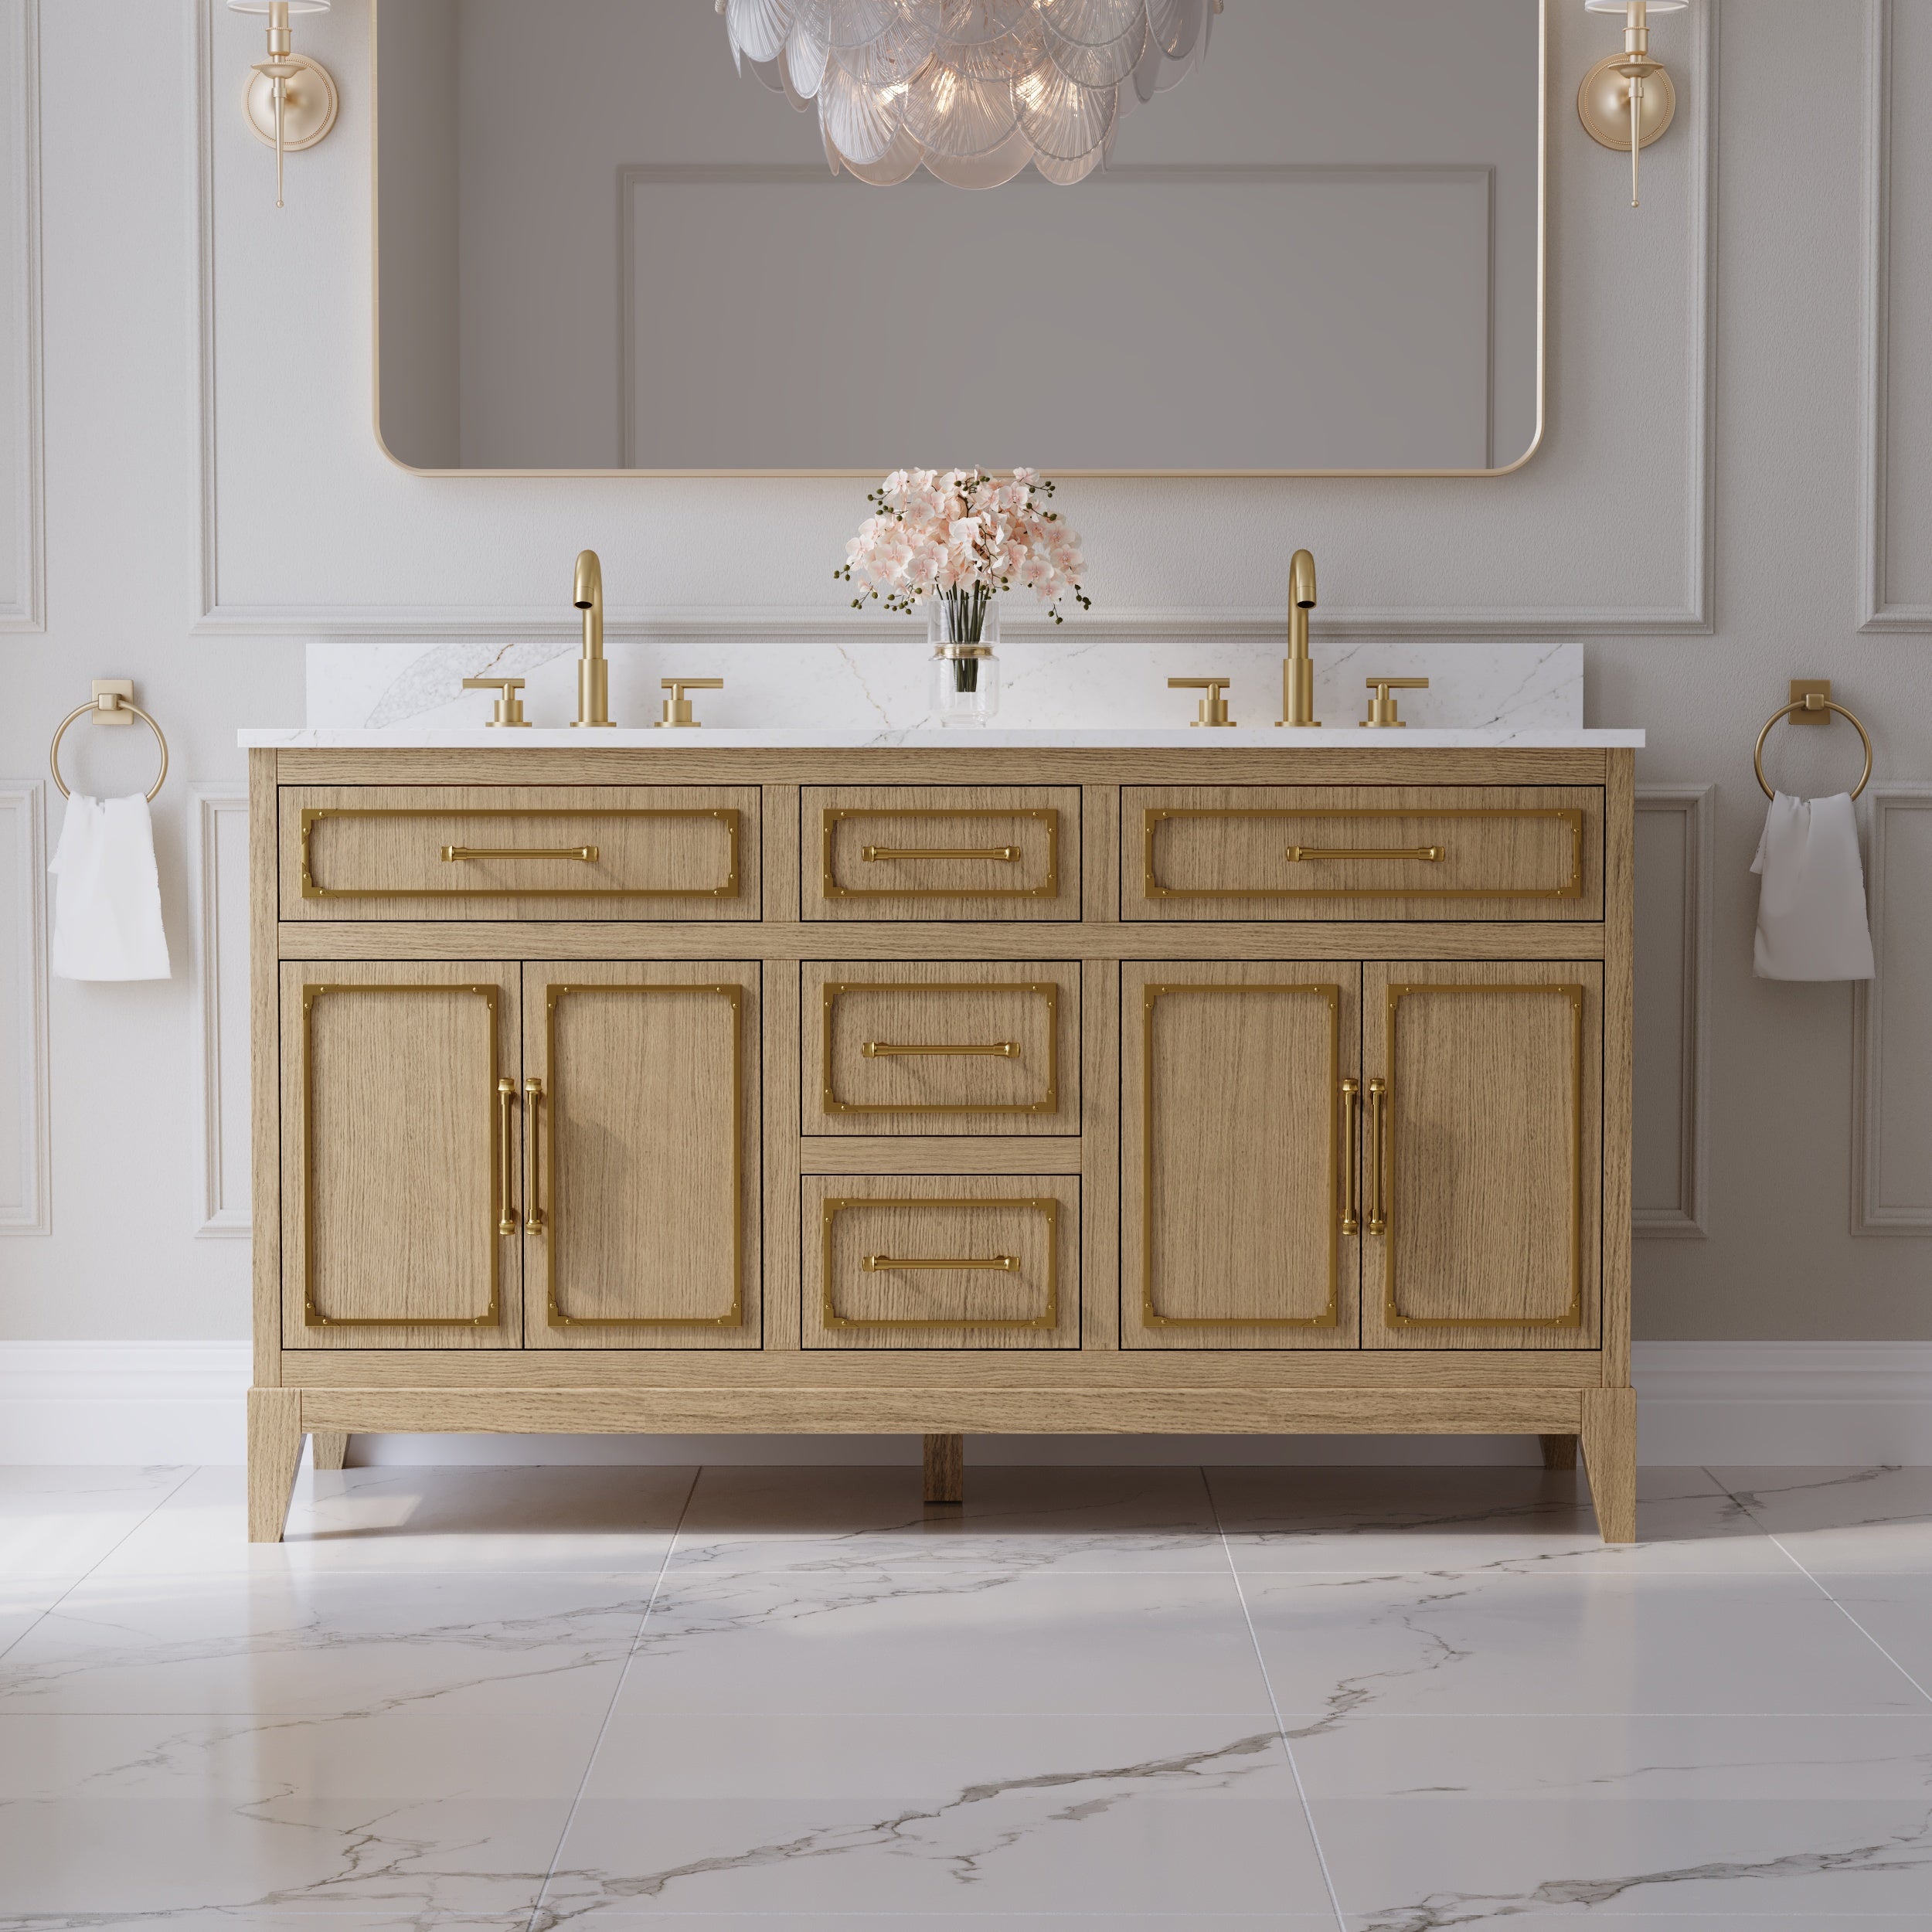
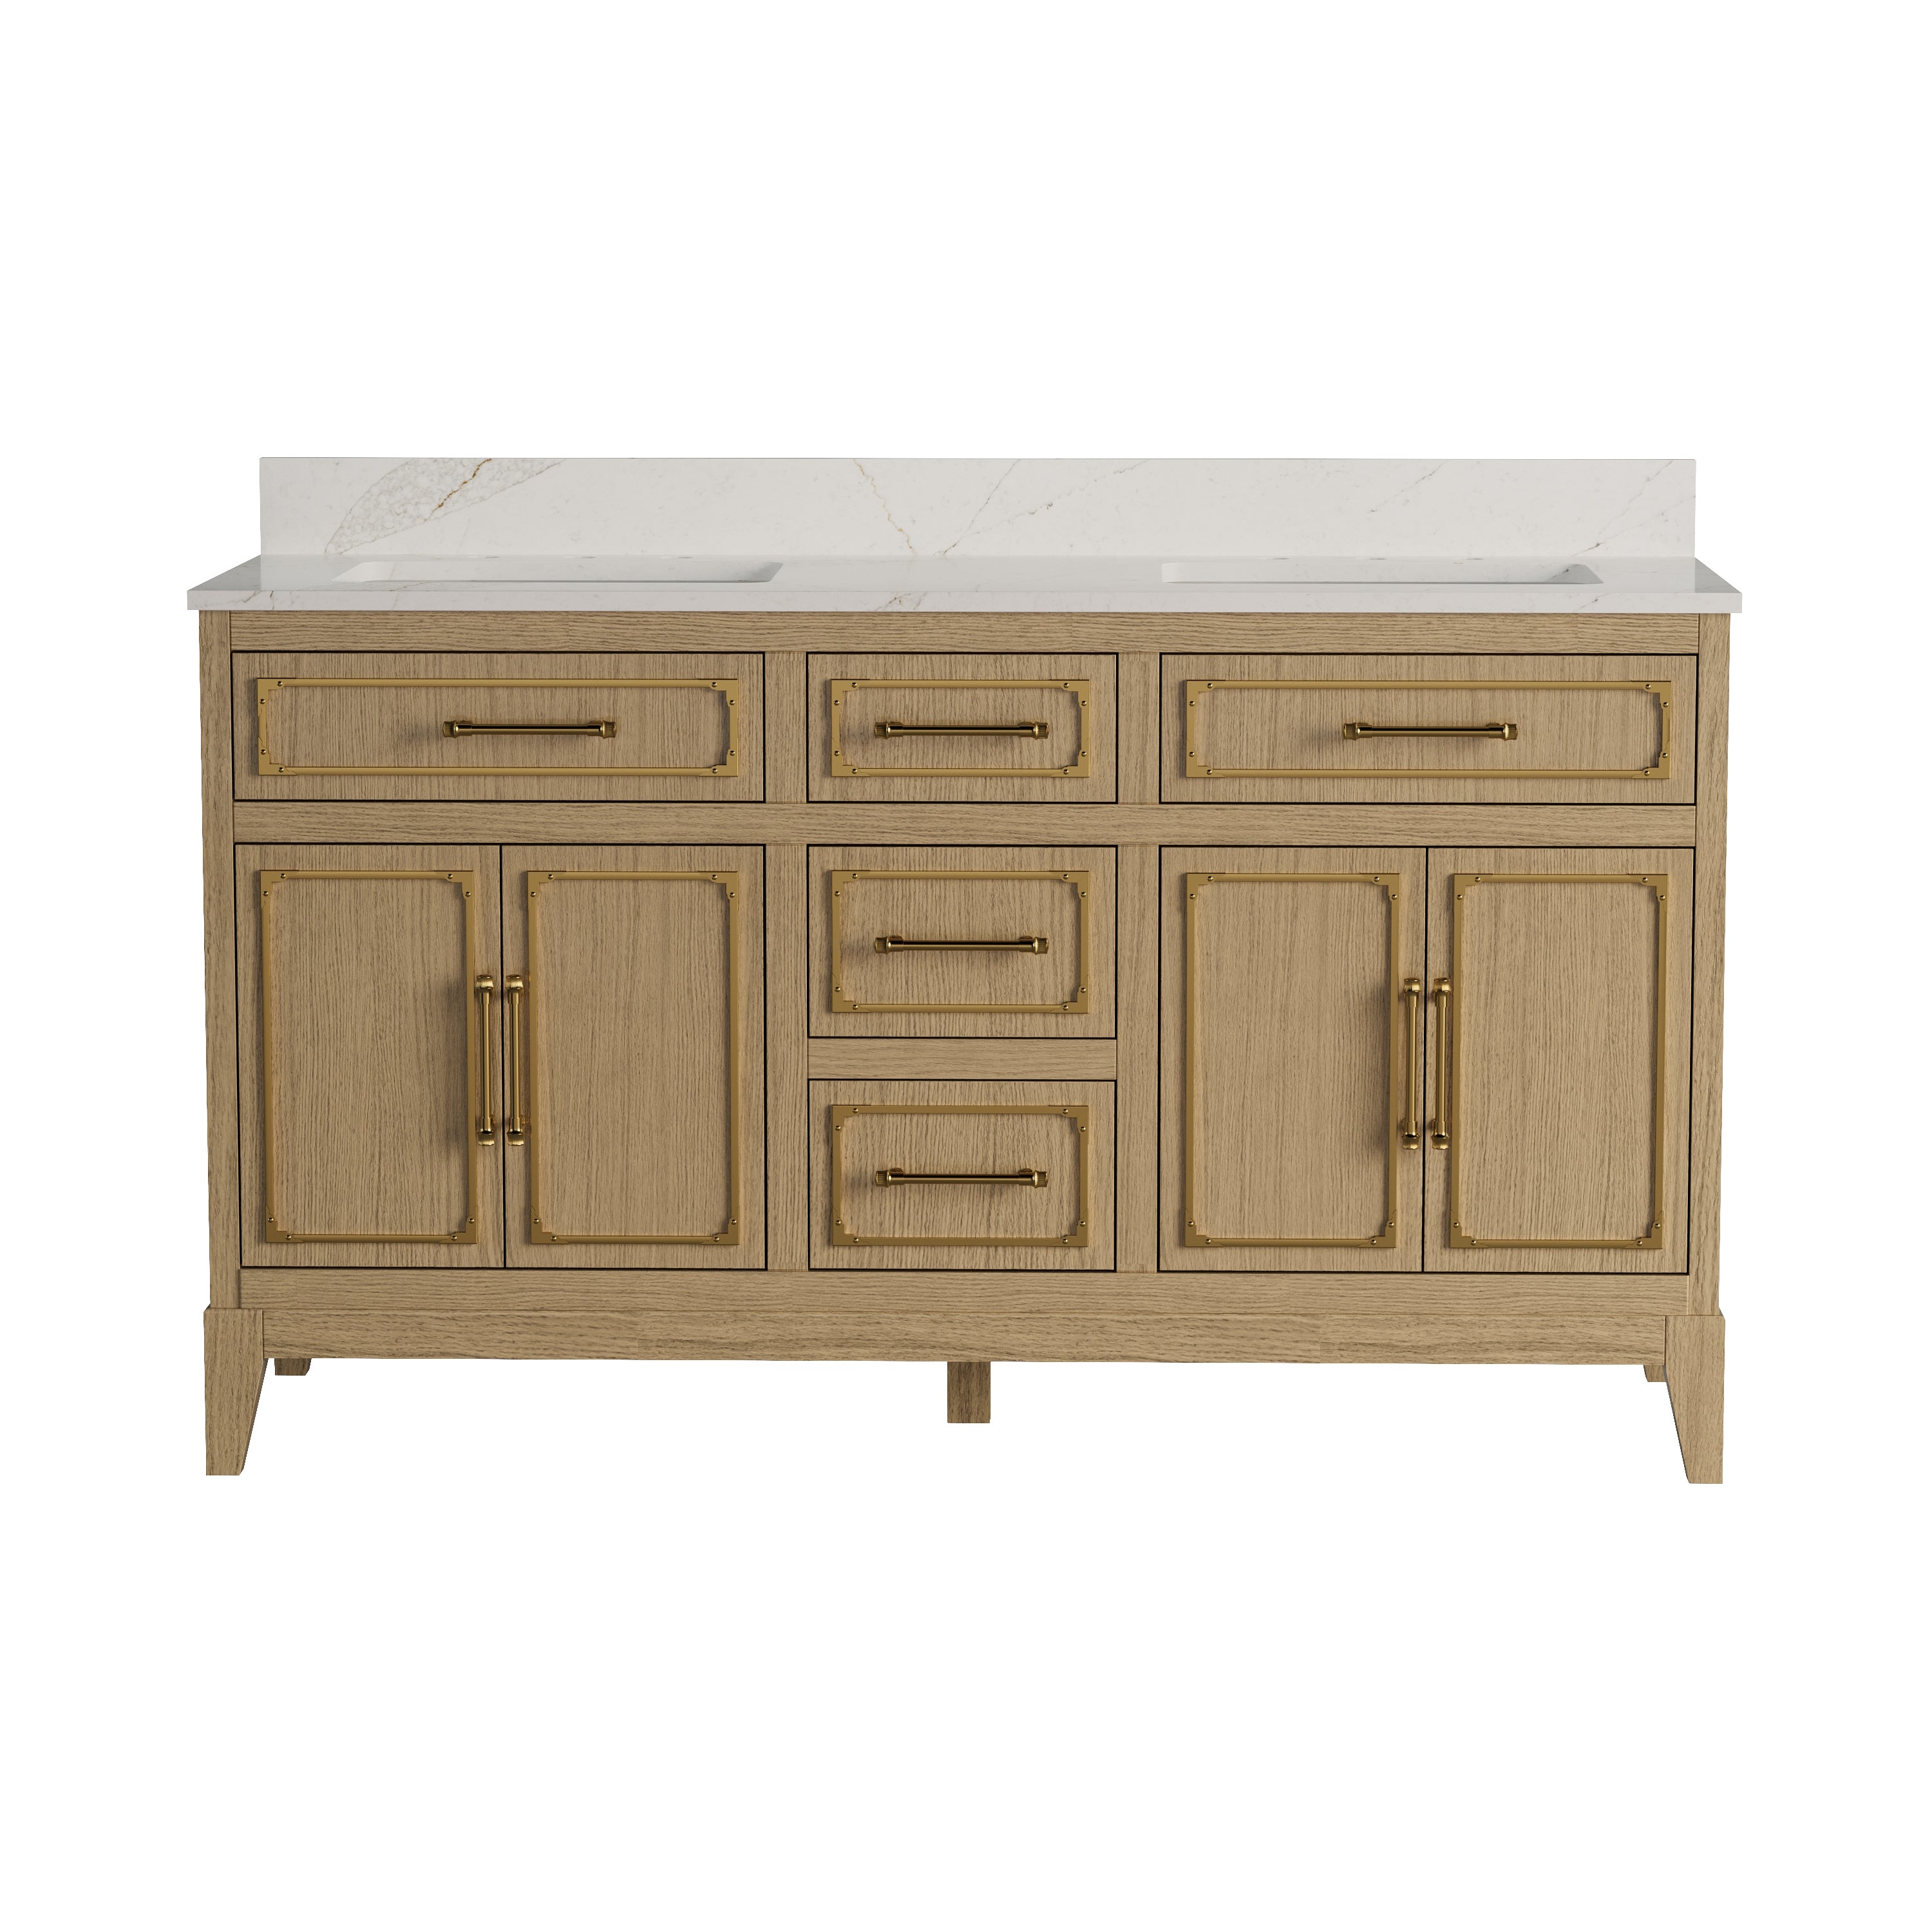
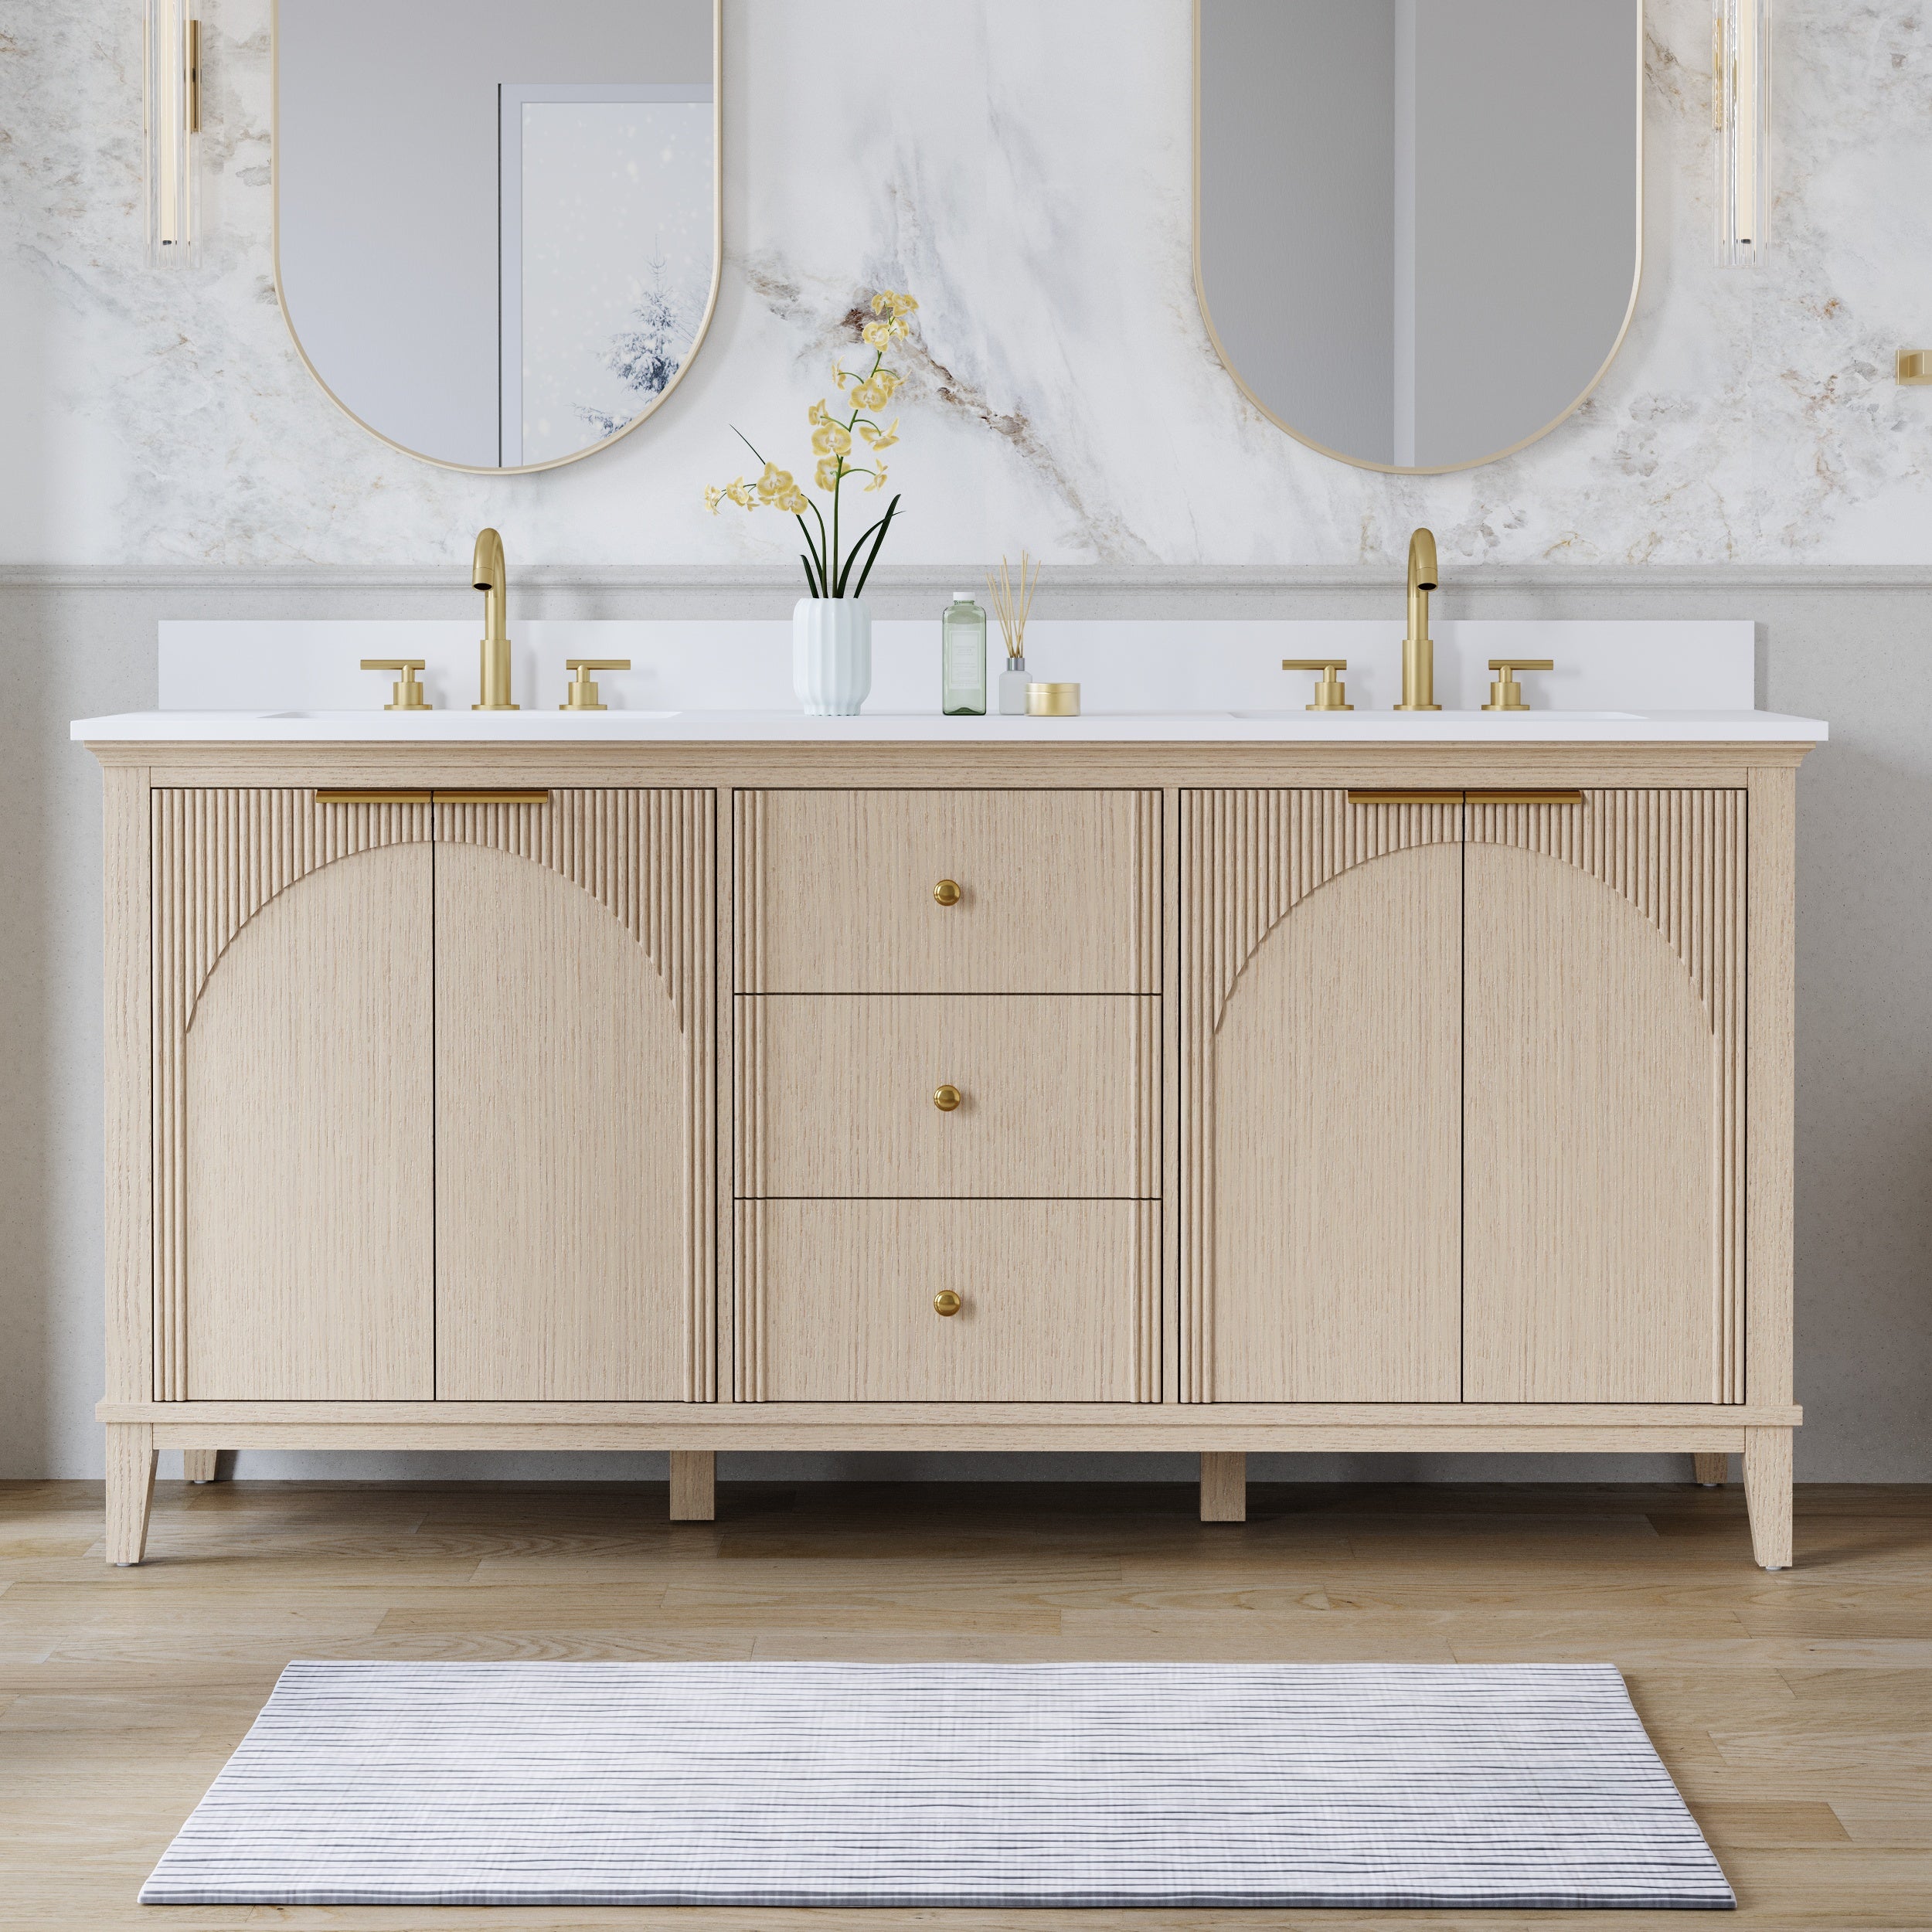
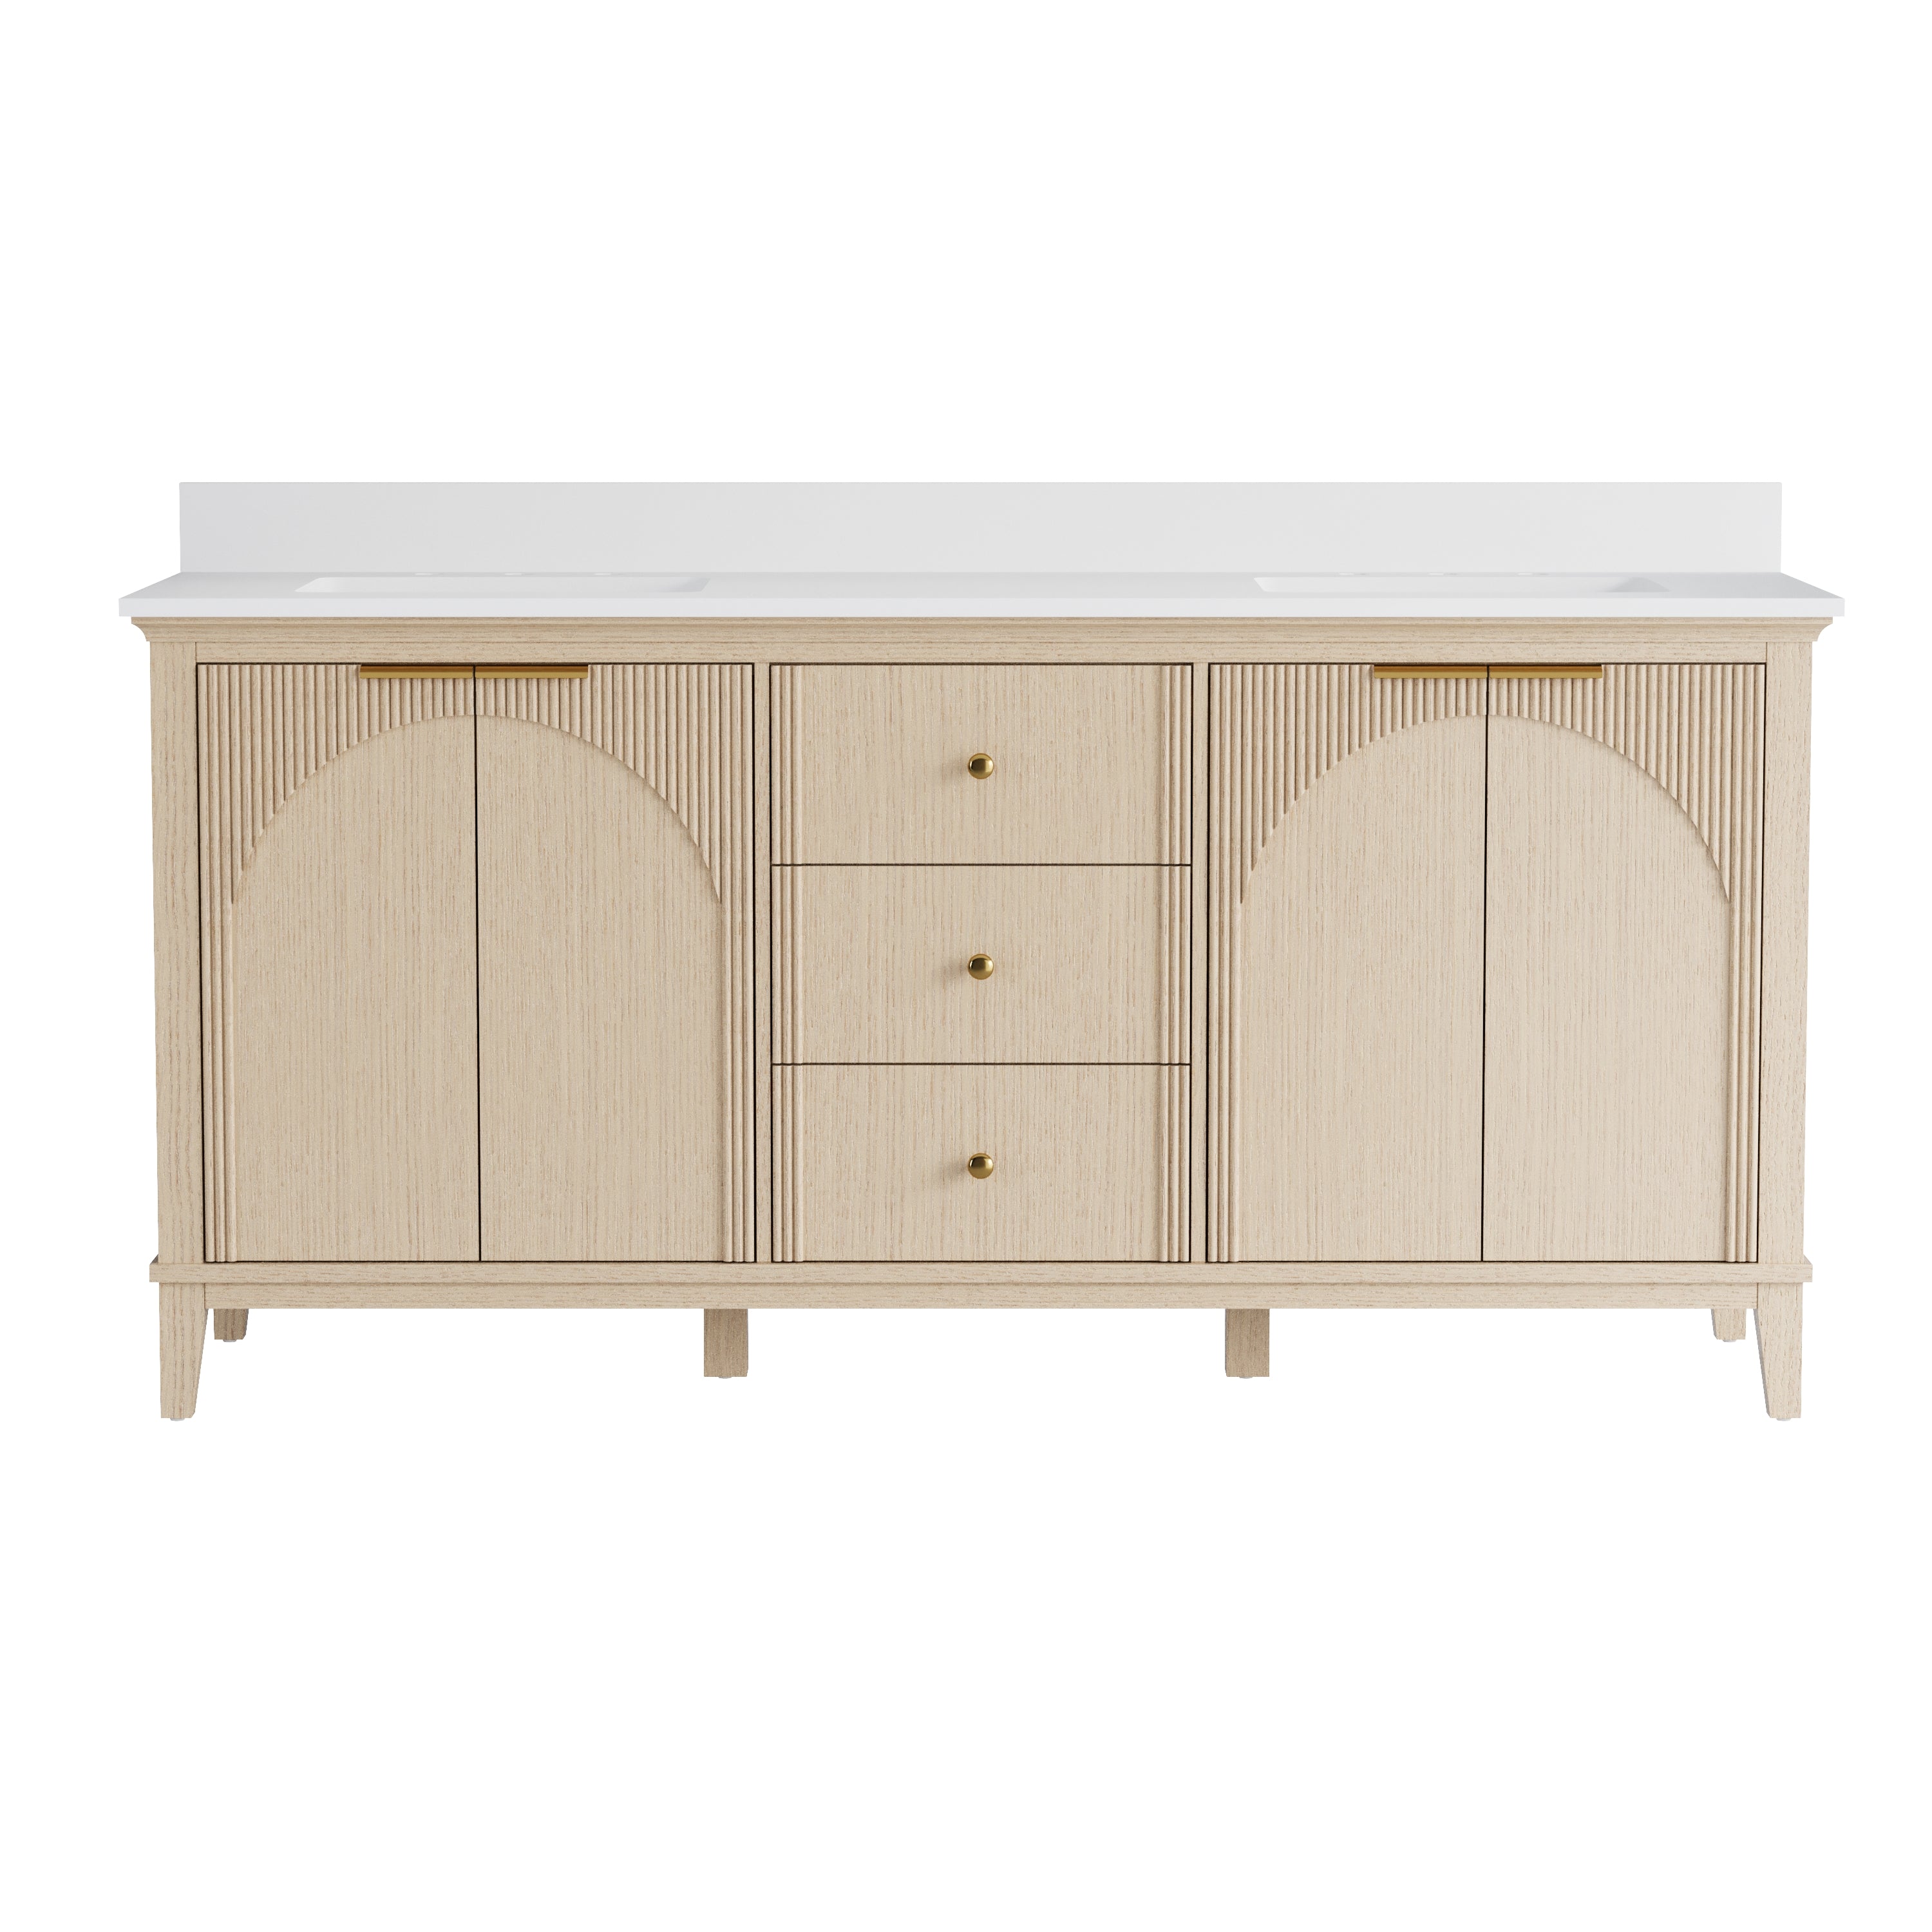
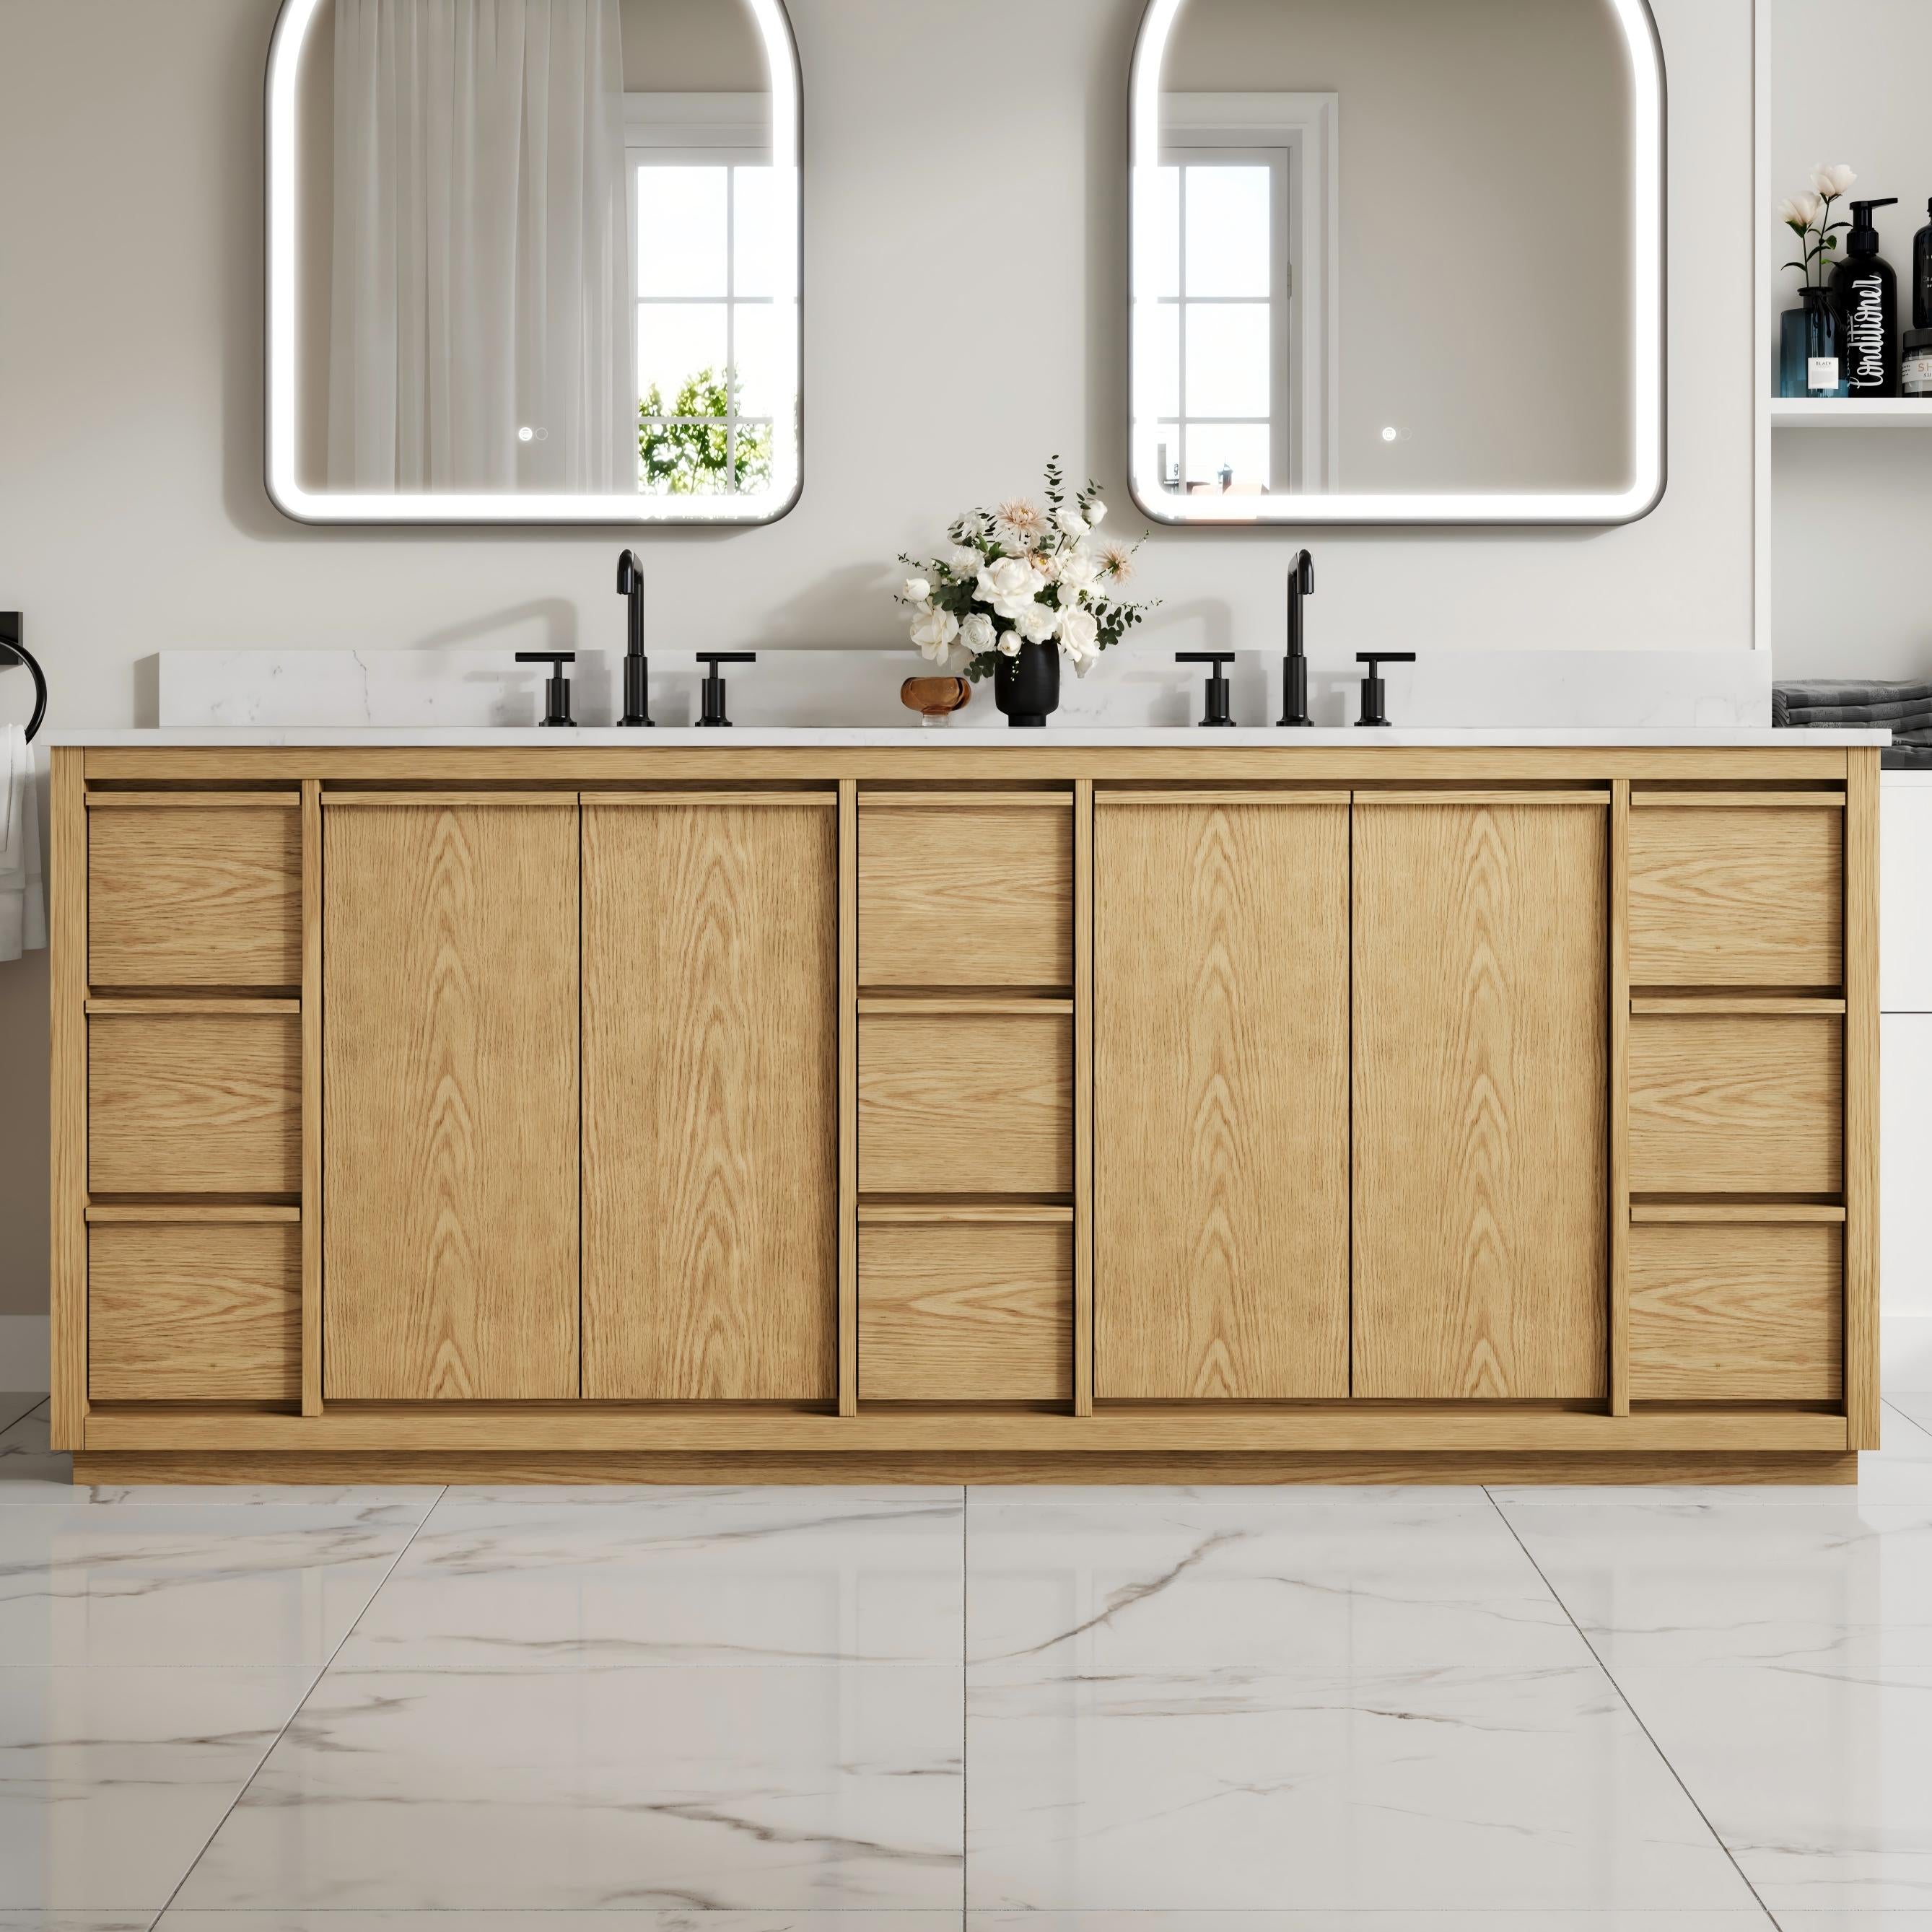
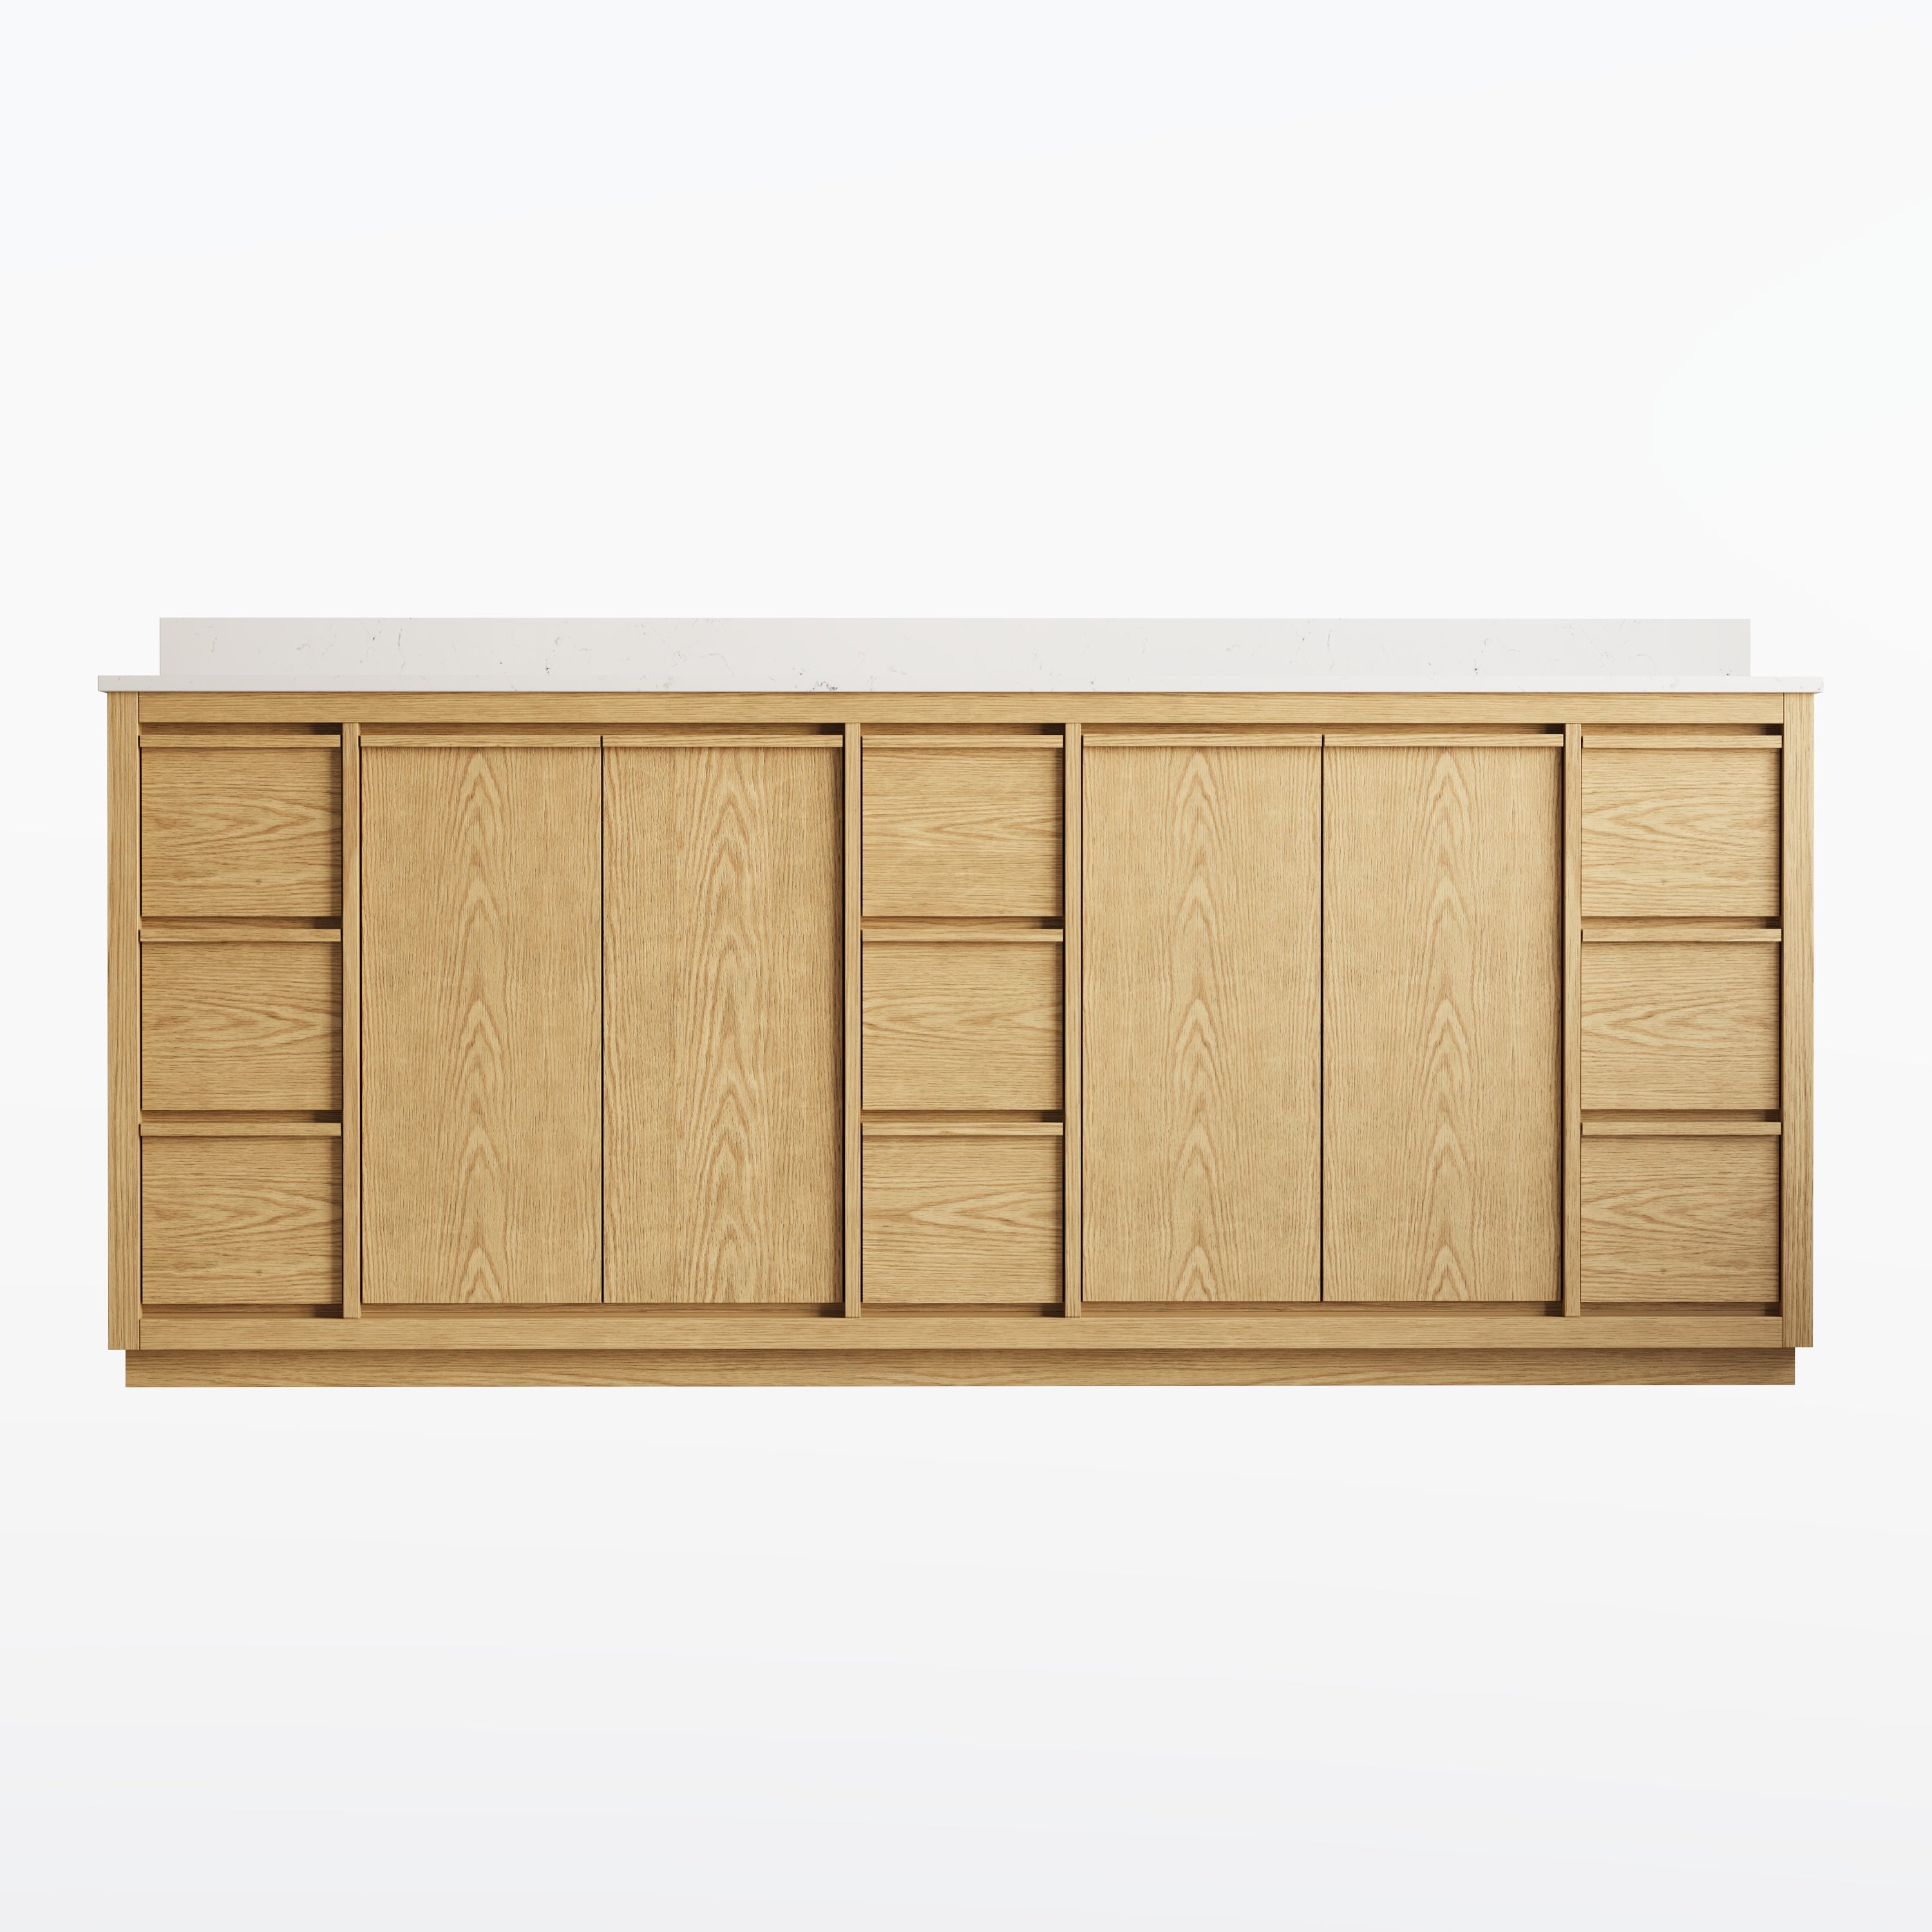

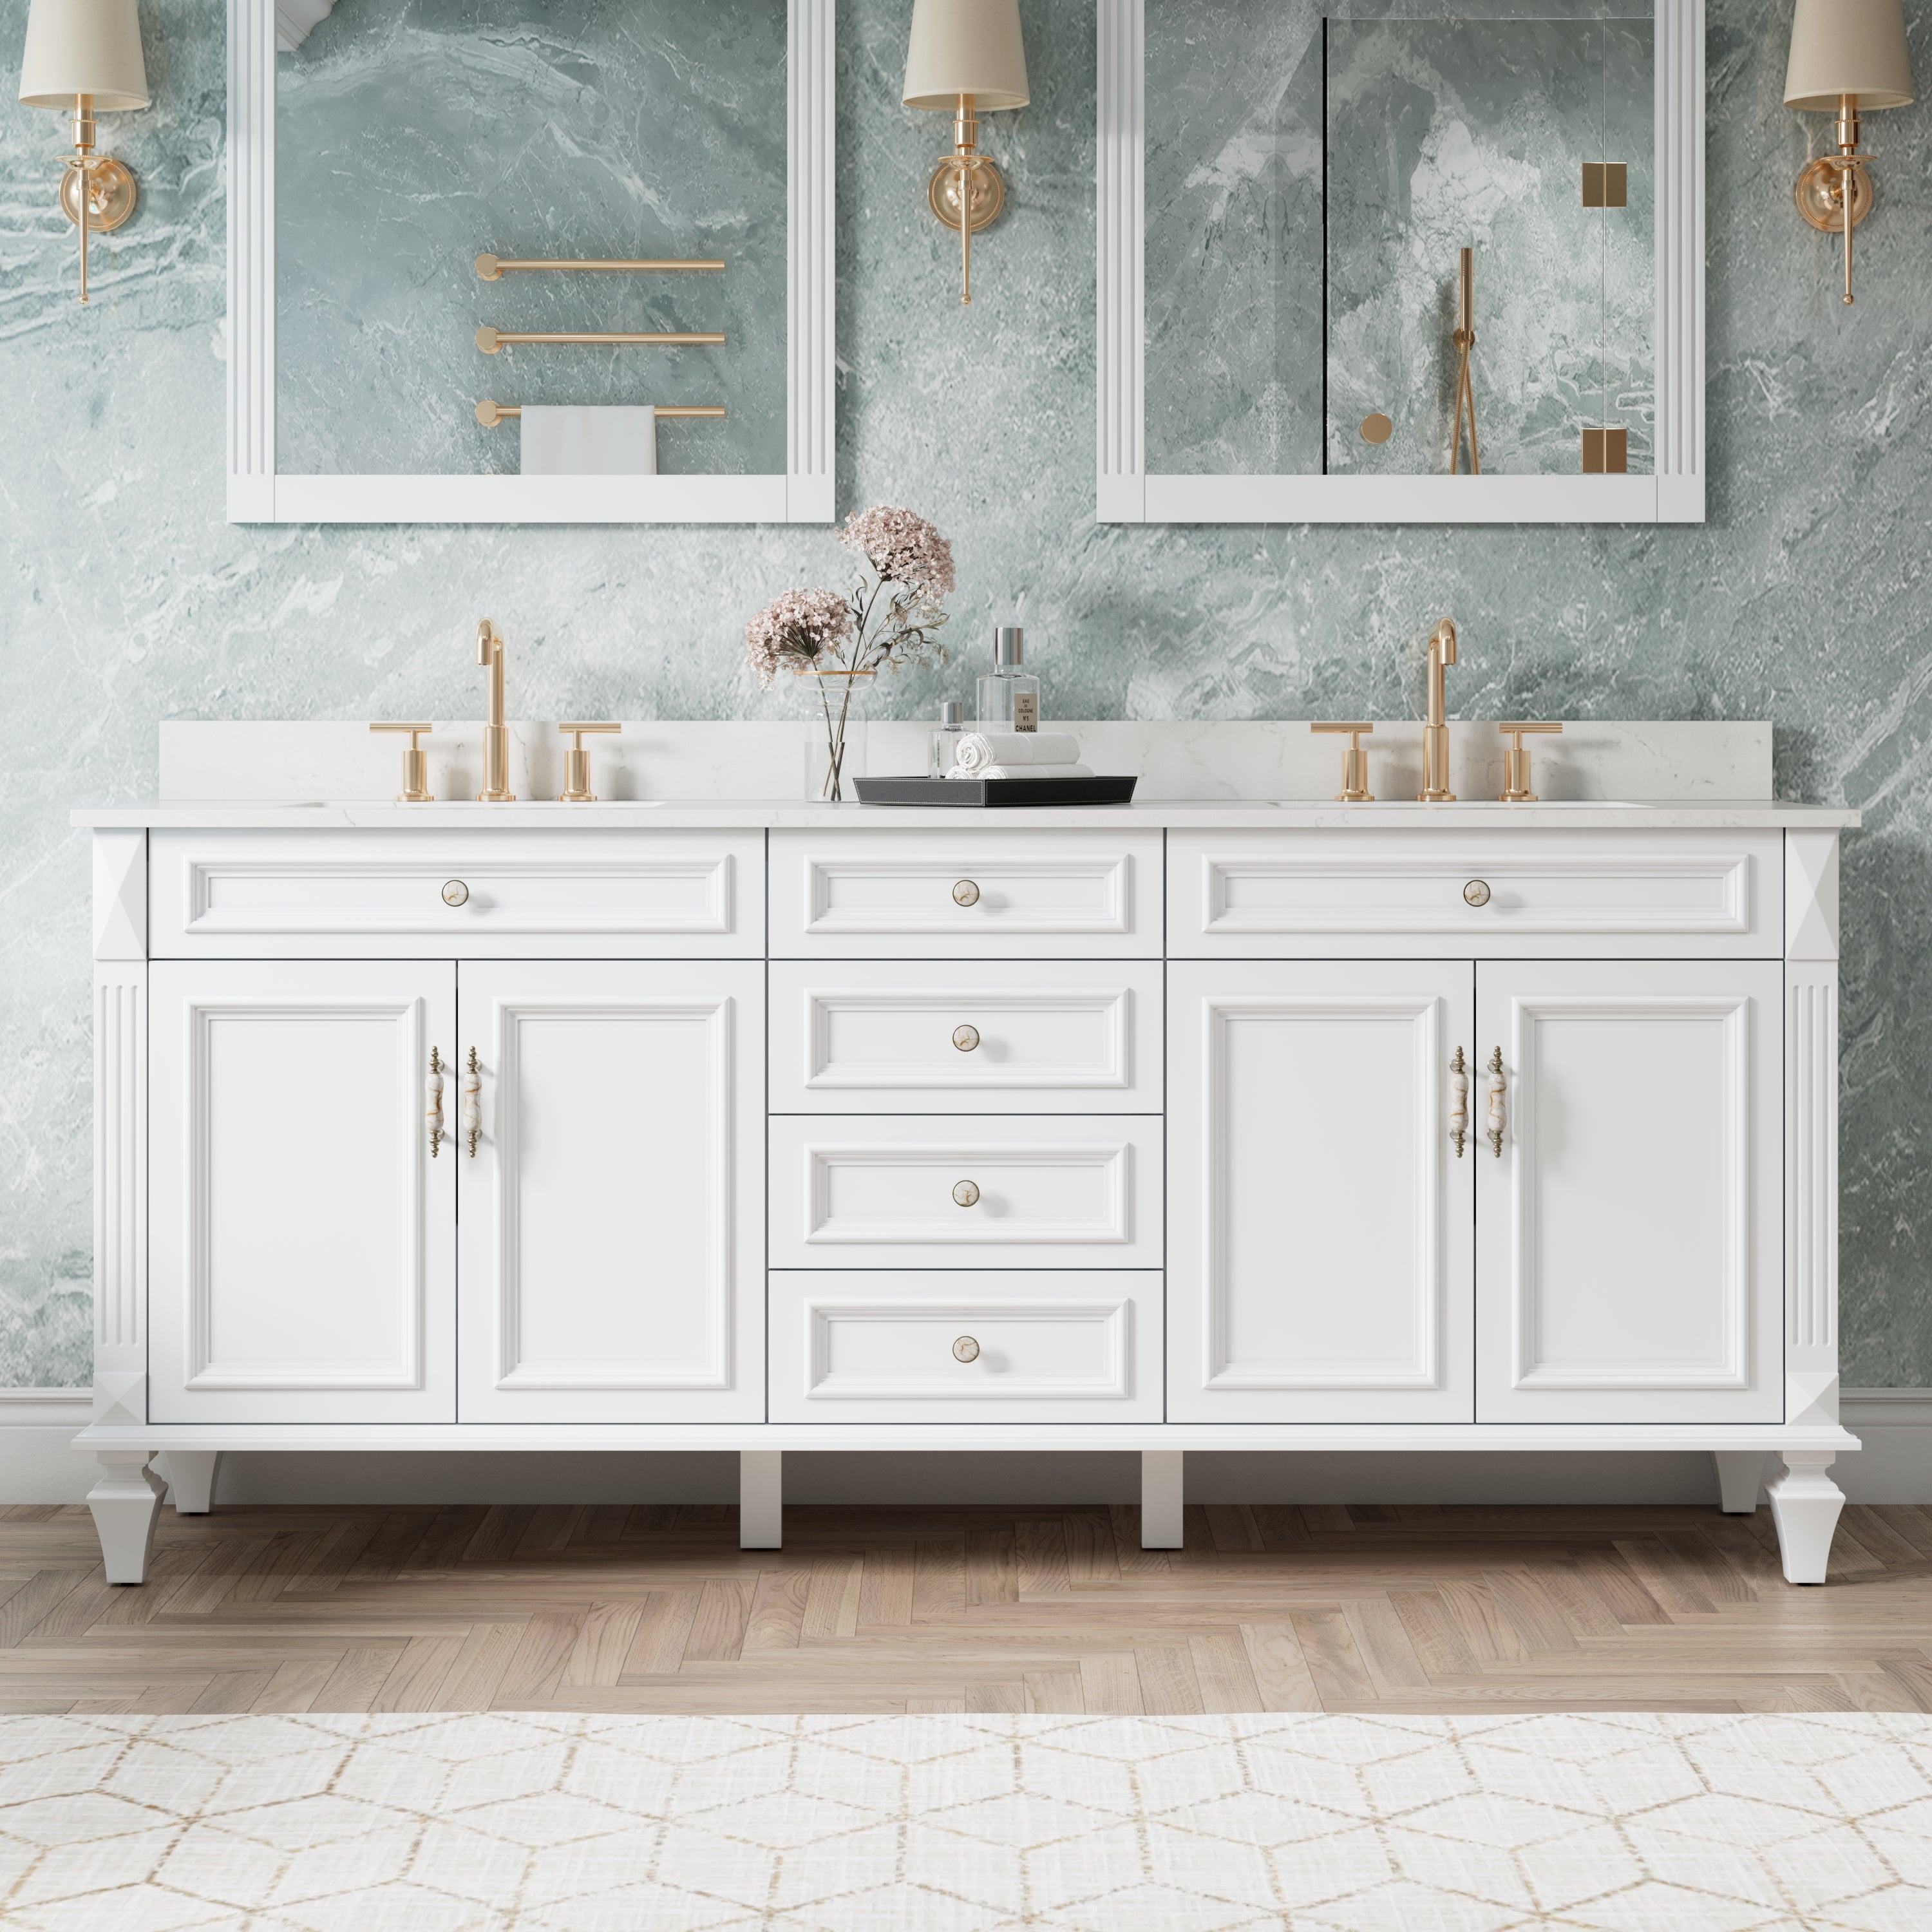
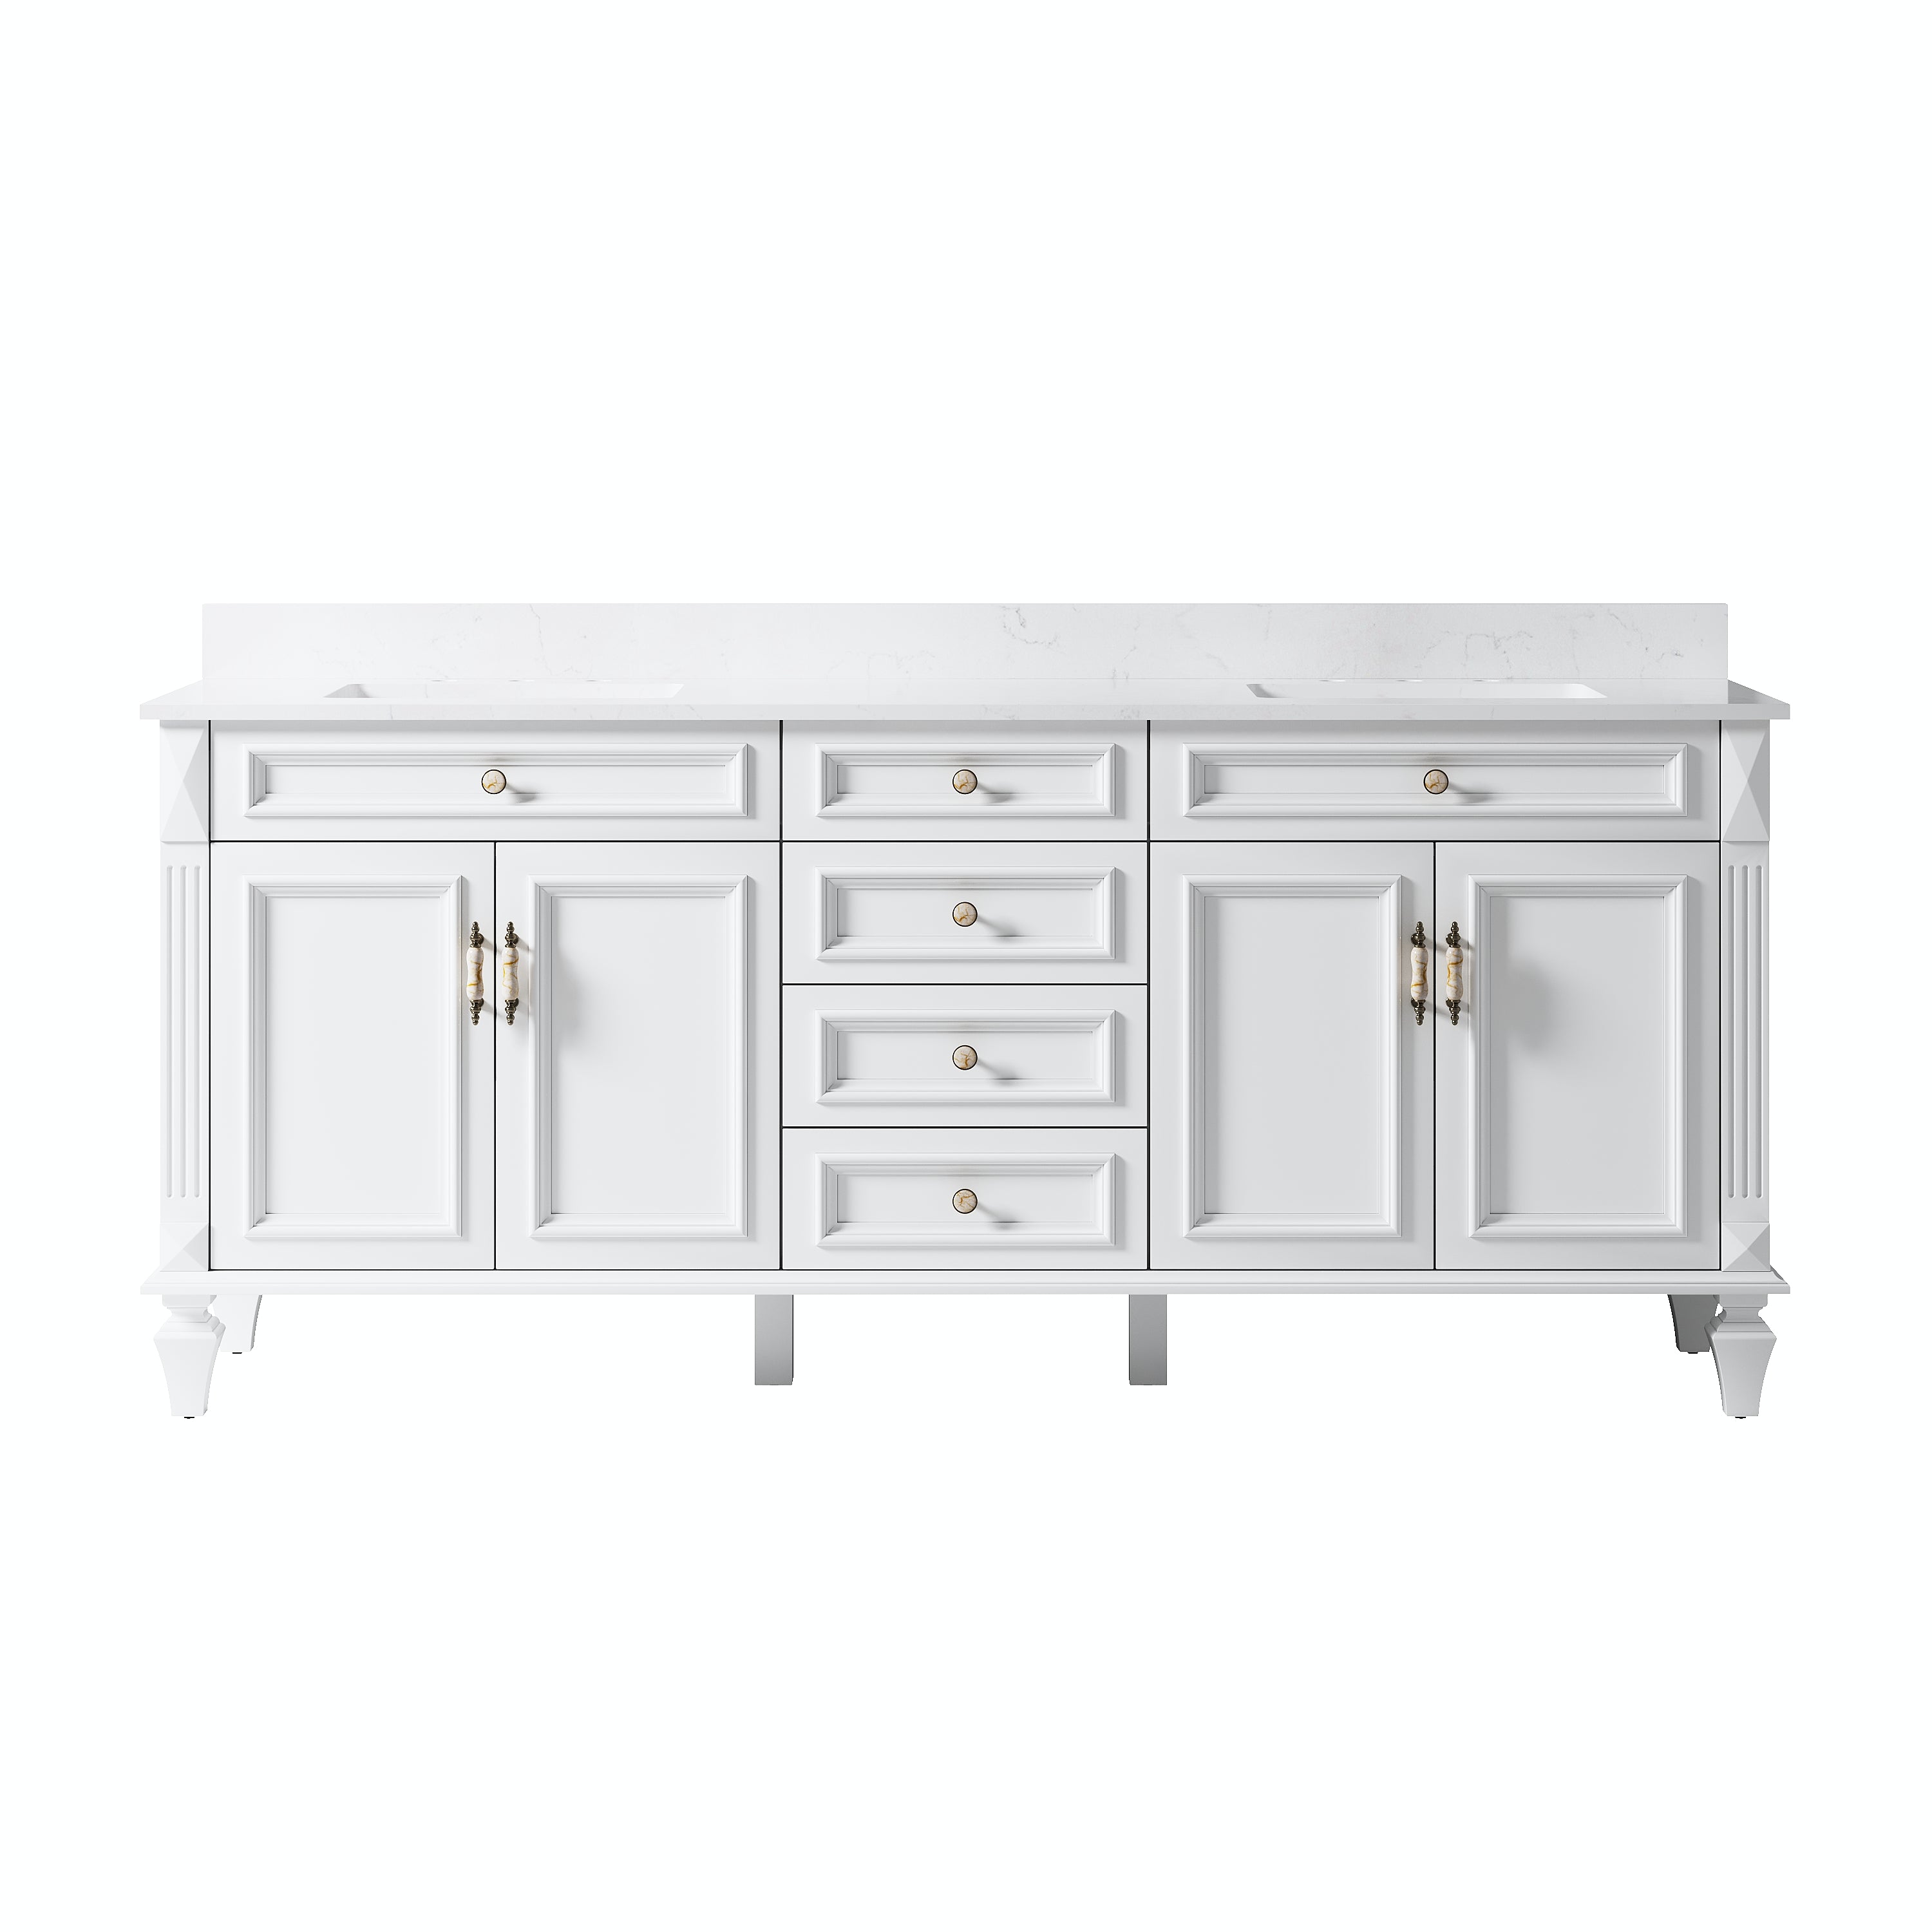
A white bathroom vanity can brighten the room, work with almost any hardware finish, and remain visually relevant through several design cycles. Its challenge is visibility: water marks, cosmetic residue, dust, chipped paint, and yellowed sealant are easier to notice on white surfaces. That has not weakened its appeal. The 2025 Houzz Bathroom Trends Study found that white remained the second-most-popular vanity color at 20%, while nearly half of upgraded bathroom countertops were white. The survey included 1,738 homeowners involved in recent or planned bathroom projects.
Keeping a white vanity fresh is less about intensive seasonal cleaning and more about handling moisture, stains, hardware, and surface damage before they settle in.
Remove Water Before It Reaches the Cabinet
Water rarely damages a vanity through one dramatic spill. The greater risk comes from small droplets repeatedly collecting around the faucet, sink edge, backsplash, and cabinet doors.
· Wipe the sink area after use. A soft microfiber cloth is usually enough to remove water before it leaves mineral deposits.
· Check the faucet base. Moisture can remain trapped around the escutcheon and slowly discolor caulk or penetrate an unsealed countertop opening.
· Dry cabinet fronts promptly. Water running over the countertop edge can reach door seams, drawer fronts, and unfinished undersides.
A white cabinet makes early moisture problems easier to see. Treat that visibility as an advantage rather than a maintenance burden.
Industry judgment: The best protection for a bathroom vanity is not a stronger cleaner. It is less time spent wet.
Use a Mild Cleaner Instead of an Aggressive One
A bright white surface can encourage overcleaning. Bleach, abrasive powders, scouring pads, and concentrated disinfectants may remove marks quickly, but repeated use can dull the finish or create uneven sheen.
For routine care:
· Mix a small amount of mild dish soap with warm water.
· Apply it with a soft cloth rather than spraying the cabinet directly.
· Wipe again with a clean damp cloth.
· Dry the surface instead of allowing it to air-dry.
Always follow the vanity manufacturer’s care instructions. Painted wood, thermofoil, laminate, lacquer, and powder-coated surfaces do not react to cleaning products in the same way.
Test an unfamiliar cleaner on a hidden area first. A small spot inside a door is safer than discovering finish damage across a 48-inch vanity front.
Treat Stains According to What Caused Them
Bathroom stains come from different sources, and one universal cleaner rarely handles all of them safely.
· Toothpaste and soap residue should be softened with a damp cloth before wiping.
· Makeup and tinted skin-care products should be removed quickly, especially from matte-painted surfaces.
· Hair dye and nail products should never be allowed to sit on the vanity. Use a protective tray or towel during application.
· Hard-water marks should be treated on the countertop according to the stone or surface manufacturer’s directions, not with a harsh product intended for tile.
Do not scrape dried residue with a razor or metal tool. Even when the mark disappears, the scratch may remain visible under vanity lighting.
A better habit is to keep a folded microfiber cloth in the top drawer. Fast access makes quick cleanup more likely.
Keep Humidity Within a Stable Range
Steam can reach the cabinet even when no water is splashed directly onto it. Humidity enters door joints, drawer boxes, unfinished edges, and the space behind the vanity.
The Environmental Protection Agency recommends keeping indoor relative humidity below 60%, ideally between 30% and 50%. It also advises drying condensation and correcting moisture sources promptly.
Practical steps include:
· Run the exhaust fan during showers.
· Leave it operating after the shower until steam clears.
· Keep the bathroom door open when privacy is no longer needed.
· Check that the fan vents outdoors rather than into an attic.
· Use an inexpensive humidity gauge when the room regularly feels damp.
These measures protect the vanity finish, wall paint, mirror backing, and surrounding trim at the same time.

Inspect Caulk Before It Turns Into a Visible Problem
Fresh white caulk can make a vanity installation look seamless. Once it cracks, yellows, or develops mildew, the entire area appears older.
Pay close attention to:
· The joint between the countertop and backsplash.
· The line where the backsplash meets the wall.
· Side splashes near painted walls.
· The seam around an integrated or undermount sink.
· Any wall gap beside the cabinet.
Replace failed caulk rather than covering it with another thick layer. Old material should be removed, the surface cleaned and dried, and new bathroom-rated sealant applied in a controlled bead.
Do not assume every joint should be sealed. Plumbing access points, removable panels, and manufacturer-designated openings may need to remain accessible.
Prevent Yellowing by Controlling Light and Chemicals
White finishes may change tone because of heat, ultraviolet exposure, smoke, incompatible cleaners, or aging coatings. The change is particularly noticeable when one door receives more sunlight than the rest of the cabinet.
· Use a window covering where strong direct sunlight reaches the vanity for several hours.
· Avoid placing hot hair tools directly against painted surfaces.
· Store aerosol products, nail polish remover, and strong disinfectants inside protective trays.
· Keep fragranced oils and colored liquids away from unfinished seams.
Not every color difference is permanent damage. Warm LED lighting can make a neutral white cabinet appear creamier, while cooler lighting can make the same finish look brighter or slightly blue.
Before attempting to “correct” the cabinet color, view it in daylight and under different color temperatures.
Protect Edges, Corners, and Drawer Fronts
Flat white panels are easy to clean, but their corners often receive the most physical wear. Vacuum cleaners, laundry baskets, drawer handles, and dropped grooming tools can chip paint or dent edges.
Small precautions help:
· Add felt pads where doors or drawers may contact nearby walls.
· Tighten loose pulls before they begin moving against the finish.
· Do not hang wet towels from cabinet doors.
· Avoid overloading drawers, which can affect alignment.
· Use organizers so bottles do not roll and strike drawer sides.
KCMA’s A161.1 cabinet certification uses 14 structural, operational, and finish tests to evaluate cabinet durability. The program assesses door and drawer operation as well as resistance to conditions associated with long-term use. Although not every bathroom vanity is KCMA-certified, the standard illustrates why hardware alignment and finish performance matter together.
Repair Minor Damage Before It Spreads
A small paint chip is easier to manage than swelling beneath a damaged finish.
For painted vanities, request the manufacturer’s matching touch-up paint or repair kit. A generic white may look close in the container but noticeably different once dry. Finish sheen matters as much as color.
When repairing a small chip:
· Clean and dry the area.
· Remove only loose material.
· Apply a small amount of matching product.
· Build coverage gradually rather than creating a thick spot.
· Allow the repair to cure before exposing it to water.
Wood naturally exchanges moisture with surrounding air, and changes in moisture content can contribute to dimensional movement. USDA Forest Products Laboratory guidance notes that proper drying, handling, and moisture control reduce major dimensional problems in service.
Swelling, peeling, or persistent discoloration near plumbing should be investigated for leaks before cosmetic repair begins.



















Leave a comment
This site is protected by hCaptcha and the hCaptcha Privacy Policy and Terms of Service apply.