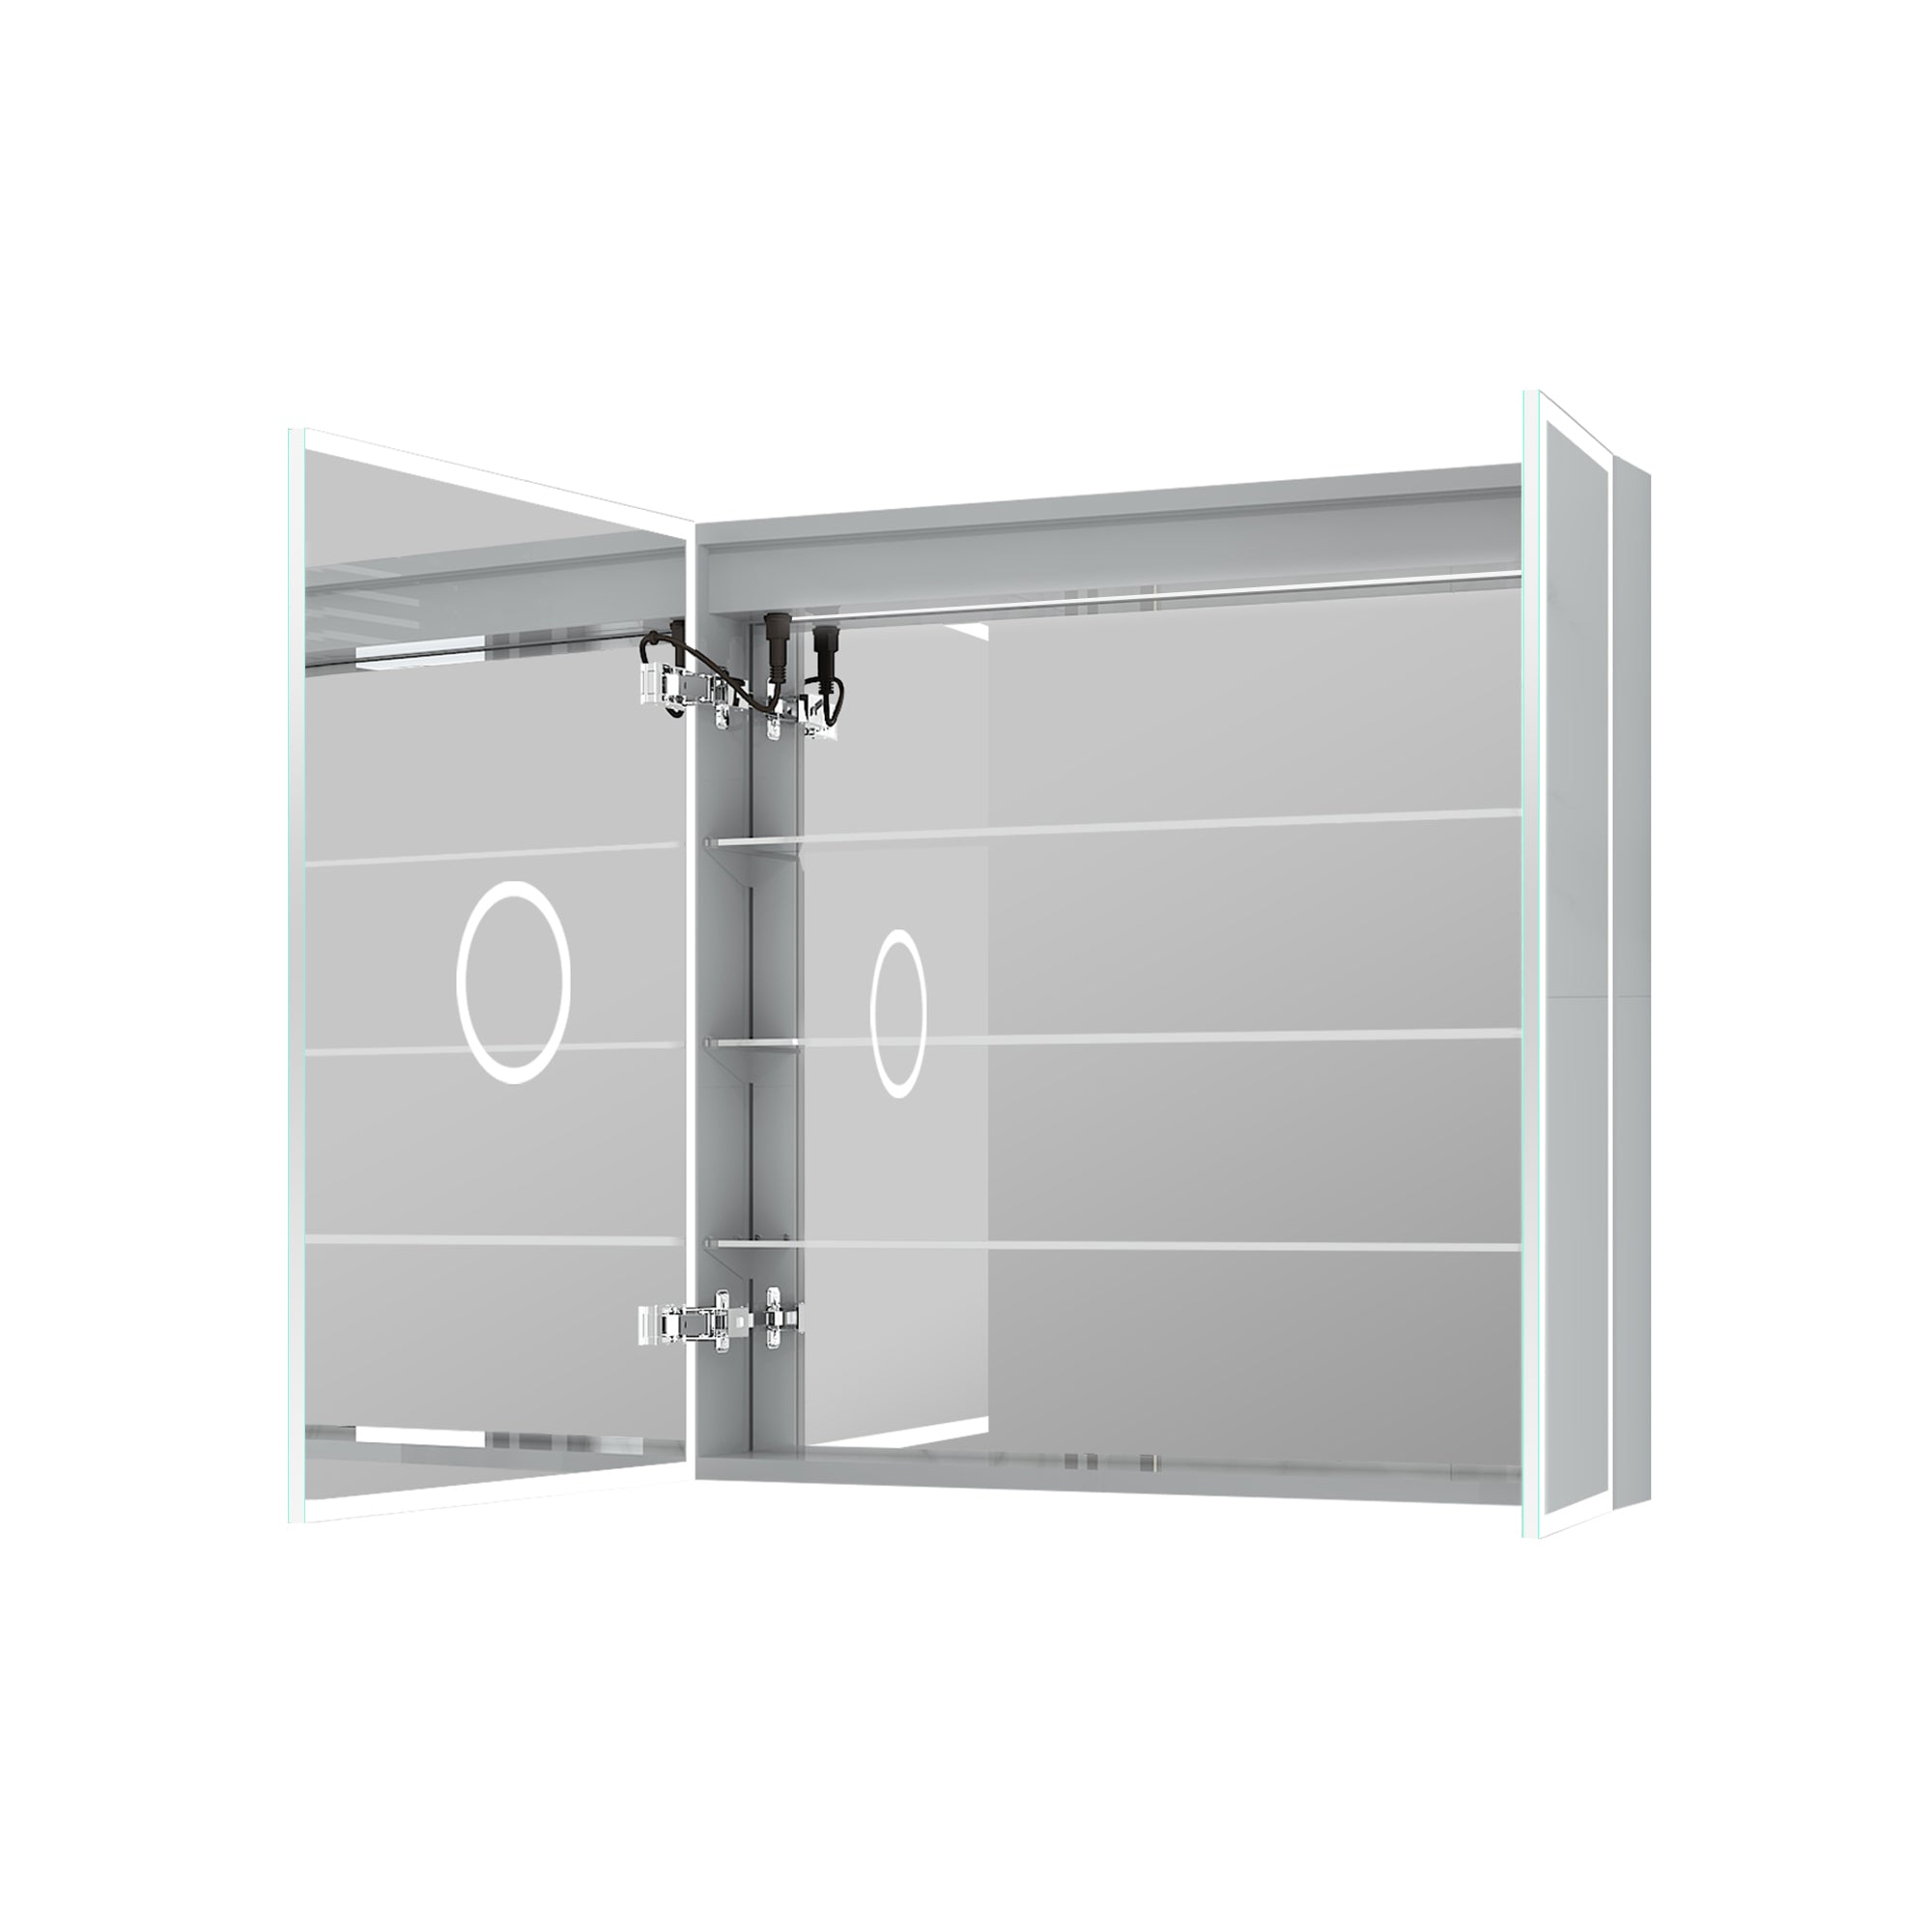
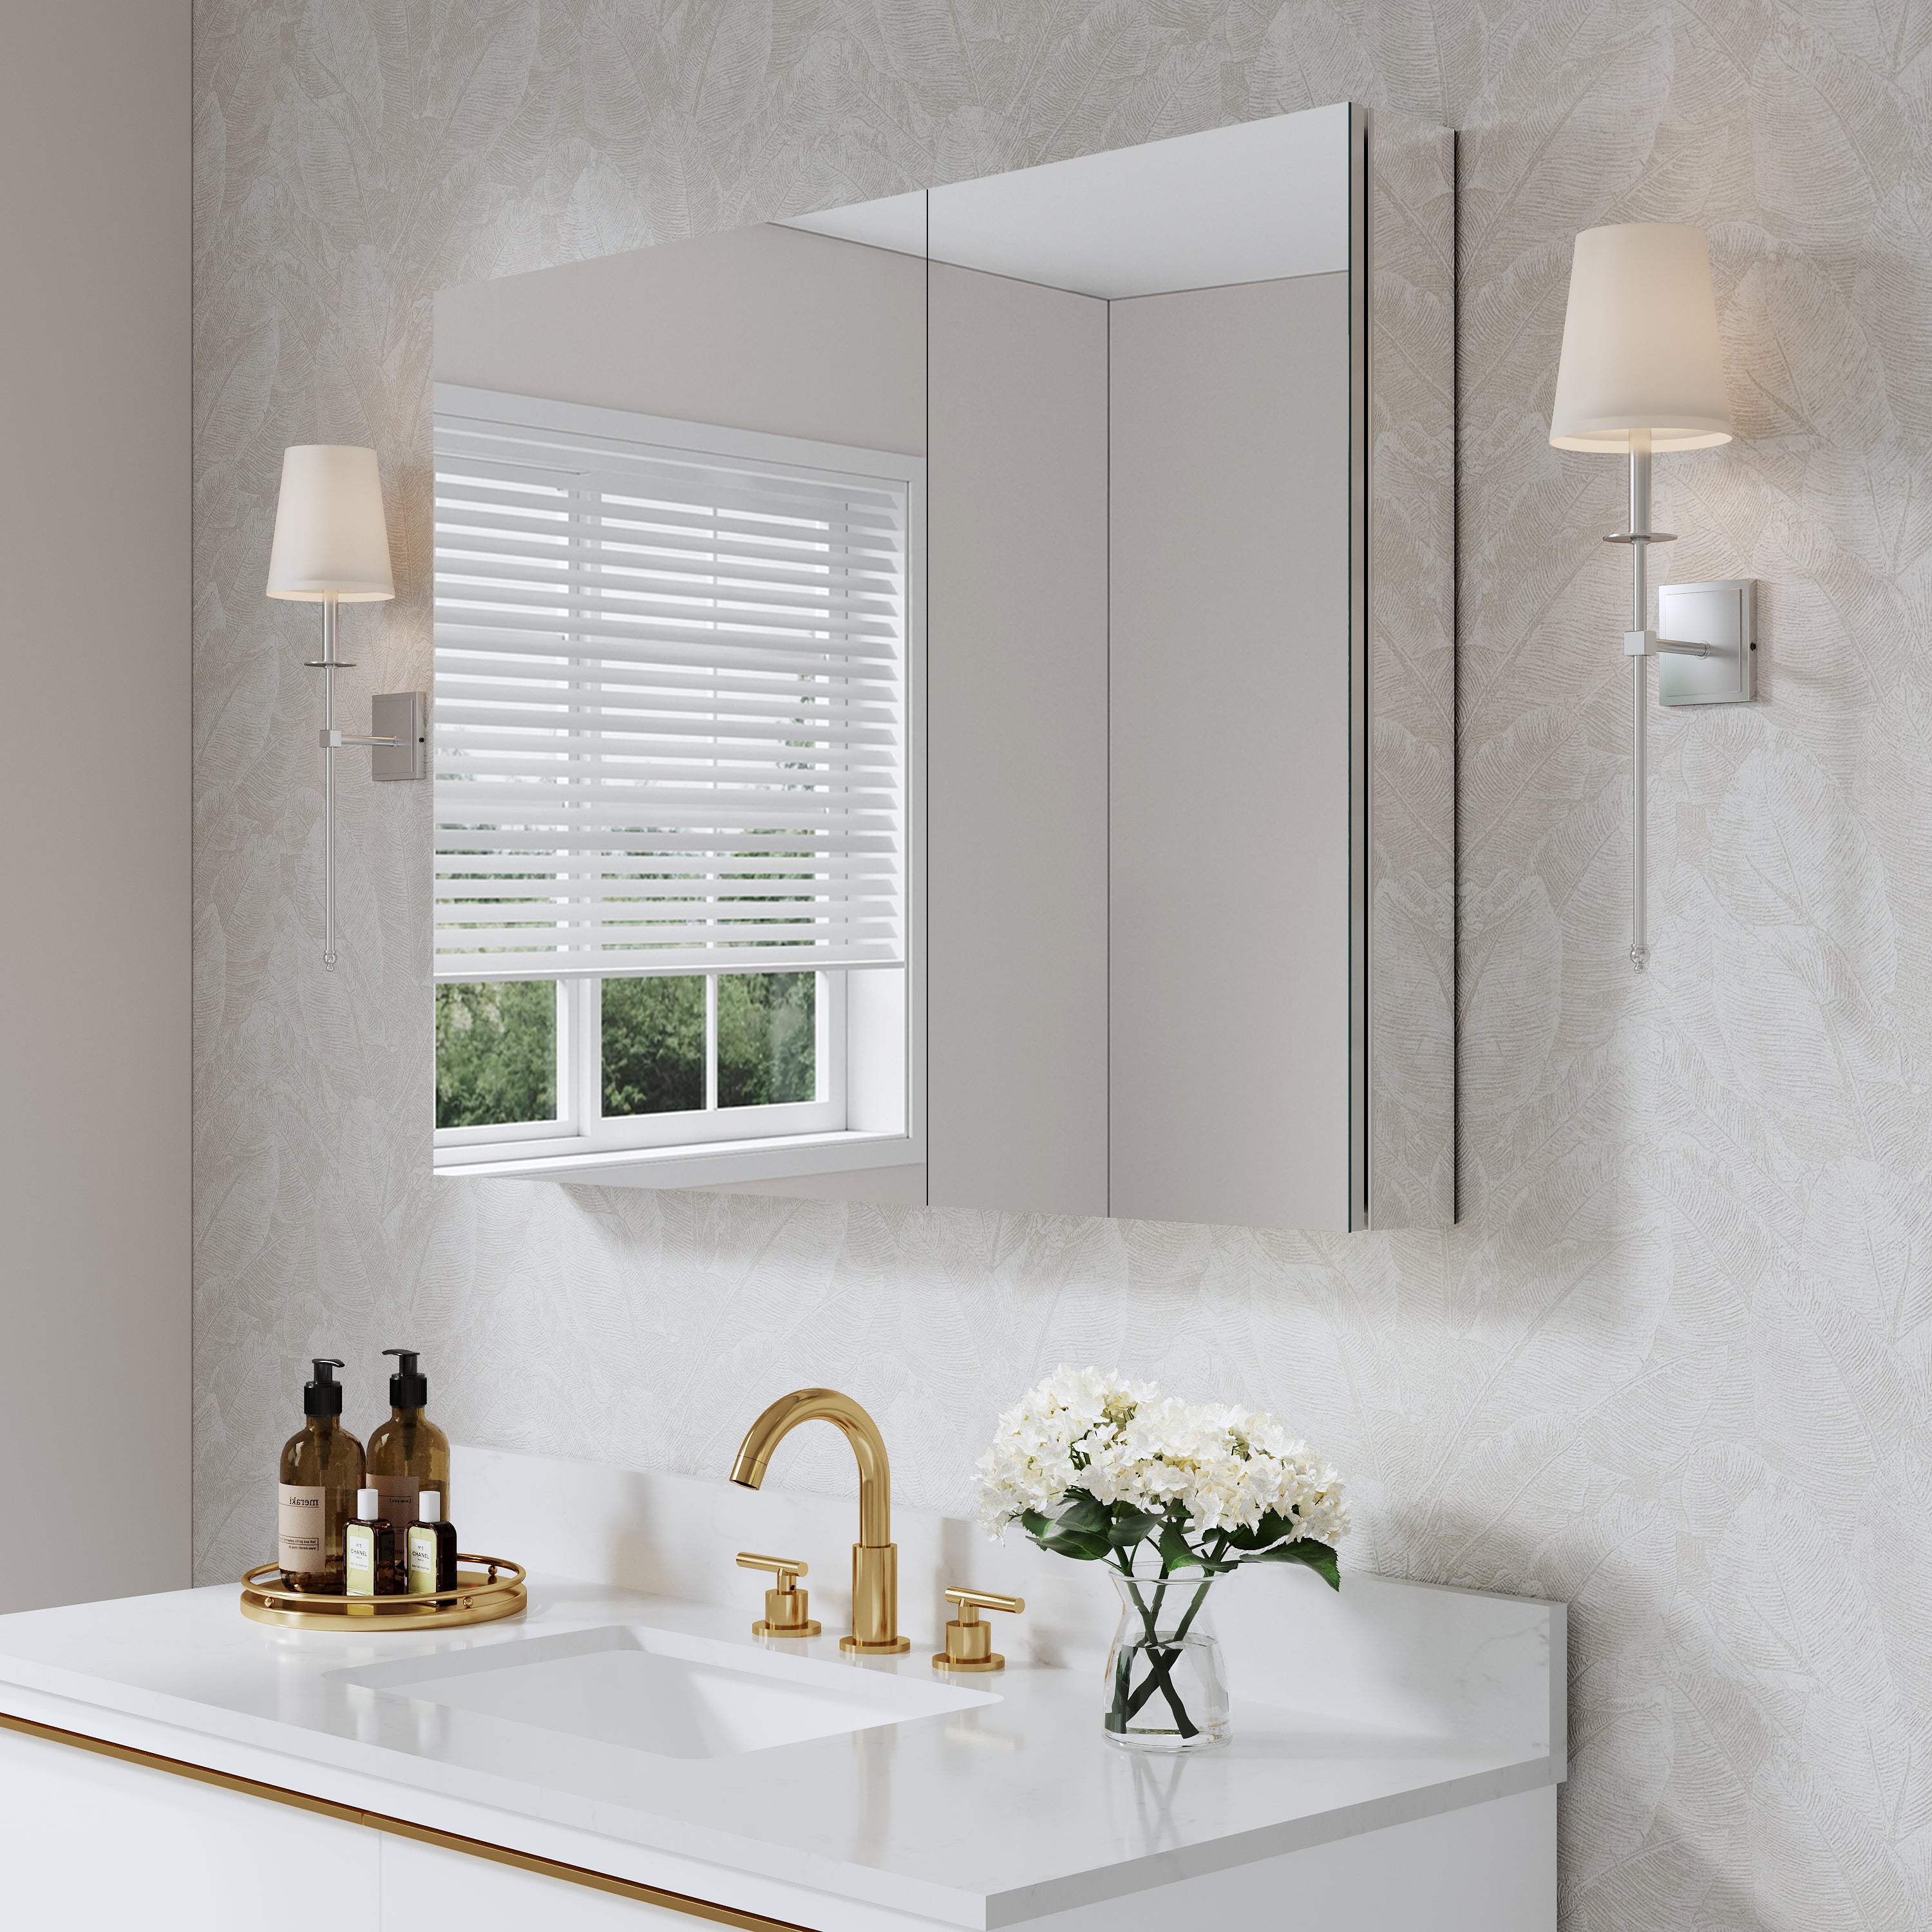
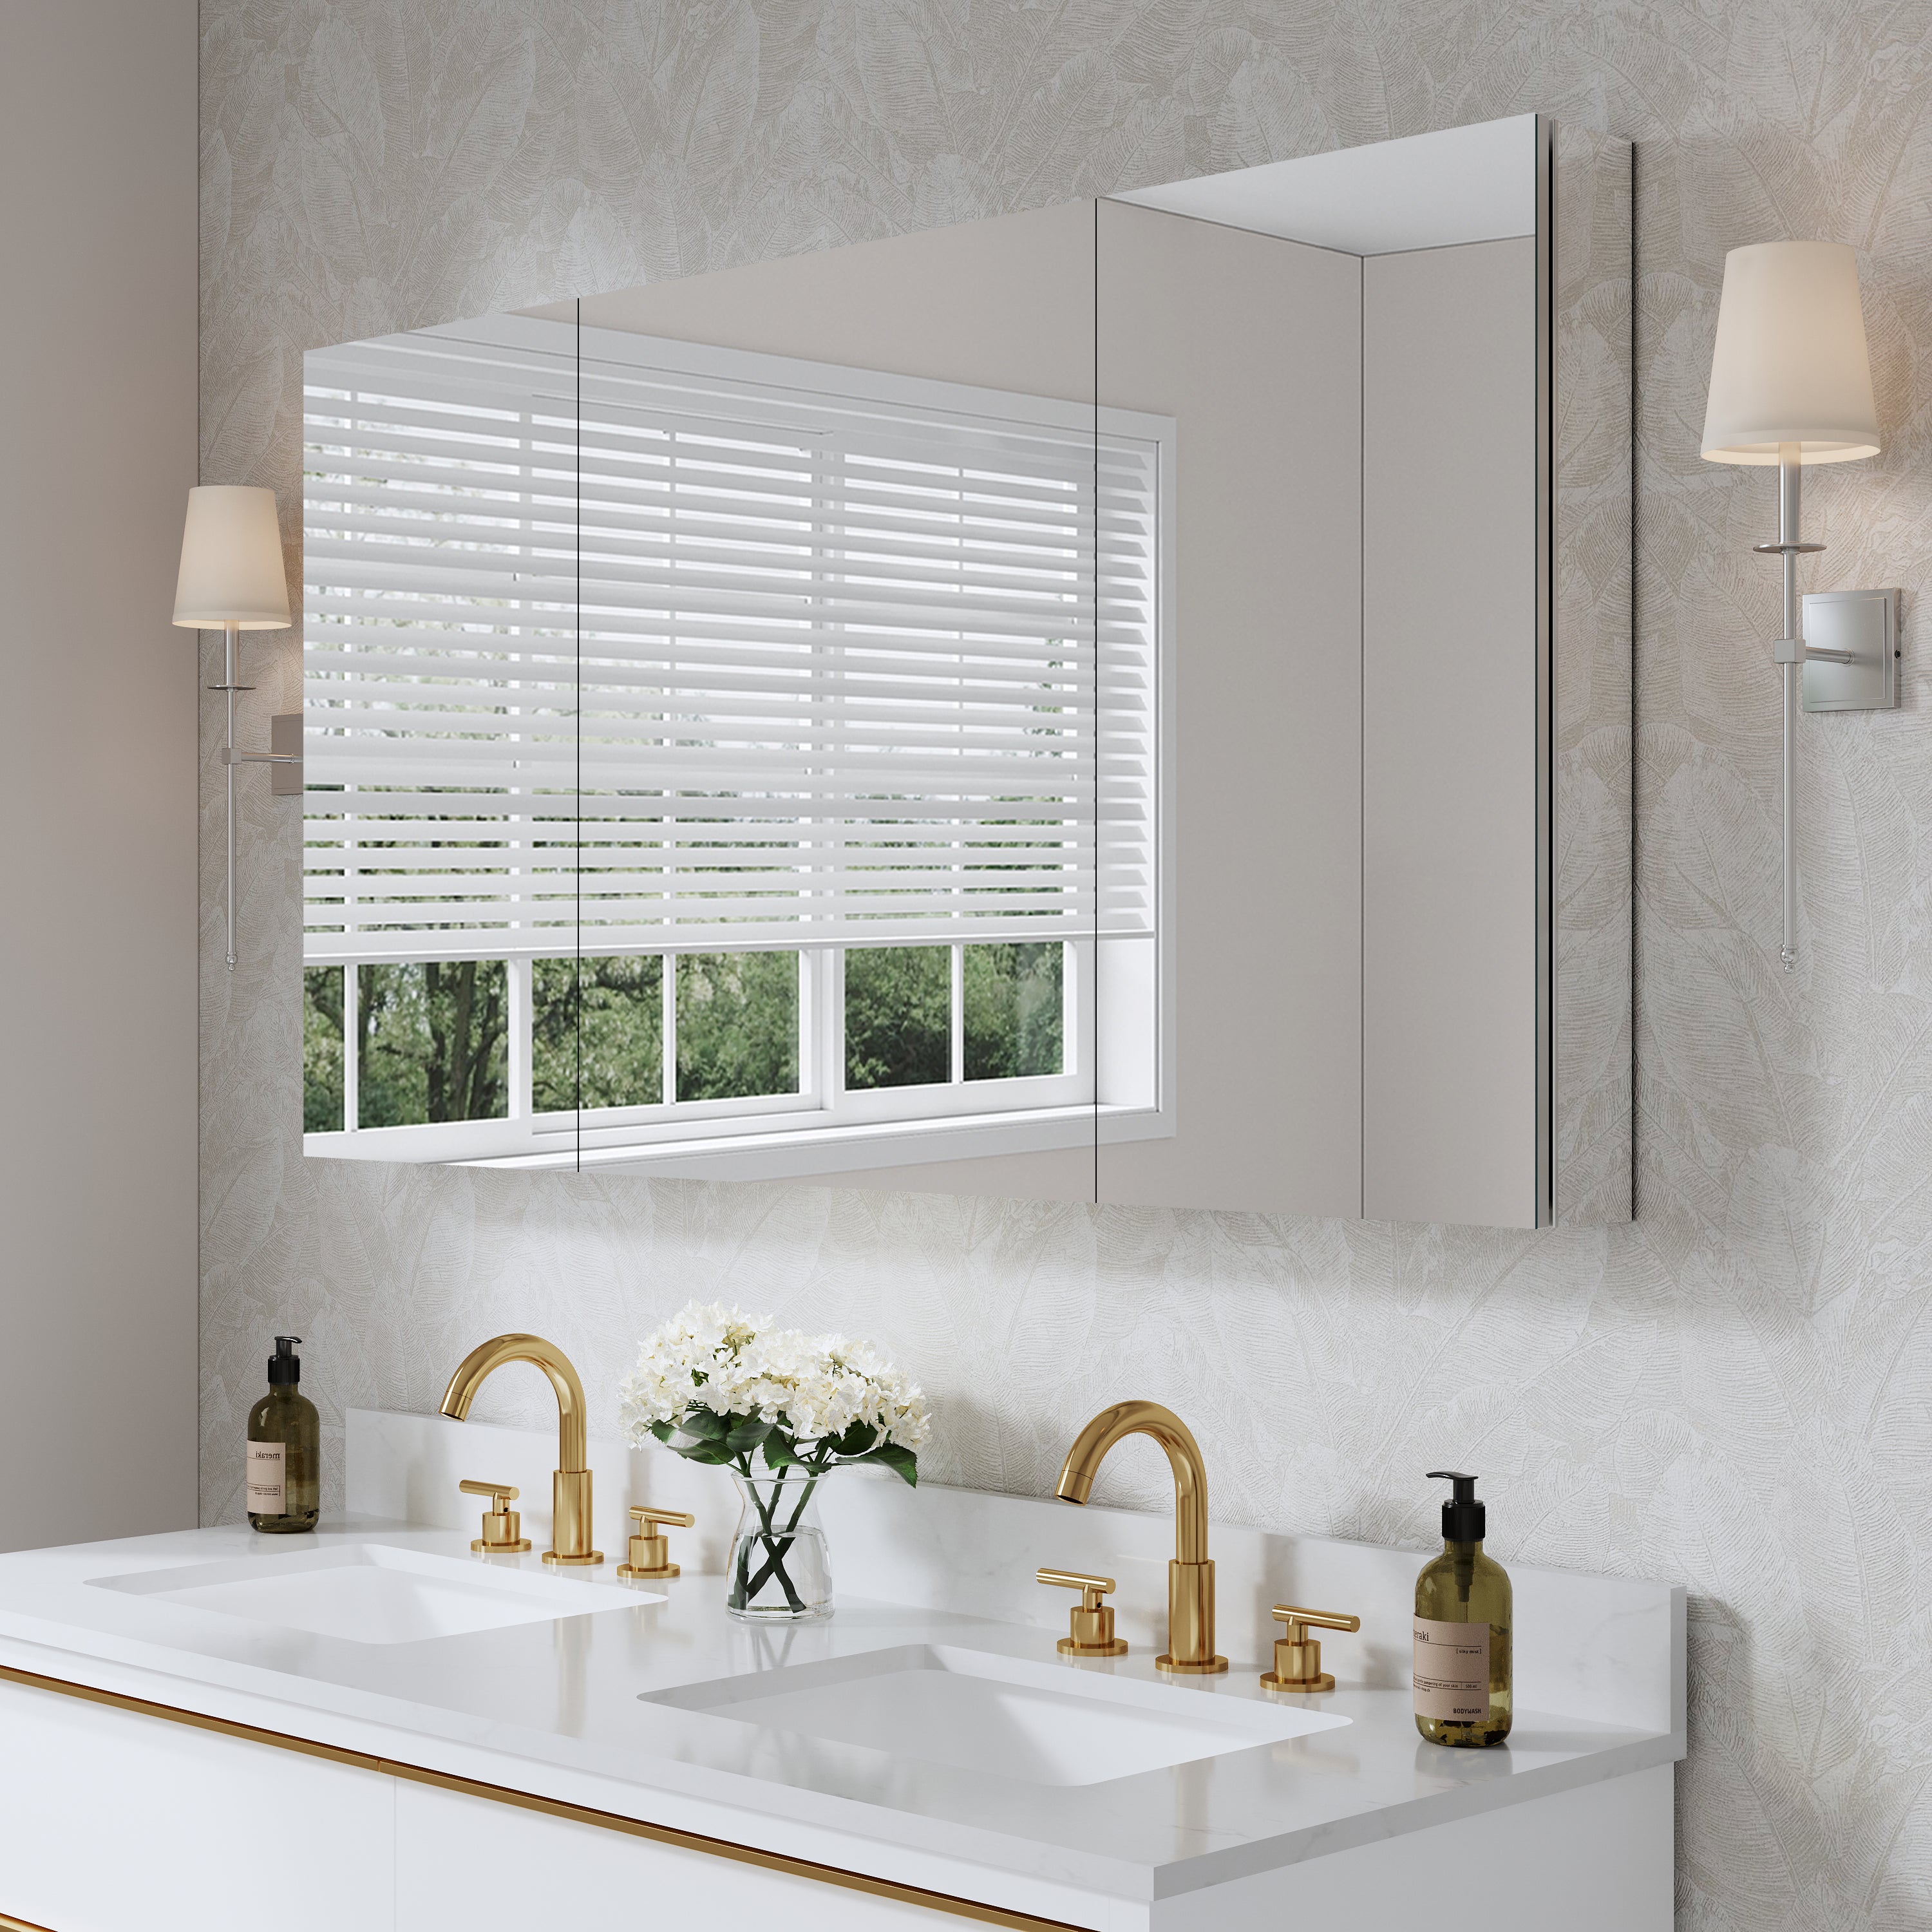
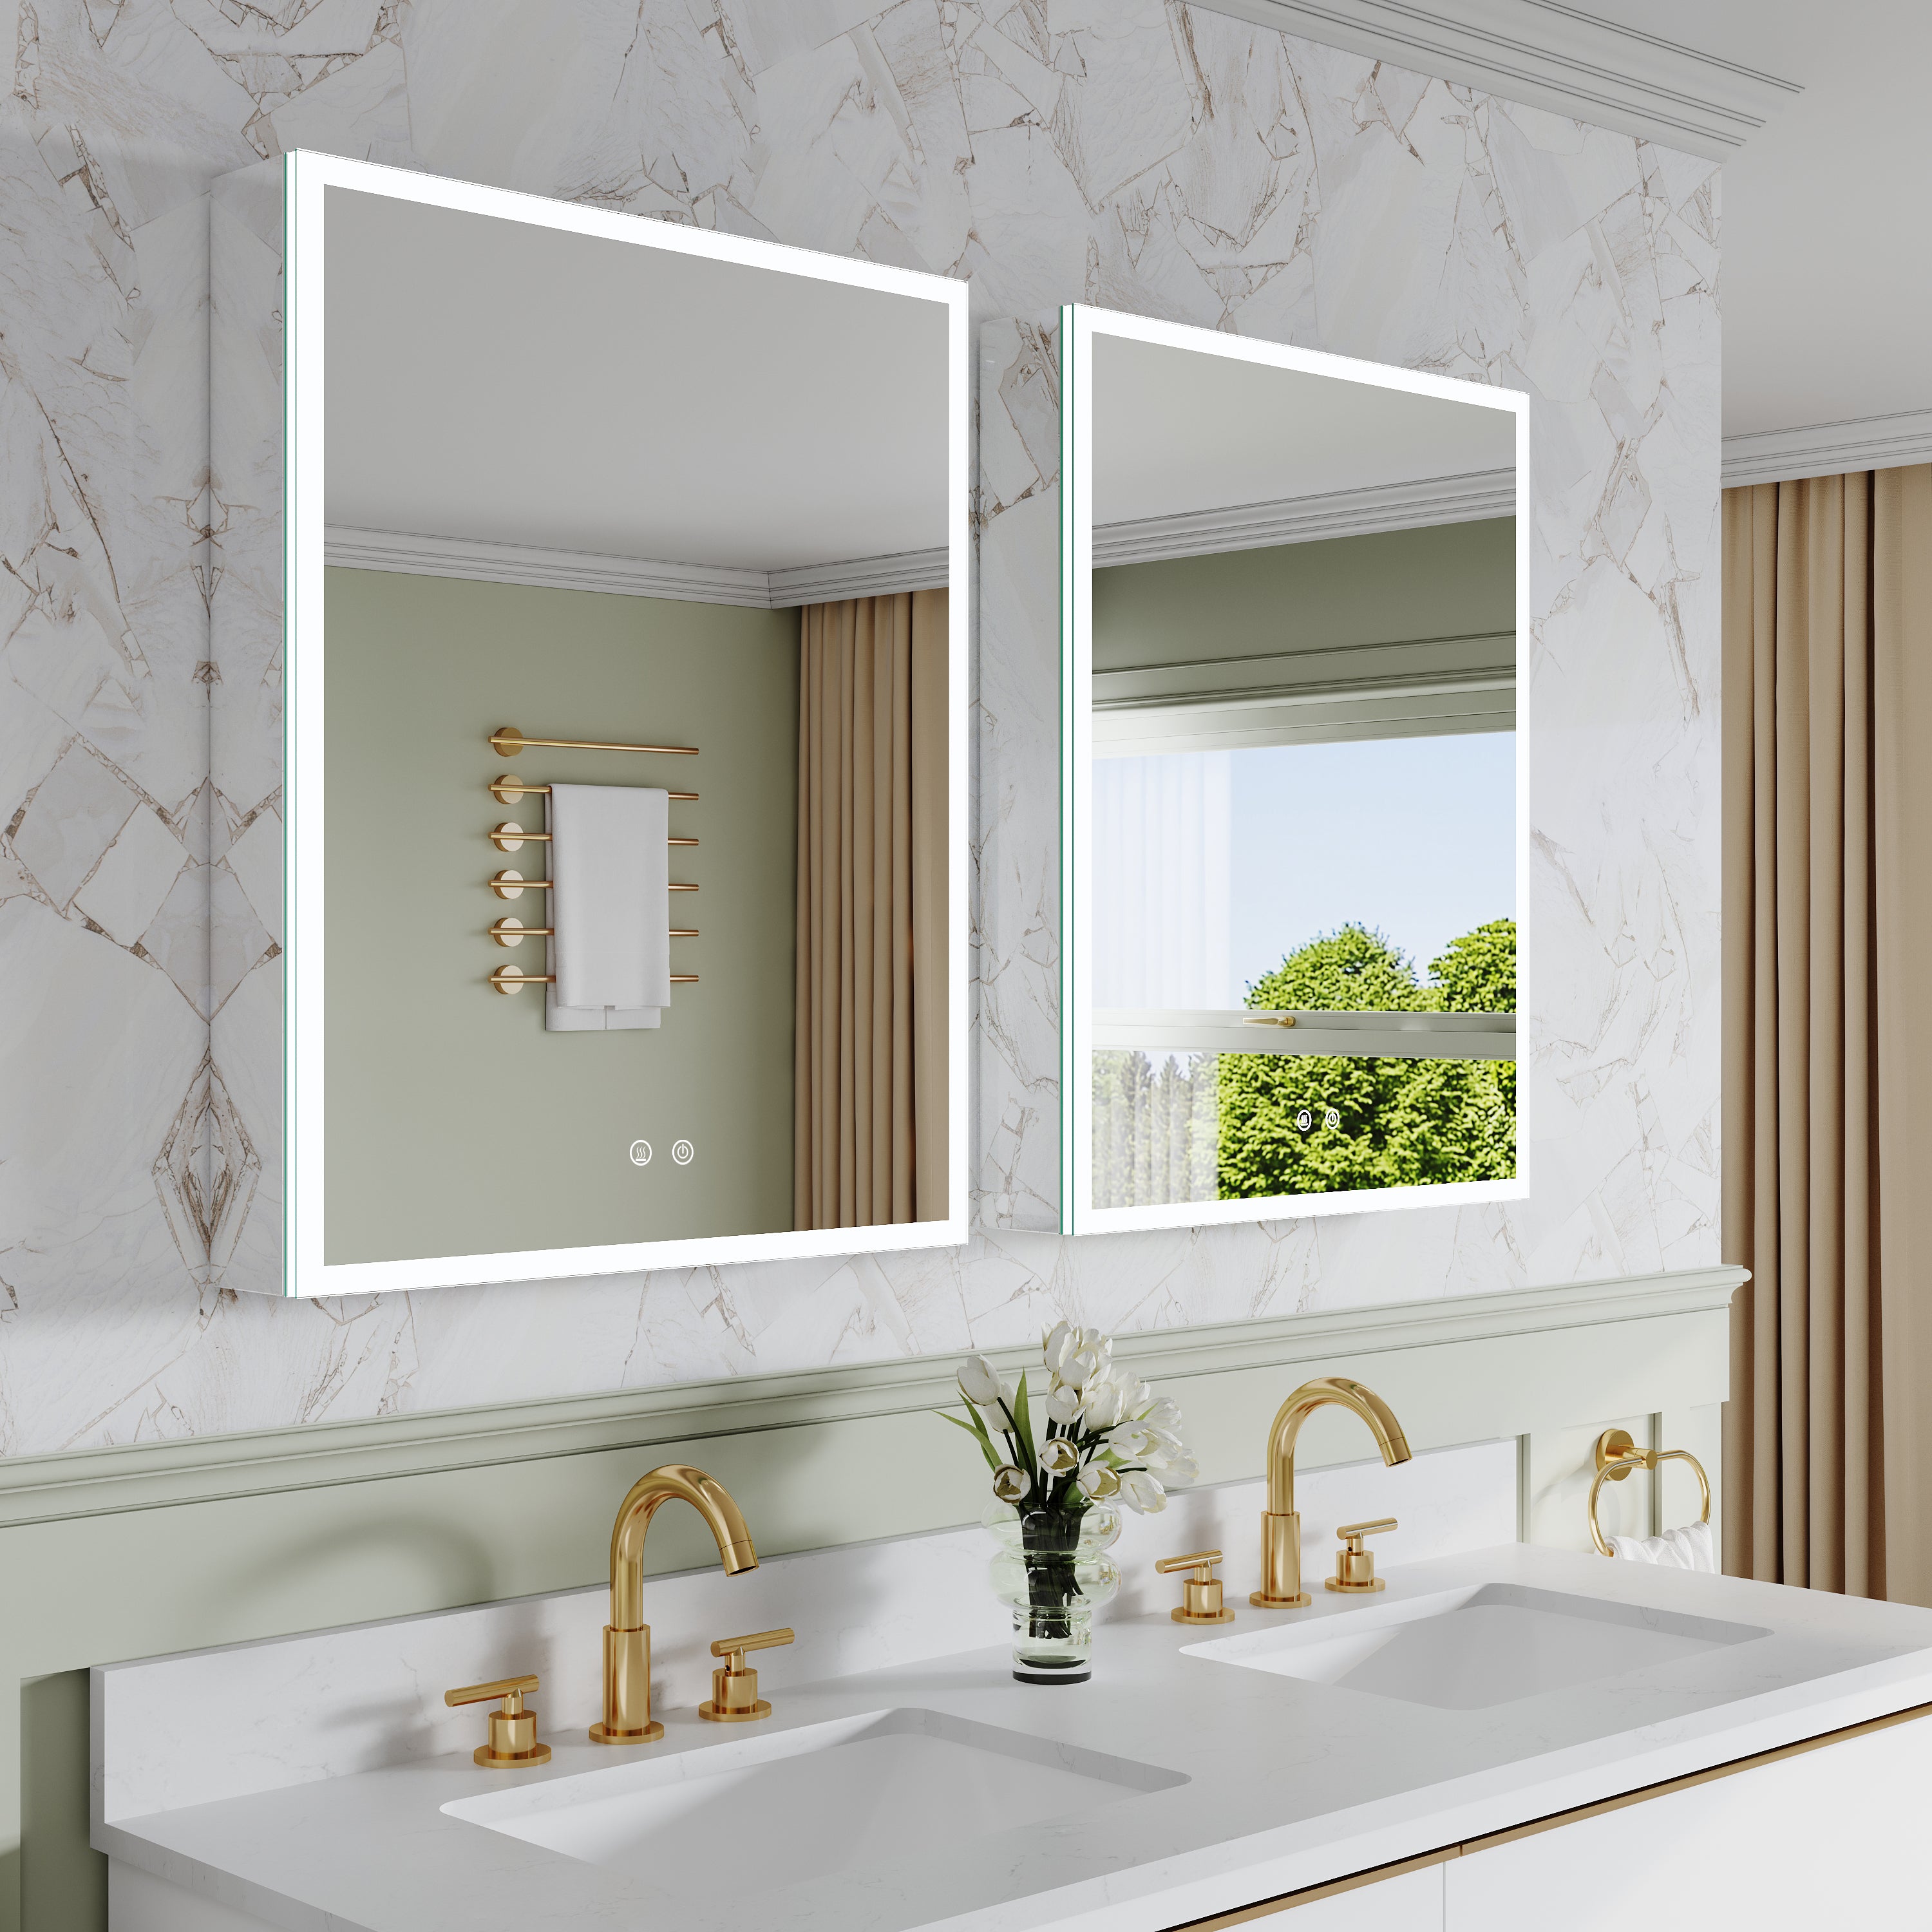
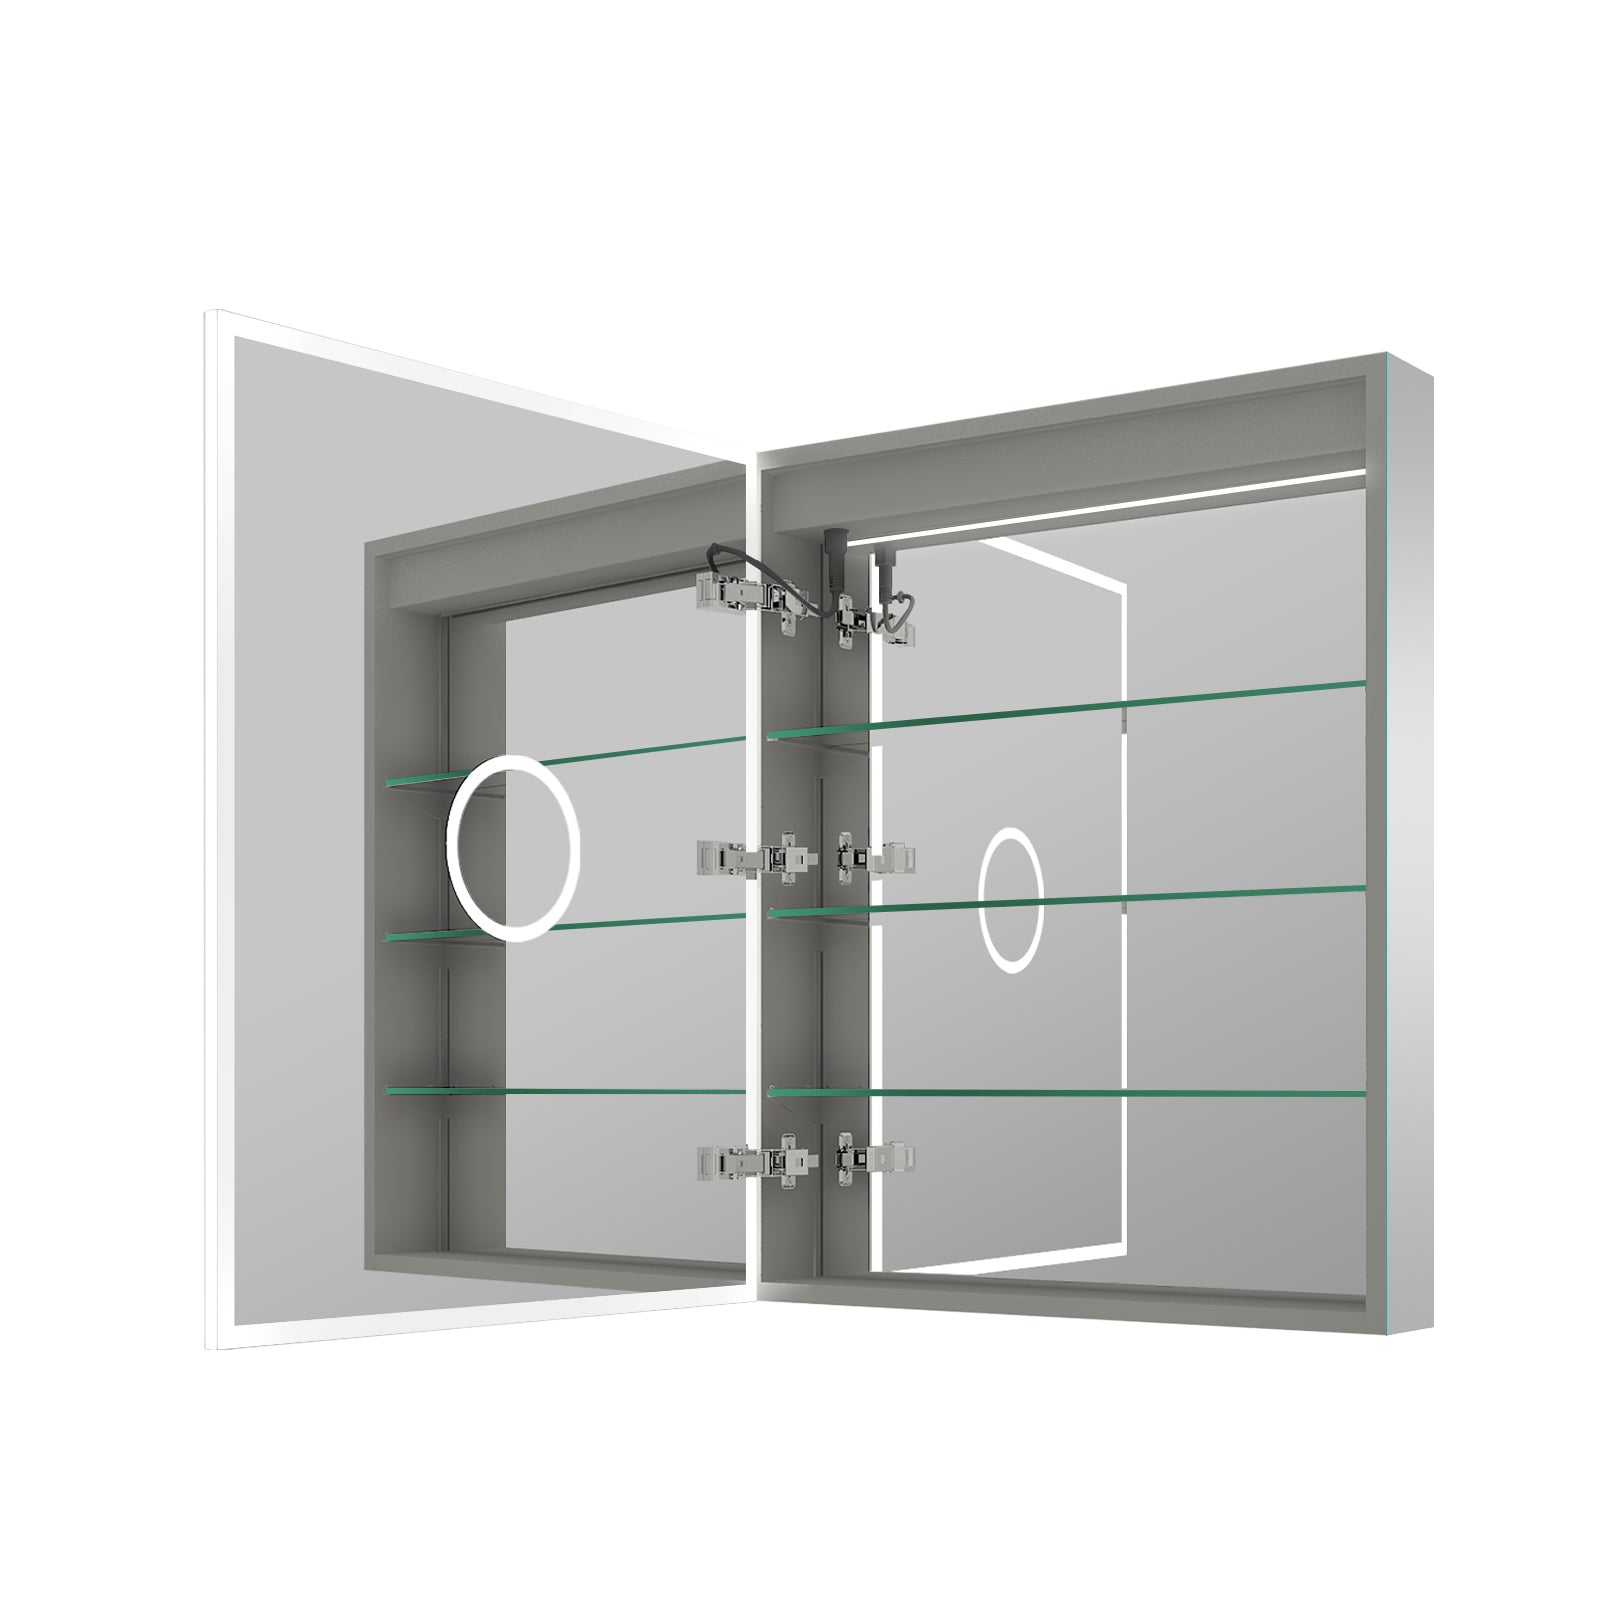
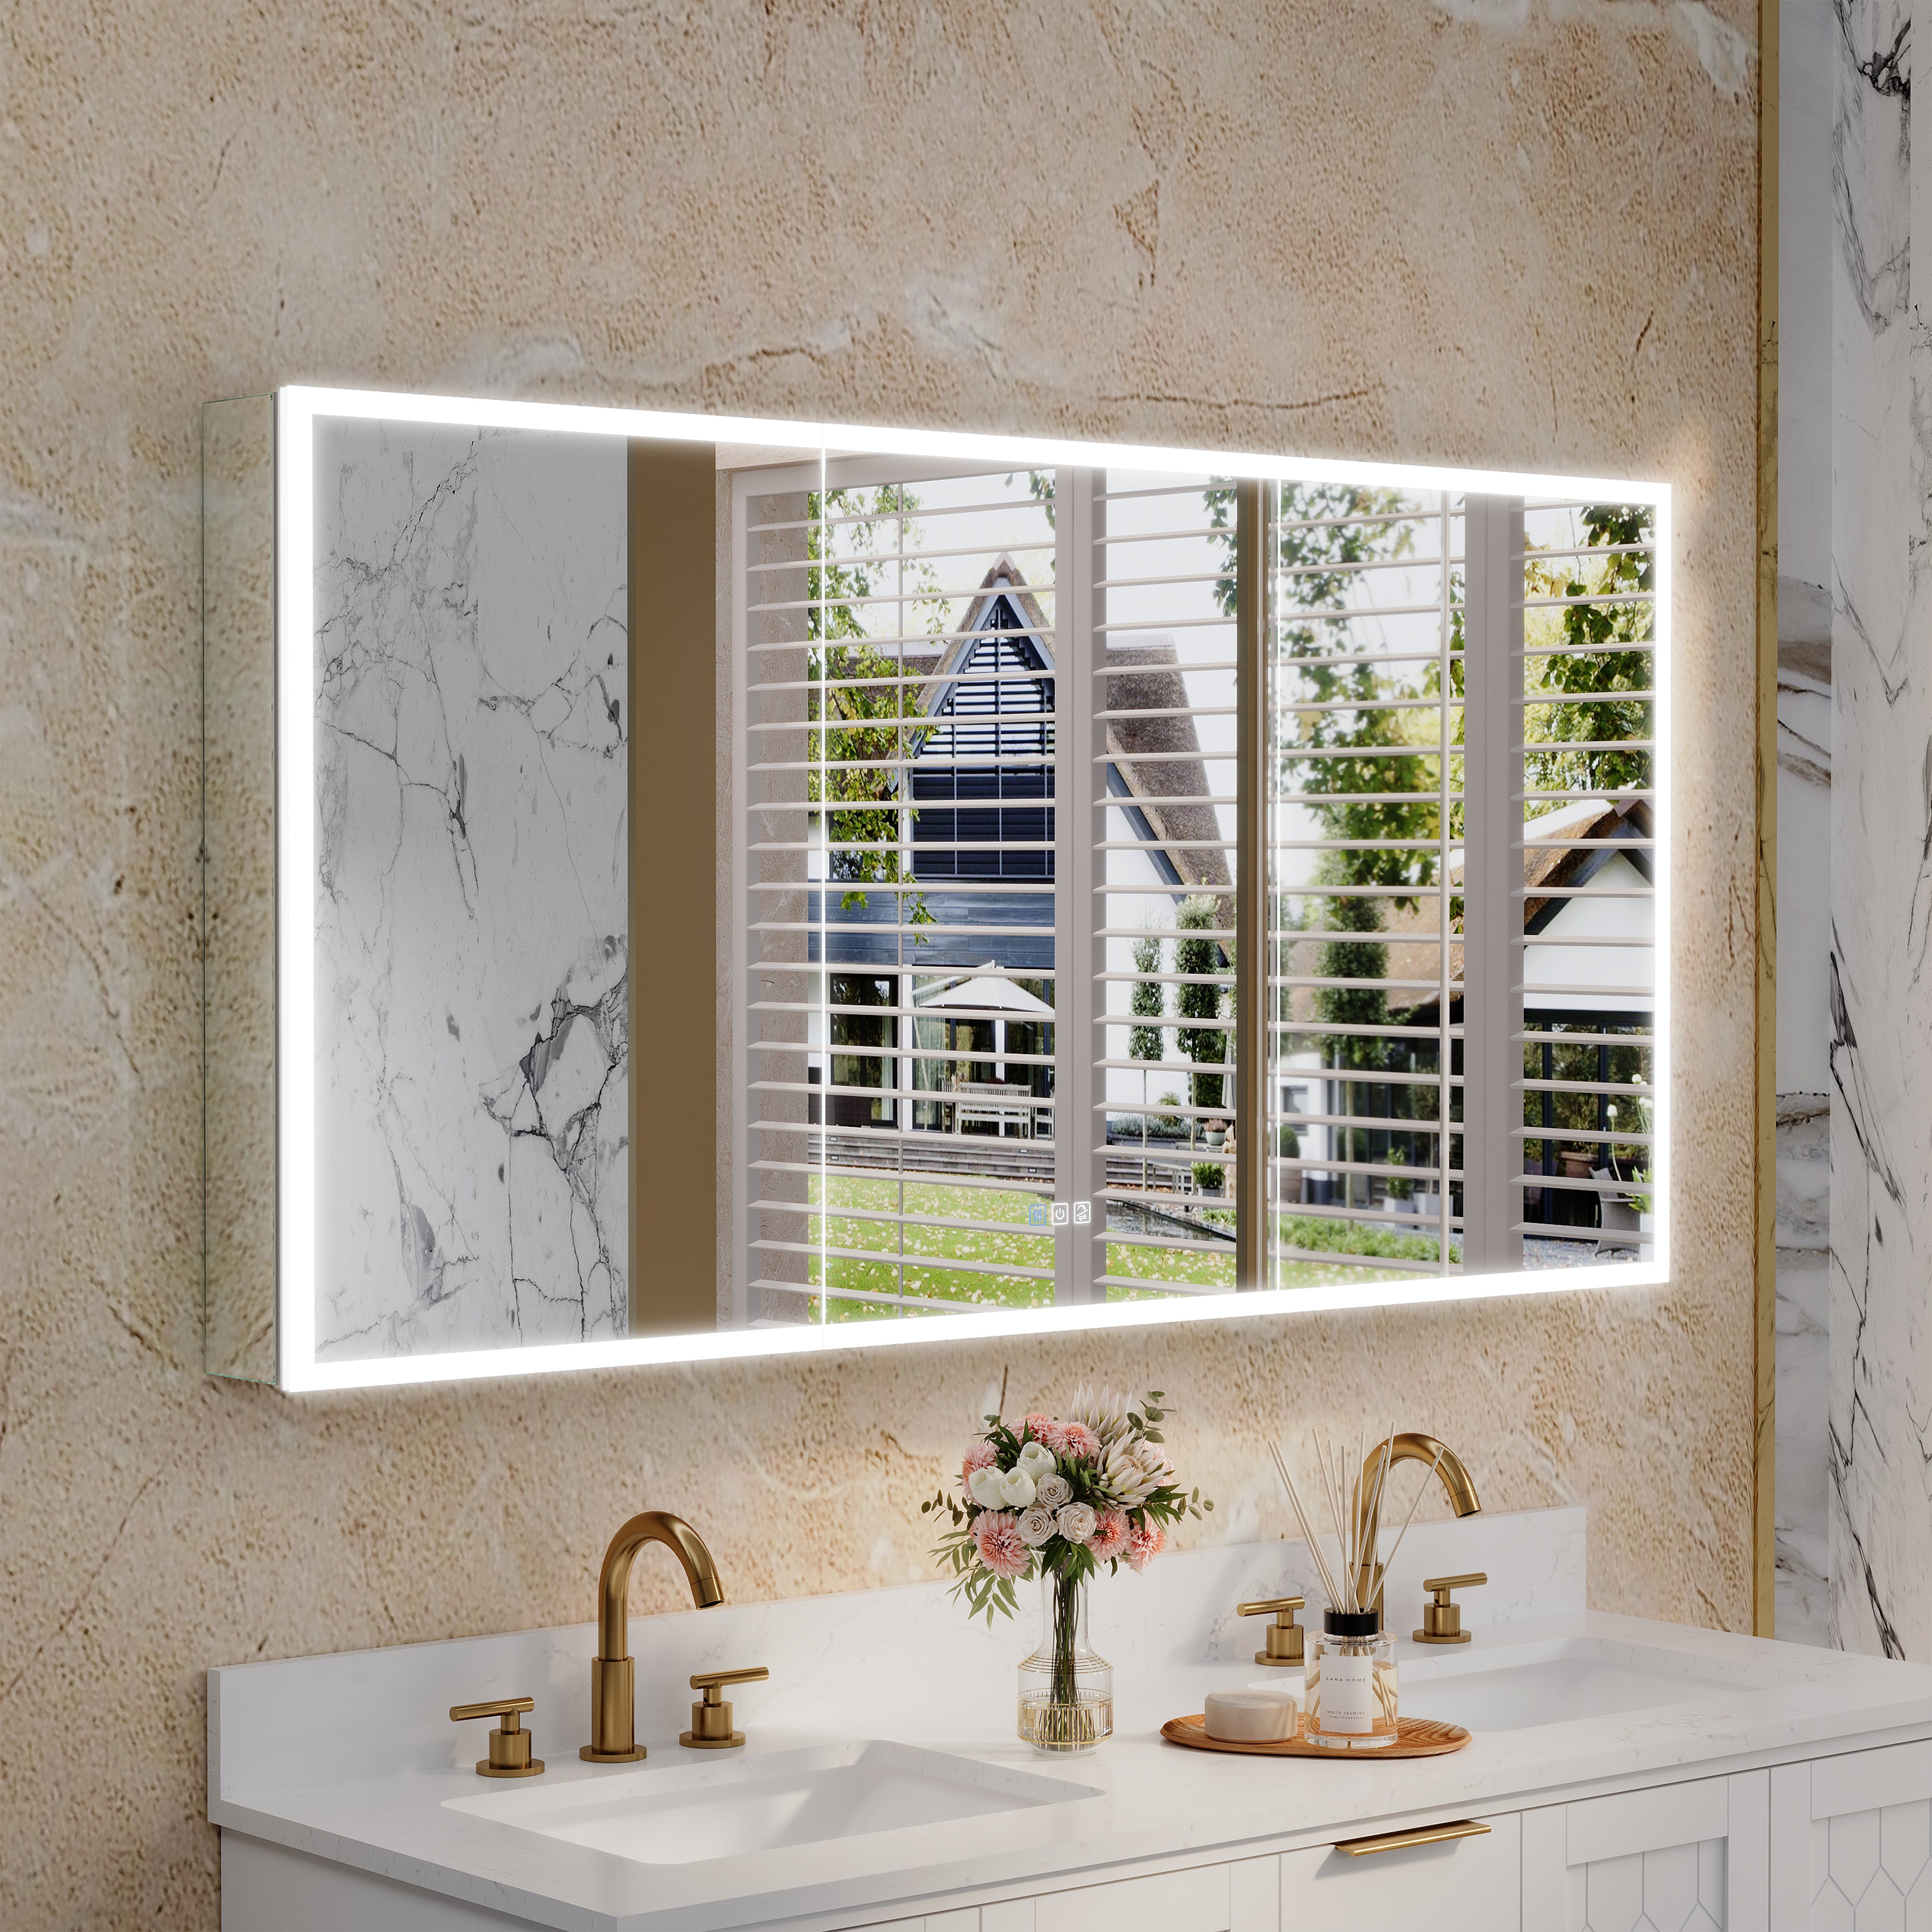
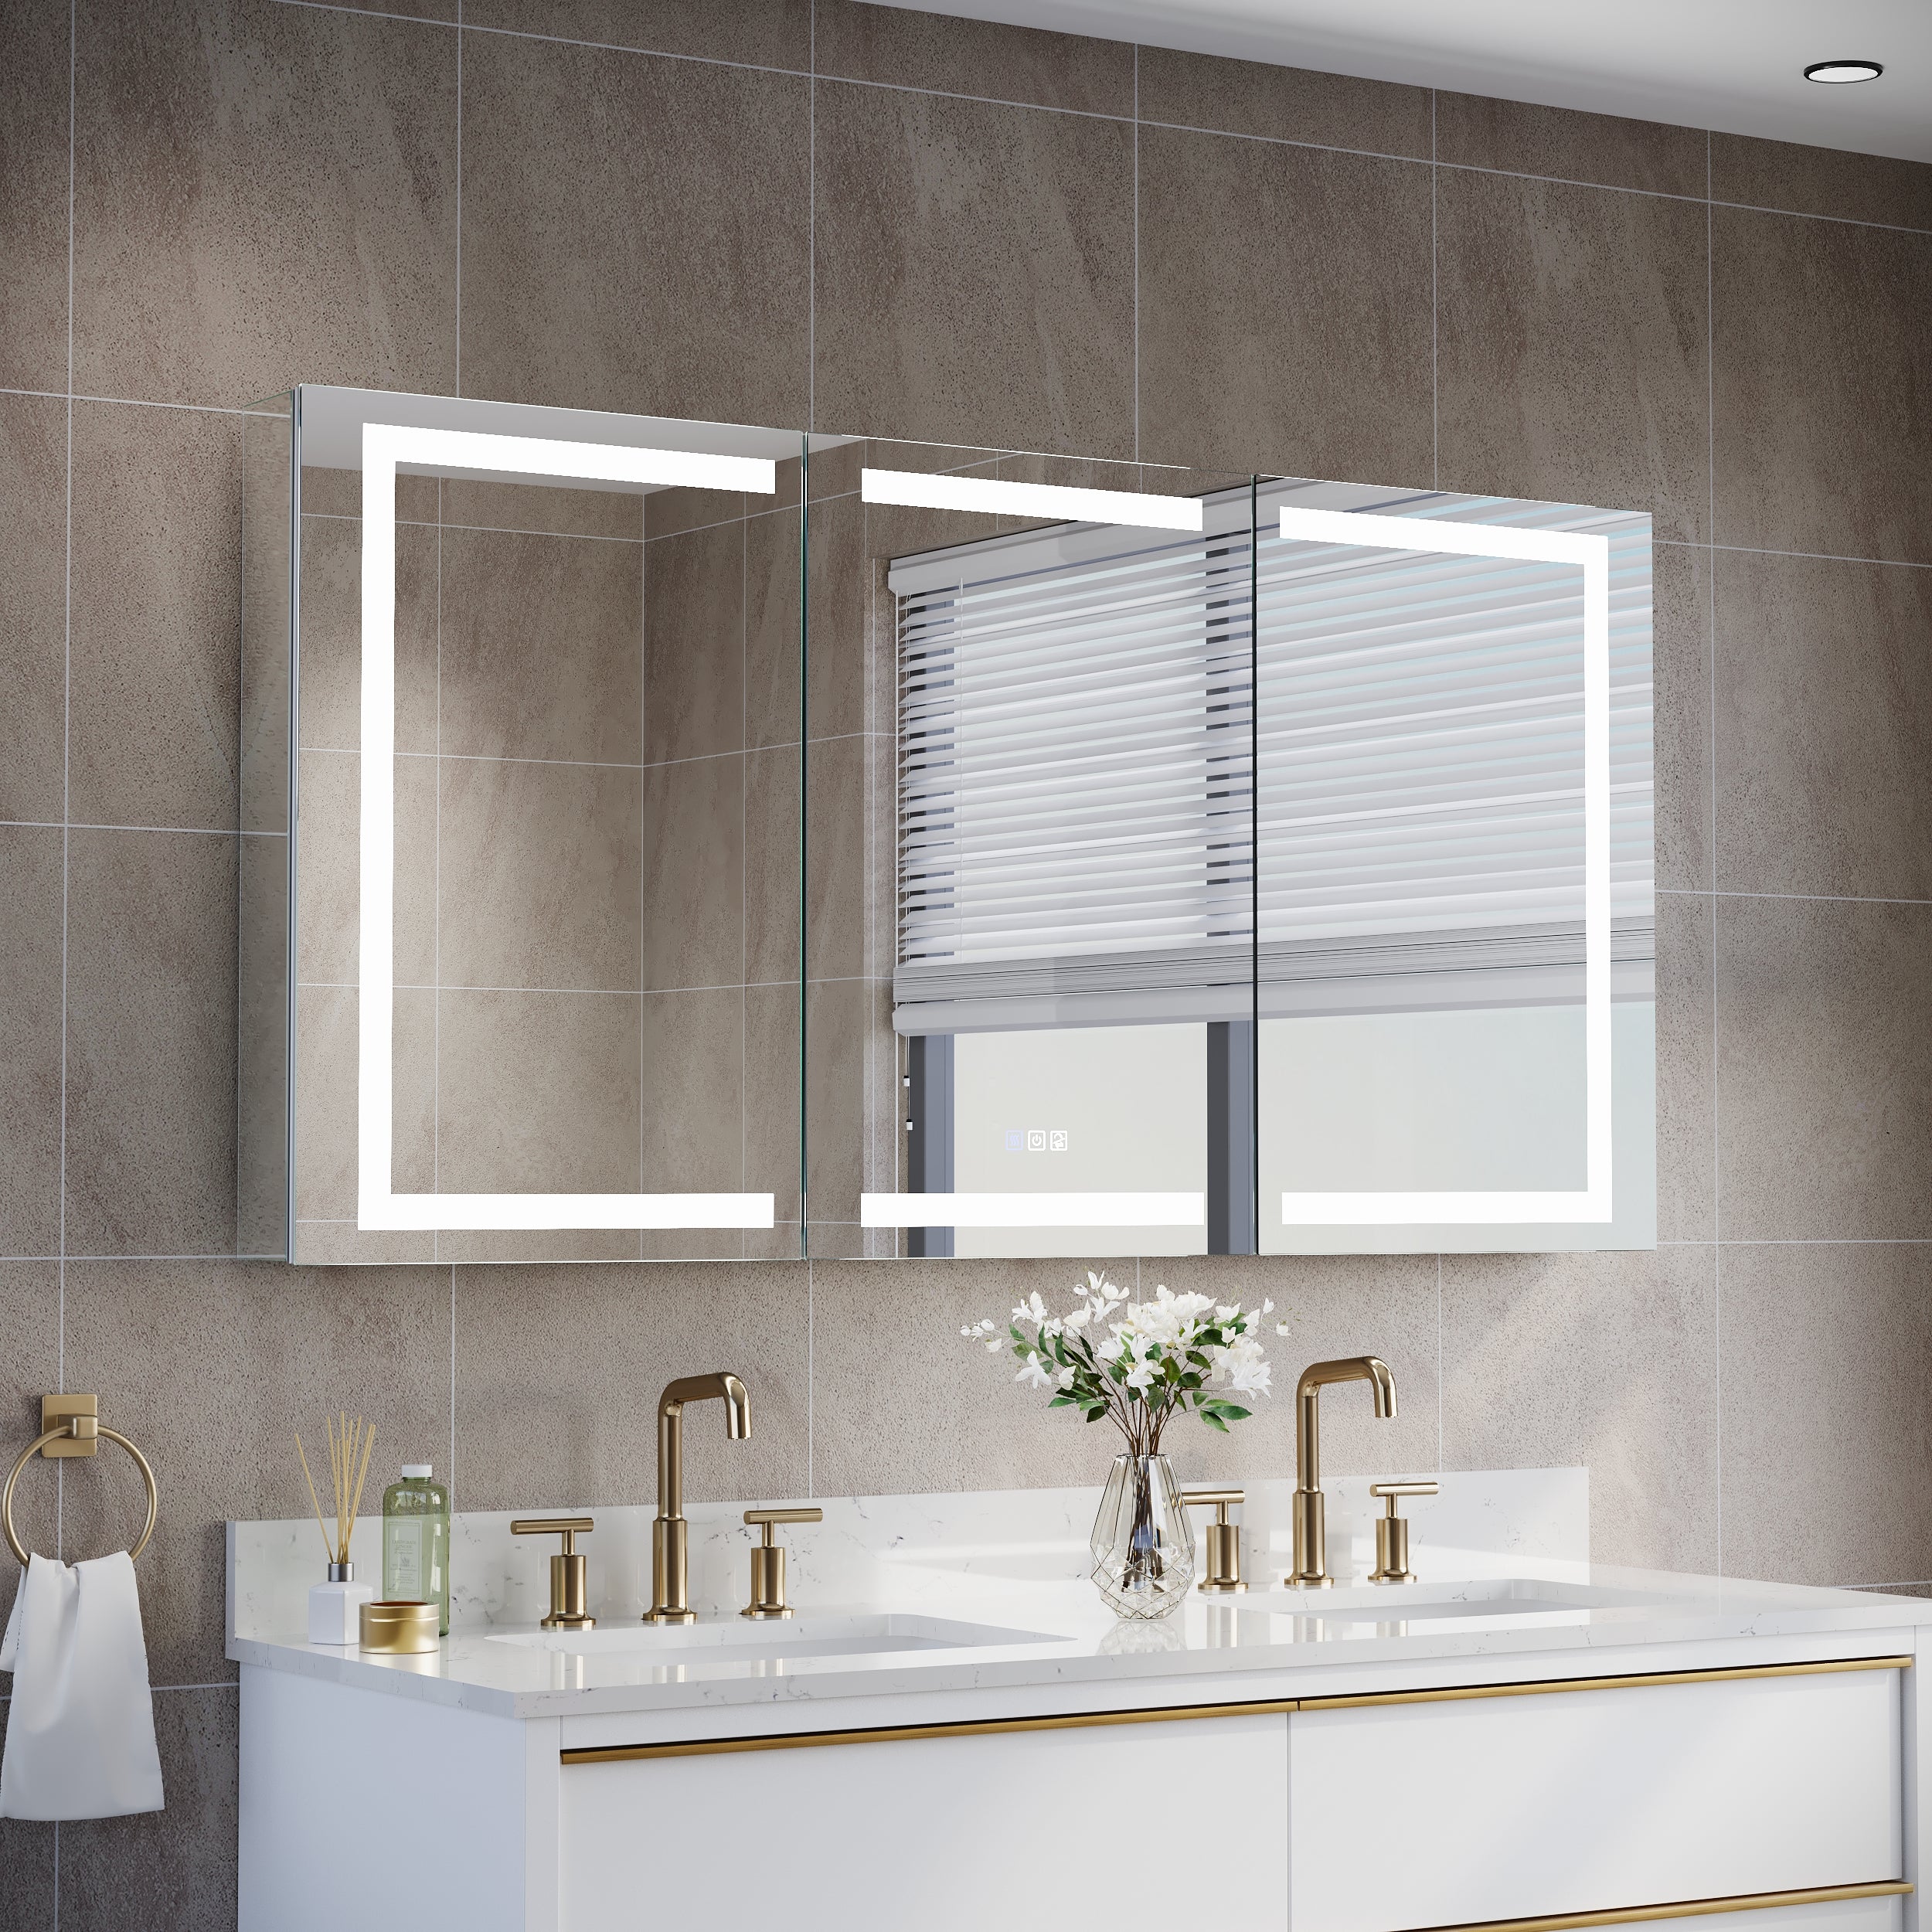
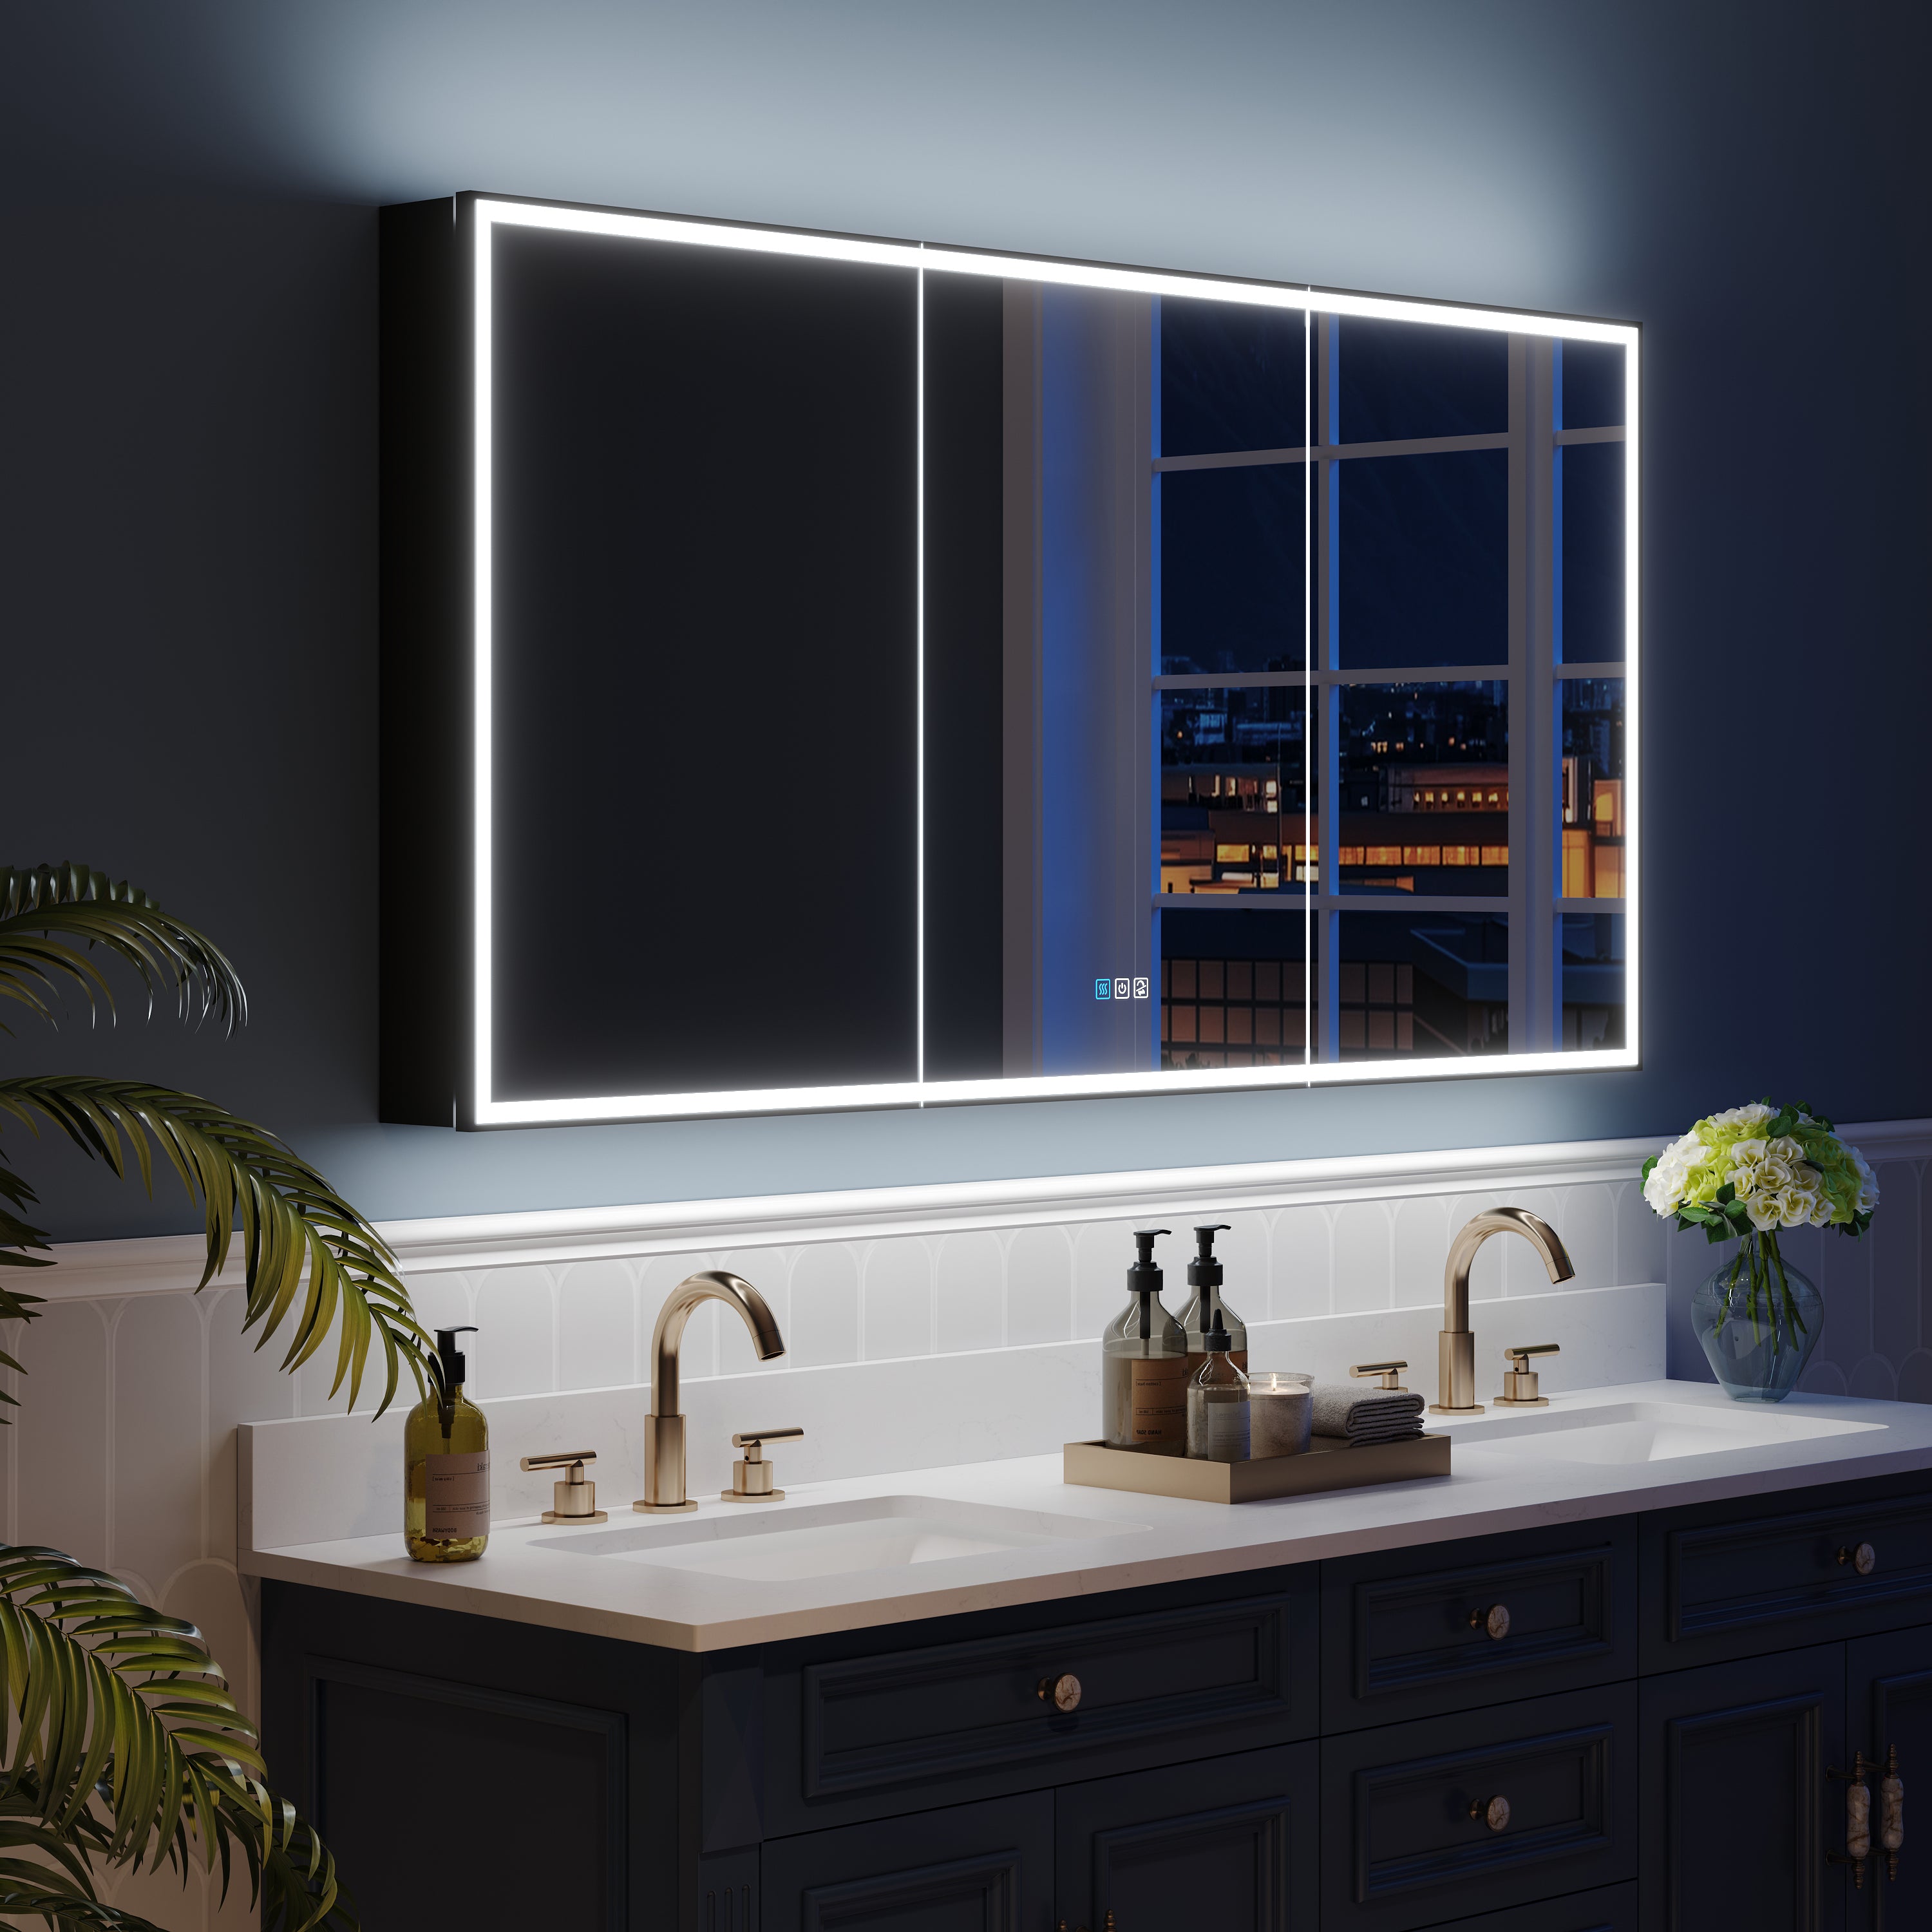
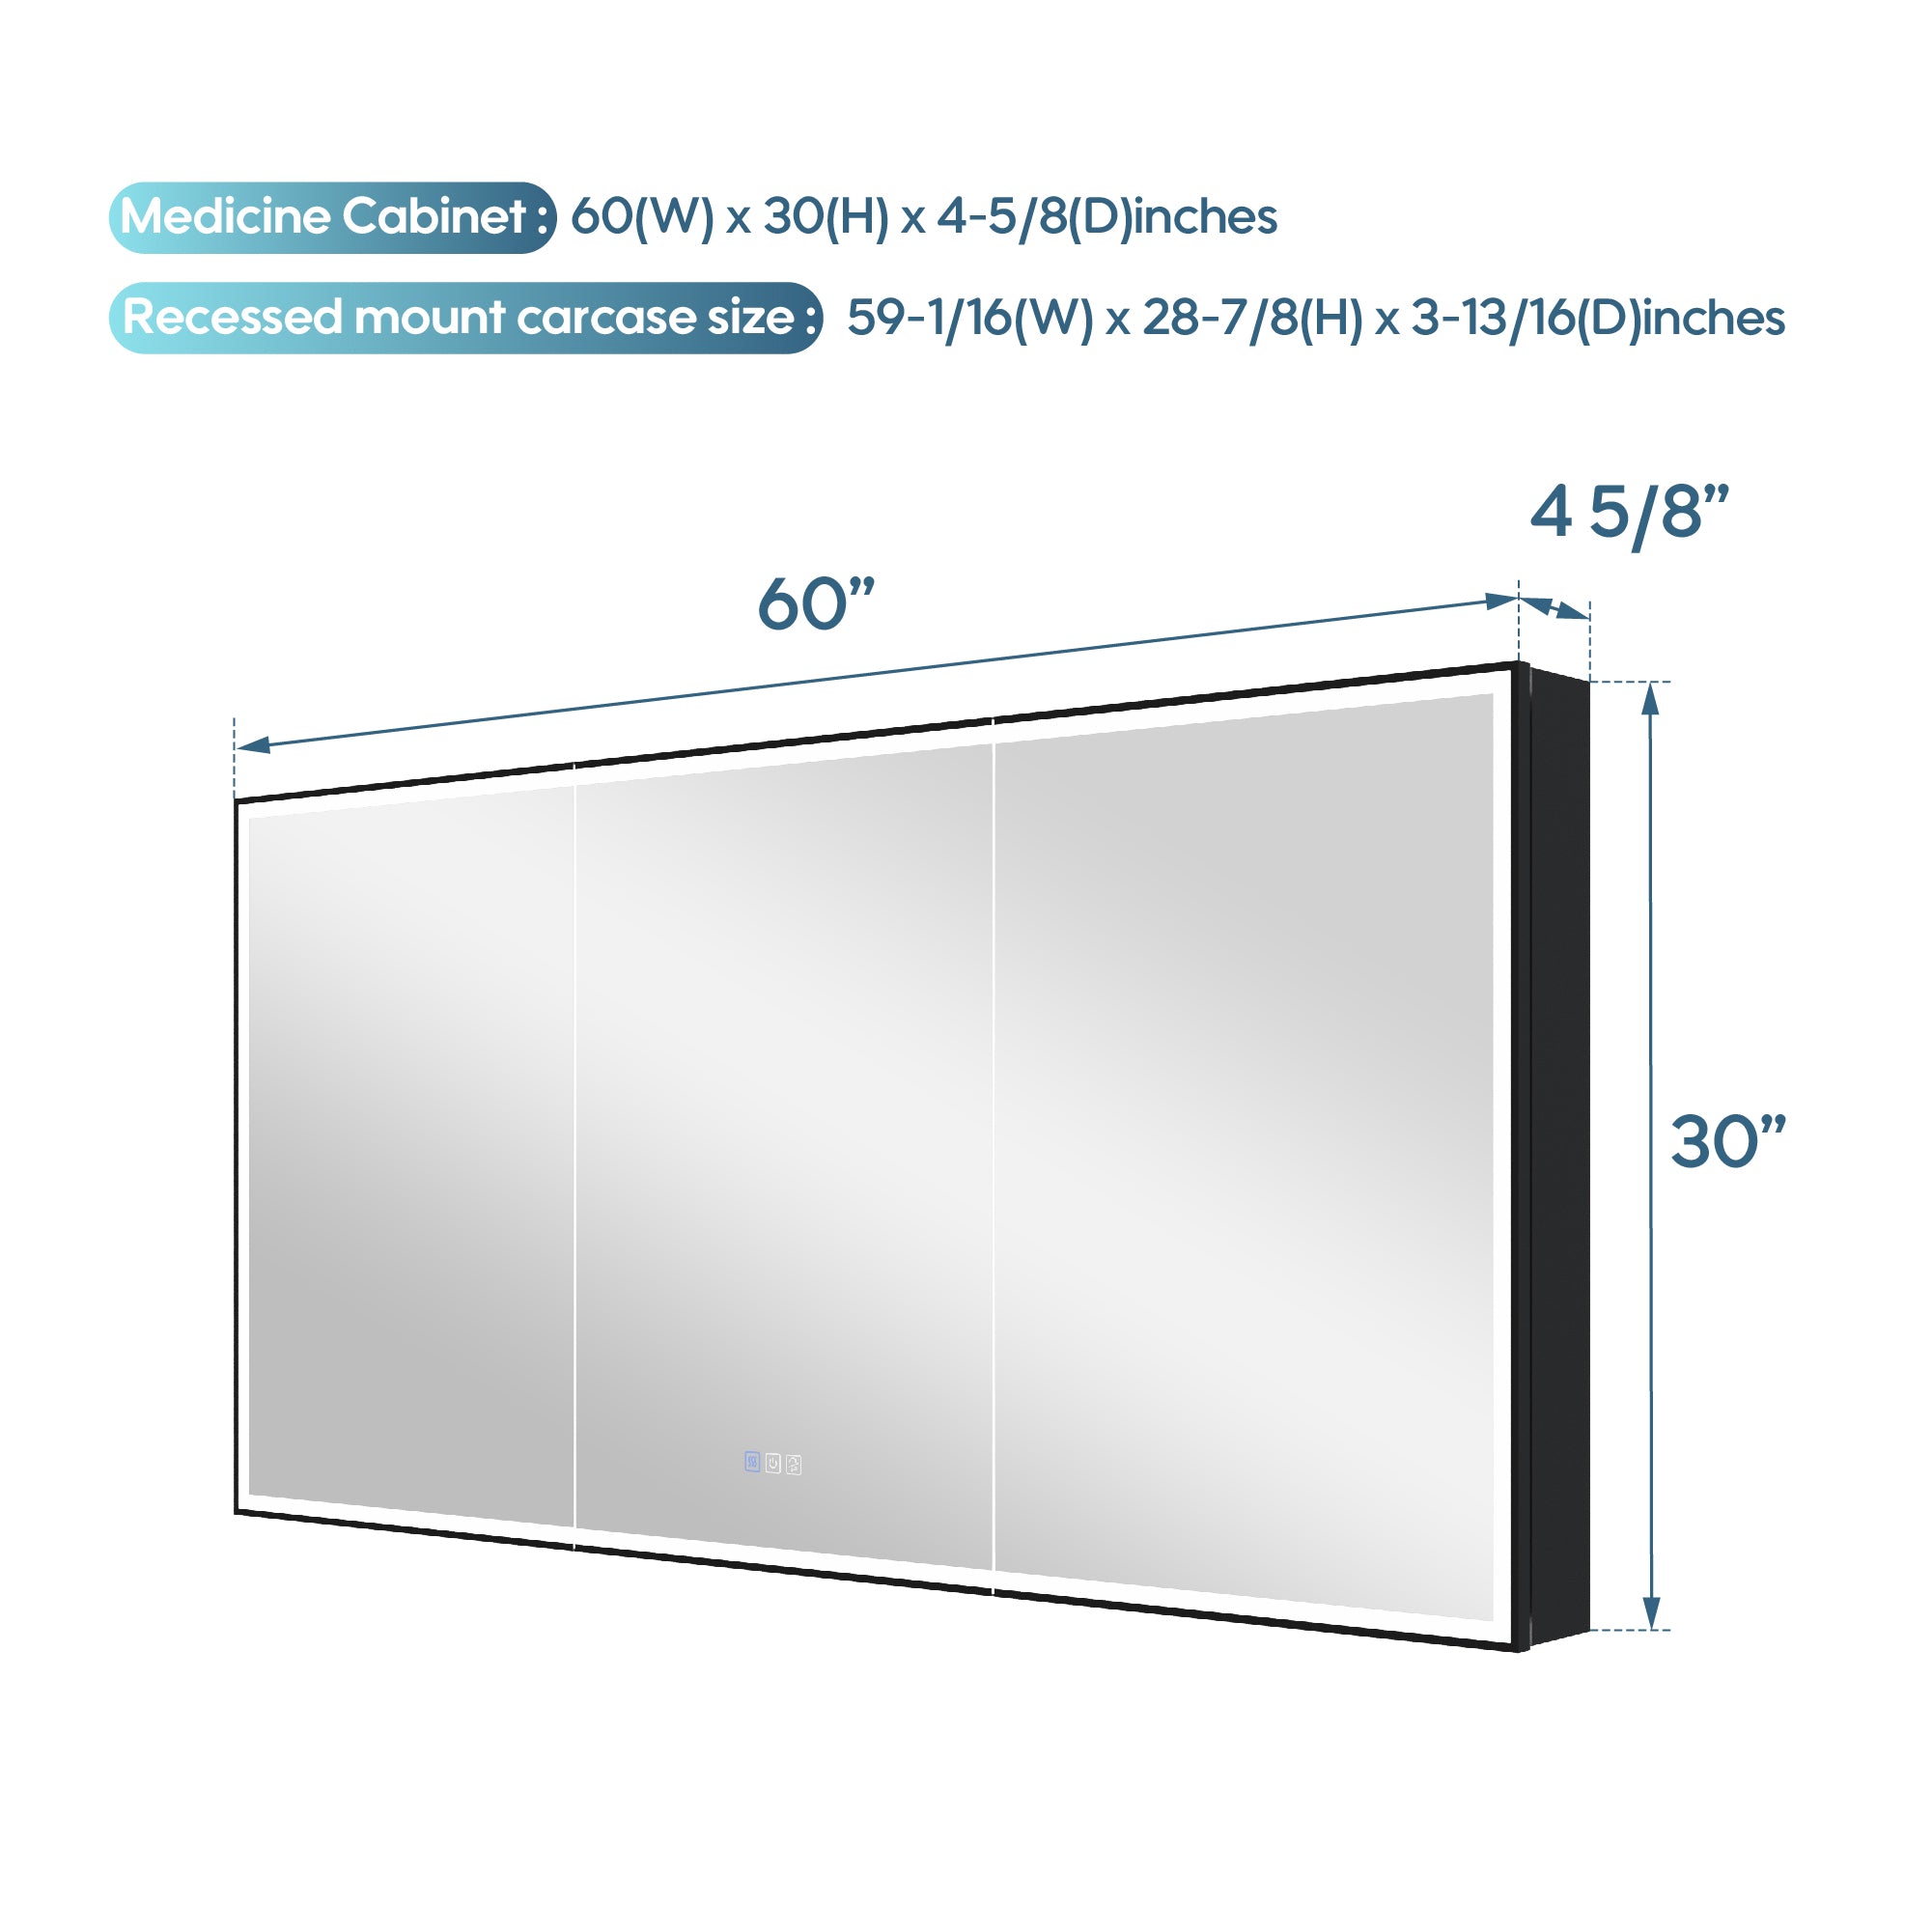
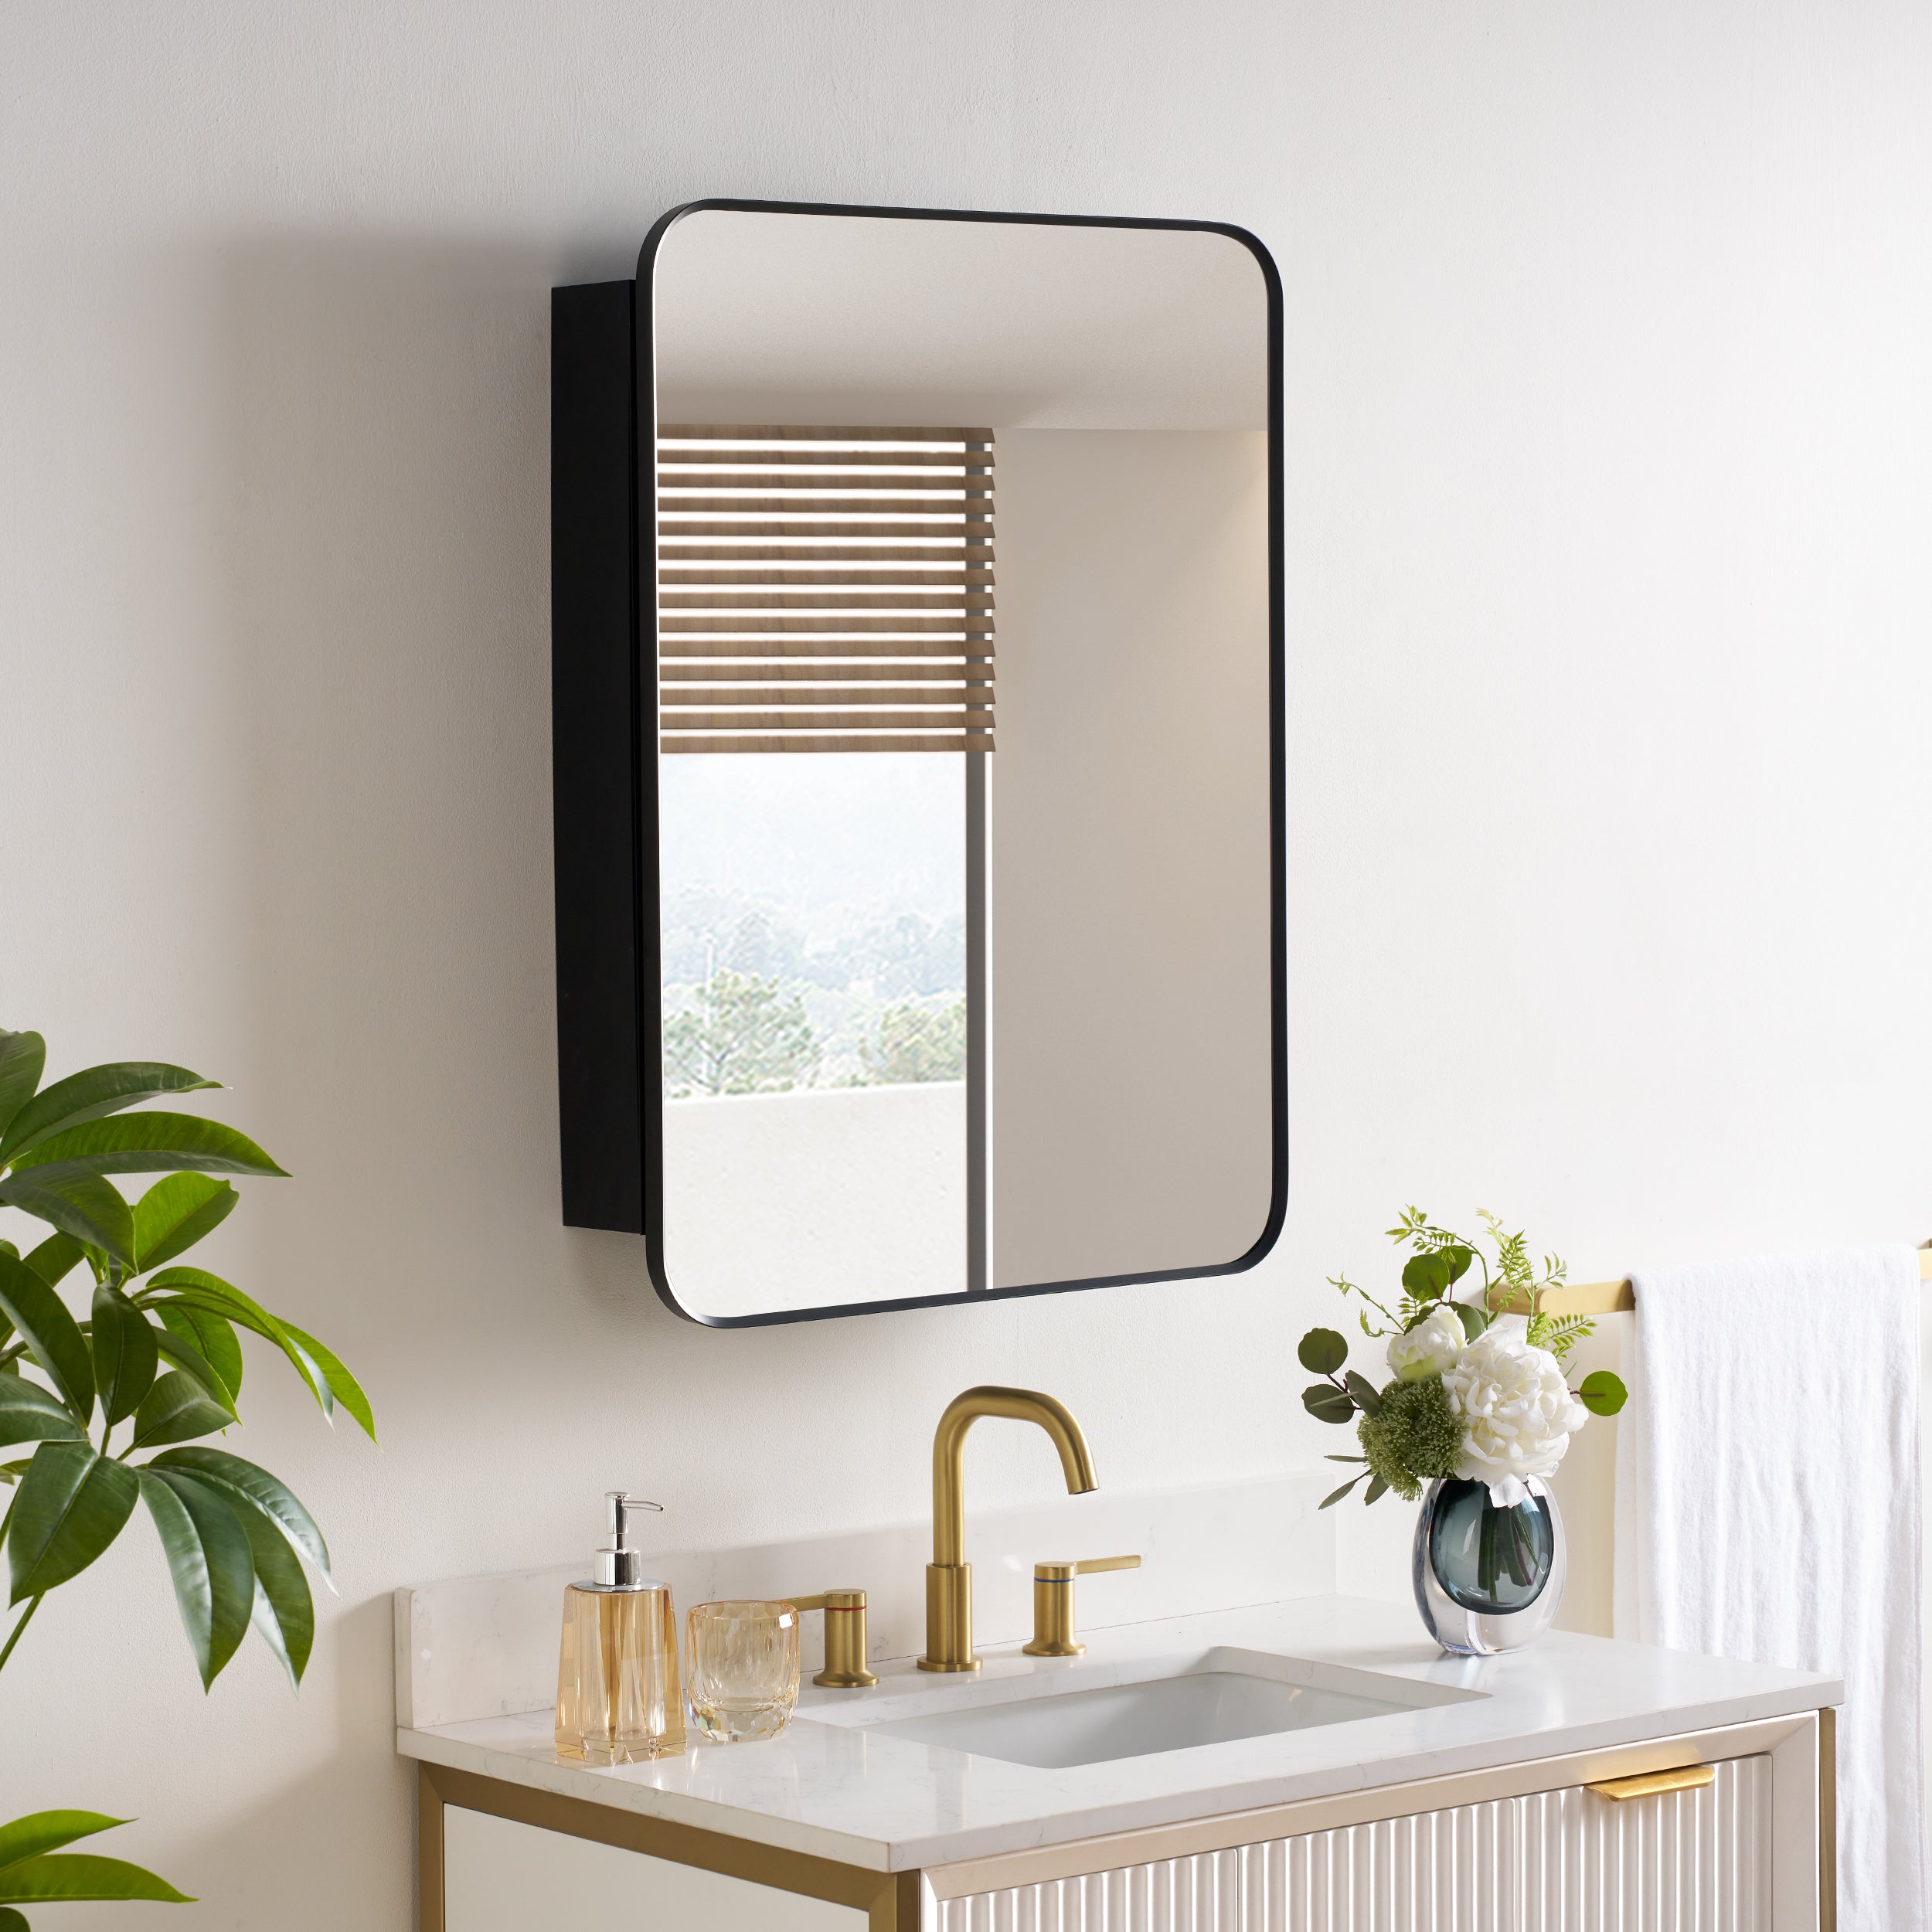
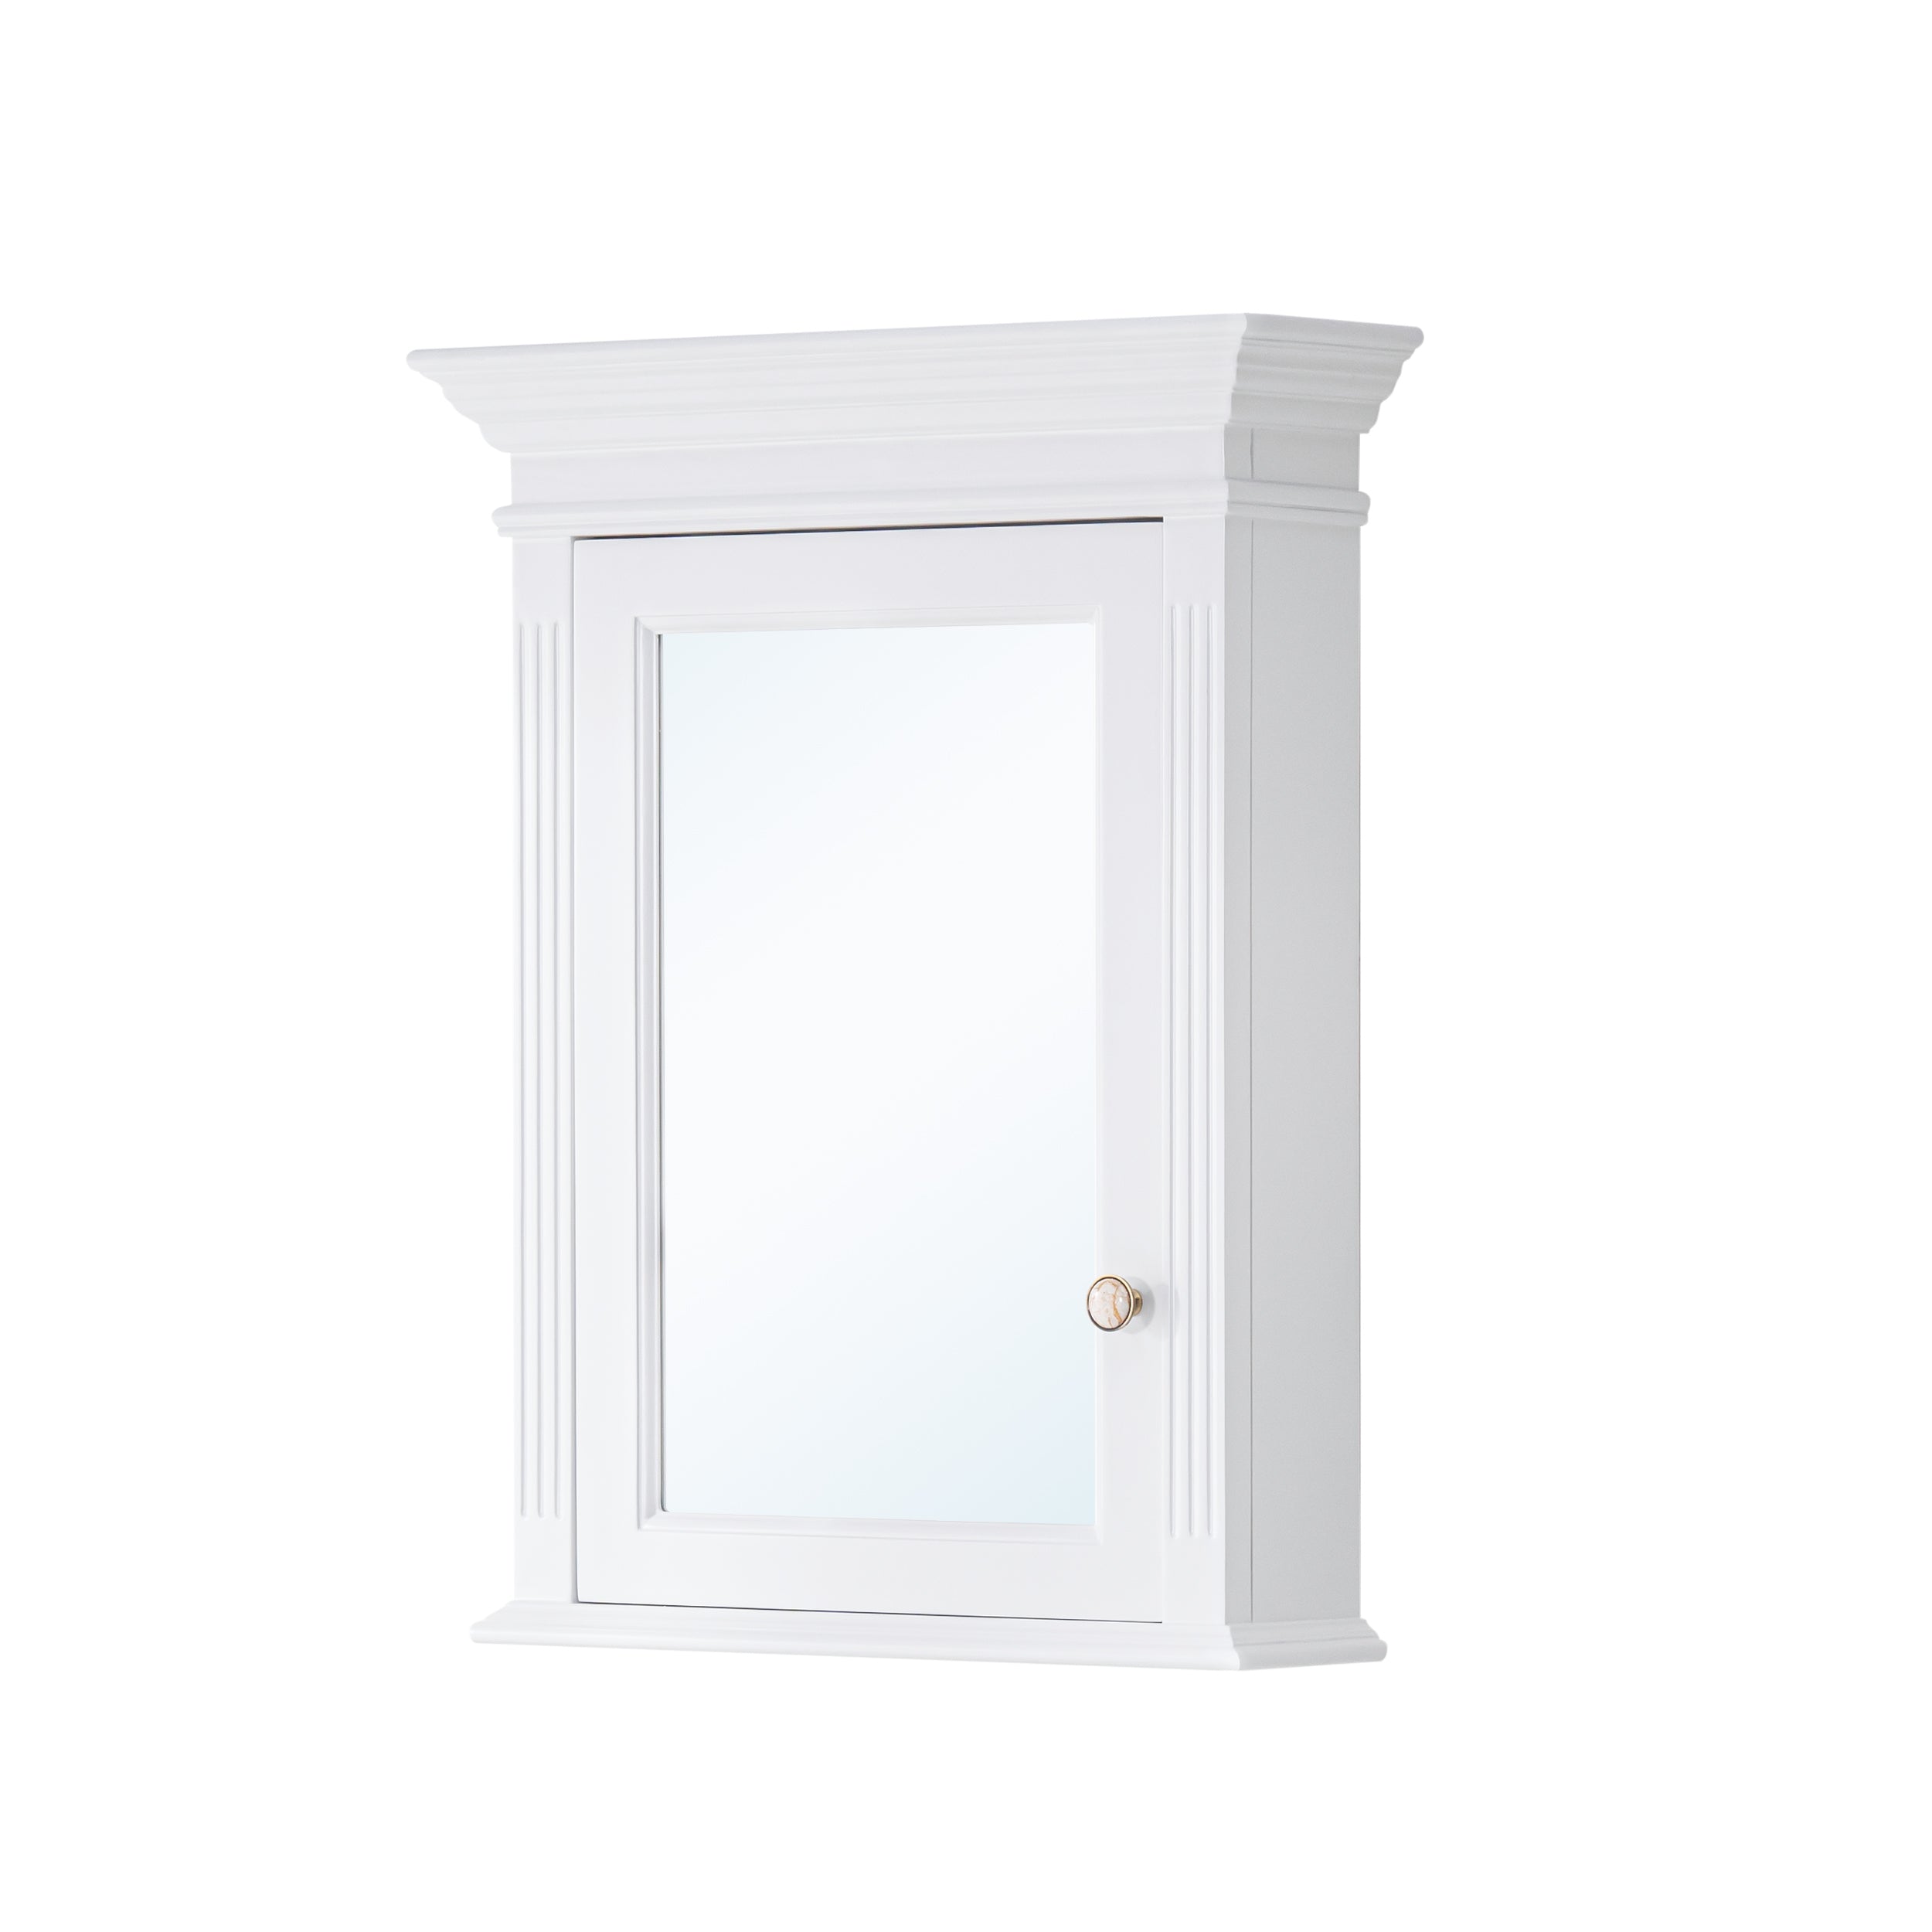
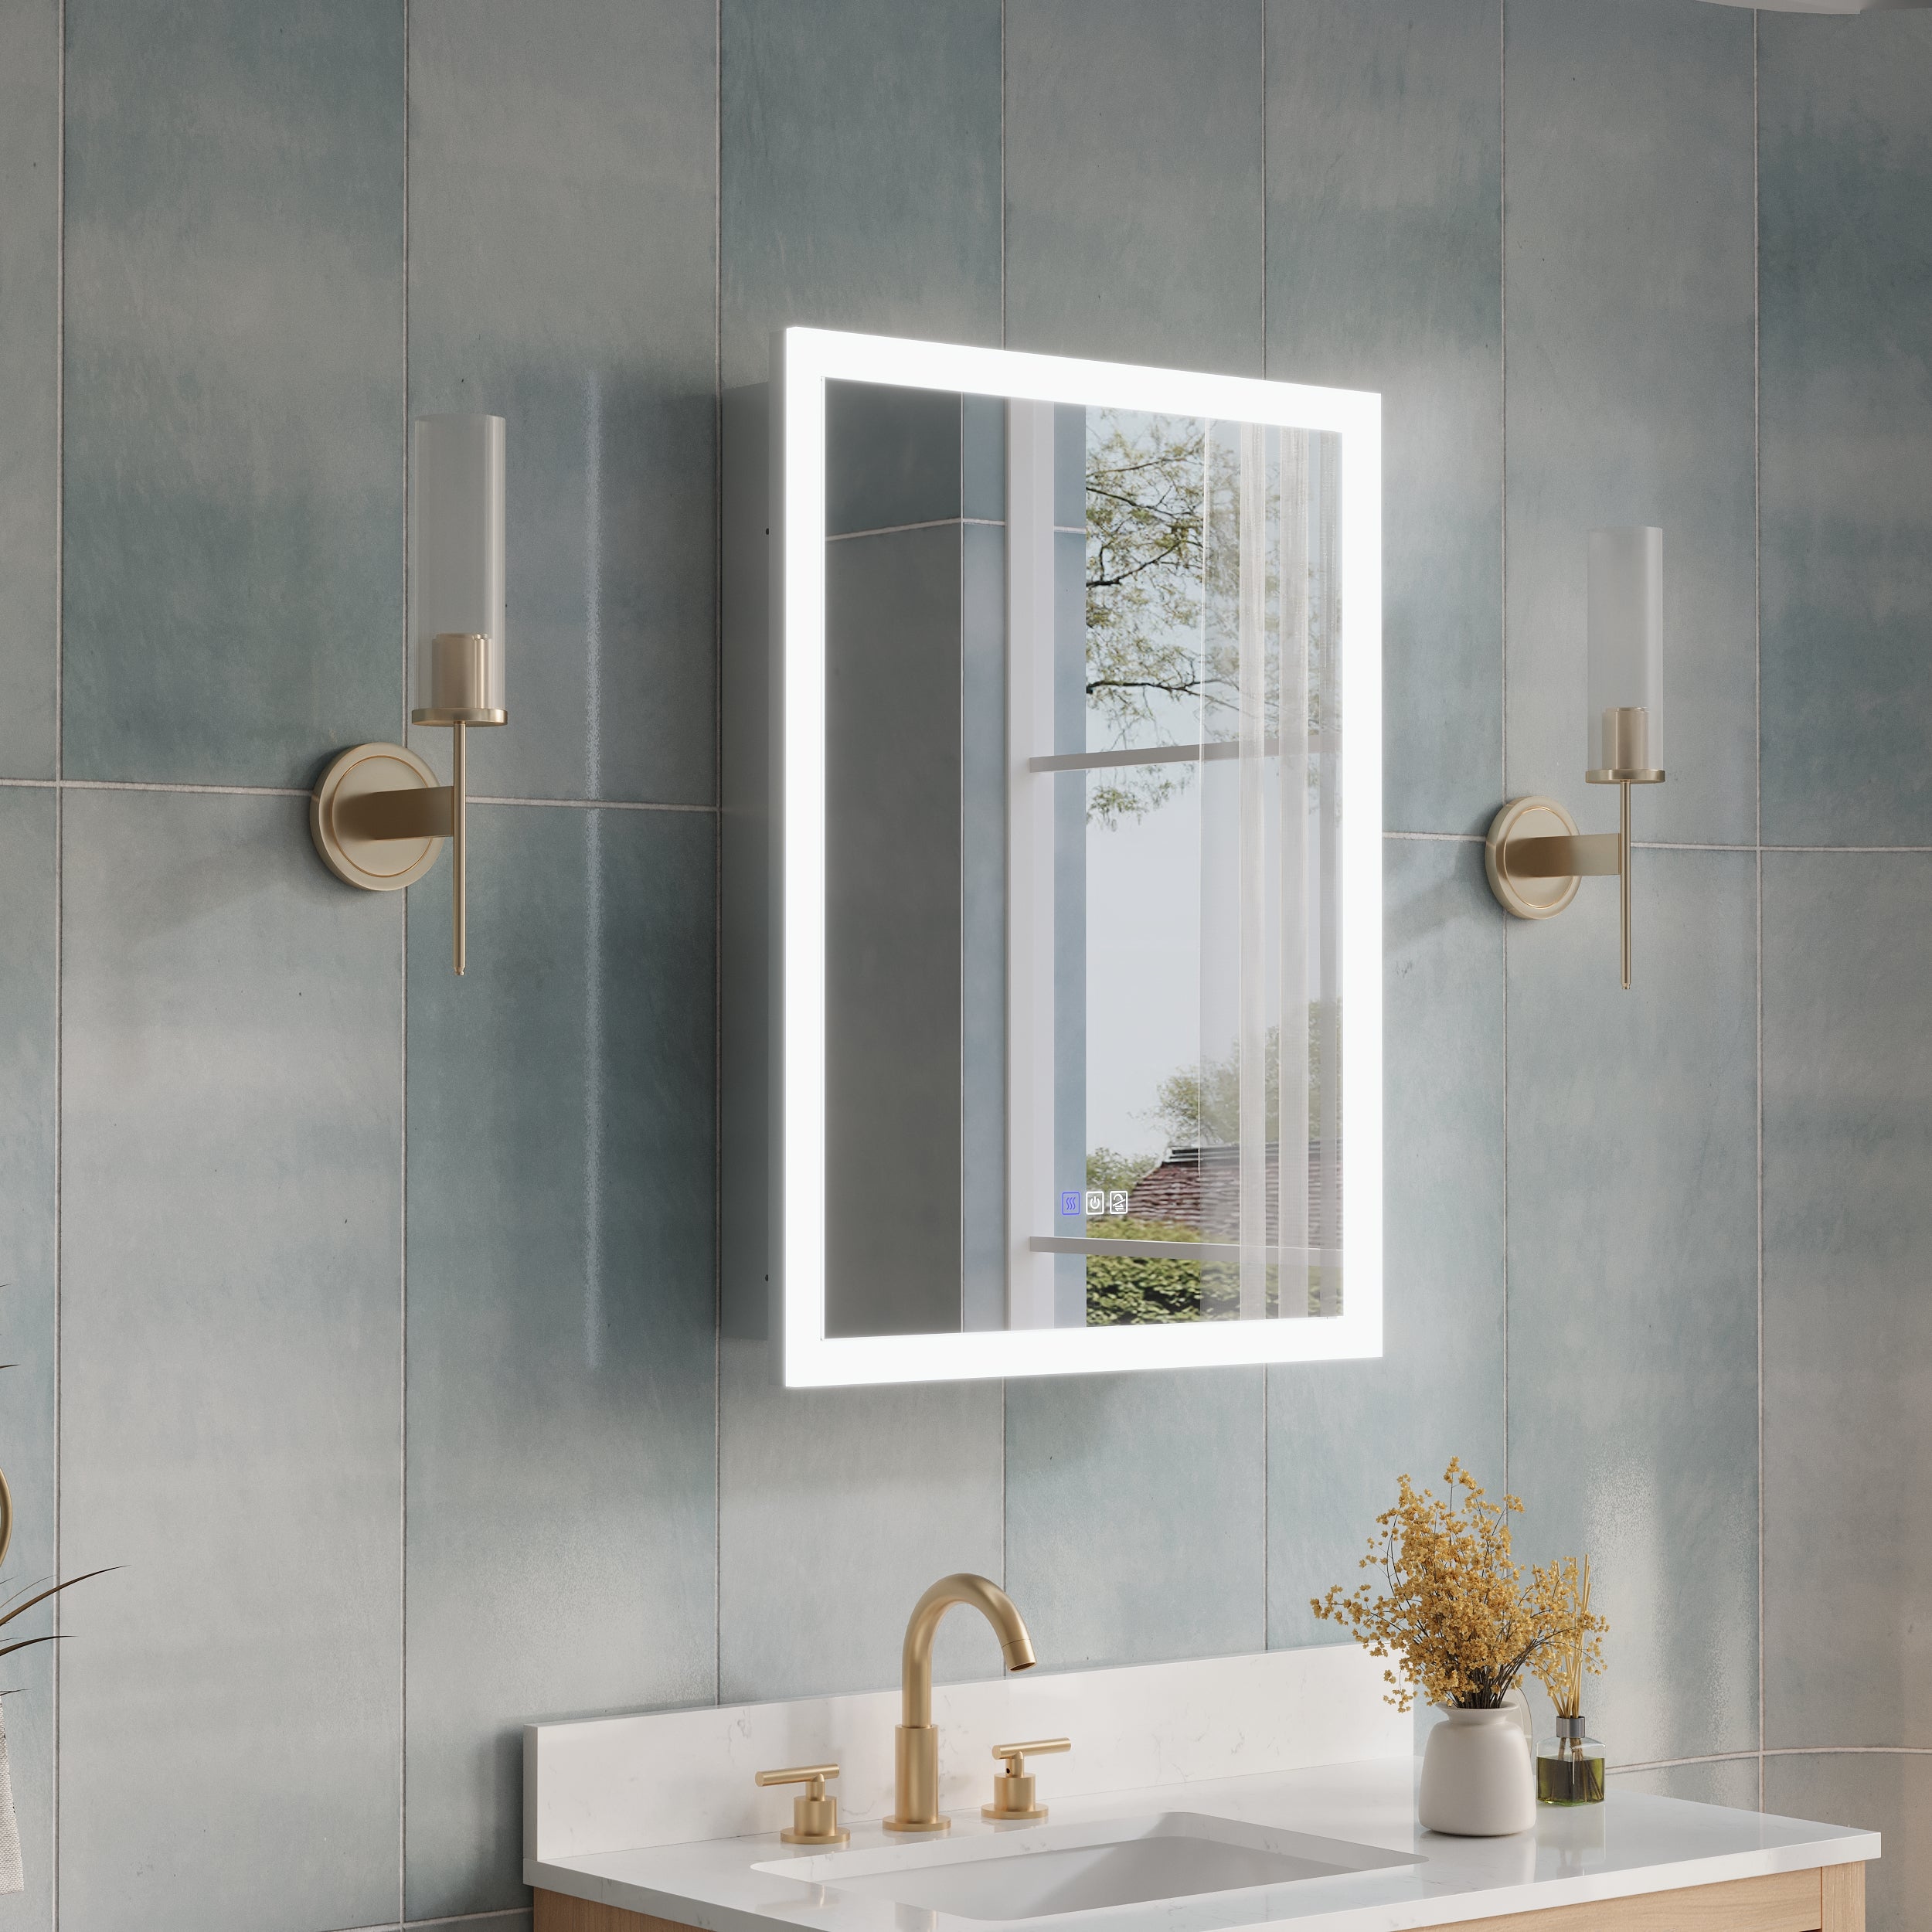
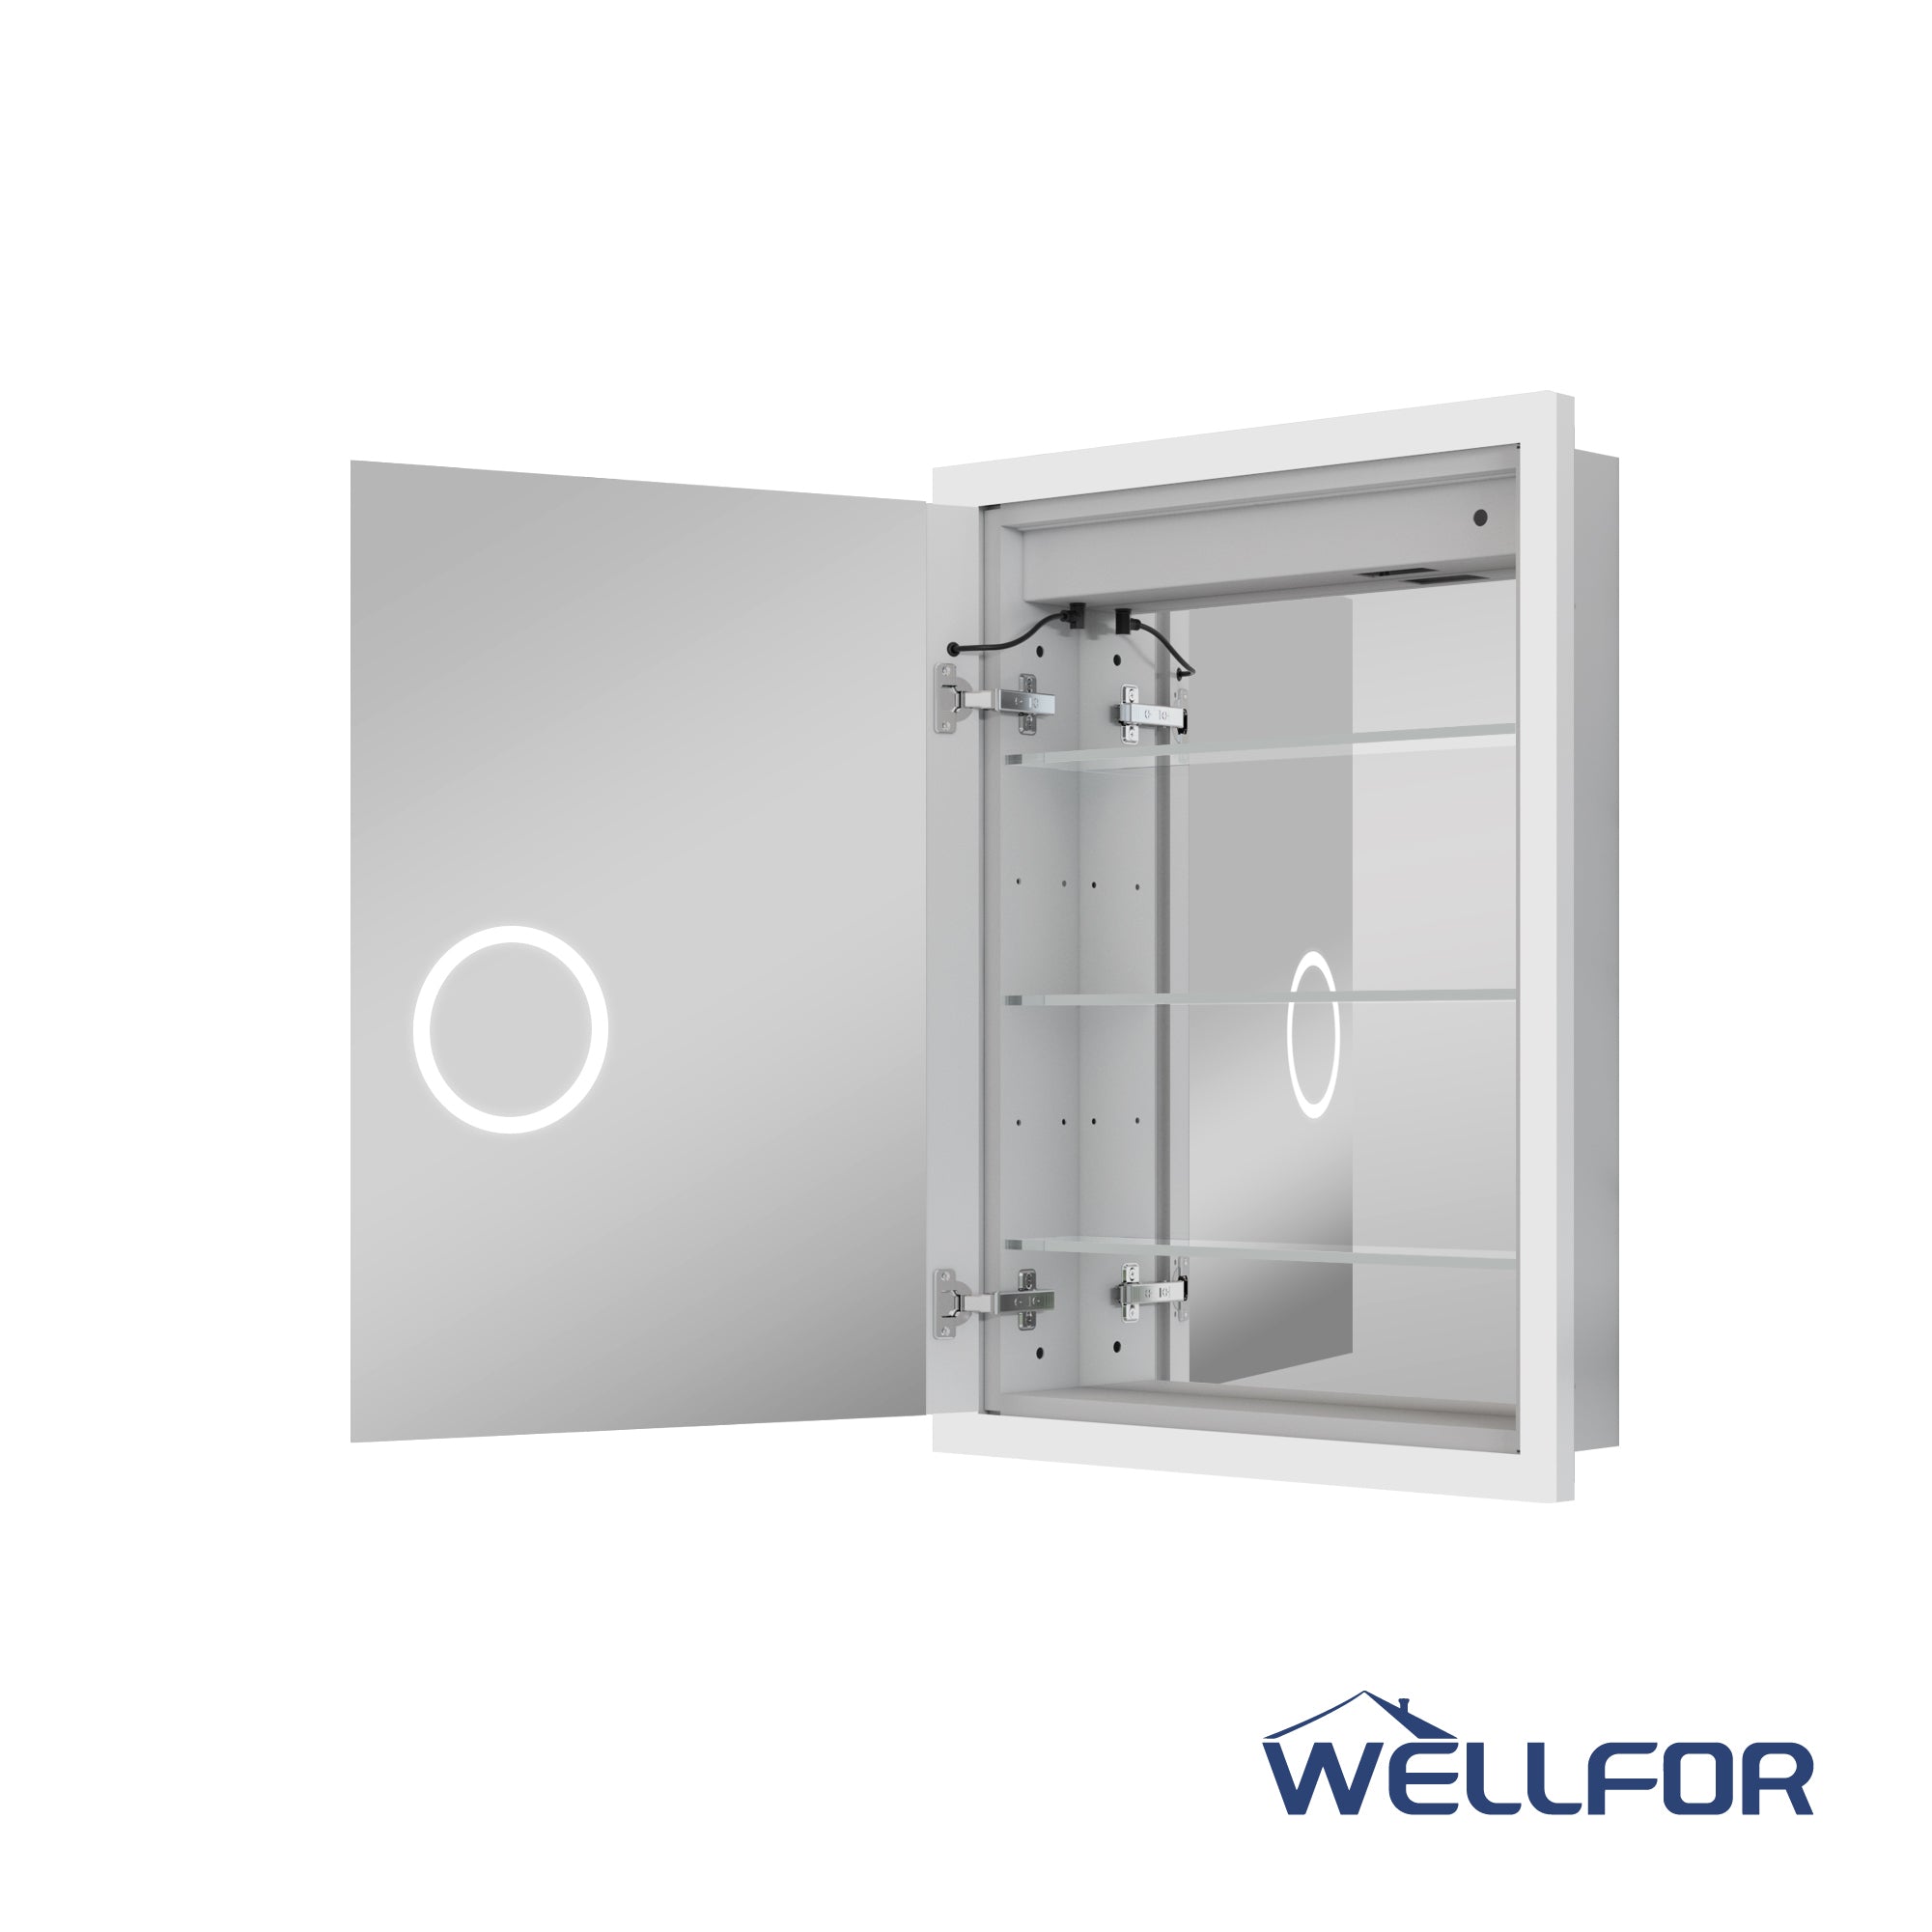
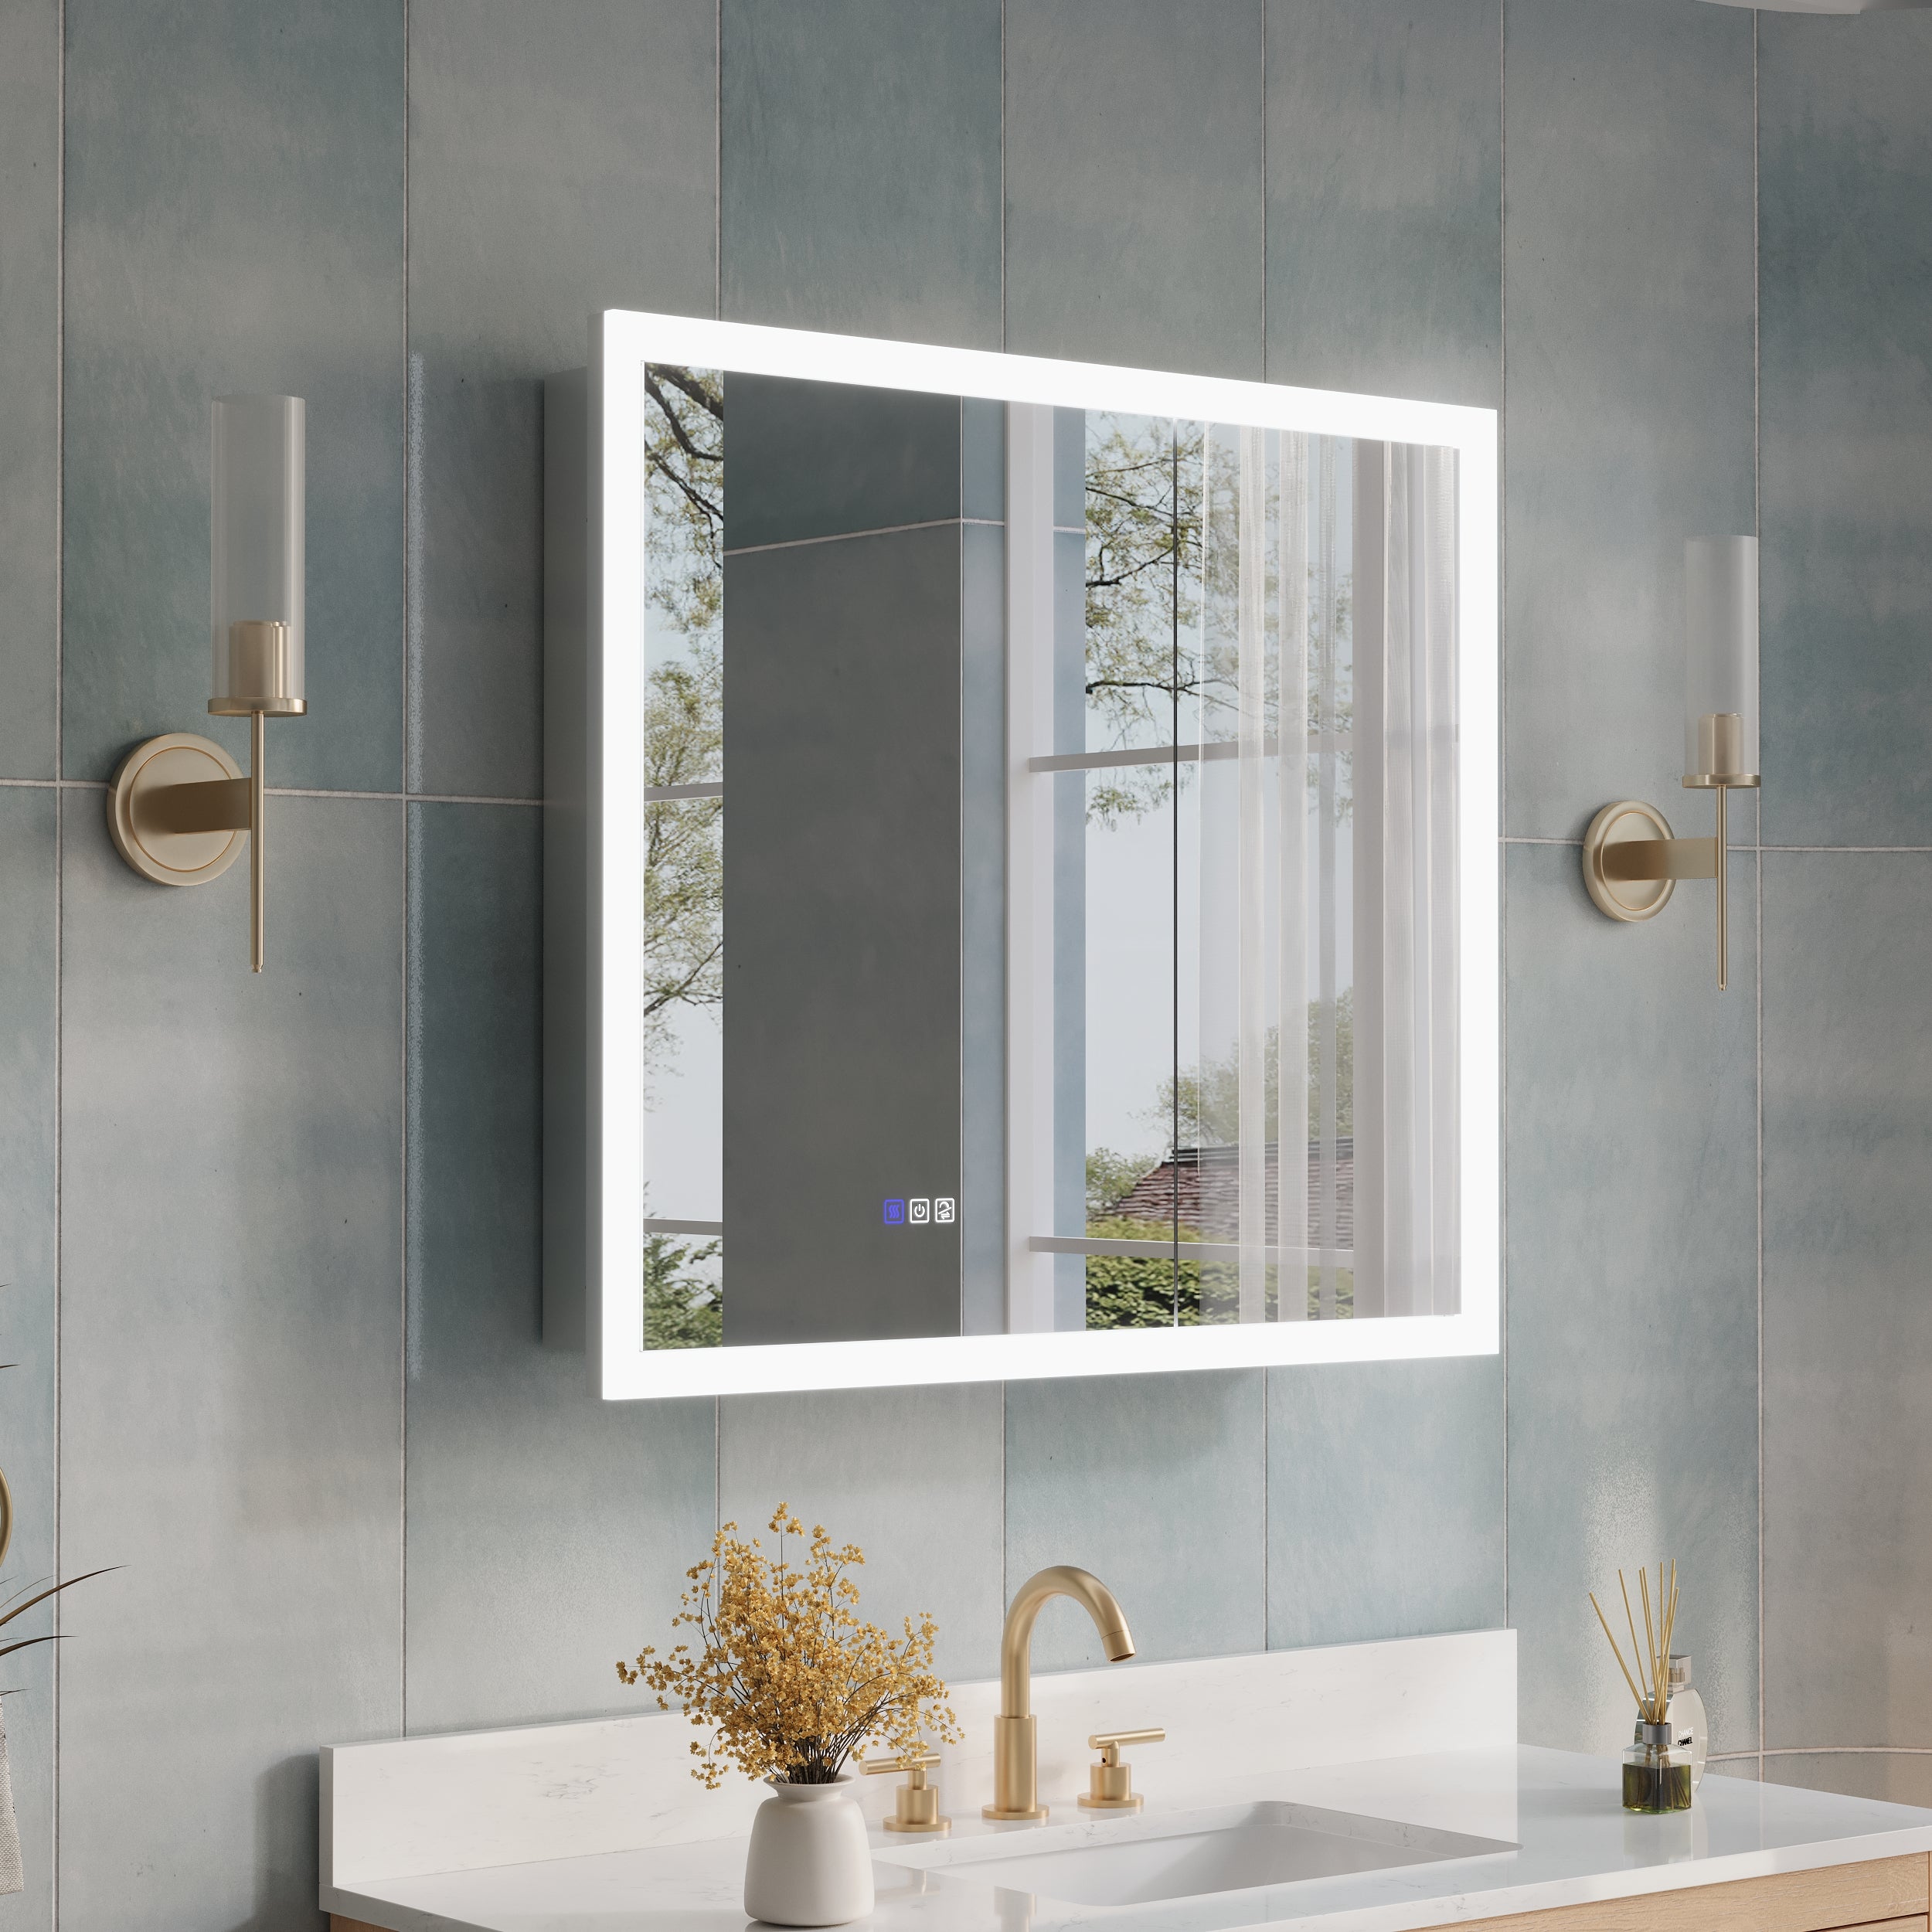
Are you tired of constantly searching for an outlet to plug in your electric toothbrush or hair dryer in your bathroom? Installing an electrical outlet in your medicine cabinet can be a convenient and practical solution. Not only will it provide easy access to power for your bathroom appliances, but it can also help declutter your bathroom counter. In this article, we will guide you through the process of installing a medicine cabinet with outlet.
Why Install an Electrical Outlet in a Medicine Cabinet?
Convenience and Accessibility
Having an electrical outlet in your medicine cabinet can make your morning routine more efficient. No more searching for an outlet or having cords cluttering your bathroom counter. With an outlet in your medicine cabinet, you can easily plug in your electric toothbrush, hair dryer, or any other bathroom appliance without having to leave your bathroom.
Safety
Installing an electrical outlet in your medicine cabinet can also be a safer option. It eliminates the risk of water coming into contact with your appliances, reducing the risk of electrical shock. It also keeps cords out of reach of children, making your bathroom a safer environment.
Aesthetics
Having an outlet in your medicine cabinet can also improve the overall look of your bathroom. With cords hidden away, your bathroom counter will look more organized and clutter-free.
What You Will Need
Before you begin the installation process, make sure you have the following tools and materials:
- Medicine cabinet with a pre-cut hole for an outlet
- Electrical outlet
- Electrical wire
- Wire stripper
- Screwdriver
- Electrical tape
- Wire connectors
- Electrical box
- Drill
- Drywall saw
- Pencil
- Safety glasses
- Gloves
Step-by-Step Guide

Step 1: Choose the Right Medicine Cabinet
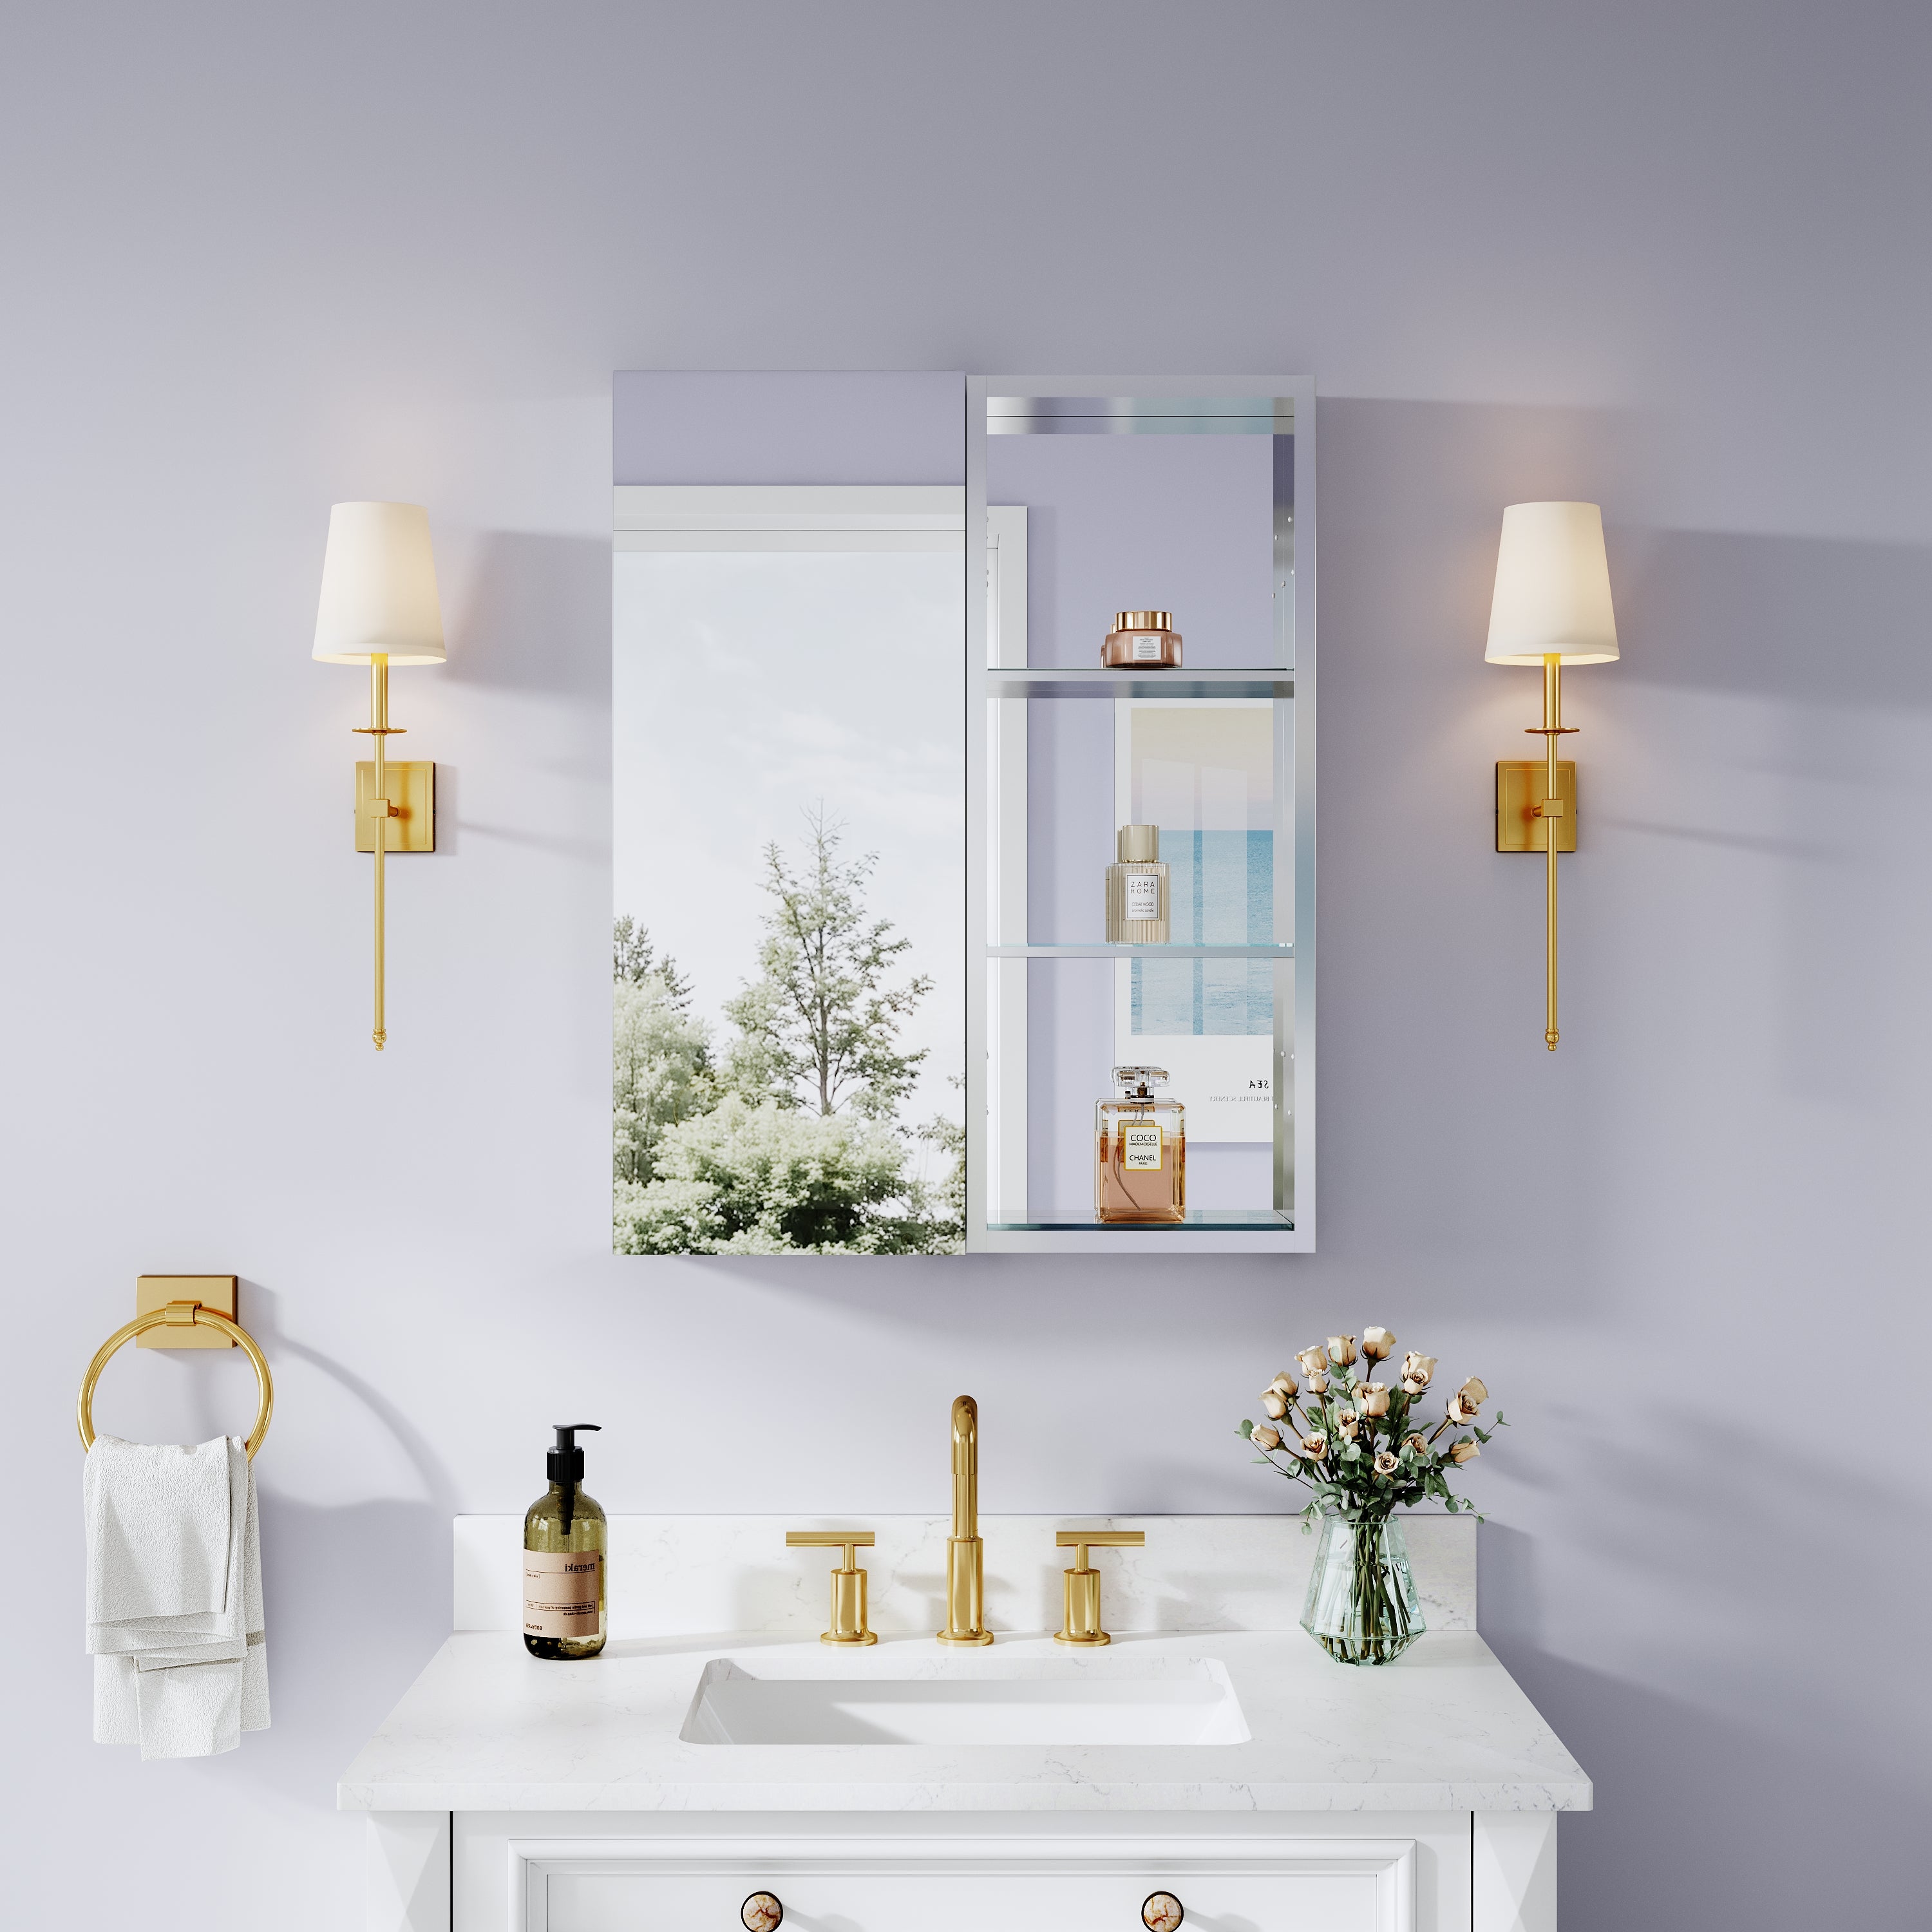
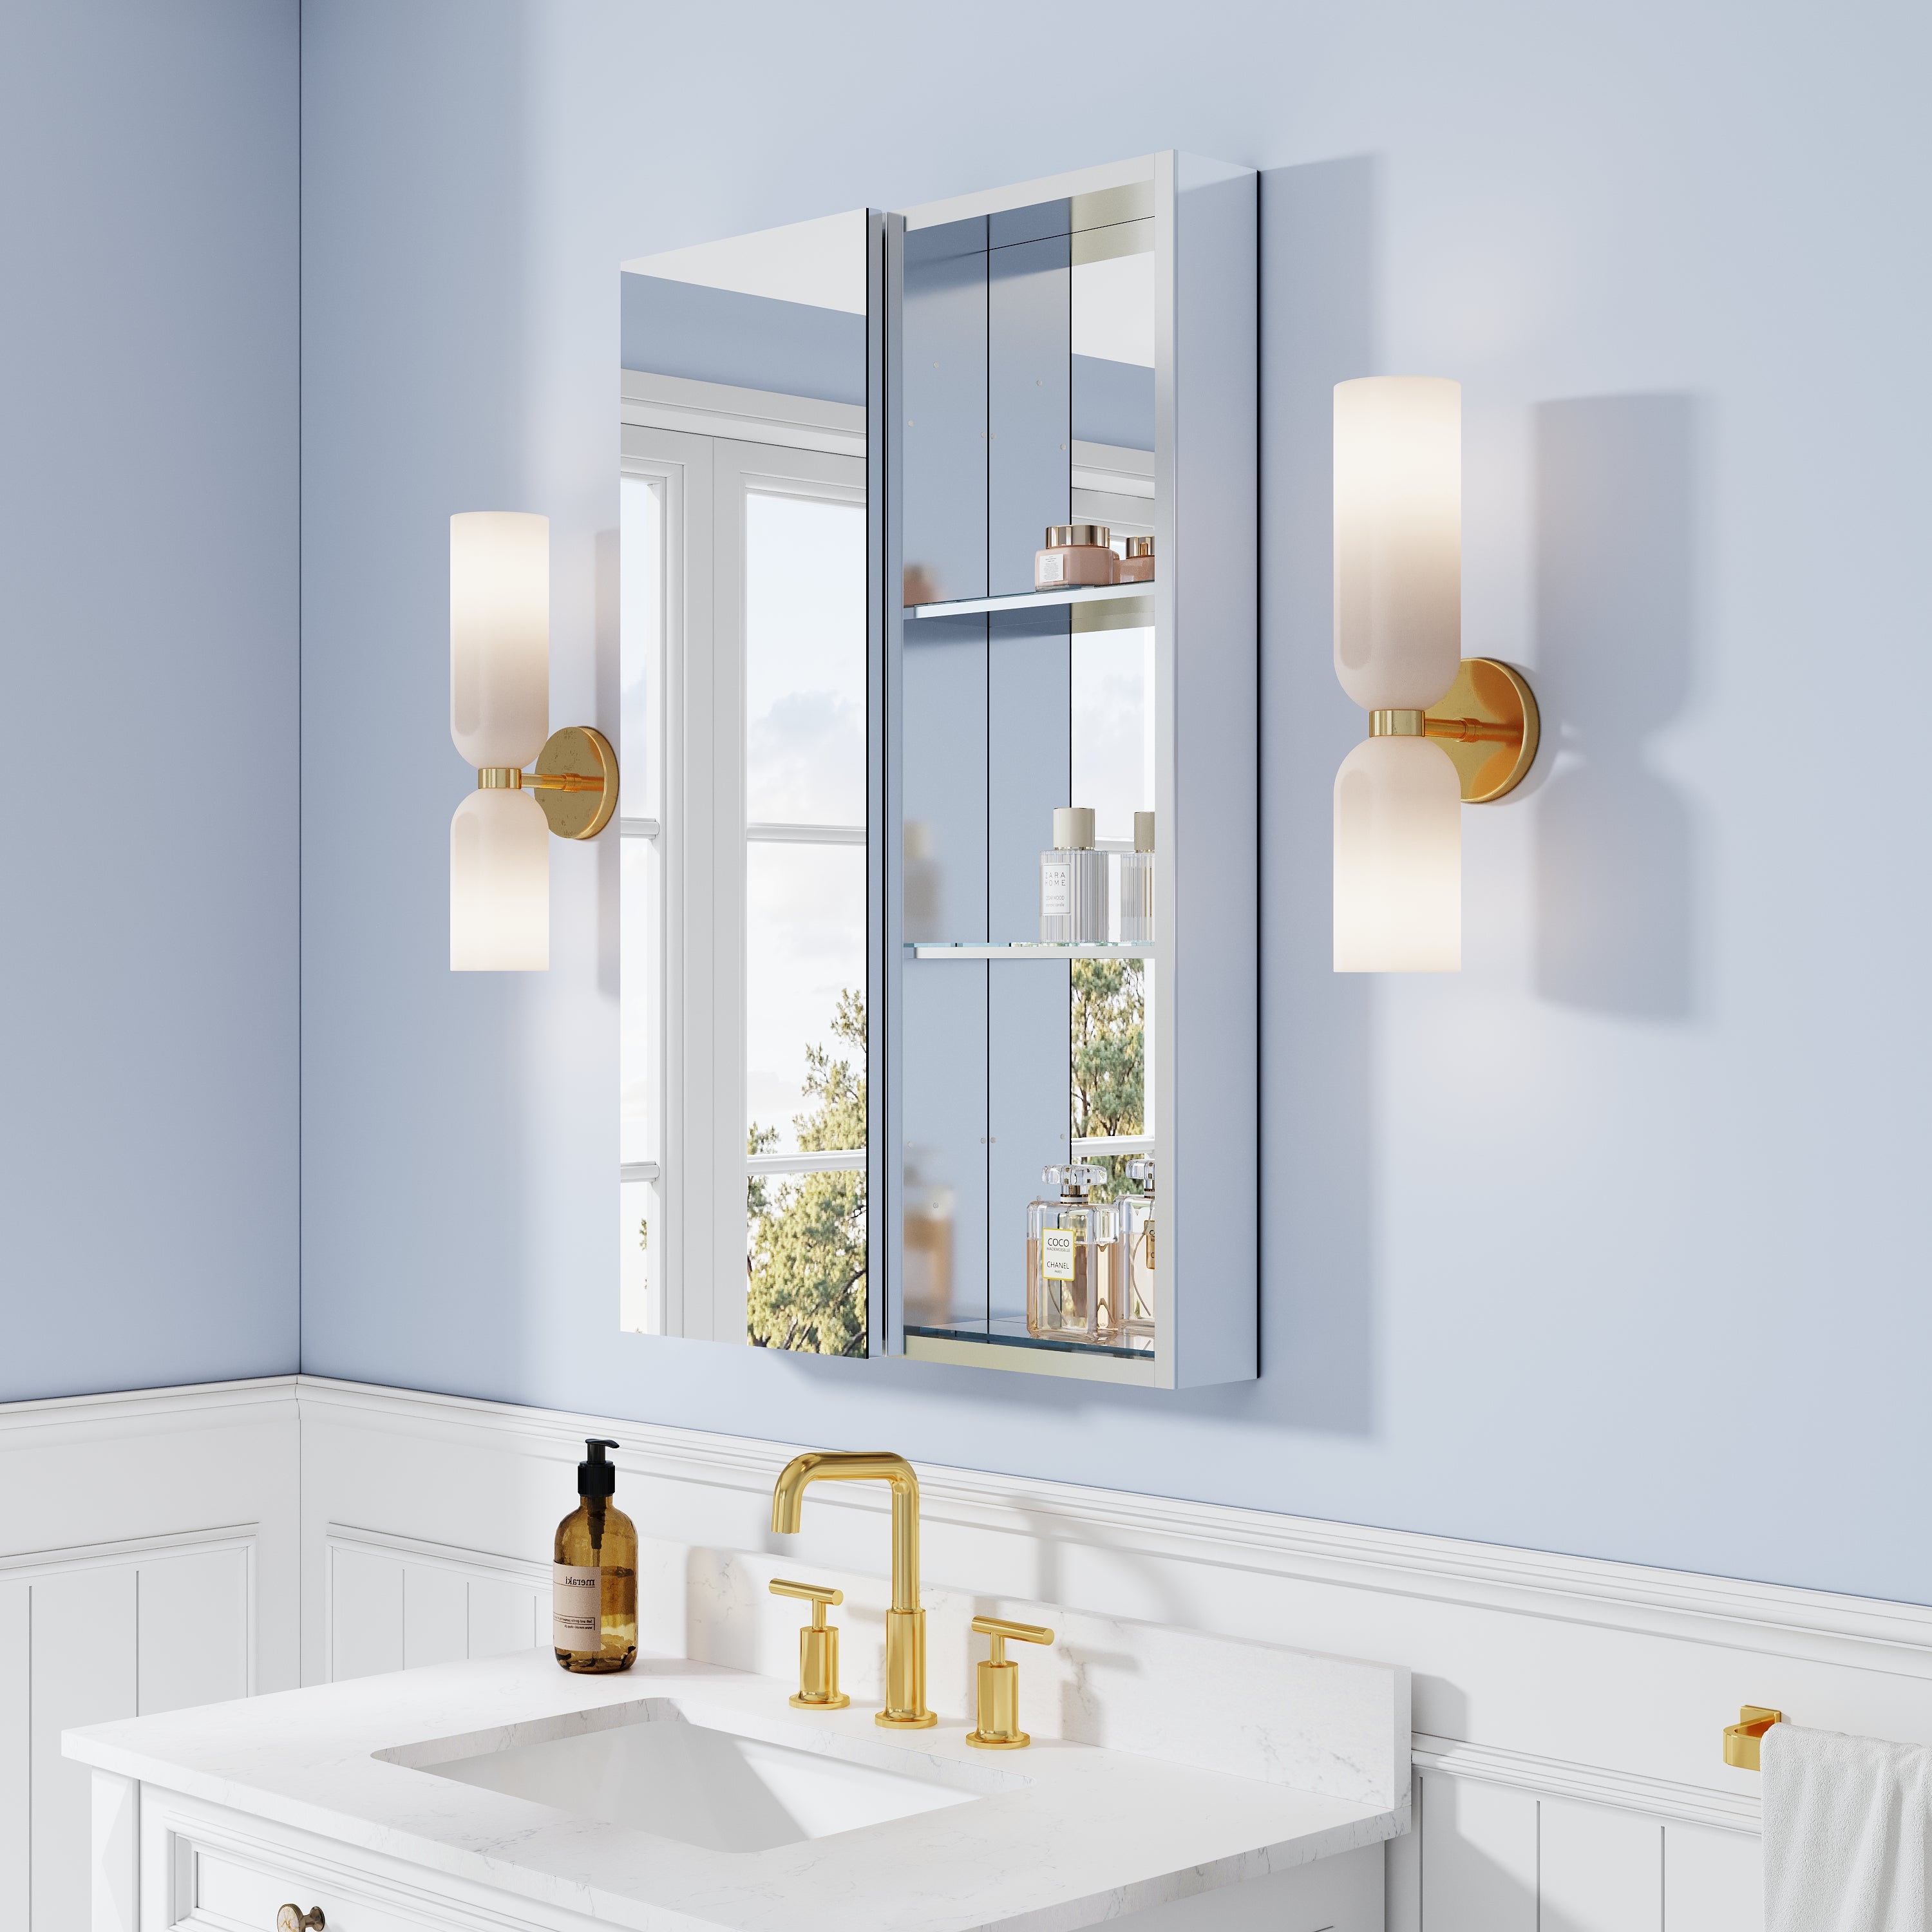
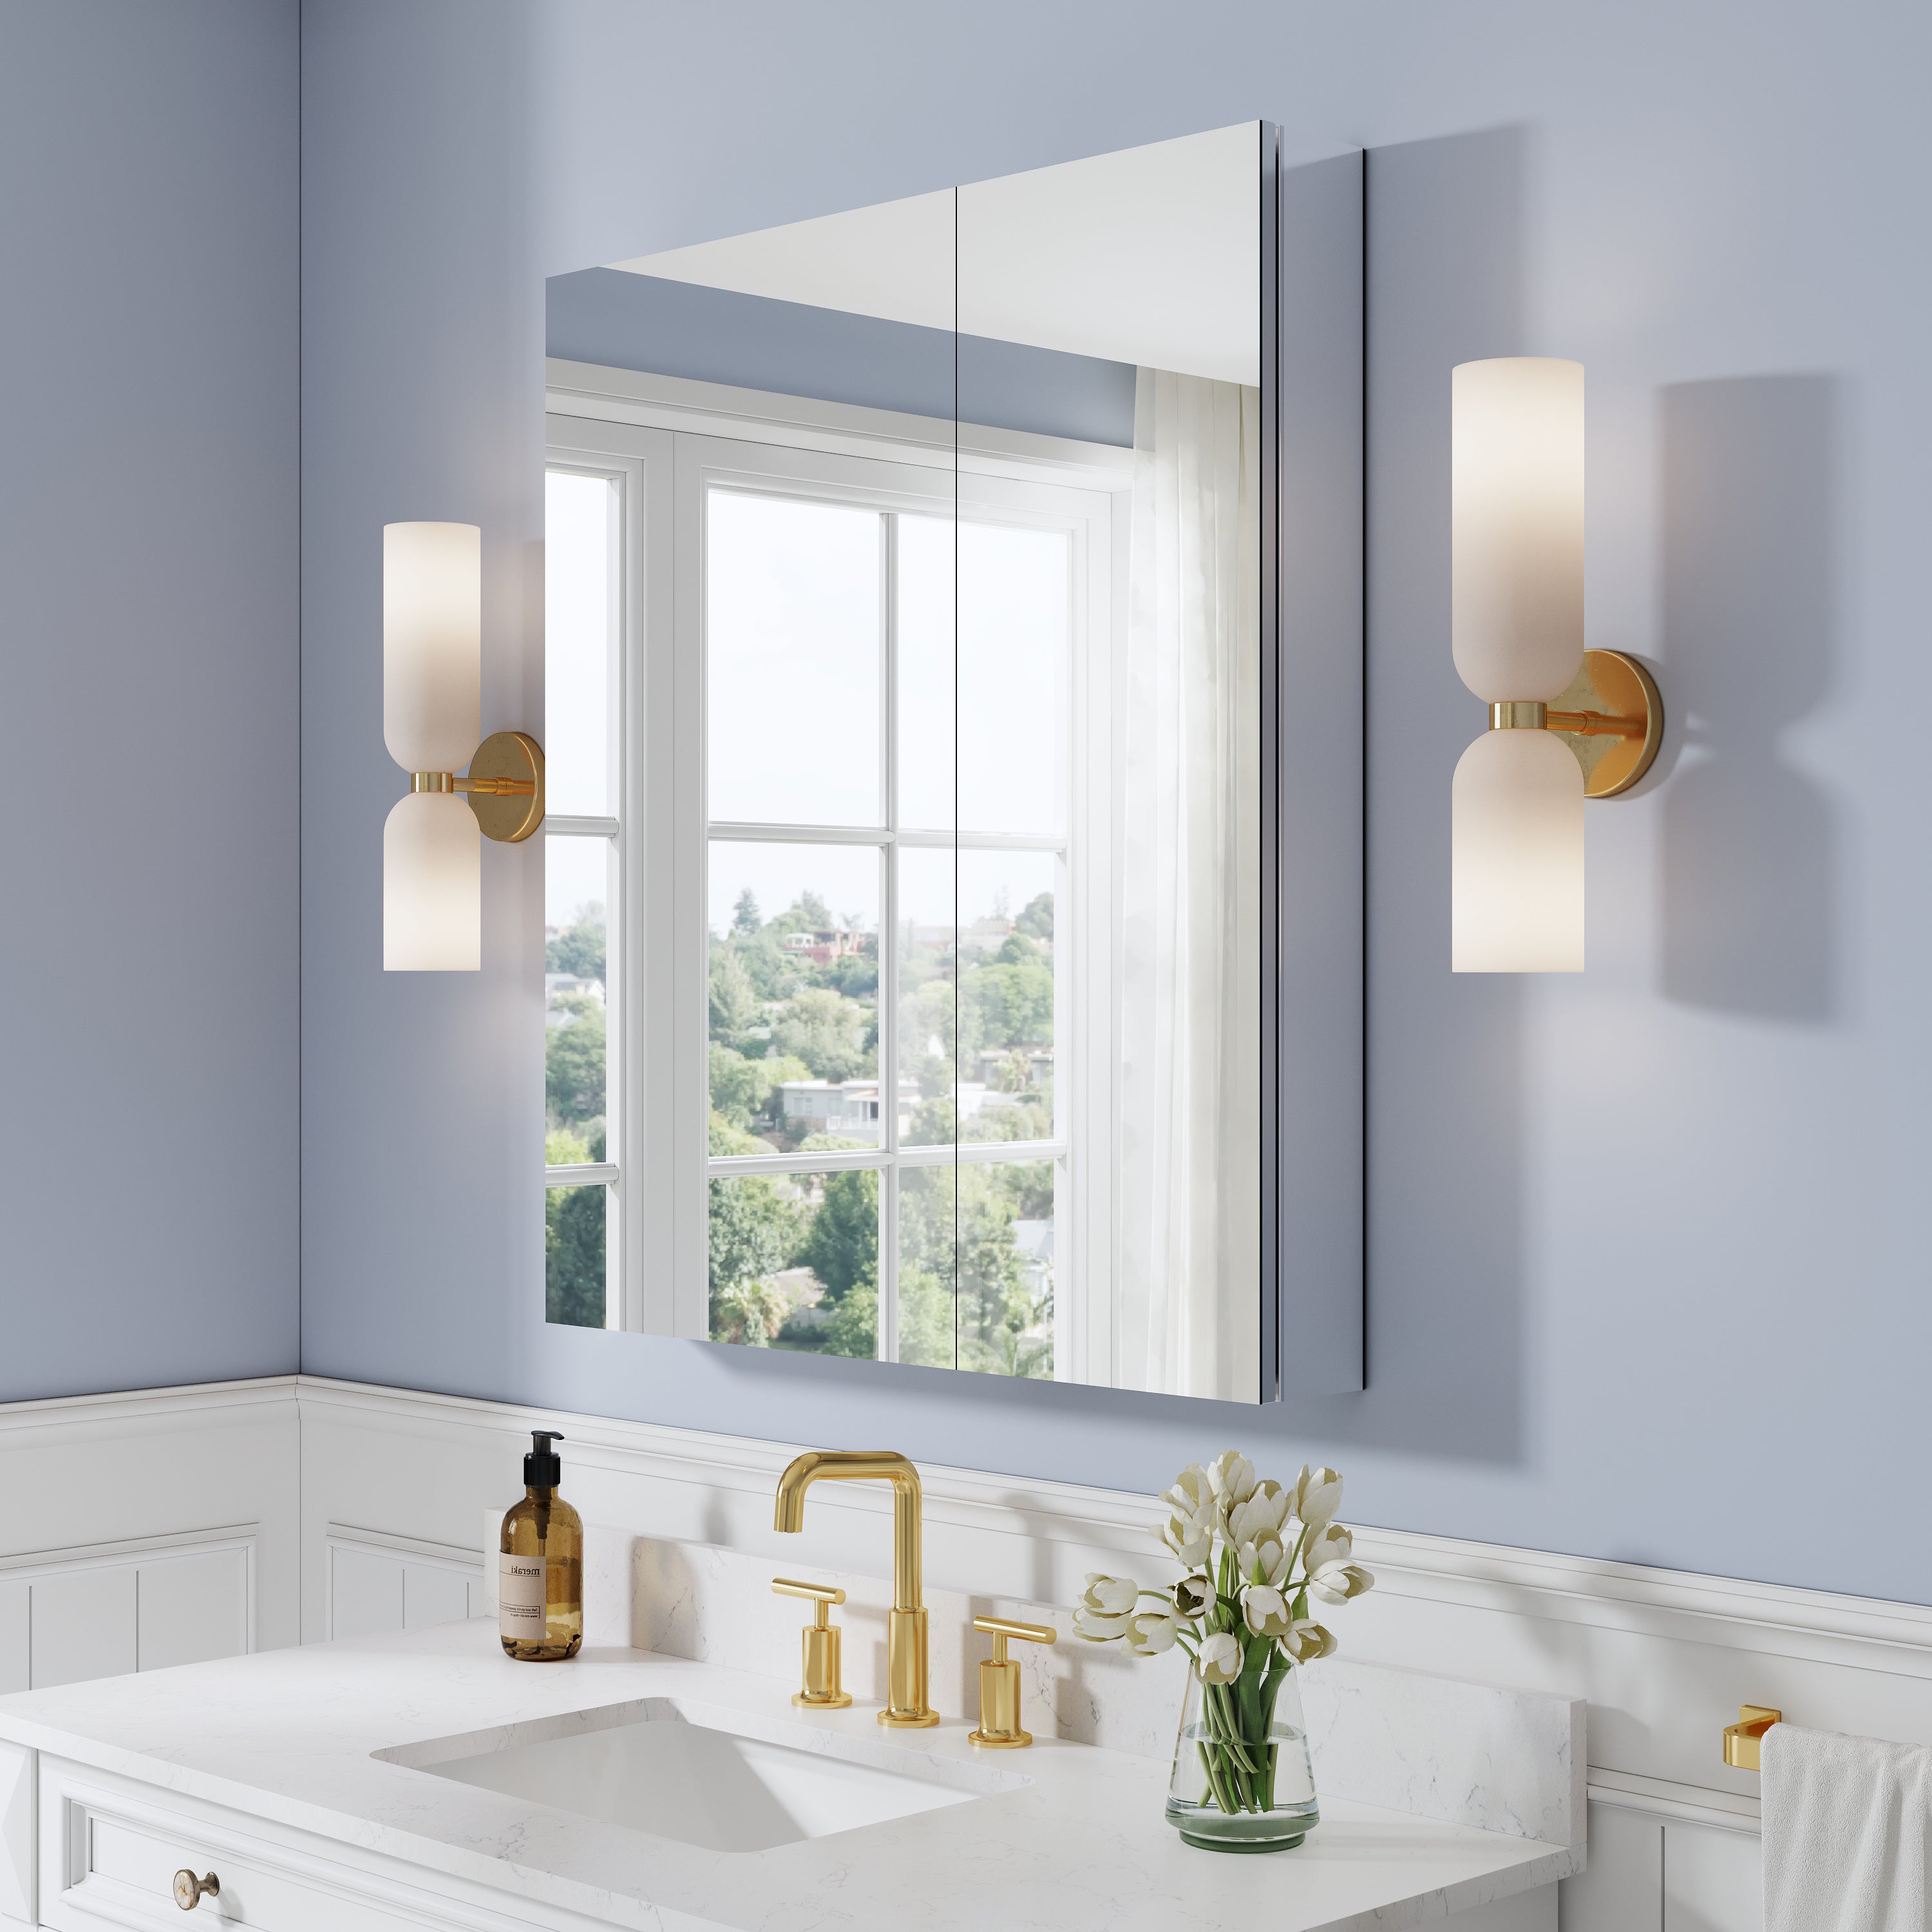
The first step is to choose a medicine cabinet that has a pre-cut hole for an outlet. This will make the installation process much easier. You can find these types of medicine cabinets at most home improvement stores.
Step 2: Turn Off the Power
Before you begin any electrical work, make sure to turn off the power to the area where you will be working. This will ensure your safety and prevent any accidents.
Step 3: Mark the Location of the Outlet
Place the medicine cabinet on the wall where you want it to be installed. Use a pencil to mark the location of the outlet on the back of the cabinet. Make sure the location is centered and at least 1 inch away from the edge of the cabinet.
Step 4: Cut the Hole for the Outlet
Using a drill and a drywall saw, carefully cut out the marked area on the back of the medicine cabinet. Make sure to wear safety glasses and gloves while doing this step.
Step 5: Install the Electrical Box
Insert the electrical box into the hole you just cut. Use a screwdriver to secure it in place. Make sure the box is flush with the back of the cabinet.
Step 6: Run the Electrical Wire
Run the electrical wire from the outlet to the electrical box. Make sure to leave enough wire to connect to the outlet and to reach the power source.
Step 7: Strip the Wires
Using a wire stripper, strip the ends of the electrical wire. Make sure to strip enough wire to connect to the outlet and to the power source.
Step 8: Connect the Wires
Connect the black wire to the brass screw on the outlet and the white wire to the silver screw. Use wire connectors to secure the wires in place. Connect the ground wire to the green screw on the outlet.
Step 9: Install the Outlet
Carefully insert the outlet into the electrical box. Use a screwdriver to secure it in place. Make sure the outlet is flush with the back of the cabinet.
Step 10: Connect the Outlet to the Power Source
Run the electrical wire to the power source and connect it to the circuit breaker. Make sure to follow all safety precautions and consult a professional if you are unsure about this step.
Step 11: Test the Outlet
Once everything is connected, turn the power back on and test the outlet to make sure it is working properly.
Tips for a Successful Installation
- Make sure to turn off the power before beginning any electrical work.
- Use safety glasses and gloves when cutting holes and handling wires.
- Consult a professional if you are unsure about any steps in the installation process.
- Make sure the outlet is flush with the back of the cabinet to avoid any gaps.
- Use wire connectors to secure the wires in place.
- Test the outlet before using it to make sure it is working properly.
Installing an electrical outlet in a medicine cabinet with outlet can be a convenient and practical solution for your bathroom. It provides easy access to power for your bathroom appliances, improves safety, and enhances the overall look of your bathroom. By following our step-by-step guide and using the right tools and materials, you can successfully install an electrical outlet in your medicine cabinet. Say goodbye to cluttered bathroom counters and hello to a more efficient morning routine.


















Leave a comment
This site is protected by hCaptcha and the hCaptcha Privacy Policy and Terms of Service apply.