

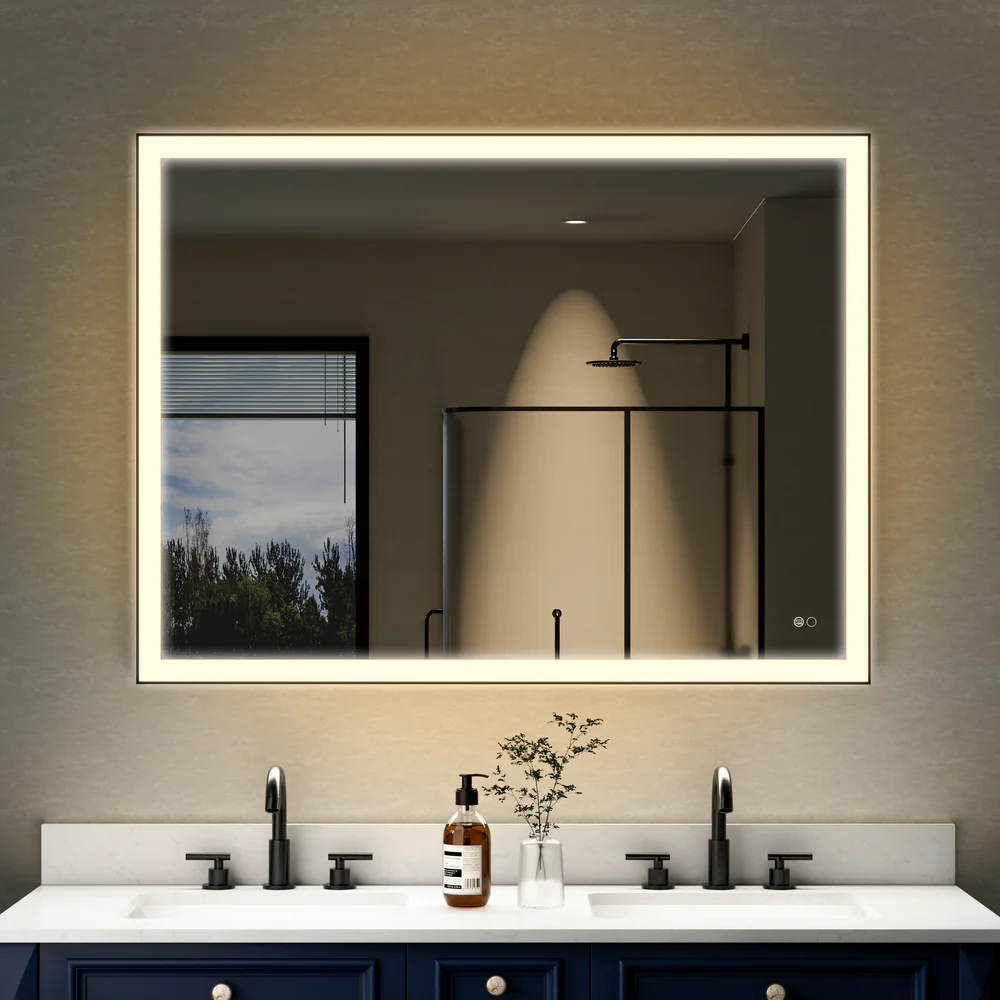
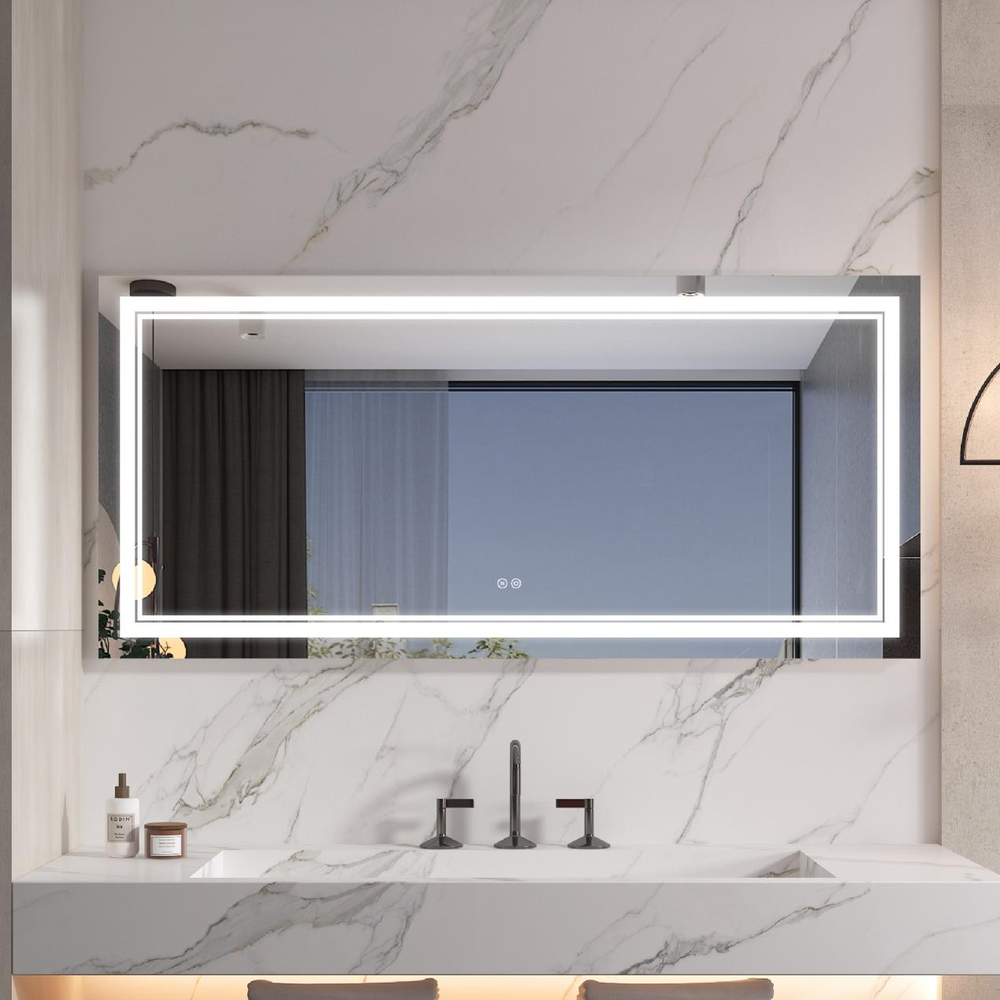
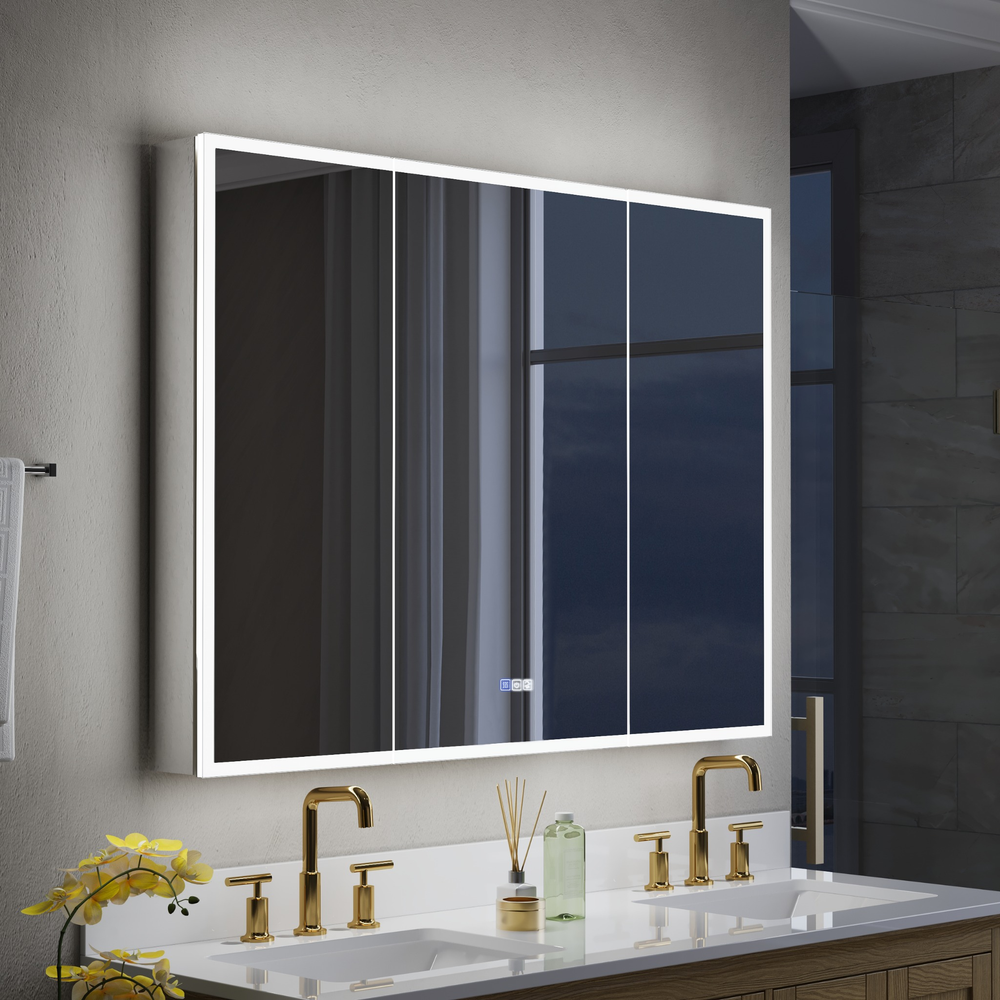
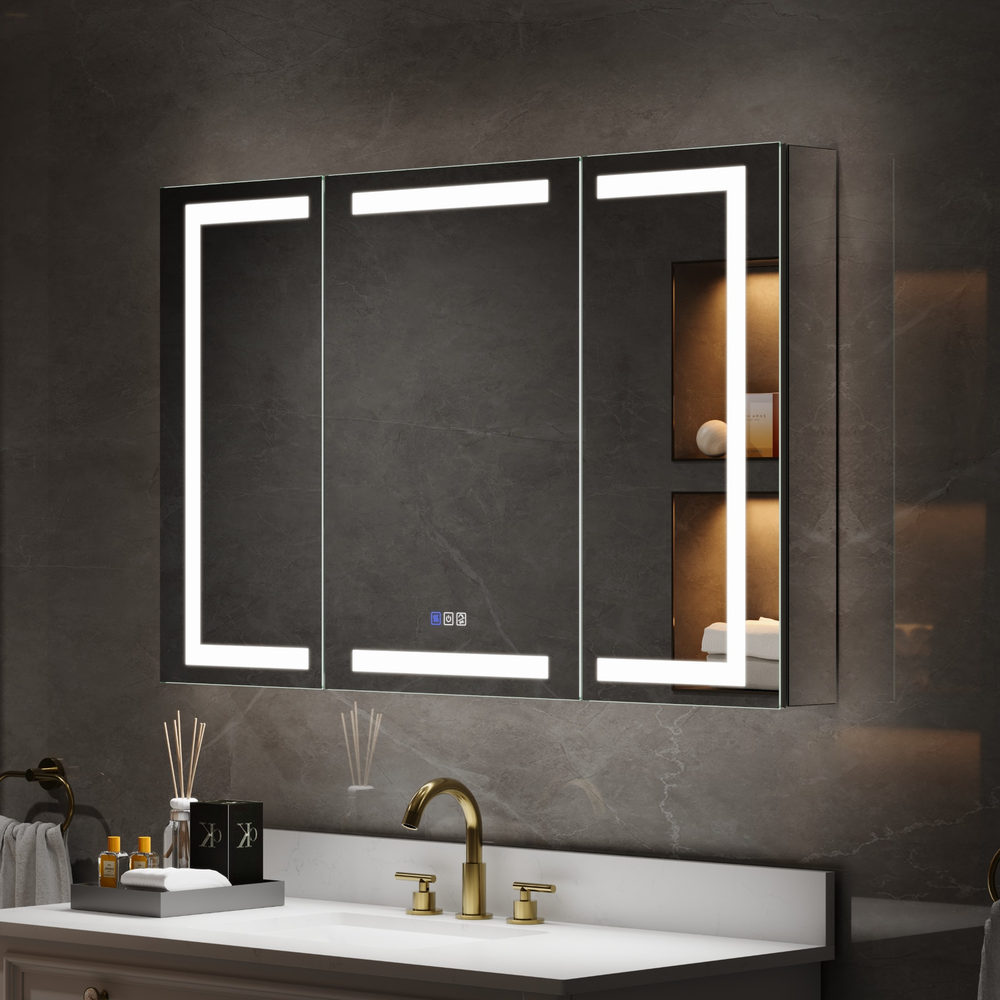


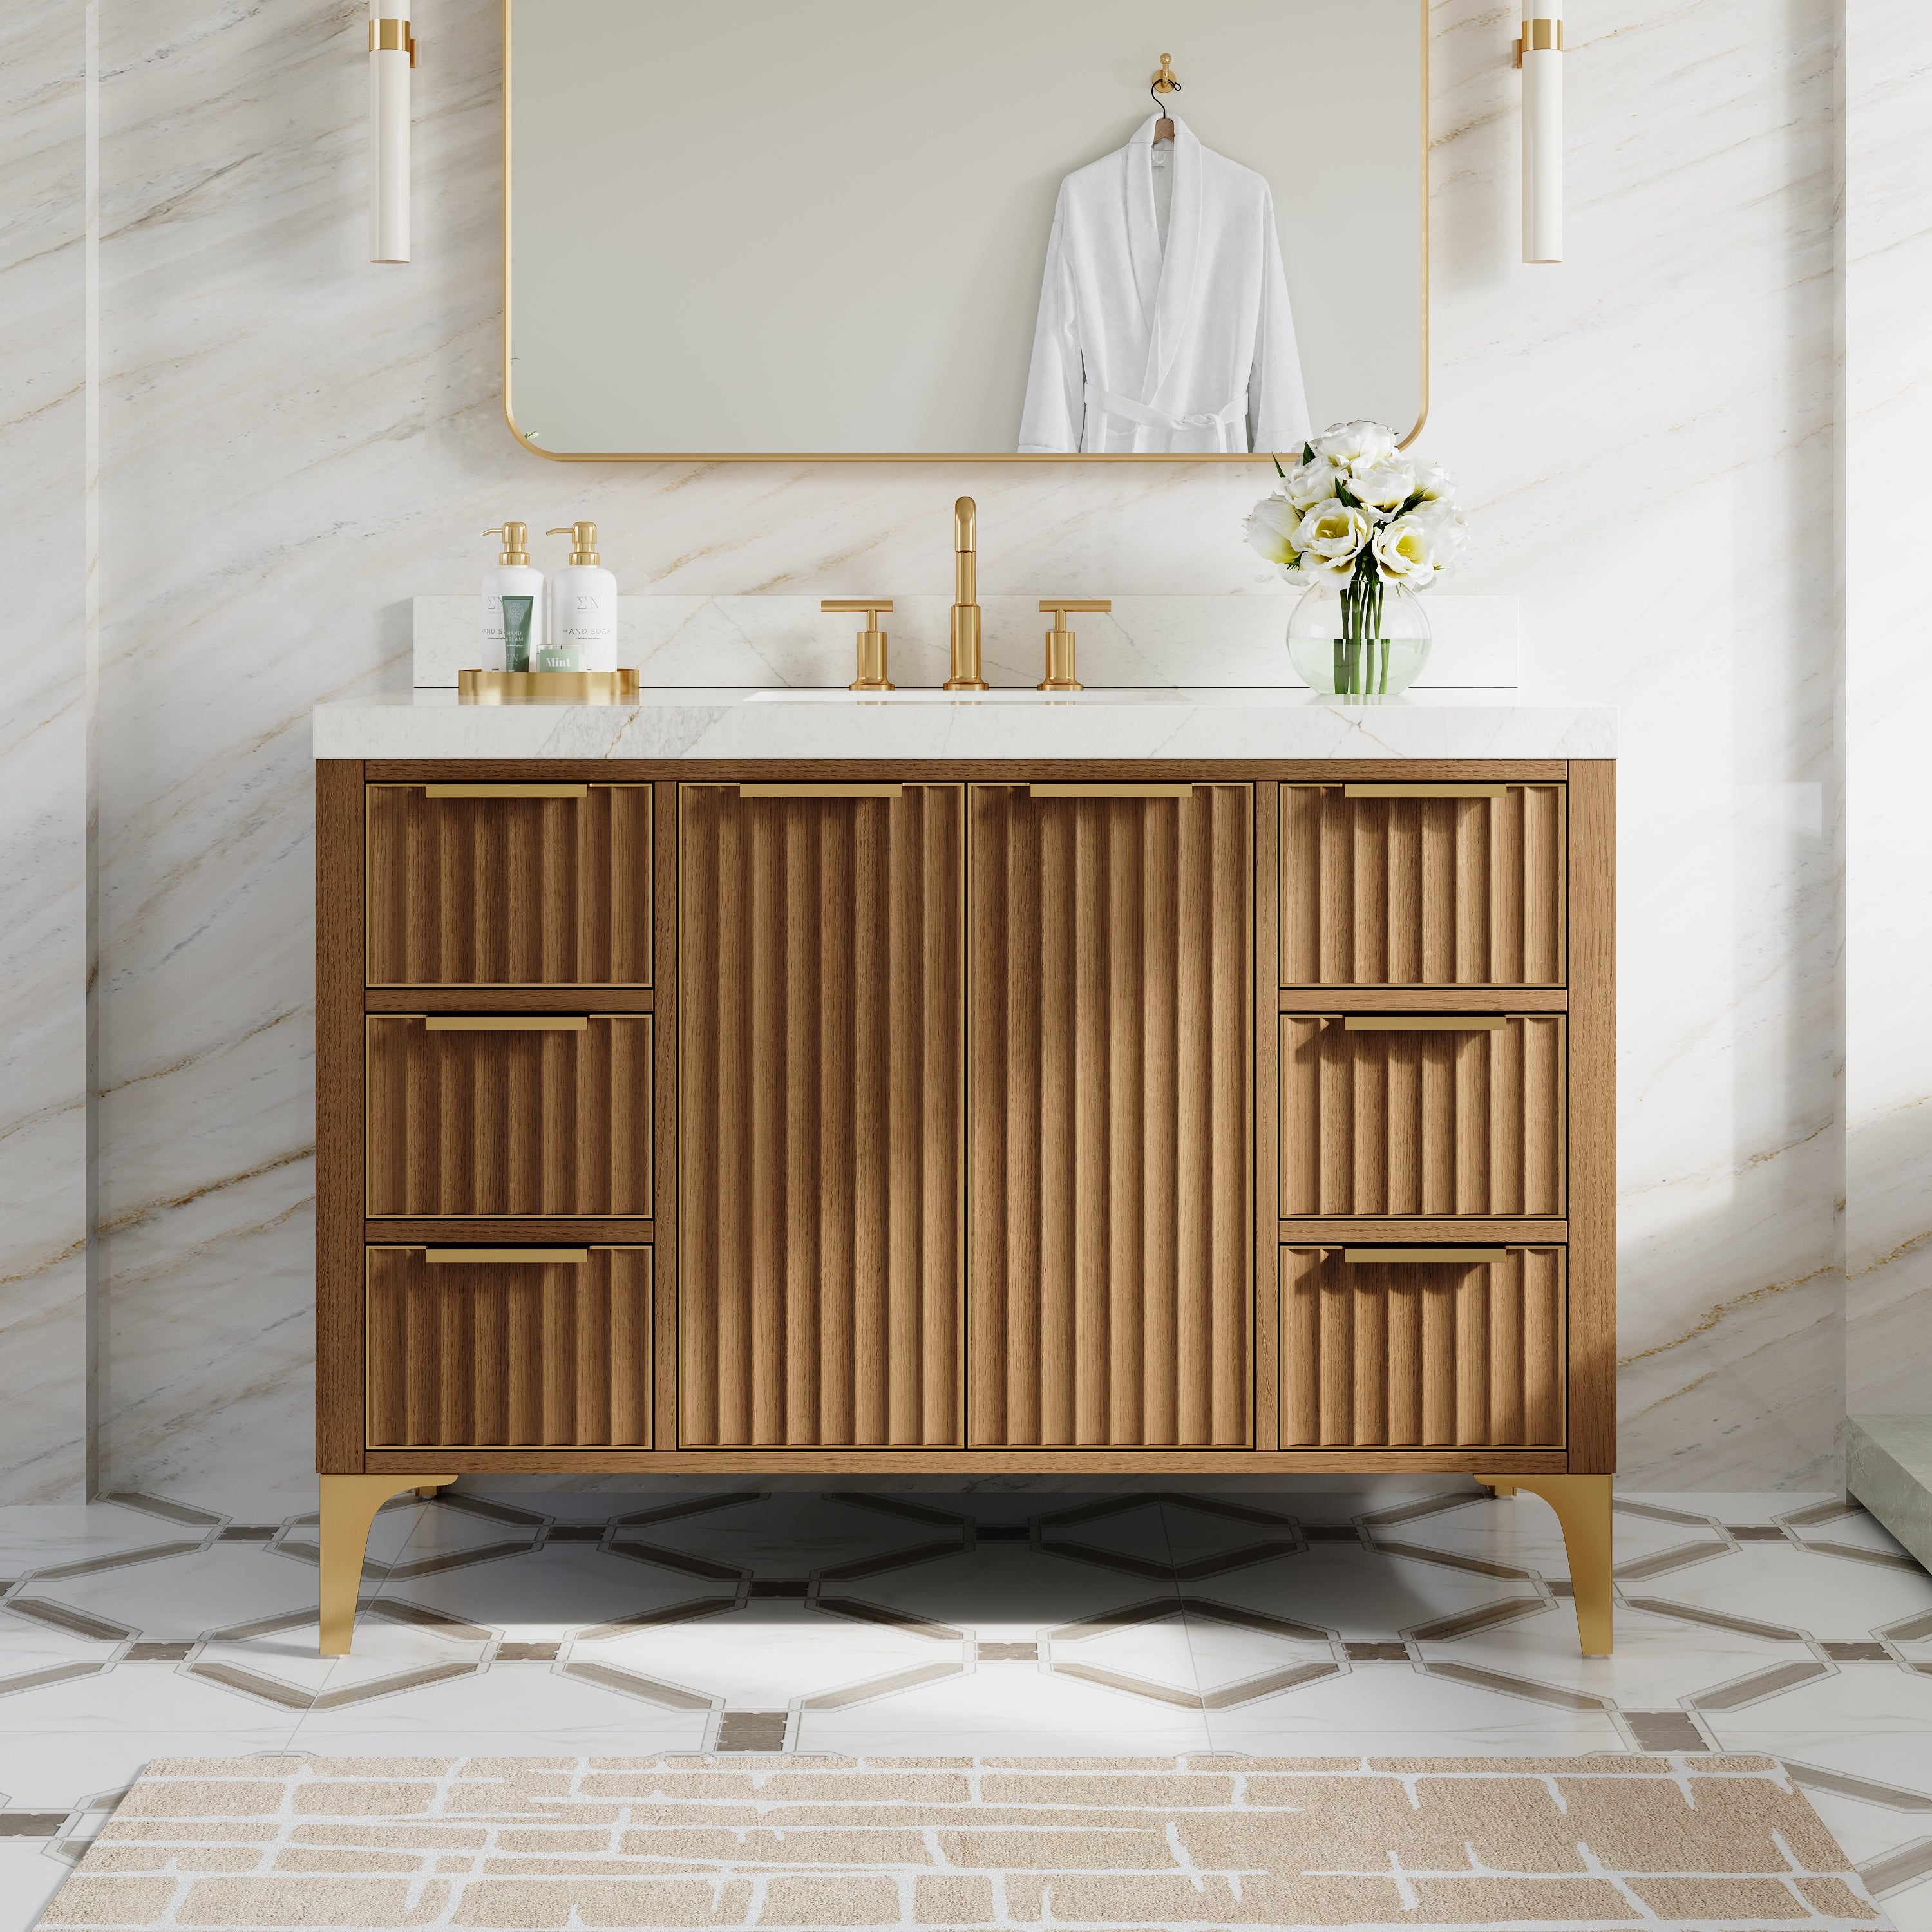
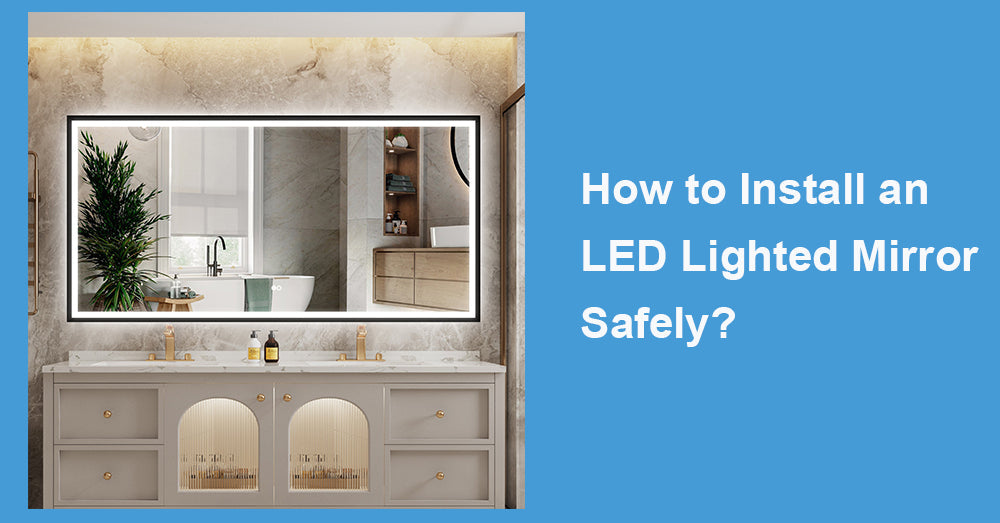
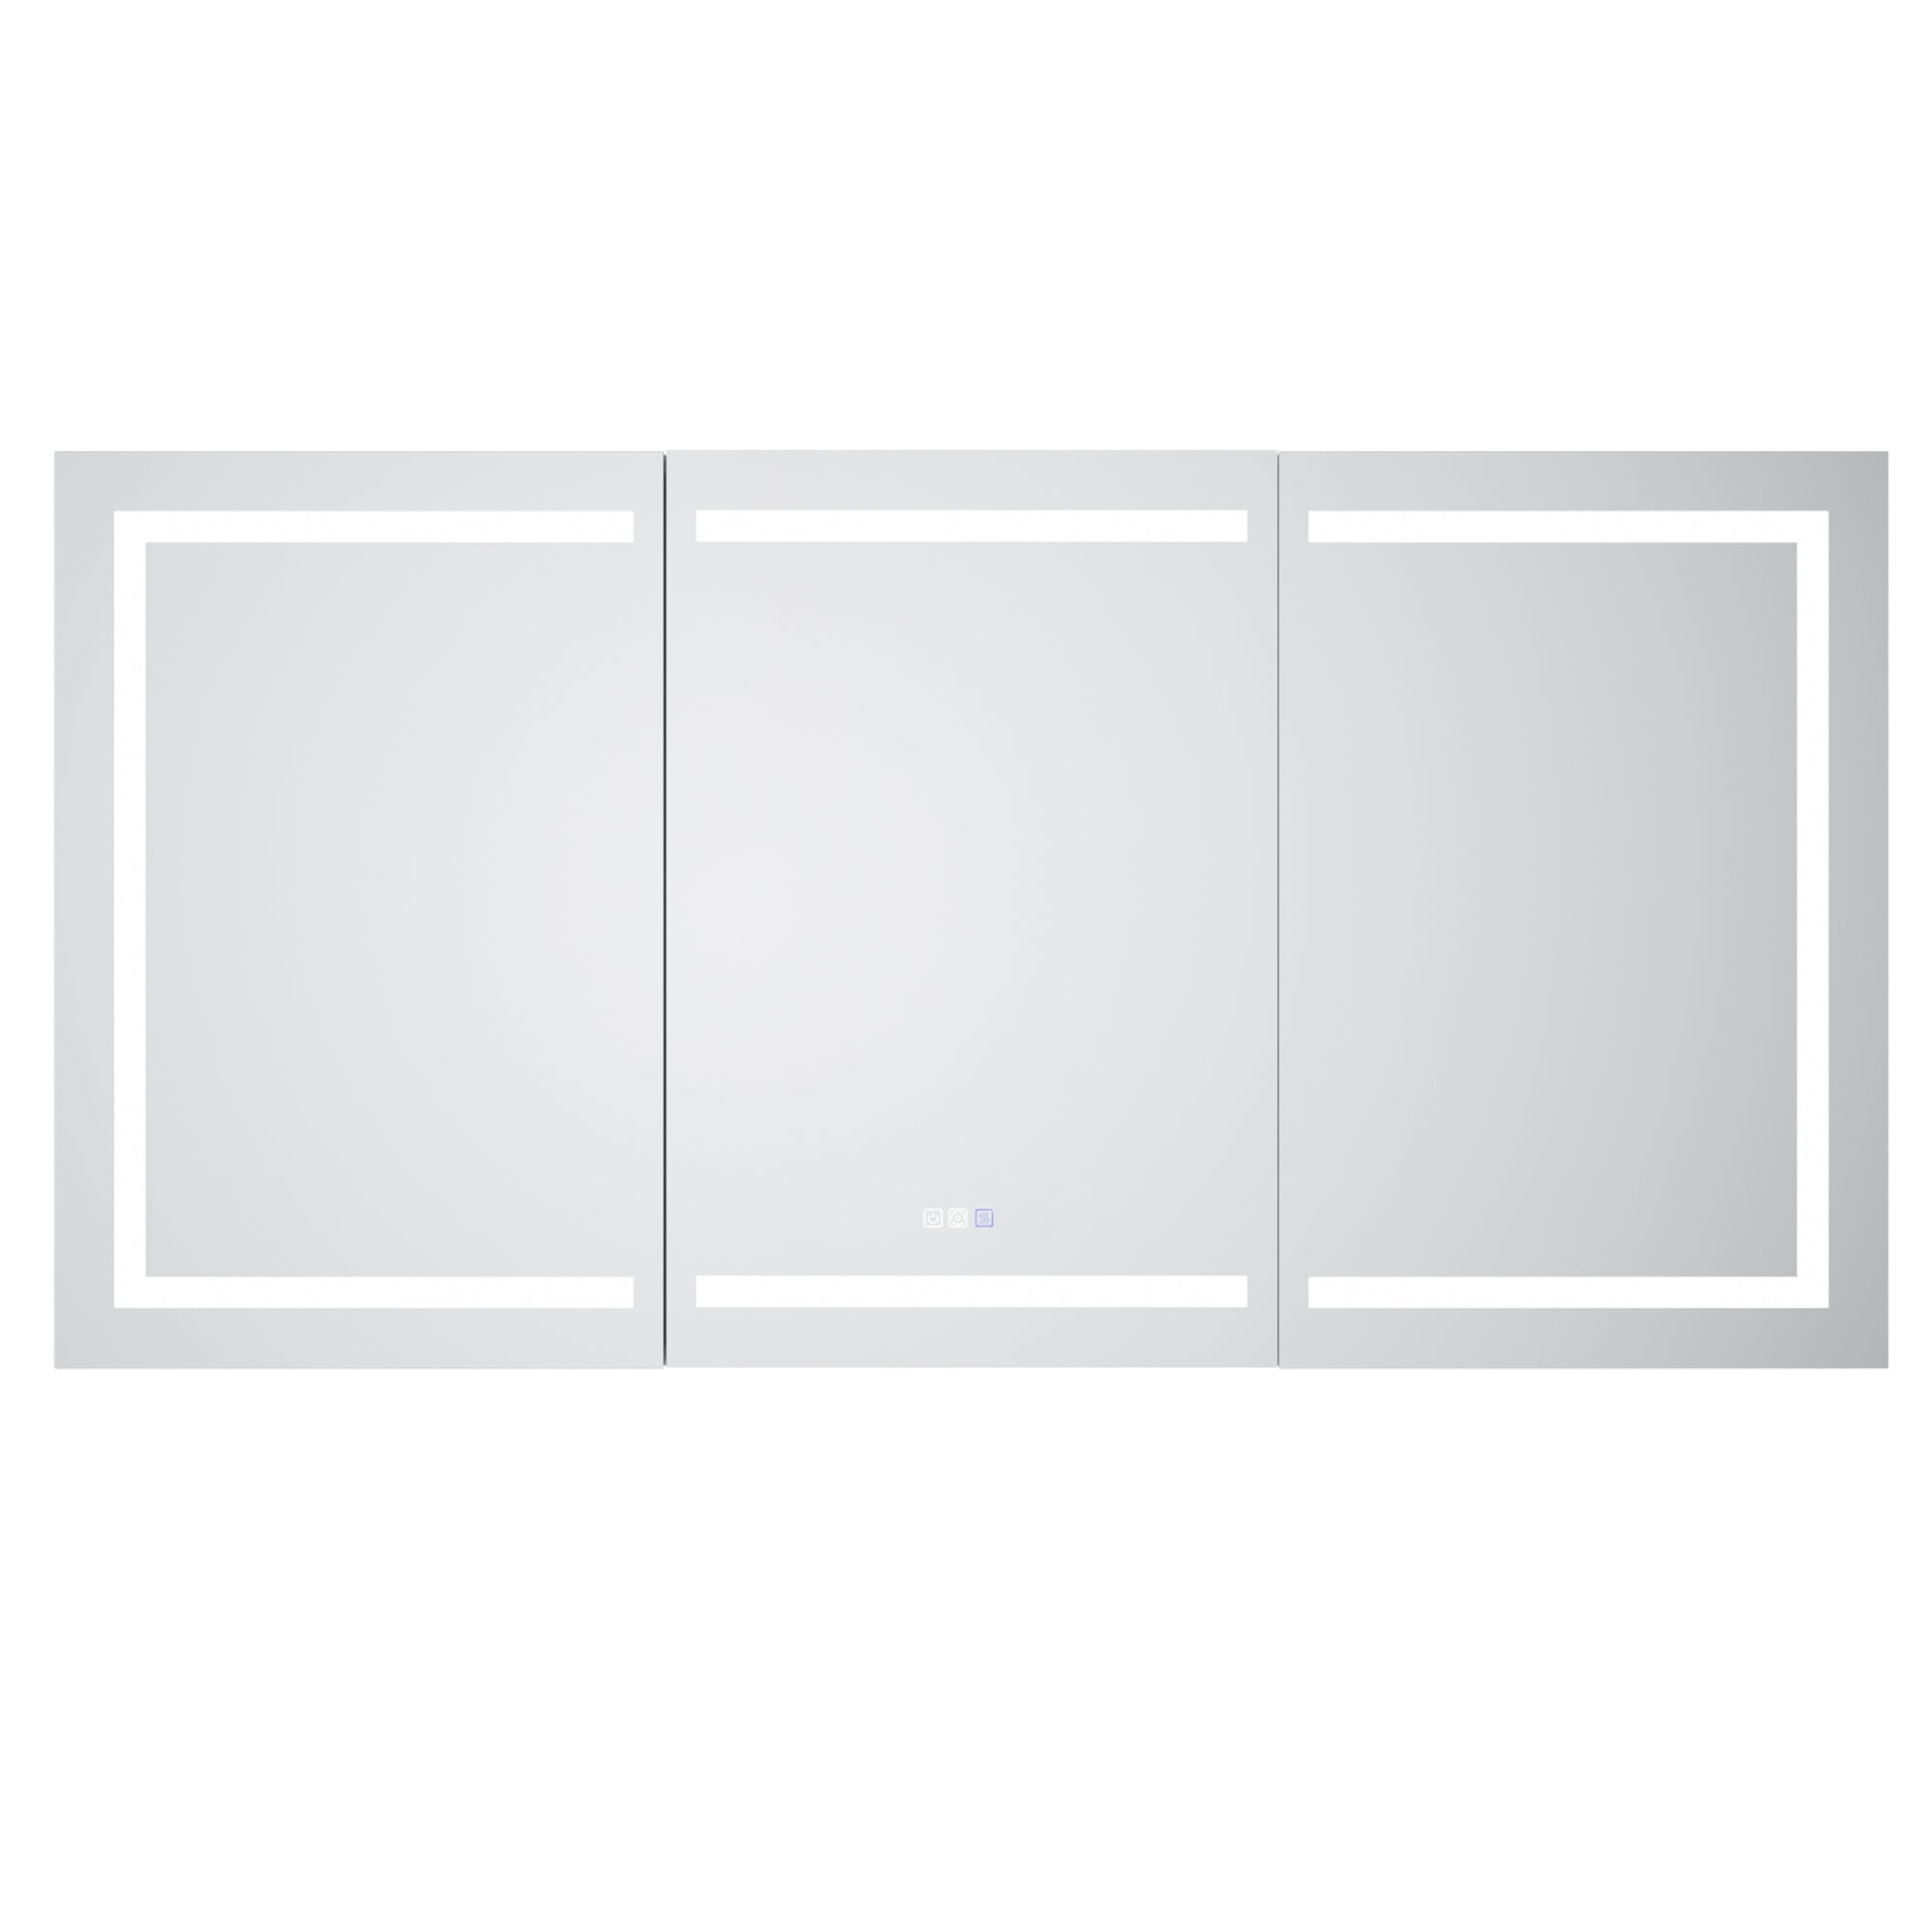
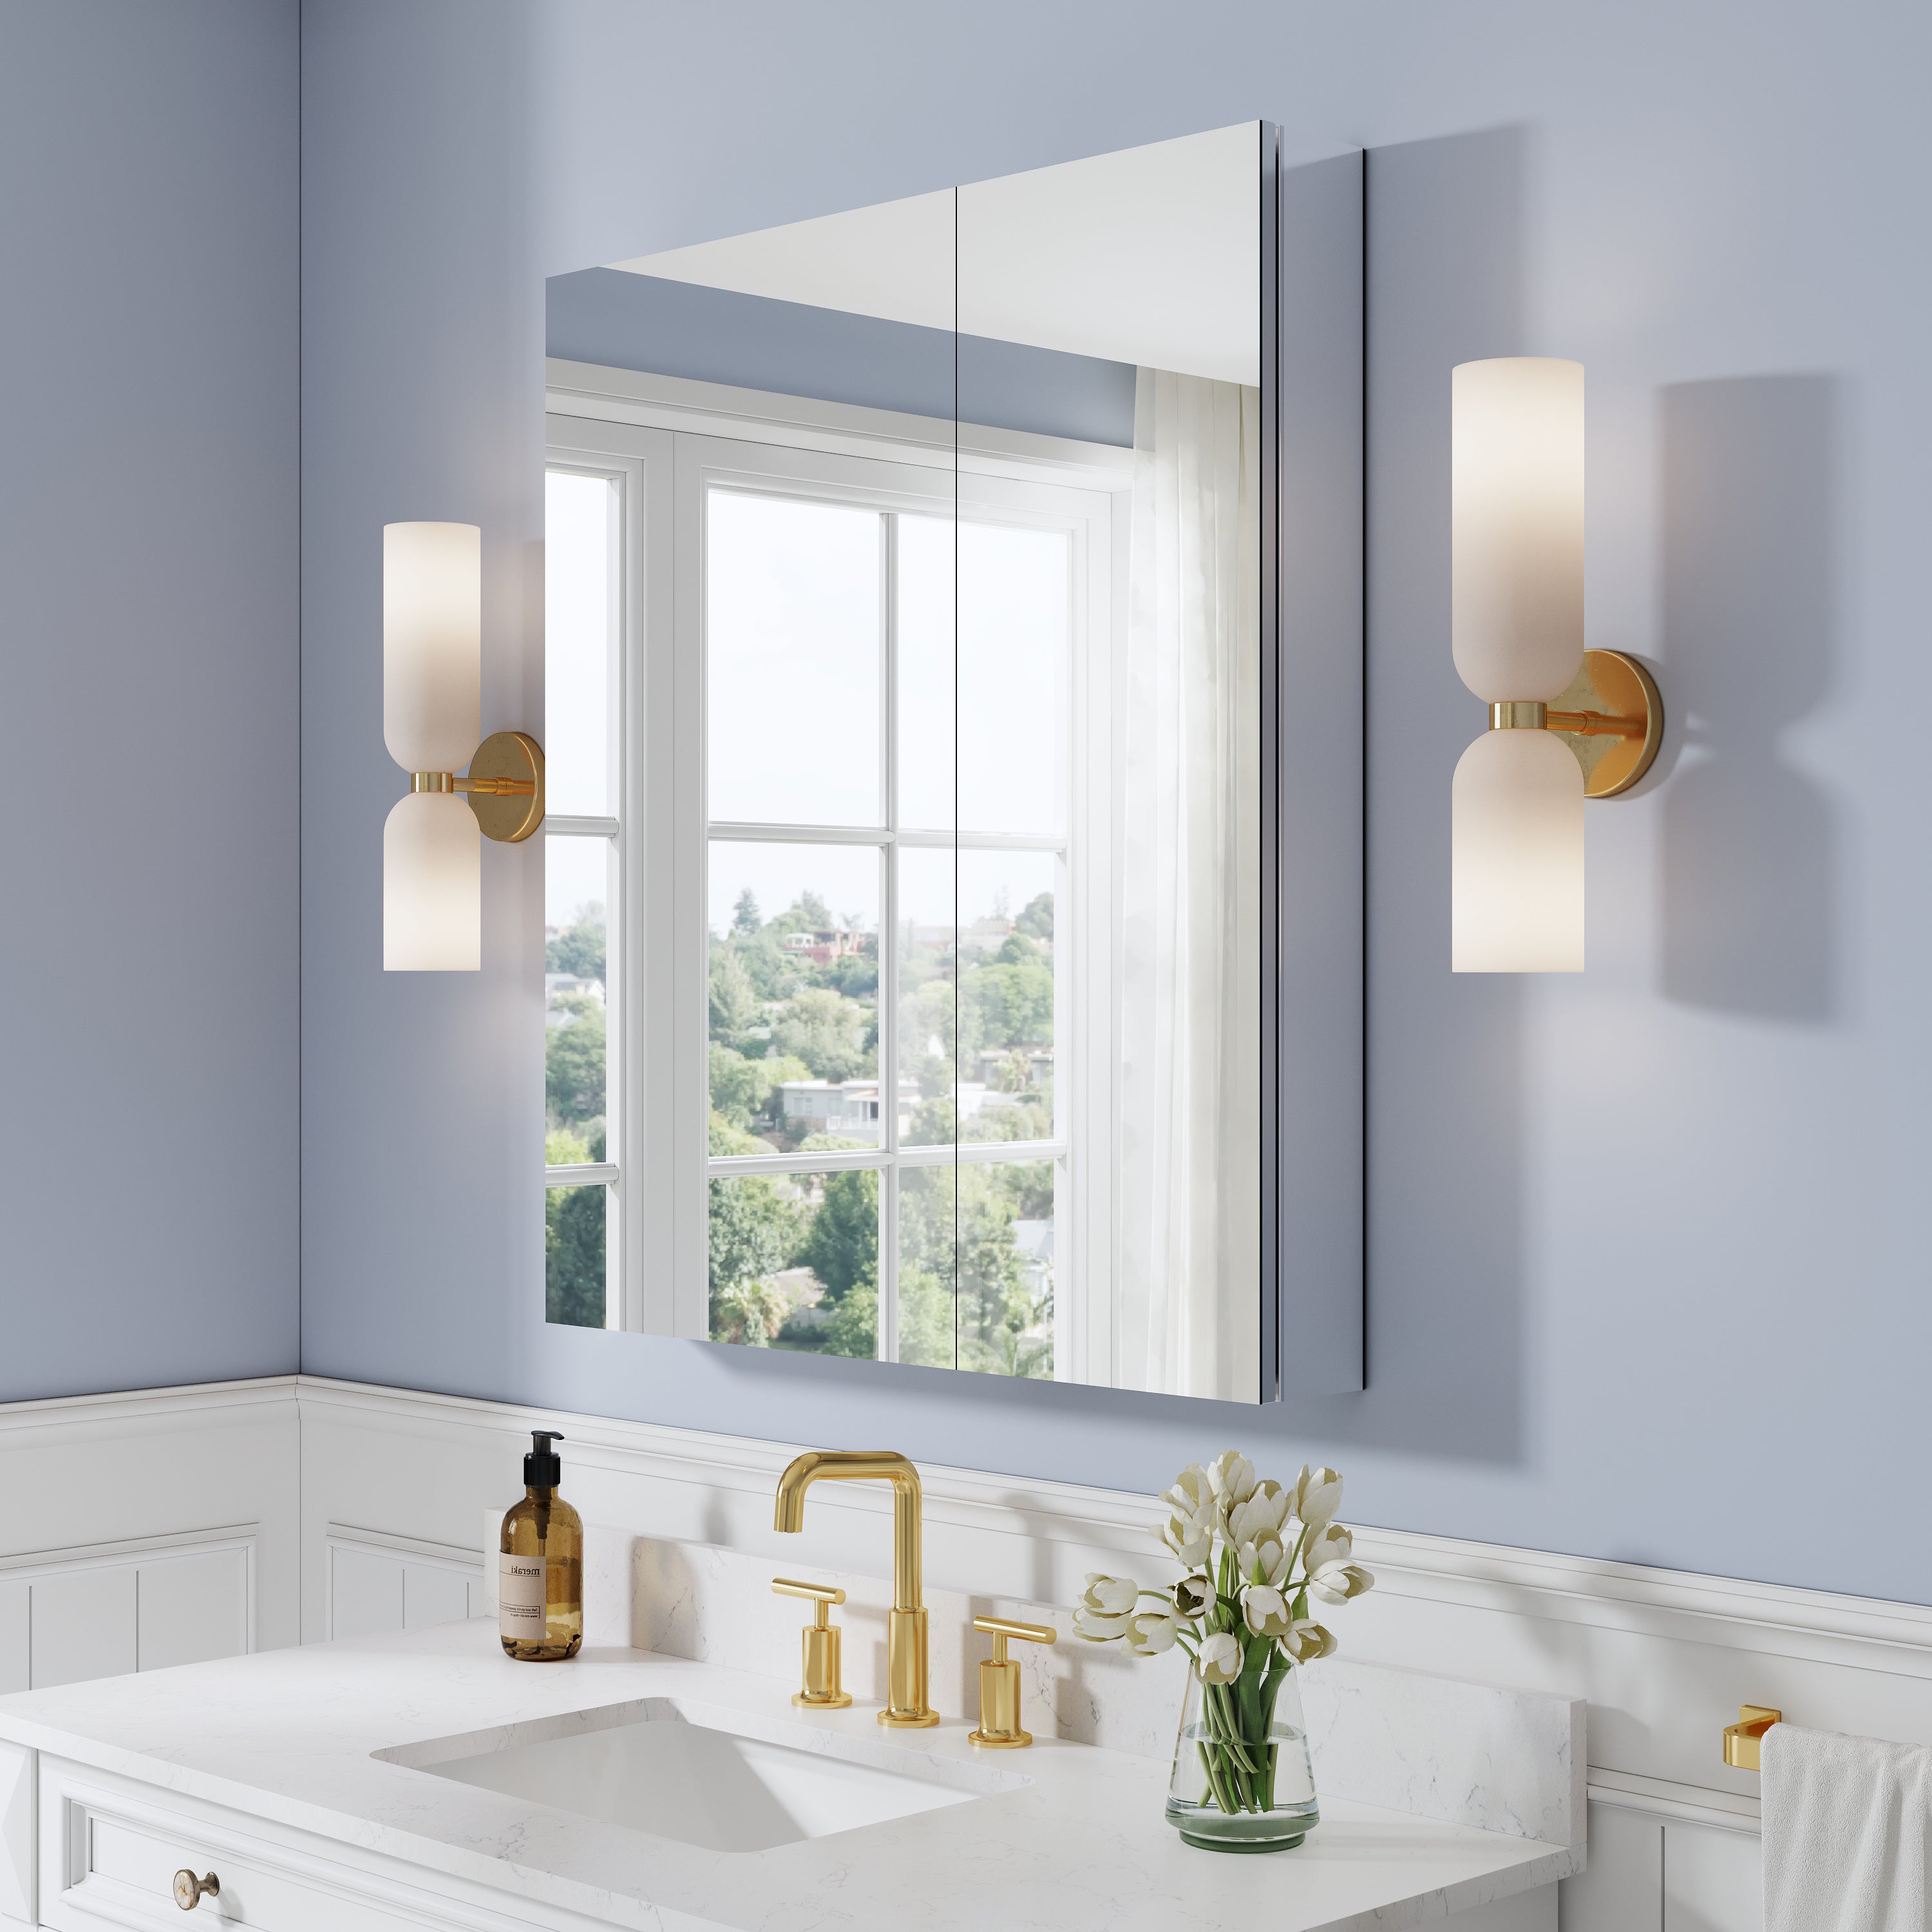
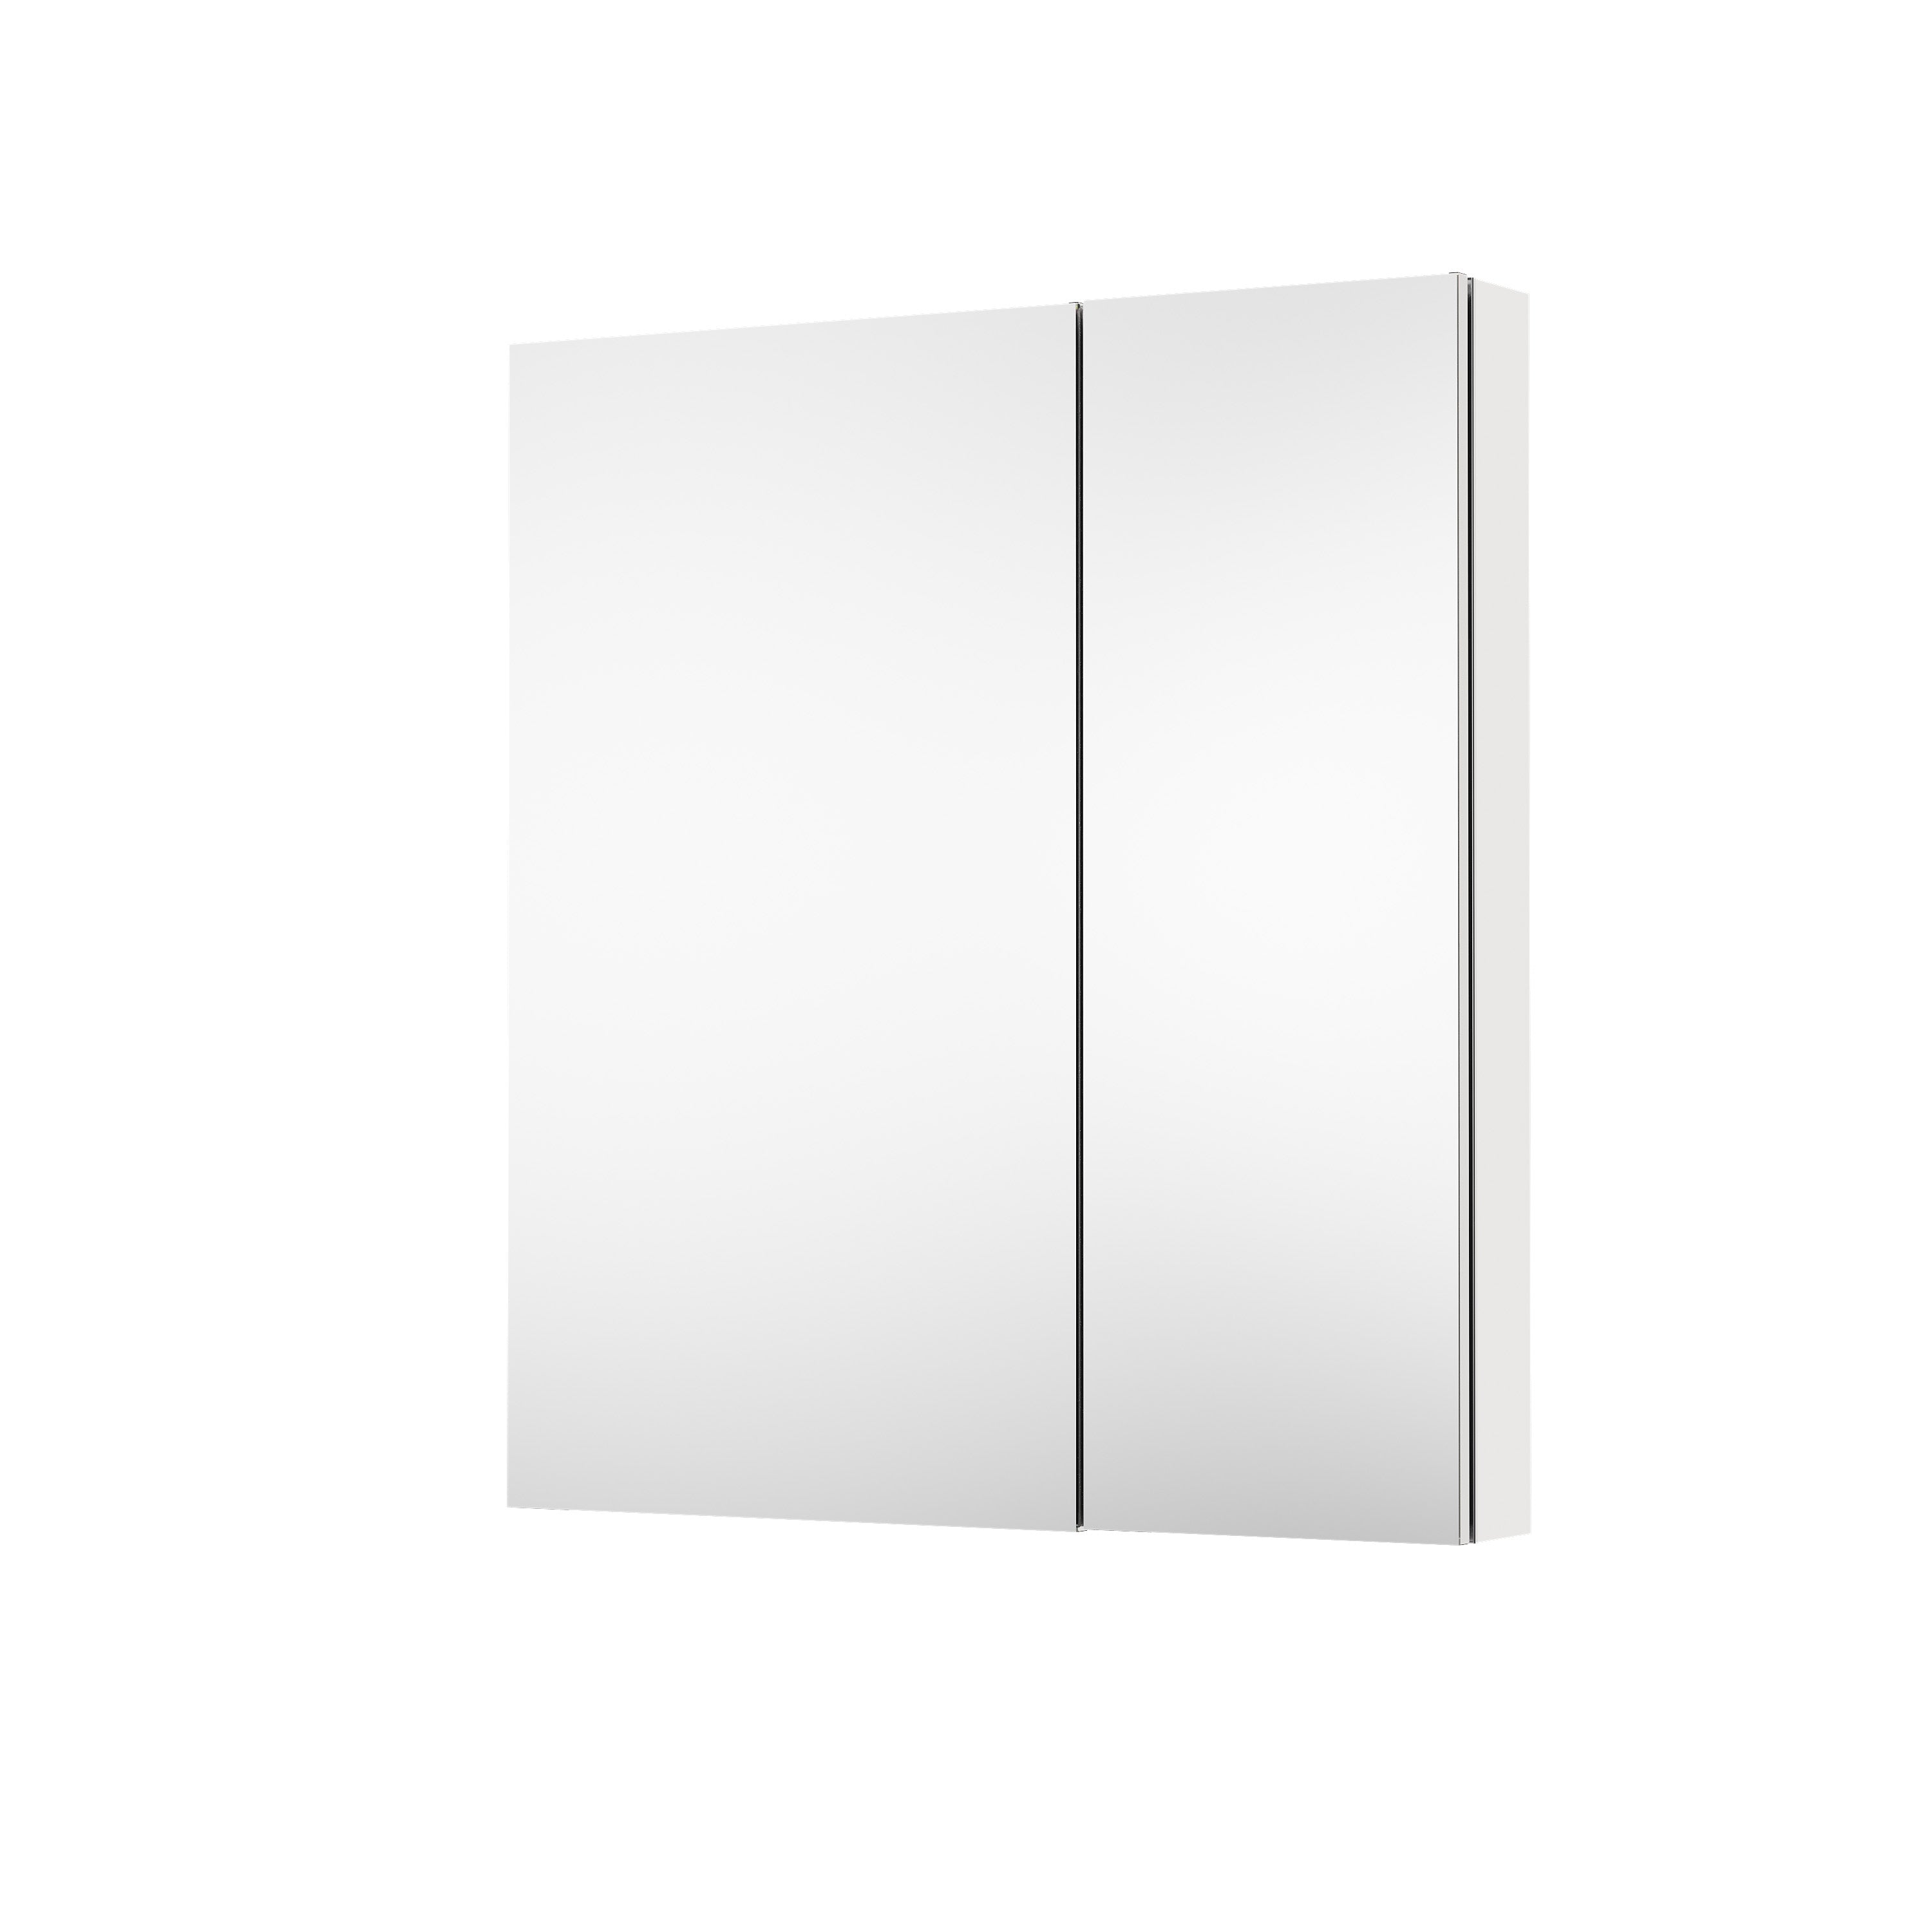
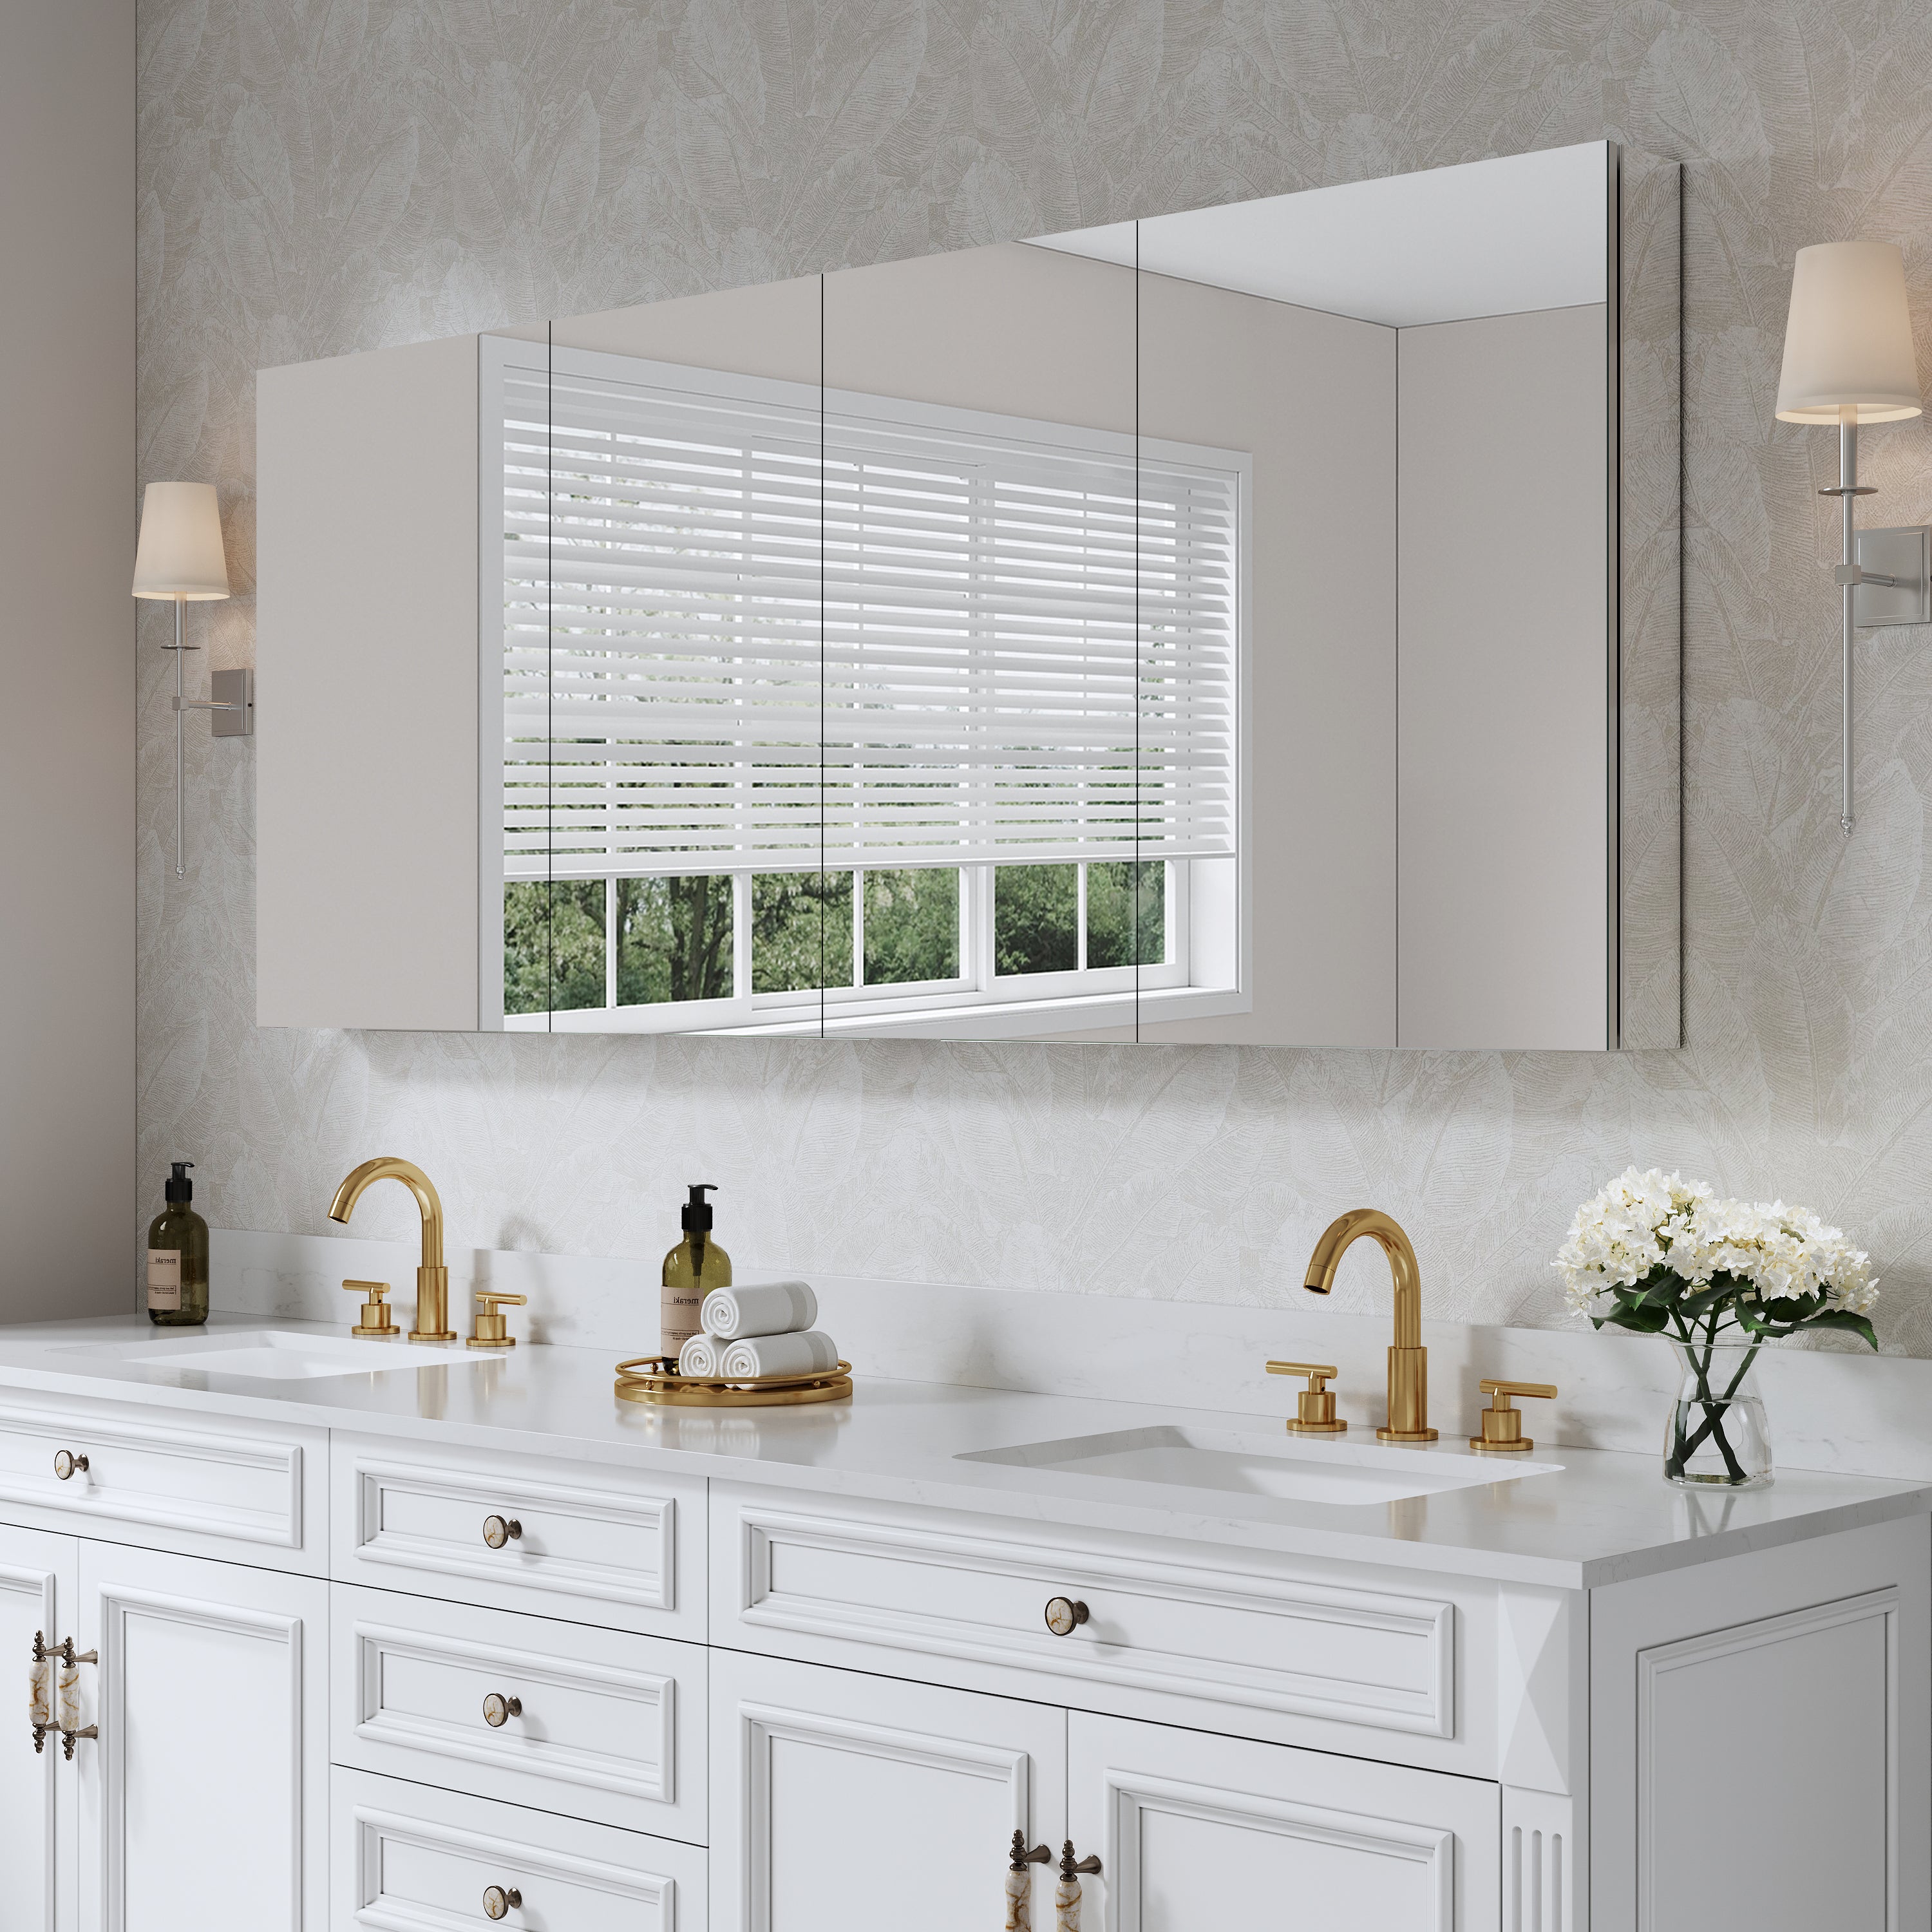
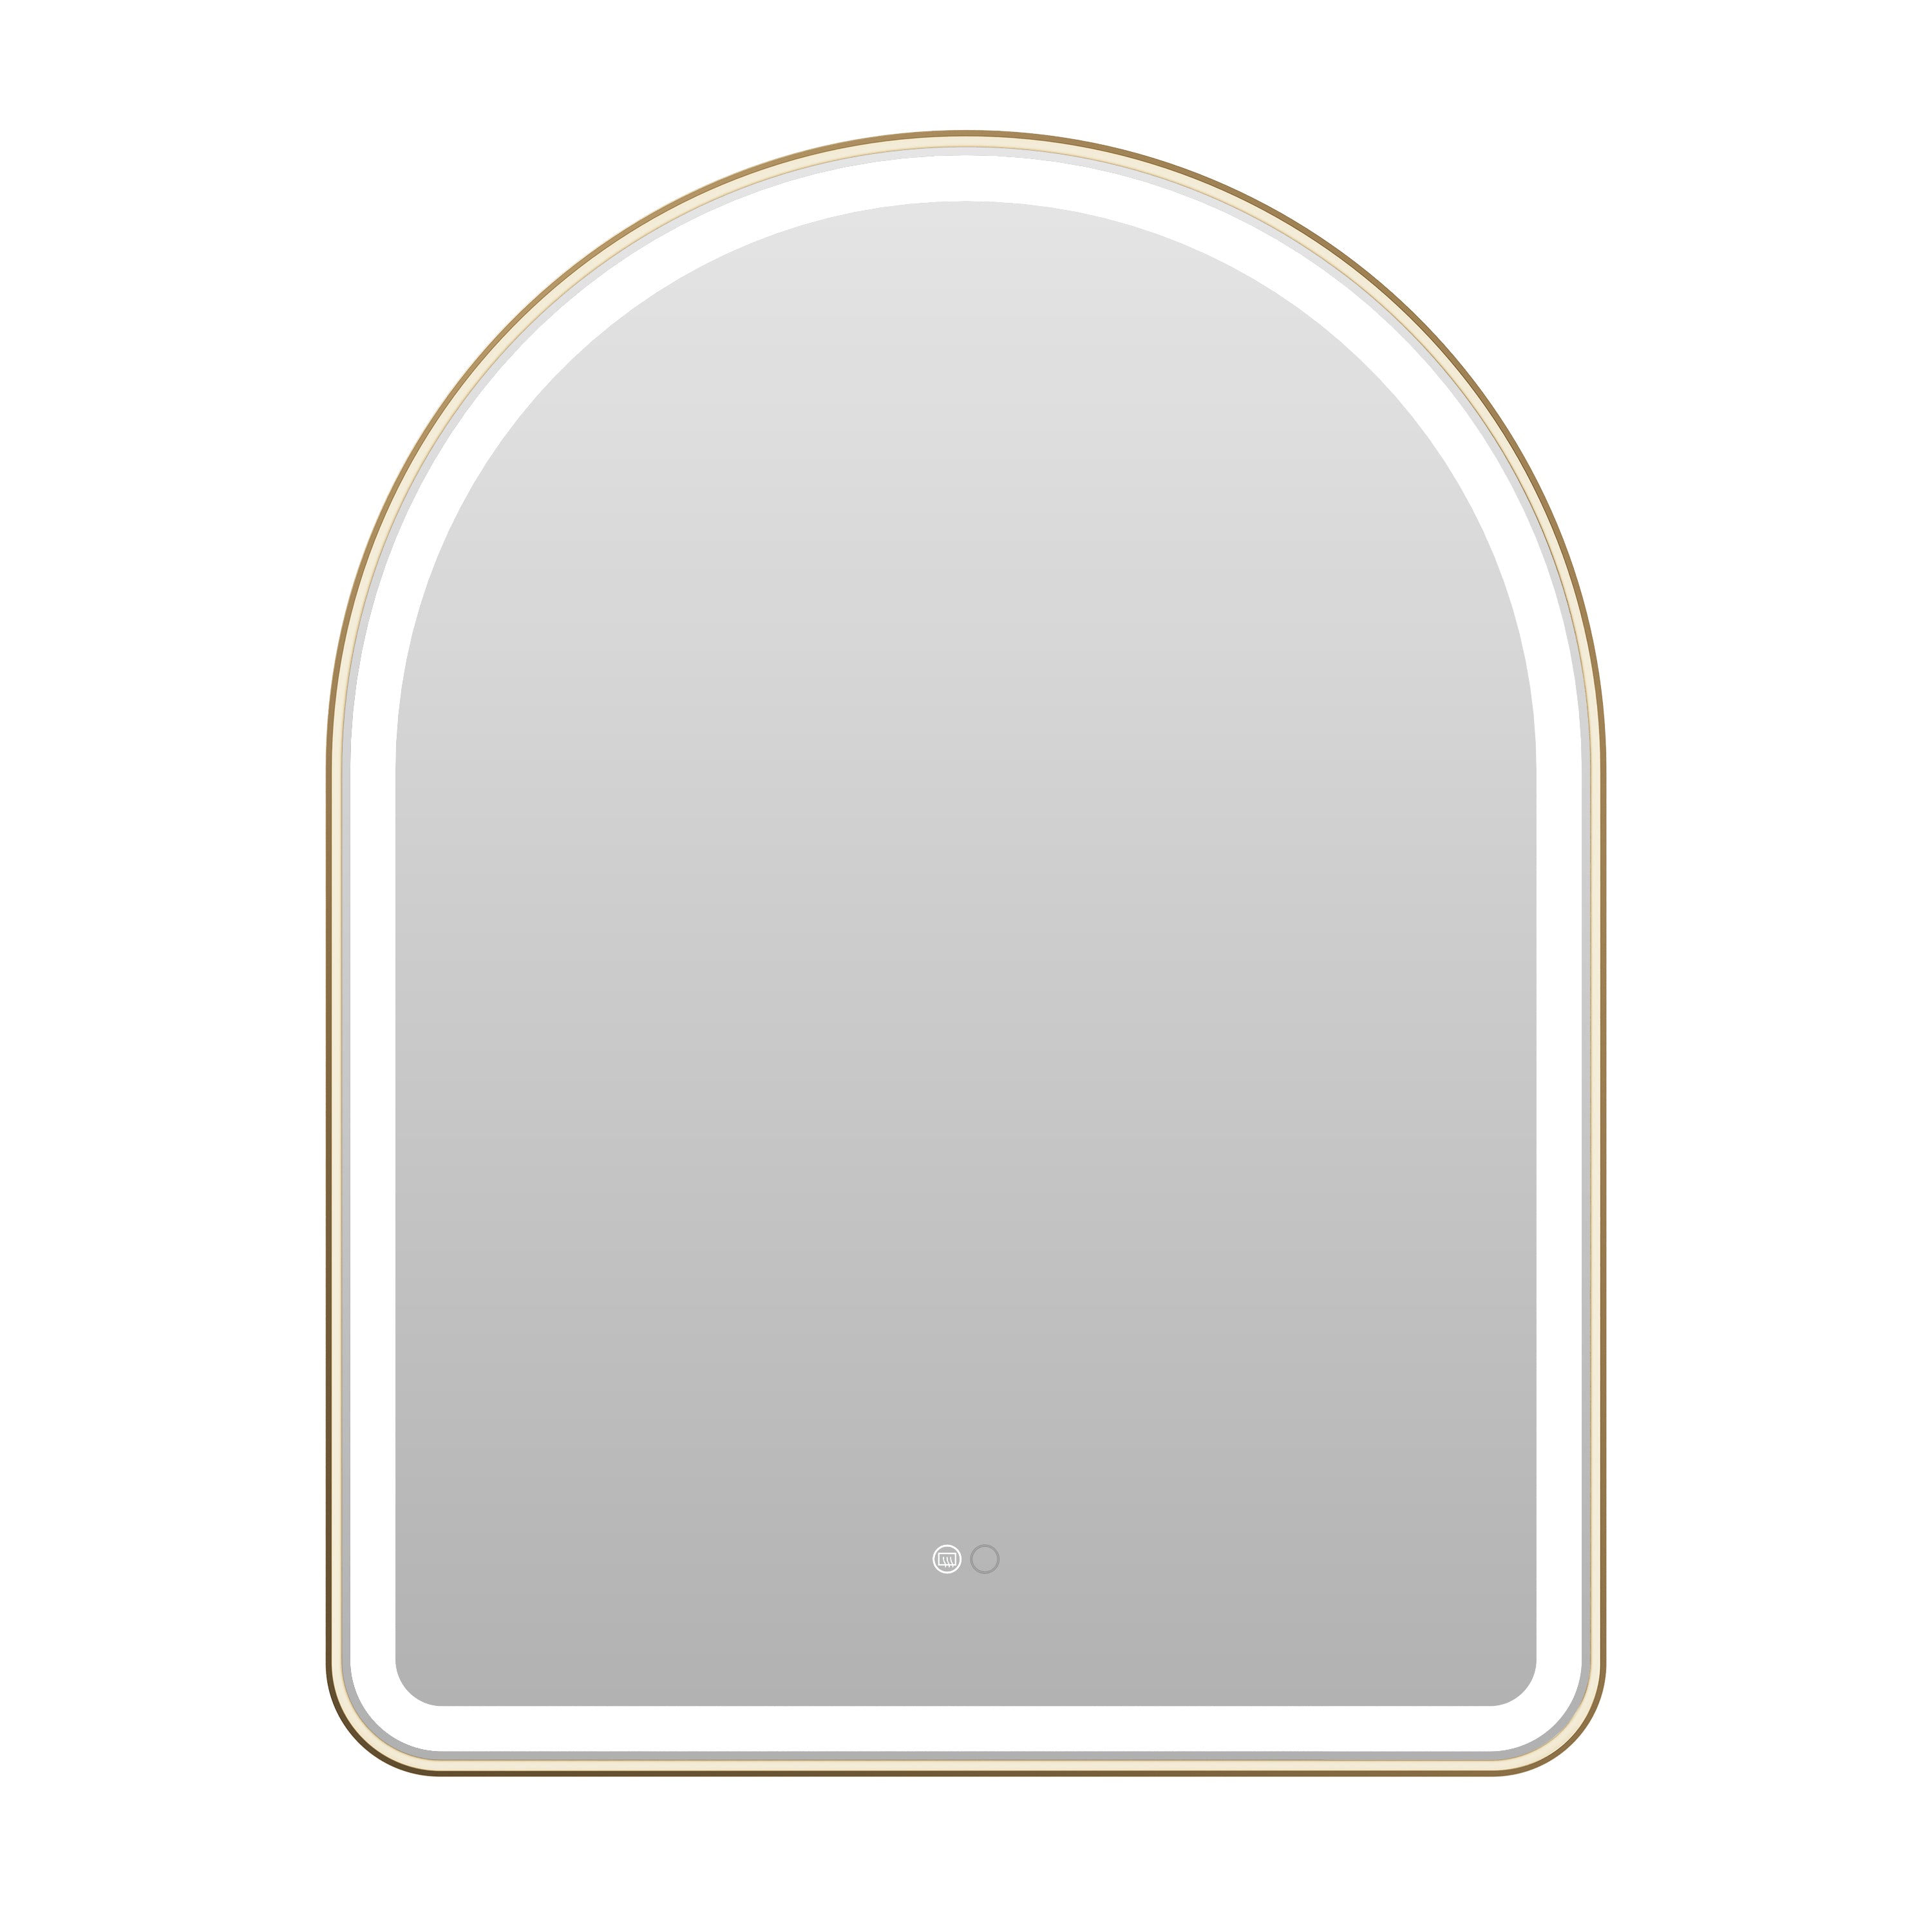
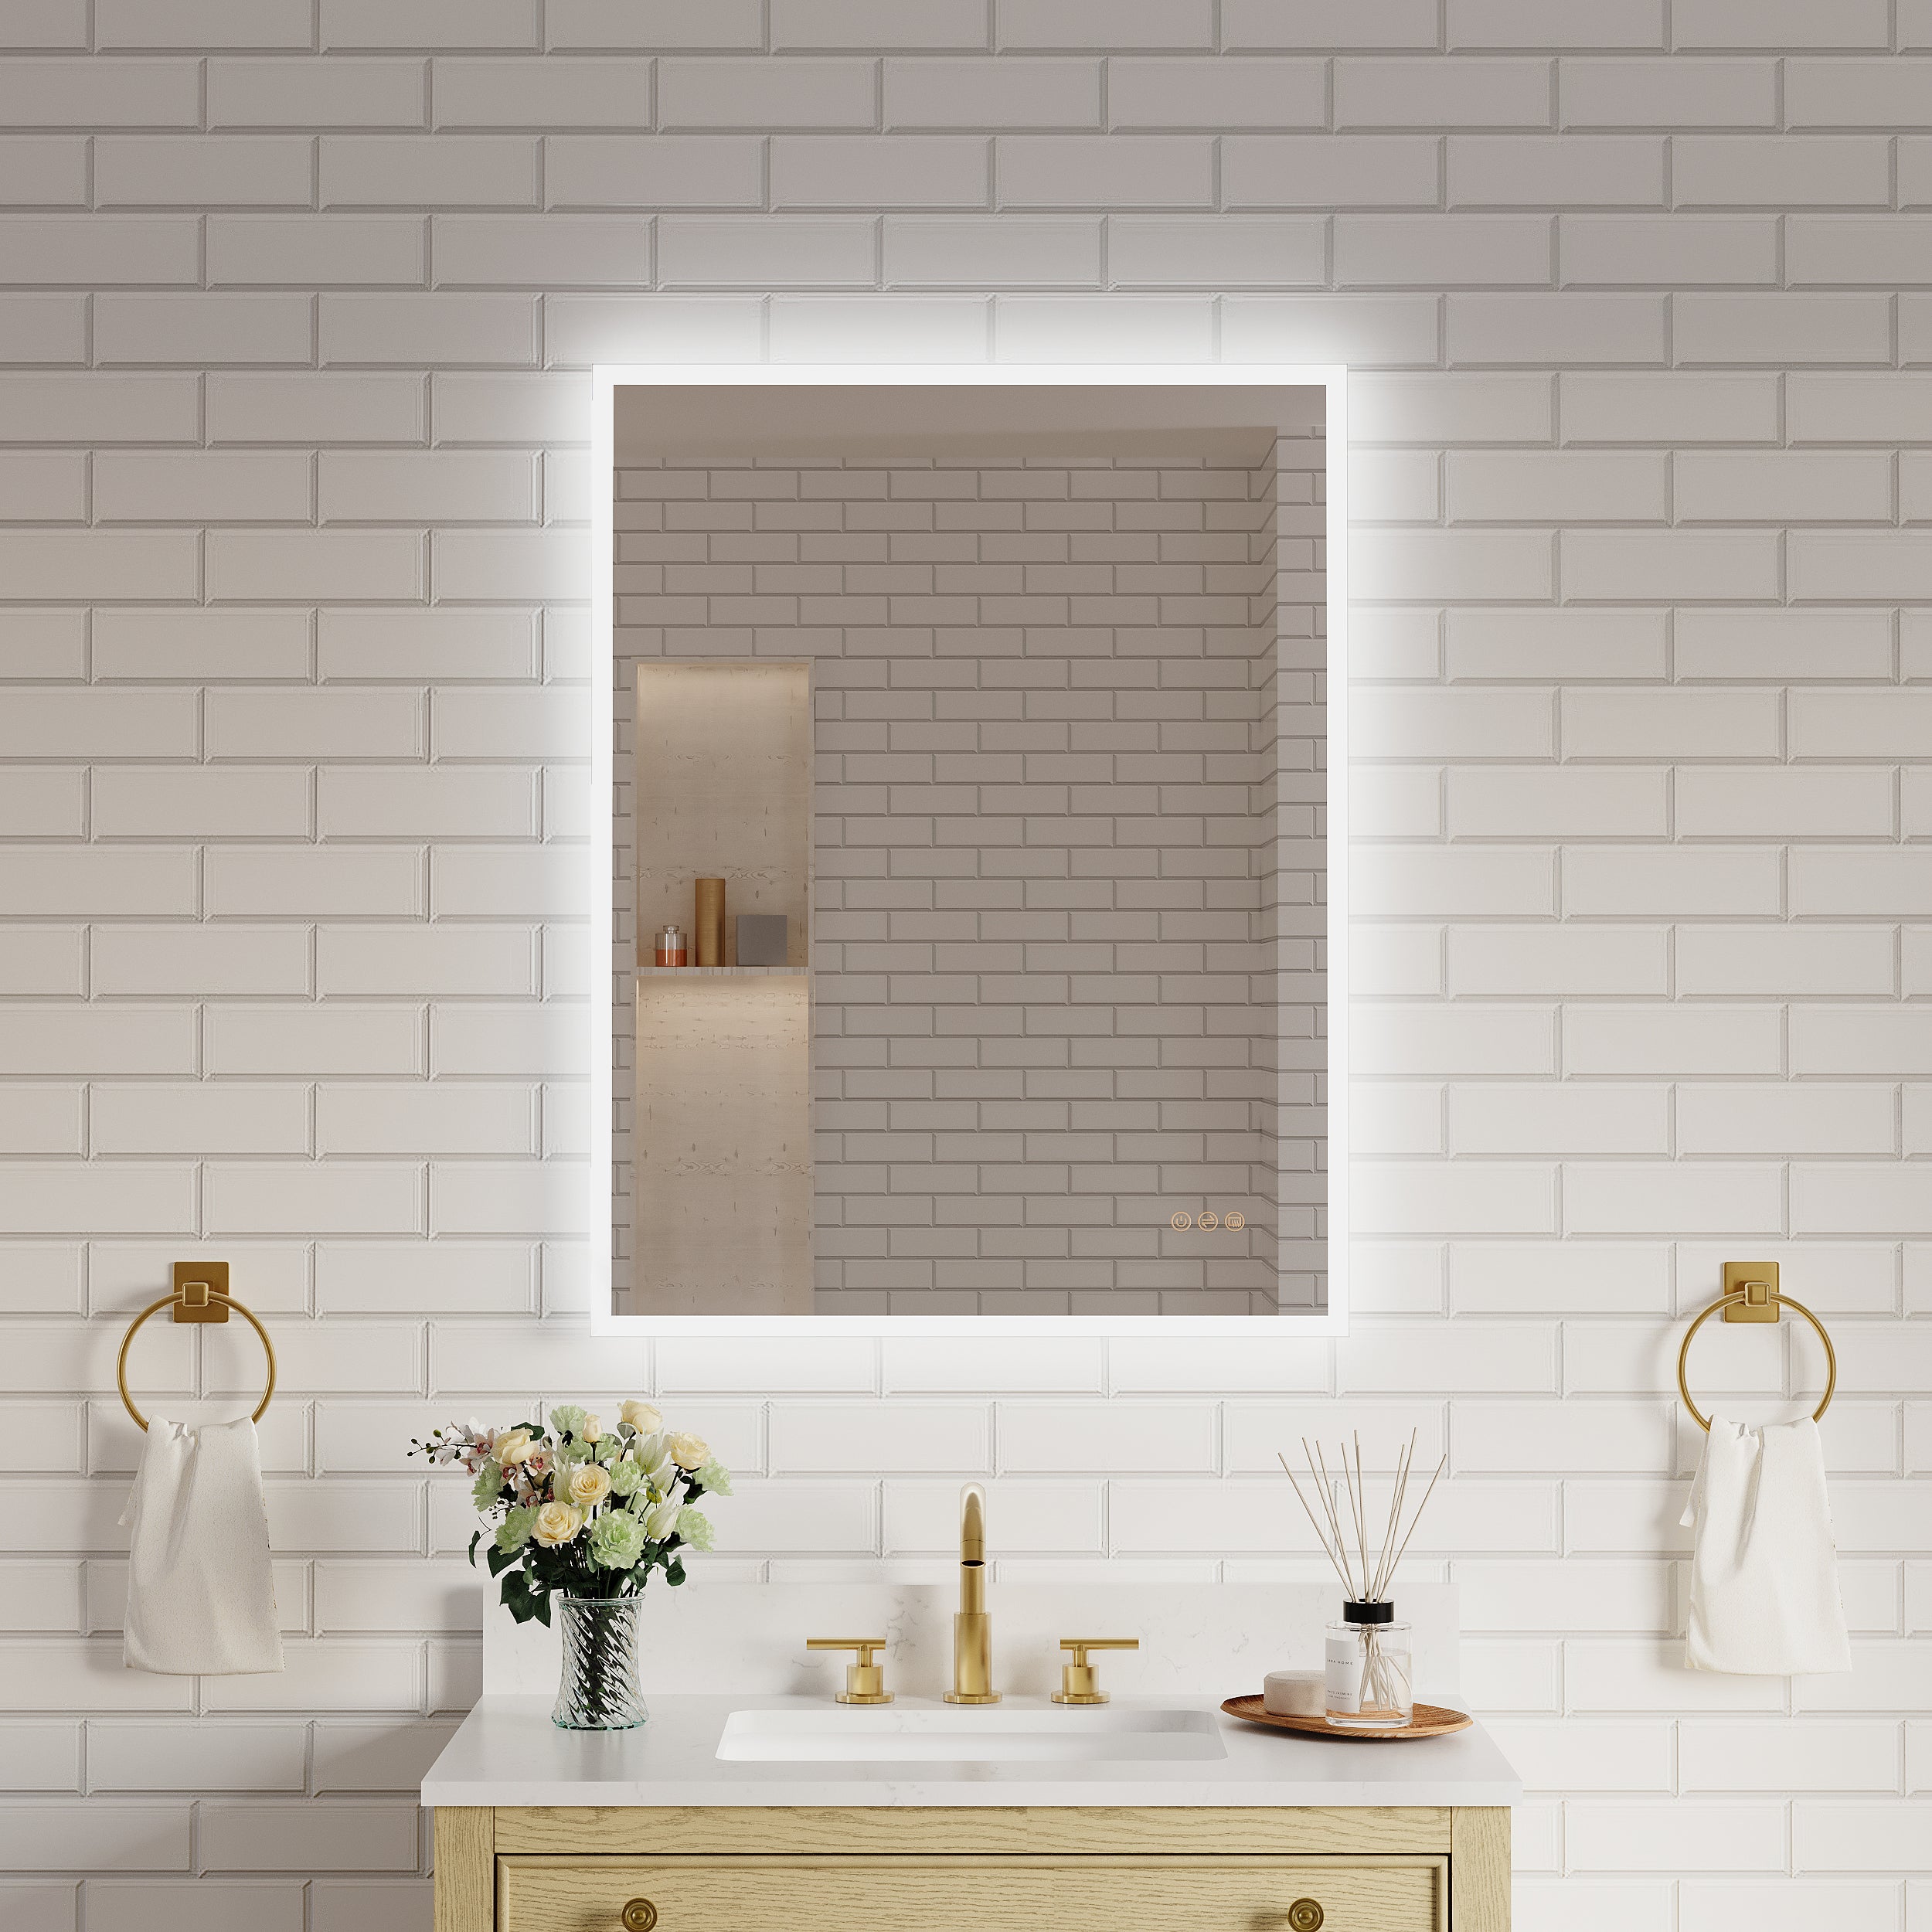
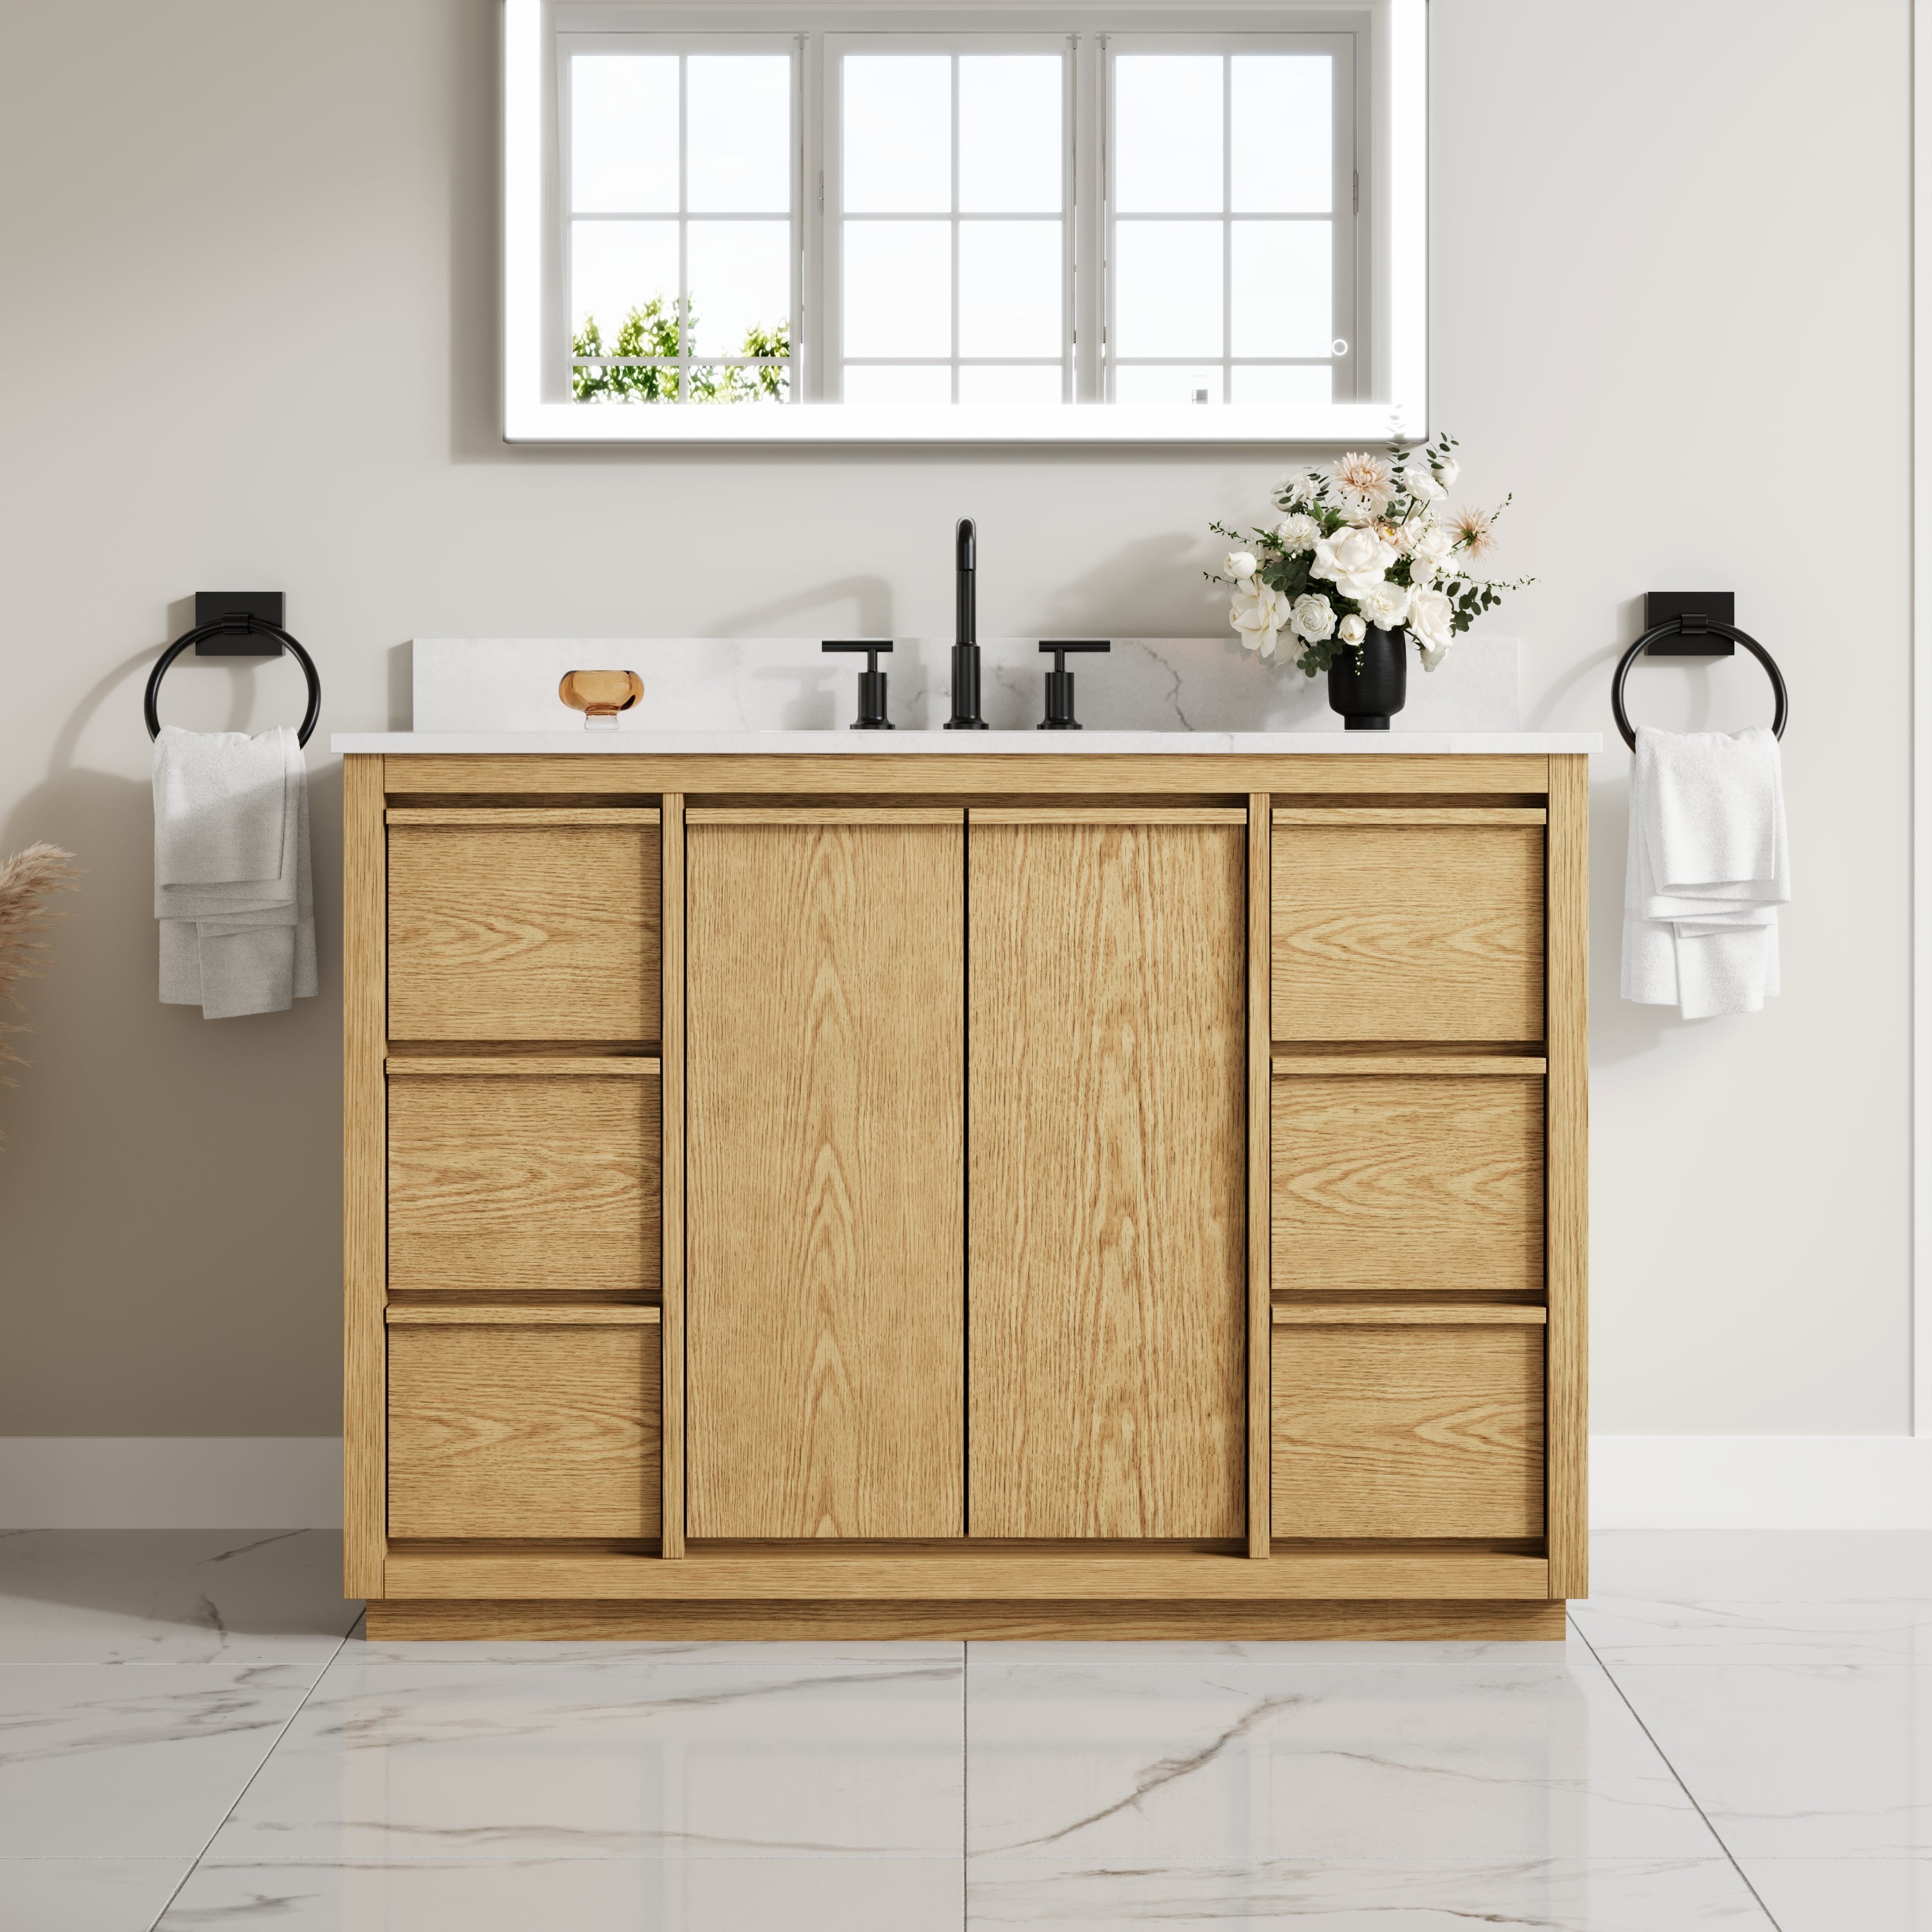
Due to their modern style, LED mirrors are gaining prominence in contemporary households. Every room, from the bathroom to the bedroom and even the vanity, can use an LED lighted mirror, elevating its looks and appeal. At first glance, the installation process can be intimidating and complicated, but it is easier than it looks. This article assists you with your installation worries by offering a thorough guide that details everything from preparing for the installation to ensuring that your LED mirror is securely mounted and positioned perfectly.
Benefits of Installing an LED Lighted Mirror
Before we begin the installation process, let's consider why LED lighted mirrors are worth the investment.
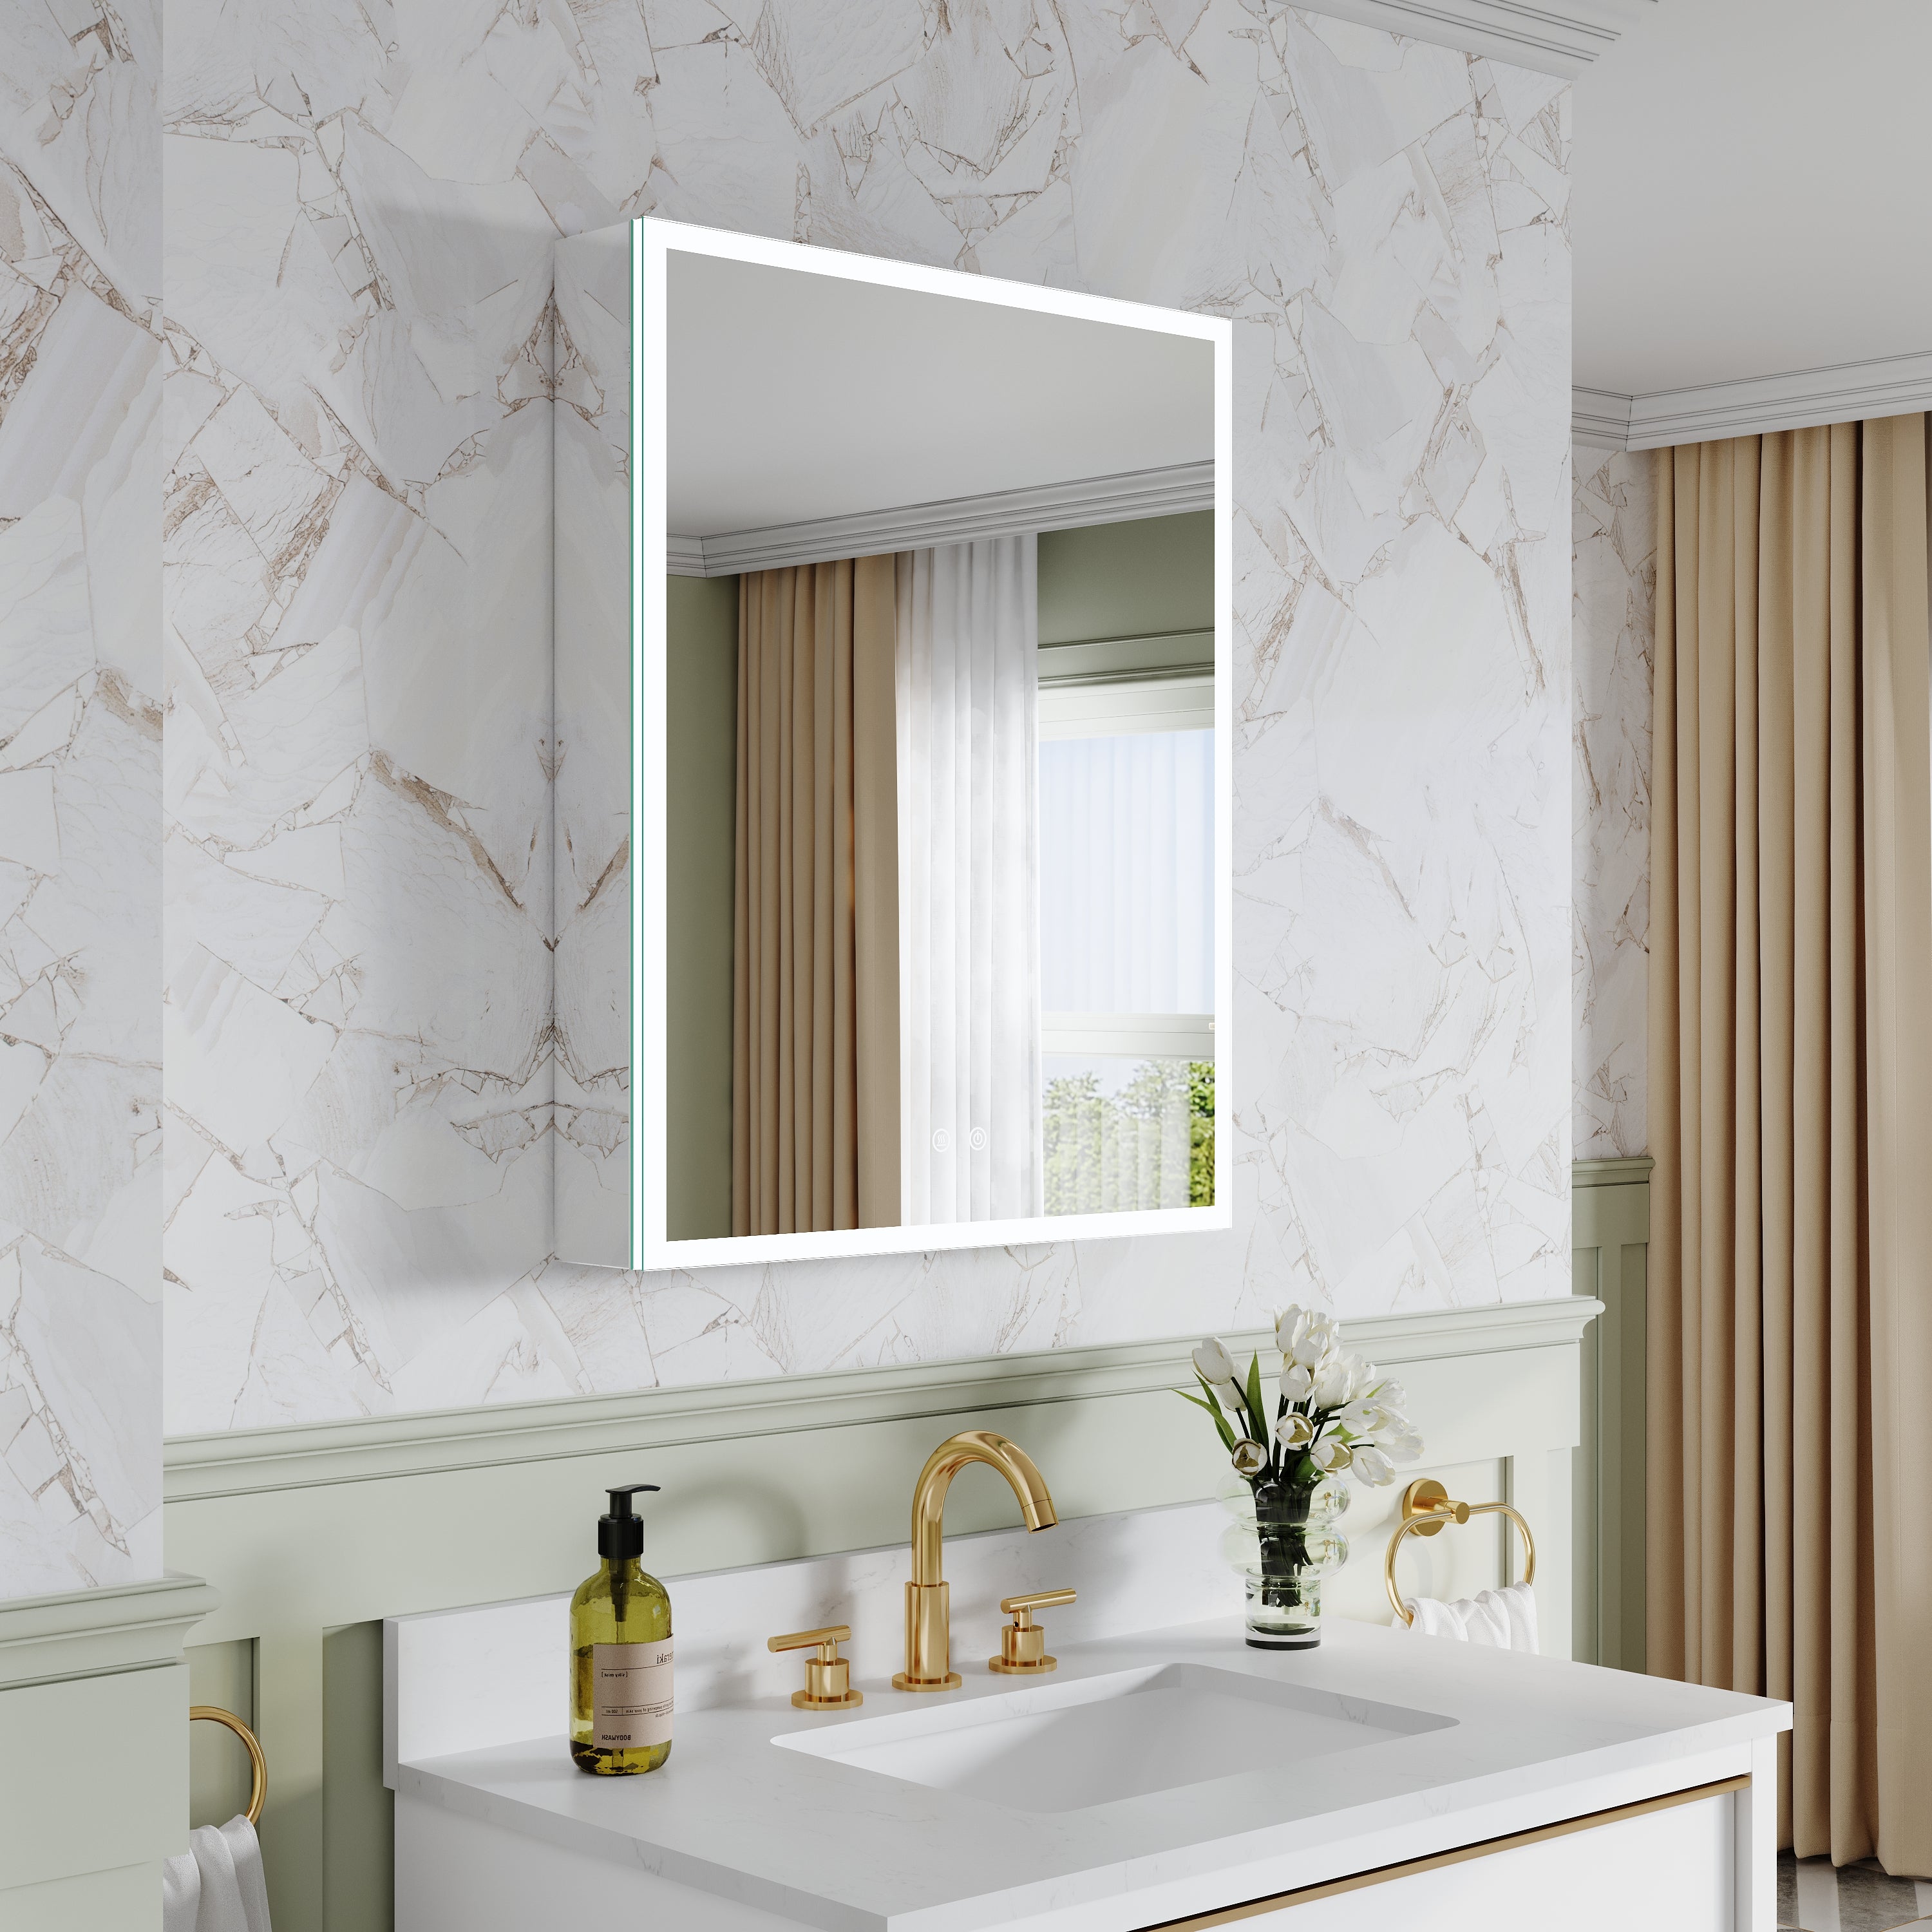
· Enhanced Lighting: LED lighted mirrors provide natural, even lighting perfect for grooming, makeup application, and personal care.
· Energy Efficiency: LED lights consume less power than traditional lighting, which can lower your electricity bills.
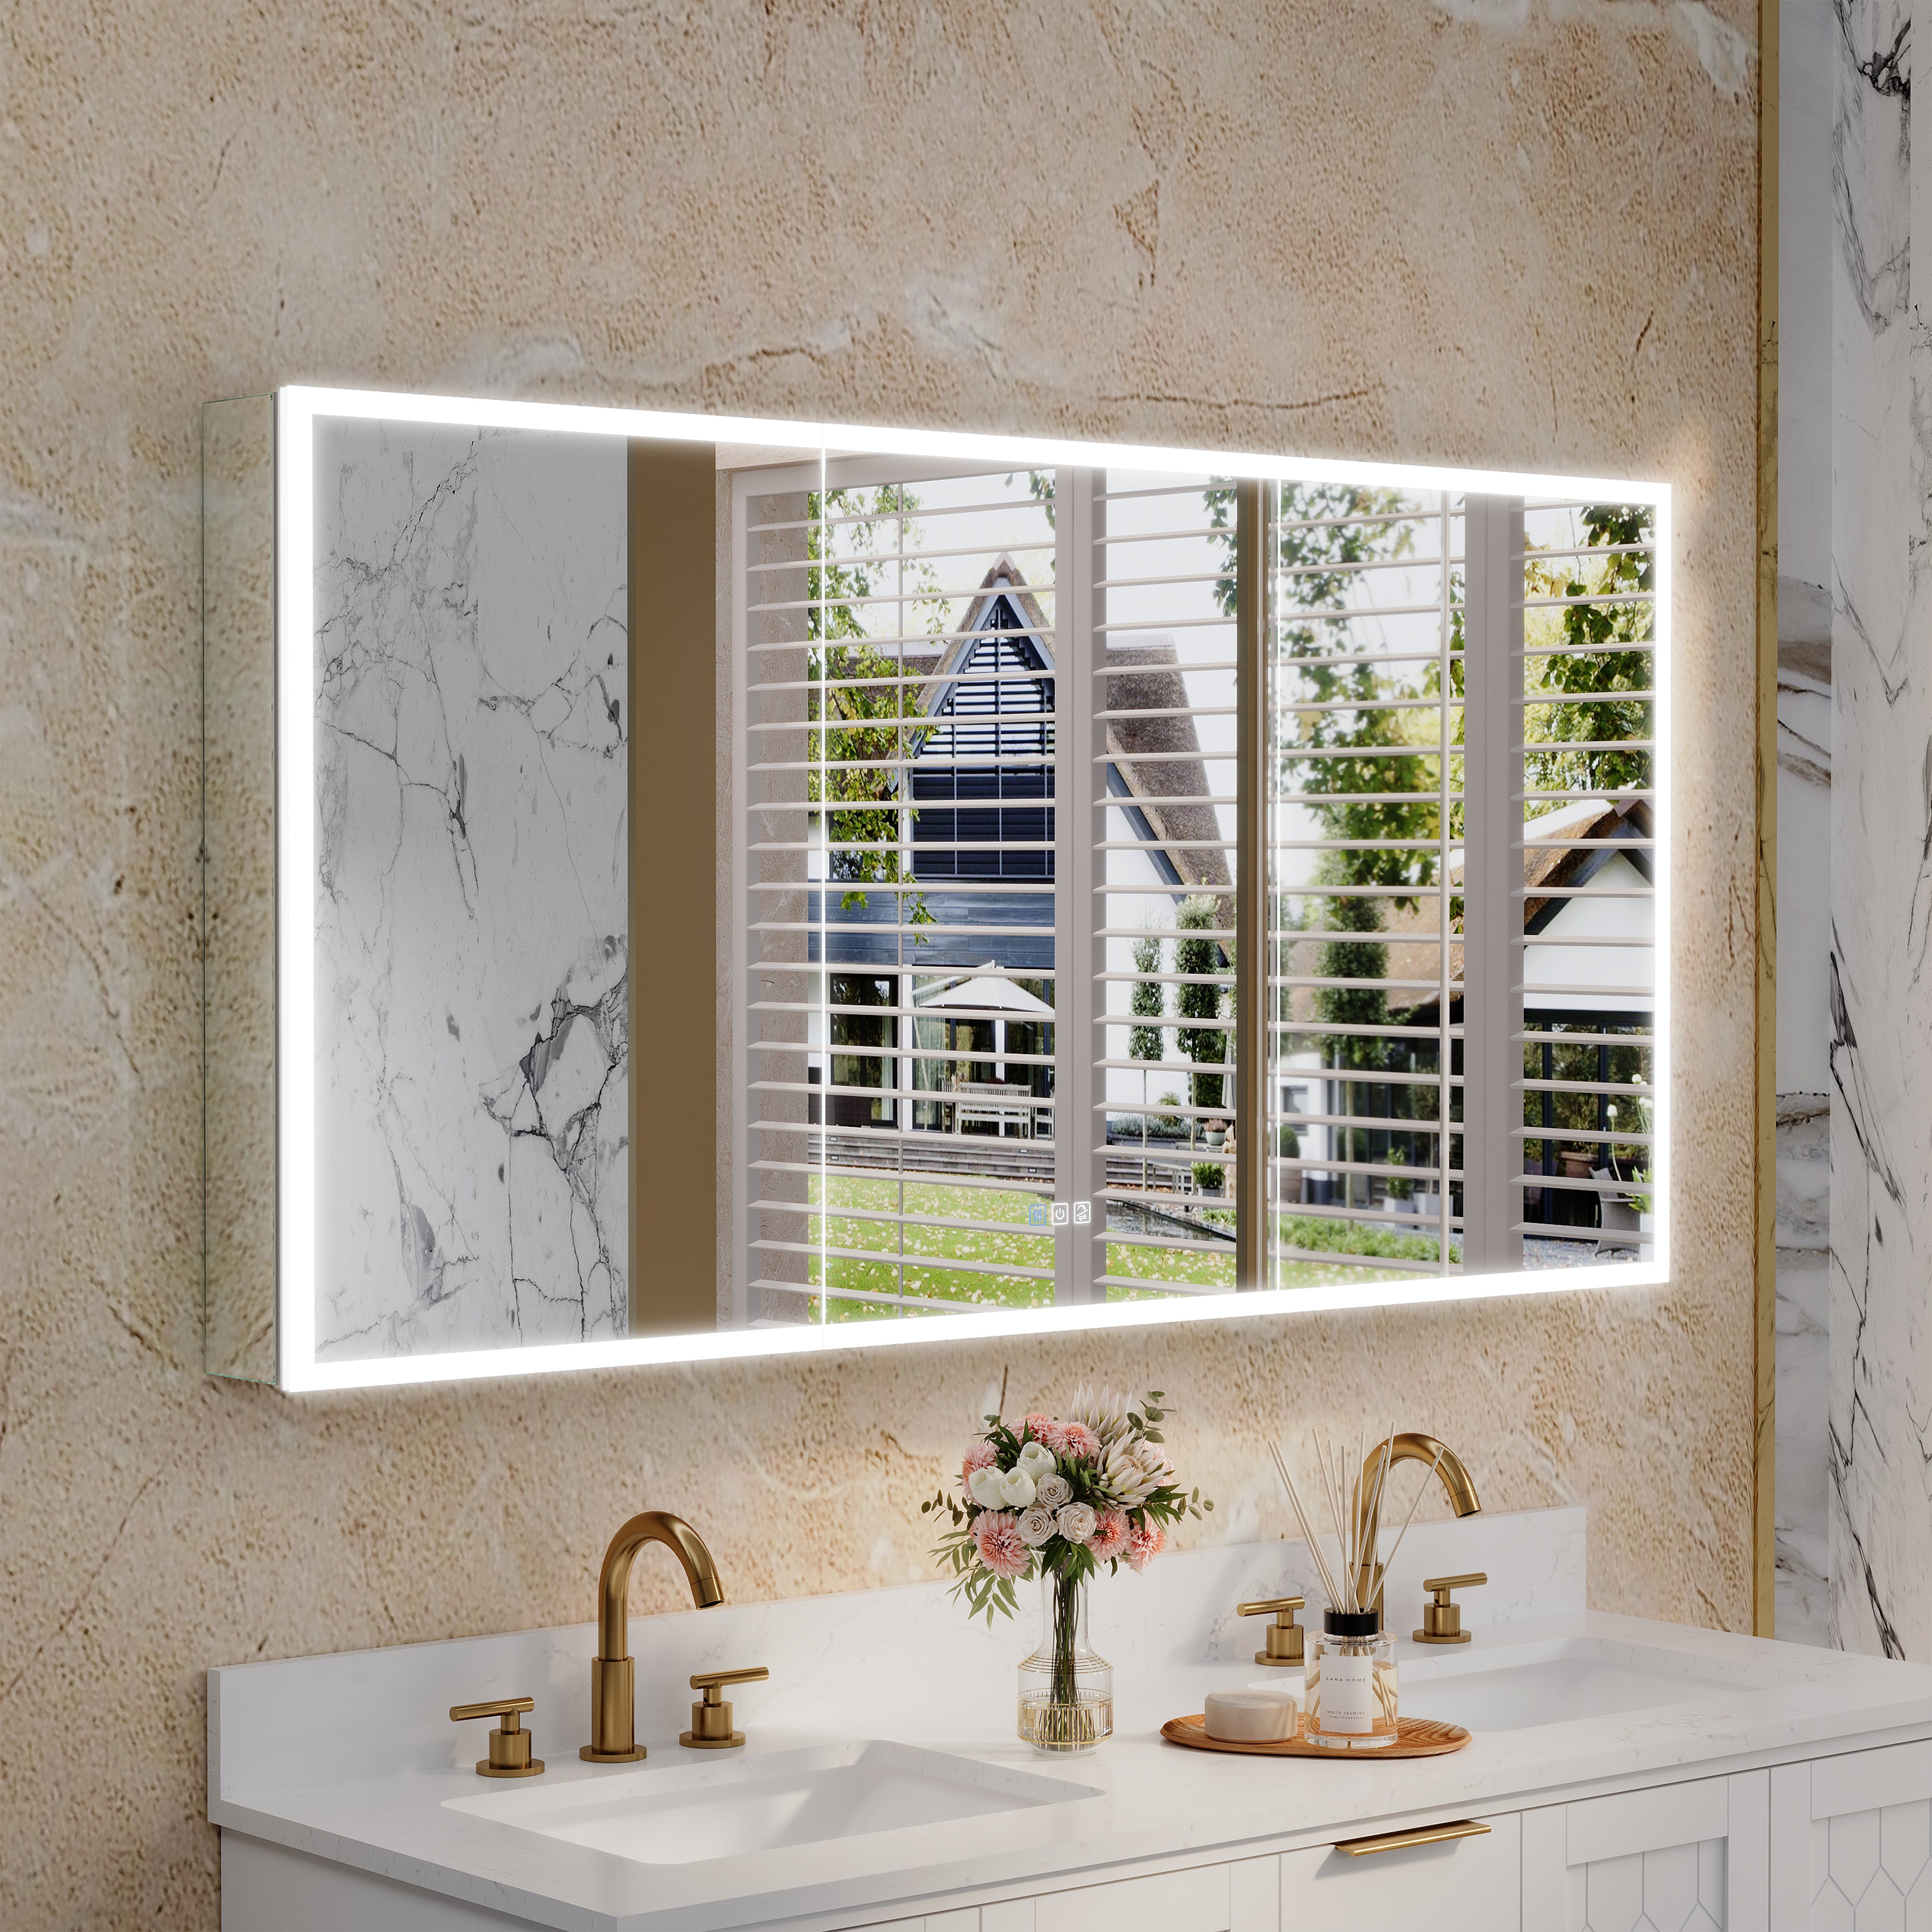
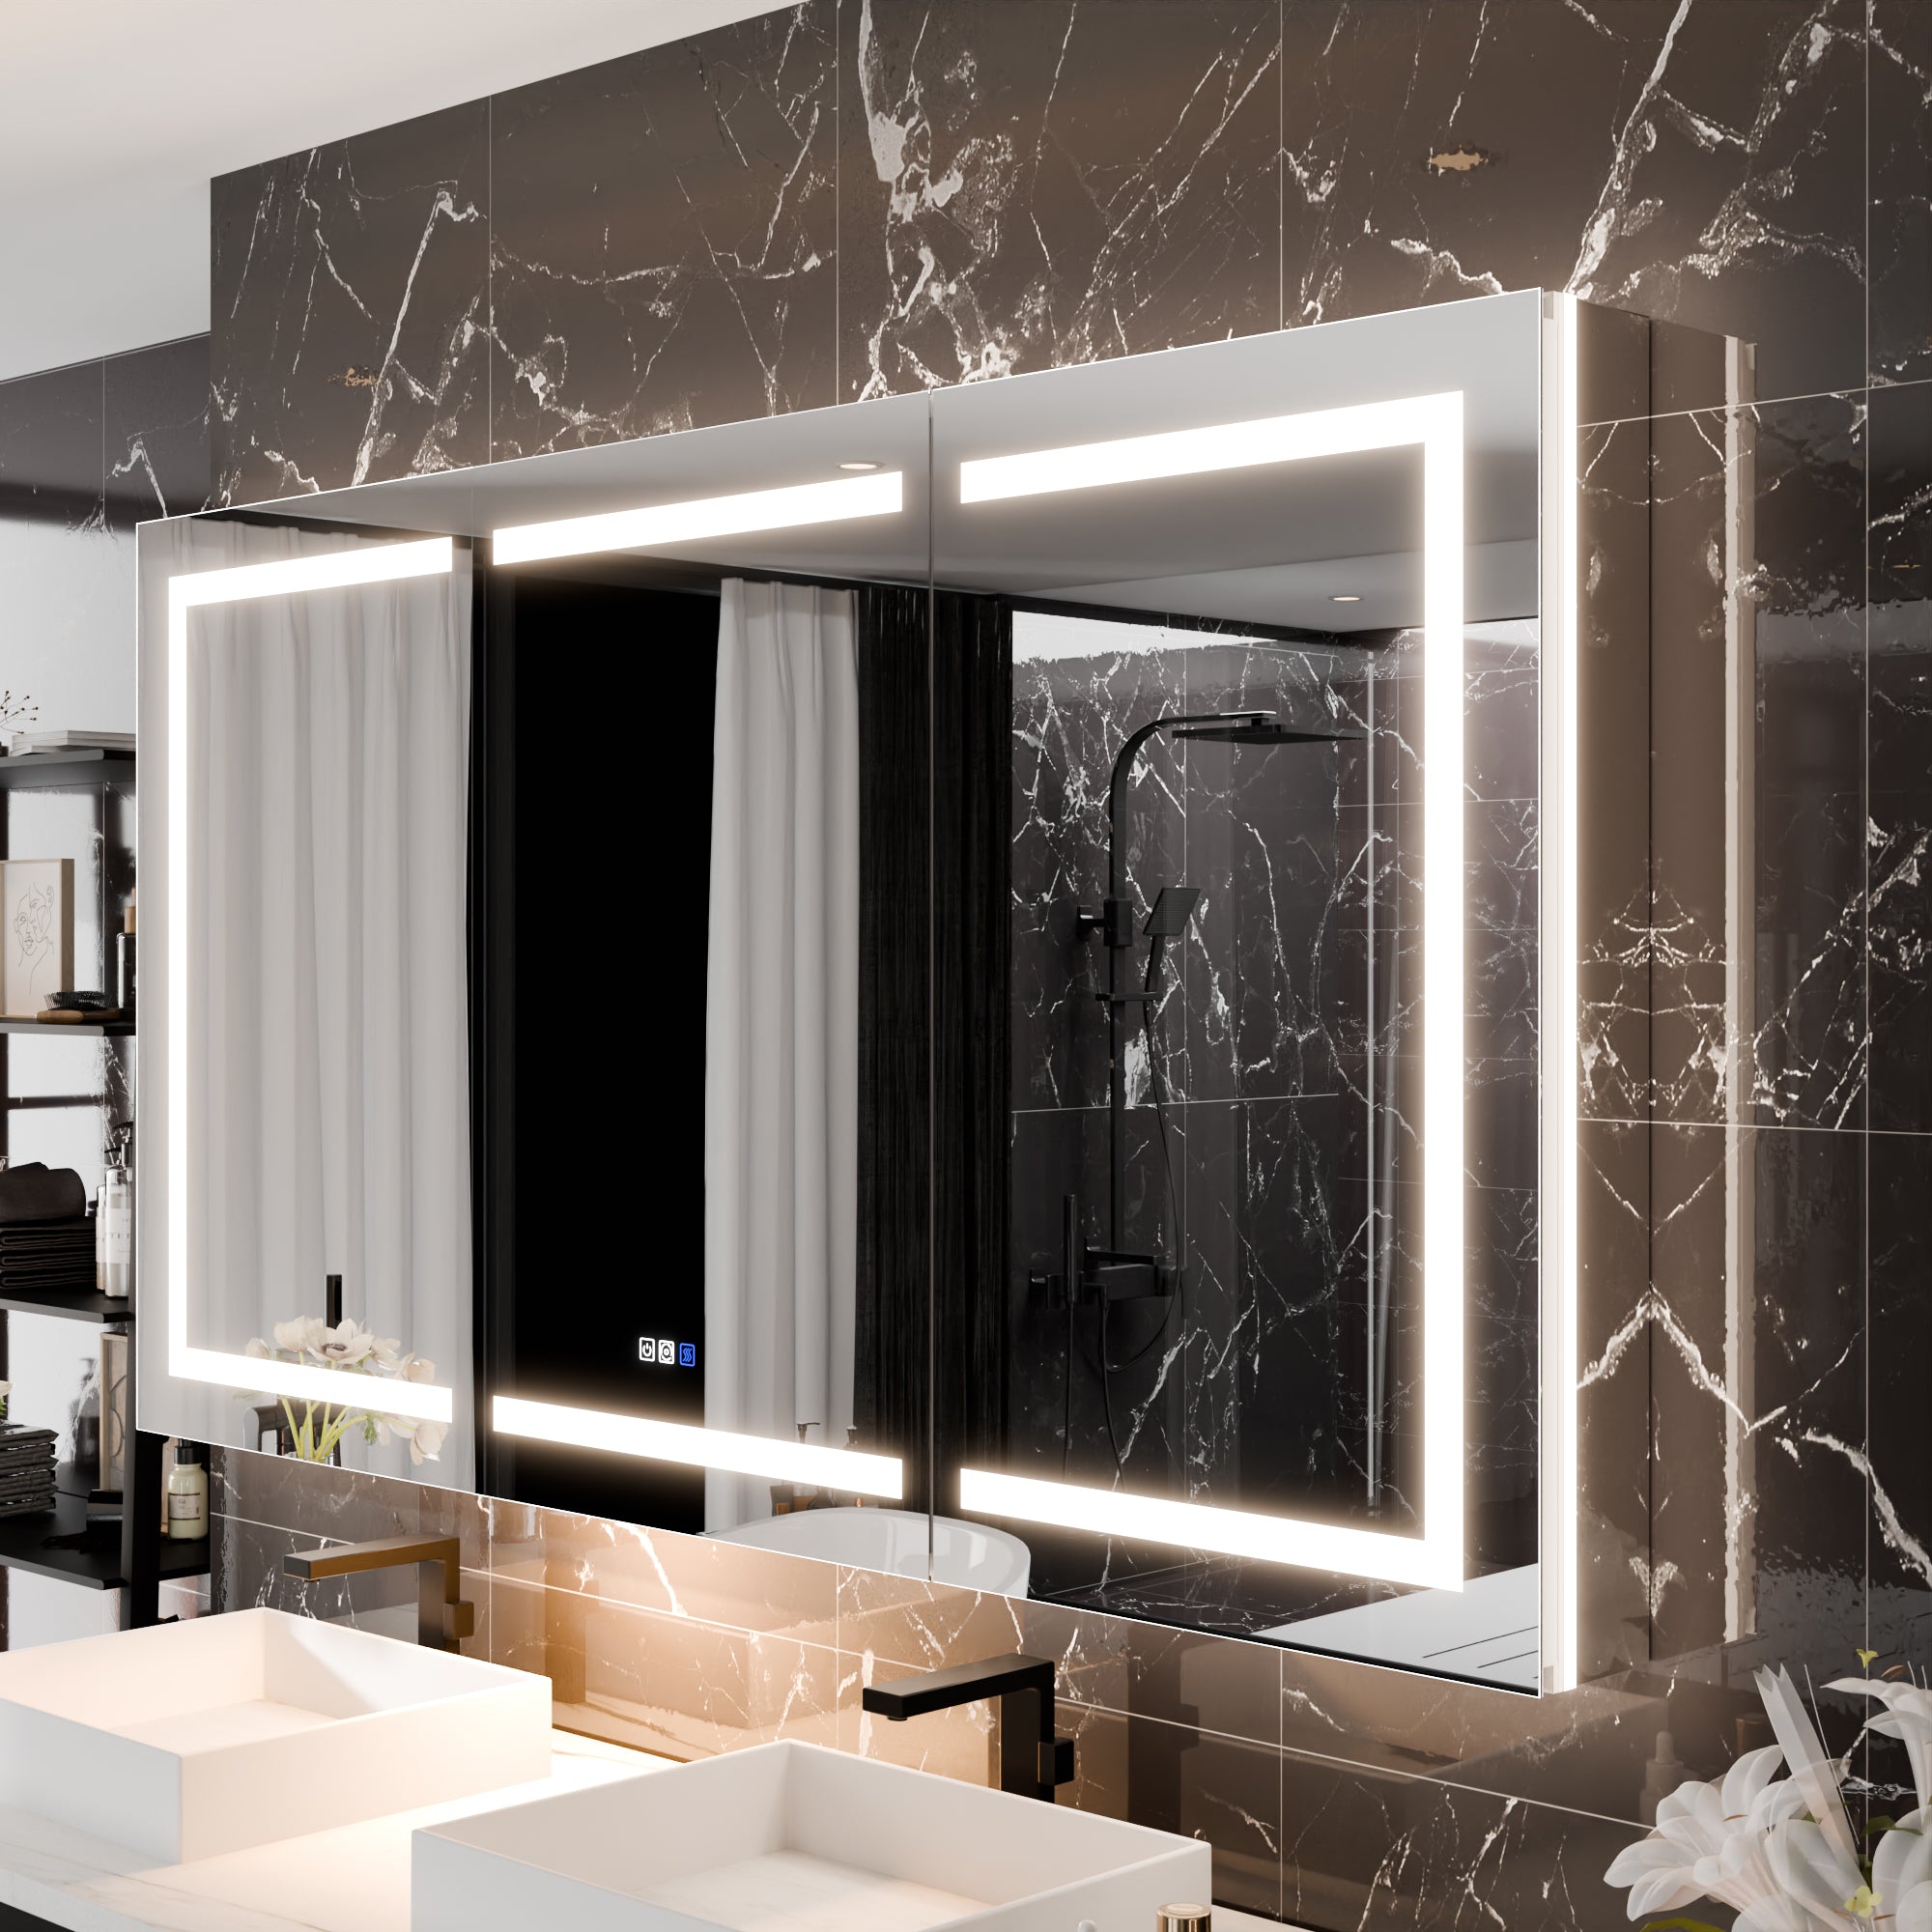
· Modern Aesthetic: These mirrors offer a sleek and sophisticated look, elevating the overall style of your space.
· Durability: LED lighted mirrors are designed to last longer, reducing the need for frequent replacements.
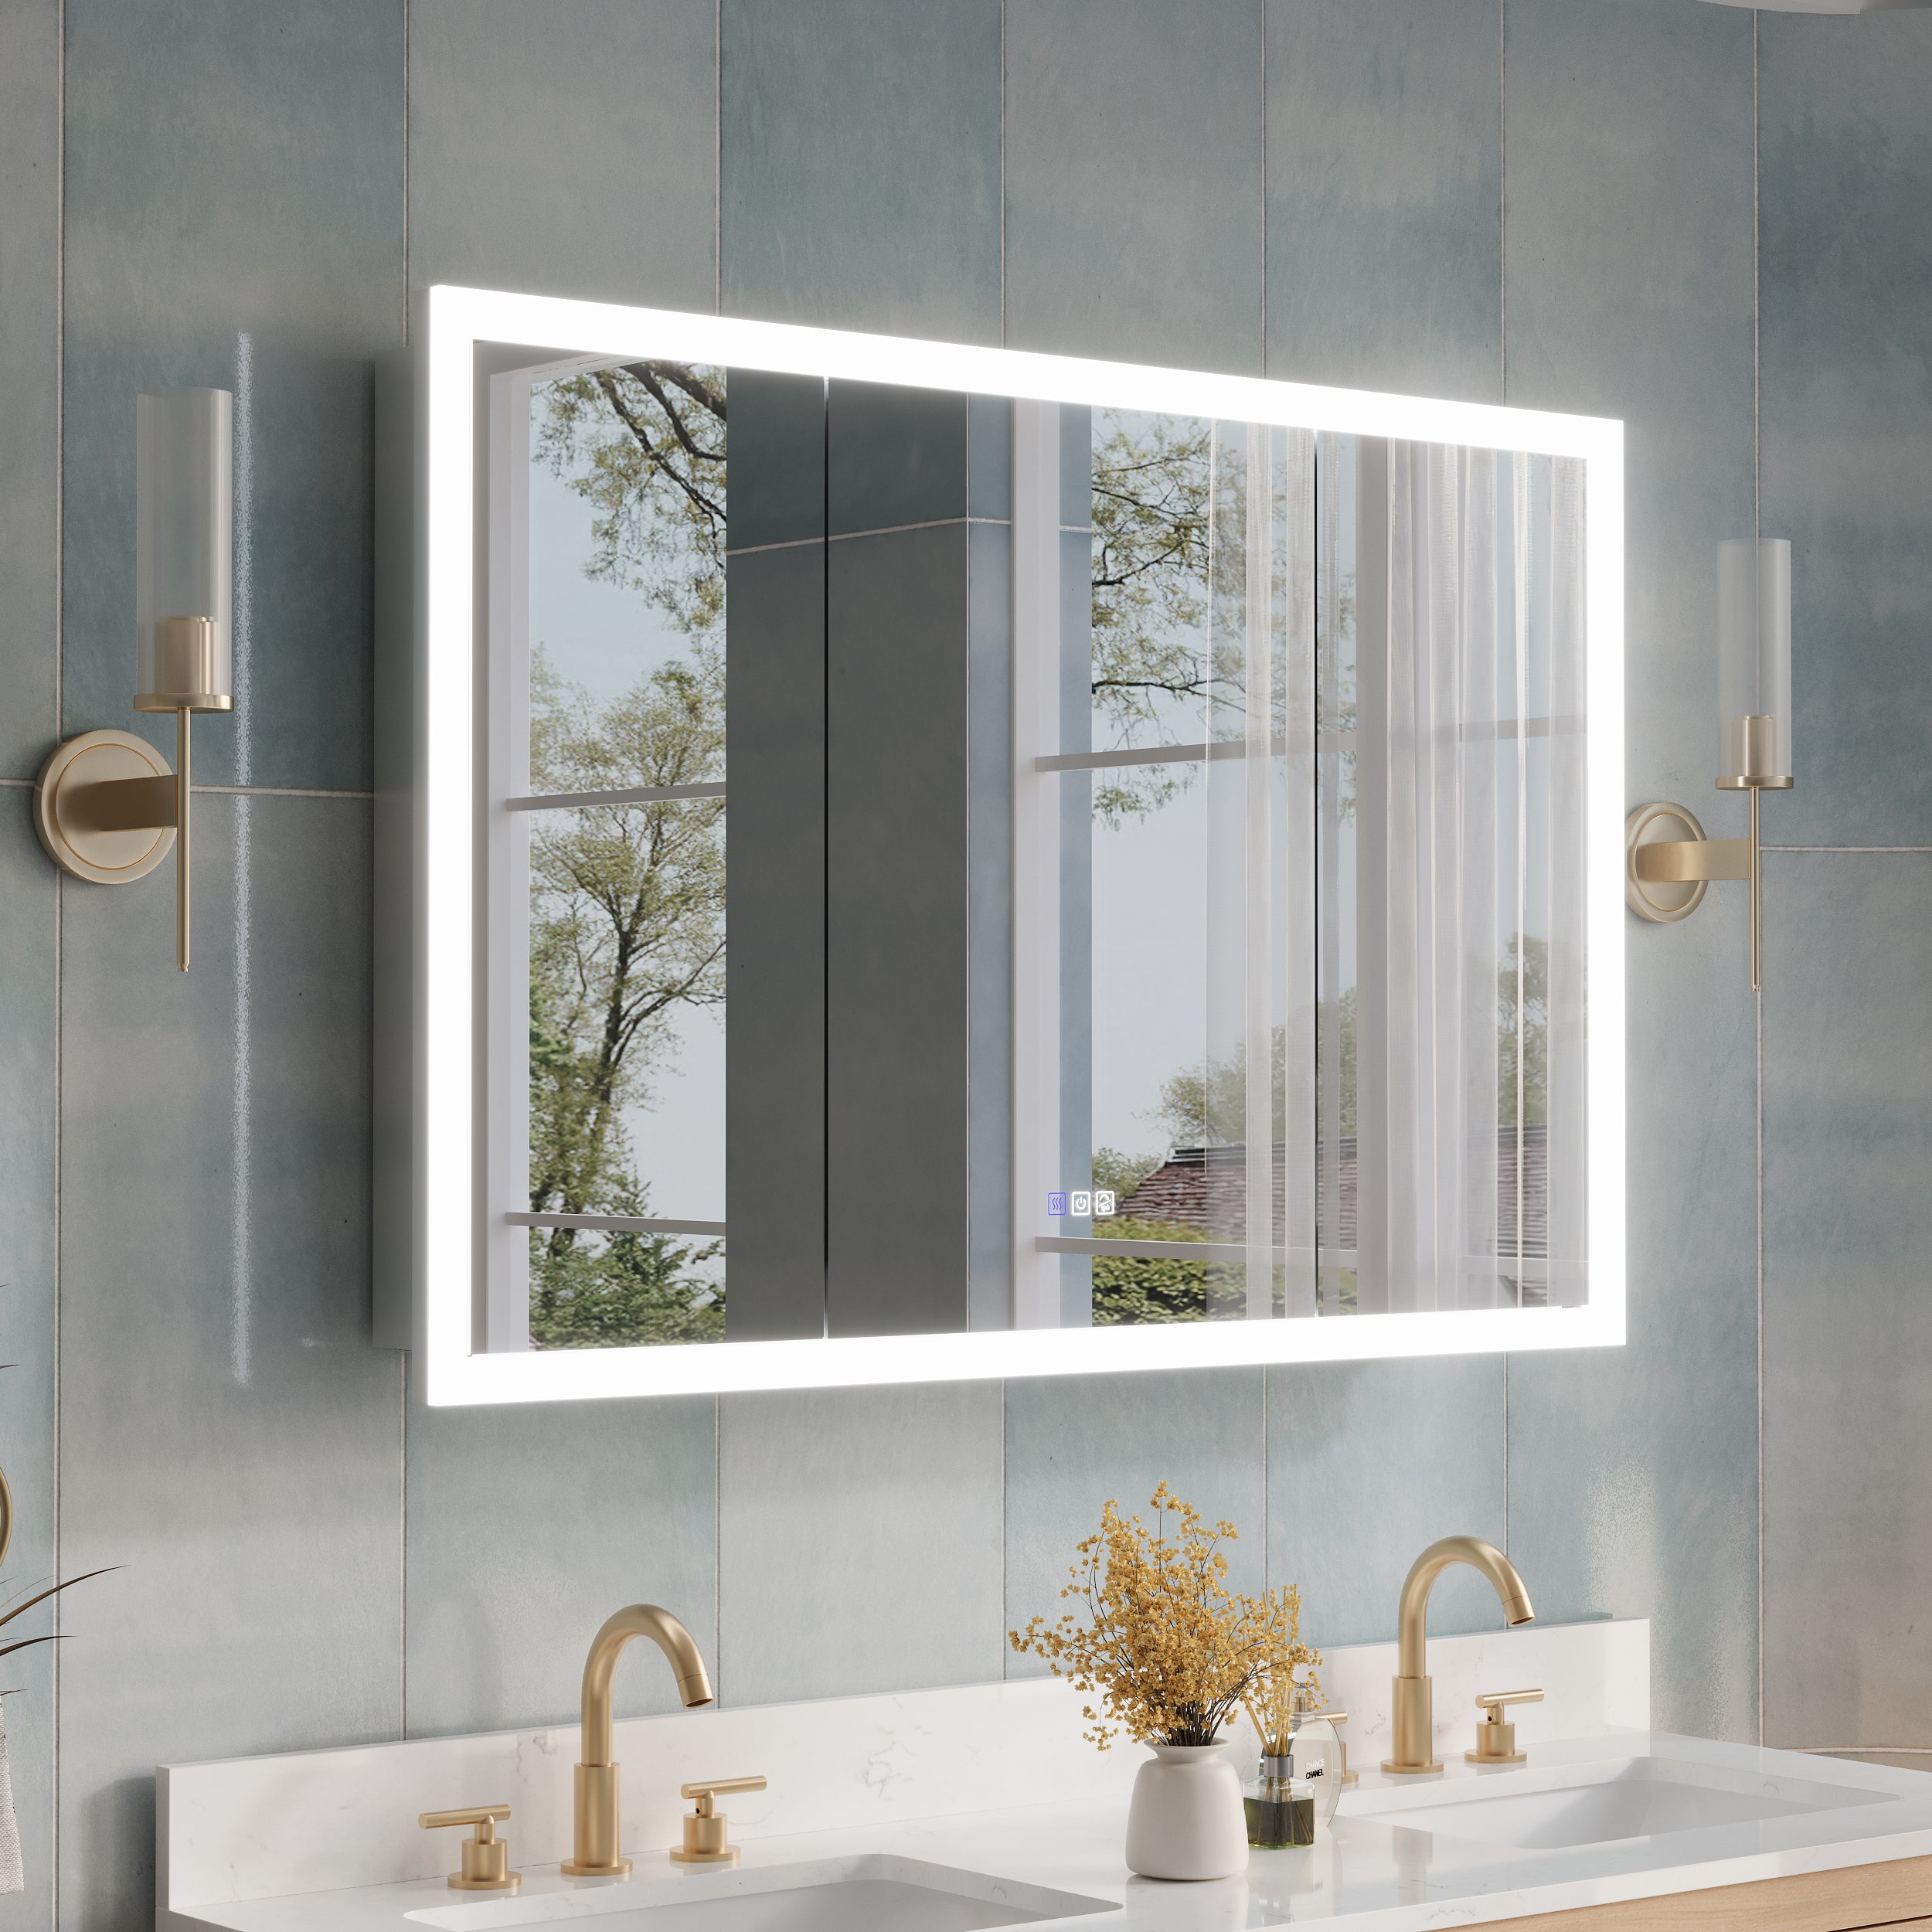
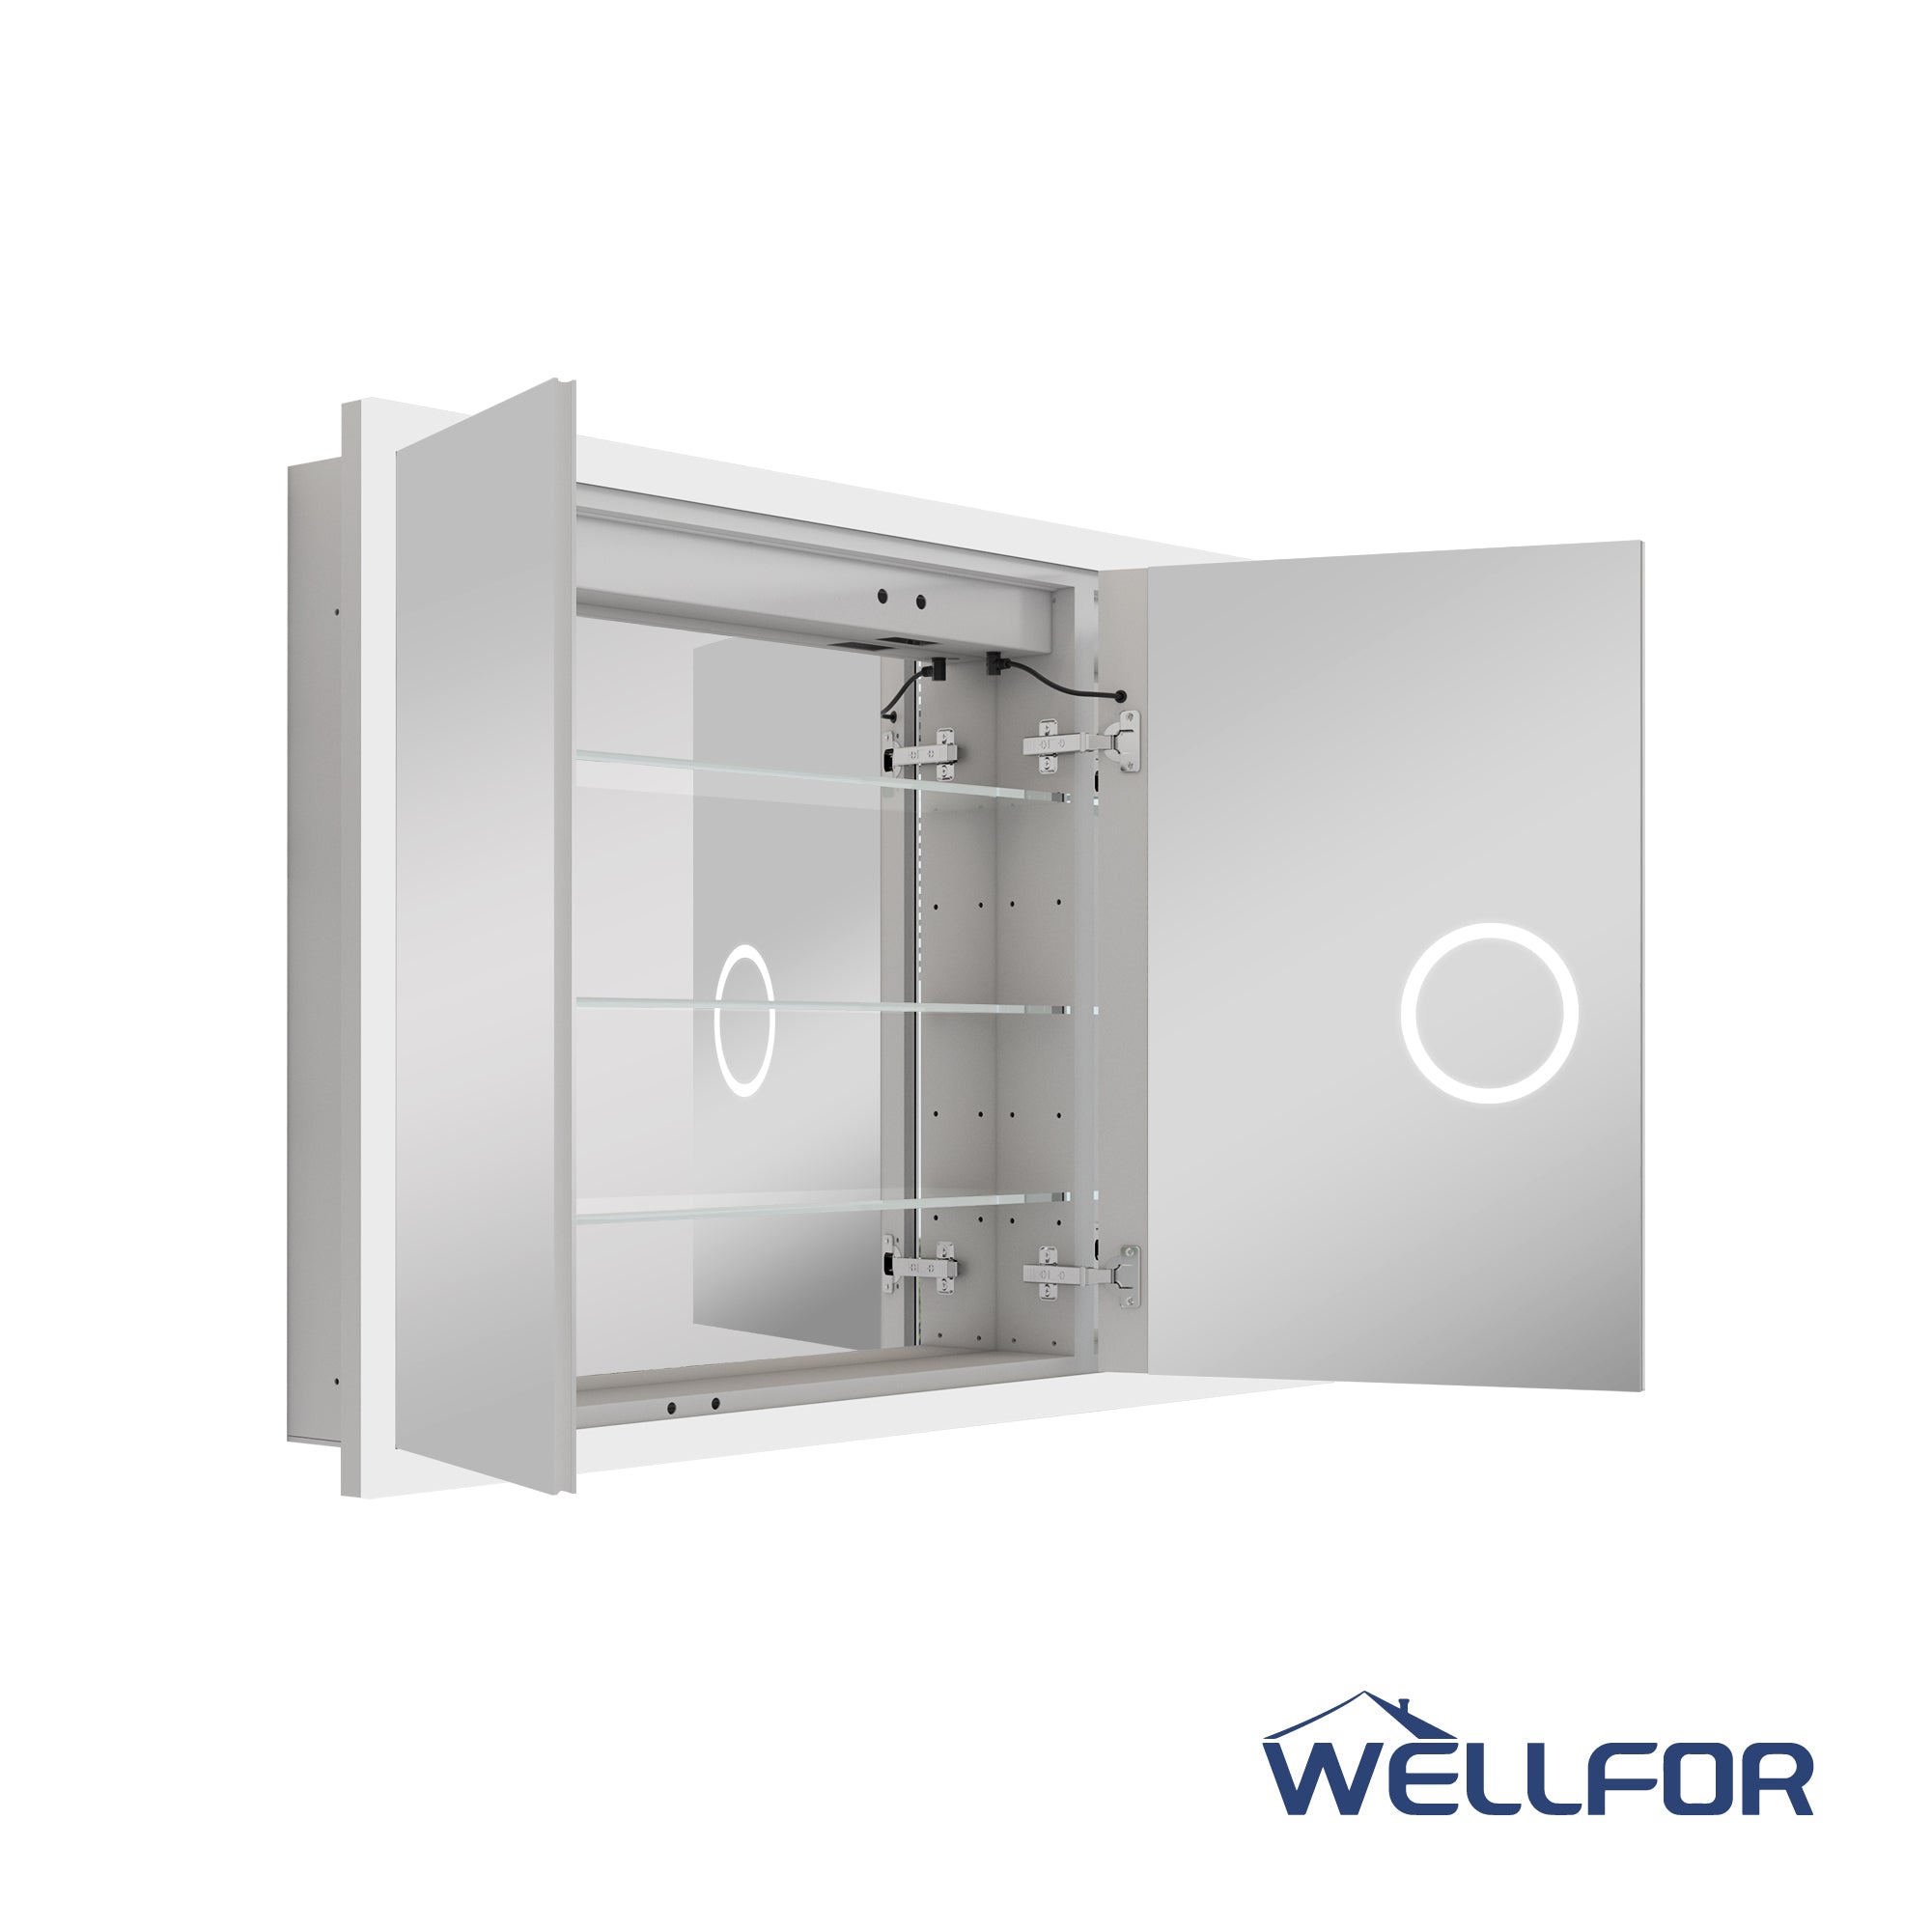
· Customizable Features: Many brands, like Wellfor, offer dimming options, color temperature settings, and even anti-fog features for added convenience.
Now that you know why an LED-lighted mirror is an excellent addition to your home, let's move on to the installation process.

Tools and Materials You'll Need
To ensure the installation goes smoothly, gather the following tools and materials before you begin:
· LED lighted mirror (such as a Wellfor mirror)
· Measuring tape
· Pencil or marker
· Level
· Screwdriver and screws (often included with the mirror)
· Wall anchors (if mounting on drywall)
· Drill and drill bits
· Circuit tester
· Electrical tape
· Wire connectors or nuts
· Stud finder (optional but recommended)
· Safety gloves and goggles
Having these items on hand will save you time and prevent unnecessary interruptions.
Safety Precautions to Follow
Before starting the installation, it's essential to prioritize safety. Here are some key precautions:
· Turn Off Power: Always shut off power to the circuit where you'll work. Use a circuit breaker to ensure no electricity is flowing to the area.
· Use a Circuit Tester: Use a circuit tester on the wires you'll be working with to double-check that the power is off.
· Wear Safety Gear: Protect your eyes with safety goggles, and consider wearing gloves to avoid cuts or injuries.
· Read the Manual: Every LED-lighted mirror is different. Before beginning, read the manufacturer's installation instructions (especially for Wellfor products).
· Check Wall Stability: Ensure your wall is strong enough to support the mirror's weight. If mounting on drywall, use a stud finder for extra security.
Step-by-Step Guide to Installing an LED Lighted Mirror
1. Prepare the Mounting Area
· Choose the Location: Decide where you want to install your mirror. Ideally, it should be at eye level and near a power source.
· Measure and Mark: Use a measuring tape and pencil to mark the desired position of the mirror on the wall. Ensure the markings are level.
· Locate Wall Studs (Optional): If mounting a heavier mirror, find studs for added support. If no studs are available, use wall anchors.
2. Install the Mounting Bracket
Most LED lighted mirrors come with a mounting bracket. Here's how to attach it:
· Align the Bracket: Hold the bracket against your markings and ensure it is level.
· Mark Screw Holes: Use a pencil to mark the locations where screws will go.
· Drill Pilot Holes: If mounting on drywall, drill pilot holes at the marked points and insert wall anchors for stability.
· Secure the Bracket: Screw the bracket into place using the screws provided. Double-check that it's firmly attached.
3. Wire the LED Lighted Mirror
Wiring is a critical step that requires caution. If you're uncomfortable working with electricity, consider hiring a licensed electrician.
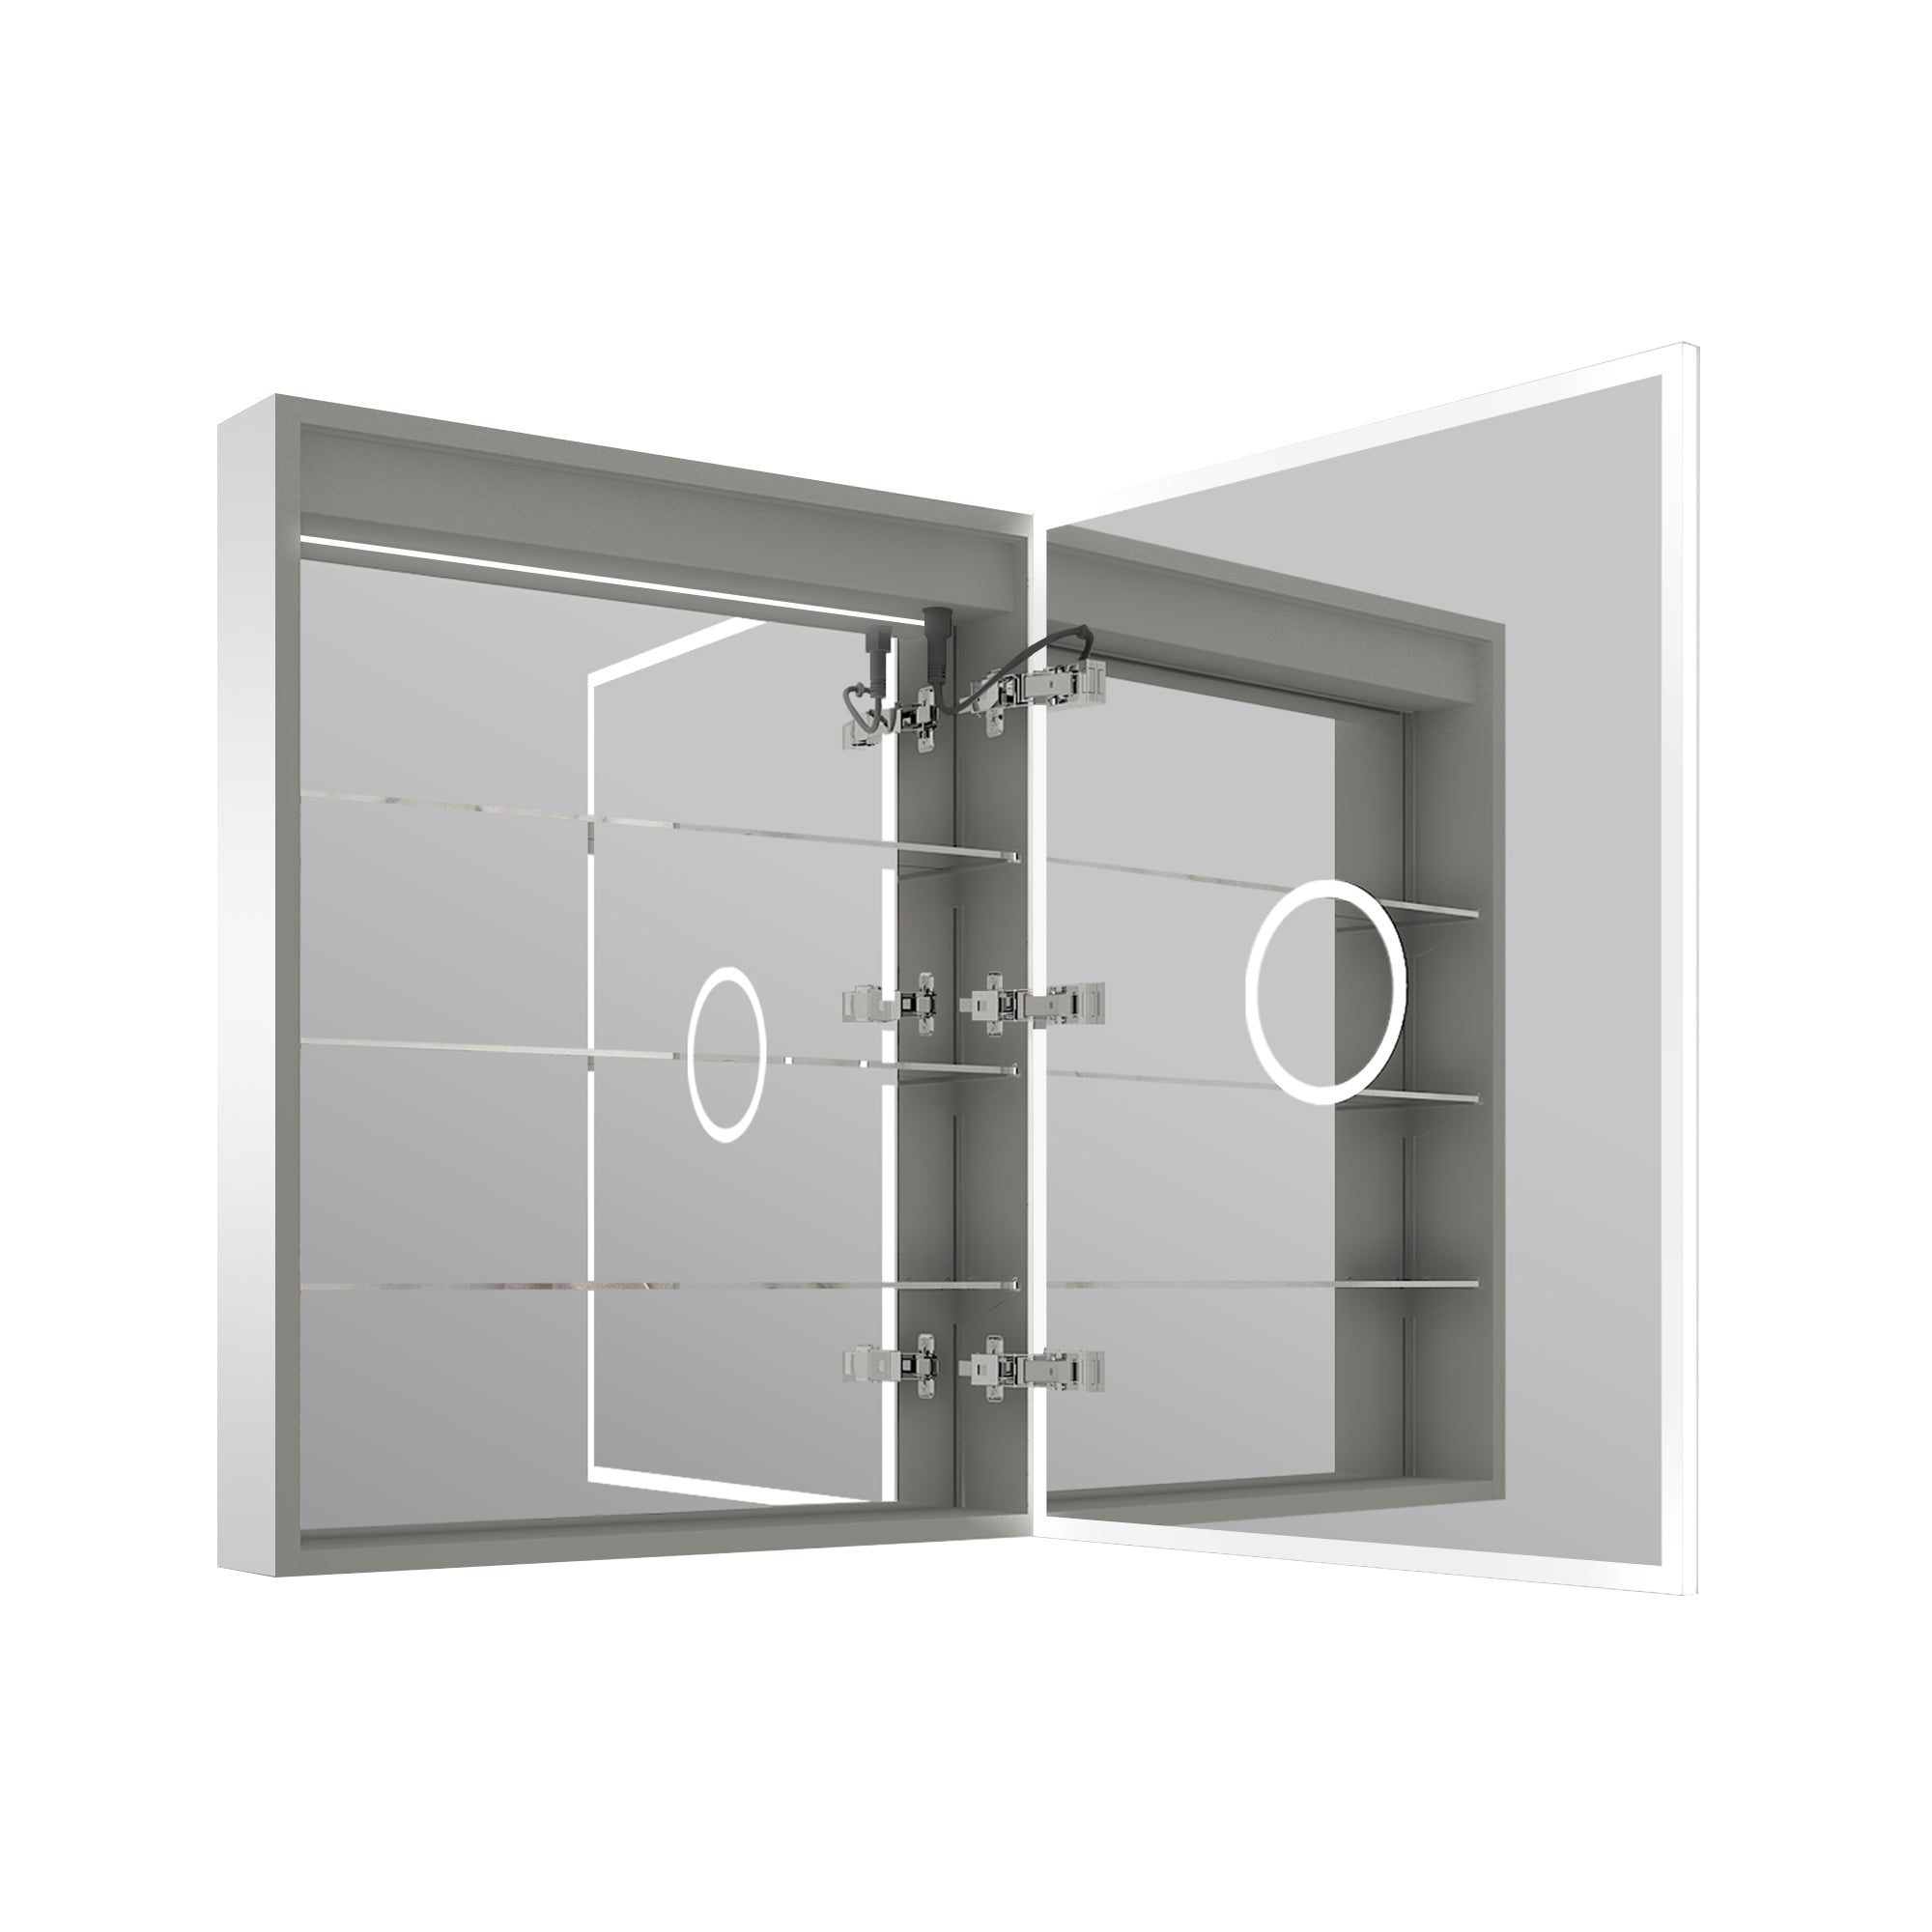
· Access the Wires: Remove the back panel of the mirror to access its wires.
· Match the Wires:
· Connect the mirror's live wire (commonly black or brown) to the live wire from the wall.
· Connect the neutral wire (white or blue) to the neutral wire from the wall.
· If your mirror has a ground wire (green or yellow-green), connect it to the ground wire from the wall.
· Use Wire Connectors: Twist the wires together and secure them with wire connectors or nuts. Wrap the connections with electrical tape for added safety.
· Test Connections: Before finishing, briefly turn the power back on to test the light. If it doesn't work, double-check your connections.
4. Mount the Mirror on the Bracket
Once the wiring is complete, it’s time to attach the mirror to the wall.
· Lift the Mirror: Carefully lift the mirror and align it with the mounting bracket.
· Secure the Mirror: Slide the mirror into place on the bracket. Some designs may require additional screws or clips for stability.
· Inspect for Stability: Ensure the mirror is firmly attached and does not wobble.
5. Final Touches
· Turn the Power On: Restore power to the circuit and test the mirror again. Adjust brightness or color settings as desired.
· Clean the Mirror: Remove any fingerprints or smudges using a microfiber cloth.
· Check Features (If Applicable): Test additional features like anti-fog, dimming, or Bluetooth functionality.
Maintenance Tips for Your LED Lighted Mirror
To keep your mirror in top condition and maximize its lifespan, follow these simple maintenance tips:
· Regular Cleaning:
o Use a soft, damp cloth to clean the glass.
o Avoid abrasive cleaners that can damage the mirror or LED lights.
· Inspect for Loose Screws:
o Periodically check the mounting bracket and screws to ensure stability.
· Replace LED Lights (If Needed):
o Although LED lights last a long time, they may eventually need replacement. Refer to your product manual for instructions.
· Protect from Moisture:
o Ensure the mirror's electrical components are well-sealed, especially in humid areas like bathrooms.
Why Choose Wellfor for Your LED Lighted Mirror?
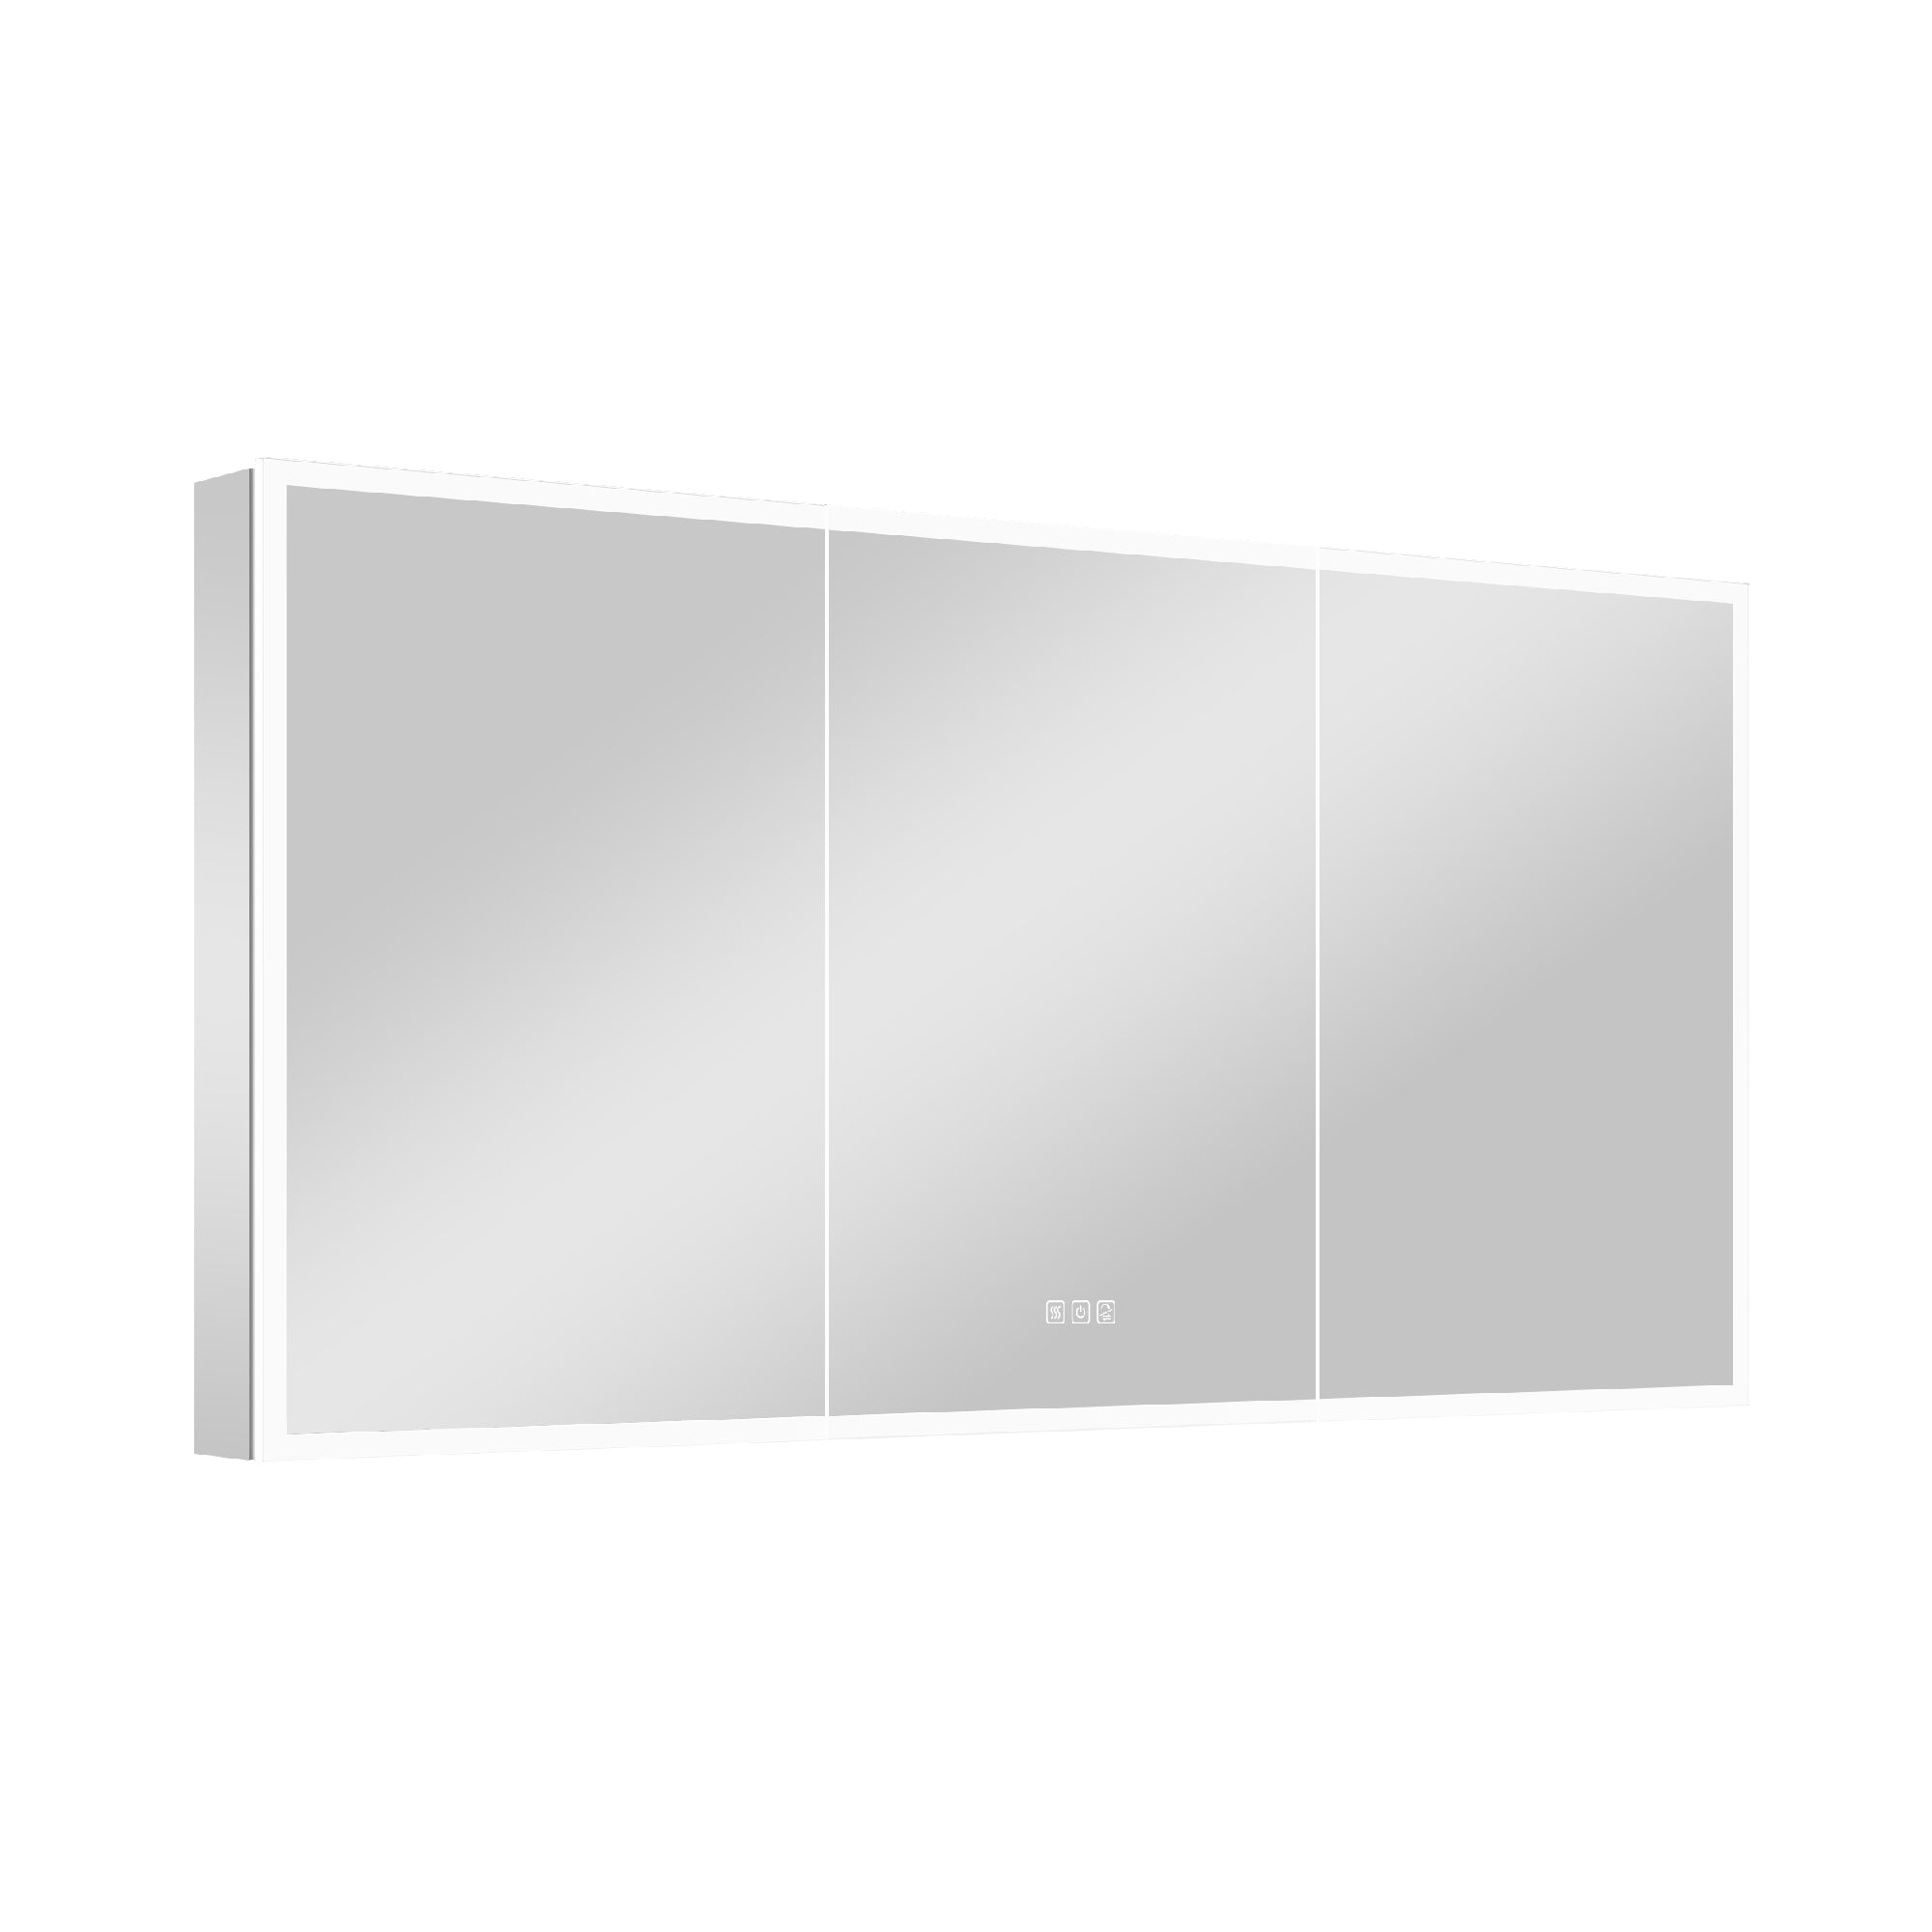
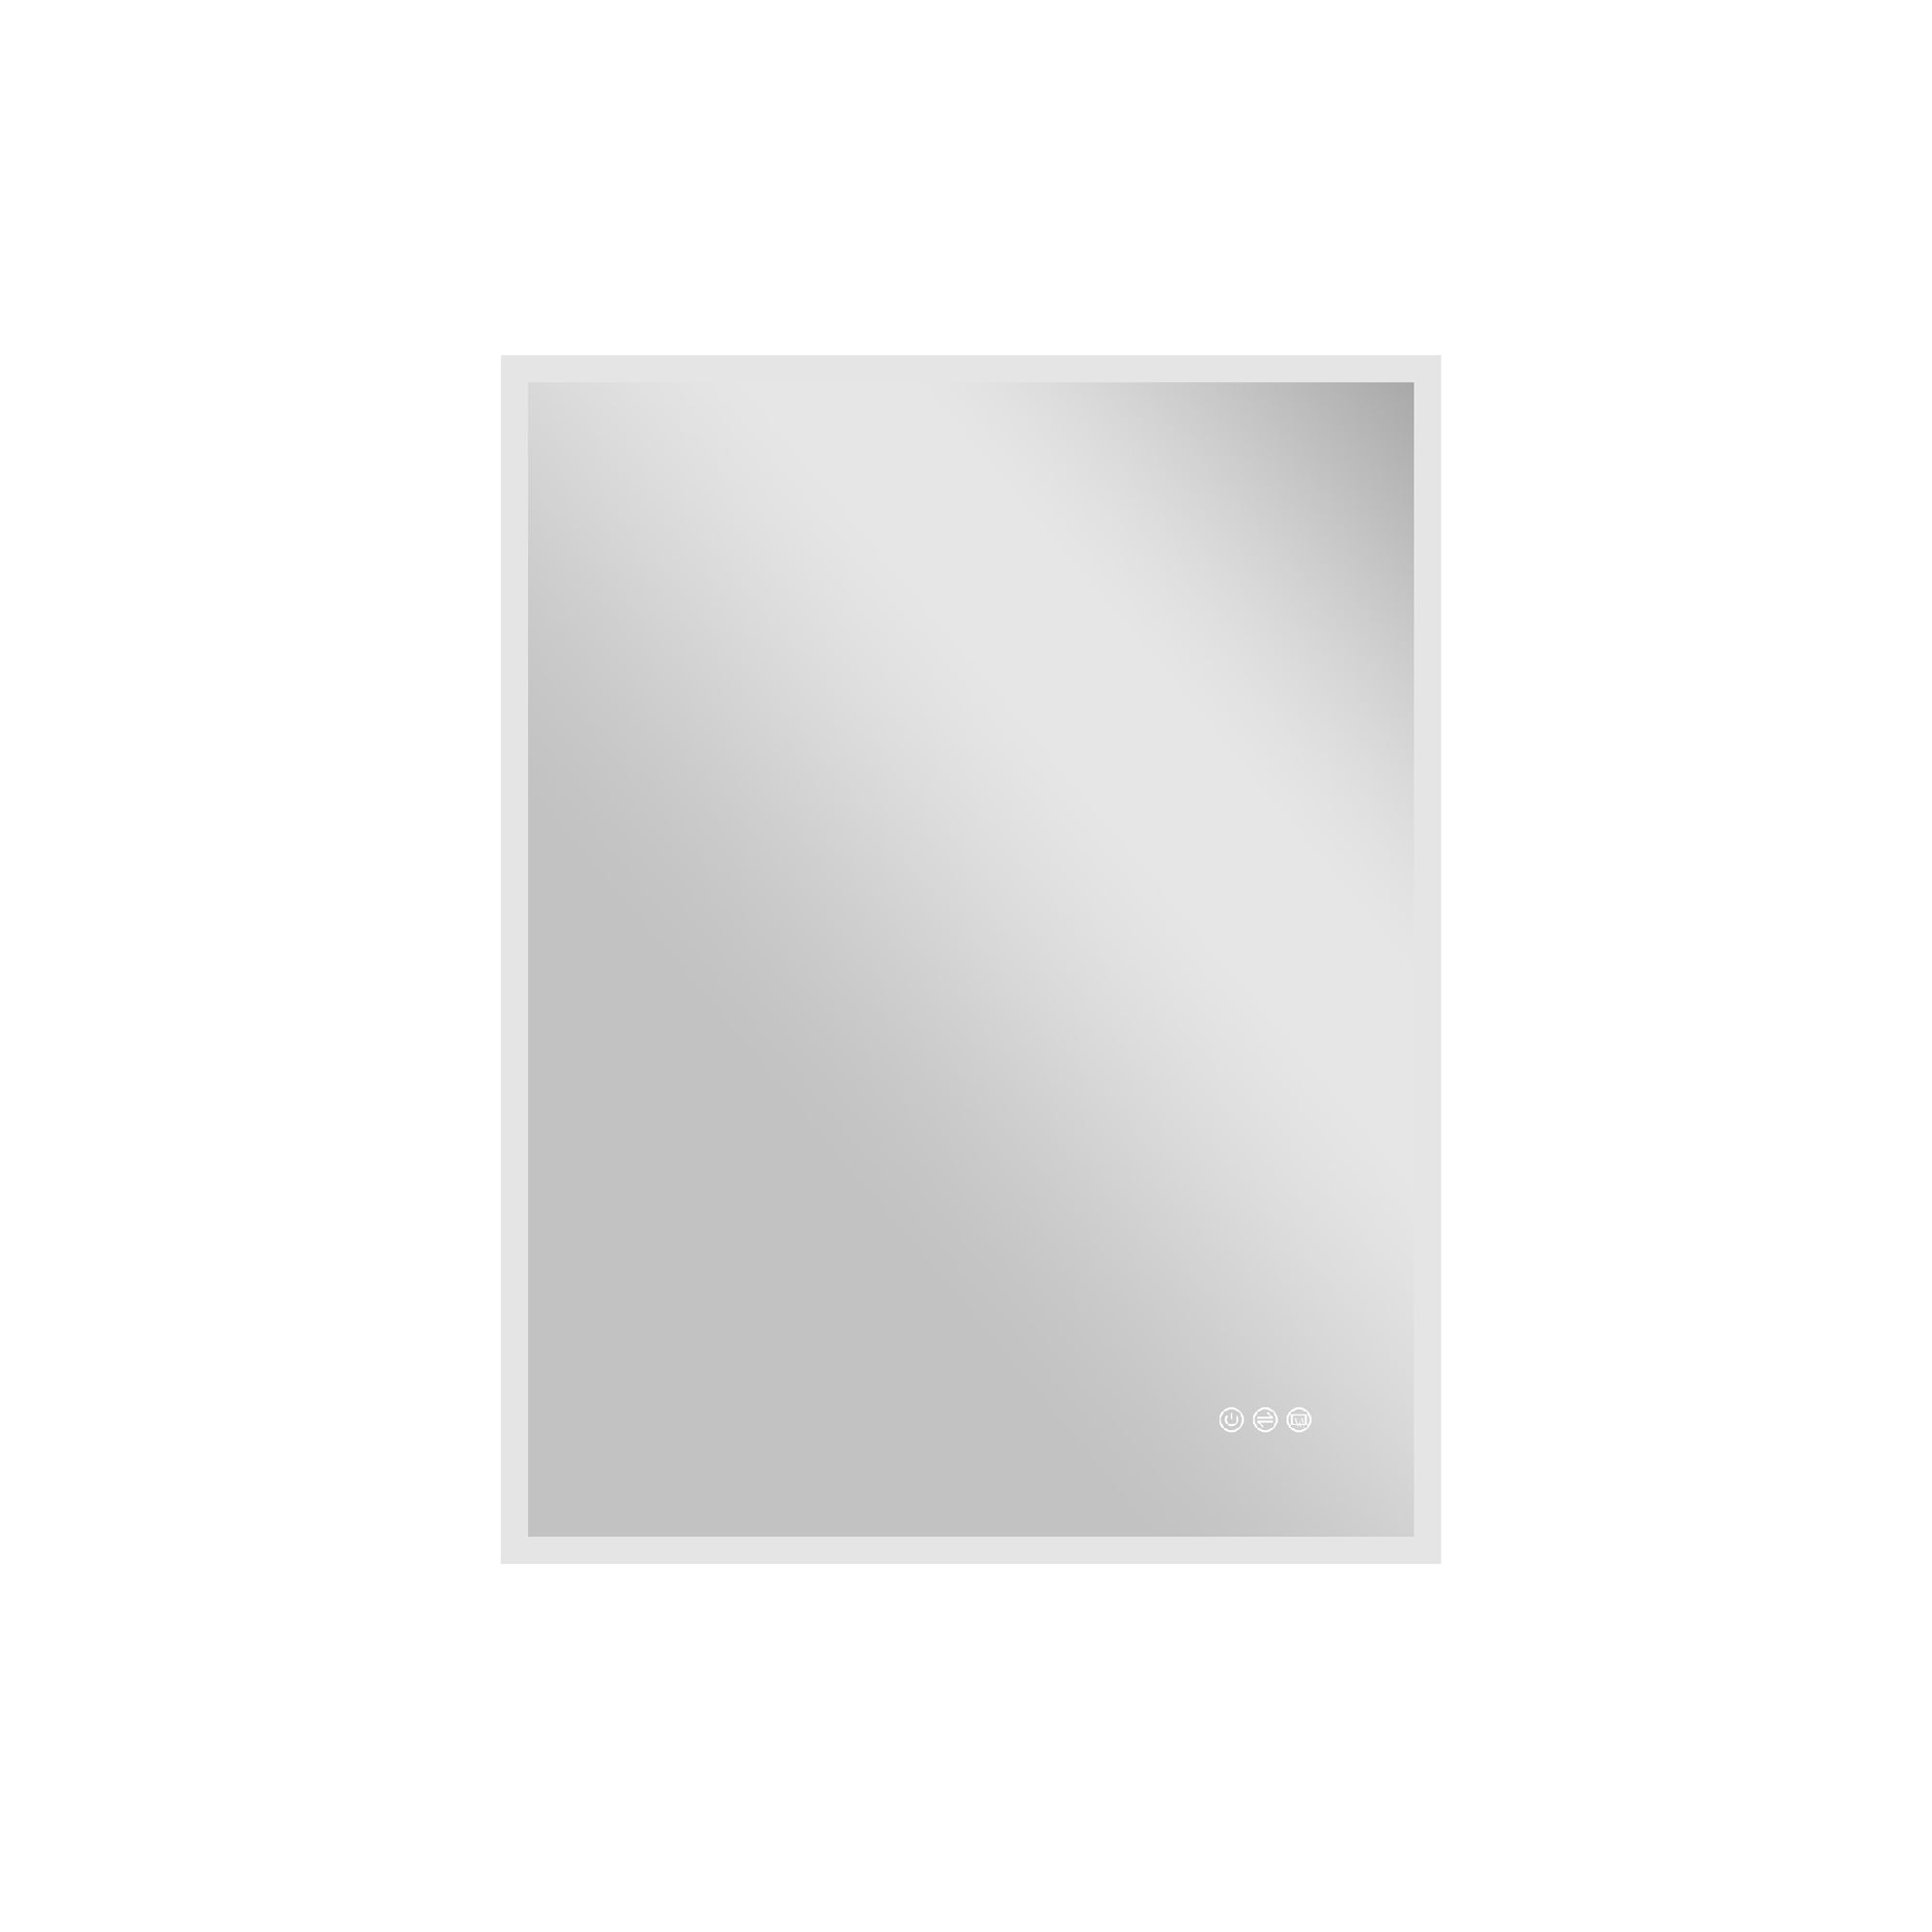
Wellfor has a vast collection of high-quality LED lighted mirrors that balance practicality and appearance. Wellfor mirrors come with features such as dimming, touch controls, and anti-fog, making them user-friendly. The included installation hardware and their straightforward design makes these mirrors perfect for homeowners looking for beauty and ease.
Wellfor mirrors are energy-efficient and environmentally friendly, increasing your home’s value while standing the test of time.
Wrapping Up
You're just a few steps away from effortlessly illuminating your style—step by step, we’ll ensure you can safely install your LED lighted mirror. In this guide, we are going to explain everything you need to know so that you can safely enhance your home's appeal while giving it functional beauty at the same time. Wellfor is one of the most trusted brands in the market so it’s always best to put your trust on their products.
Do reach out to Wellfor support or a licensed electrician if you have any questions, their professional staff keen to help. Best of luck!











Leave a comment
This site is protected by hCaptcha and the hCaptcha Privacy Policy and Terms of Service apply.