
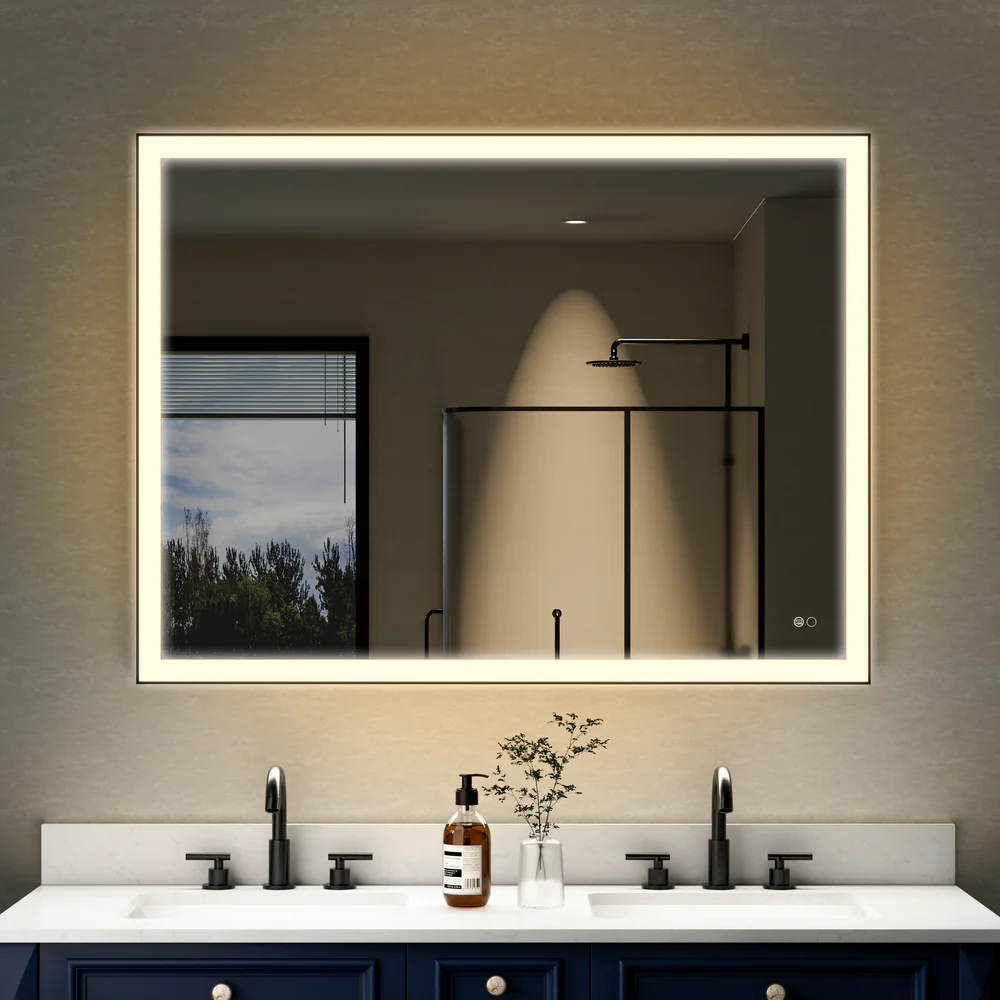
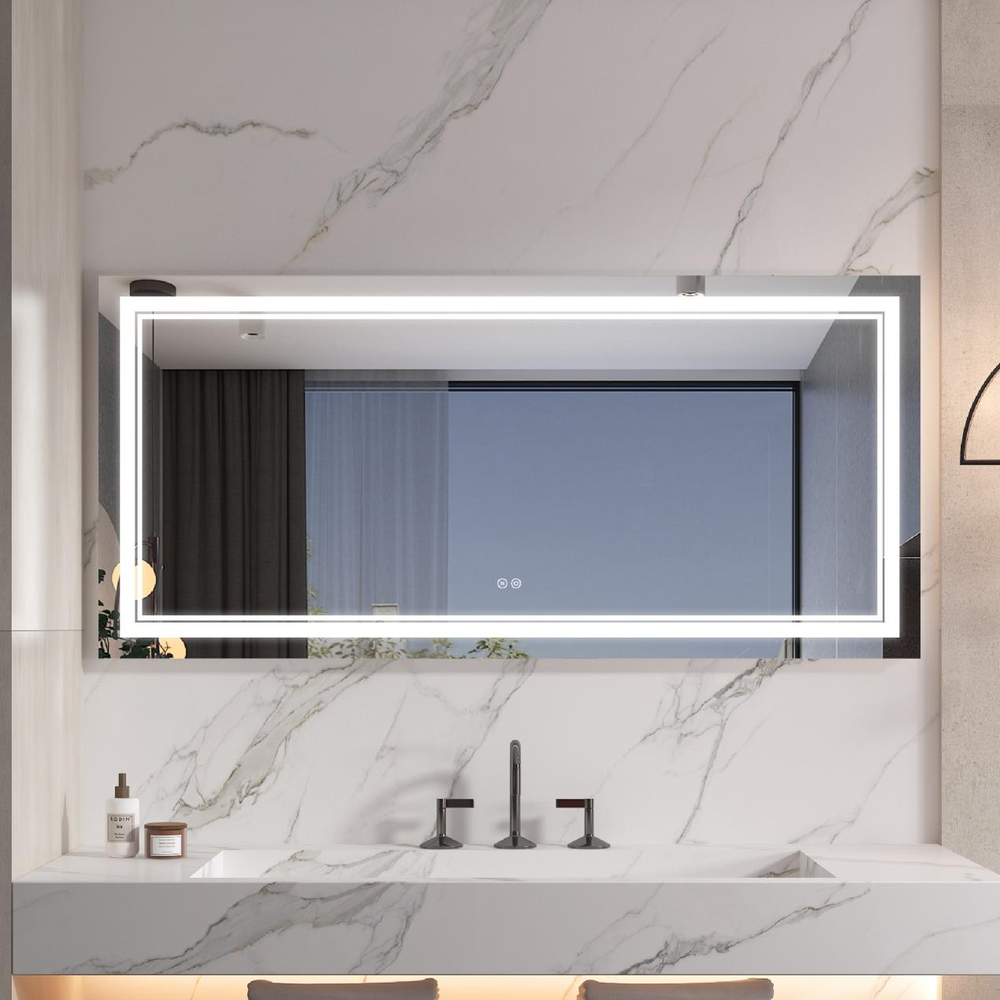
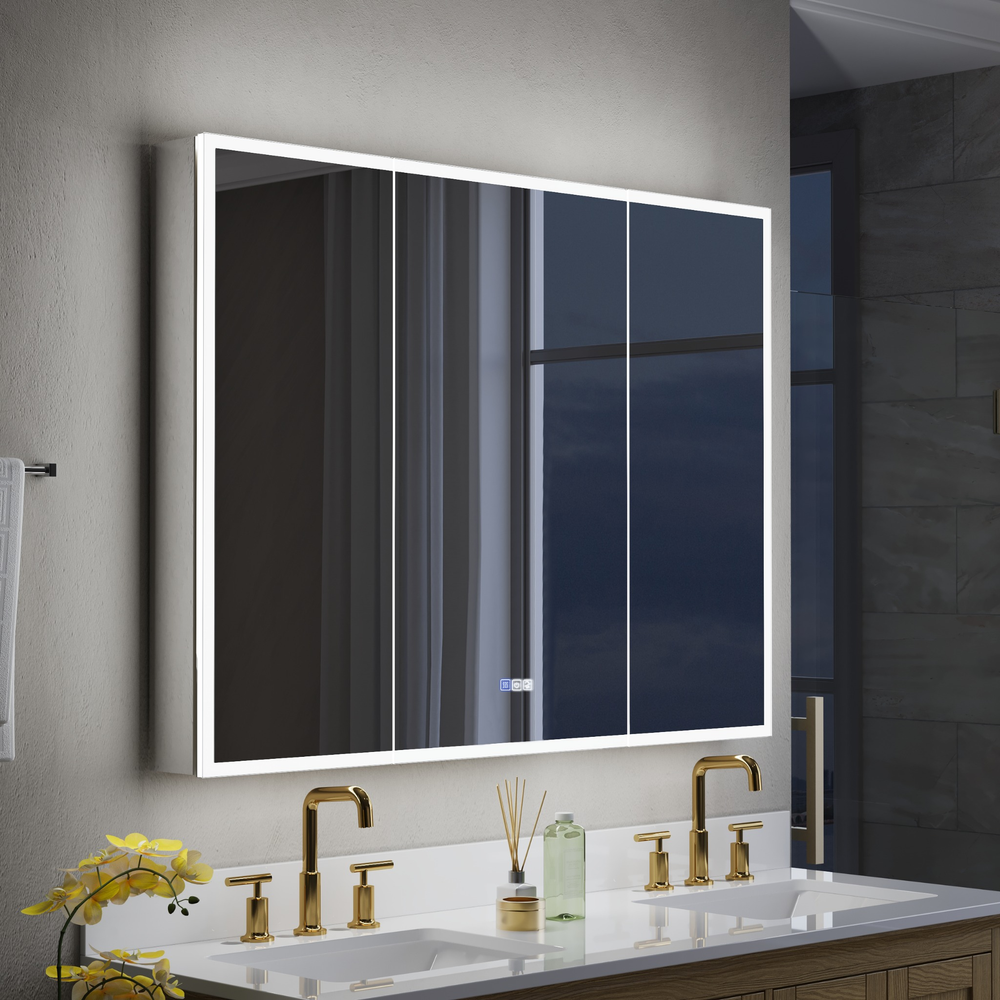
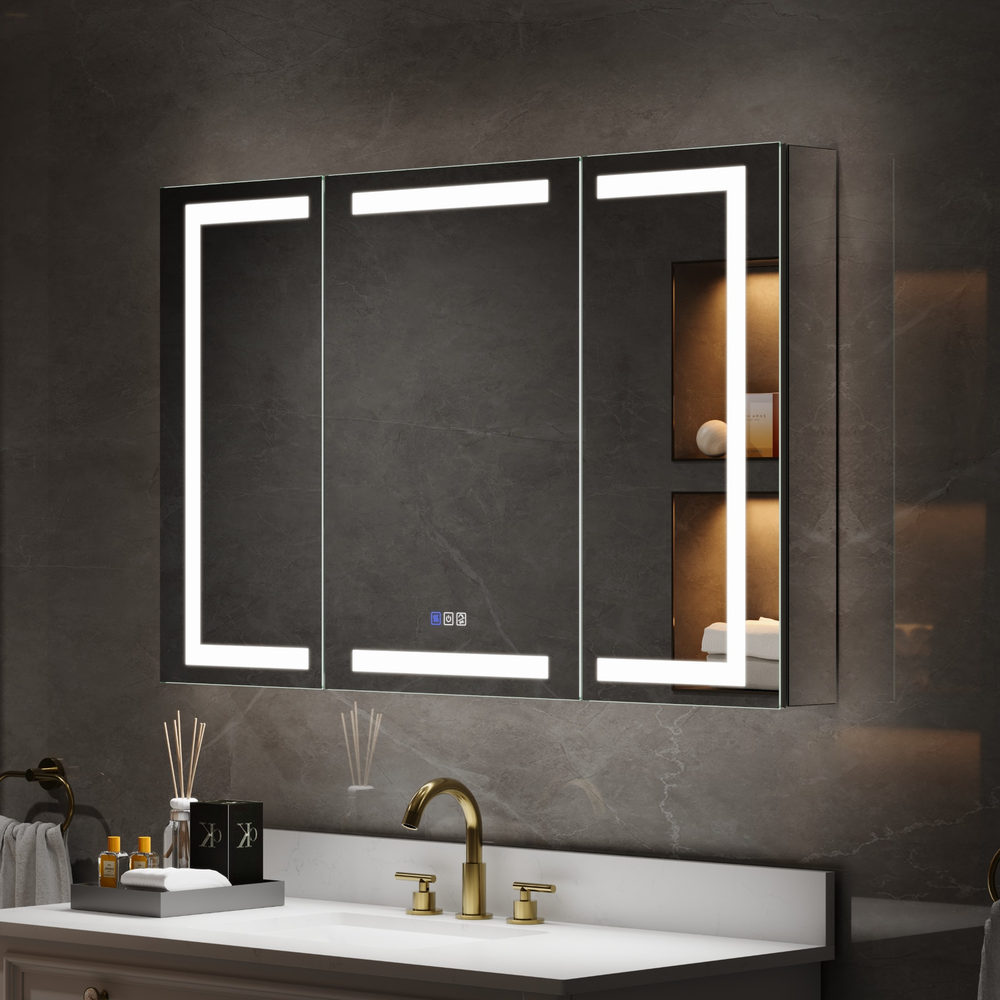

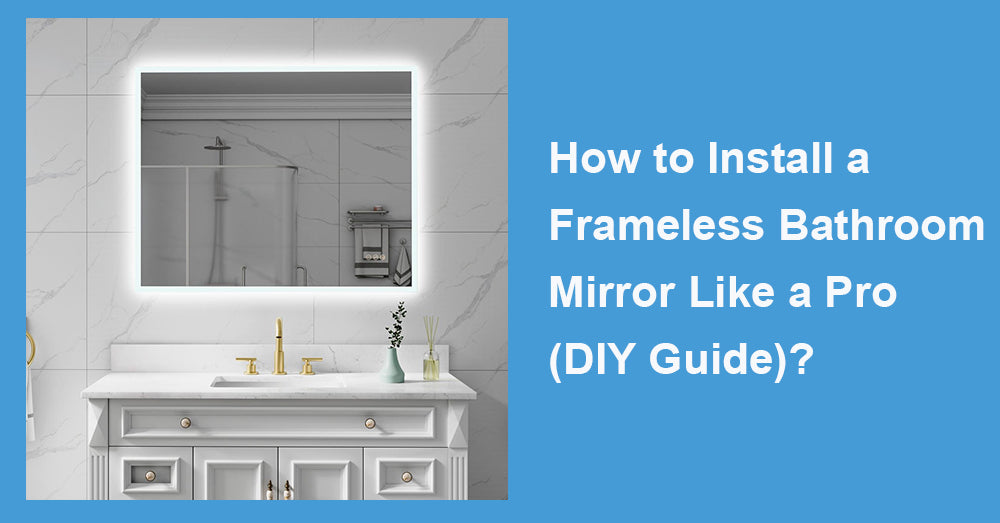
Hanging a frameless bathroom mirror can instantly give your room a sleek and modern look. Whether you are a seasoned DIYer or a beginner attempting your first project, this guide will walk you through the process of hanging a frameless mirror in a step-by-step professional fashion.
l Introduction
l Why Choose a Frameless Mirror for Your Bathroom?
l Tools and Materials You'll Need
l Step-by-Step Installation Methods
l Safety Tips
l Troubleshooting Common Issues
With the proper gear, careful planning, and a few seasoned pro tips, not only will you be saving money, but you'll also feel good knowing you've refurbished your bathroom yourself. Let's get started!
Why Choose a Frameless Mirror for Your Bathroom?
A frameless mirror offers several advantages:
· Modern Aesthetics: With no rigid borders, frameless mirrors blend seamlessly into any bathroom decor, offering a minimalist, polished look.
· Space Enhancement: These mirrors create the illusion of a larger, more open space by reflecting light and surroundings.
· Ease of Cleaning: Without frames, there’s no worry about grime or mildew buildup around the edges.
· Customization Options: Frameless mirrors can be cut in various shapes and sizes, making them versatile for any wall layout.
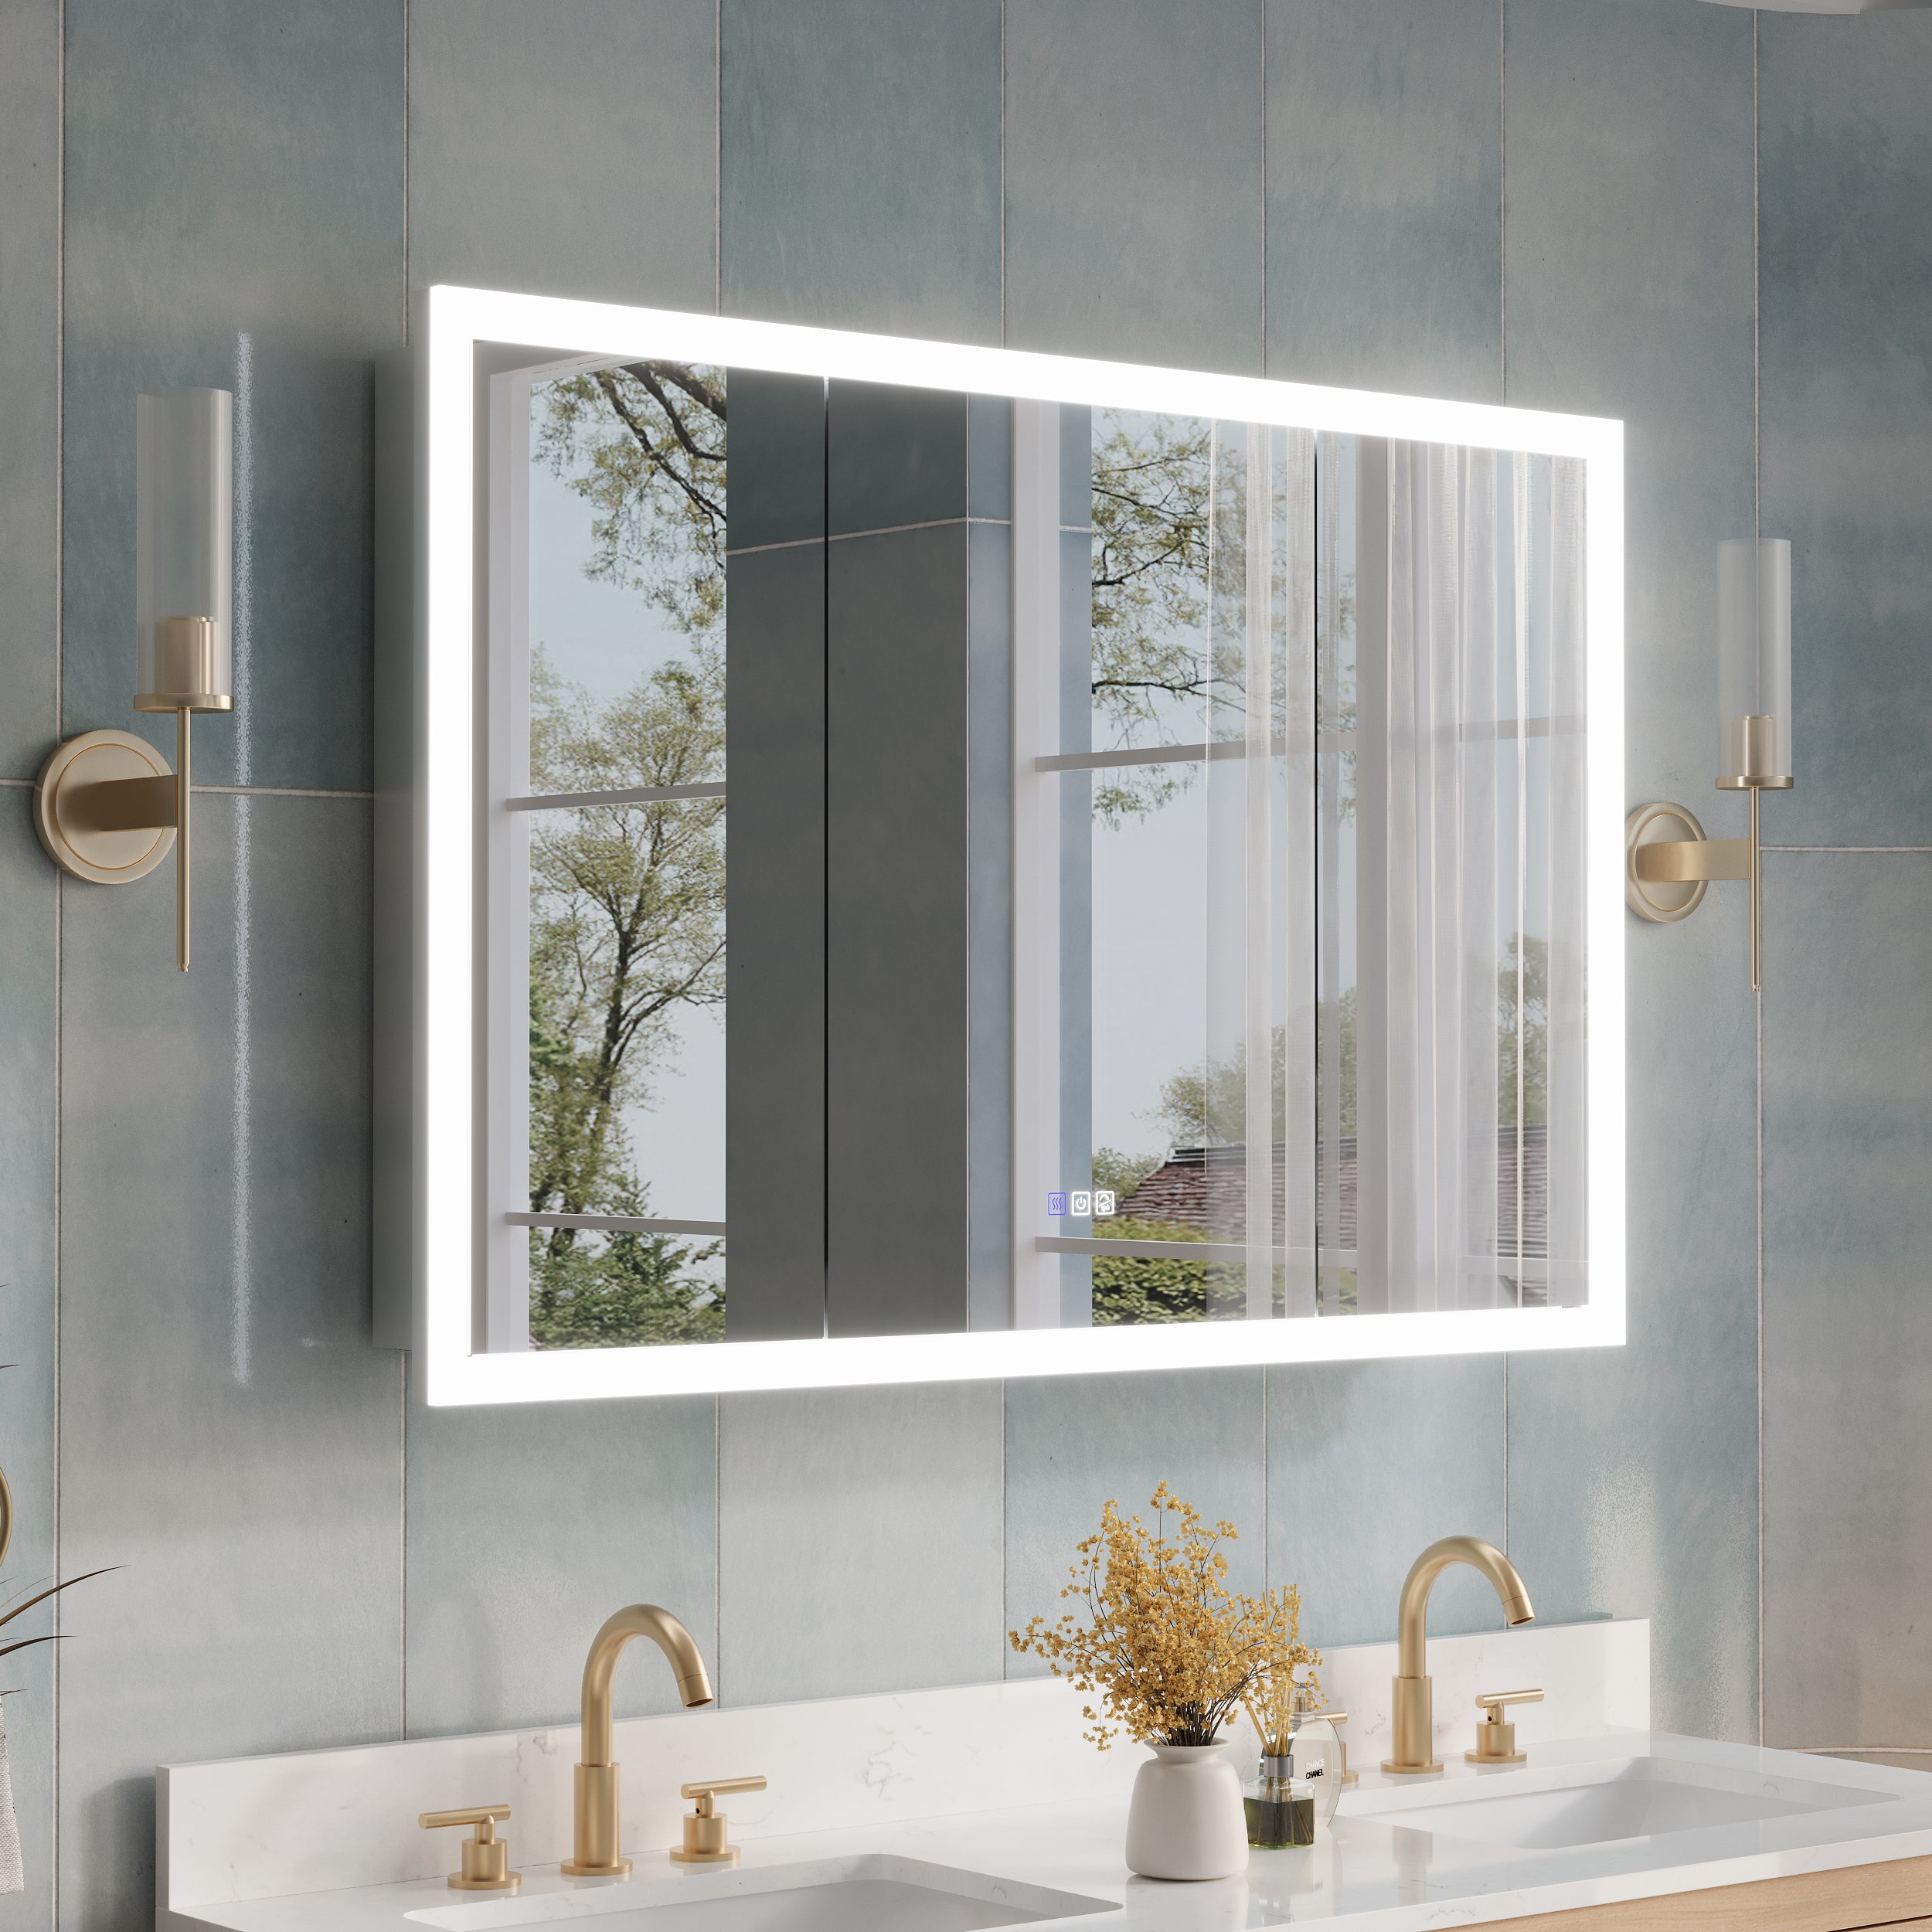
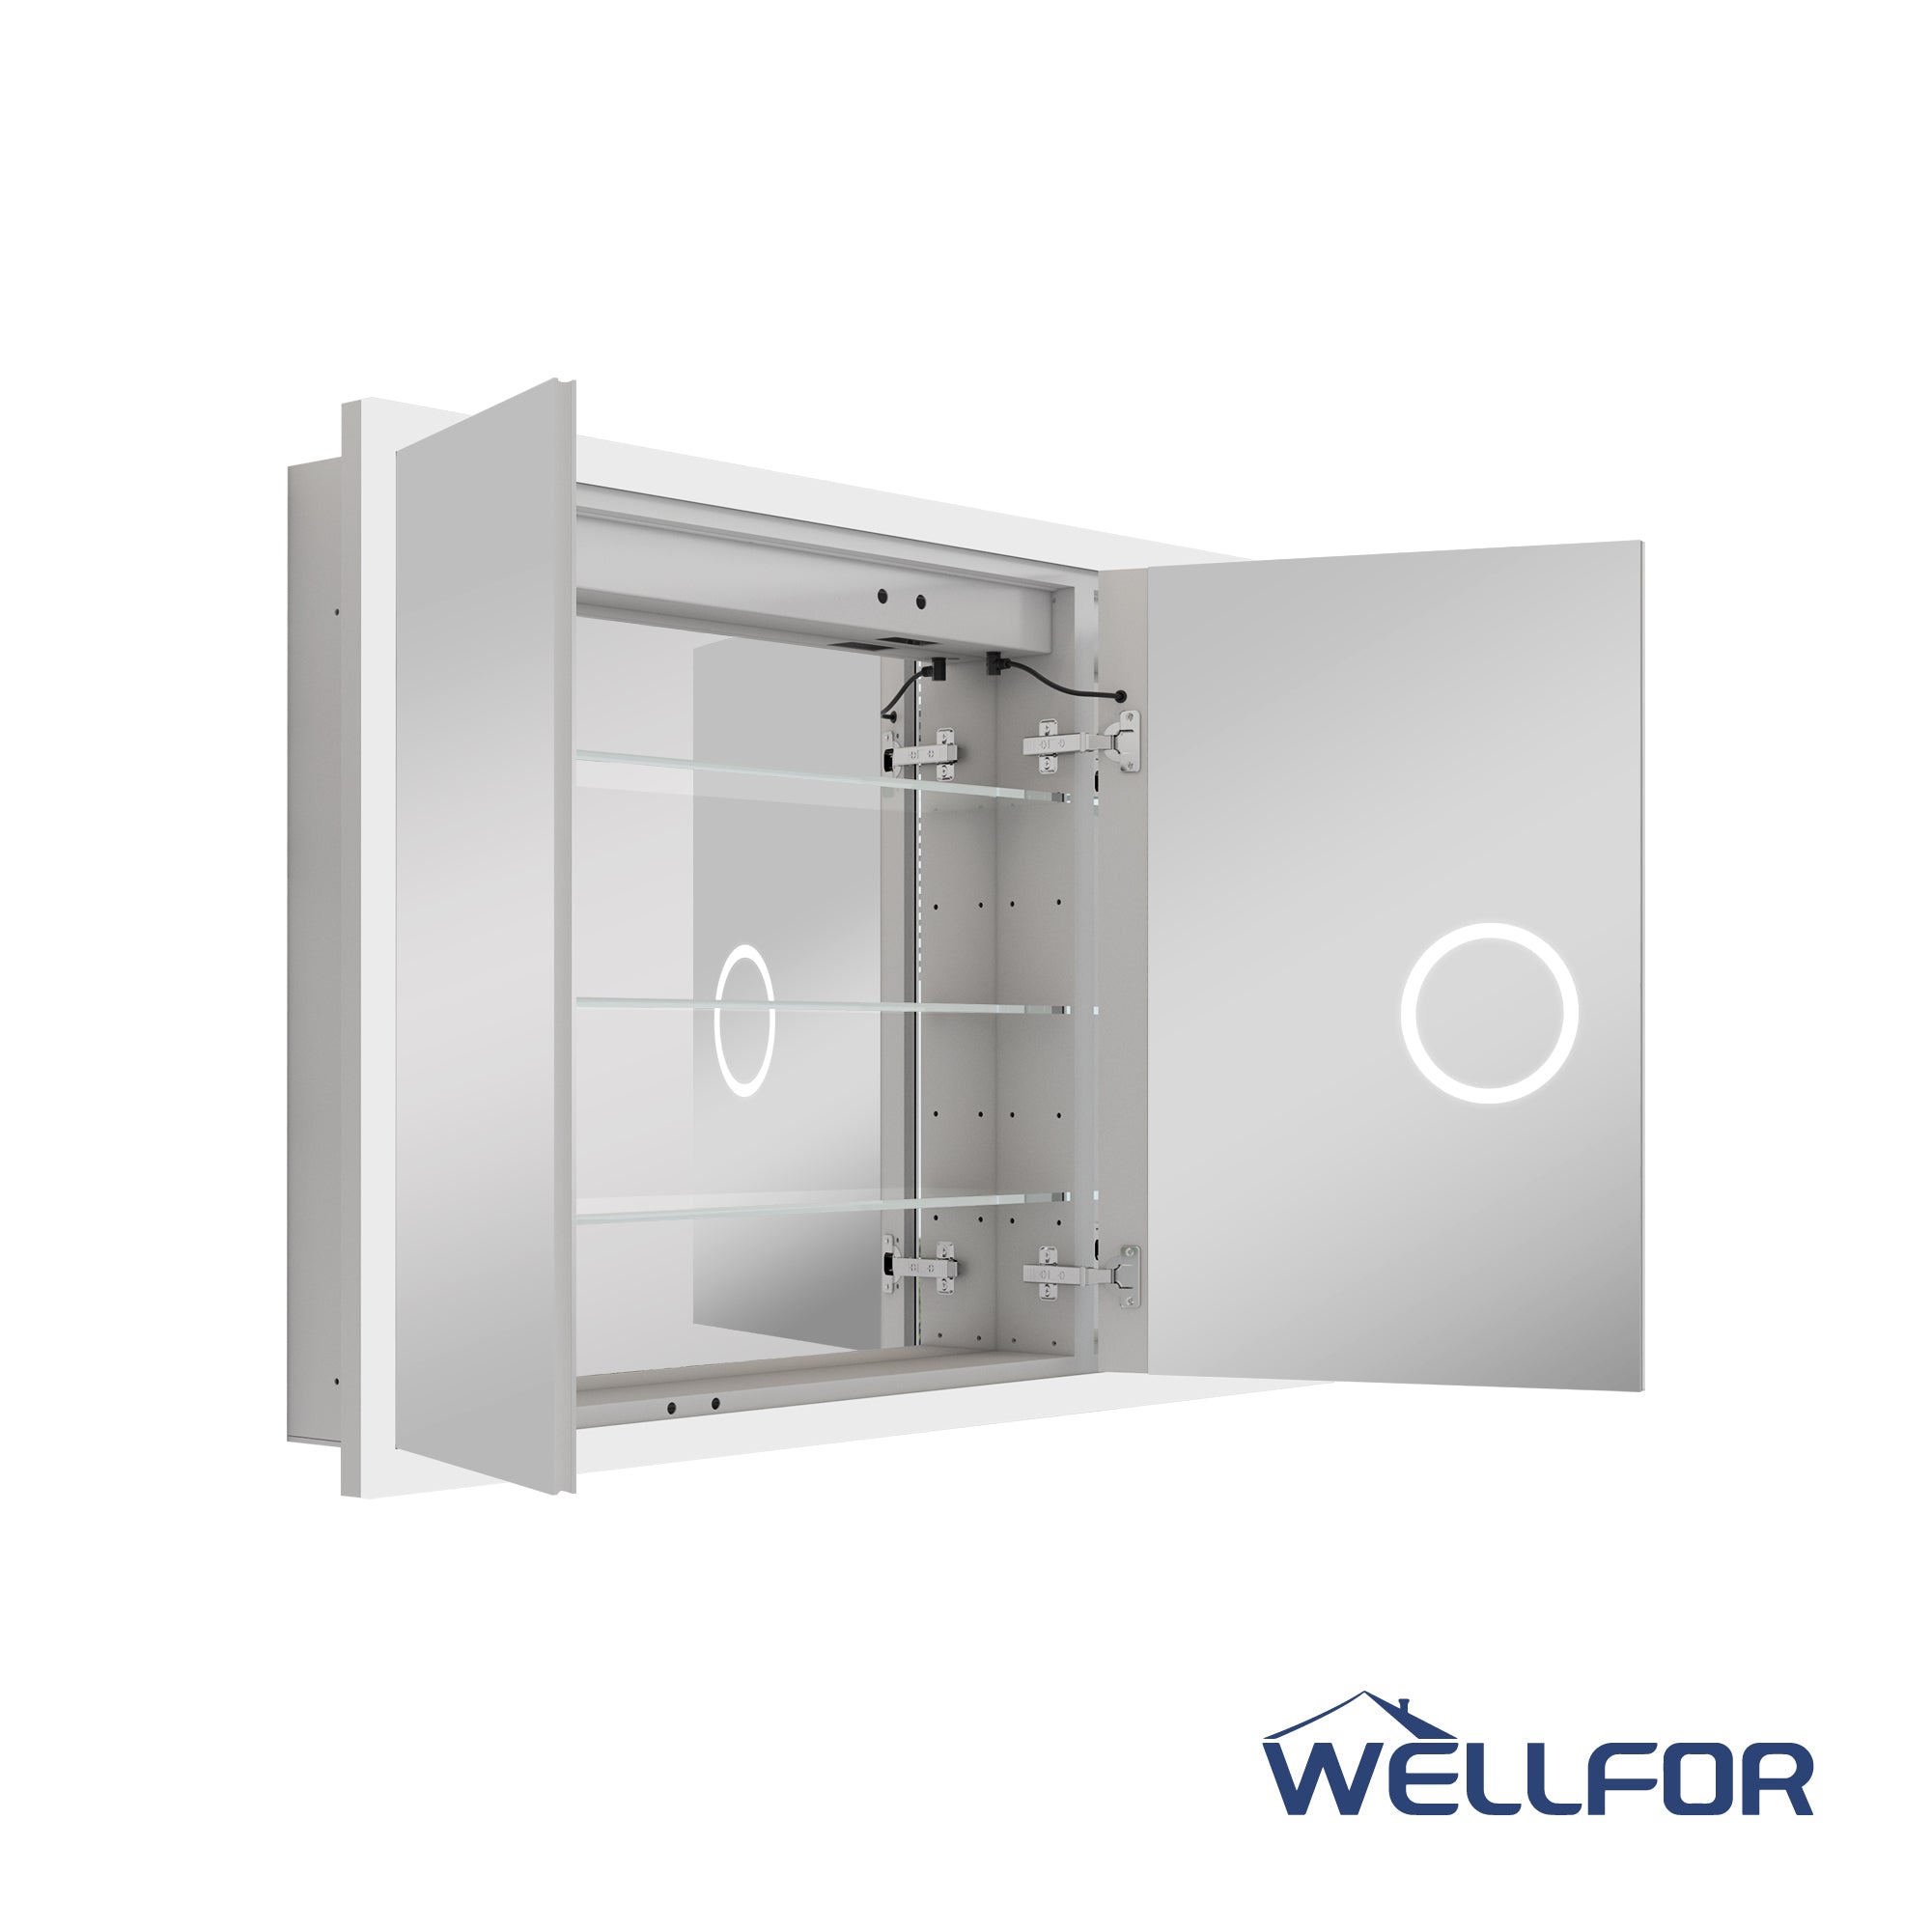
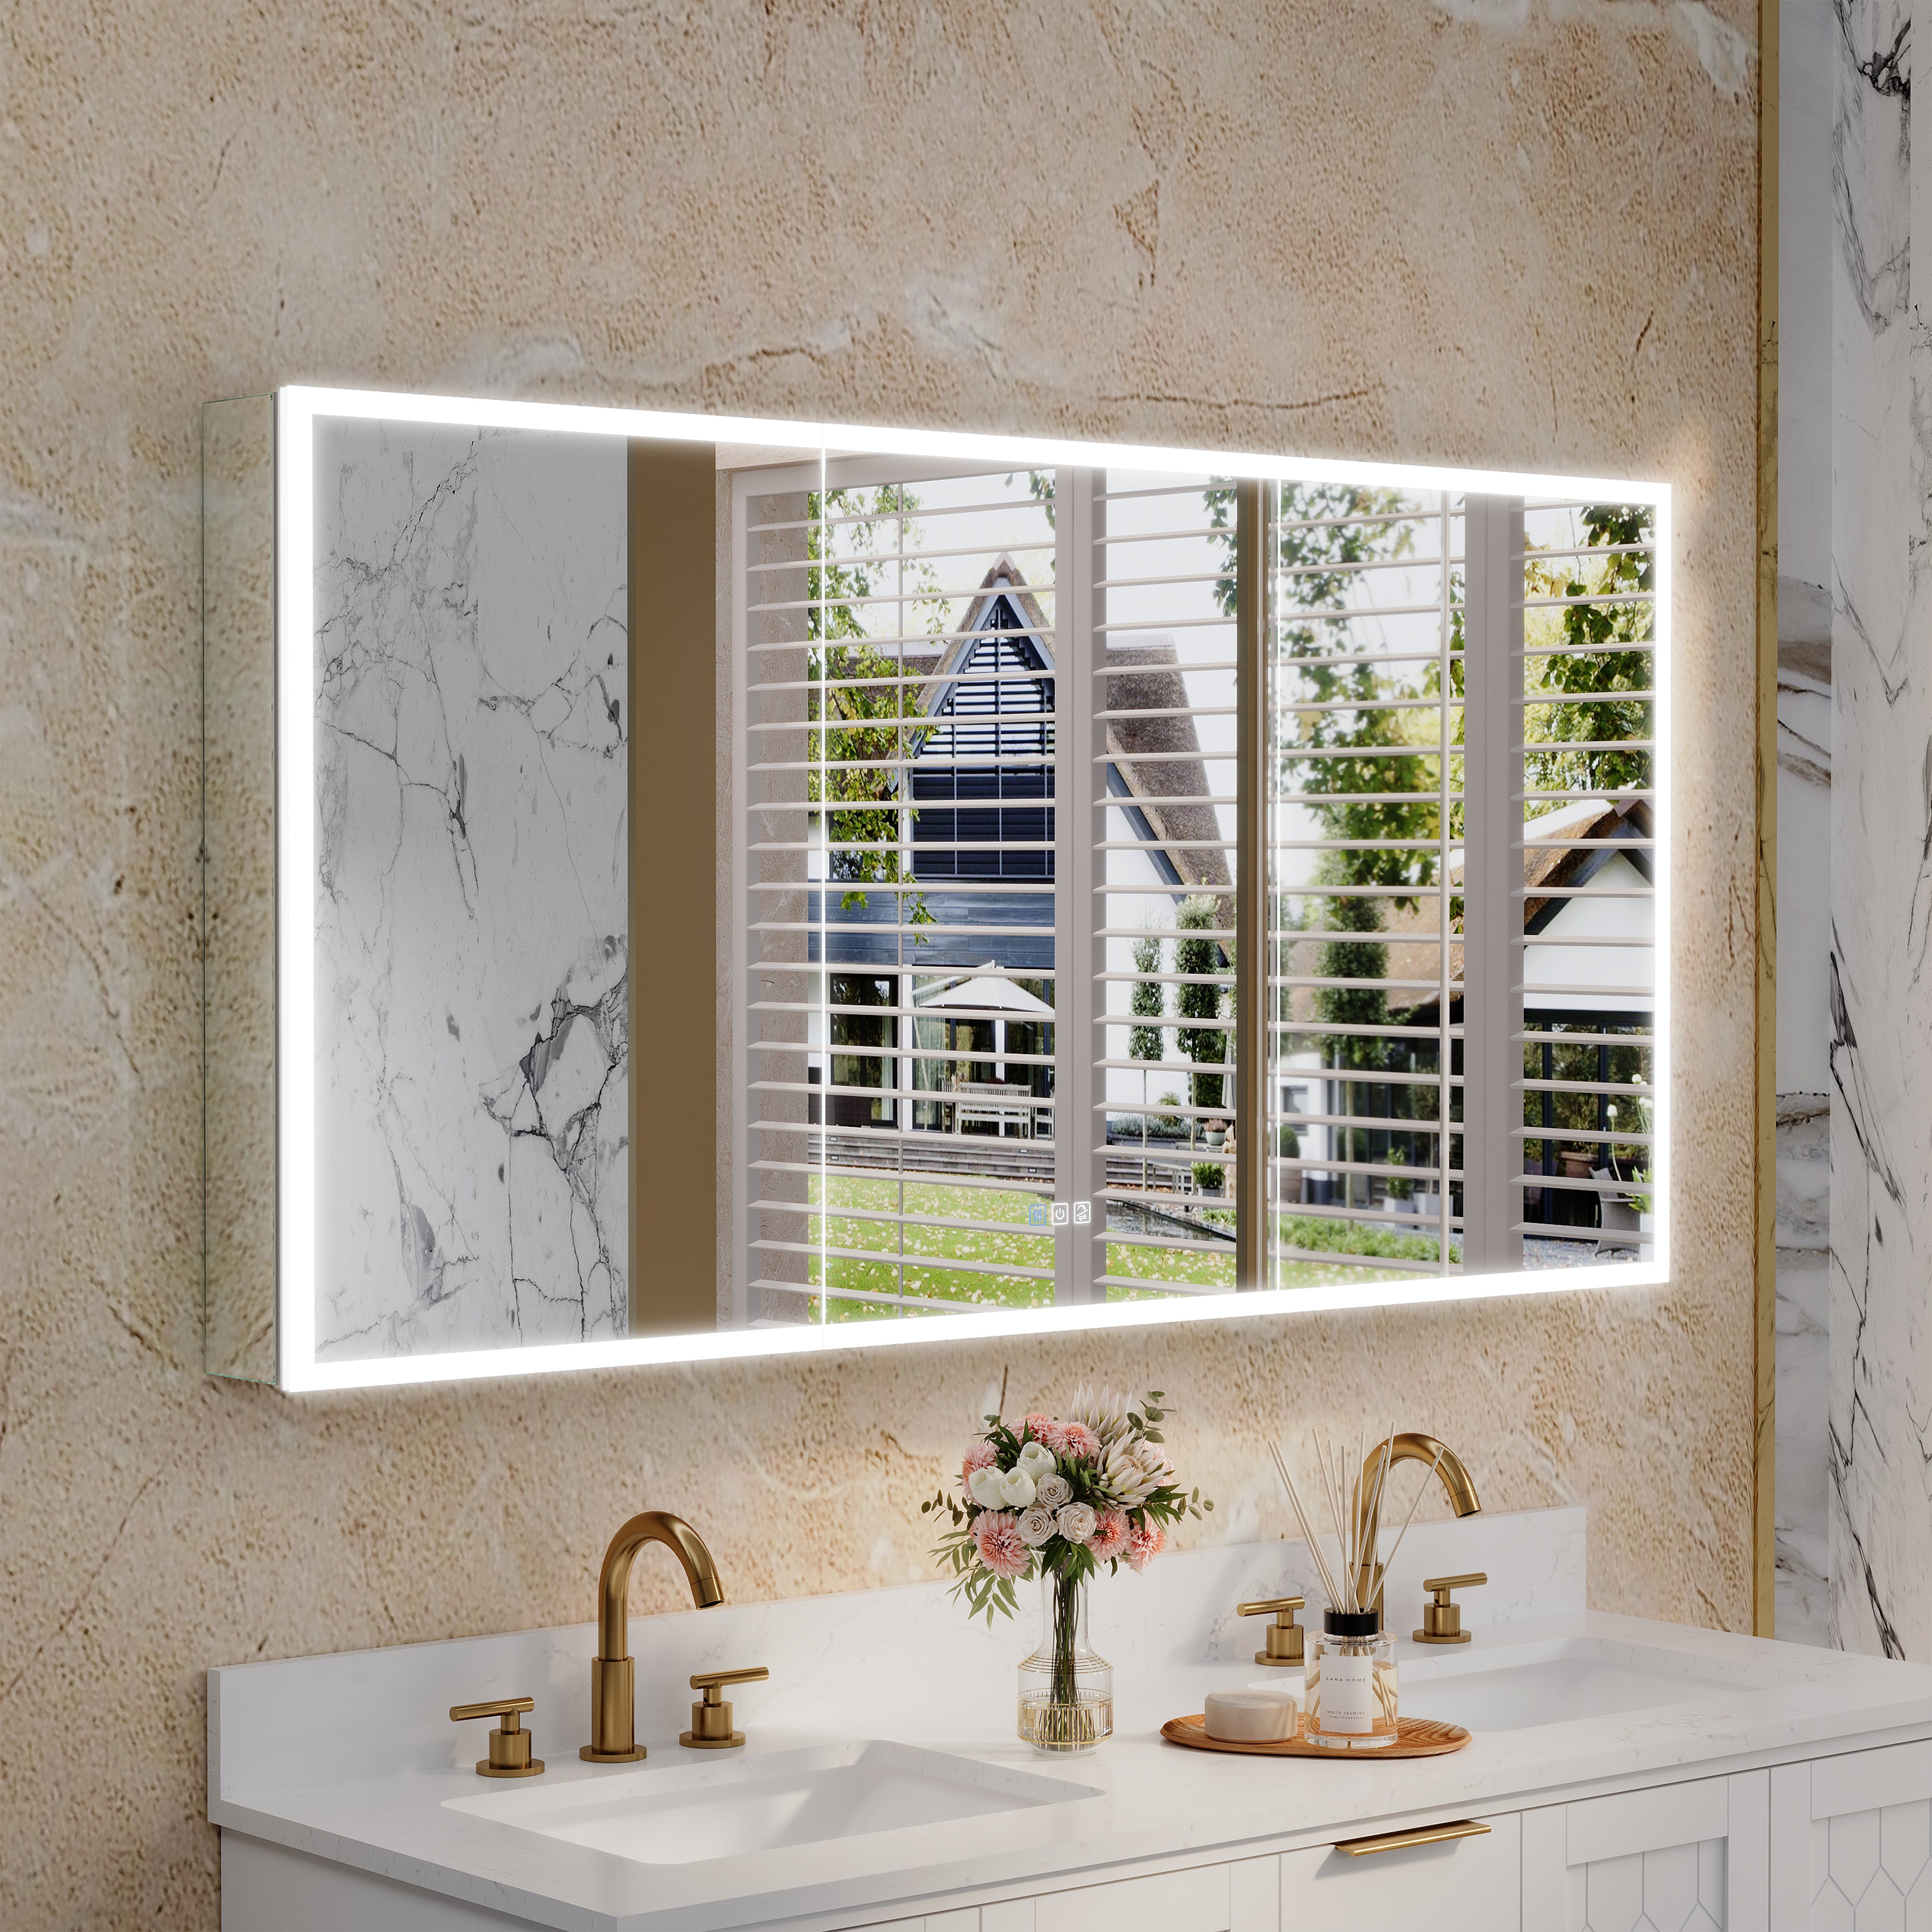
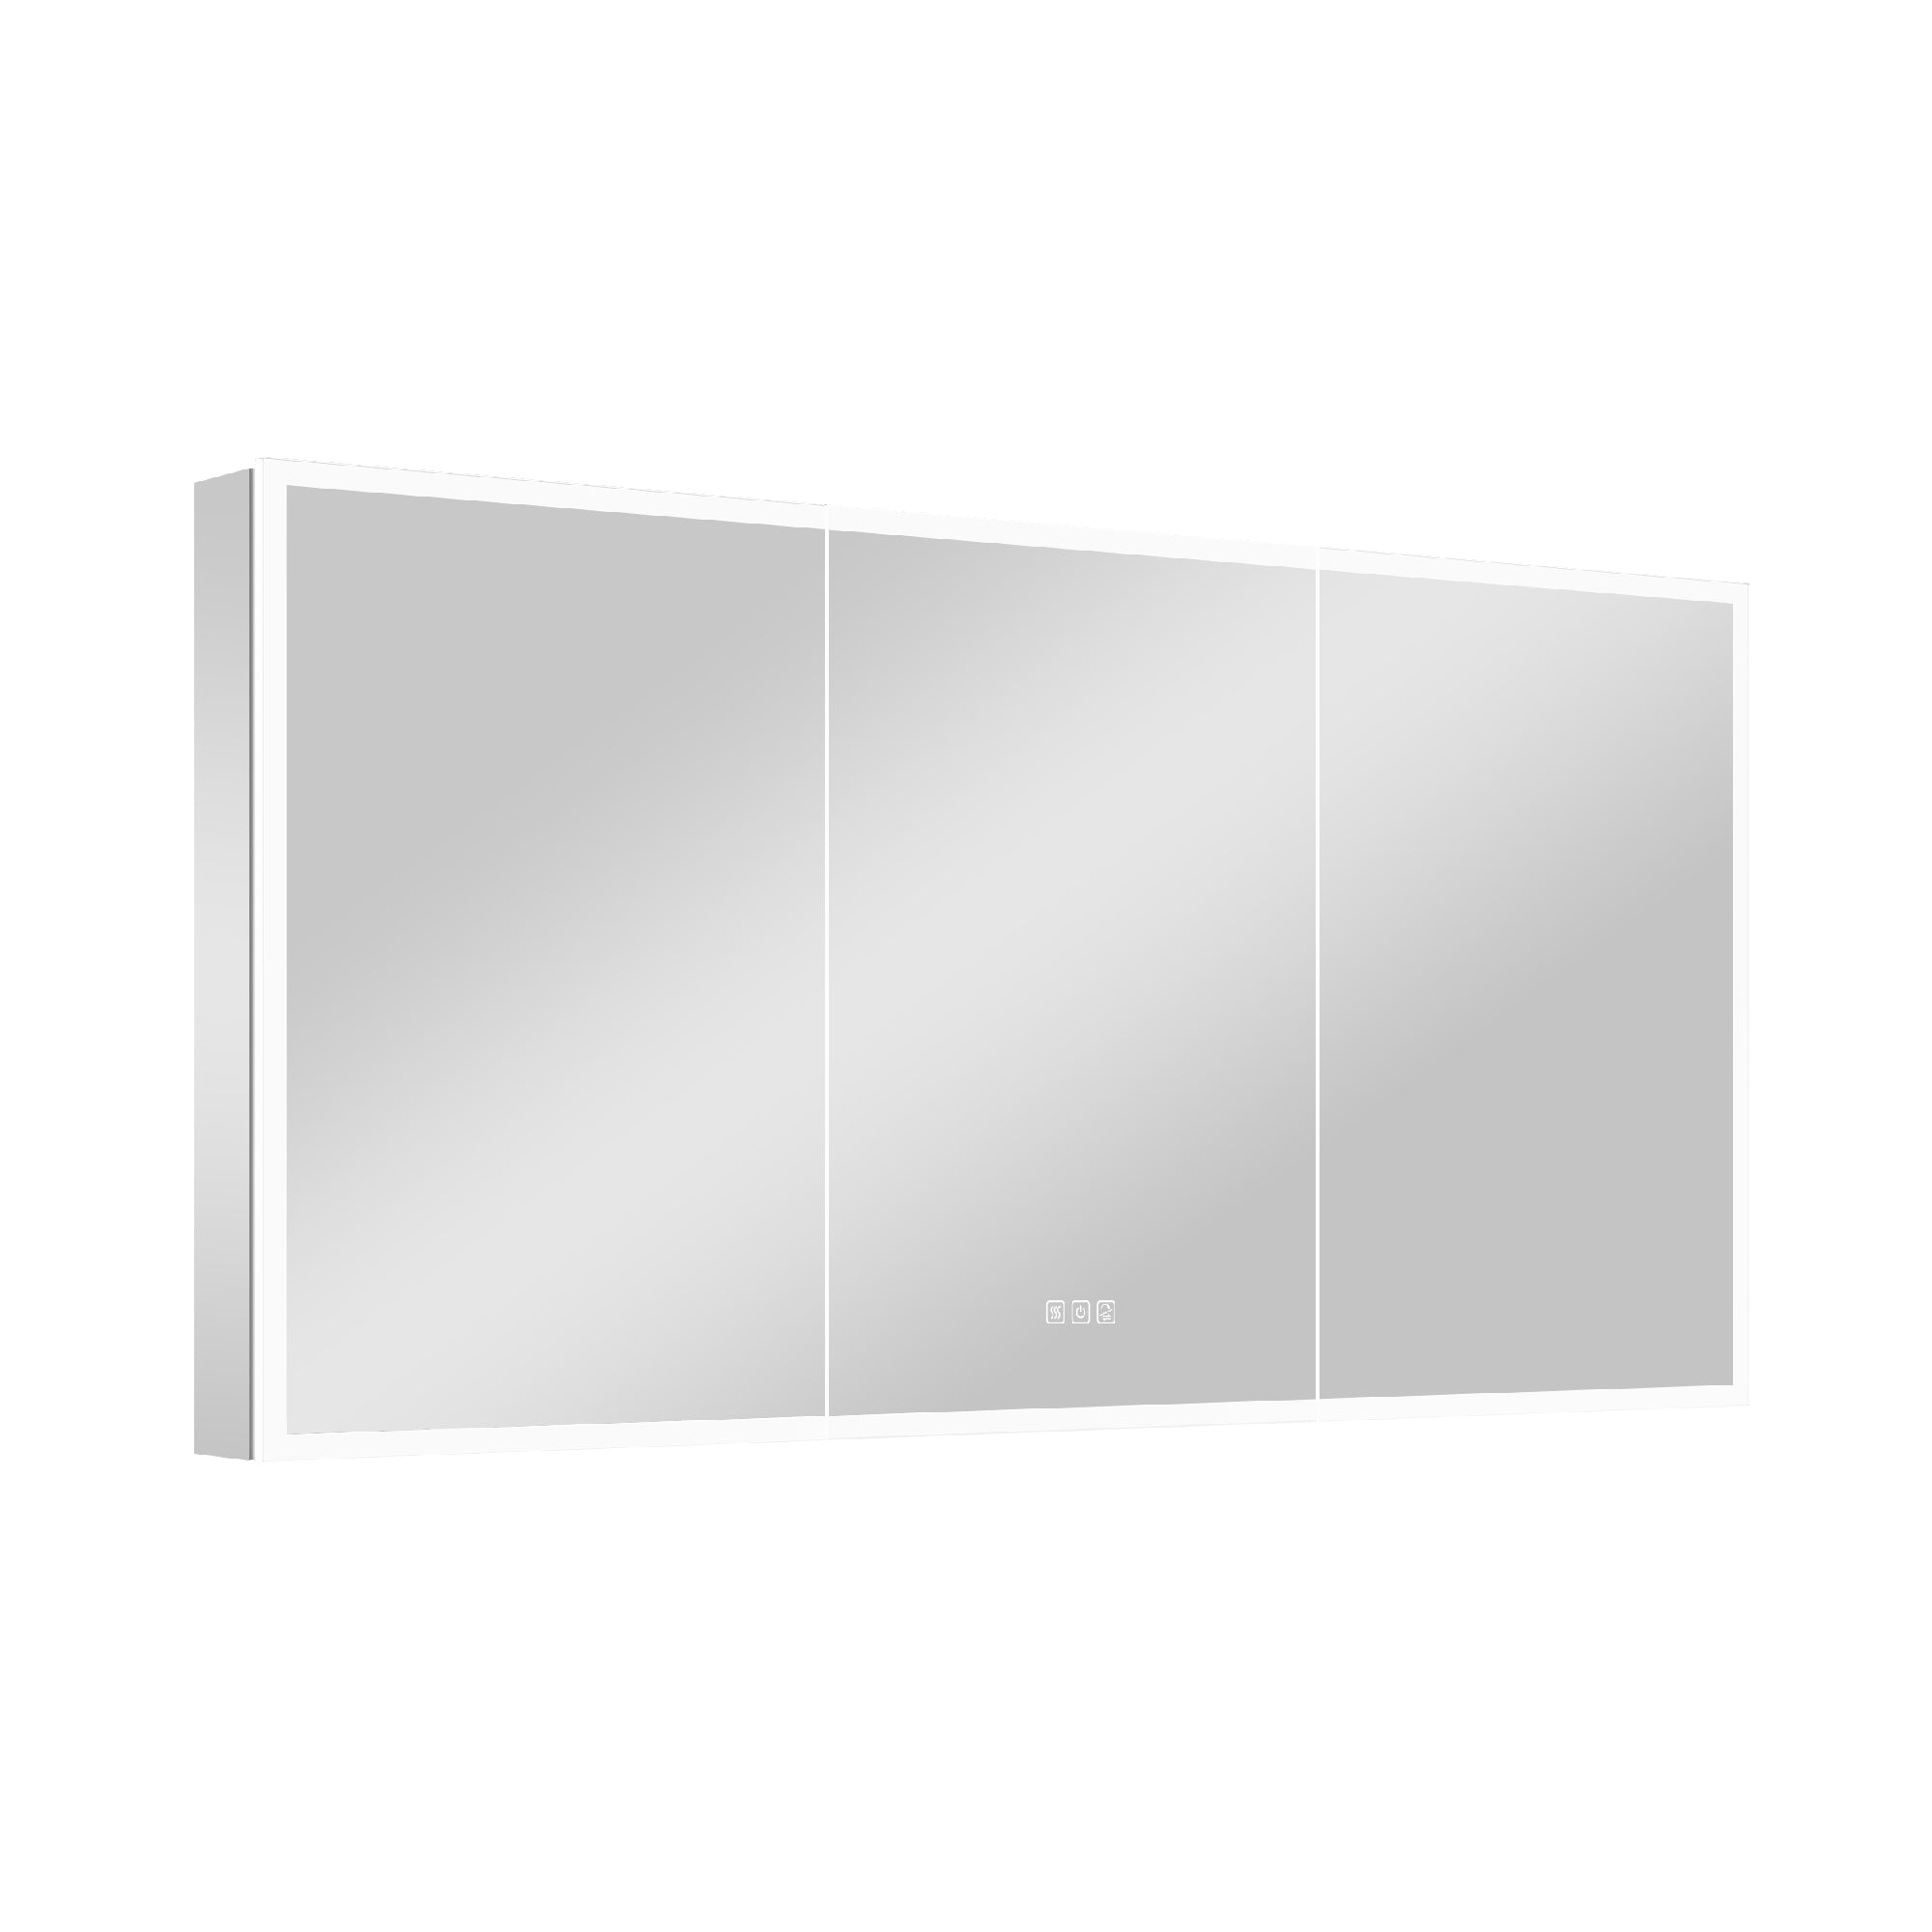
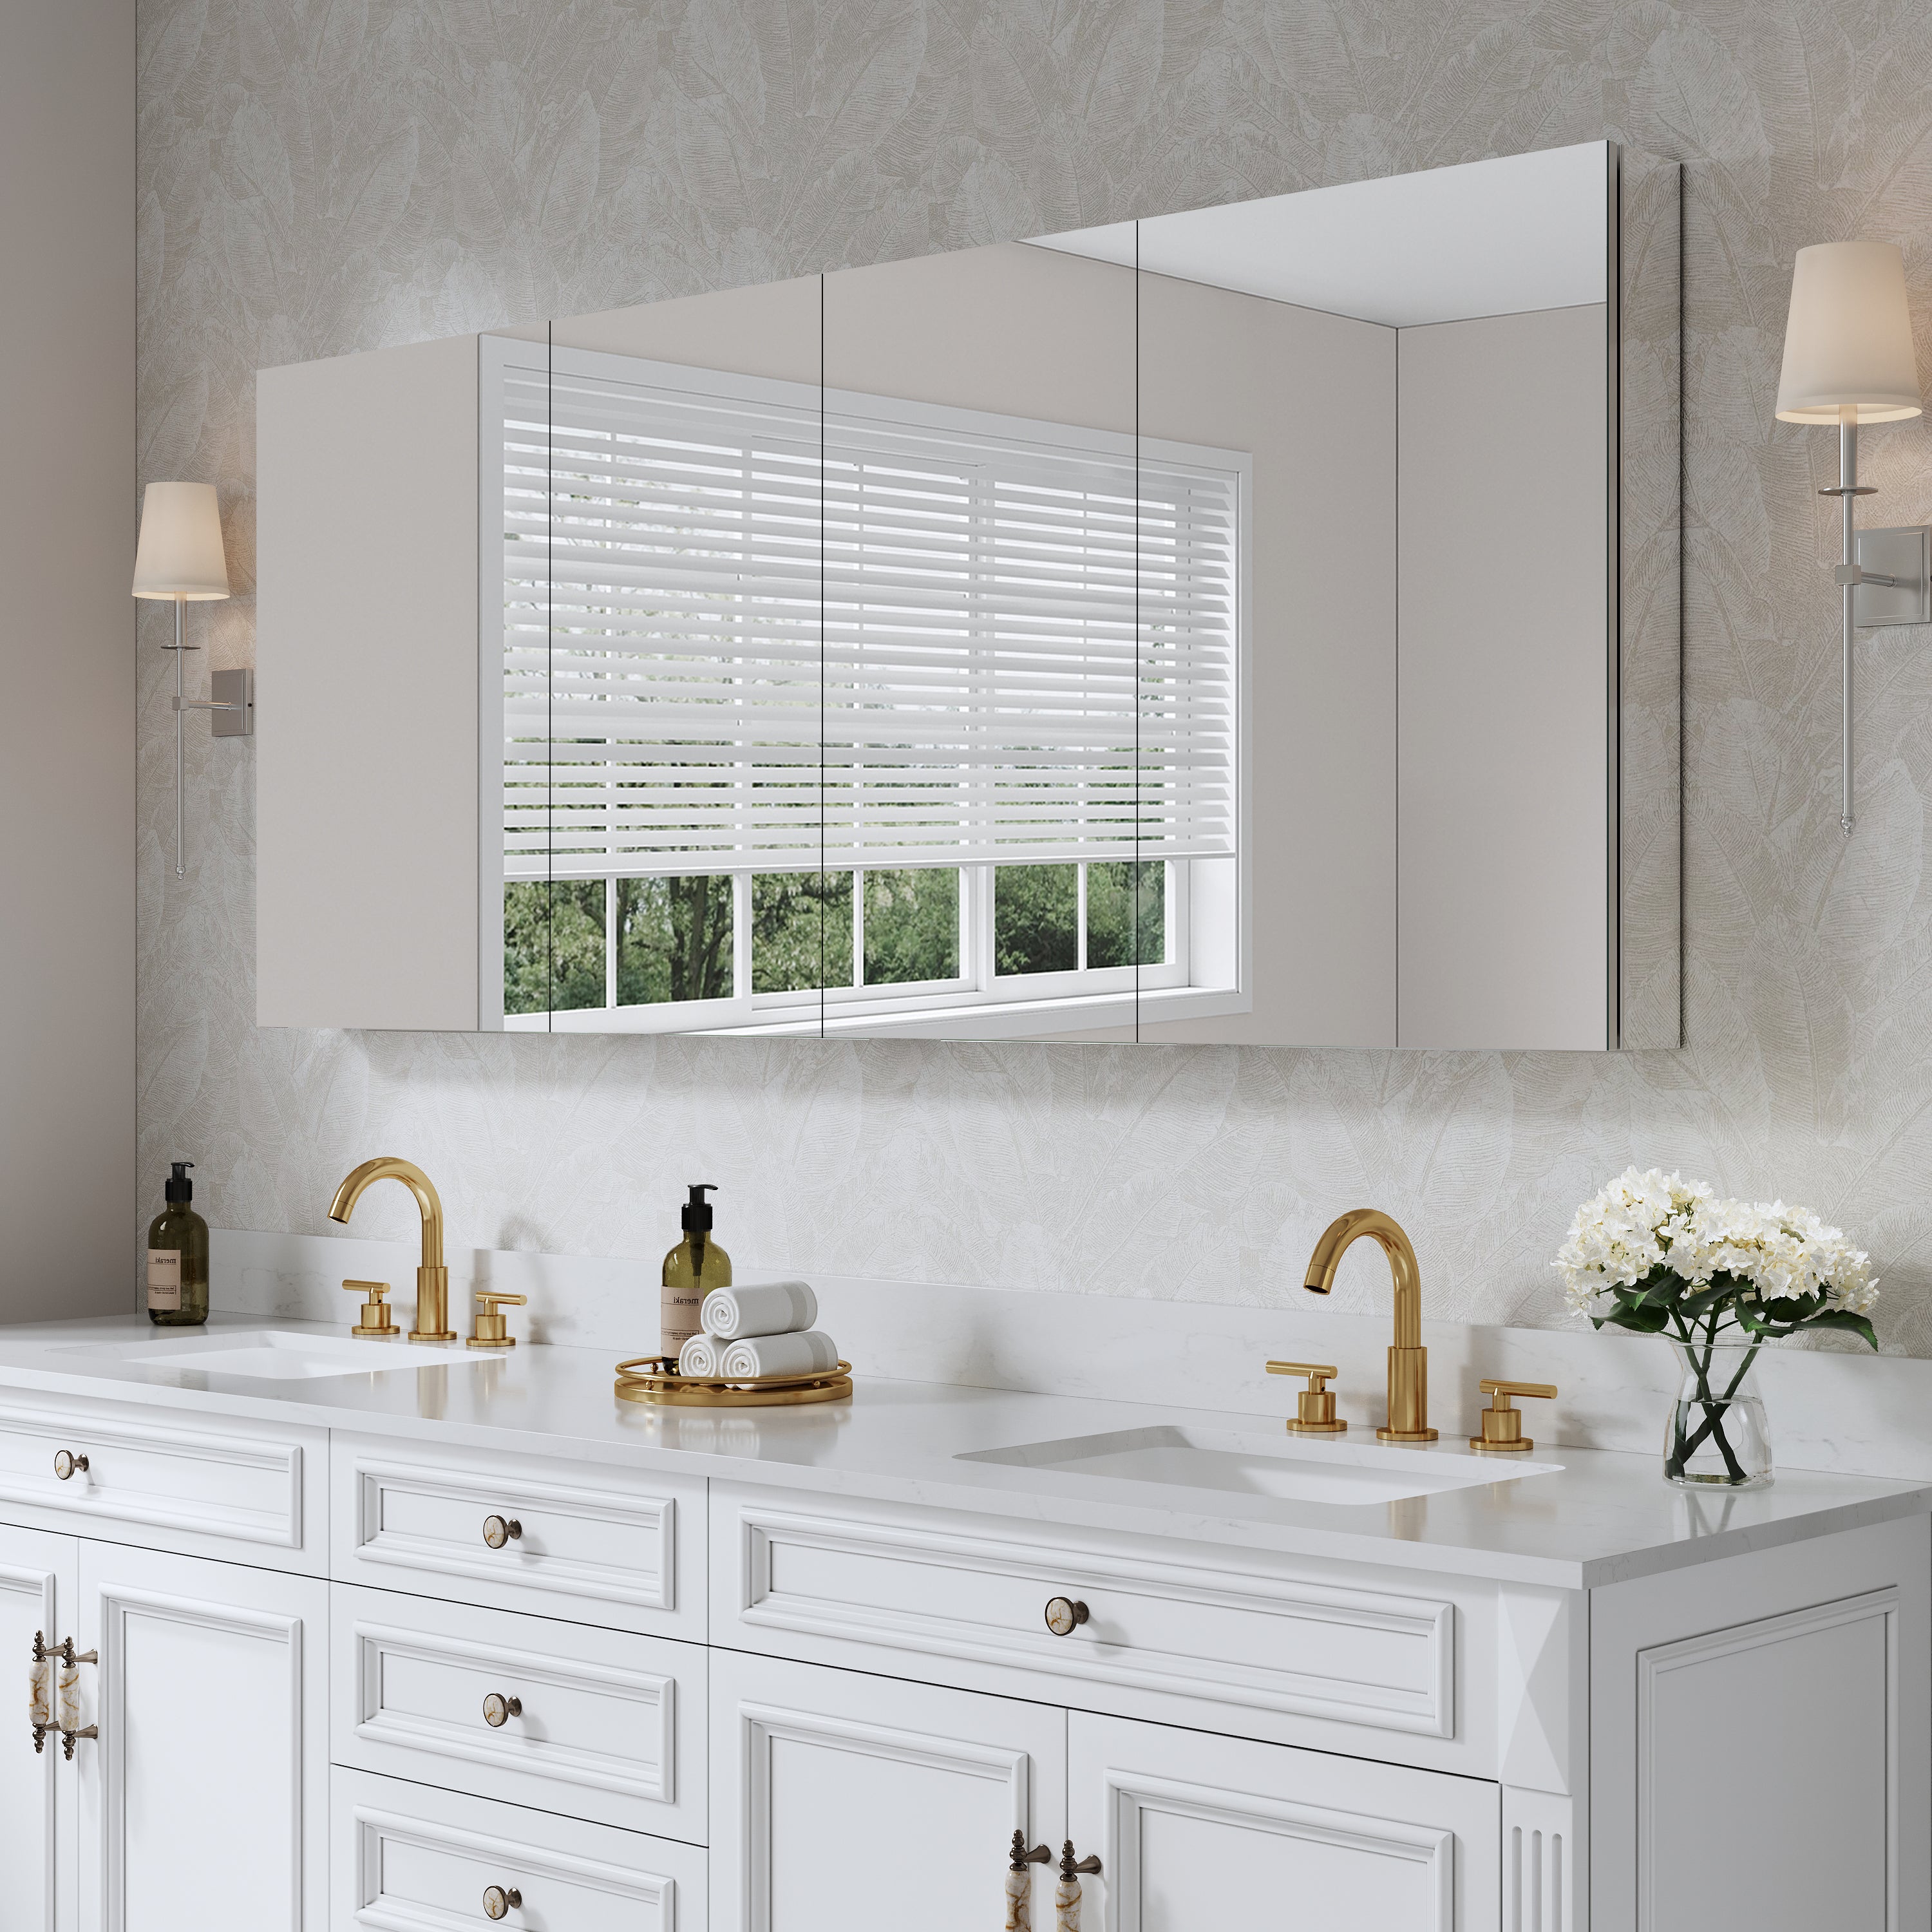
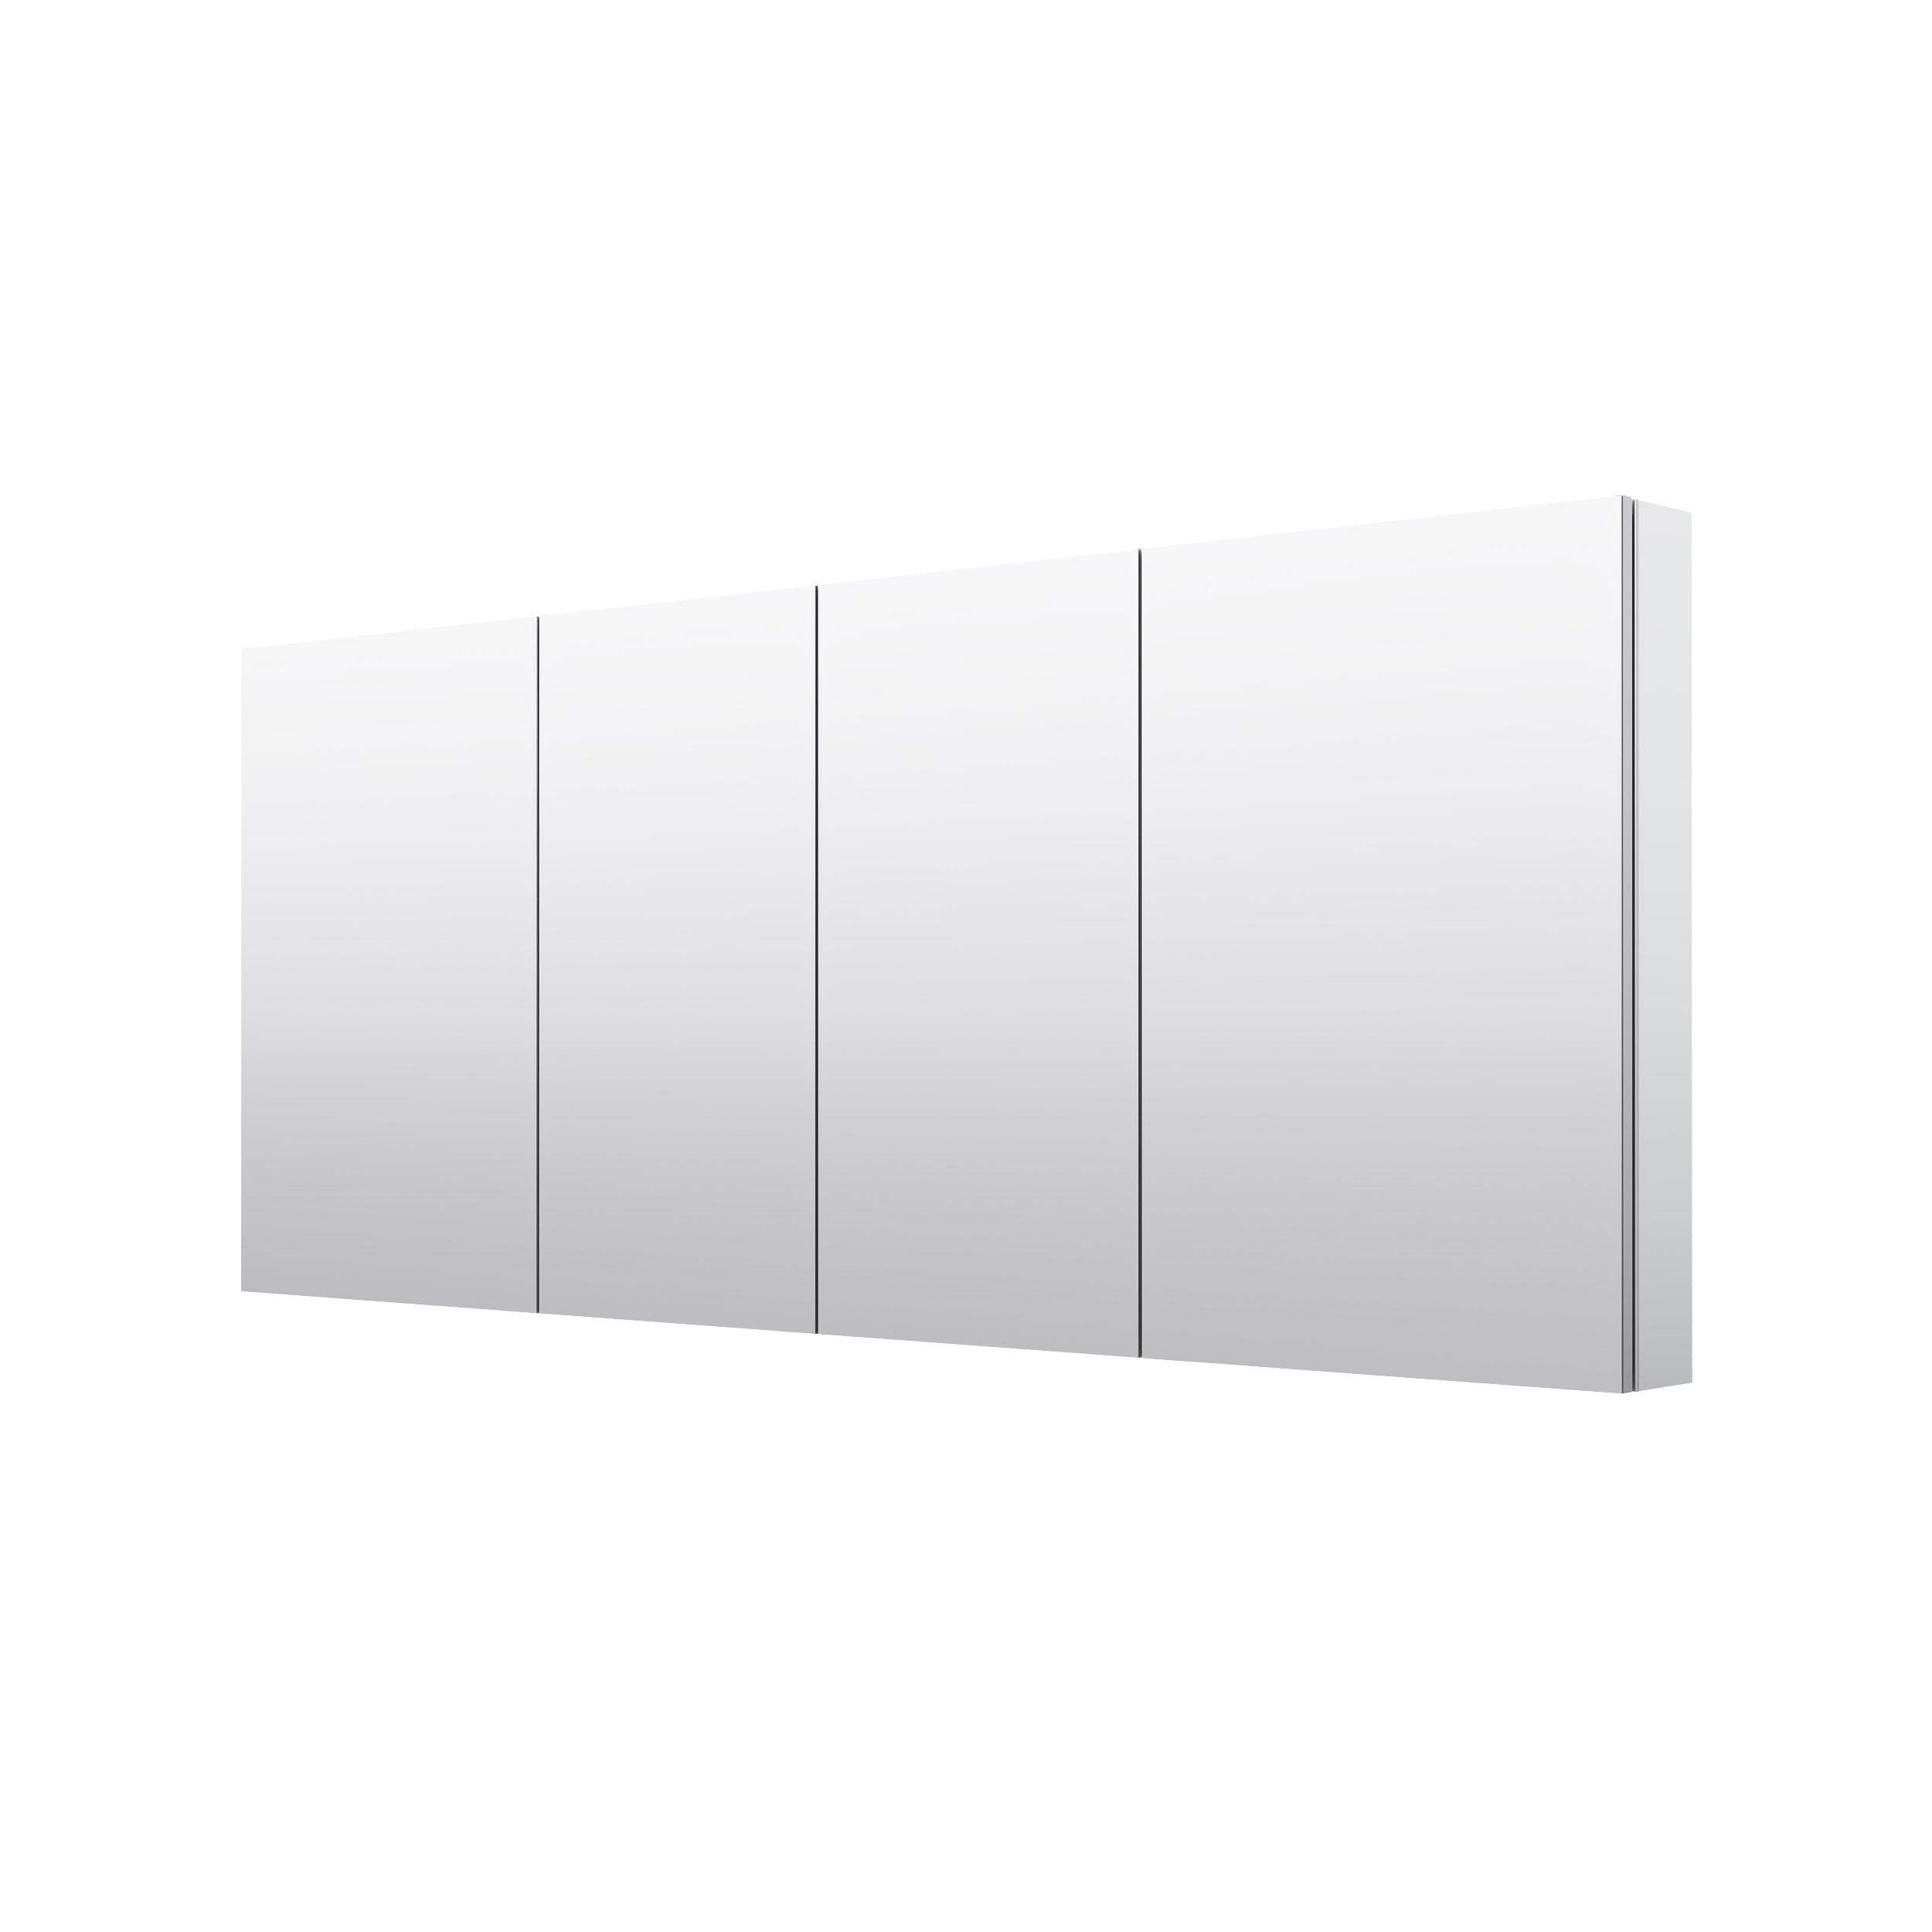
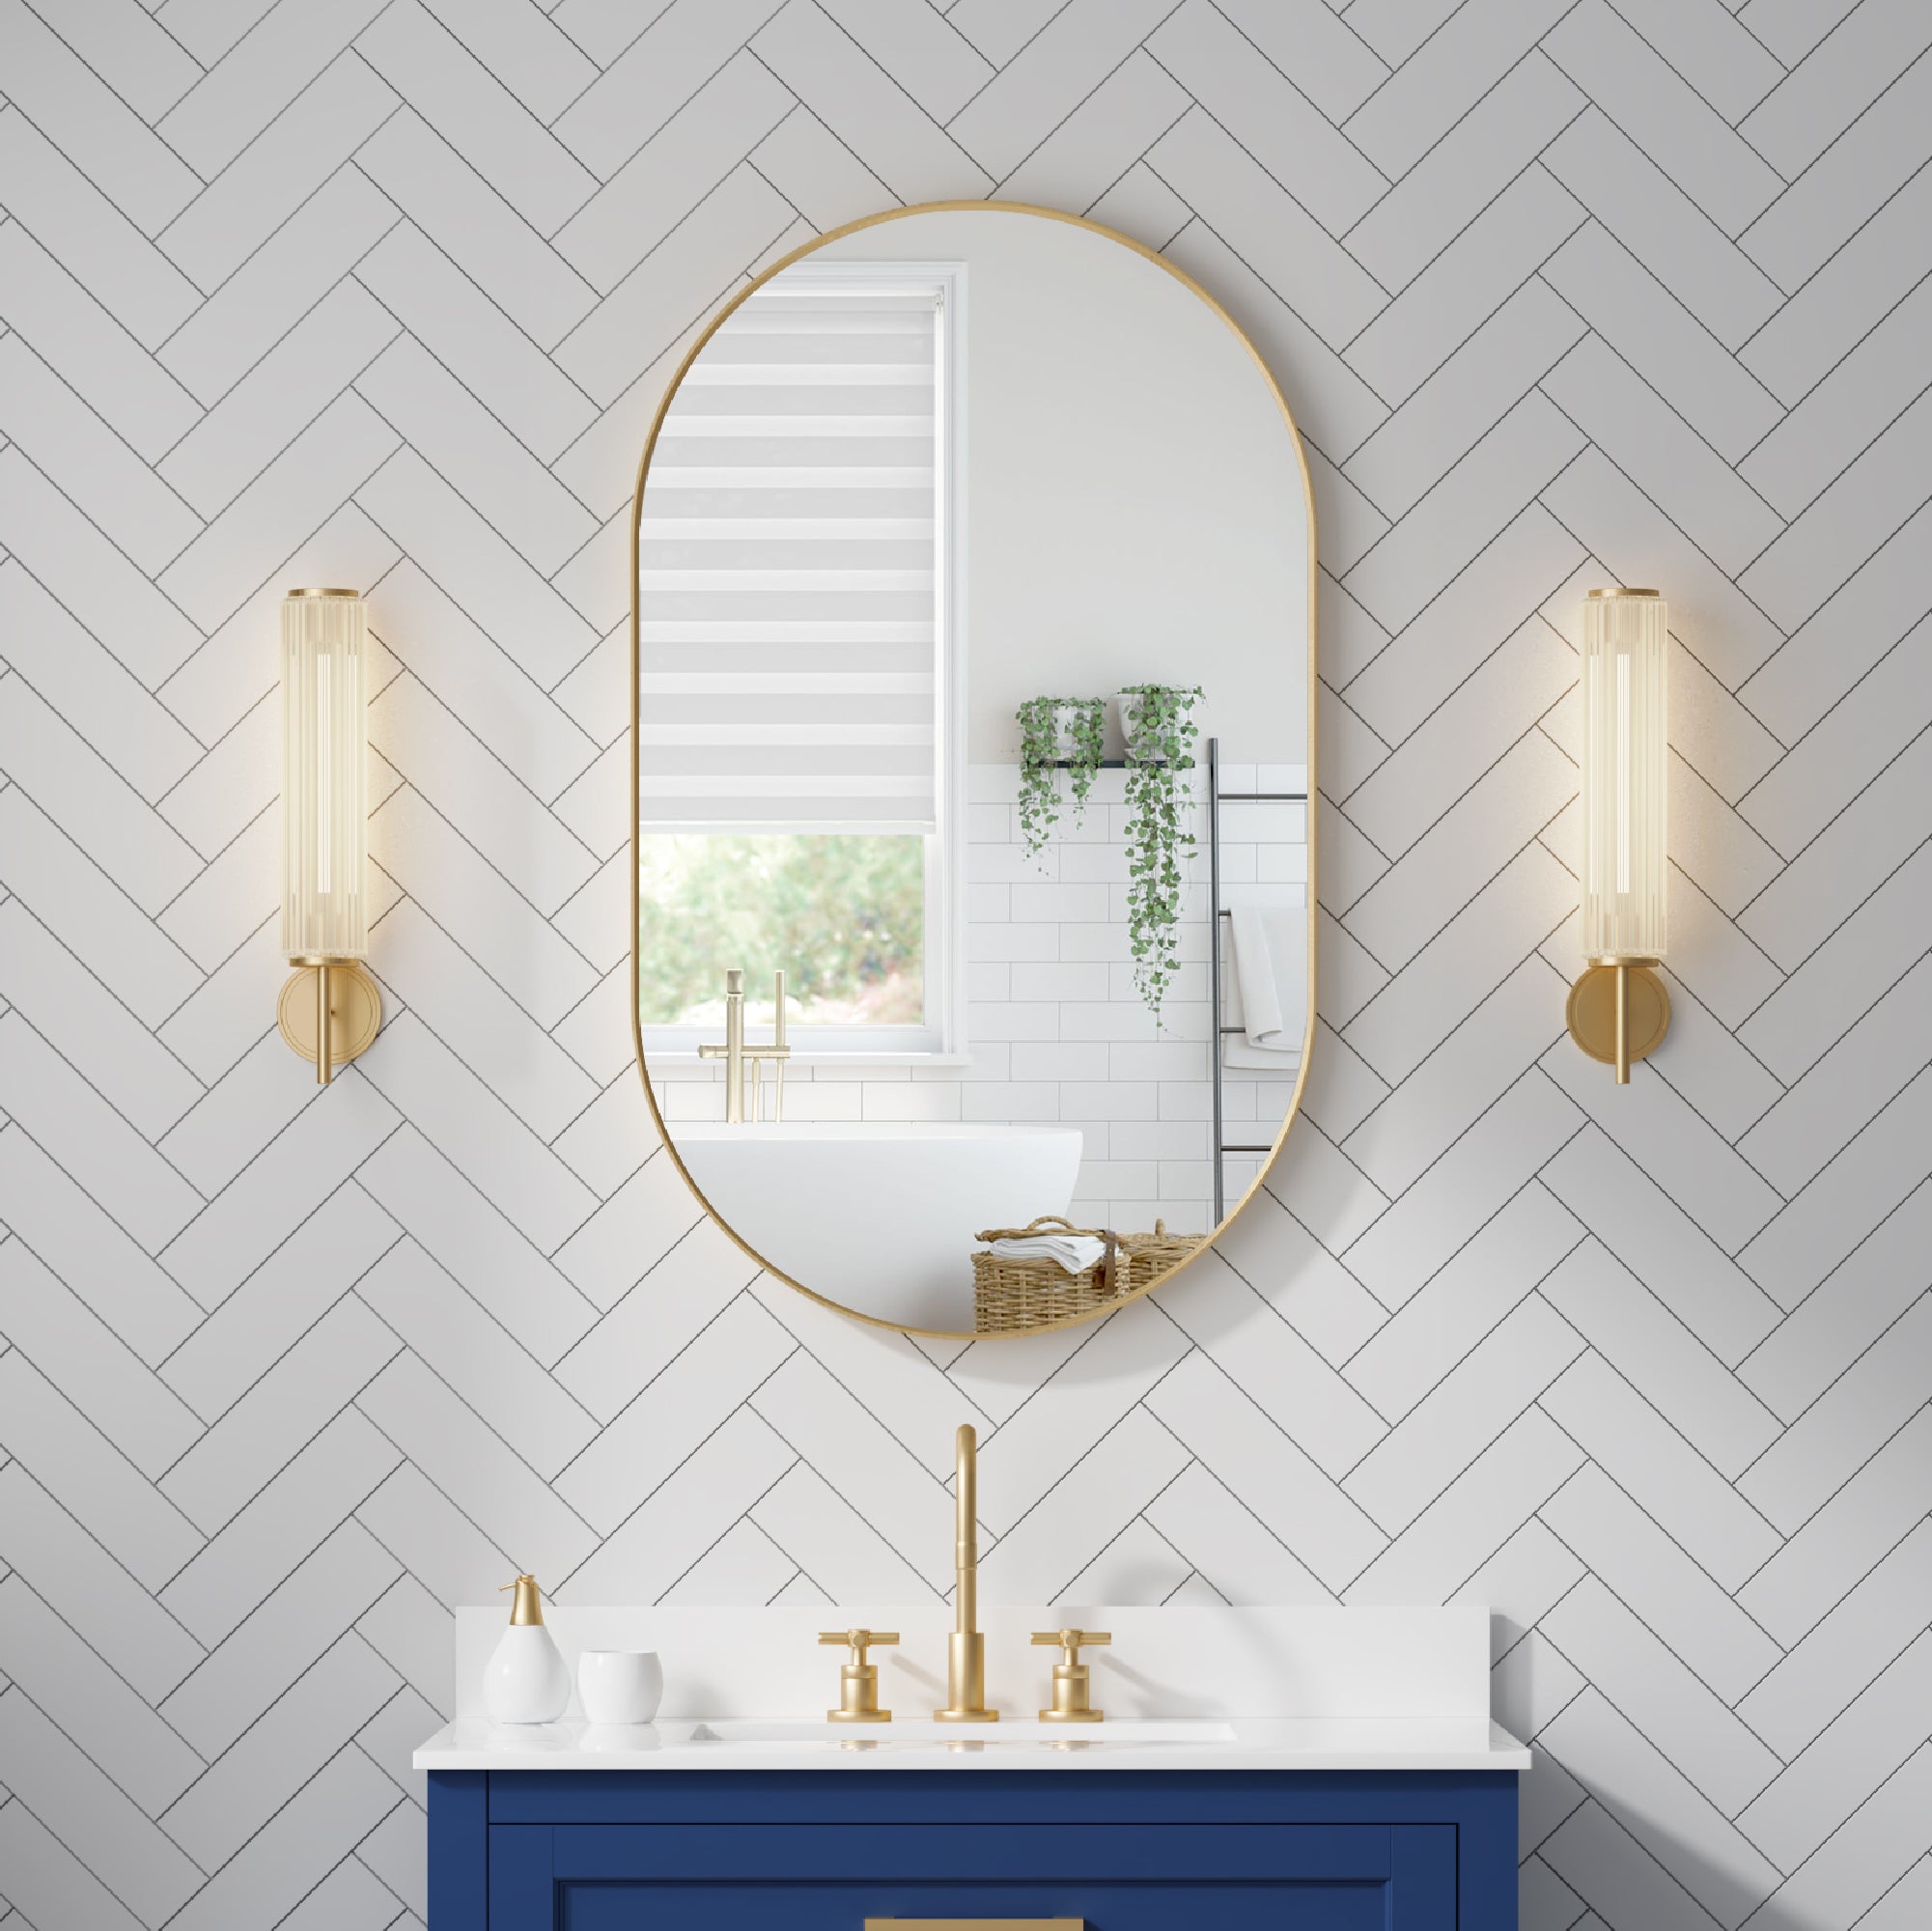
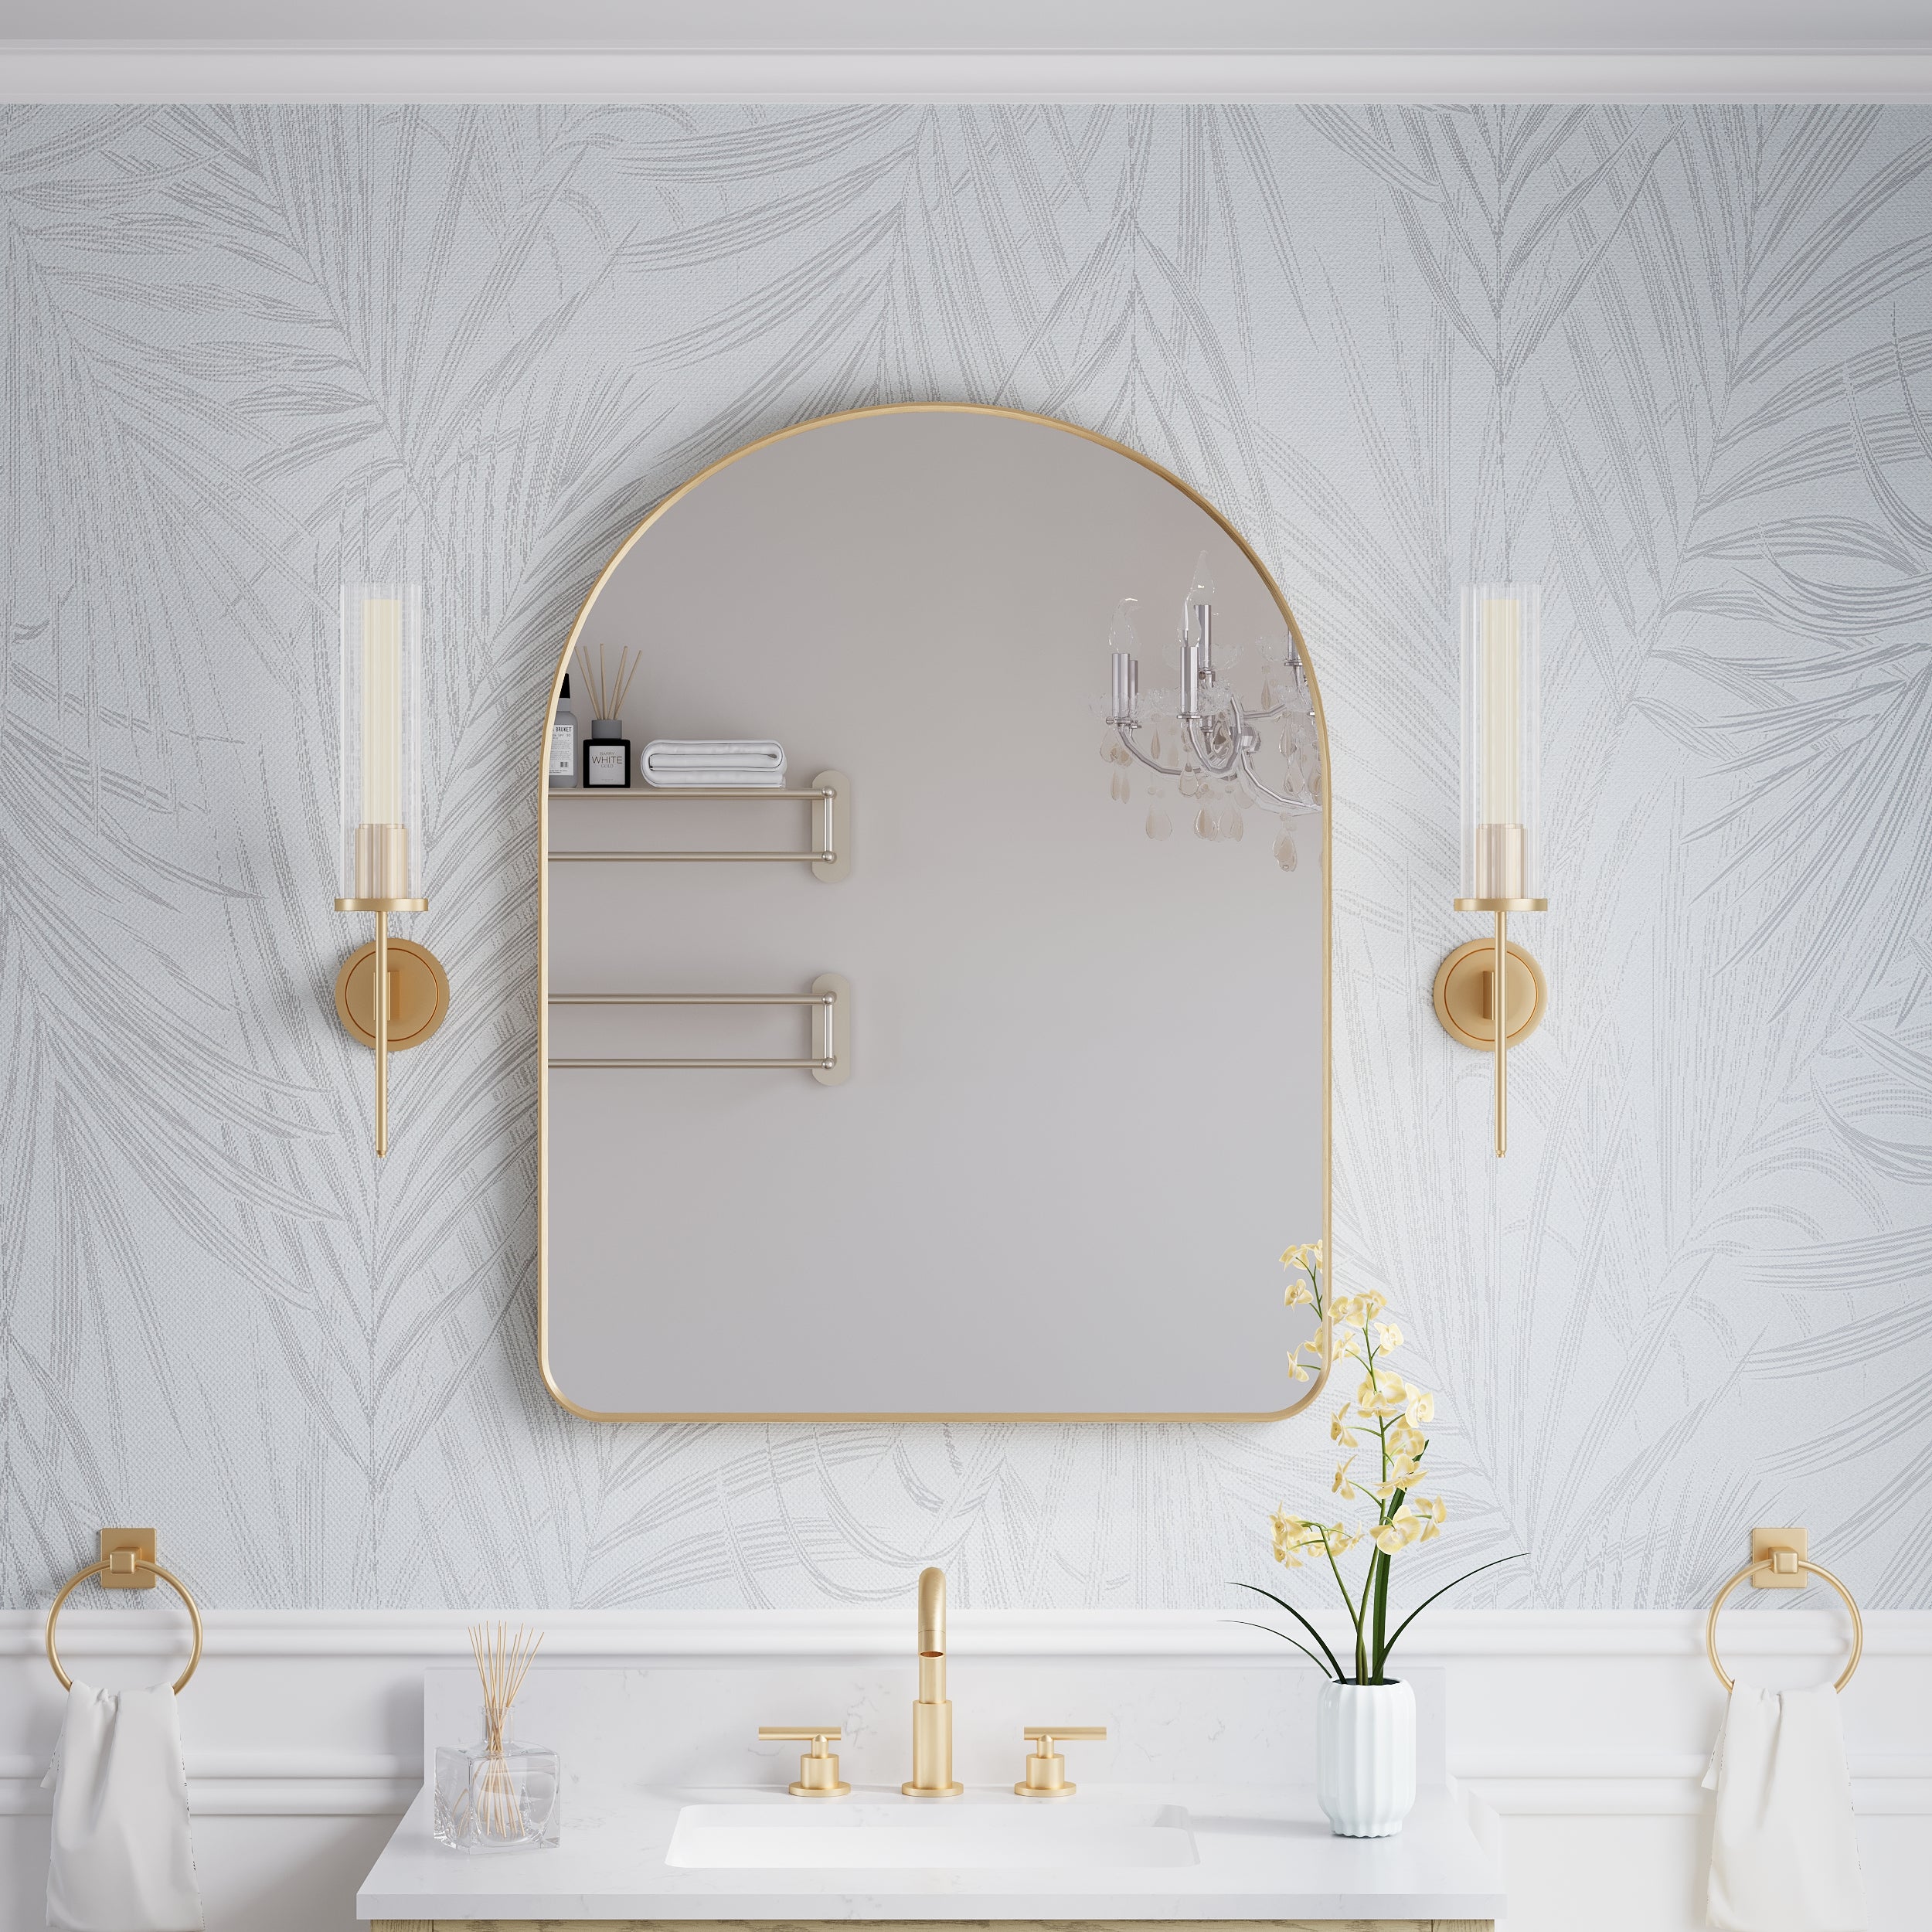
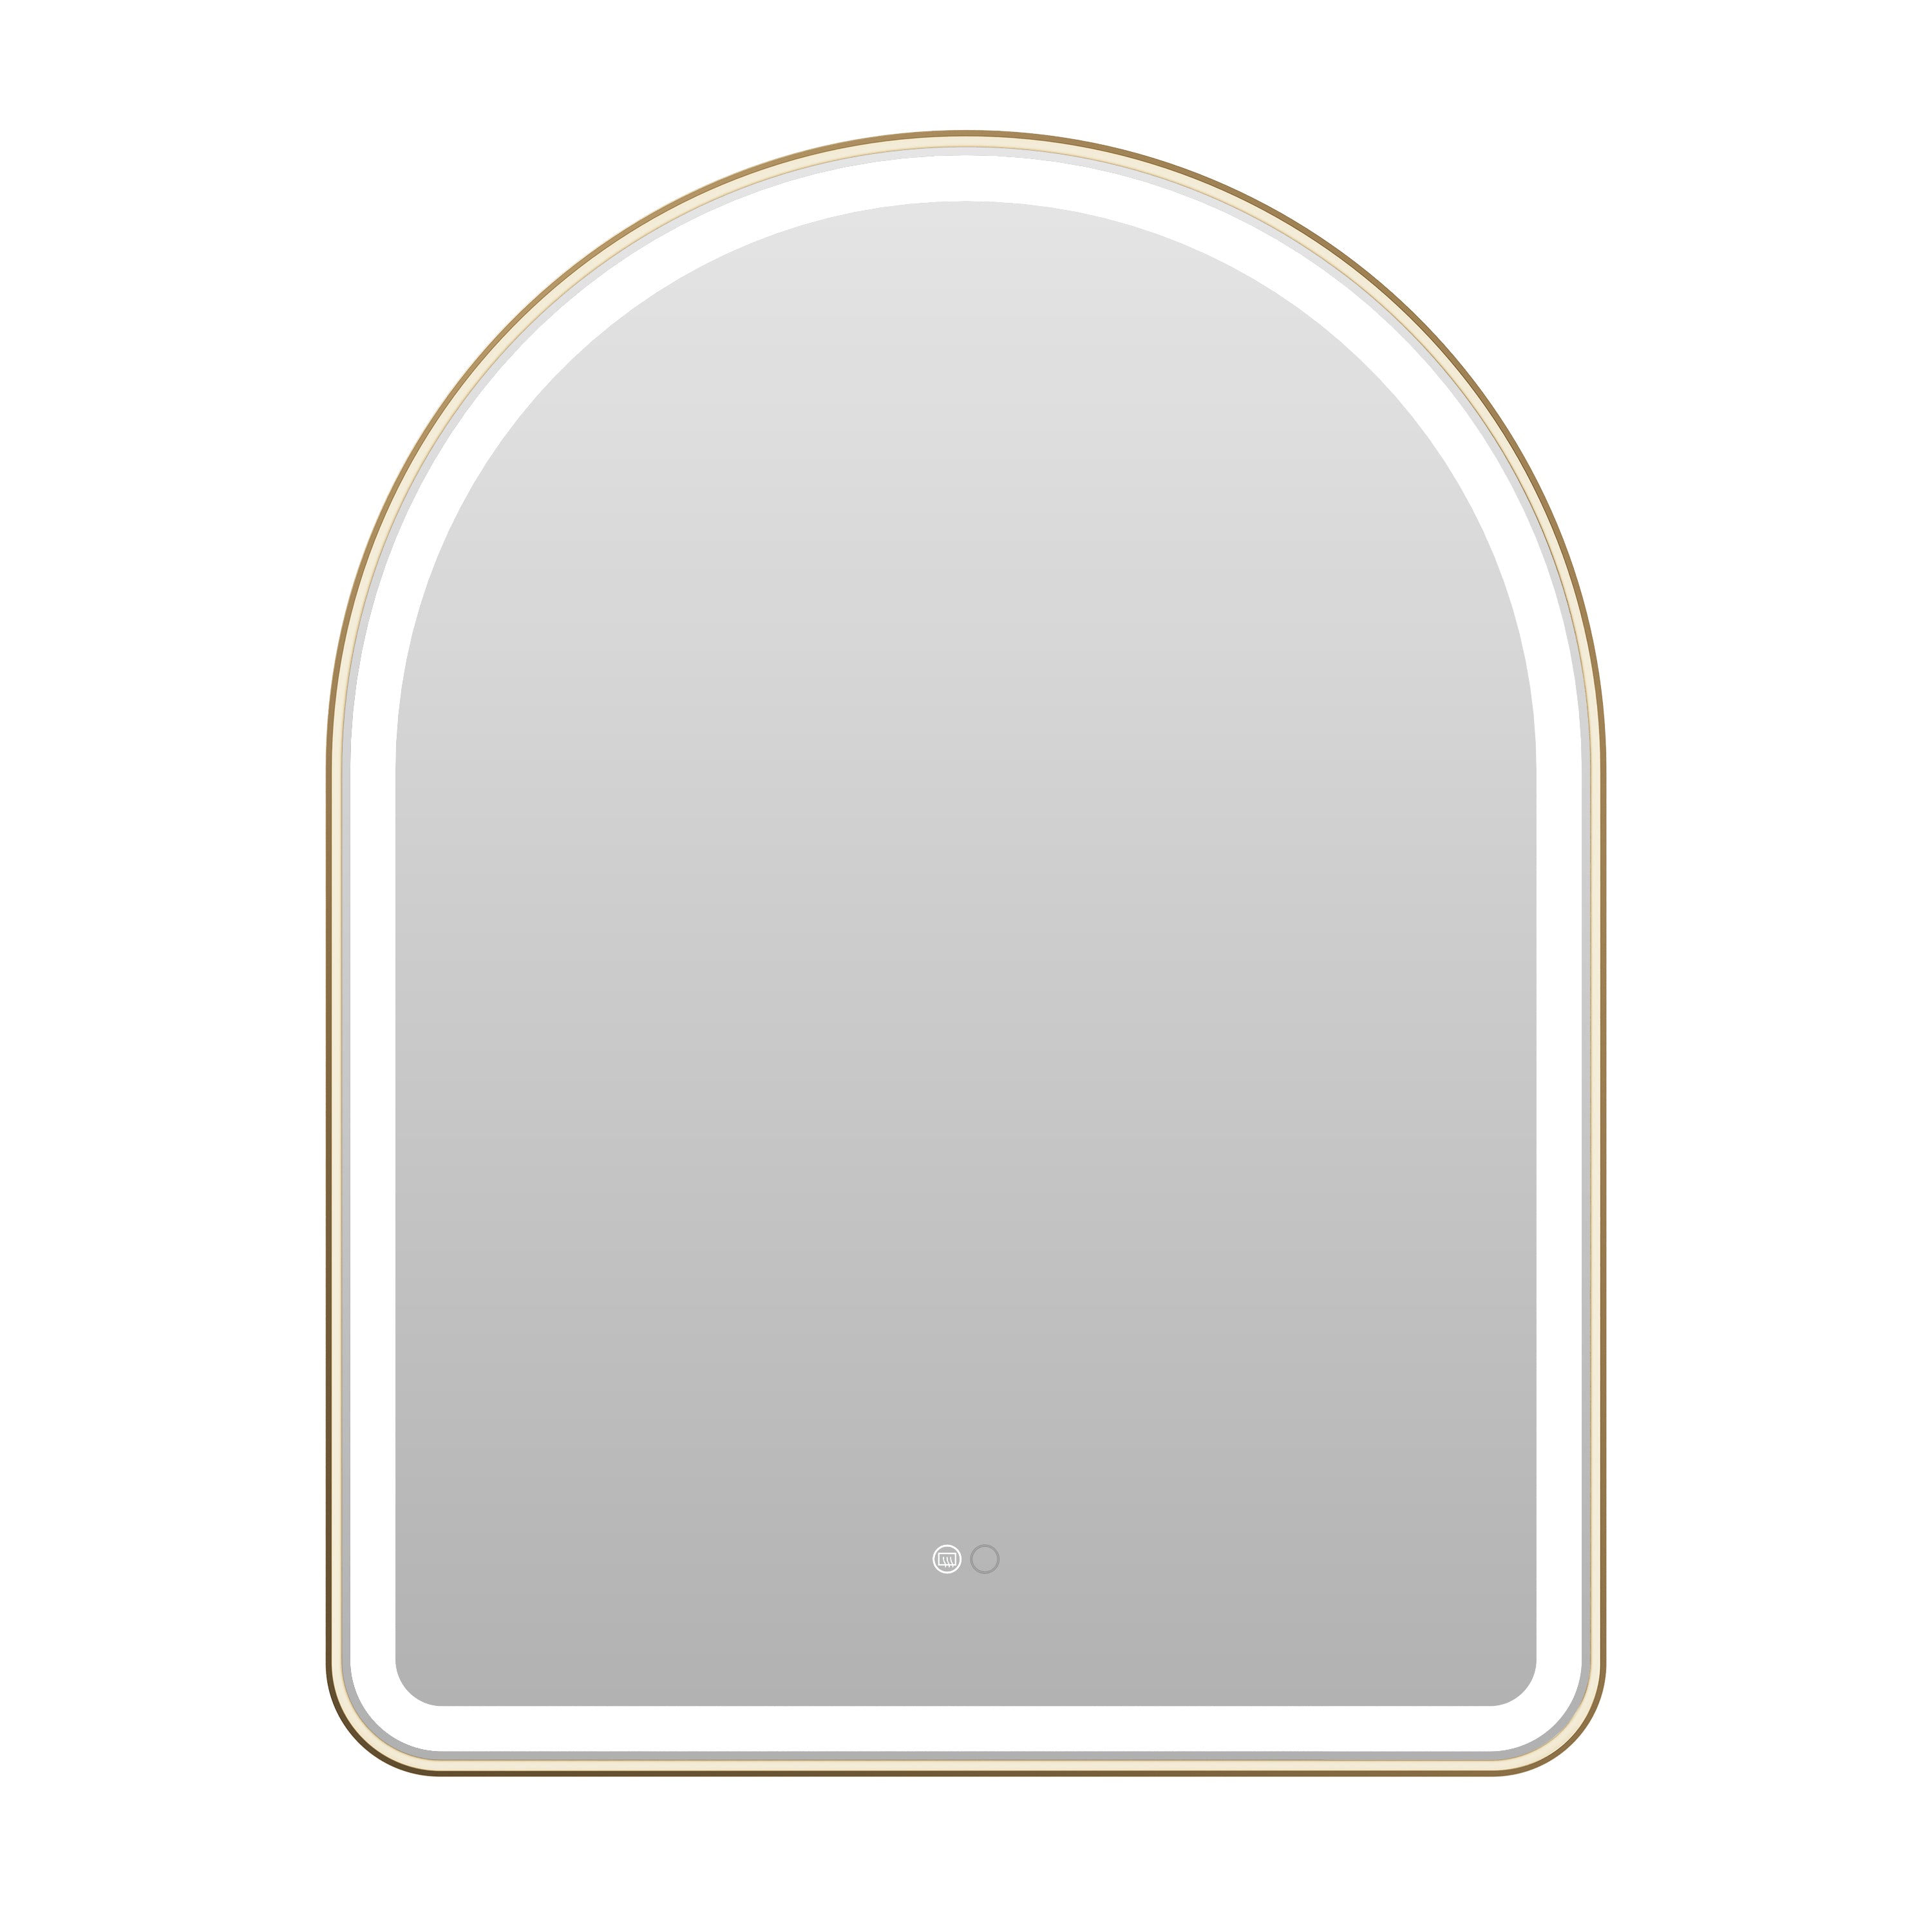
Consider frameless mirrors from trusted brands like Wellfor, known for their durable, stylish, and affordable products that add instant elegance to bathrooms.
Tools and Materials You'll Need
Before you begin, gather all the necessary tools and materials to make your installation process smooth and stress-free.
Tools
· Measuring tape
· Level (preferably a laser level for perfect alignment)
· Drill
· Screwdriver
· Stud finder
· Painter’s tape
· Glass-handling gloves
· Safety goggles
Materials
· Frameless mirror (customized for your space)
· Adjustable metal mirror clips or J-channel brackets
· Glass adhesive (optional for adhesive installation)
· Drywall anchors (for unsupported walls)
· Silicone caulk (optional for sealing edges)
· Cleaning cloth
Bonus tip: When purchasing brackets or adhesive, ensure they are specifically rated to handle the weight of your selected mirror. Safety first!

How to Install a Frameless Mirror with Mounting Clips
Mounting clips are one of the most reliable and popular methods to hang frameless mirrors. Follow these steps carefully to ensure a secure and level installation.
Step 1: Choose and Mark the Location
· Decide where you want to hang the mirror. Typically, mirrors are installed above the bathroom sink or vanity at eye level.
· Use painter’s tape to outline the edges of the mirror on the wall. This helps you visualize the placement.
· With a stud finder, locate and mark the studs behind the wall for added strength. If studs aren’t available in your preferred location, don’t worry! You can use drywall anchors instead.
Step 2: Measure and Mark Clip Placement
· Measure the width and height of your mirror to calculate where the clips will go.
· Mark the position for the bottom clips first, about 4–6 inches from each corner. Repeat the process for the top clips.
· Use a level to confirm that your markings are perfectly straight and aligned.
Step 3: Install the Clips
· Drill pilot holes where you marked the clip positions. For drywall, insert wall anchors to ensure the screws have a sturdy grip.
· Attach the bottom clips firmly. These clips will support the weight of the mirror.
Step 4: Hang the Mirror
· Carefully place the bottom edge of the mirror into the bottom clips. Use gloves to prevent fingerprints and ensure a secure grip.
· While an assistant holds the mirror steady, slide the top clips over the upper corners of the mirror and secure them in place.
Step 5: Test for Stability
· Gently adjust the mirror to ensure it is level and secure. Tighten the clips further if needed but avoid overtightening as it may crack the glass.
Pro Tip: Brands like Wellfor make durable, professional-grade mounting clips that work seamlessly with frameless mirrors.
How to Install a Frameless Mirror with Adhesive
For a clean, floating effect, adhesive is a fantastic option for frameless mirror installation. However, adhesive installation can be unforgiving and requires precision.
Step 1: Prepare the Wall
· Clean the wall thoroughly, ensuring there’s no dust, grease, or residue that could weaken the adhesive bond.
· Sand off any old paint or texture where the adhesive will be applied.
Step 2: Apply Glass Adhesive
· Using a caulking gun, apply vertical beads of glass adhesive to the back of the mirror. Be sure to leave space between each bead for airflow and secure bonding.
Step 3: Mount the Mirror
· Press the mirror firmly onto the wall, starting from the bottom edge. Use even pressure to ensure the adhesive spreads evenly.
· Apply painter’s tape around the edges to hold the mirror in place as the adhesive cures (24–48 hours).
Step 4: Optional Sealing
· If desired, apply a thin bead of silicone caulk around the perimeter of the mirror for a clean, water-resistant finish.
Pro Tip: Use adhesive designed specifically for mirrors, as regular glue or tape can lose effectiveness over time.
Safety Tips for Frameless Mirror Installation
· Always wear safety goggles and gloves when handling glass to prevent injury.
· Heavy mirrors require two people for safe handling and installation.
· Avoid installing frameless mirrors on uneven or textured walls, as this can weaken their stability.
· For large or illuminated mirrors, consider consulting a professional electrician for power connections.
Troubleshooting Common Installation Issues
· Crooked Mirror: Use a level and adjust the mounting hardware or adhesive placement.
· Mirror Won’t Adhere Properly: Clean the wall again and ensure the adhesive is fresh.
· Wall Damage During Removal: Apply painter’s tape next time to minimize potential cracks during future removal.
Pro Tip: Frameless mirrors are compatible with anti-fogging technology to keep your reflections clear, even in high-moisture environments. Wellfor offers bathroom mirrors with this innovative feature.
Professional Touches to Elevate Your Installation
Want your DIY frameless mirror to look custom-fitted by a designer? Try these extra touches:
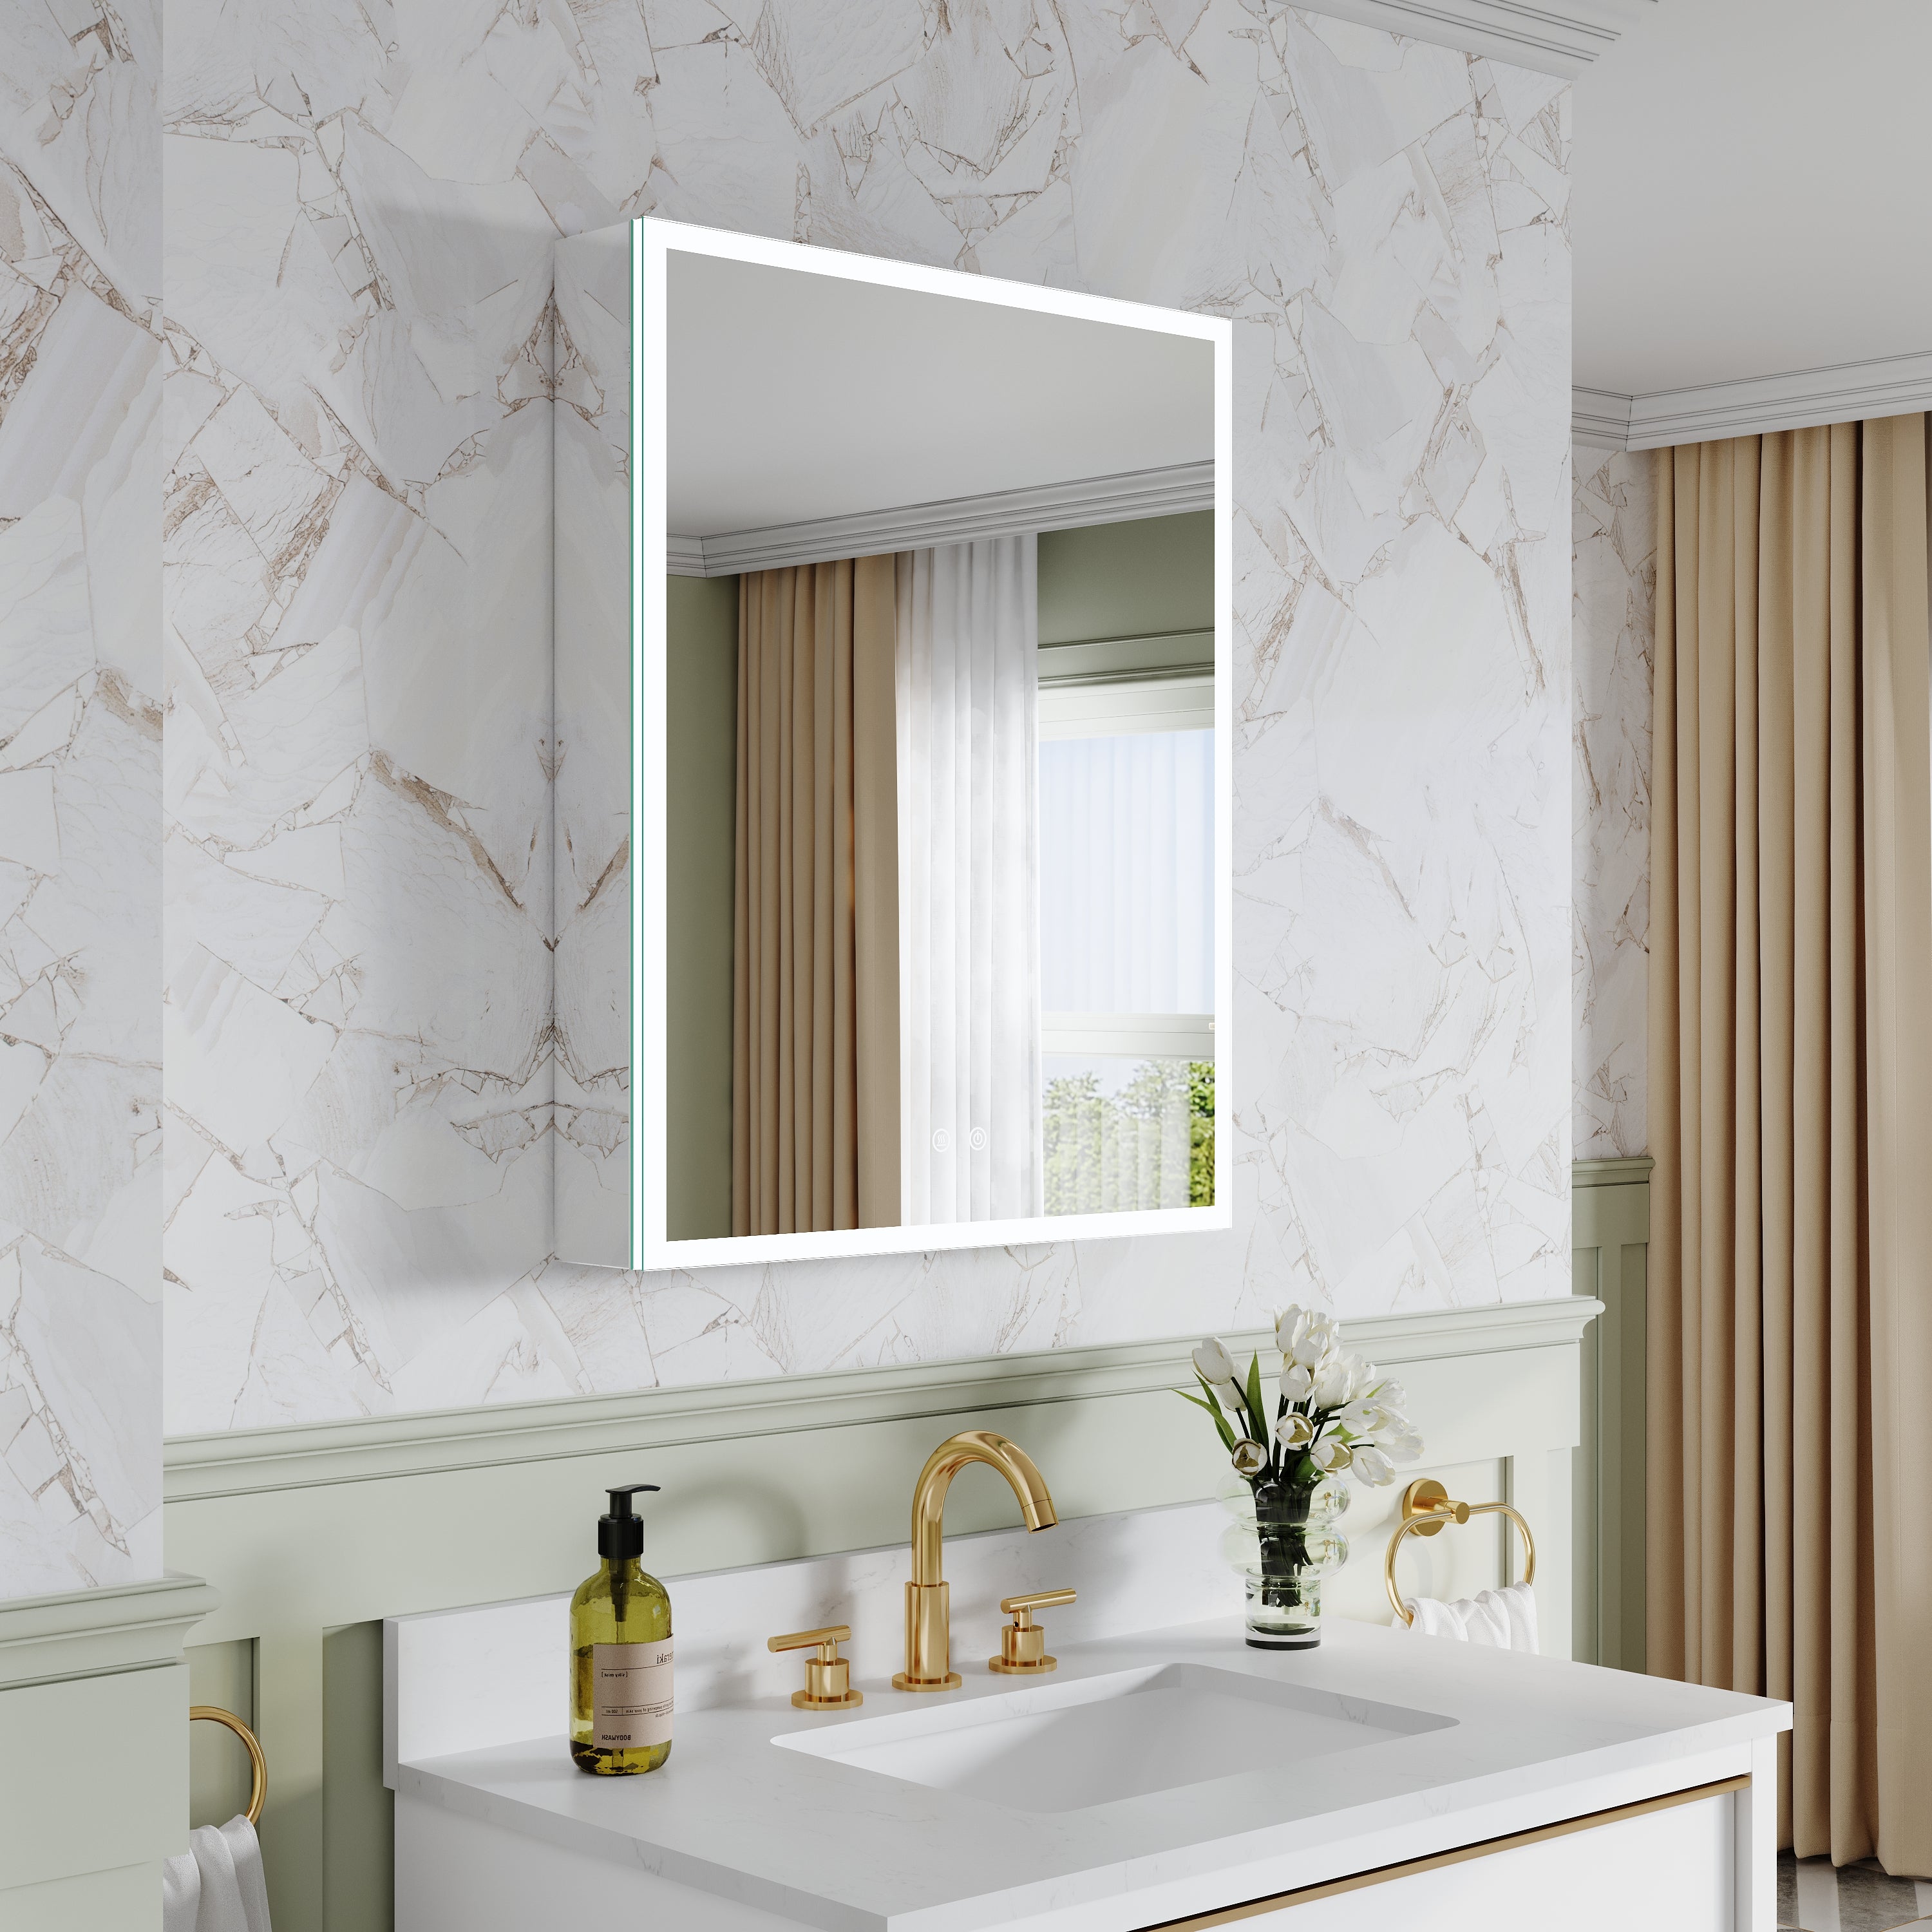
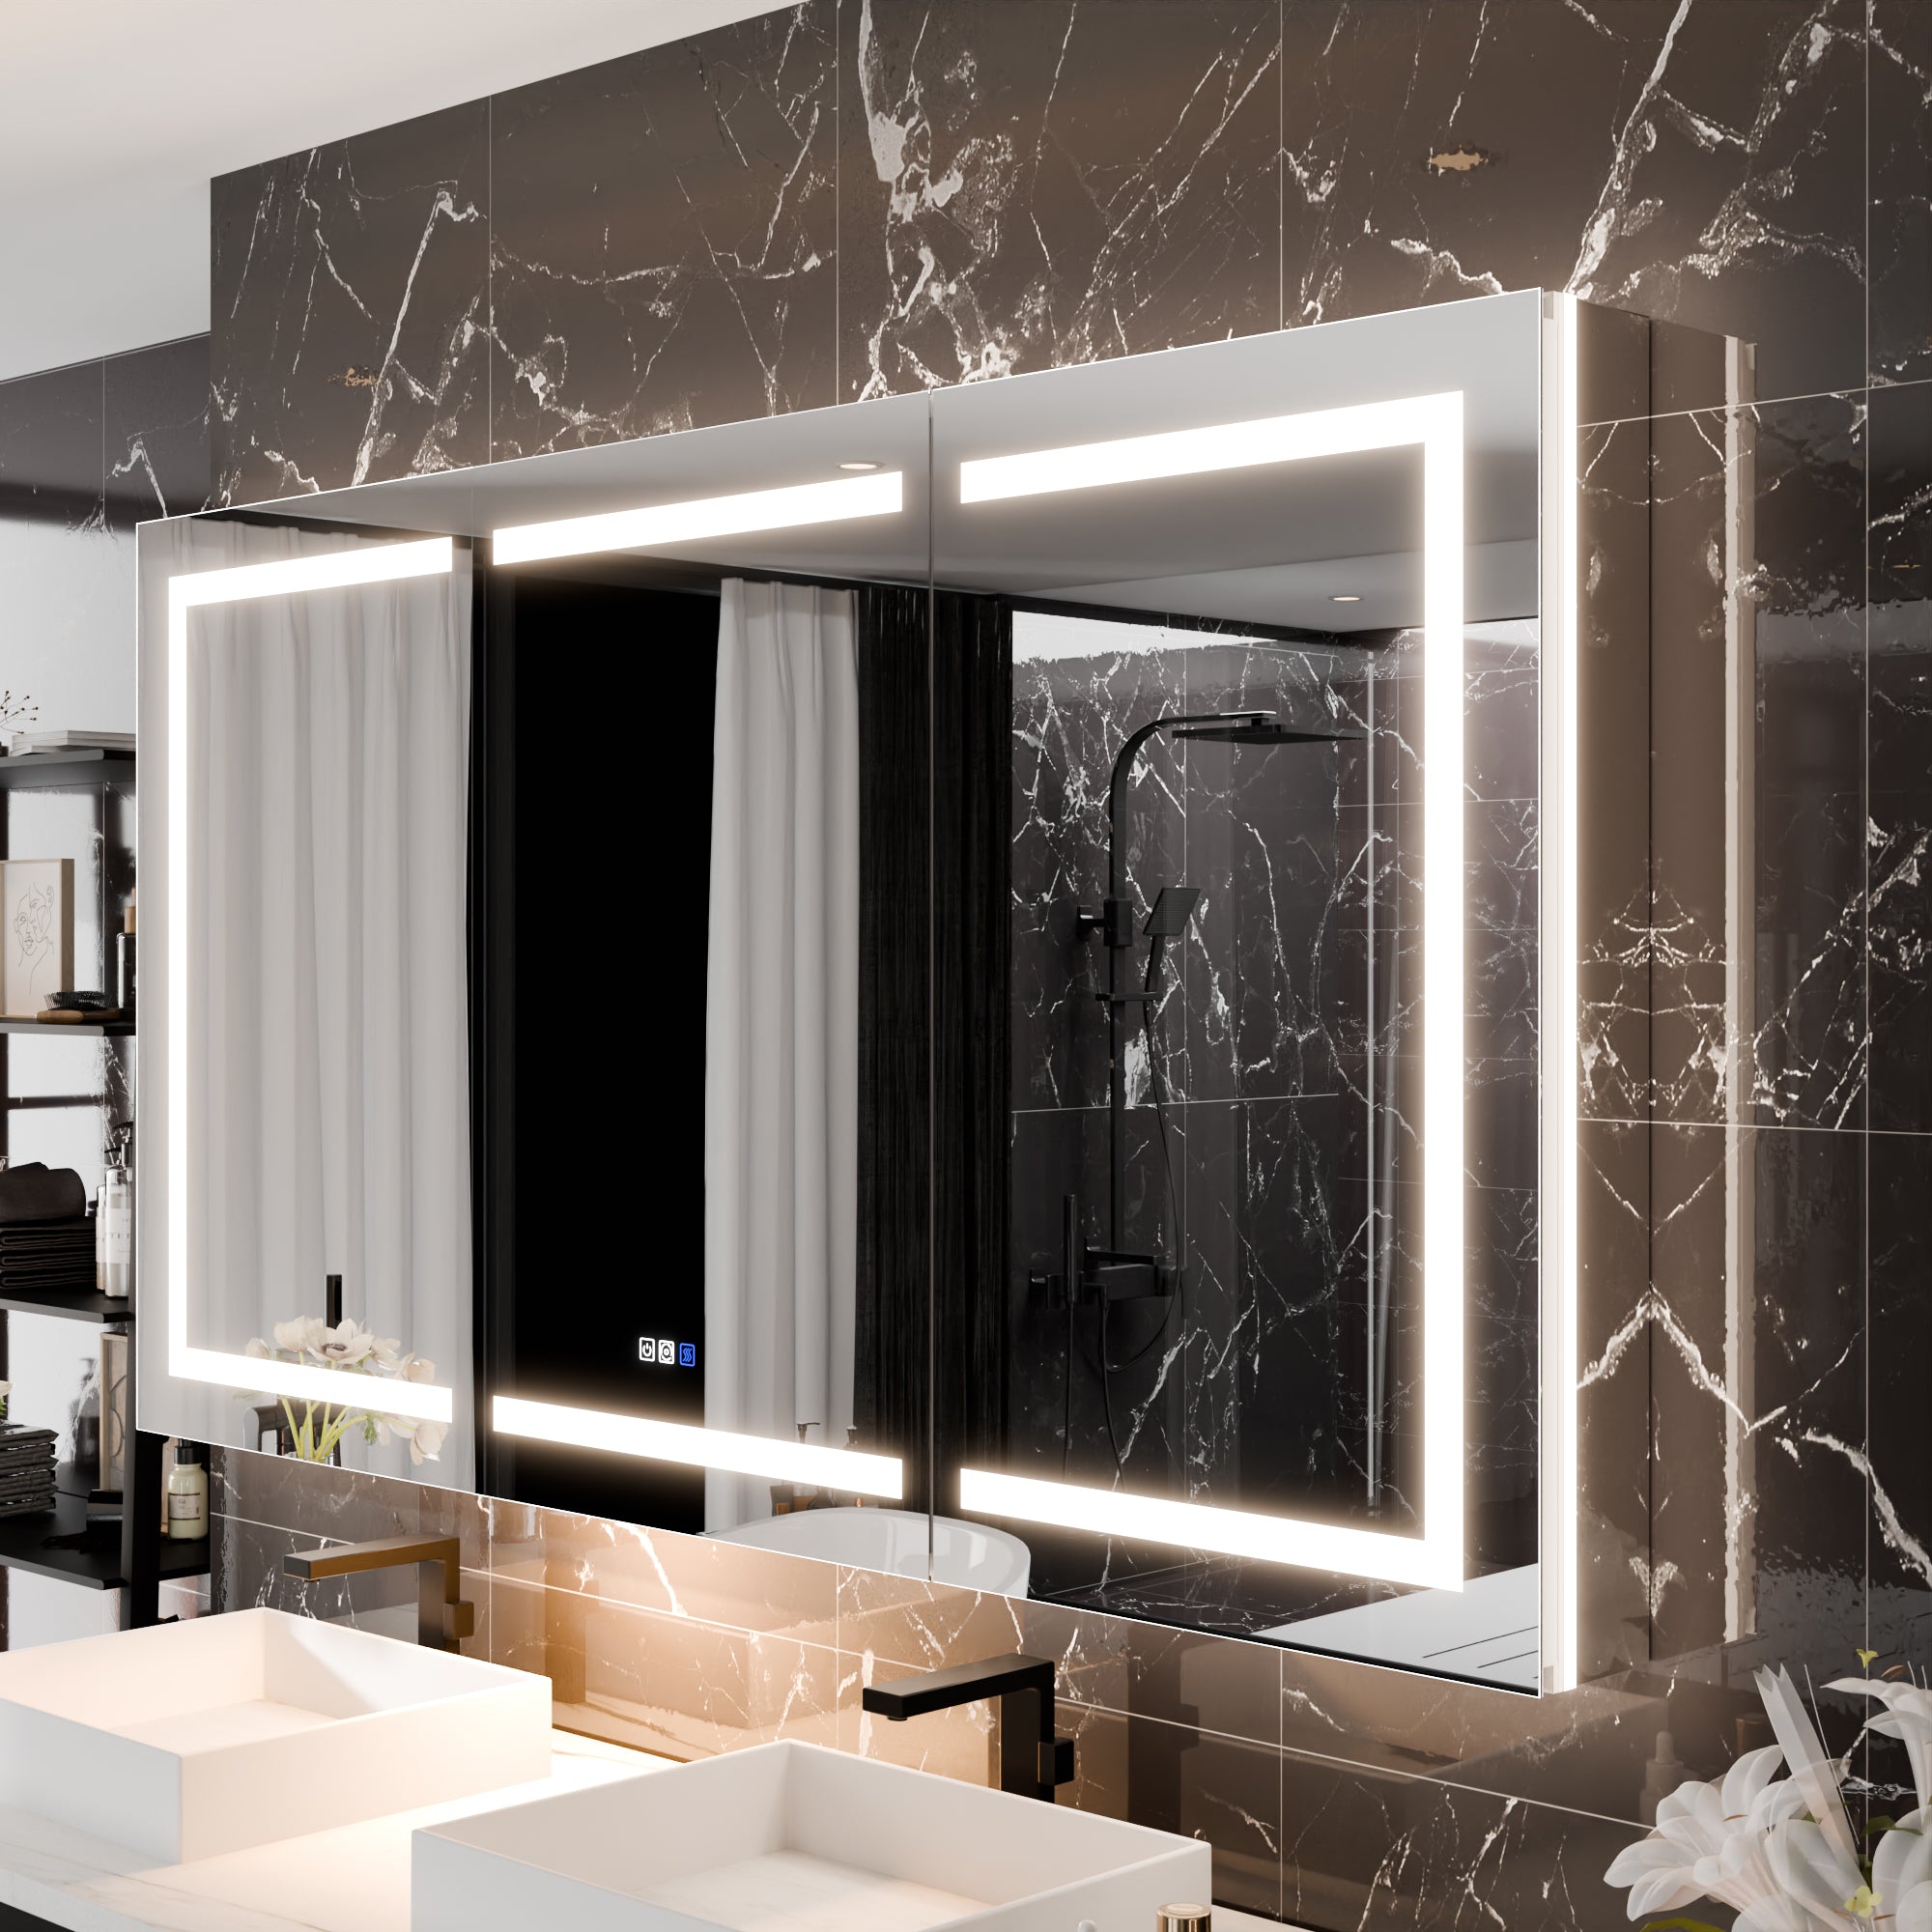
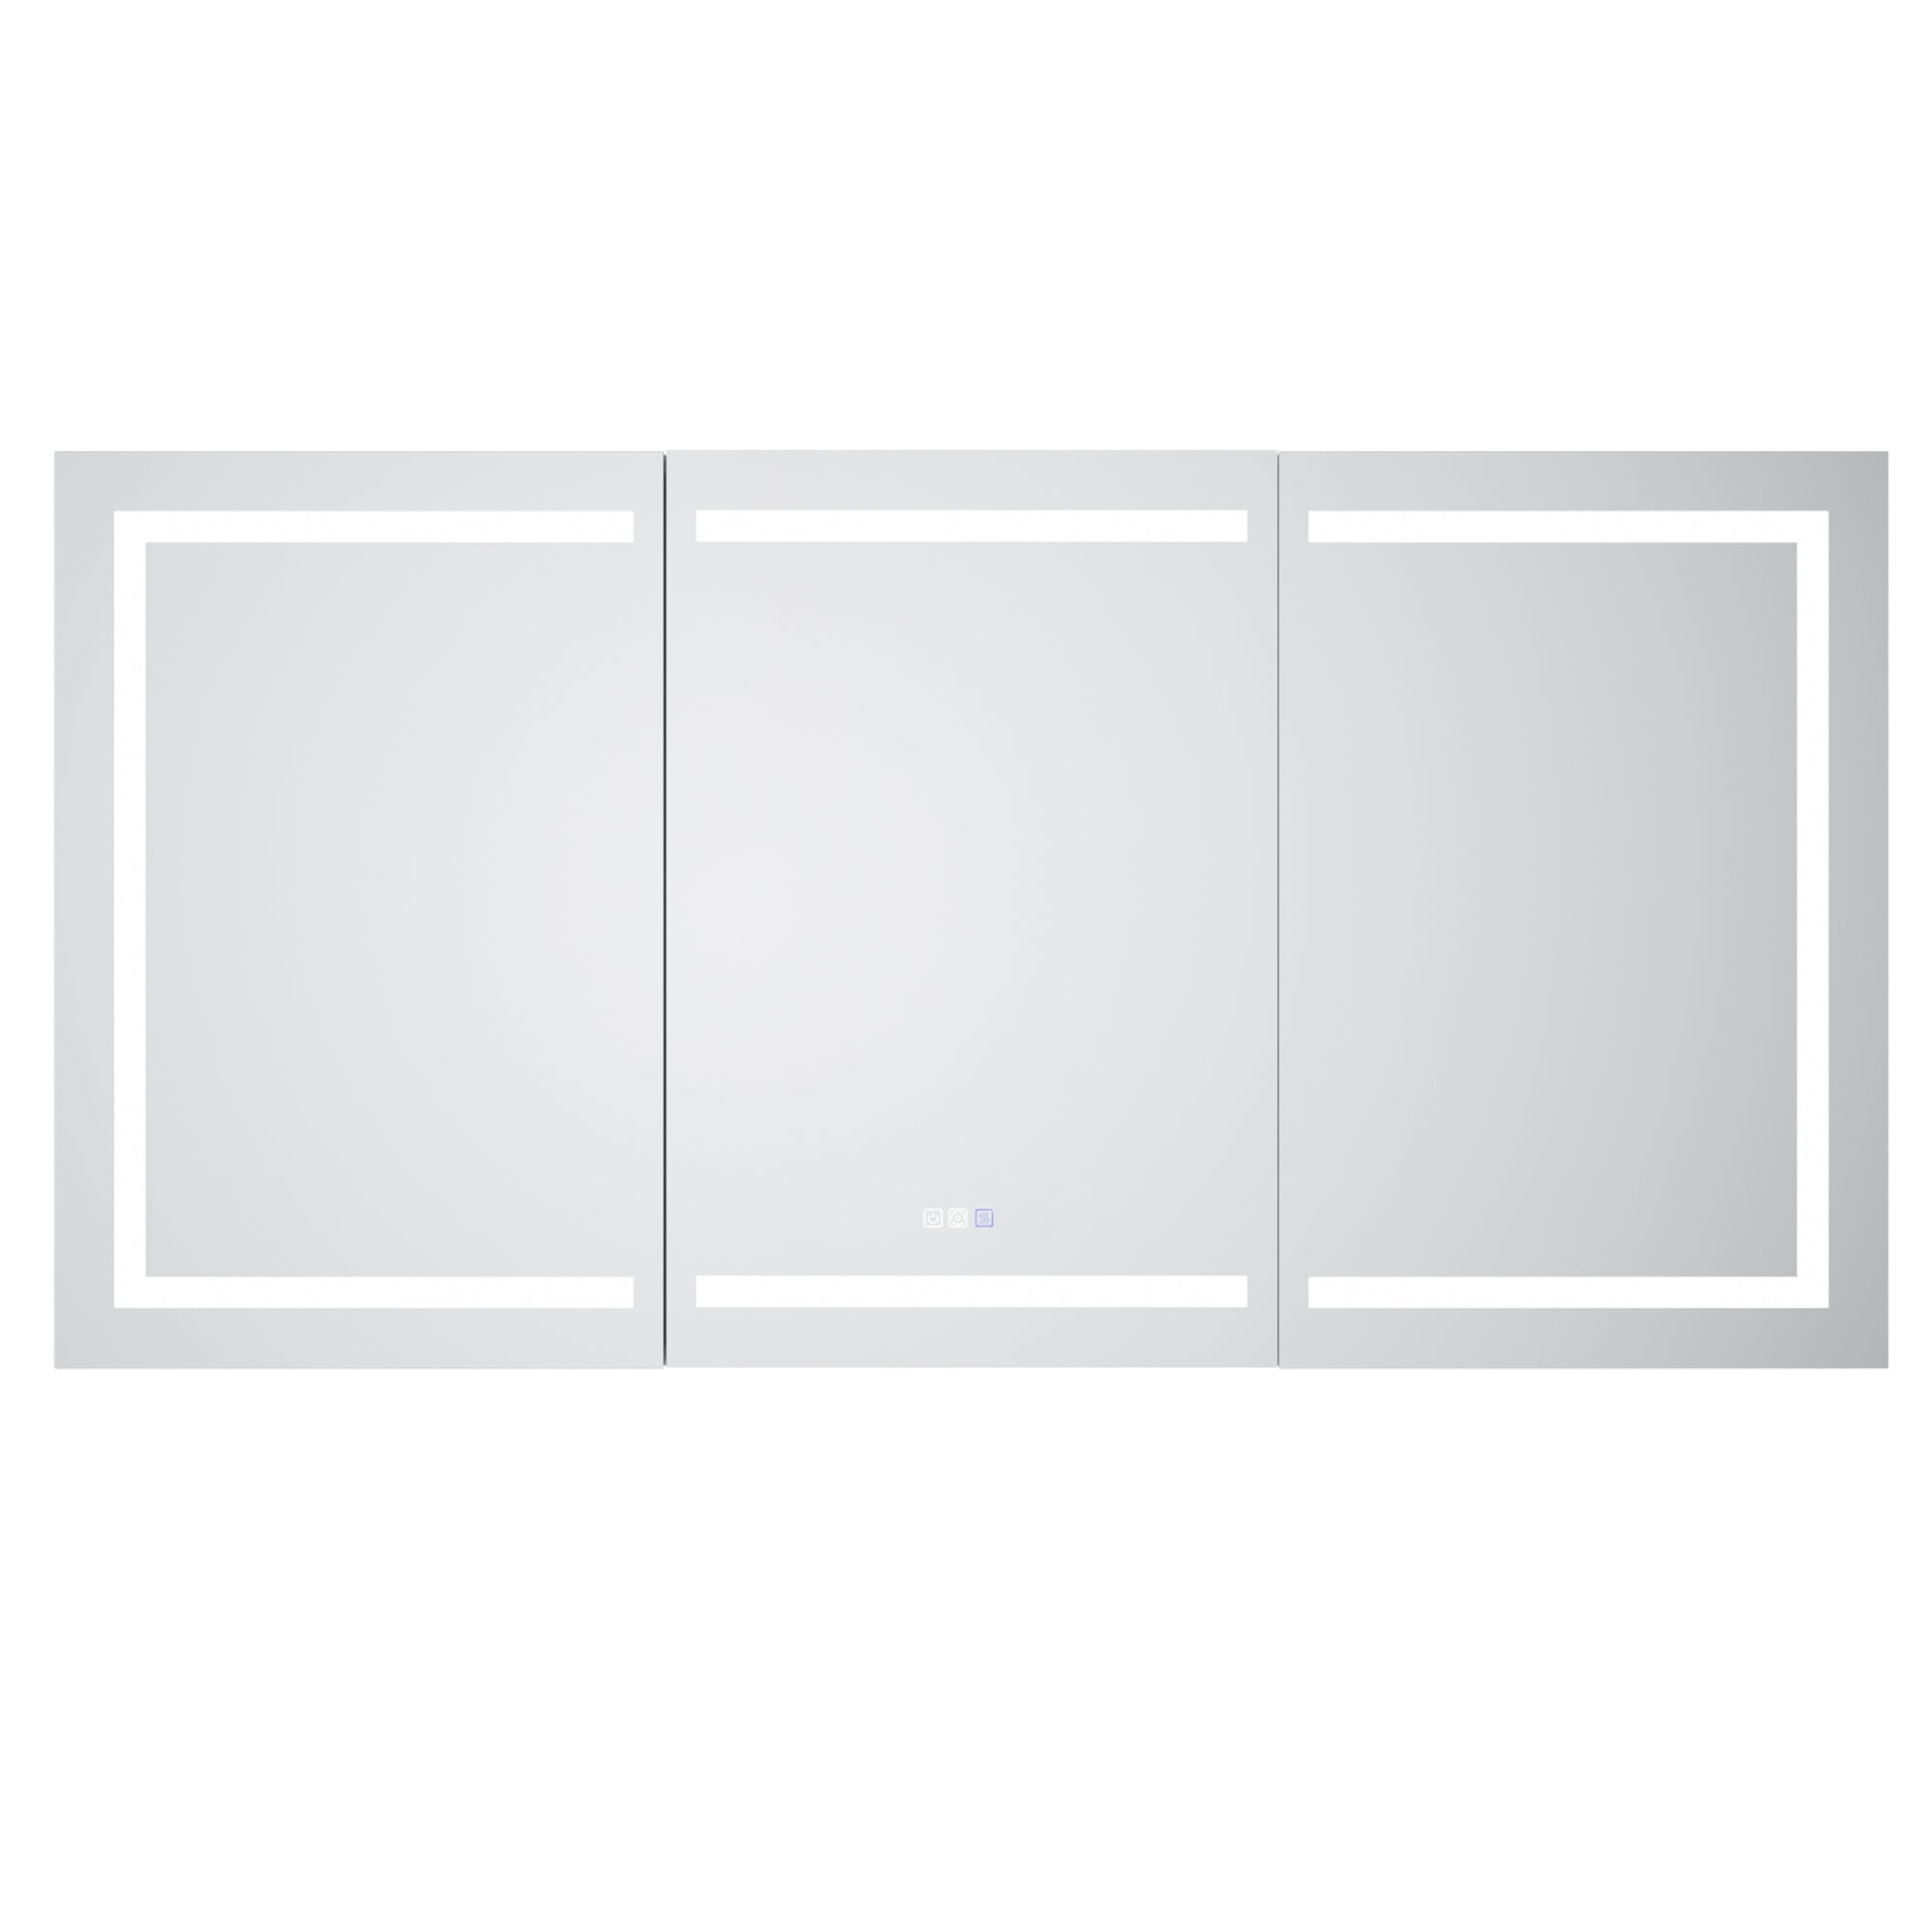
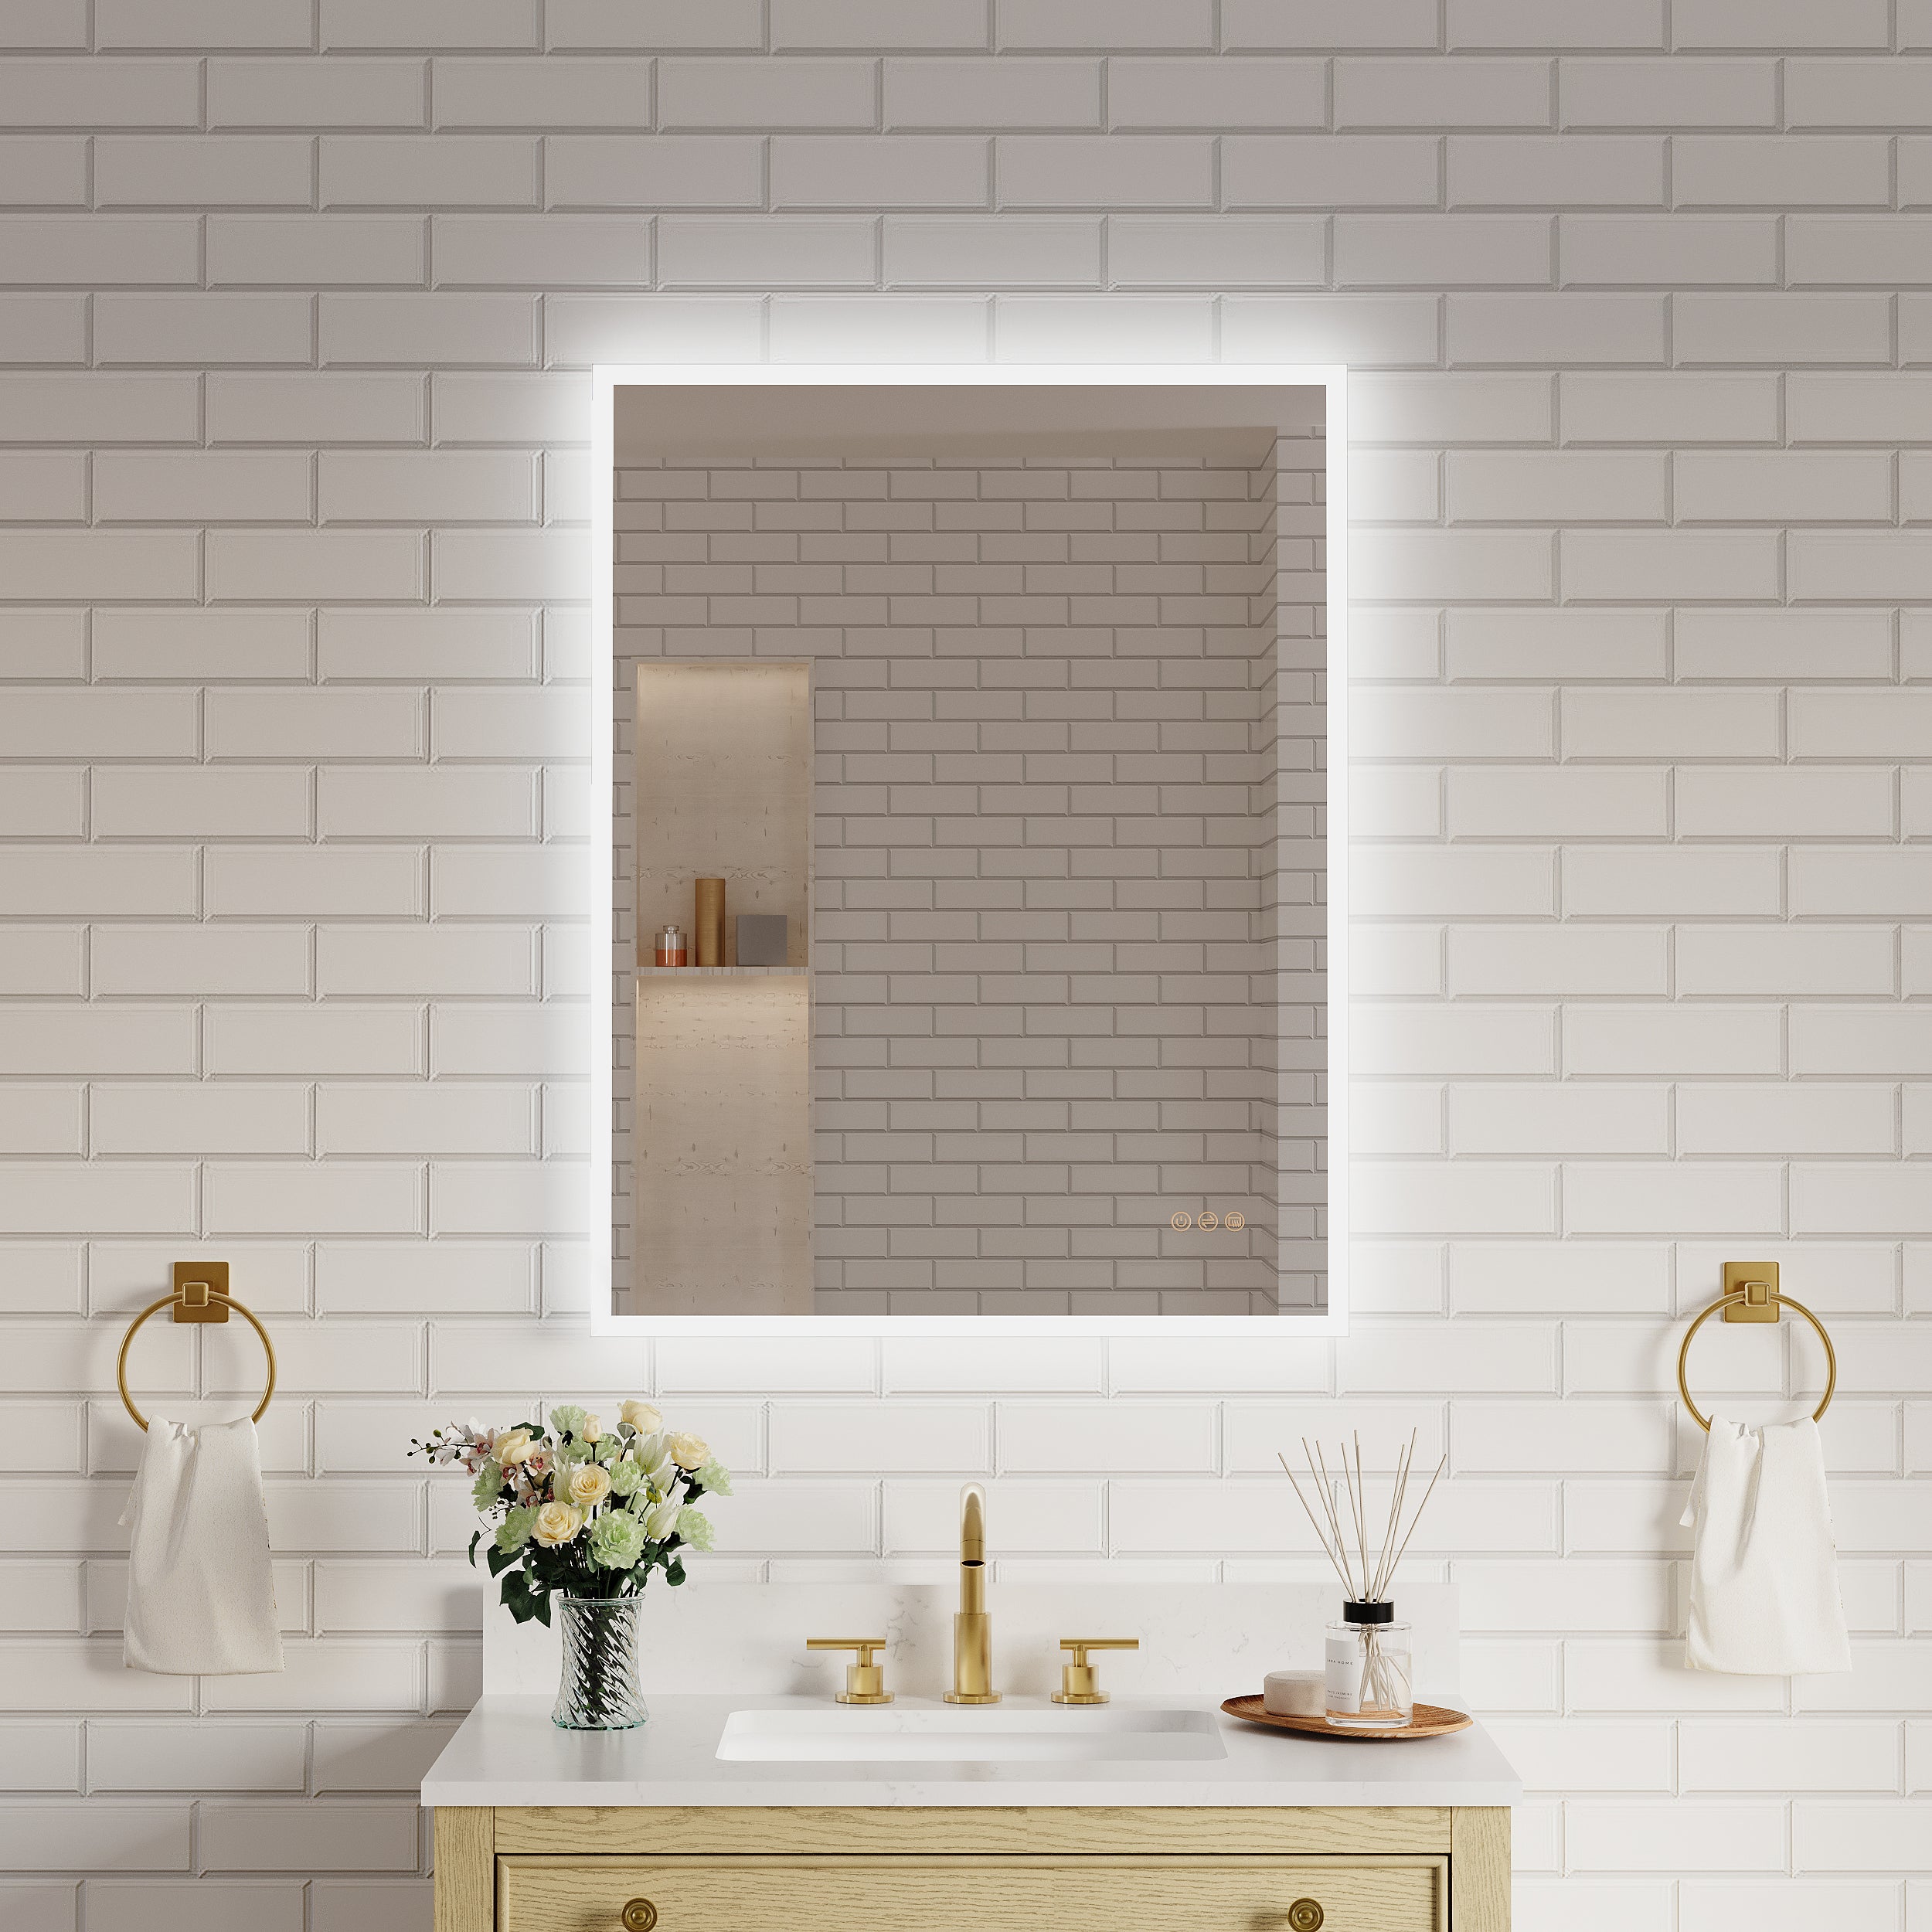
· Backlighting: Add LED strips behind the mirror for a luxurious glow.
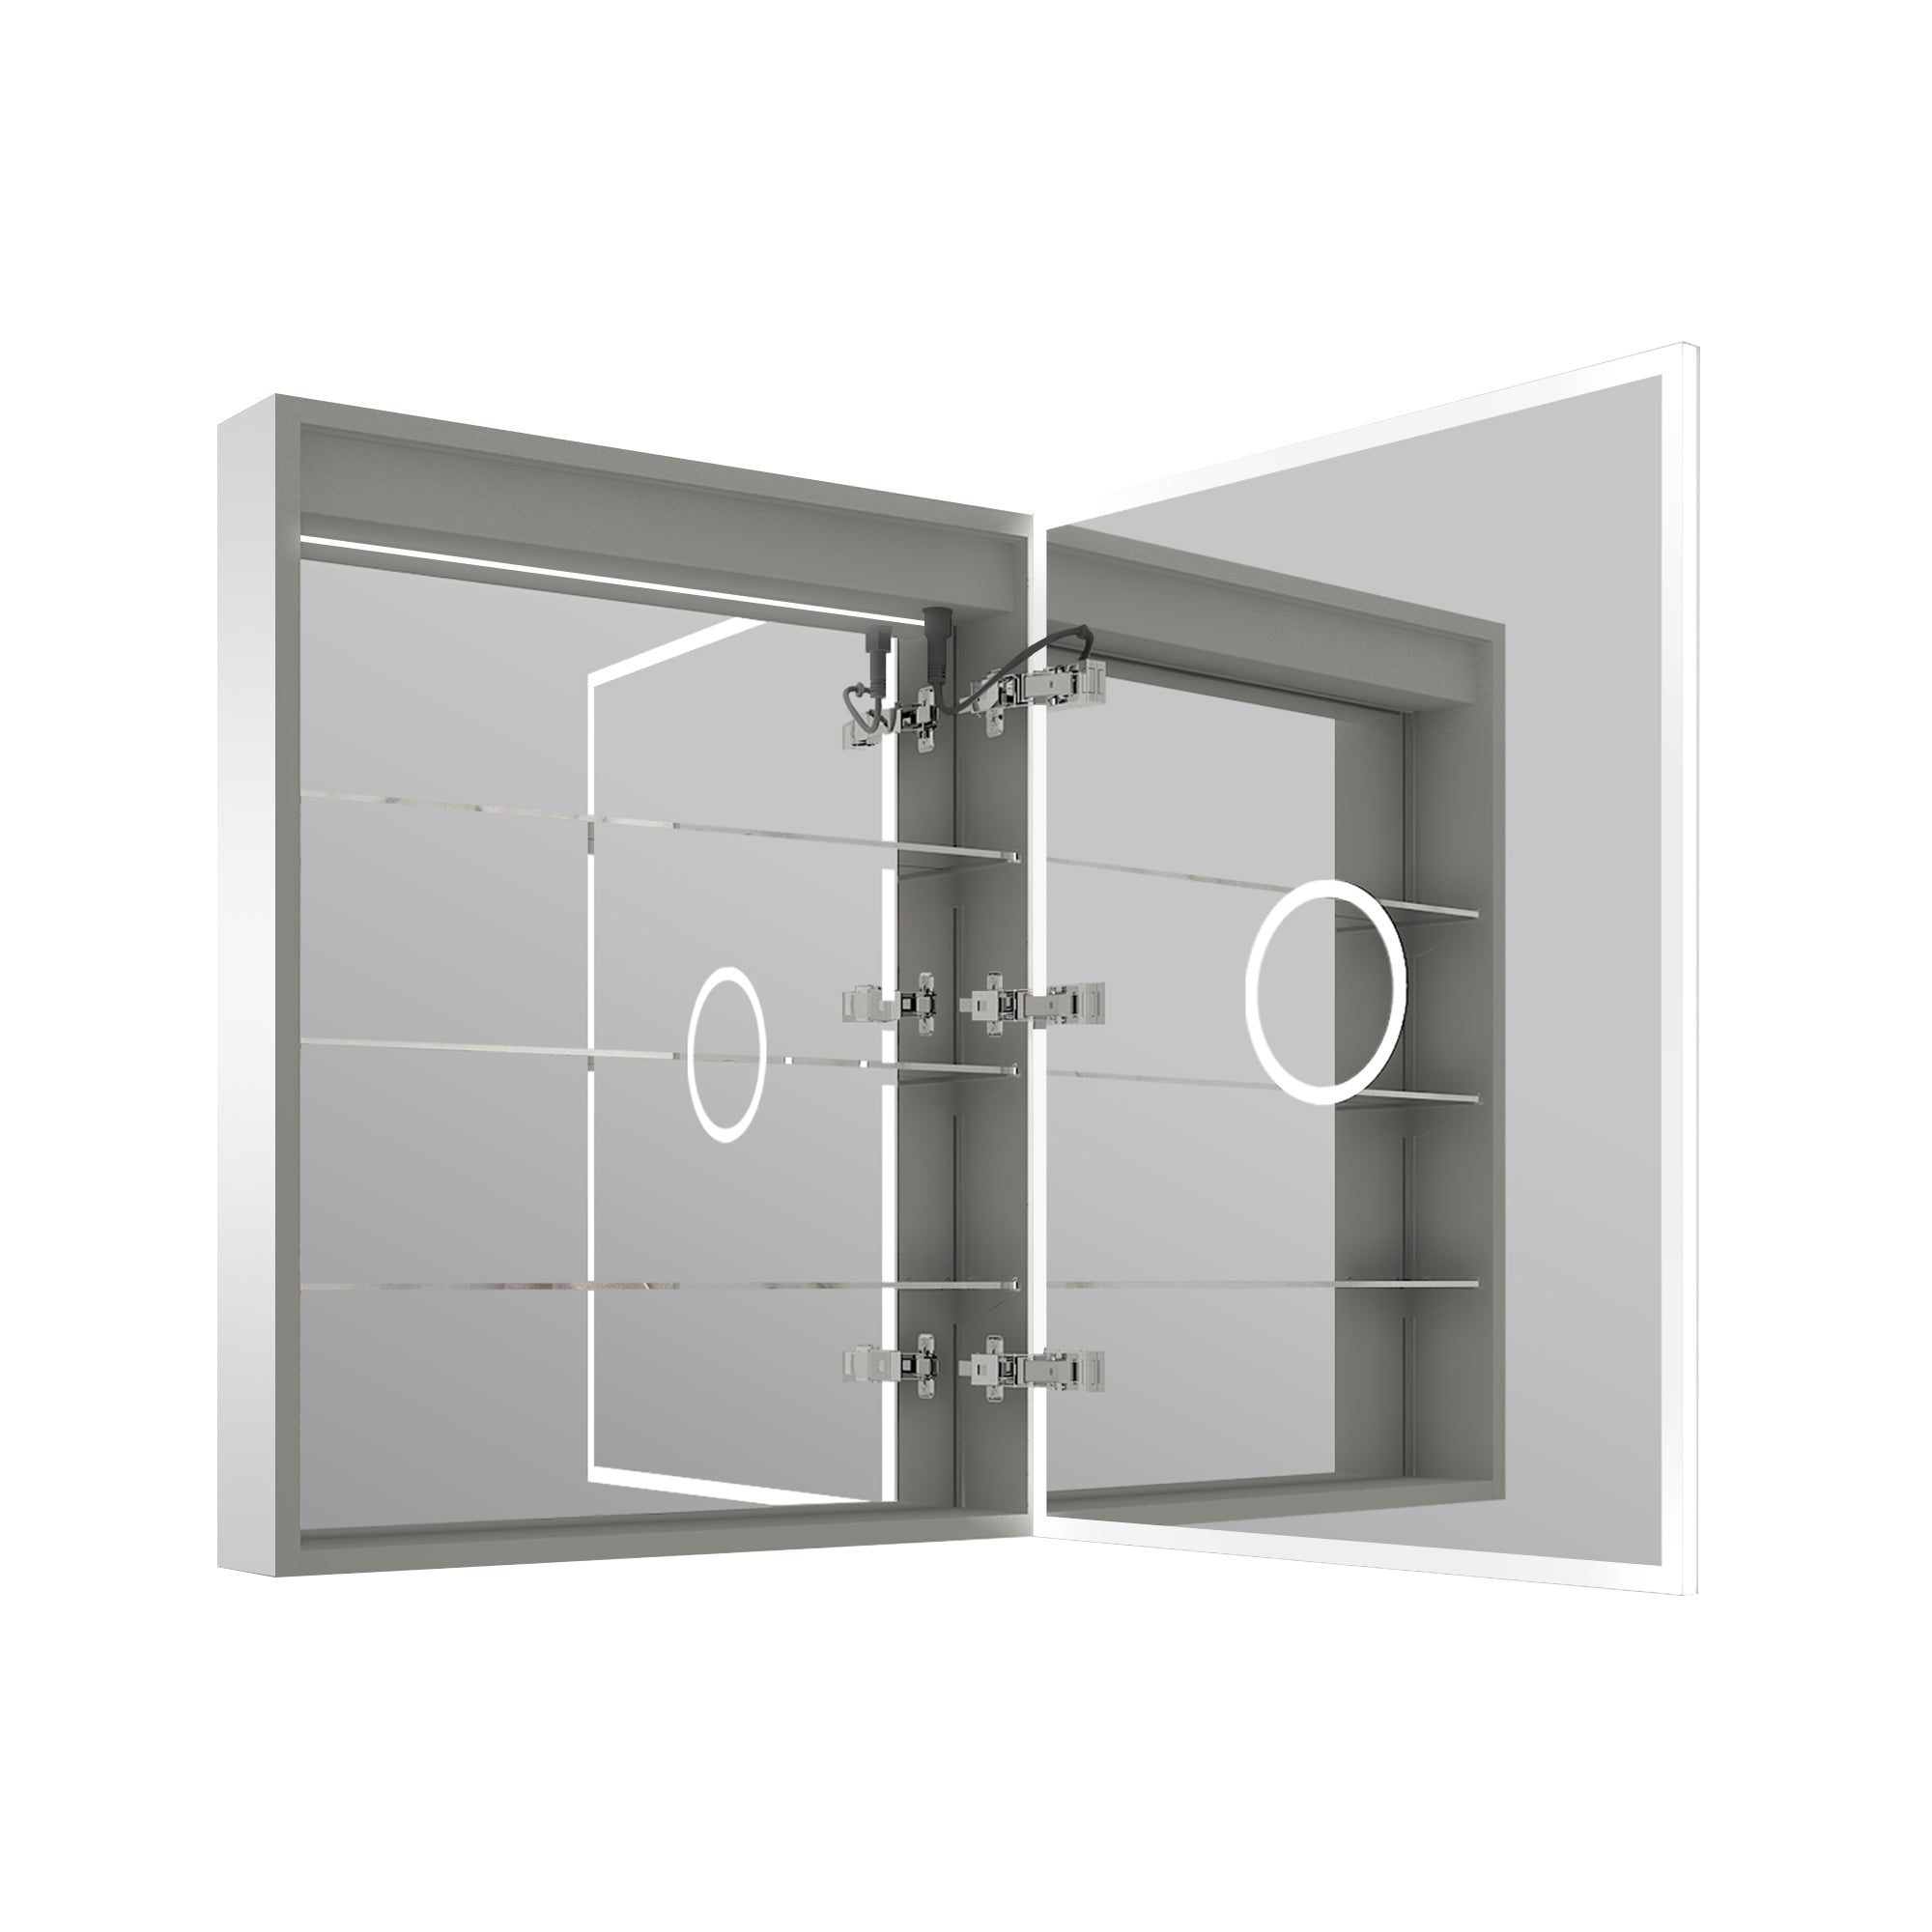
· Mirror Shelves: Install floating glass shelves below or beside the mirror for added functionality.
· Decorative Molding: Frame the mirror with wooden molding for a unique, hybrid look.
· Heated Mirrors: Explore mirrors with built-in demister pads to prevent fog in humid bathrooms.
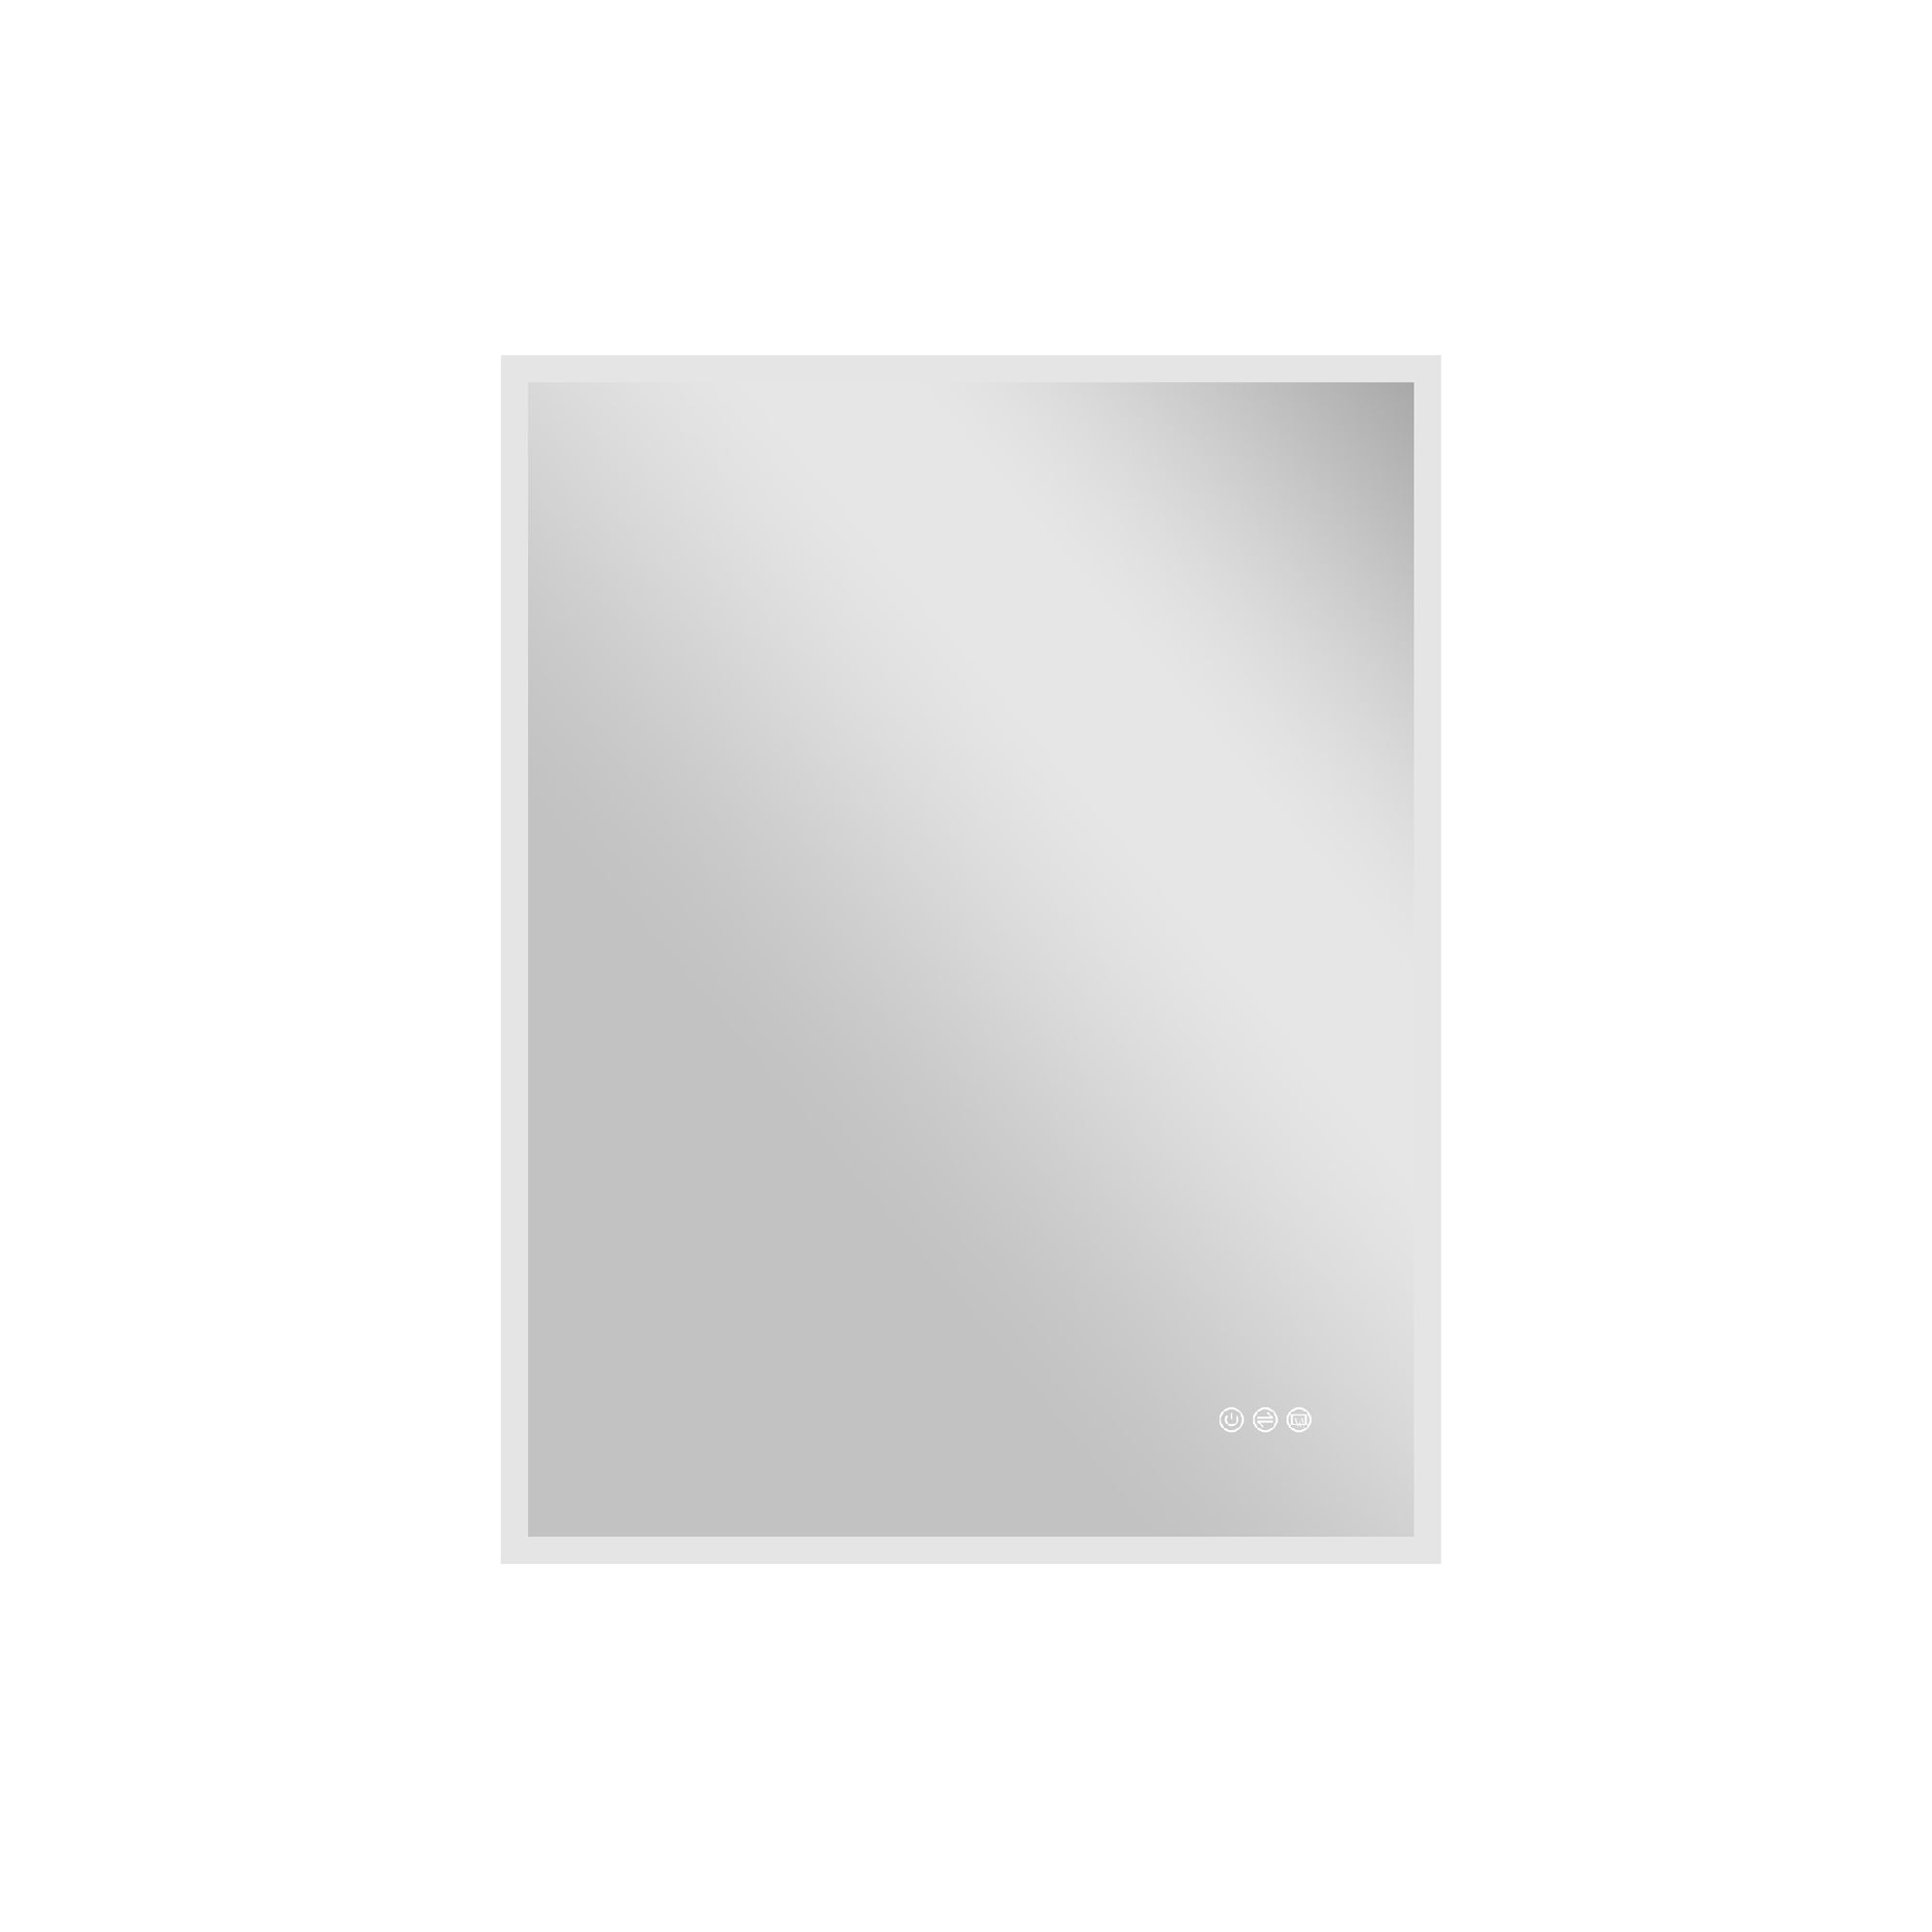
Check out Wellfor’s modern selections for LED and feature-rich frameless mirrors to achieve a chic, upgraded look.
Care and Maintenance of Frameless Mirrors
To maintain the brilliance of your frameless mirror:
· Clean the mirror regularly with a soft microfiber cloth and a vinegar-water solution to remove smudges and water stains.
· Wipe the edges with a dry cloth to prevent moisture build-up, especially in bathrooms.
· Inspect mounting hardware periodically to ensure the mirror is secure.
By taking these simple maintenance steps, your frameless mirror will remain a focal point of your bathroom for years to come.
Why Wellfor is the Best Choice for Frameless Mirrors
Among frameless mirrors, Wellfor stands out due to its superior quality building, cost-effective price, and thoughtful features of anti-fogging and LED. Its mirrors are simple to install for individuals who make things themselves and bring an elegant ambiance to any bathroom.
Explore Wellfor’s range of frameless mirrors to upgrade your space with confidence.
Mounting a frameless bathroom mirror is a rewarding do-it-yourself task that can radically transform your bathroom's look. With the steps and tips provided in this guide, you're set to execute this task like an expert. Regardless of whether you choose to install using adhesive or clips, the end product will be a classic addition to your house.
Dive in and get started! Your beautifully modern bathroom awaits.












Leave a comment
This site is protected by hCaptcha and the hCaptcha Privacy Policy and Terms of Service apply.